


I’ve been braiding hair since I was twelve, and nothing beats the satisfaction of mastering a new technique. Summer is the perfect time to level up your braiding game — your hair stays put in the heat, and you look effortlessly put-together. But here’s what I wish someone had told me years ago: start with your skill level, not what looks prettiest on Pinterest.
I’ve ranked these twelve summer braids from absolute beginner to seriously advanced. Each one includes my honest time estimate and the tools you’ll actually need. Trust me, there’s nothing worse than attempting a complex braid when you’re running late for work.
Your Summer Braiding Roadmap
- Beginner Friendly: Basic Three-Strand Braid
- Beginner Friendly: Simple Side Braid
- Easy Level: Classic French Braid
- Easy Level: Loose Bohemian Braid
- Intermediate Challenge: Dutch Braid Crown
- Intermediate Challenge: Fishtail Braid
- Intermediate Challenge: Waterfall Braid
- Advanced Level: Four-Strand Braid
- Advanced Level: Celtic Knot Braid
- Advanced Level: Infinity Braid
- Pro Level: Five-Strand Braid
- Master Level: Complex Crown Braid
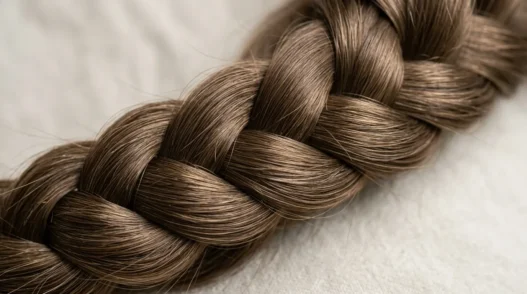
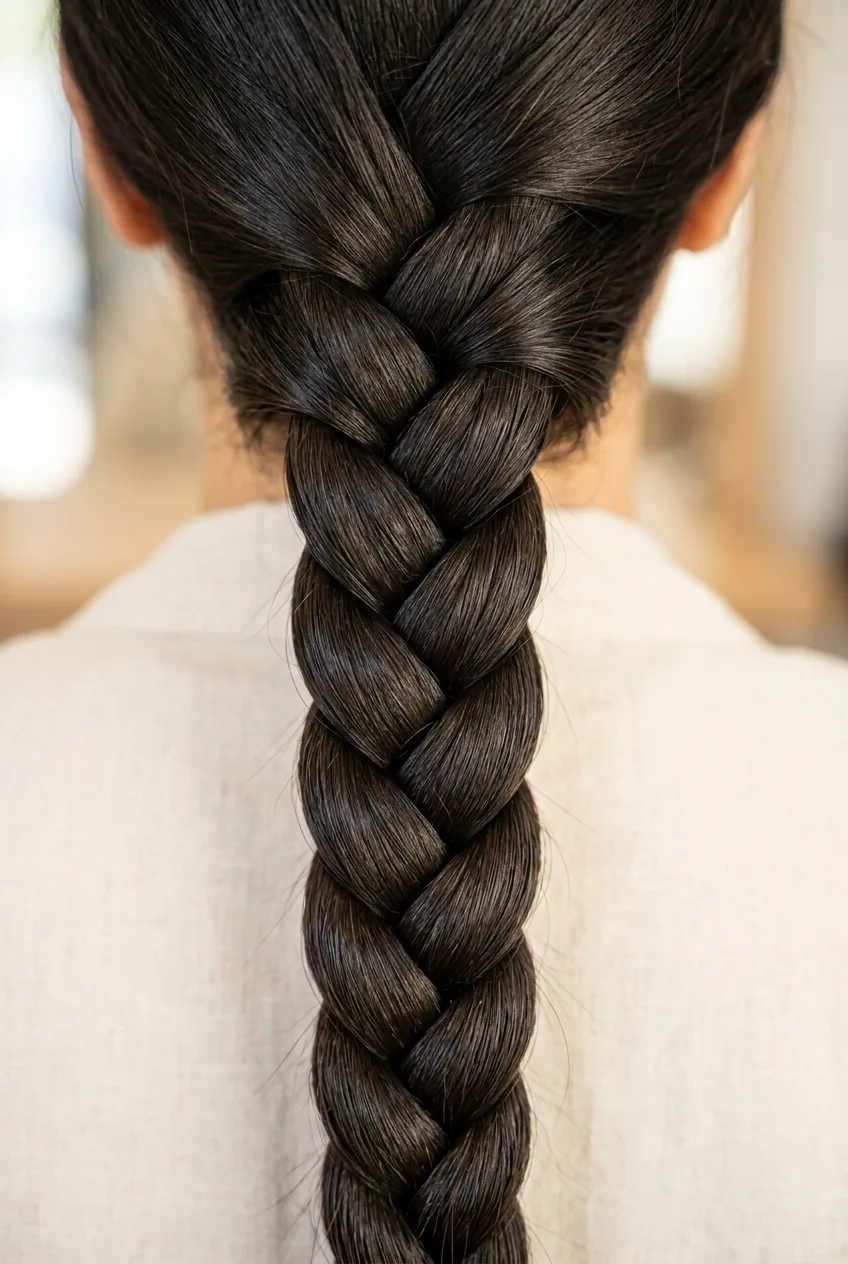
1. Beginner Friendly: Basic Three-Strand Braid
Difficulty: 1/10 | Time: 2-3 minutes | Tools: Hair tie
This is where everyone should start. I know it seems too simple, but I’ve seen people mess up the basic three-strand because they rush through it. The key is getting your hand positioning right — left over middle, right over middle, repeat.
What makes this perfect for summer? It works on any hair length past your shoulders and keeps everything secure for beach days or hiking. I still use this braid when I’m in a hurry or want something classic and clean.
2. Beginner Friendly: Simple Side Braid
Difficulty: 2/10 | Time: 3-4 minutes | Tools: Hair tie, bobby pins
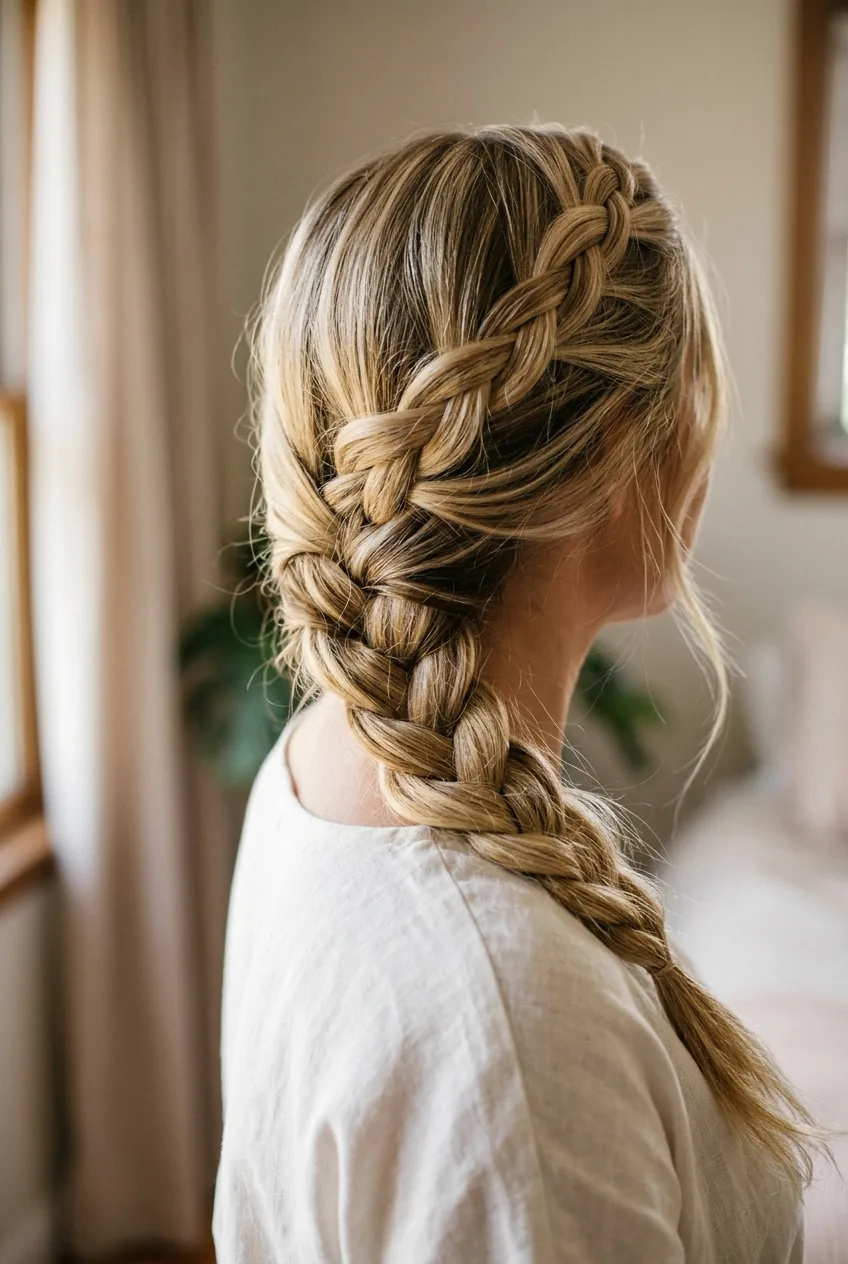
Take your basic braid and sweep everything to one side before you start braiding. That’s literally it. But the side placement makes it look more intentional and romantic than a straight-back braid.
I love this for outdoor summer weddings or date nights. It photographs beautifully and stays put even in humidity. The slight asymmetry flatters most face shapes, and you can easily dress it up with small flowers or delicate hair jewelry.
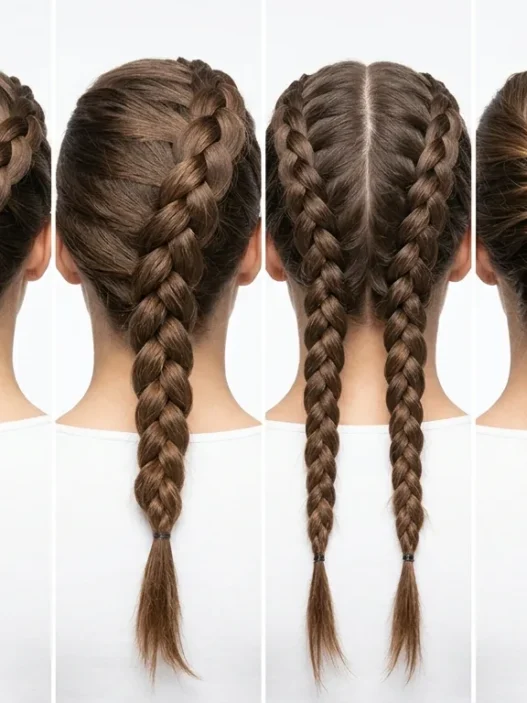
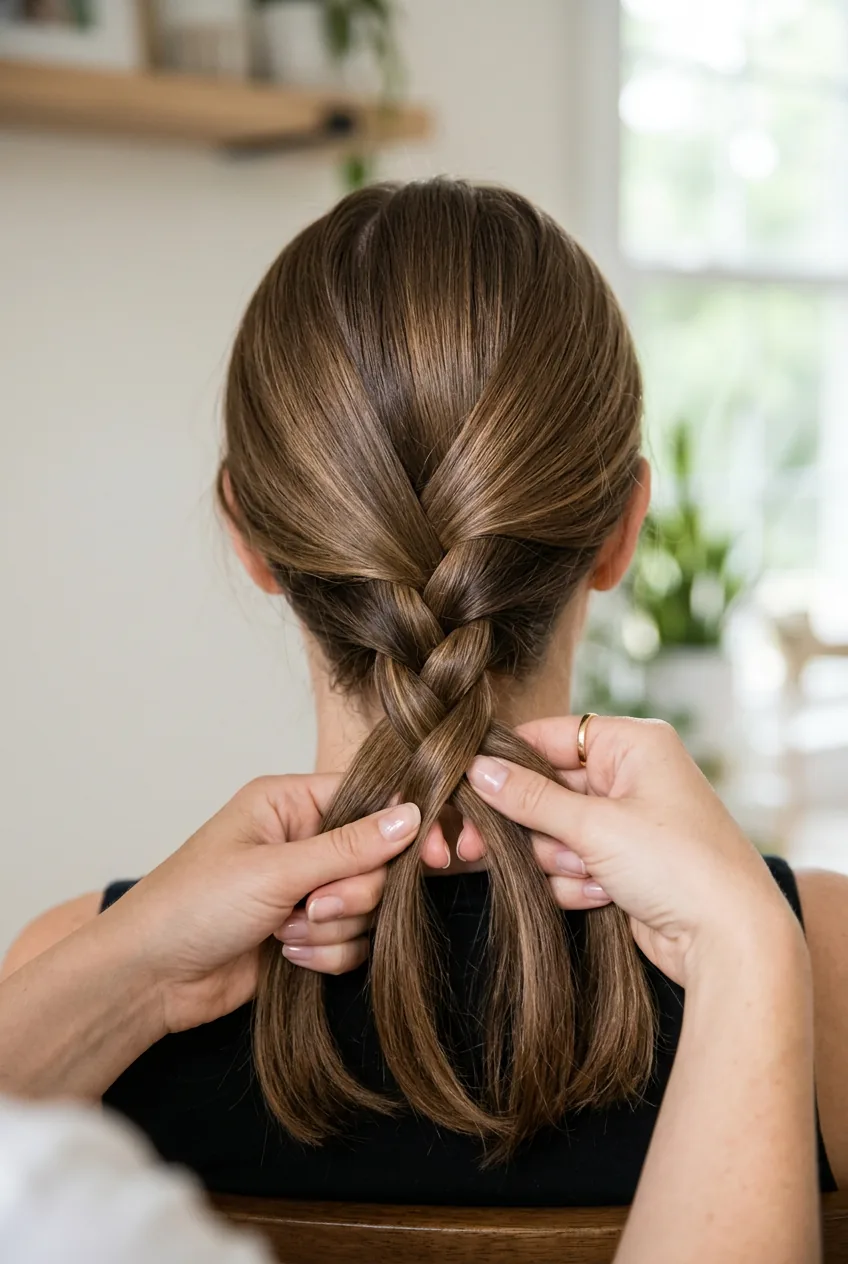
3. Easy Level: Classic French Braid
Difficulty: 4/10 | Time: 5-7 minutes | Tools: Hair tie, light-hold hairspray
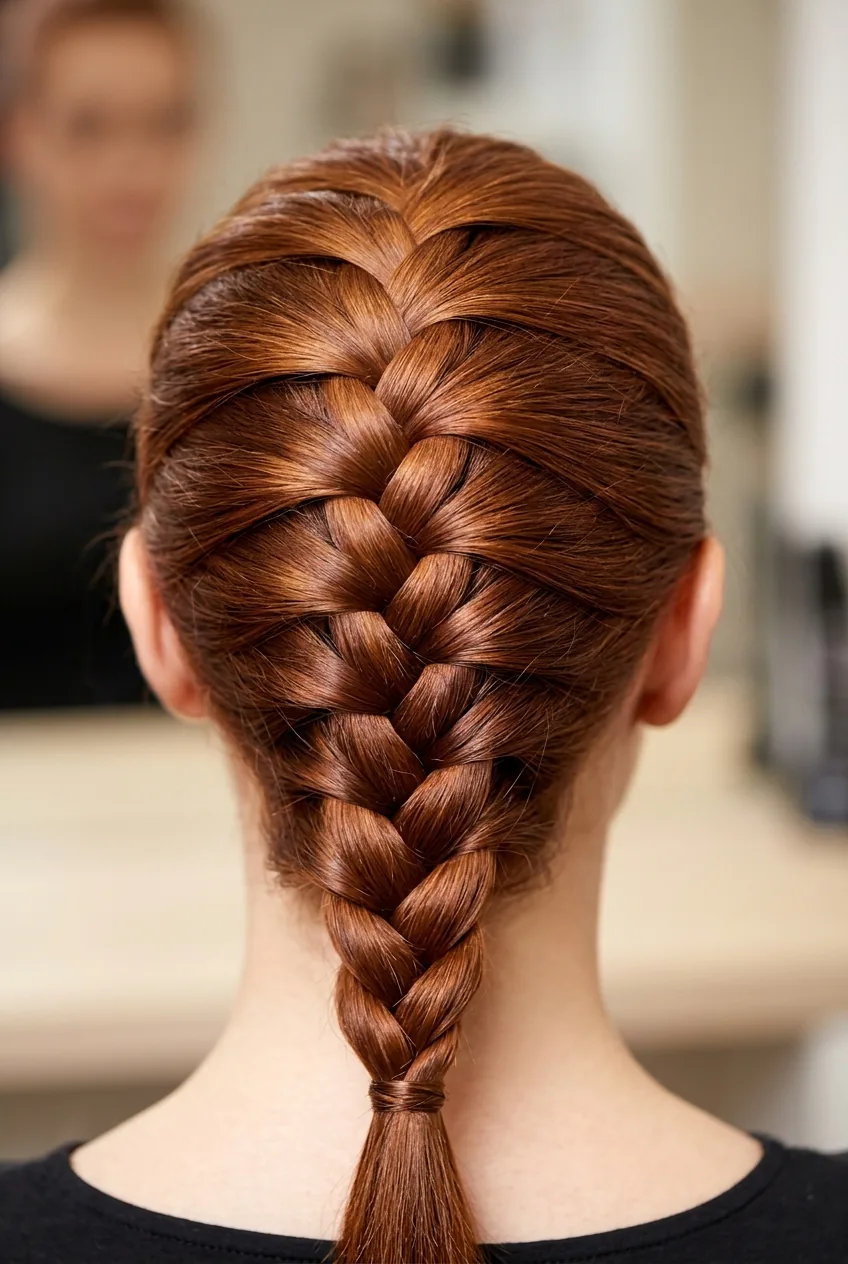
Here’s where things get interesting. The French braid is really just a three-strand with a twist — you add hair to the outer sections before crossing them over. My trick? Start with slightly damp hair and work in small sections at first.
This is my go-to for active summer days. Gym sessions, pool parties, long walks — it holds everything perfectly. The technique takes practice, but once you get the rhythm, it becomes second nature. Don’t stress if your first attempts look messy; even wonky French braids have charm.
4. Easy Level: Loose Bohemian Braid
Difficulty: 3/10 | Time: 4-6 minutes | Tools: Hair tie, texturing spray

This is a regular three-strand braid that you deliberately pancake — gently pull apart the sections to create volume and texture. I discovered this technique by accident when I was running my fingers through a day-old braid, and now it’s one of my favorites.
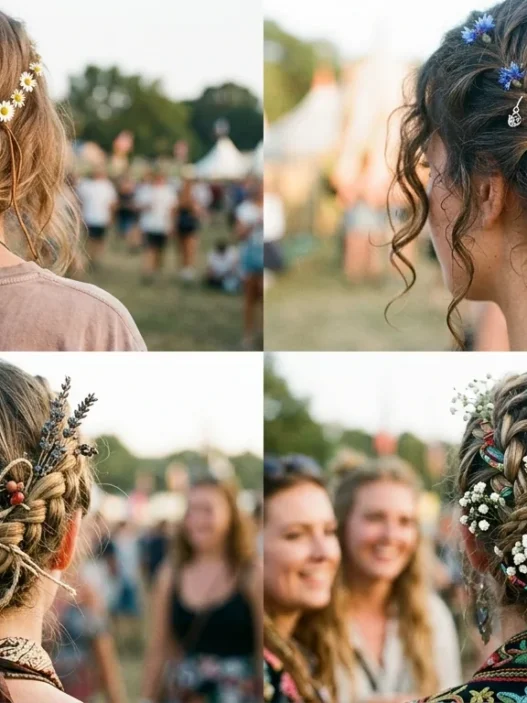
Perfect for that effortless summer vibe. It works especially well on second or third-day hair when you have some natural texture to work with. The messier it looks, the better. I’ve gotten more compliments on this “undone” style than some of my more complex braids.
My personal pick for summer festivals? The bohemian braid wins every time. It looks intentionally tousled, photographs beautifully in golden hour light, and actually gets better as the day goes on. Plus, you can sleep in it and wake up with perfect waves.
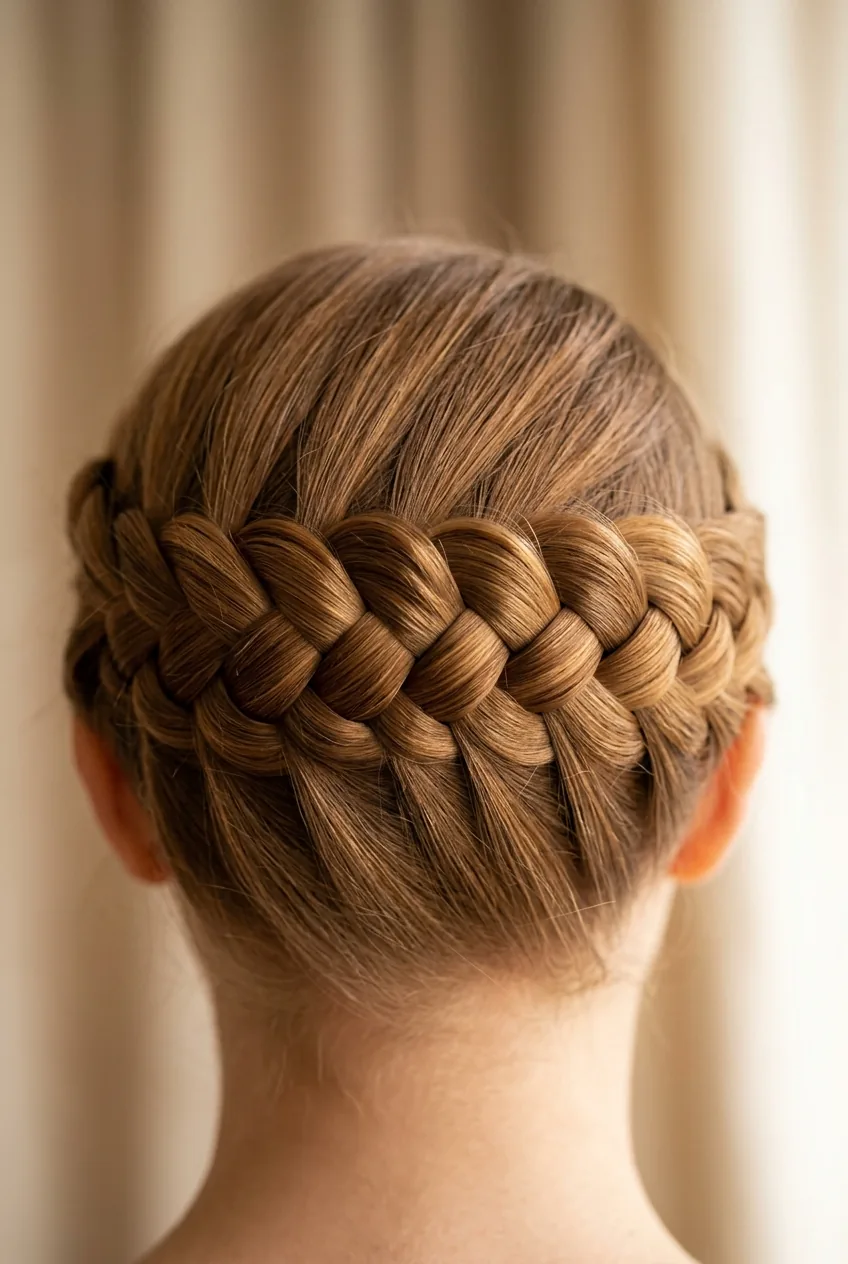
5. Intermediate Challenge: Dutch Braid Crown
Difficulty: 6/10 | Time: 10-15 minutes | Tools: Hair tie, bobby pins, mirror setup
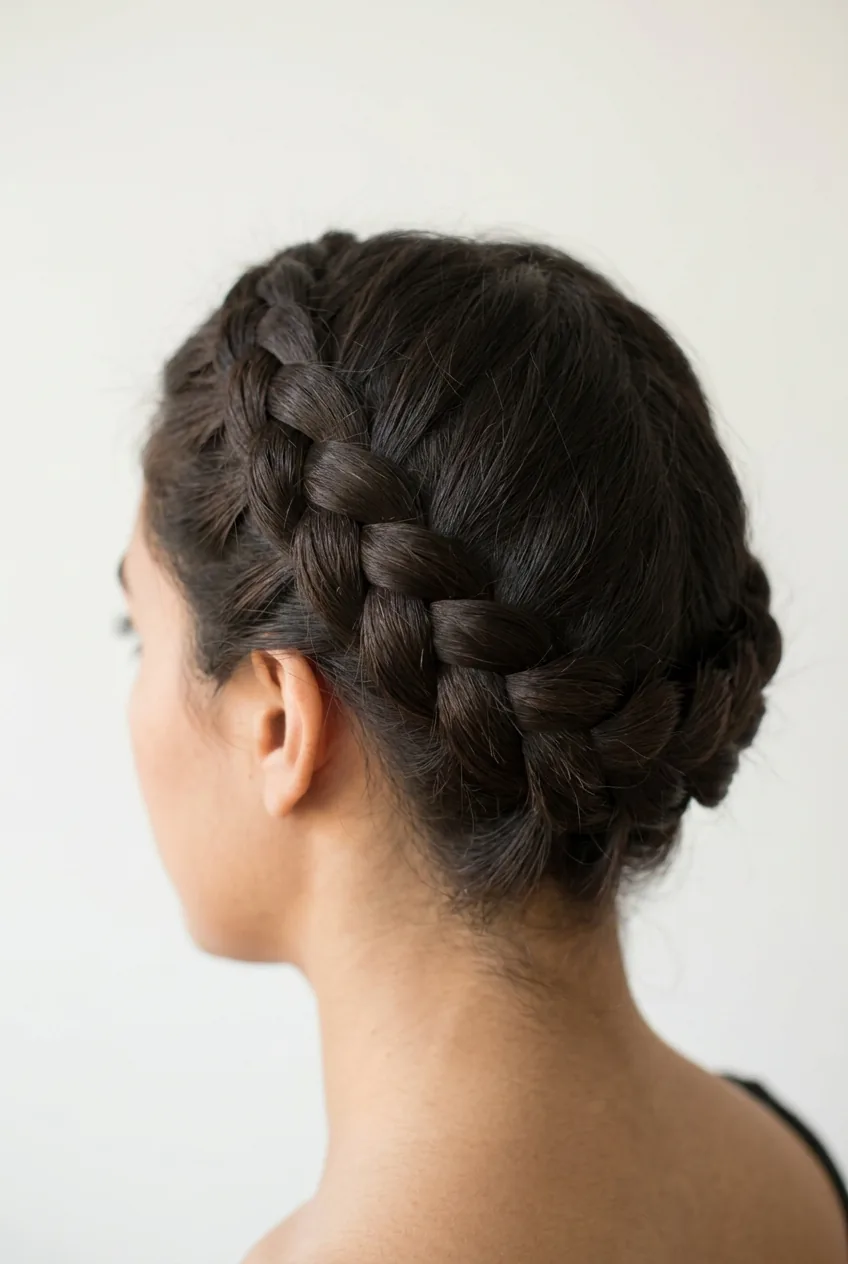
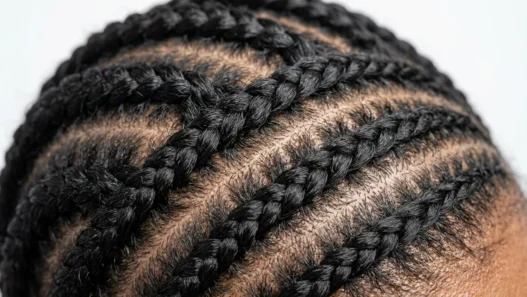
The Dutch braid is a French braid turned inside out — you cross sections under instead of over. When you wrap it around your head like a crown, it creates this gorgeous raised effect that looks way more complicated than it actually is.
This is where you’ll need to set up mirrors so you can see the back of your head. I spent weeks practicing this one, and I’m not ashamed to admit it. The payoff is huge though — it’s elegant enough for weddings but casual enough for farmers markets. And it keeps absolutely every strand off your neck, which is crucial in summer heat.
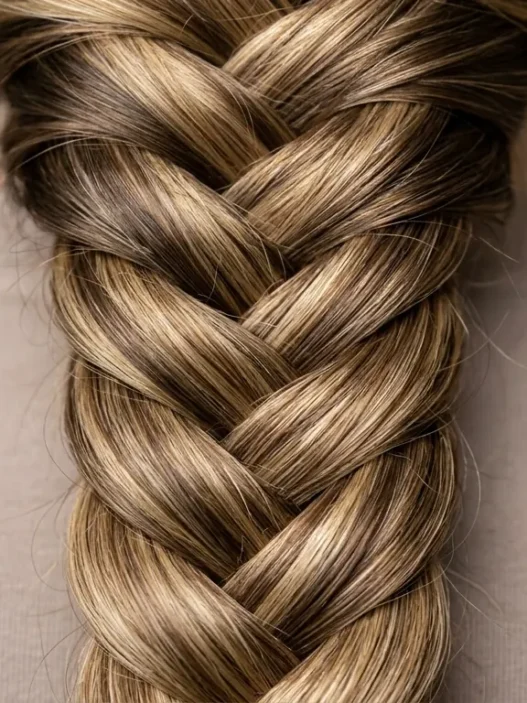
6. Intermediate Challenge: Fishtail Braid
Difficulty: 5/10 | Time: 8-12 minutes | Tools: Hair tie, sectioning comb
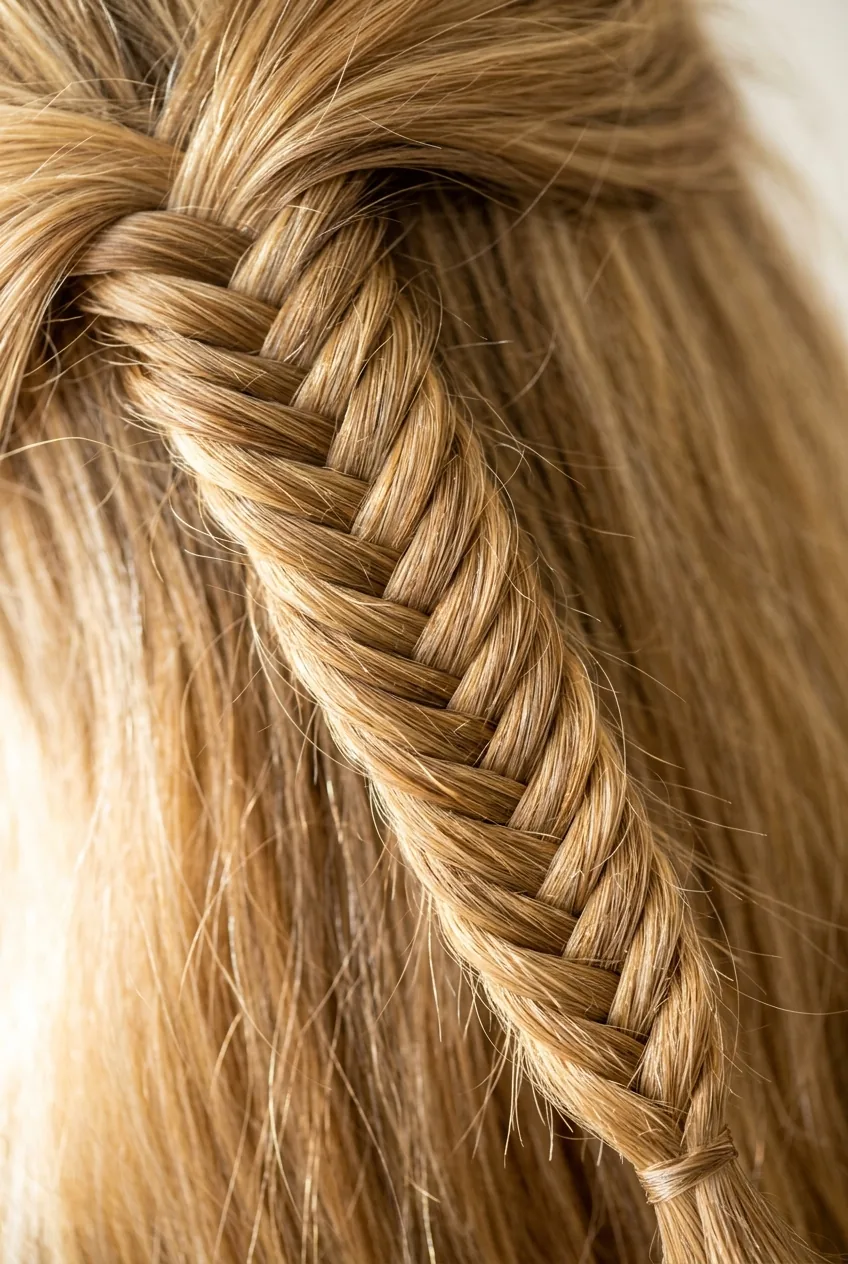
Don’t let the name intimidate you. A fishtail is actually easier than a French braid once you understand the pattern. You work with just two sections instead of three, taking tiny pieces from the outside of each section and crossing them over to the opposite side.
The result looks intricate and detailed — like you spent way more time on it than you did. I love how it photographs and how it looks both polished and relaxed. It’s become my signature summer updo when I want something special but not overly formal.
7. Intermediate Challenge: Waterfall Braid
Difficulty: 7/10 | Time: 12-18 minutes | Tools: Hair tie, bobby pins, patience
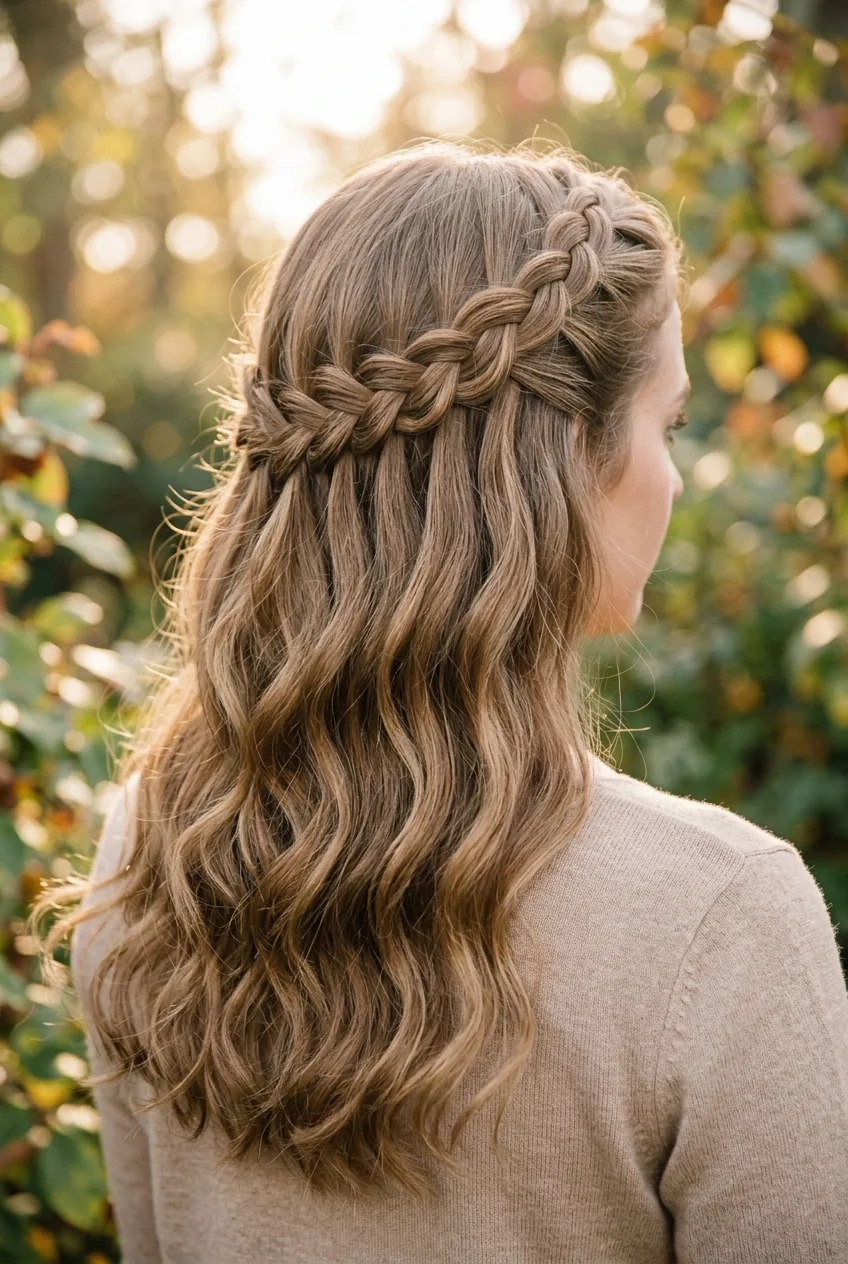
This one is pure magic when you nail it. You start like a French braid, but instead of incorporating all the hair, you let some strands “fall” through like a waterfall while continuing the braid horizontally around your head.
I won’t lie — this took me multiple attempts to get right. The coordination is tricky, and you need to keep track of which strands you’re dropping and which you’re keeping. But when it works, it’s absolutely stunning. The cascading hair looks romantic and ethereal, especially with loose waves in the unbraided sections.
The Tutorial That Finally Made It Click
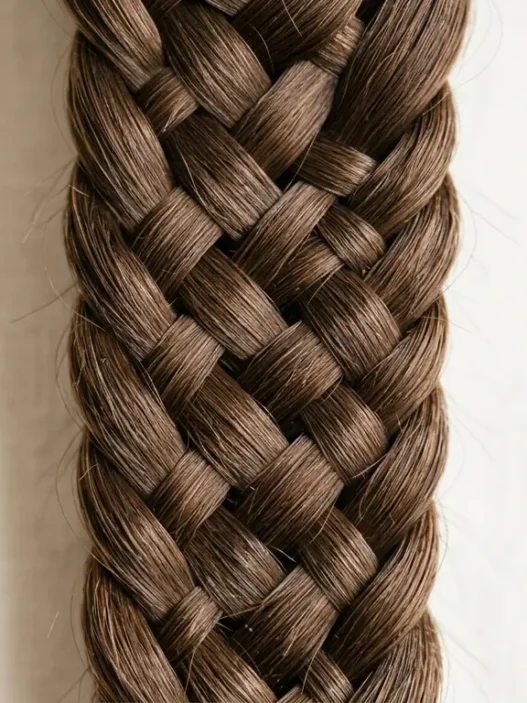
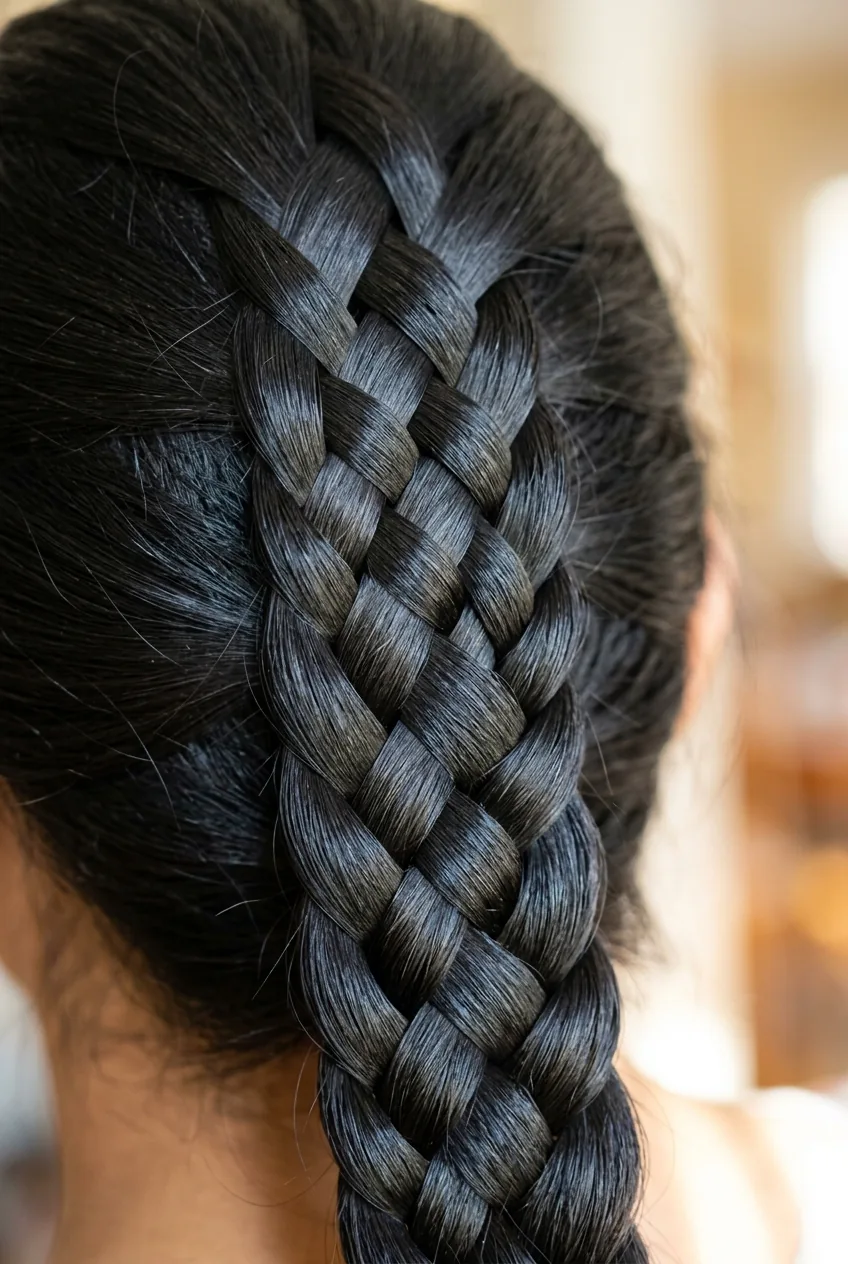
8. Advanced Level: Four-Strand Braid
Difficulty: 8/10 | Time: 15-20 minutes | Tools: Hair ties, sectioning comb, concentration
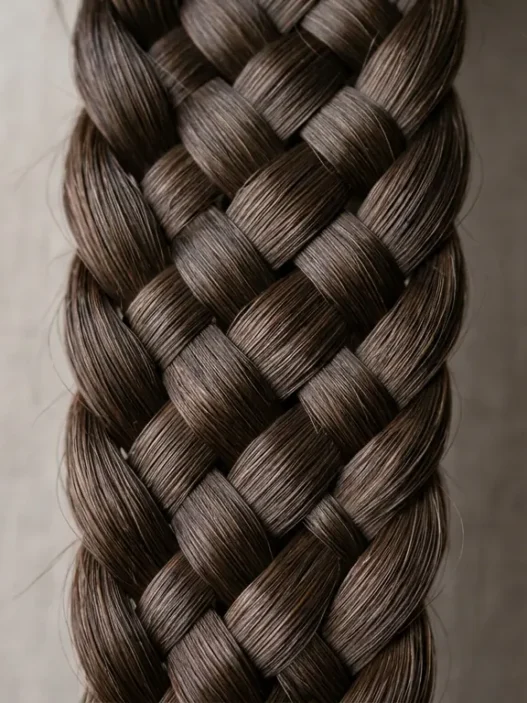
Now we’re entering serious territory. Four-strand braids create this gorgeous rope-like texture that’s completely different from anything you can achieve with three strands. The pattern is: over, under, over, repeat — but keeping track of four sections while maintaining even tension is genuinely challenging.
I practiced this one for weeks before I could do it smoothly. Advanced techniques like this require muscle memory, not just understanding. But the result is so worth it — it looks professional and unique. Perfect for special occasions when you want something truly distinctive.
9. Advanced Level: Celtic Knot Braid
Difficulty: 8/10 | Time: 20-25 minutes | Tools: Multiple hair ties, bobby pins, detailed tutorial
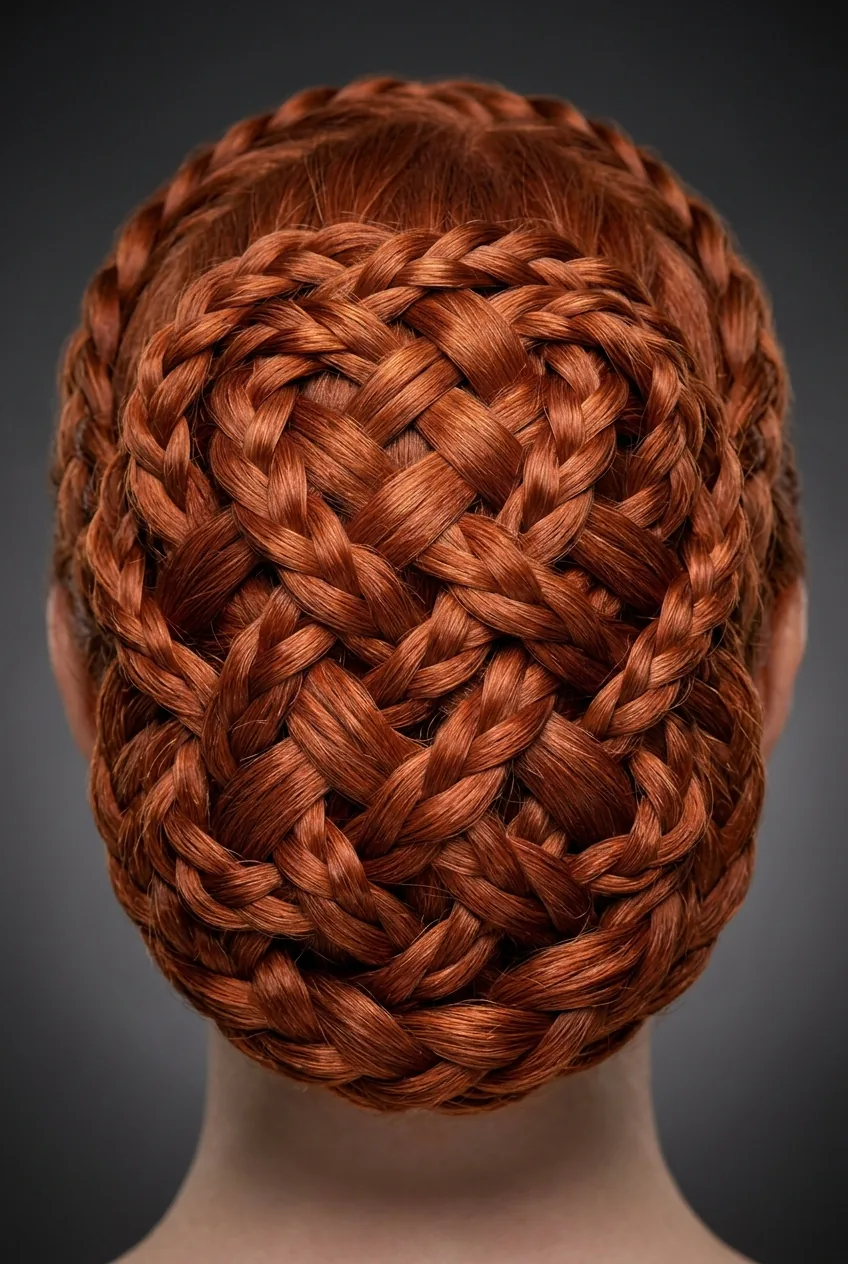
This isn’t technically a single braid — it’s multiple braids woven together to create an interlocking knot pattern. Think of it as braided architecture. You’re essentially building a structure with your hair, and every section has to be perfectly placed.
I only attempt this when I have plenty of time and good lighting. It requires planning, precision, and honestly, a bit of stubbornness. But the end result looks like something from a fantasy movie. It’s definitely a special occasion style, but when you nail it, you feel like an absolute hair goddess.
10. Advanced Level: Infinity Braid
Difficulty: 7/10 | Time: 15-22 minutes | Tools: Hair tie, bobby pins, steady hands
The infinity braid creates a figure-eight pattern that looks impossibly complex but follows a specific mathematical sequence. You’re essentially creating loops within loops, and each section needs to maintain the right tension to create that flowing, endless effect.
This is my favorite party trick braid. People always want to know how I did it, and the truth is, it’s more about patience than skill. The pattern becomes hypnotic once you get into the rhythm. It works beautifully as an accent braid incorporated into larger styles, especially for textured hair where the loops really pop.
11. Pro Level: Five-Strand Braid
Difficulty: 9/10 | Time: 25-35 minutes | Tools: Multiple hair ties, sectioning combs, mirror system
Five strands. I’m not going to sugarcoat this — it’s genuinely difficult. You need to keep track of five separate sections, follow a specific over-under pattern, and maintain consistent tension throughout. One mistake and you have to start over.
I can only do this successfully when I’m completely focused and have all my tools ready. But the texture it creates is unlike anything else — wide, flat, and incredibly detailed. It looks almost woven rather than braided. This is definitely a skill to master for special events or when you want to challenge yourself seriously.
12. Master Level: Complex Crown Braid
Difficulty: 10/10 | Time: 30-45 minutes | Tools: Everything in your hair toolkit
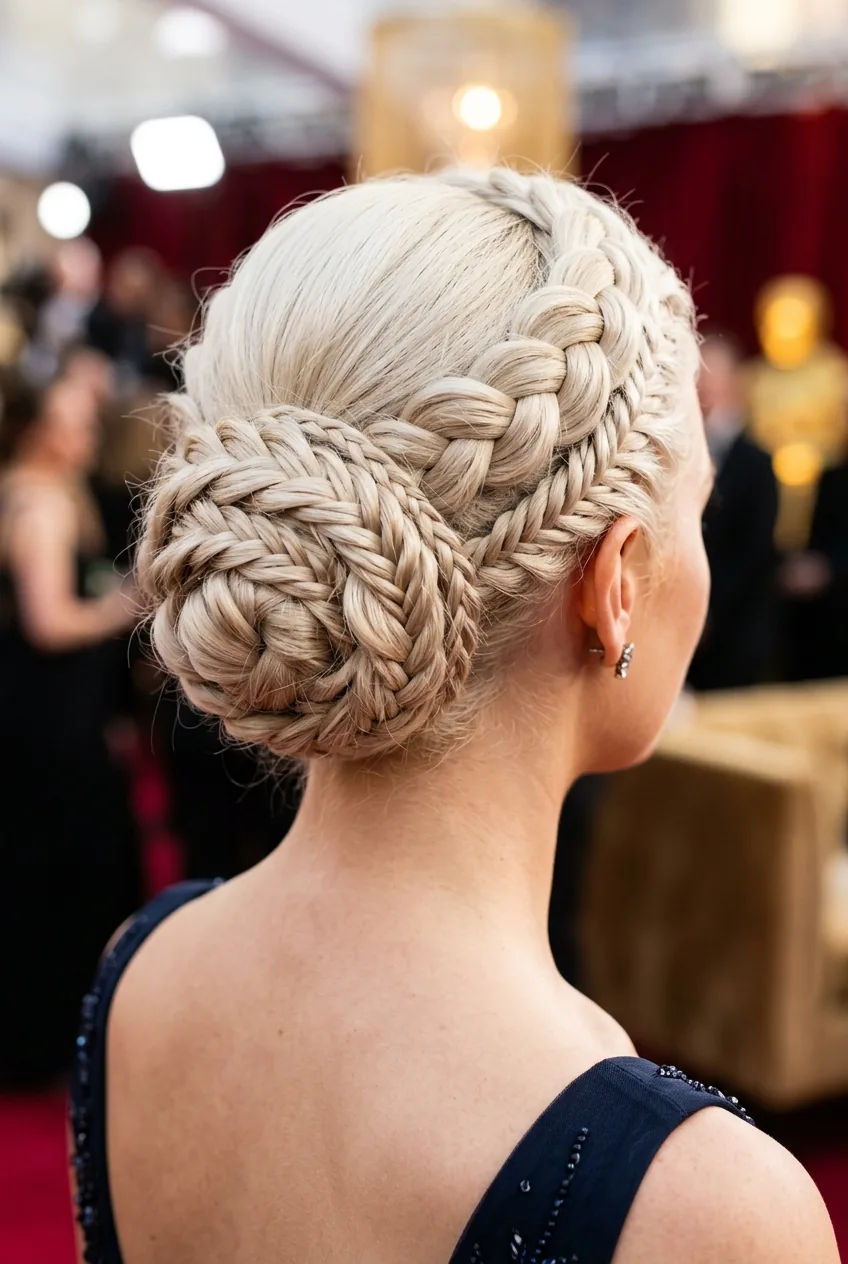
This combines multiple advanced techniques — Dutch braiding, fishtails, four-strand sections, and intricate pinning — all woven together into a crown that looks like it belongs on a red carpet. It’s not just a braid; it’s a hair sculpture.
I’ve successfully completed this exactly three times in my life. Each attempt taught me something new about hair physics, patience, and the importance of starting with the right foundation. This isn’t a style you attempt casually — it requires planning, perfect lighting, and honestly, a backup plan in case it doesn’t work out.
But when it works? You’ll feel like you could conquer the world. It’s the kind of hairstyle that makes people stop and stare, and you’ll spend the entire day fielding compliments and questions about how you achieved it.
Quick Answers for Braid Beginners
How long should I practice each level before moving up?
I recommend mastering each difficulty level before jumping ahead. For beginner braids, a few successful attempts are enough. Intermediate styles need at least a week of practice, and advanced techniques can take months to perfect. Don’t rush — even professional stylists started with basic three-strand braids.
What’s the best hair type for learning braids?
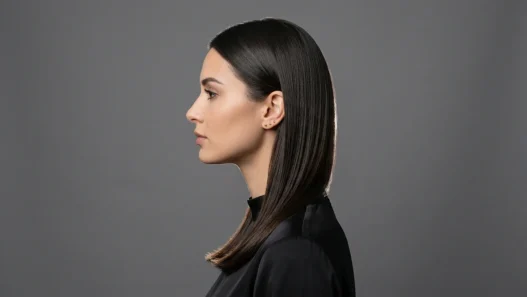
Medium to thick hair with some natural texture works best for learning. Fine or slippery hair can be challenging because sections don’t grip well. If you have very smooth hair, try using texturing spray or braiding on second-day hair when it has more grip.
Should I start with wet or dry hair?
Slightly damp hair is ideal for learning — it’s easier to control than bone-dry hair but won’t stretch and break like soaking wet hair. Spray sections lightly with water as you work, and always use a heat protectant if you plan to style afterward.
What if my arms get tired during complex braids?
This is totally normal, especially for advanced styles. Take breaks every few minutes, lower your arms, and shake out the tension. I keep a small stool nearby so I can rest my elbows while working on intricate sections. Building the stamina for complex braids takes time.
Start wherever feels comfortable and work your way up gradually. There’s no shame in sticking with simpler styles until you’re ready for the next challenge. Some of my most complimented summer hairstyles are actually the “easier” braids on this list — sometimes simple really is best.