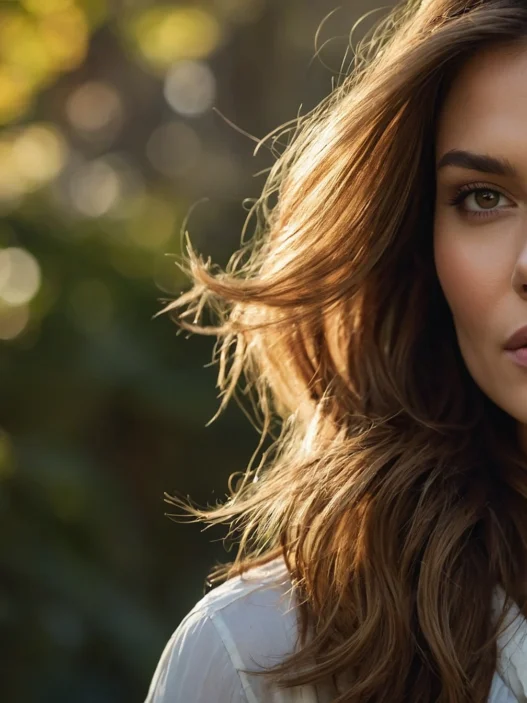

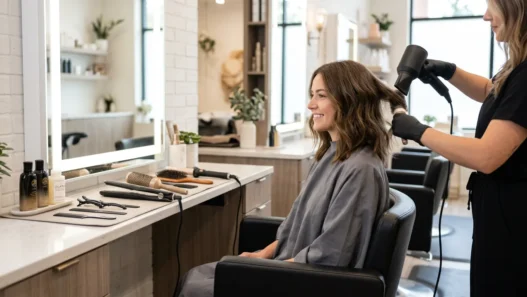


I spent months trying to recreate that perfect shaggy wolf cut vibe at home, and honestly? My attempts looked nothing like what I saw on Pinterest. Then I started paying attention to what my stylist was actually doing during my appointments — turns out there’s a whole technique they don’t advertise that makes all the difference.
What You’ll Learn About Pro Wolf Cut Techniques
What you’ll need for this professional approach:
- Professional thinning shears (not drugstore ones — trust me on this)
- Sharp haircutting scissors
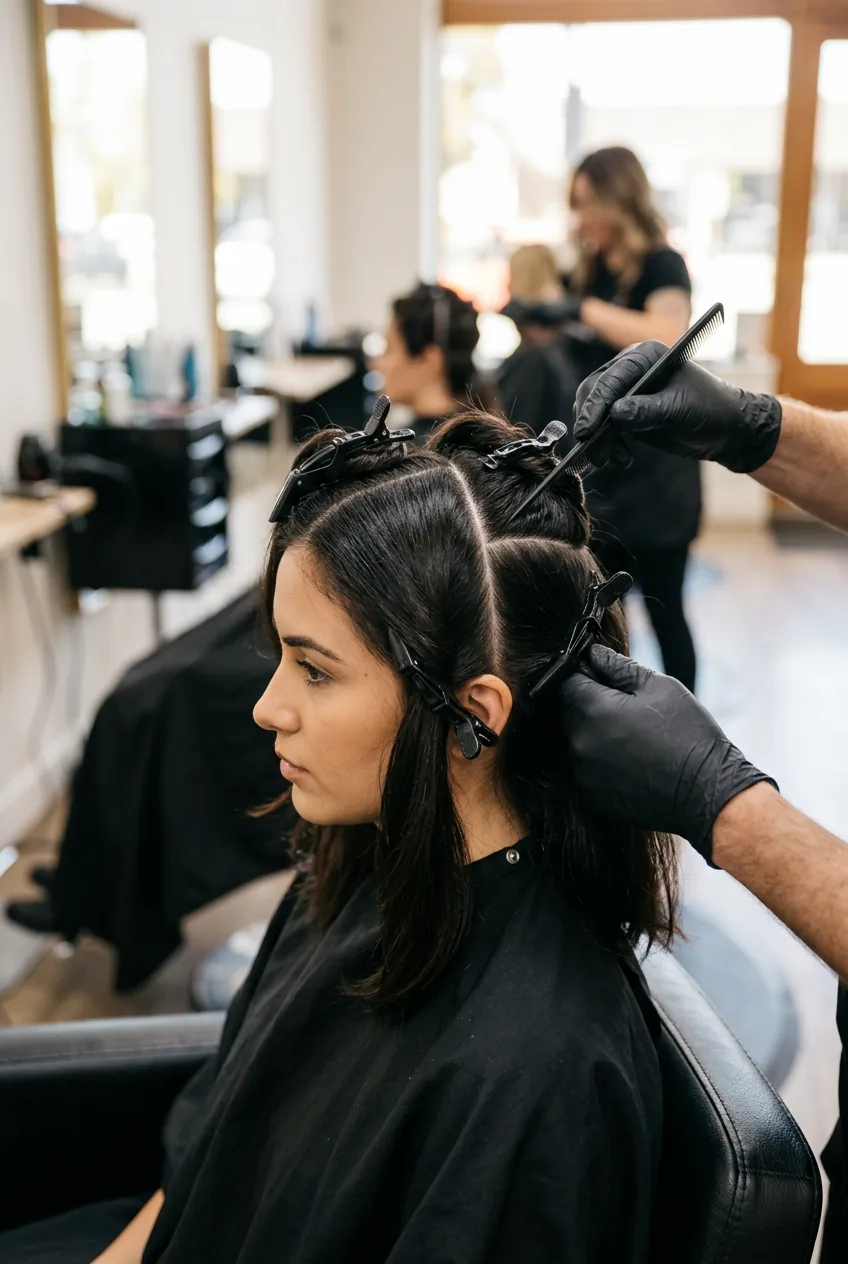
- Sectioning clips
- Rat-tail comb
- Spray bottle with water
- Hair ties
- Professional texturizing spray
- Leave-in treatment
What Professionals Do Differently
The biggest difference? Pros don’t just hack away at hair hoping for texture. They work in precise sections and use specific angles that create movement rather than just removing bulk. I watched my stylist map out my entire cut before making a single snip.
Here’s what changed my whole perspective: the shaggy wolf cut isn’t about creating chaos. It’s about controlled messiness. Every piece has a purpose, and the “undone” look actually requires more precision than a blunt bob.
Start by sectioning your hair into four quadrants — part down the middle from forehead to nape, then ear to ear across the crown. This gives you manageable sections to work with instead of trying to cut everything at once like I used to do.
Why Salon Results Last Longer
Professional wolf cuts grow out better because they’re cut with your natural growth pattern in mind. Most people (myself included, before I learned this) cut against the hair’s natural fall, which creates that awkward in-between phase where nothing sits right.
The trick is working with your cowlicks, not against them. Find where your hair naturally wants to part and where it falls when wet — that’s your roadmap. I used to fight my double crown situation, but now I use it to create volume in all the right places.
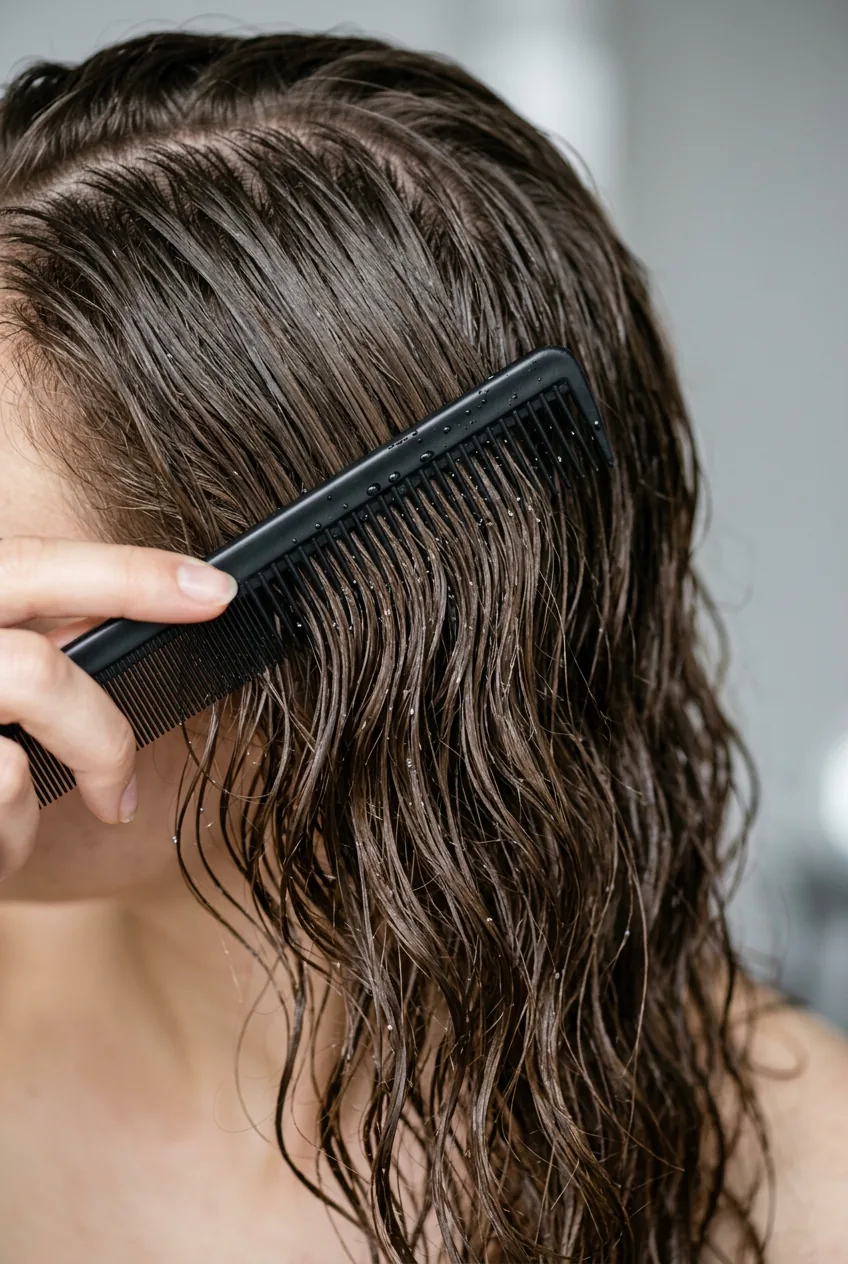
Wet your hair completely and let it fall naturally. This shows you the true shape you’re working with. Dry hair lies, but wet hair tells the truth about your natural texture and movement patterns.
My biggest mistake was trying to cut my hair while it was styled. I learned the hard way that what looks even when your hair is blown out becomes a disaster when you wash it and let it air dry.
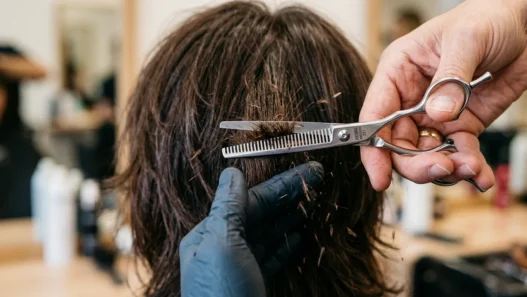
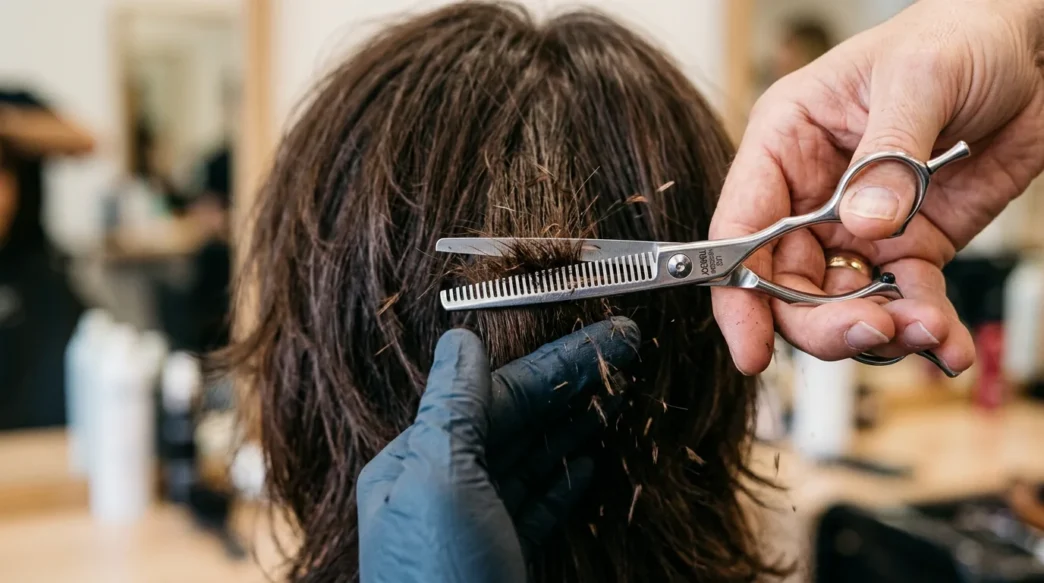
The Industry Texturizing Technique
This is where most DIY attempts fall apart. Professional texturizing isn’t just randomly thinning out sections — it’s about creating specific types of texture in strategic places.
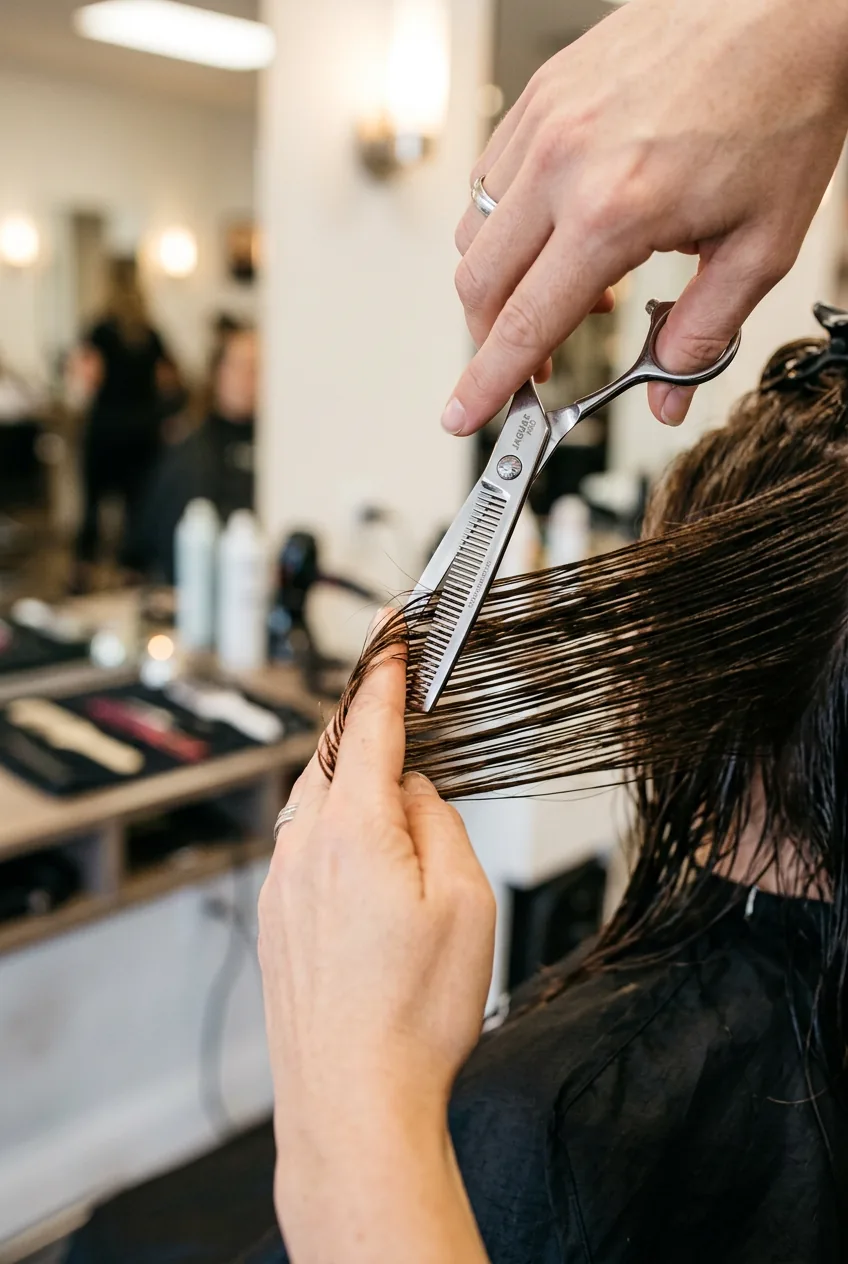
Work on one small section at a time, about an inch wide. Hold the section at a 45-degree angle away from the head — not straight up, not straight down. This angle is crucial because it determines how the layers will blend together.
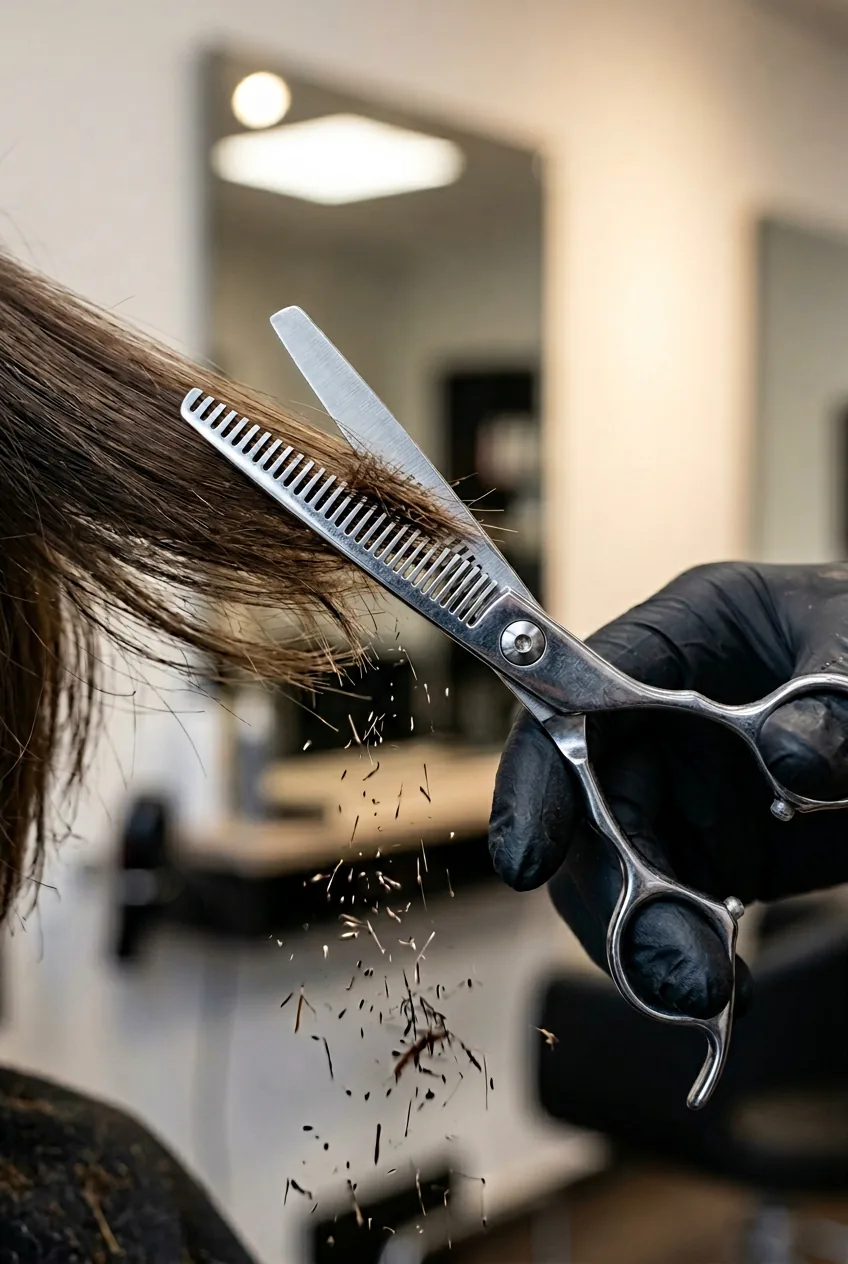
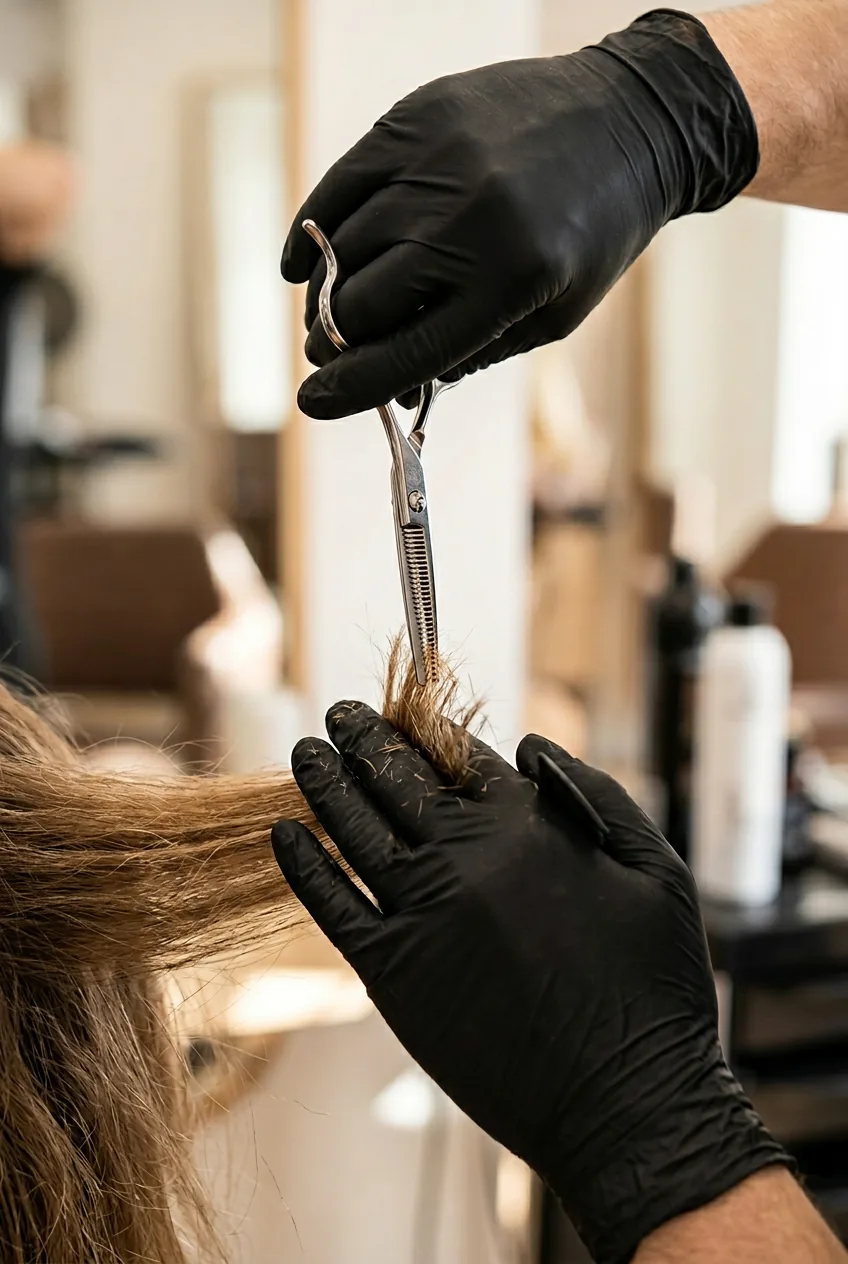
Use your thinning shears starting about 2 inches from the ends, making three to four snips as you work down the section. The key is varying the pressure — some sections get aggressive texturizing, others just get kissed with the shears.
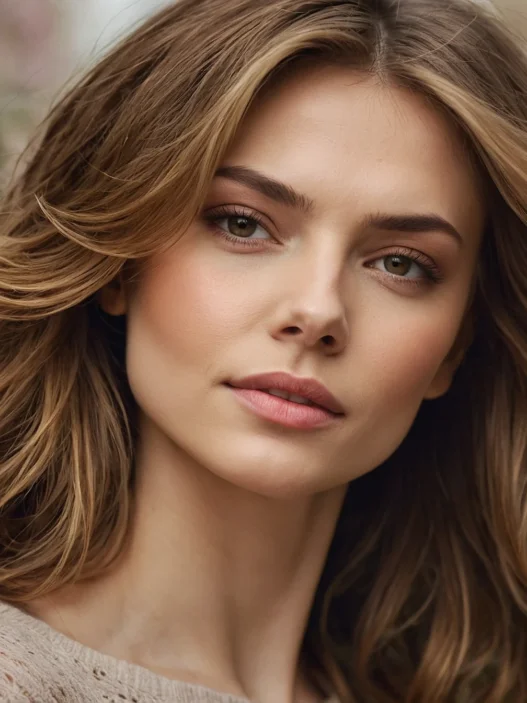
Around the face, I go lighter on the texturizing because you want those pieces to have some weight to frame your features properly. The back sections can handle more aggressive texturizing since they create the bulk of the movement.
Watch This Pro Technique in Action
Layering Like a Pro
Professional layering for wolf cuts follows a specific pattern that creates that signature choppy-but-cohesive look. Start with your perimeter — this is your safety net. Cut it slightly longer than your final desired length because the texturizing will remove some length.
The layers build from long to short, but not in a predictable graduation. Think of it as creating “texture zones” — some areas get dramatic layers, others stay more uniform. This irregular pattern is what makes the cut look effortless.
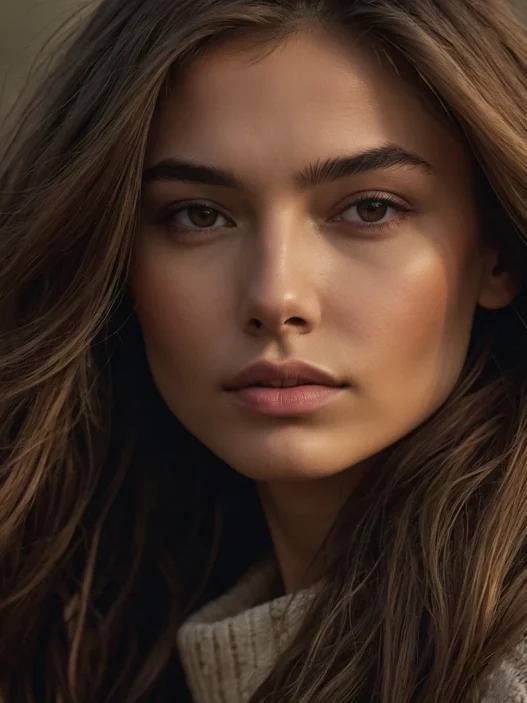
For the face-framing pieces, cut them while pulling the hair forward toward your nose. This ensures they’ll fall naturally around your features instead of poking out awkwardly to the sides.
The crown area gets the most dramatic layering — this is where you create the “wolf” aspect of the cut. Pull sections straight up and cut at varying lengths to create that tousled, just-rolled-out-of-bed texture.
Creating That Perfect Shag Movement
Movement comes from the combination of your layering and texturizing, but there’s a finishing technique that pros use that makes all the difference. It’s called “point cutting,” and it’s what gives those wispy, lived-in ends.
Hold your scissors vertically and make small snips into the ends of each section. This breaks up any blunt lines and creates those feathery pieces that catch light and move naturally.
The amount of point cutting varies by section. Areas around your face get minimal point cutting — you want some structure there. The pieces at the nape and crown get more aggressive treatment to create maximum movement.
Test your movement as you go by shaking your head gently. The hair should settle into place naturally without you having to push it around. If pieces are sticking out or lying flat, you need more texturizing in those areas.
Adapting Pro Methods at Home

The reality is that doing this at home requires accepting some limitations. You can’t see the back of your head clearly, and your arm will get tired. But you can absolutely get professional-looking results if you’re strategic about it.
Focus on perfecting the front sections first — these are what people see most. Do them when you’re fresh and have good light. The back sections can be more forgiving, and honestly, some imperfection back there actually adds to the undone aesthetic.
Take breaks between sections. When your arm gets tired, you make mistakes. I learned this after giving myself a bizarre bald spot because I was rushing through the crown area.
Consider starting with just the face-framing pieces and working your way back over multiple sessions. Shorter styles like pixie cuts might be easier to master first before attempting the full wolf cut transformation.
Maintenance techniques become crucial when you’re doing this yourself — you’ll need to touch up the texturizing every 4-6 weeks to keep that fresh, lived-in look.
Quick Answers About DIY Wolf Cuts
Can I really do a professional-quality wolf cut at home?
Yes, but with realistic expectations. You can achieve about 80% of salon results if you follow proper sectioning and use quality tools. The front will look amazing — the back might need some professional touch-ups.
What happens if I mess up the texturizing?
Over-texturizing is harder to fix than under-texturizing. Start conservative — you can always go back and add more texture. If you go too aggressive, you’ll need professional help to even things out.
How often do I need to maintain a wolf cut?
Every 6-8 weeks for touch-ups, focusing mainly on refreshing the texturizing. The beauty of this cut is that it grows out well, so you’re not committed to constant maintenance like with some more structured styles.
Does this work on all hair types?
It works best on medium to thick hair with some natural texture. Fine, straight hair might not hold the movement well, while very curly hair might look too chaotic without careful adaptation.
Should I cut it wet or dry?
Wet for the initial shaping and layering, then switch to dry cutting for the final texturizing and movement checks. This gives you the most control and accuracy.
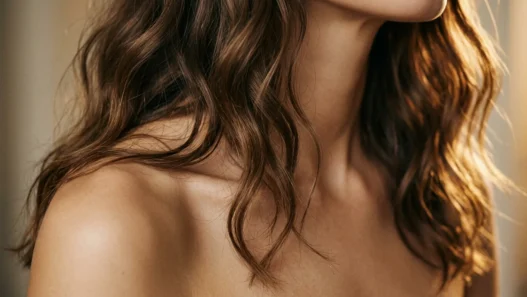
The result I got using these professional techniques? Finally, a wolf cut that moves like it should and doesn’t require an hour of styling every morning. It’s not perfect — there are definitely sections that could use a pro’s touch — but it’s leagues better than my previous disasters. And honestly, the imperfections just add to that effortless, undone vibe that makes this cut so appealing.