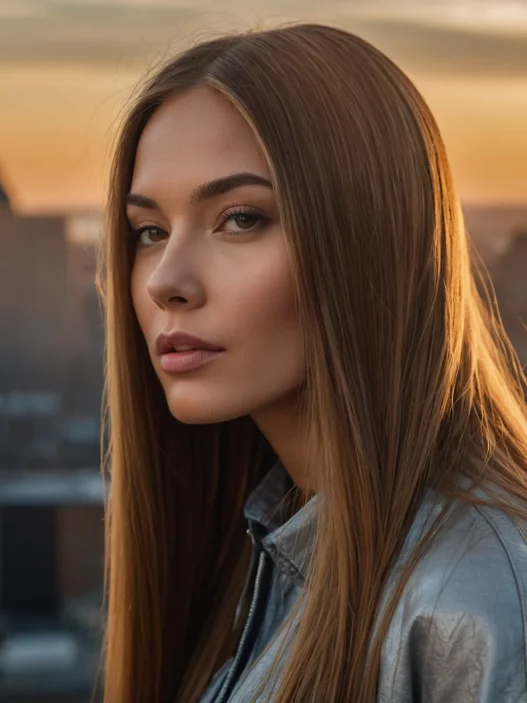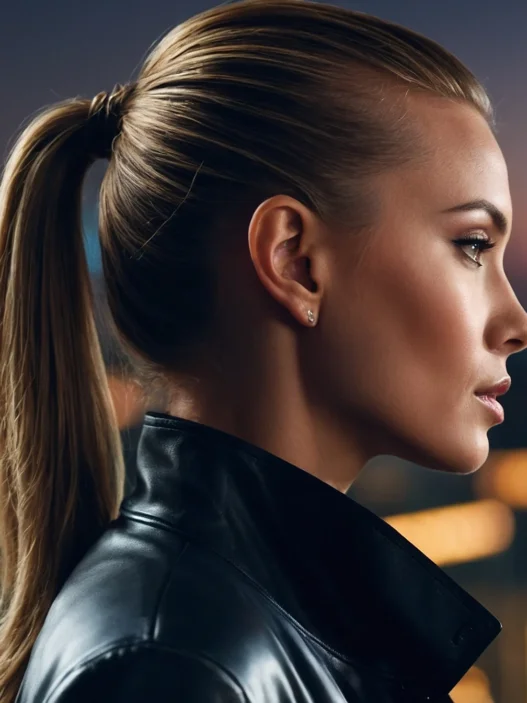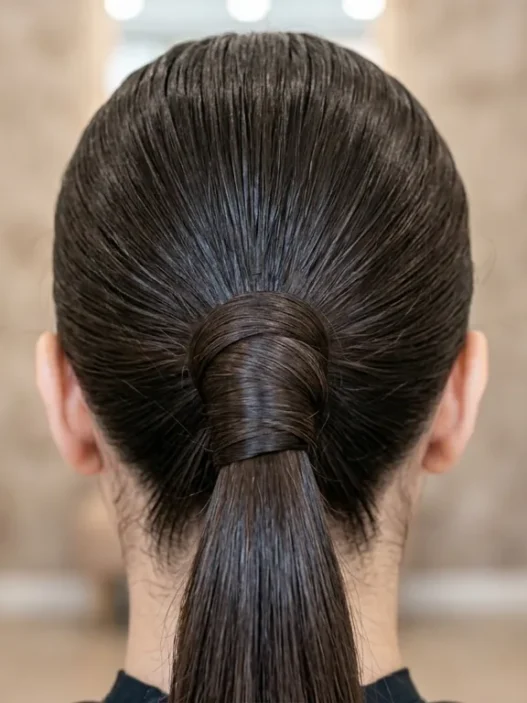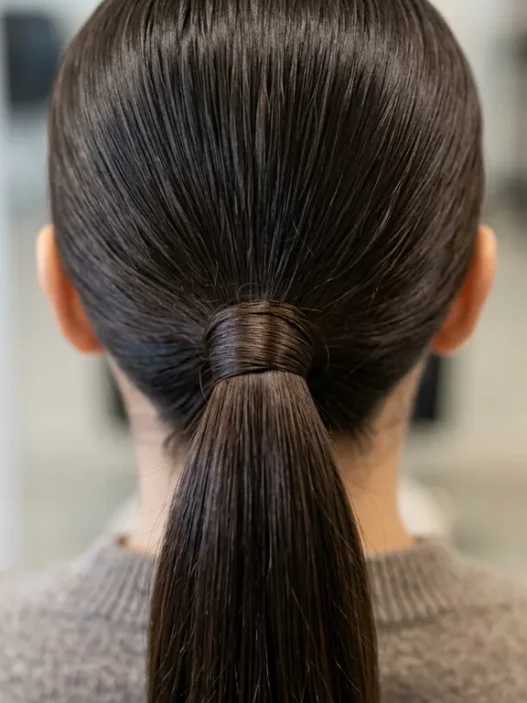







I used to think straight hair was boring until I realized how many different ways you can style it. Whether you’re blessed with naturally straight strands or you’re working with a flat iron, there’s a whole world of sleek possibilities waiting. Some styles take literally two minutes, while others require serious technique — but they’re all totally doable once you know the tricks.
1. Beginner Friendly: Classic Center Part Sleek
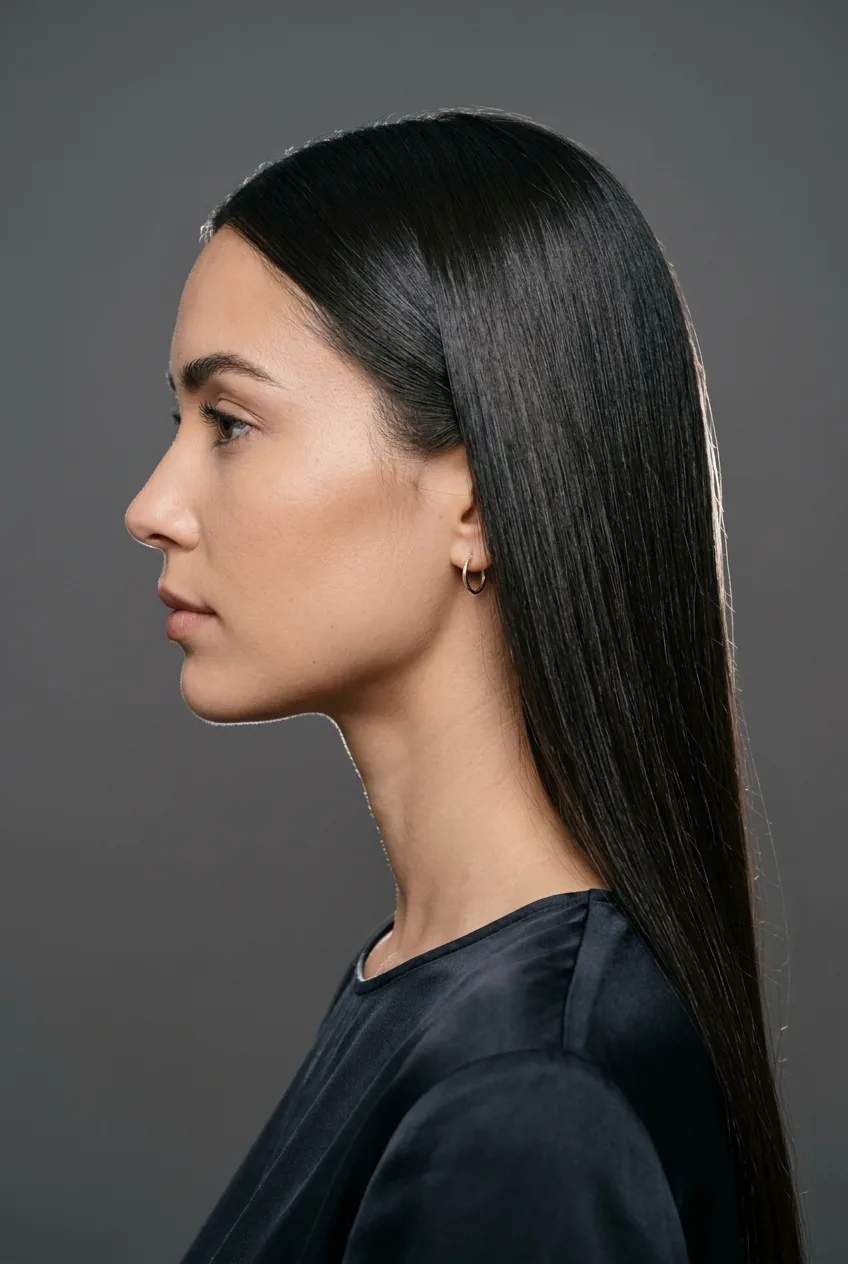
Difficulty: ⭐ (1/5) | Time: 3 minutes | Tools: Comb, light serum
This is where everyone should start. Literally just part your hair down the middle and smooth it with your hands. I add a tiny drop of serum to tame any flyaways, but honestly, sometimes I skip even that step.
The key is making sure your part is actually straight — I use the edge of a rat-tail comb and line it up with my nose. Sounds silly, but it works every time. This look is perfect for those days when you want to look put-together without any effort.
2. Beginner Friendly: Low Ponytail with Face-Framing
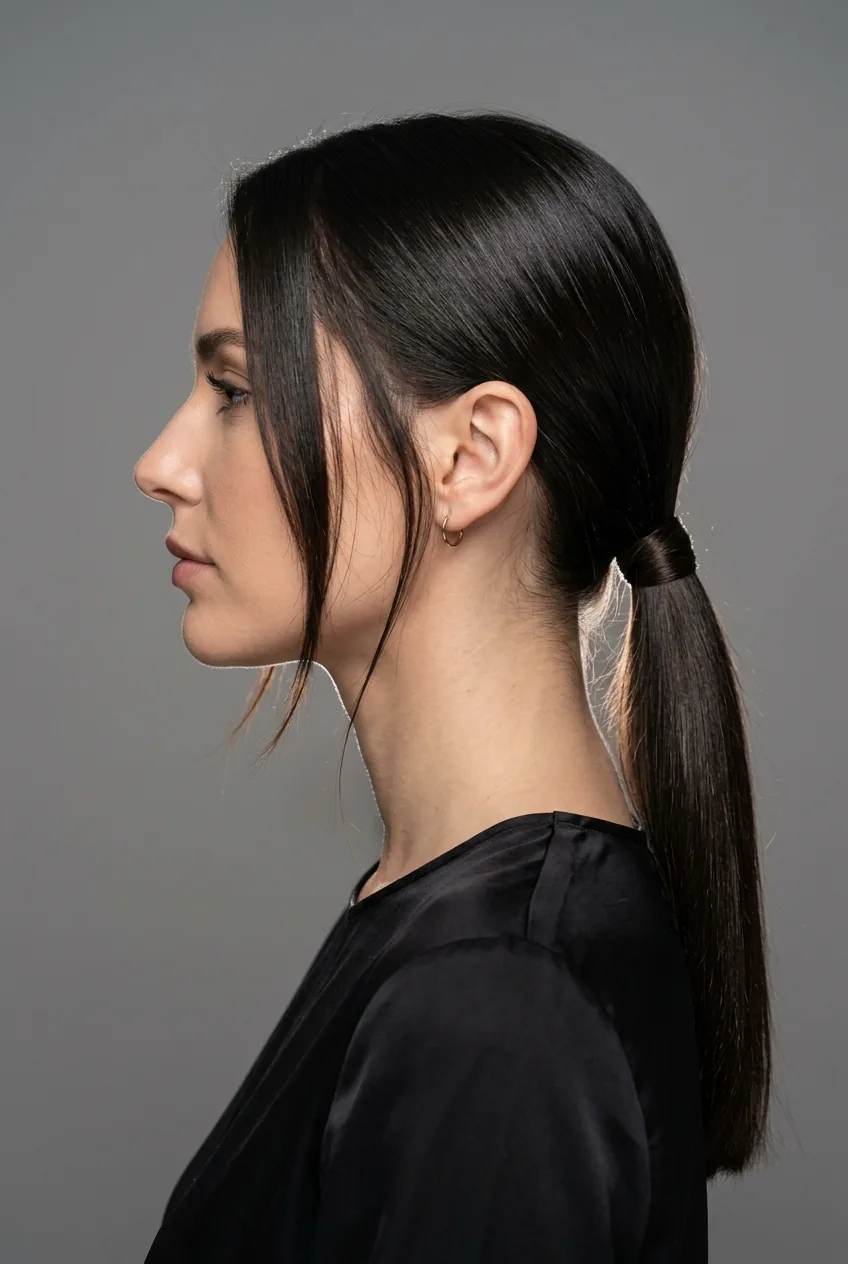
Difficulty: ⭐ (1/5) | Time: 5 minutes | Tools: Hair tie, bobby pins
Take your basic low ponytail and leave out a few pieces around your face. The trick is pulling out those pieces AFTER you secure the ponytail — not before. This prevents that “I’m trying too hard” look.
I usually grab pieces that are about an inch wide on each side. Then I lightly tousle them with my fingers so they don’t look too perfect. It’s effortless elegance that works for both casual coffee dates and office meetings.
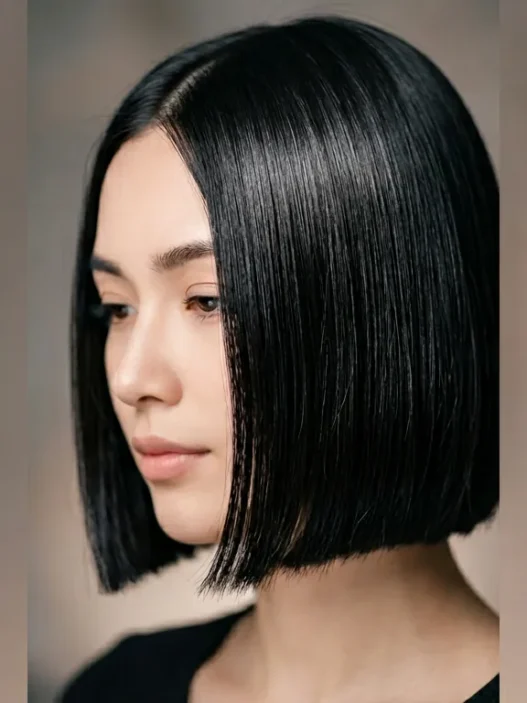
3. Easy Level: Straight Bob with Subtle Flip
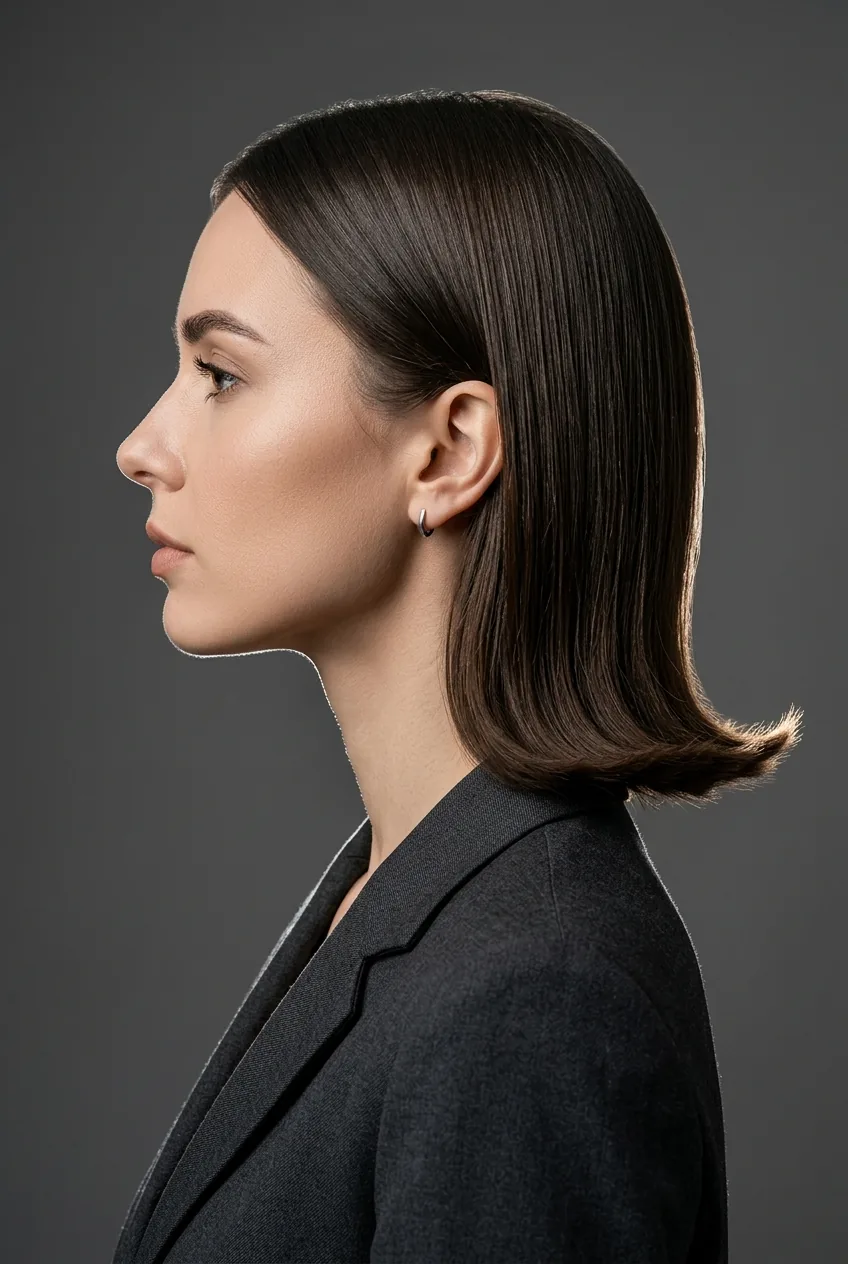
Difficulty: ⭐⭐ (2/5) | Time: 8 minutes | Tools: Round brush, blow dryer
If you have a bob cut, this subtle flip at the ends makes such a difference. While your hair is still slightly damp, wrap the ends around a round brush and give them a gentle flip outward with your blow dryer.
The movement should be super subtle — we’re not going for full-blown curls here. Just enough to add some personality to otherwise straight hair. I learned this trick from watching old episodes of Friends, and it still works perfectly today.
My personal pick has to be the side-swept bangs style. I’ve been wearing my hair this way for three years now, and I get compliments every single time. It’s that perfect sweet spot between effortless and polished.
4. Easy Level: Side-Swept Bangs Style
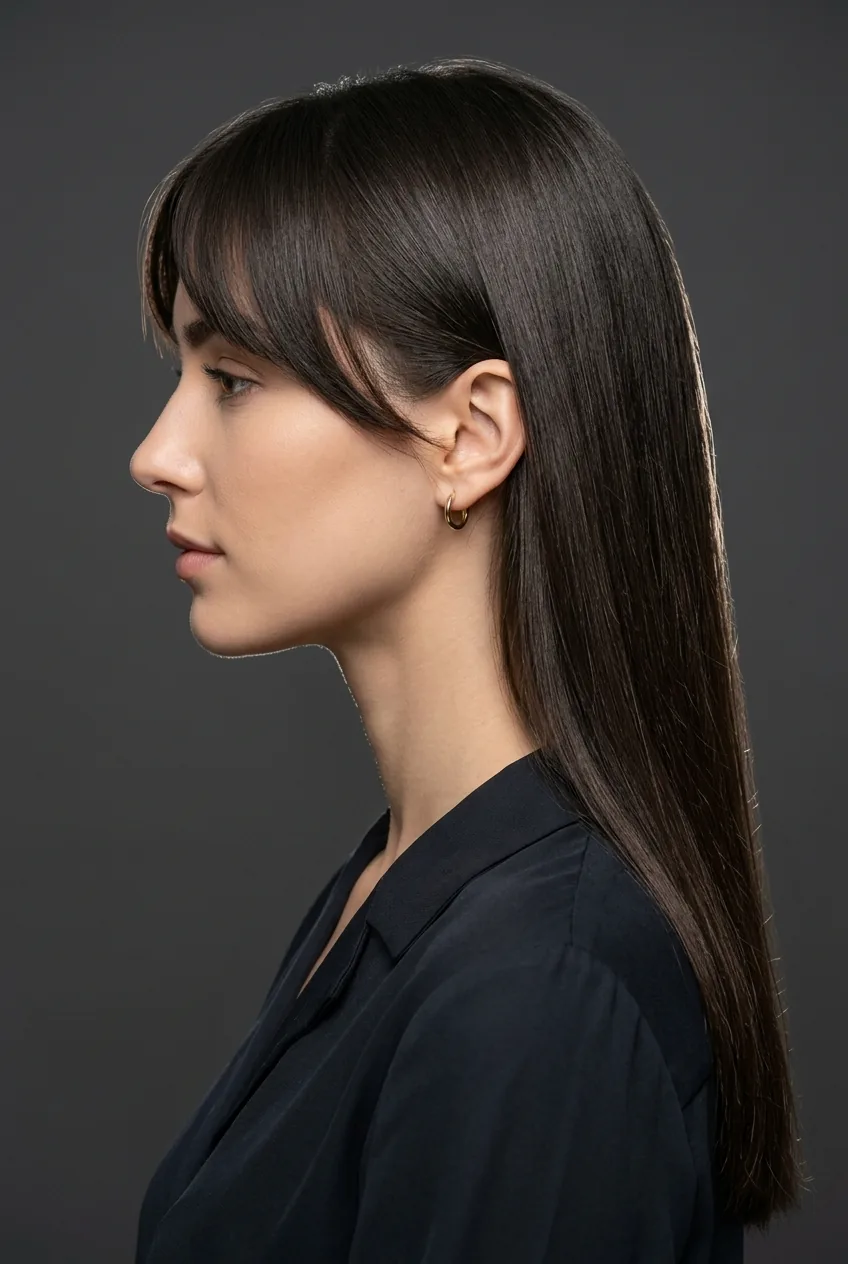
Difficulty: ⭐⭐ (2/5) | Time: 6 minutes | Tools: Small round brush, blow dryer
Whether you have actual bangs or you’re just styling your front pieces to sweep across your forehead, this look is incredibly flattering. The secret is in the direction you blow-dry them.
Start with damp bangs, wrap them around a small round brush, and pull them to the side while blow-drying. The brush creates that subtle curve that prevents them from looking flat against your forehead. It frames your face beautifully and adds instant sophistication to any sleek straight hairstyle.
5. Intermediate Challenge: Half-Up Twist Back
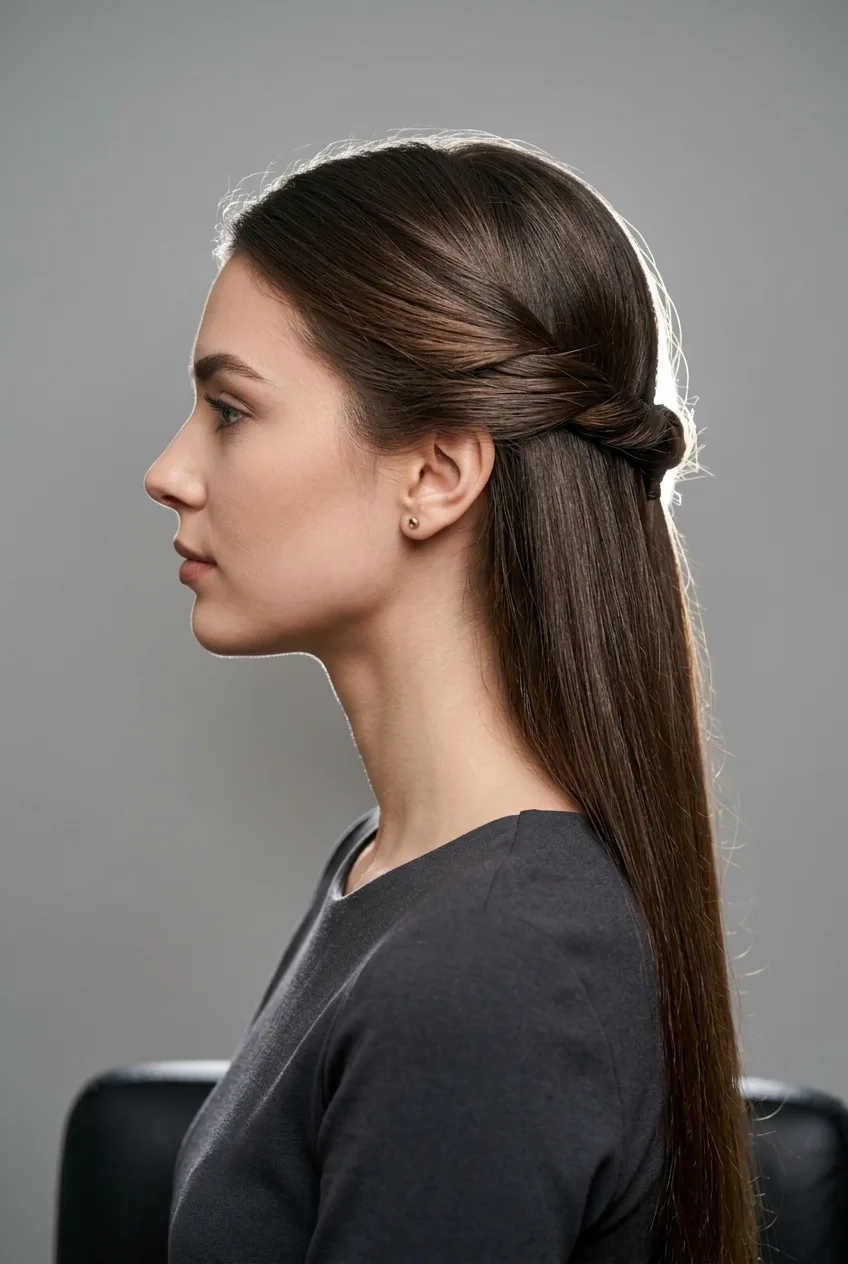
Difficulty: ⭐⭐⭐ (3/5) | Time: 10 minutes | Tools: Bobby pins, hair tie, texturizing spray
This is where we start getting into styles that require a bit more coordination. Take sections from both sides of your head, twist them back, and secure them with bobby pins at the crown.
The tricky part is making the twists look intentionally messy rather than accidentally sloppy. I spray some texturizing spray on my hands first, then work it through the sections before twisting. This gives grip and prevents everything from sliding around. It’s perfect when you want something more interesting than a basic half-up style but don’t want to commit to a full updo.
6. Intermediate Challenge: Layered Straight with Volume
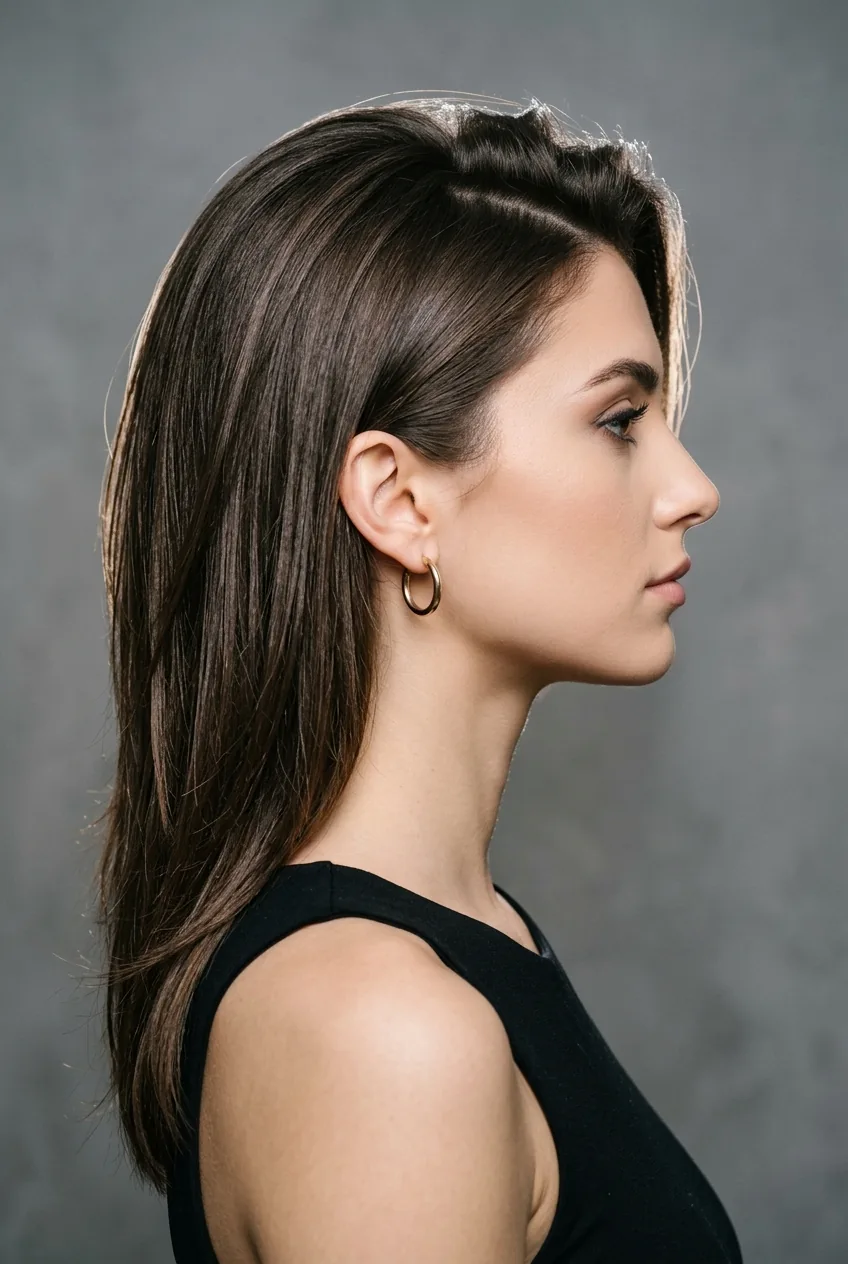
Difficulty: ⭐⭐⭐ (3/5) | Time: 15 minutes | Tools: Large round brush, blow dryer, volumizing mousse
The goal here is straight hair that doesn’t fall flat. You need to work in sections, lifting each one at the roots while blow-drying. It’s all about the angle — pull the brush straight up, not forward or back.
I start with volumizing mousse on damp hair, focusing on the roots. Then I work section by section, making sure to get good lift at the crown. Professional styling methods really make a difference when you’re trying to add body without sacrificing that sleek finish.
7. Advanced Level: Pin-Straight Glass Hair
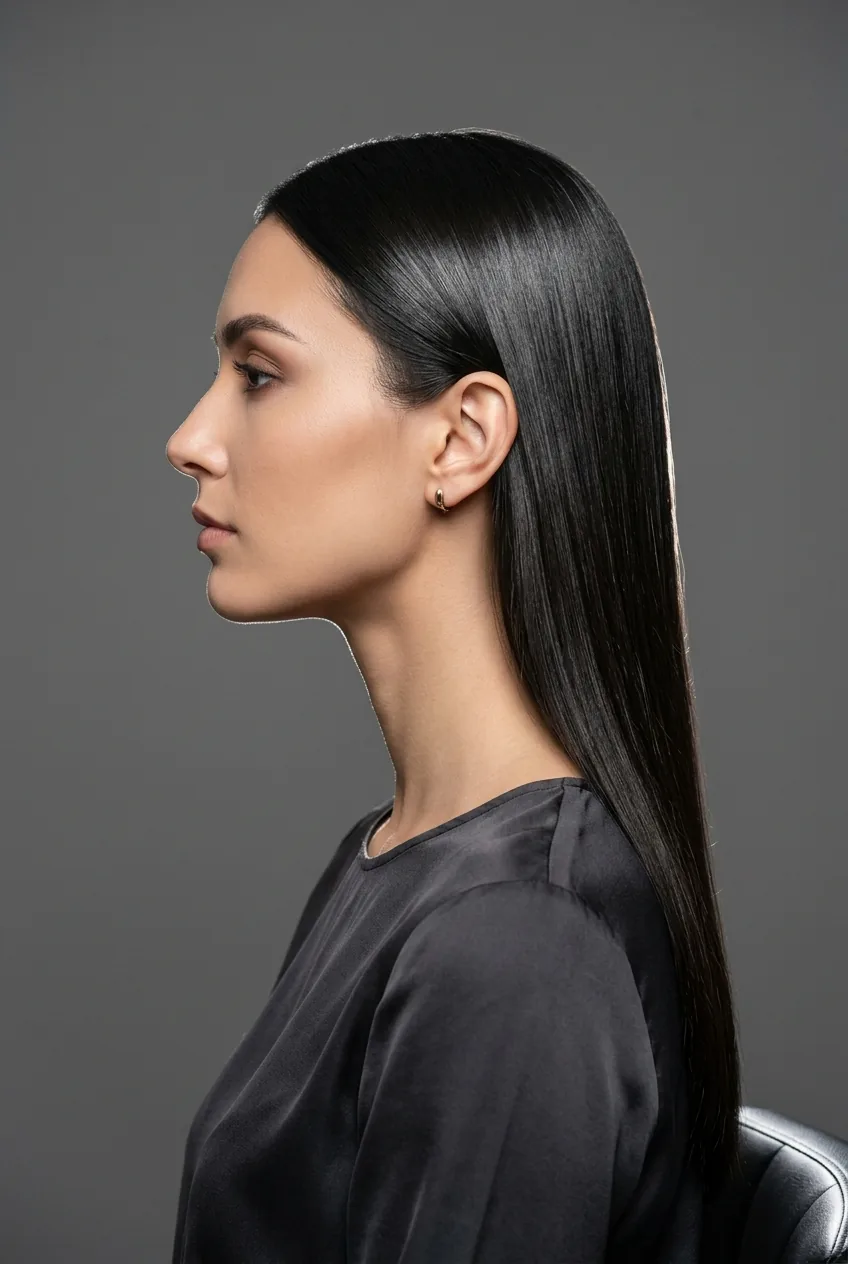
Difficulty: ⭐⭐⭐⭐ (4/5) | Time: 20 minutes | Tools: High-quality flat iron, heat protectant, shine serum
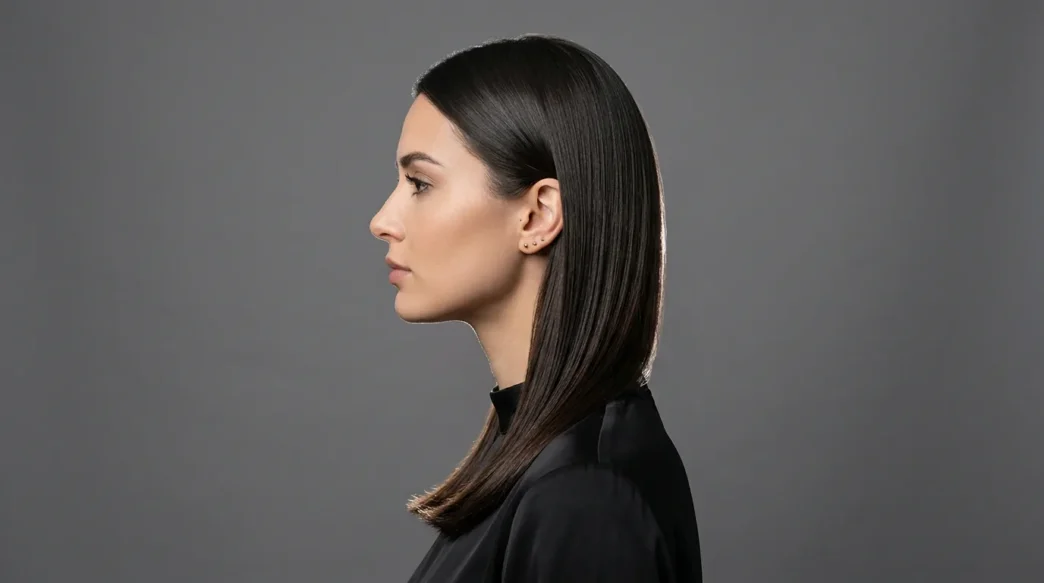
This is the look you see on red carpets — hair so straight and shiny it looks like glass. It requires patience and the right technique. You can’t just run a flat iron through your hair once and call it done.
Work in small sections, no wider than an inch. Run the flat iron slowly from root to tip — emphasis on slowly. The slower you go, the straighter it gets. The real secret is using a high-quality flat iron that maintains consistent heat. Cheap ones create hot spots that damage your hair without giving you that mirror finish.
8. Advanced Level: Textured Straight Lob
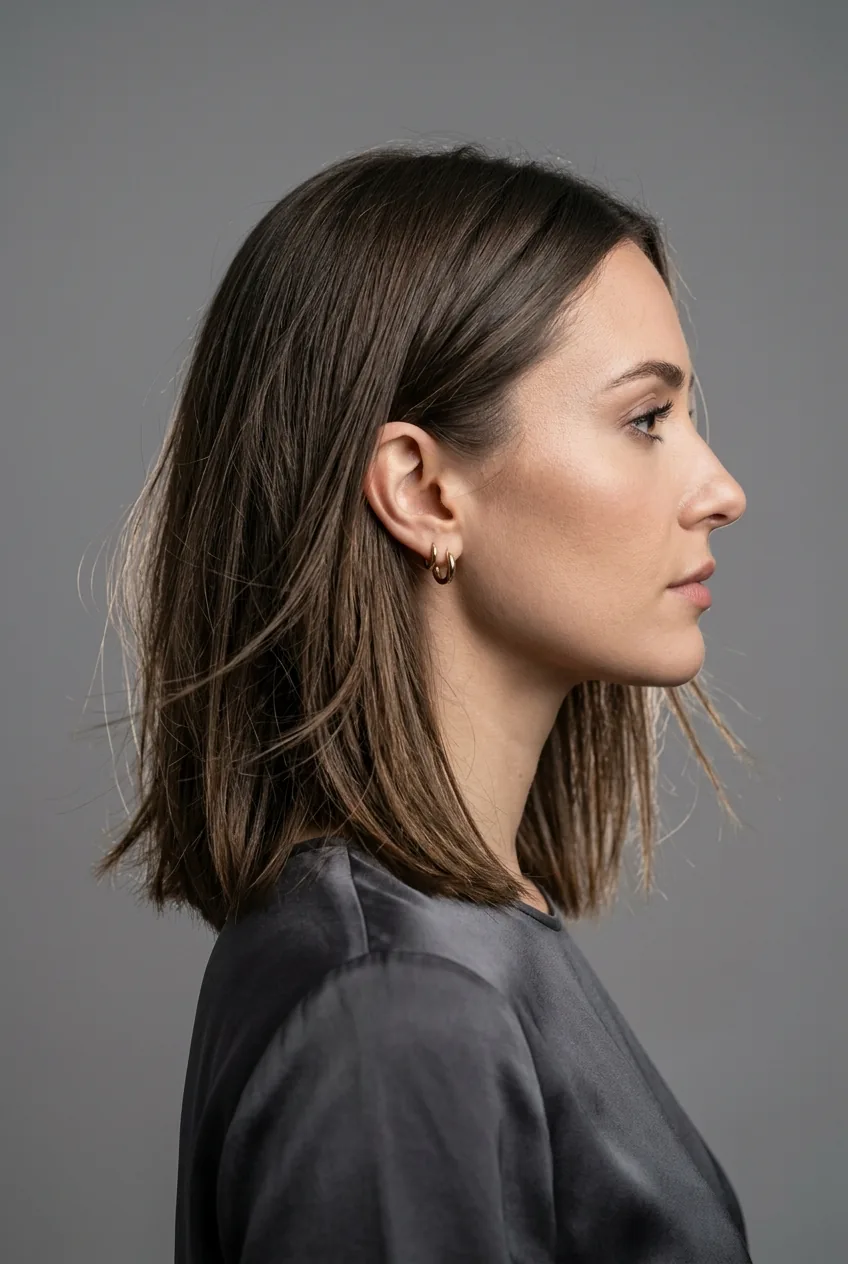
Difficulty: ⭐⭐⭐⭐ (4/5) | Time: 25 minutes | Tools: Flat iron, texturizing spray, sea salt spray
This look is deceptively complex. It’s straight but has movement and texture — like you just rolled out of bed after having perfect hair while you slept. The technique involves strategic bending with your flat iron.
You’re not creating curls, but you’re not going pin-straight either. It’s about subtle kinks and bends that create movement. I use sea salt spray on damp hair first, then alternate between straight sections and slightly bent ones. The randomness is what makes it look natural and lived-in. This style works especially well with winter lob cuts because it adds dimension without volume.
9. Master Level: Advanced Blowout Perfection
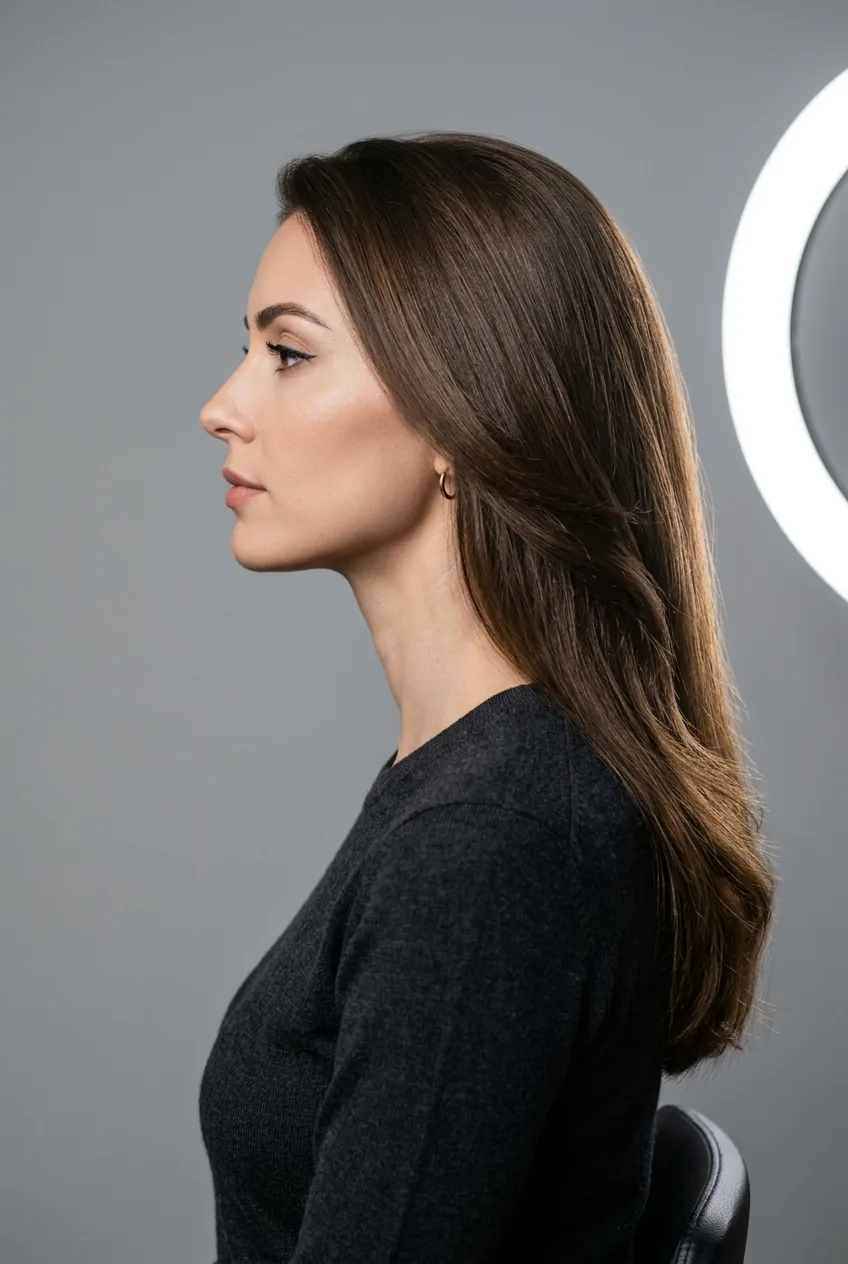
Difficulty: ⭐⭐⭐⭐⭐ (5/5) | Time: 35 minutes | Tools: Multiple brush sizes, professional blow dryer, various products
This is salon-level styling that takes serious practice to master. You’re creating straight hair with body, movement, and that bouncy finish that seems to defy gravity.
The technique involves tension, timing, and multiple brush sizes. You use different brushes for different sections — smaller for the face-framing pieces, larger for the bulk. The blow dryer angle, the brush tension, the speed you pull through — everything matters.
I won’t lie, this one took me months to get right. But when you nail it? Your hair looks like you just walked out of the salon. Advanced styling tips can help you understand the mechanics, but honestly, this is where practice really does make perfect.
What People Usually Ask
How do I keep straight hairstyles from falling flat?
The secret is all in the products and technique. Use volumizing mousse at the roots before styling, and always lift sections up while blow-drying rather than pulling them down. A light texturizing spray can also add grip without weight.
Can I achieve these looks without heat styling?
Some of them, yes! The center part sleek and low ponytail styles work great on naturally straight hair with just products. For the others, you’ll need heat tools to get that polished finish.
What’s the best flat iron temperature for straight styles?
For fine hair, stay around 300-350°F. Thick or coarse hair can handle 350-400°F. Always use heat protectant, and remember that slower passes at lower heat work better than quick passes at high heat.
How long should these styles last?
The simpler styles like center parts can last 2-3 days with dry shampoo touch-ups. More complex styles like the glass hair look typically last 1-2 days, depending on your hair type and the weather.
Whether you’re just starting out with easy straight hairstyles or you’re ready to tackle something more challenging, the key is finding what works for your lifestyle and skill level. I always tell people to start simple and work their way up — there’s no rush to master the advanced techniques overnight.