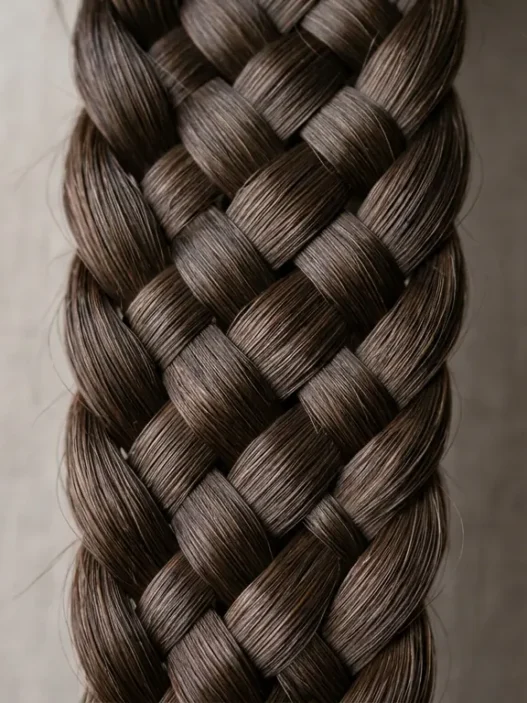


I’ve been obsessing over boho short braids for months now. There’s something so effortlessly cool about them — they give you that festival-ready vibe even when you’re just running errands. But let’s be honest, not all braids are created equal when it comes to difficulty.
I’ve ranked my favorite boho braid styles from “I can do this half-asleep” to “okay, this requires actual concentration.” Whether you’re a complete beginner or ready for a serious challenge, there’s something here for you.
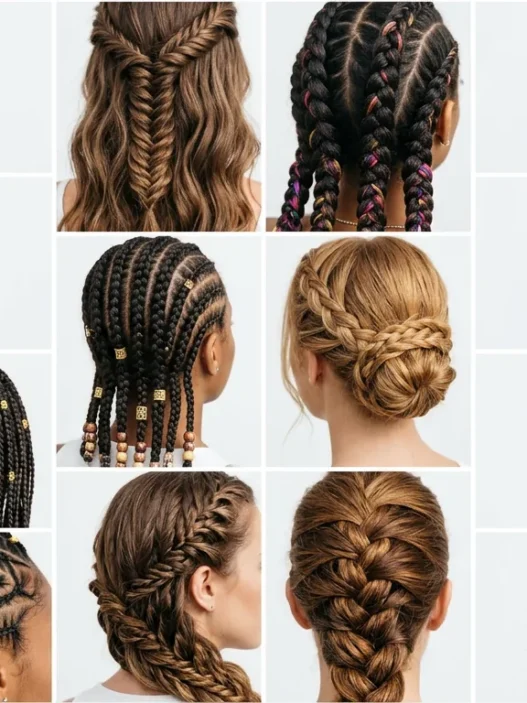
Your Boho Braid Journey Awaits
- Beginner Friendly: The Classic Side Braid
- Easy Peasy: Twisted Crown Braid
- Still Simple: Mini Dutch Braids
- Beginner Plus: Bohemian Headband Braid
- Intermediate Challenge: Rope Braid Updo
- Getting Trickier: Waterfall Braid
- Intermediate Plus: Fishtail Side Sweep
- Advanced Level: Multi-Strand Crown
- Master Level: Inverted Dutch with Twists
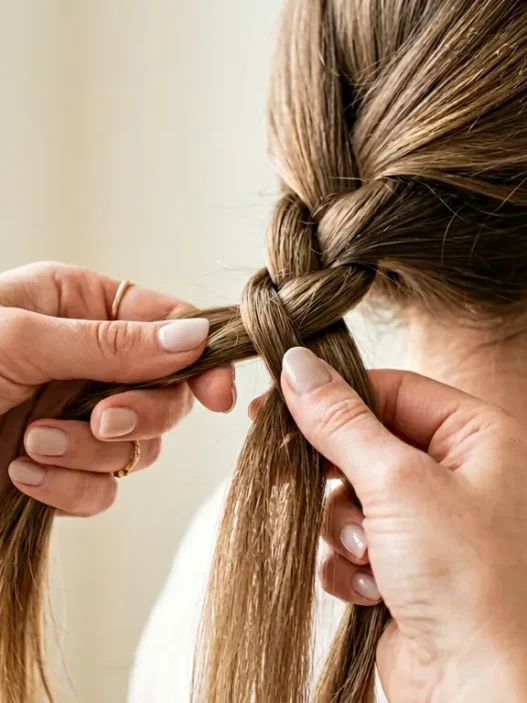
Beginner Friendly: The Classic Side Braid
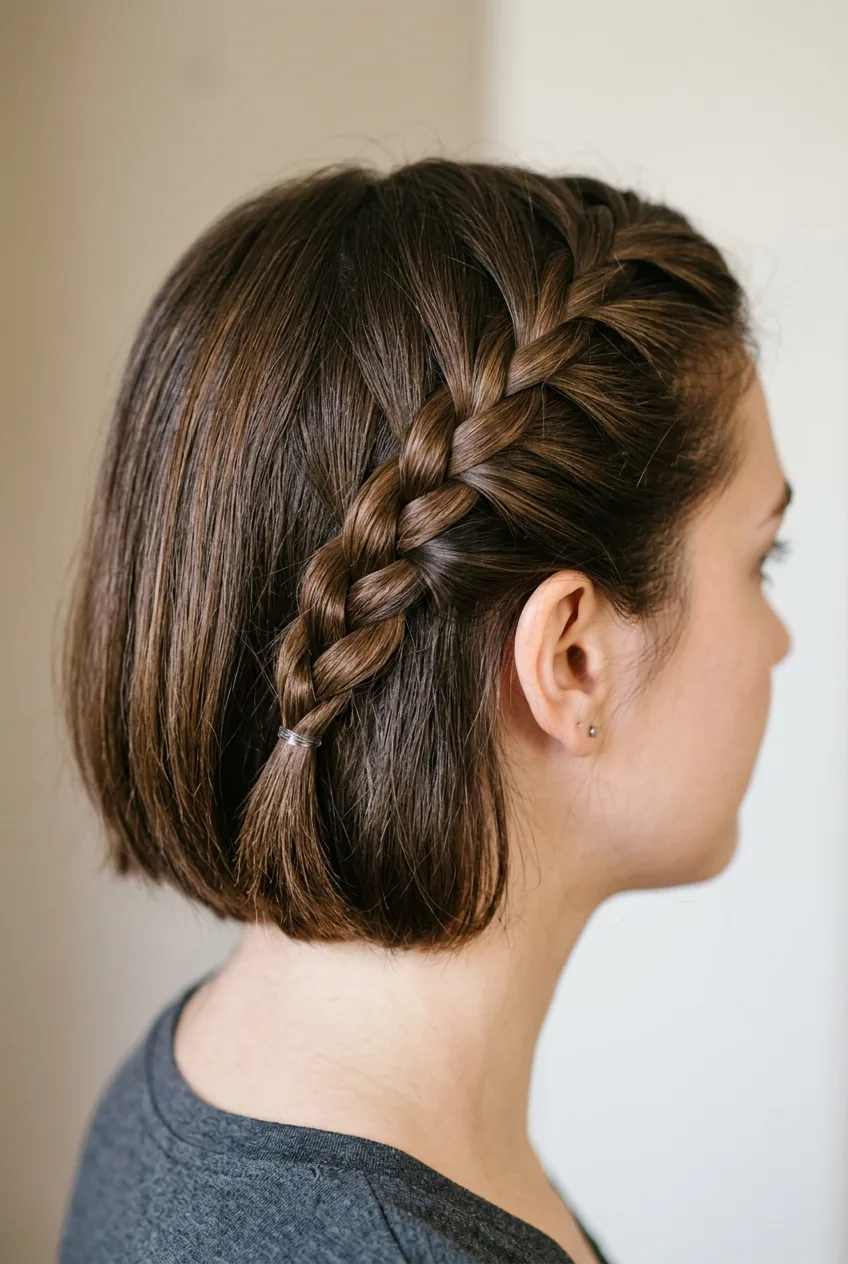
Difficulty: ⭐ (1/5)
Time: 3-5 minutes
Tools needed: Hair elastic, bobby pins
This is where everyone should start. It’s basically a regular braid, but positioned strategically to give you that boho asymmetrical look. I love how it works on any hair texture — fine, thick, wavy, straight.
The trick is starting your part way off to one side and letting some face-framing pieces stay loose. Don’t make it too tight or perfect — that messy, lived-in texture is exactly what we’re going for.
Easy Peasy: Twisted Crown Braid
Difficulty: ⭐⭐ (2/5)
Time: 5-7 minutes
Tools needed: Hair elastics, bobby pins
This one looks way more complicated than it actually is. You’re essentially just twisting two sections of hair back and securing them — no actual braiding required!
I discovered this style when I was running late for brunch and needed something that looked intentional but took zero skill. The beauty is in the imperfection — let pieces fall out naturally.
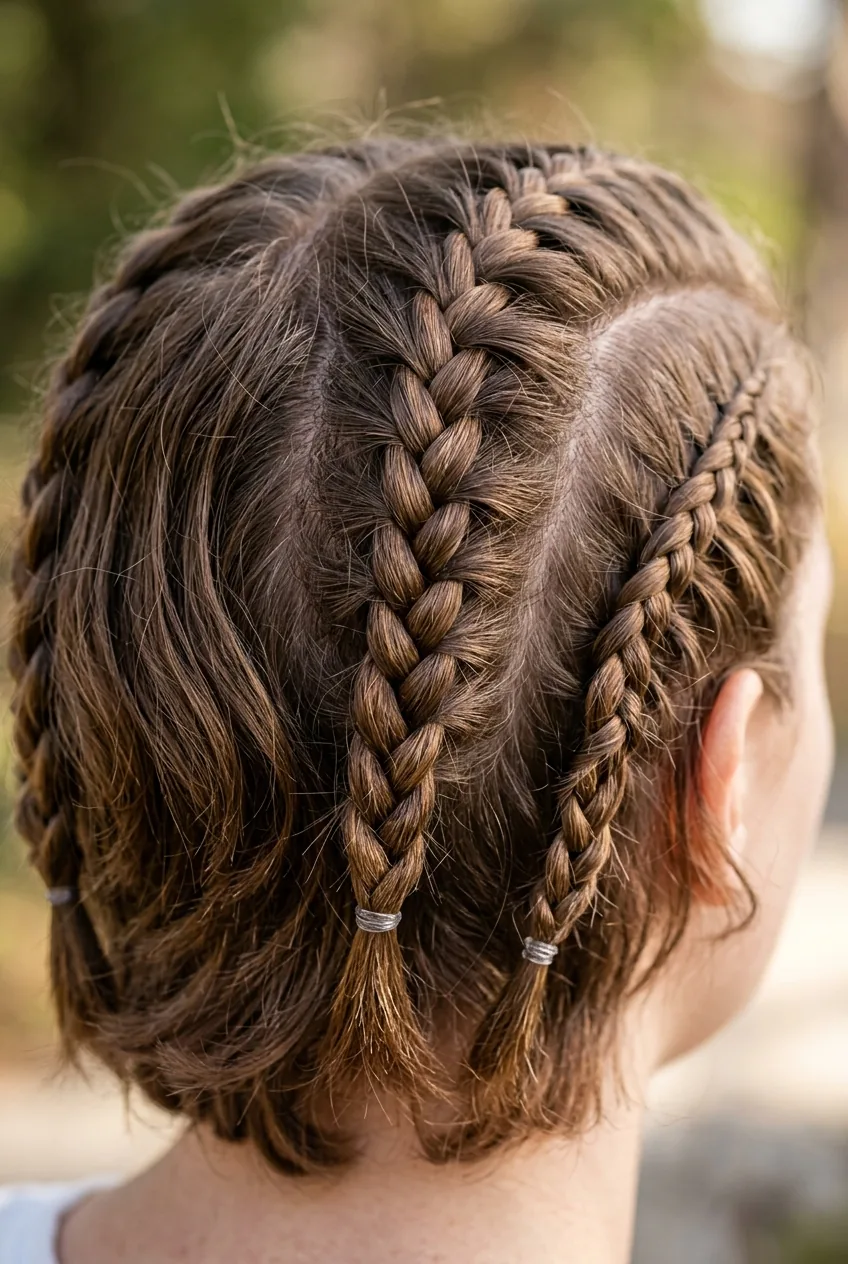
Still Simple: Mini Dutch Braids
Difficulty: ⭐⭐ (2/5)
Time: 8-10 minutes
Tools needed: Small hair elastics, bobby pins
Think of these as baby Dutch braids scattered throughout your hair. They add texture and visual interest without requiring you to master one big complicated braid.
The key is keeping them small and random — not symmetrical. I usually do three or four tiny ones mixed in with loose waves. It’s like adding jewelry to your hair.
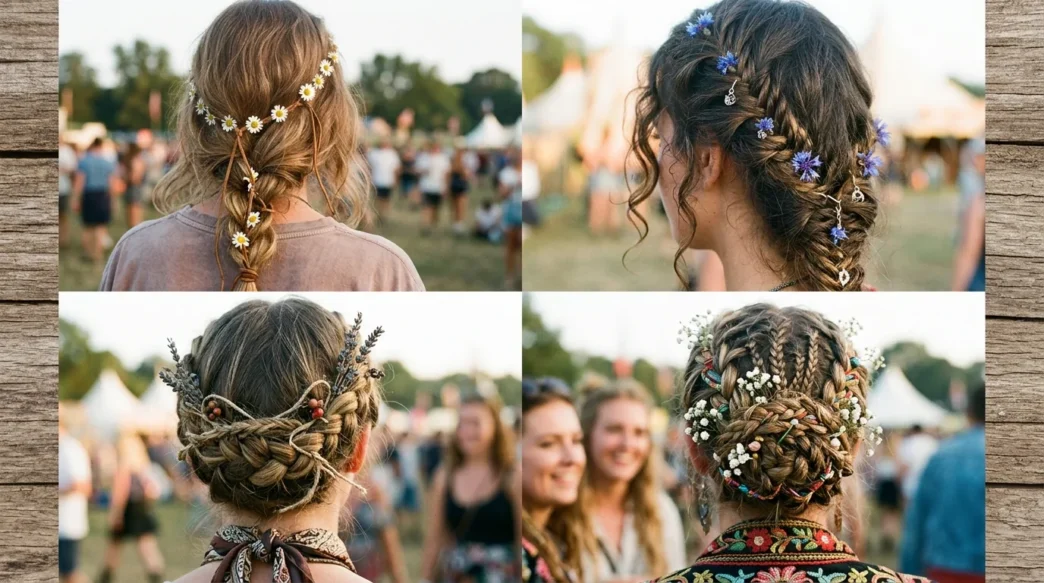
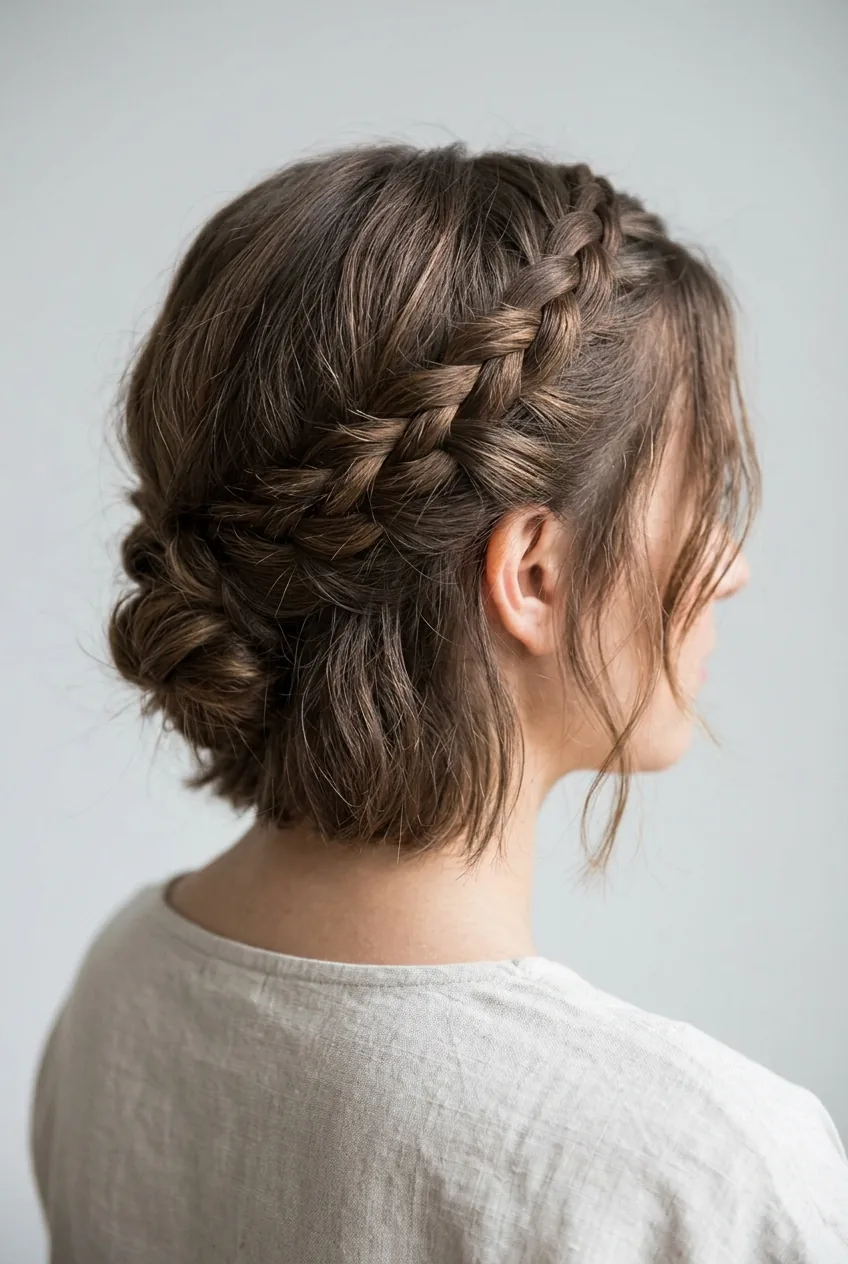
Beginner Plus: Bohemian Headband Braid
Difficulty: ⭐⭐⭐ (3/5)
Time: 10-12 minutes
Tools needed: Hair elastics, bobby pins
This is where things start getting fun. You’re creating a braid that acts like a natural headband, wrapping from one ear to the other across your forehead area.
The trickiest part is getting the tension right — too tight and it looks severe, too loose and it falls apart. I practice this one in front of a mirror because the angle matters so much.
My personal favorite from this entire list has to be the bohemian headband braid. It works with literally every outfit and makes me feel like I stepped out of a music festival in the best way possible.
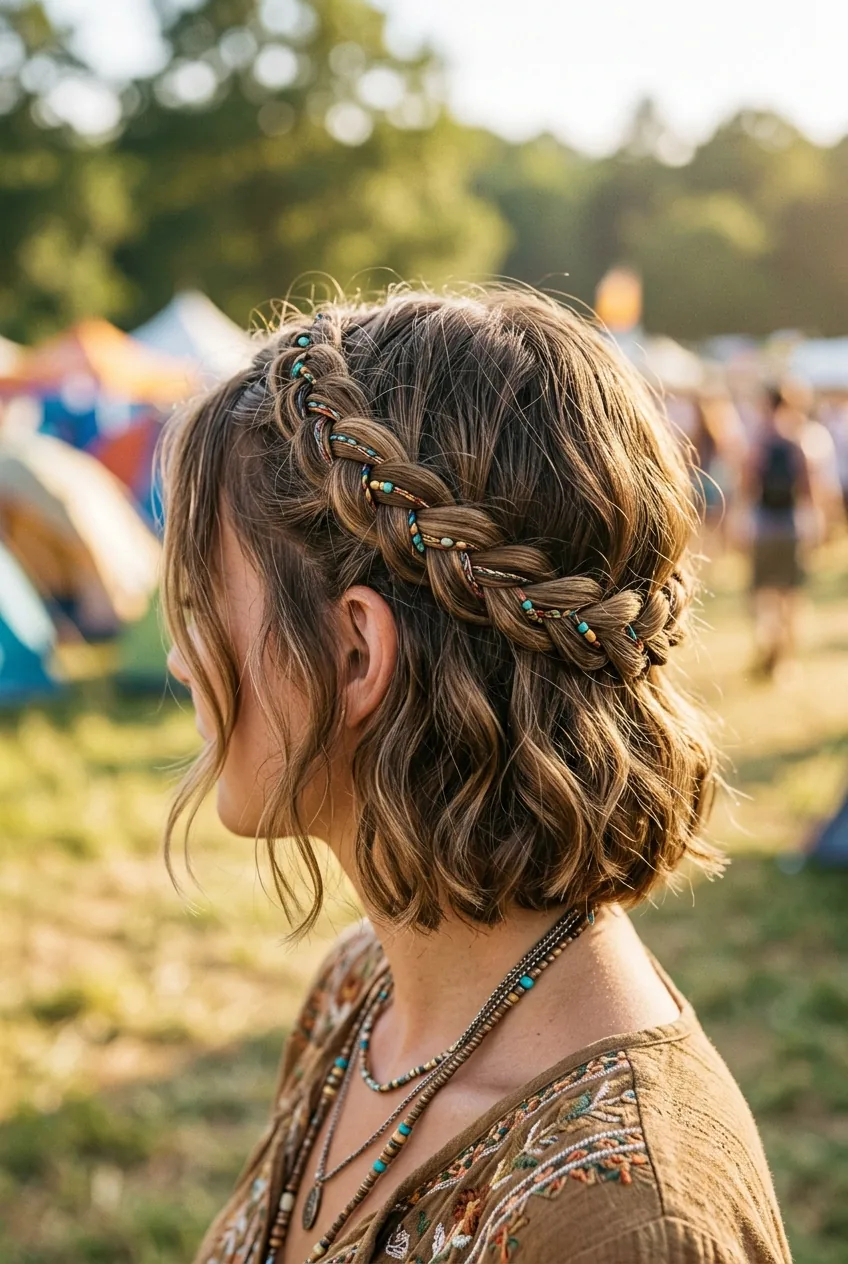
Intermediate Challenge: Rope Braid Updo

Difficulty: ⭐⭐⭐ (3/5)
Time: 12-15 minutes
Tools needed: Hair elastics, bobby pins, hair spray
Now we’re getting into territory where you need to actually think about what your hands are doing. The rope braid technique itself isn’t hard — it’s just twisting two sections in opposite directions then wrapping them together.
But turning it into an updo? That requires some spatial reasoning. You’re essentially coiling the rope braid around itself and pinning strategically. Updo techniques really helped me figure out the pinning strategy.
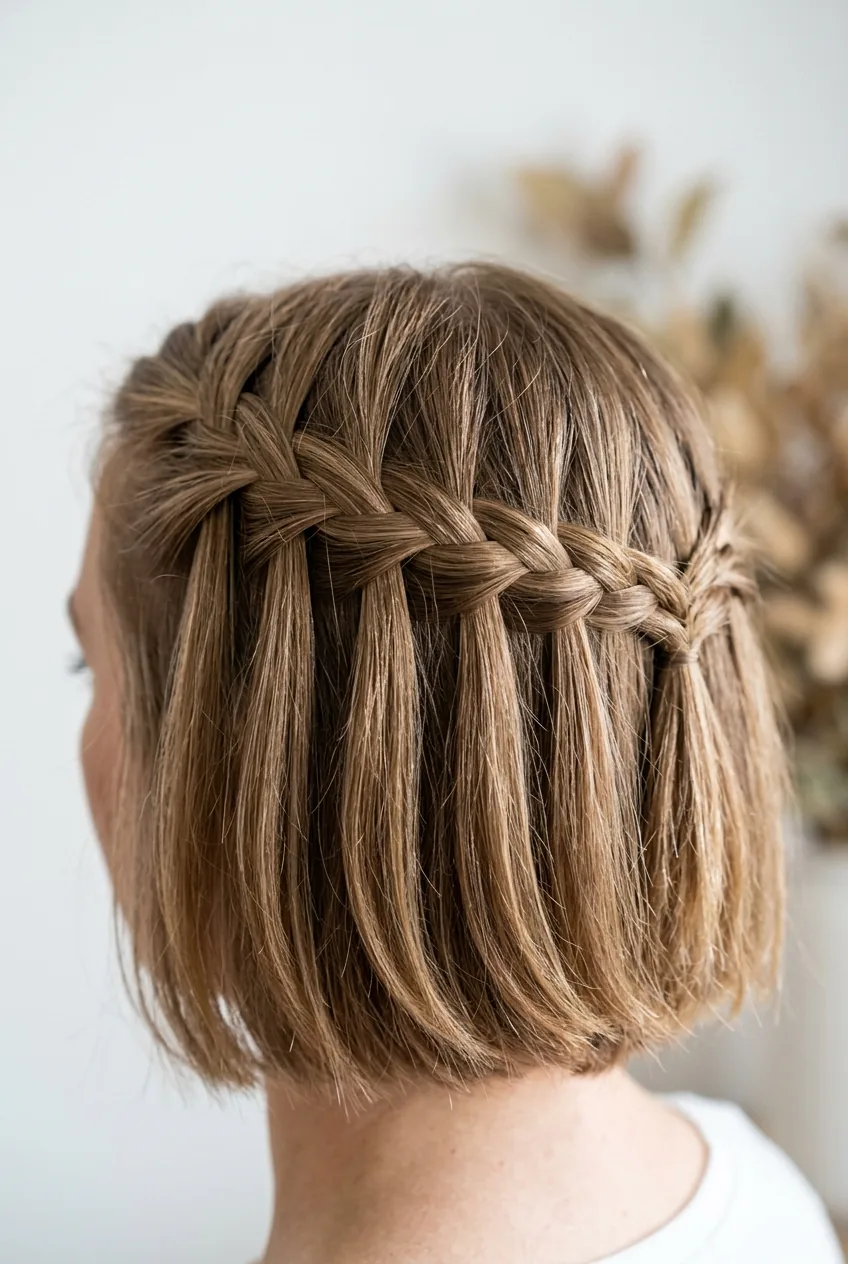
Getting Trickier: Waterfall Braid
Difficulty: ⭐⭐⭐⭐ (4/5)
Time: 15-20 minutes
Tools needed: Hair elastics, bobby pins
This is the braid that separates the casual braiders from the committed ones. You’re constantly dropping sections and picking up new ones, creating that “waterfall” effect where hair cascades through the braid.
I won’t lie — I messed this up probably twenty times before I got it right. The hand coordination is real. But once you nail it, you feel like a hair wizard.
Watch the Waterfall Magic Happen
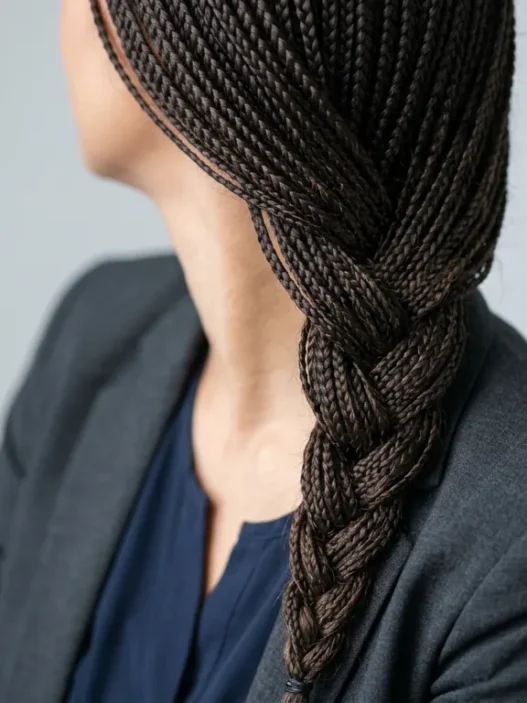
Intermediate Plus: Fishtail Side Sweep
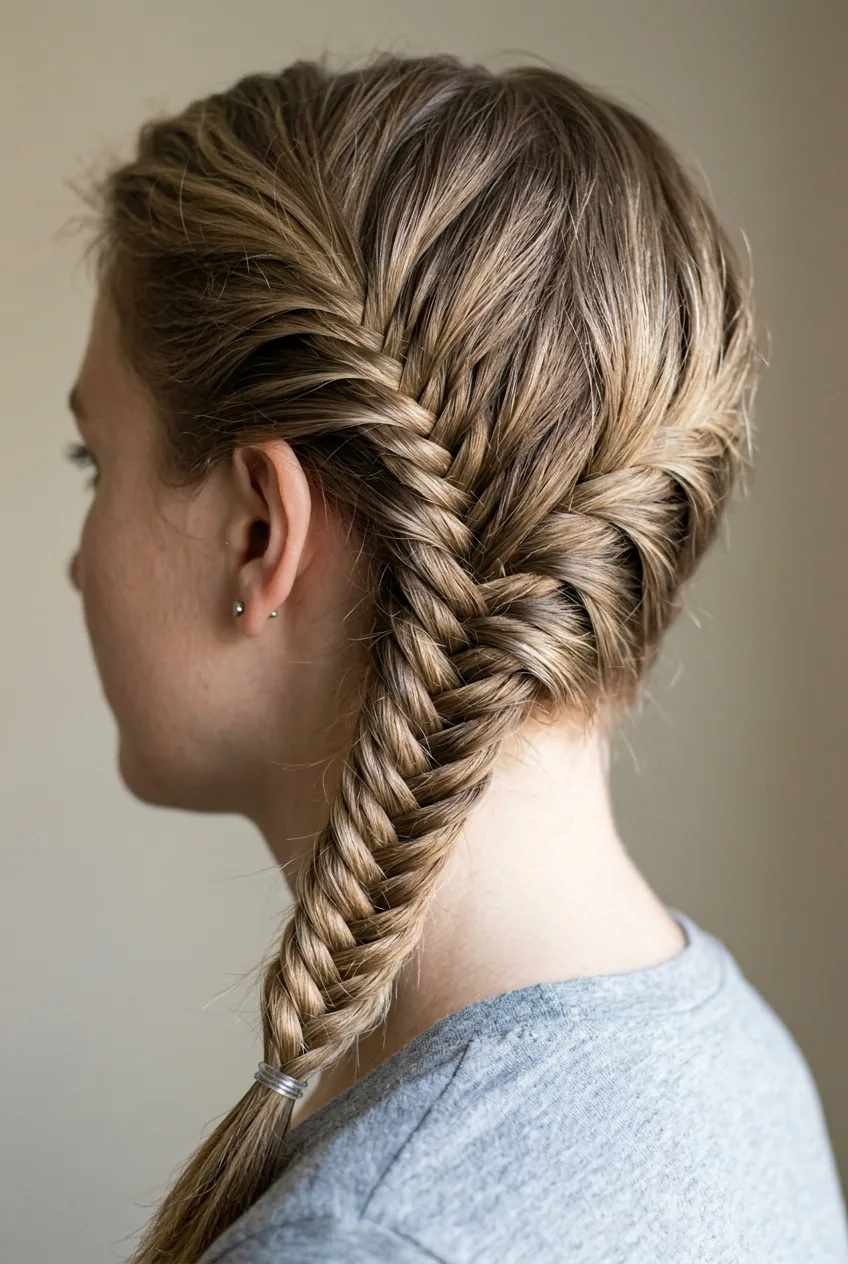
Difficulty: ⭐⭐⭐⭐ (4/5)
Time: 18-22 minutes
Tools needed: Hair elastics, bobby pins, texturizing spray
Fishtail braids already require patience because you’re working with such small sections. Add the boho side-sweep element, and you’re dealing with uneven lengths and asymmetrical tension.
The payoff is gorgeous though. It has this intricate, almost scales-like texture that photographs beautifully. I save this one for special occasions because it demands my full attention.
For those who love experimenting with different braid patterns, check out these easy winter braids that complement the boho aesthetic beautifully.
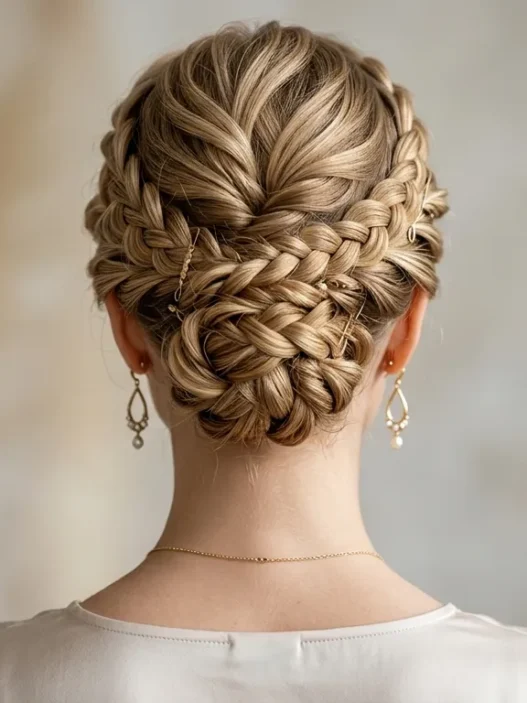
Advanced Level: Multi-Strand Crown
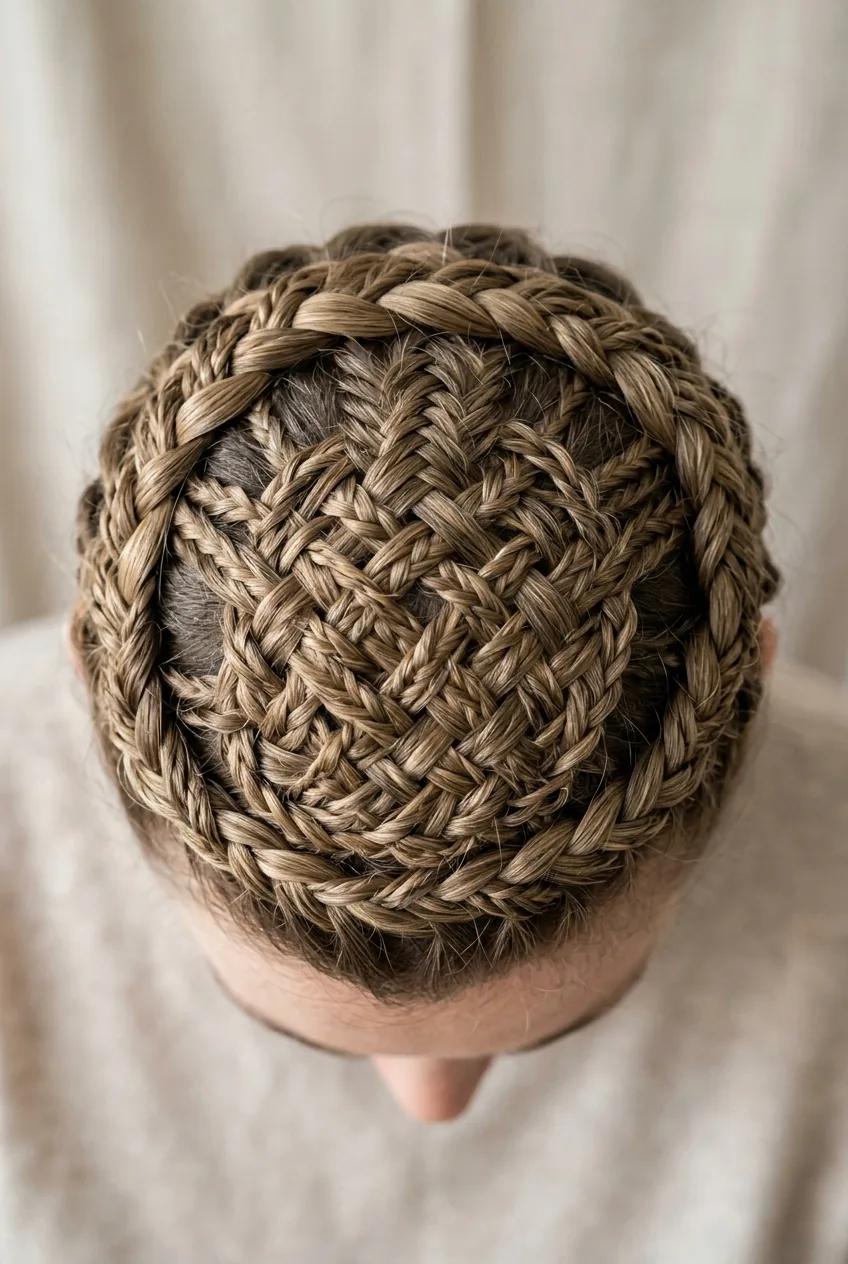
Difficulty: ⭐⭐⭐⭐⭐ (5/5)
Time: 25-30 minutes
Tools needed: Multiple hair elastics, bobby pins, hair spray, patience
We’re in advanced territory now. This involves creating multiple small braids and weaving them together into a crown-like formation around your head. It’s basically architectural hair work.
You need to plan your sections ahead of time and work systematically. I actually sketch it out sometimes because once you start, there’s no going back without starting over completely.
Master Level: Inverted Dutch with Twists

Difficulty: ⭐⭐⭐⭐⭐ (5/5)
Time: 30-40 minutes
Tools needed: Hair elastics, bobby pins, hair spray, maybe a friend
This is the boss level of boho braids. You’re doing an inverted Dutch braid (braiding upward from the nape) while incorporating twists and maintaining the loose, bohemian aesthetic.
Honestly, I still can’t do this one perfectly every time. It requires muscle memory, spatial awareness, and the ability to braid basically upside down. But when it works? Pure magic.
The combination of techniques makes your hair look like a work of art. I’ve gotten stopped on the street when wearing this style — it’s that striking.
What I’ve Learned About Boho Braids
After months of practicing these styles, here’s what I wish someone had told me from the start: embrace the messiness. Boho braids aren’t supposed to be perfect. They’re supposed to look effortless and lived-in.
Also, texture is everything. A little texturizing spray makes all the difference in getting that piece-y, undone look that makes boho braids so appealing.
Start with the easier ones and work your way up. There’s no shame in mastering the basics before attempting the complex stuff. I still go back to that simple side braid when I’m having a busy morning — and it never fails to make me feel put-together with minimal effort.