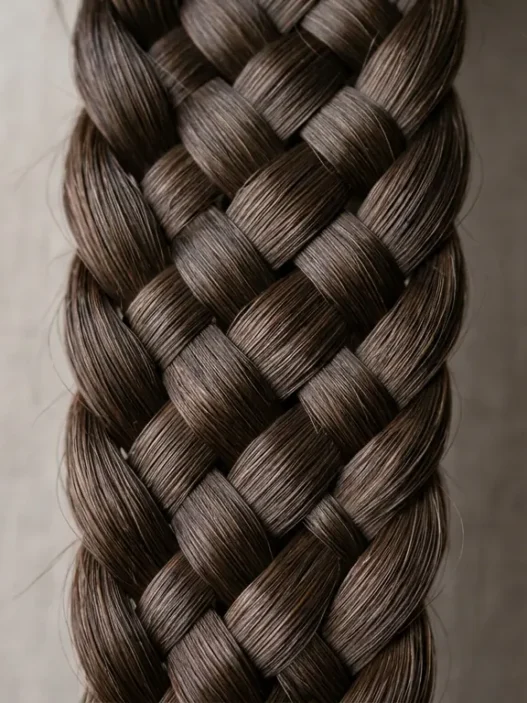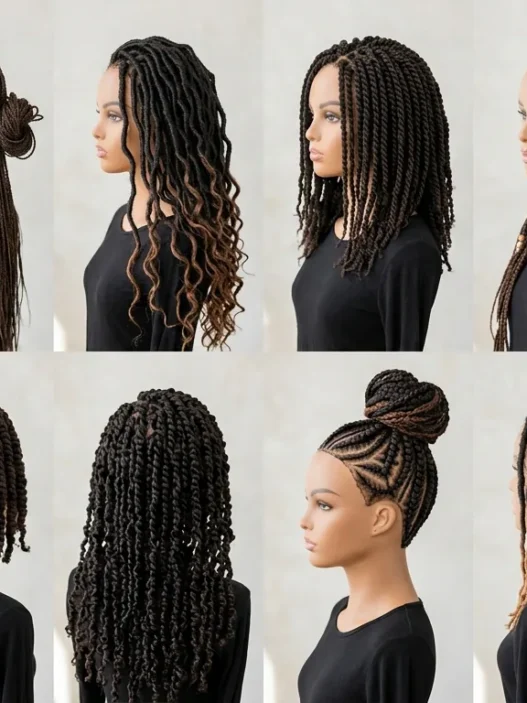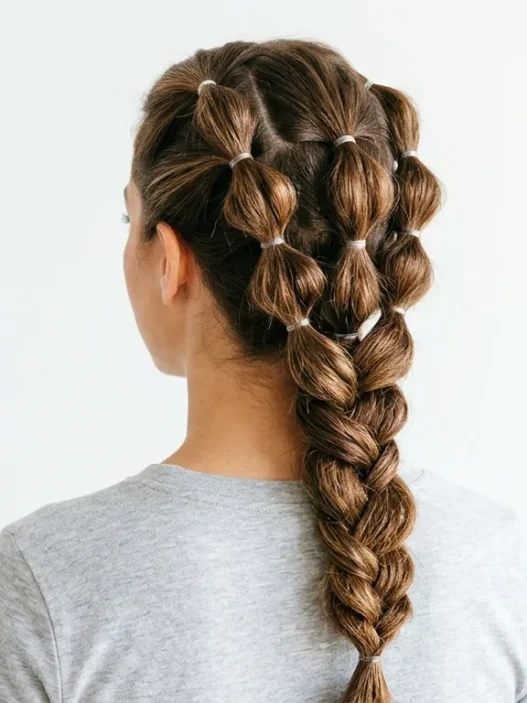









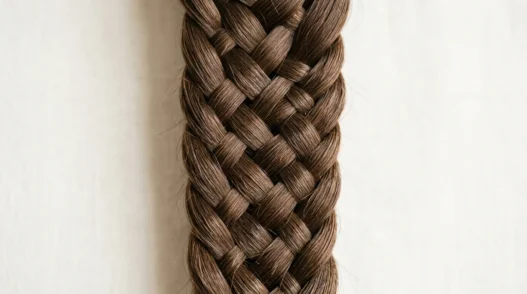
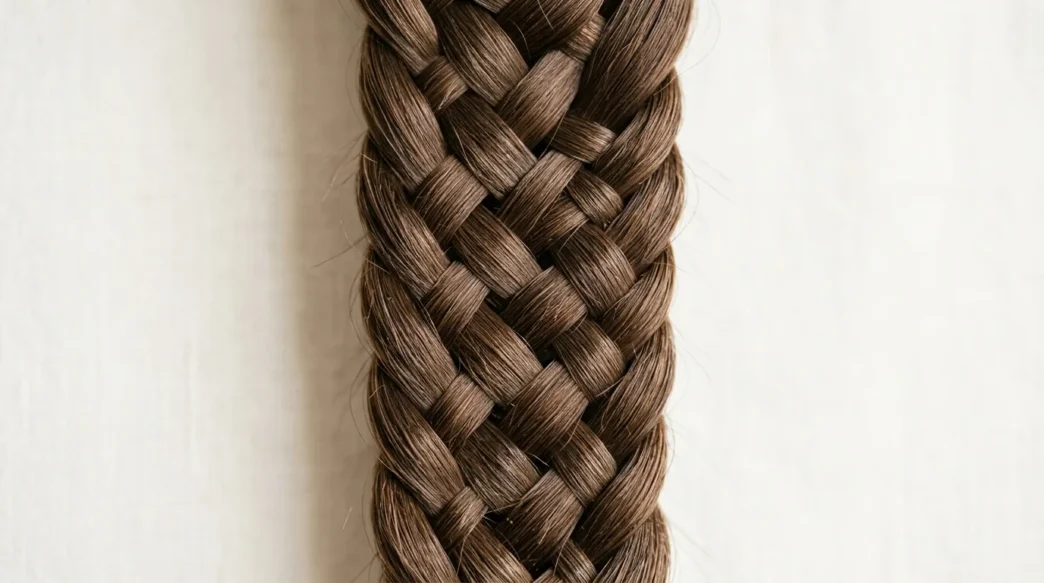
Last week I watched a “5-minute braid tutorial” that took me 45 minutes. My arms were screaming, my hair looked like I’d stuck my finger in an electrical socket, and I had bobby pins scattered across my bathroom floor like confetti. But here’s the thing — I kept going. Because behind all those perfect Instagram braids is a messy, imperfect reality that nobody talks about.
What They Don’t Show You About Prep
Those flawless tutorial videos? They start with hair that’s already been washed, conditioned, detangled, and lightly styled. What they don’t show you is the 20 minutes of prep work that happens before the camera rolls.
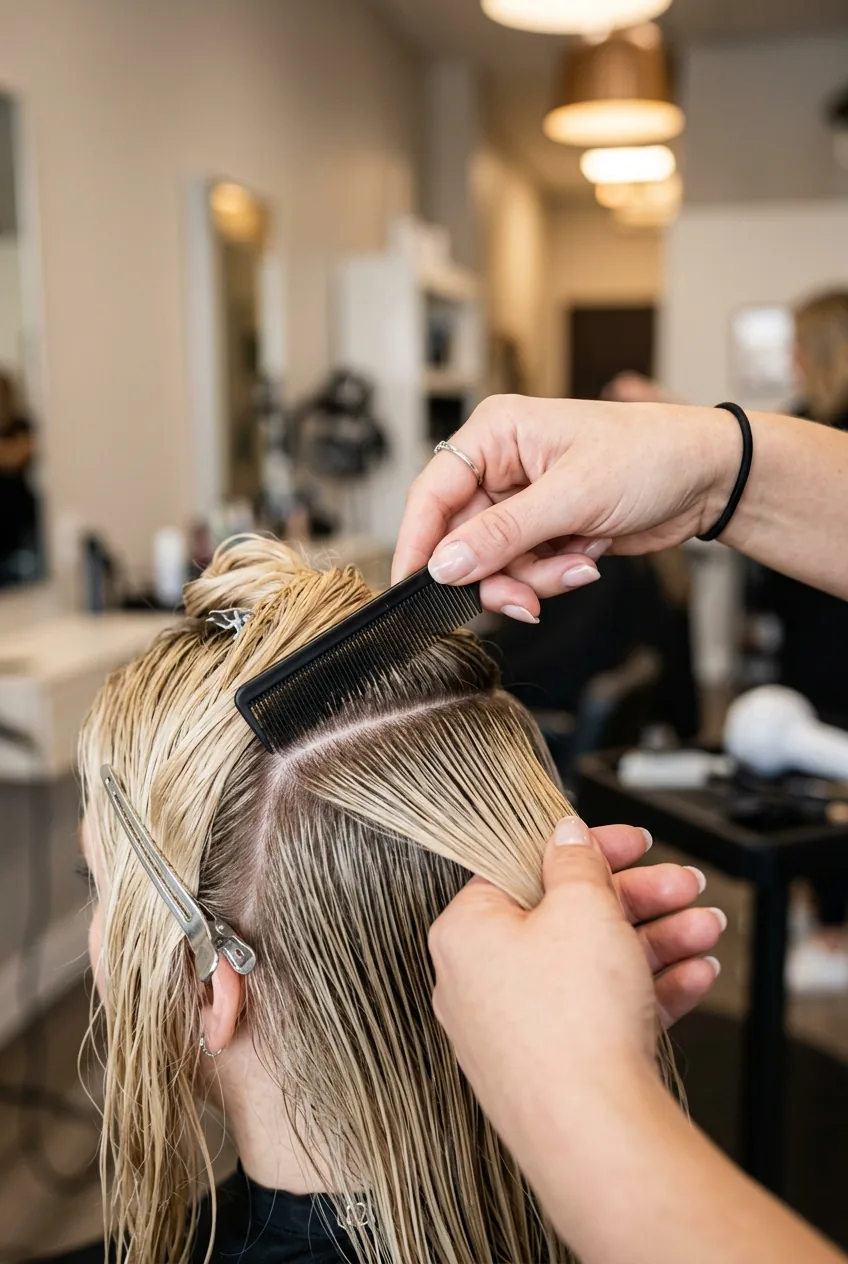
I learned this the hard way when I tried to braid day-three hair that hadn’t seen a brush since Tuesday. The result was a lumpy mess that looked more like a bird’s nest than a elegant engagement hairstyle. Your hair needs to be clean enough to work with but not so freshly washed that it’s slippery.
The sweet spot? Day-two hair with a light texturizing spray. And here’s something nobody tells you — you need way more bobby pins than you think. I used to grab three or four and wonder why everything fell apart. Now I start with at least fifteen within arm’s reach.
The Part That Takes the Longest
It’s not the braiding. It’s getting the sections even.
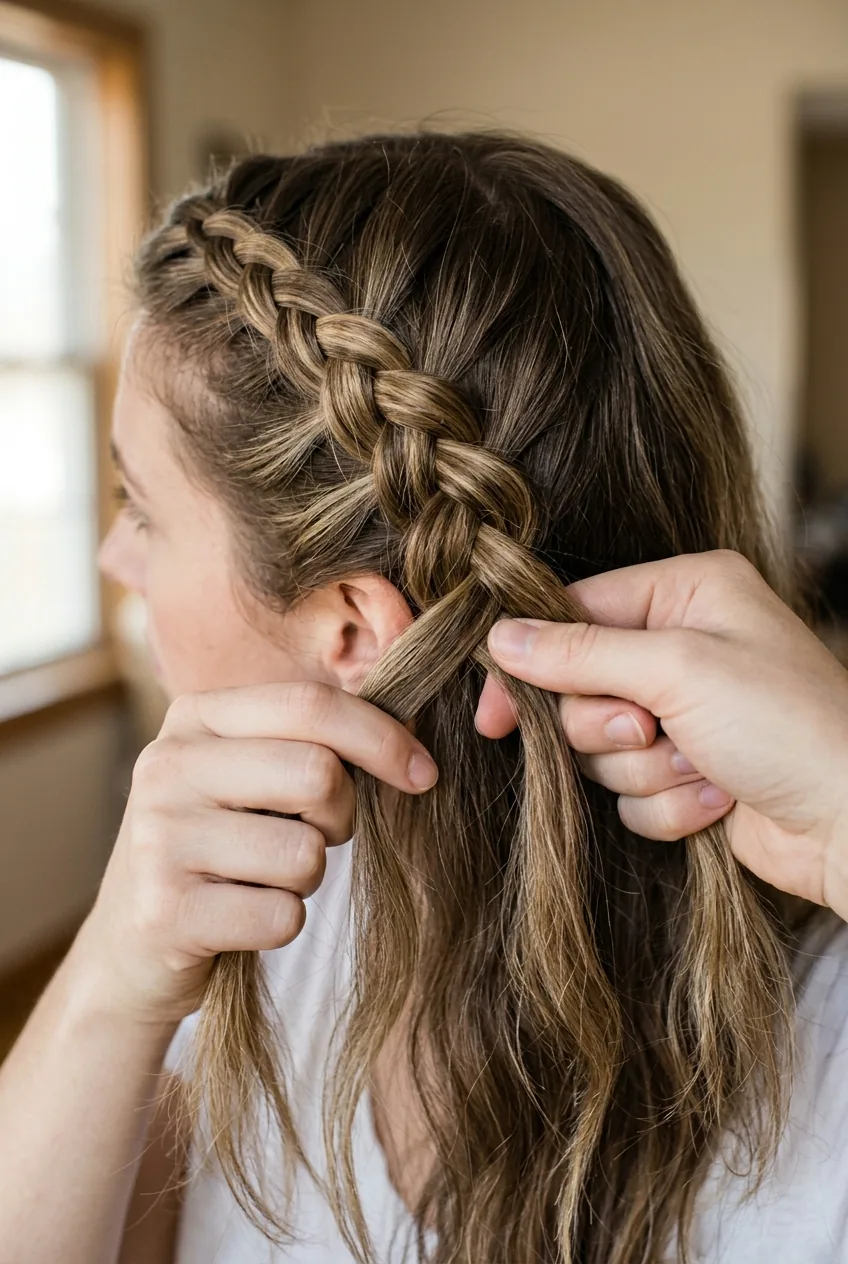
I spent my first dozen attempts wondering why one side looked thick and luscious while the other side looked like it was barely hanging on. The problem wasn’t my braiding technique — it was my sectioning. When you’re working behind your head, everything feels different than it looks in the mirror.
Now I take my time with a rat-tail comb, creating clean parts before I even think about crossing any strands. Yes, it adds five minutes to the process. But it’s the difference between a braid that photographs well and one that makes you reach for a ponytail holder.
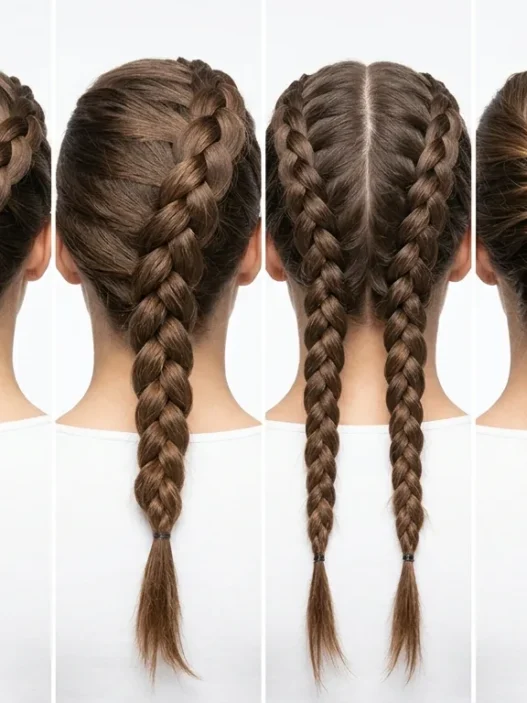
And don’t get me started on Dutch braids. The underhand technique feels completely backwards when you’re used to regular braids. Learning the underhand technique changed everything for me, but it took weeks of practice.
Why Your First Attempt Will Look Wonky
Because your muscle memory is fighting you every step of the way.
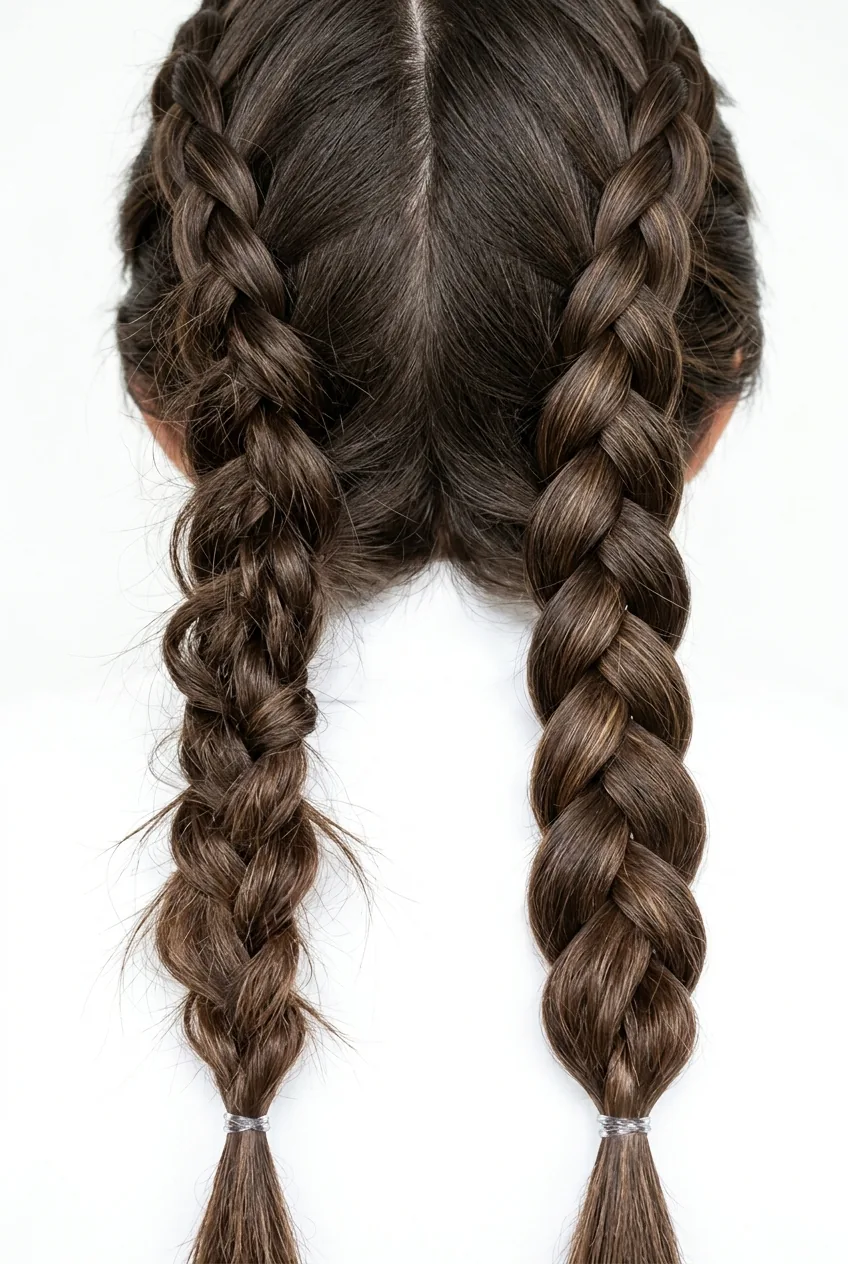
Think about it — you’ve been brushing your hair the same way for years. Your hands know exactly where to go. But braiding requires completely different hand positions and movements. Your right hand needs to hold tension while your left hand feeds in new hair. Then they switch roles. It’s like learning to pat your head and rub your stomach at the same time.
- Your tension will be uneven (too tight at the top, too loose at the bottom)
- You’ll accidentally drop strands halfway through
- The braid will migrate to one side of your head
- You’ll run out of hair before you run out of braid
All of this is completely normal. The tutorials make it look effortless because the person braiding has done it hundreds of times. You’re not broken — you’re just learning.
The Secret Nobody Mentions
Professional hairstylists don’t actually do simple braided hairstyles simply. They layer in techniques that look effortless but aren’t.
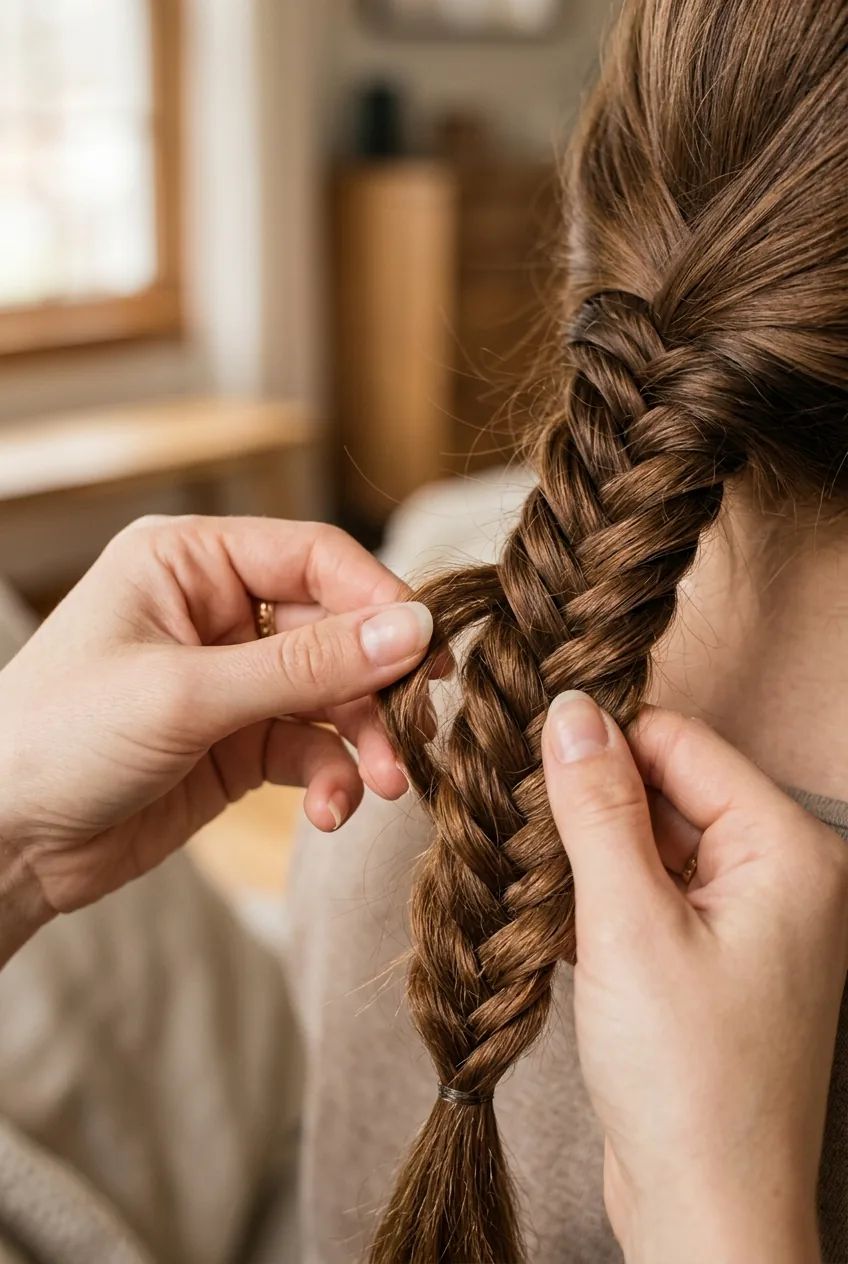
That perfectly imperfect, lived-in look? It’s achieved by deliberately loosening specific sections after the braid is complete. Those wispy pieces that frame the face so beautifully? They’re strategically pulled out with a pin, not accidental flyaways.
The difference between amateur and professional braids isn’t perfection — it’s knowing where to be imperfect on purpose.
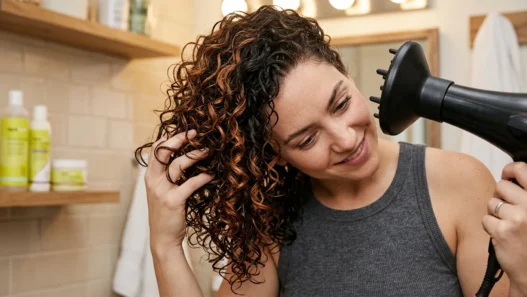
I used to think those loose, romantic braids just happened naturally. Turns out there’s a whole finishing process that involves gently tugging at the braid to create volume and texture. Texturizing methods opened my eyes to how much manipulation happens after the braid is “done.”
And here’s my controversial take: most “simple” braid tutorials aren’t actually simple at all. They require a level of coordination and hair knowledge that takes months to develop. Calling them simple sets unrealistic expectations.
Here’s the Finishing Technique in Action
When It Finally Clicks
For me, it happened on attempt number twenty-something. I was getting ready for a summer wedding and running late. Instead of overthinking every cross and every section, I just let my hands move.
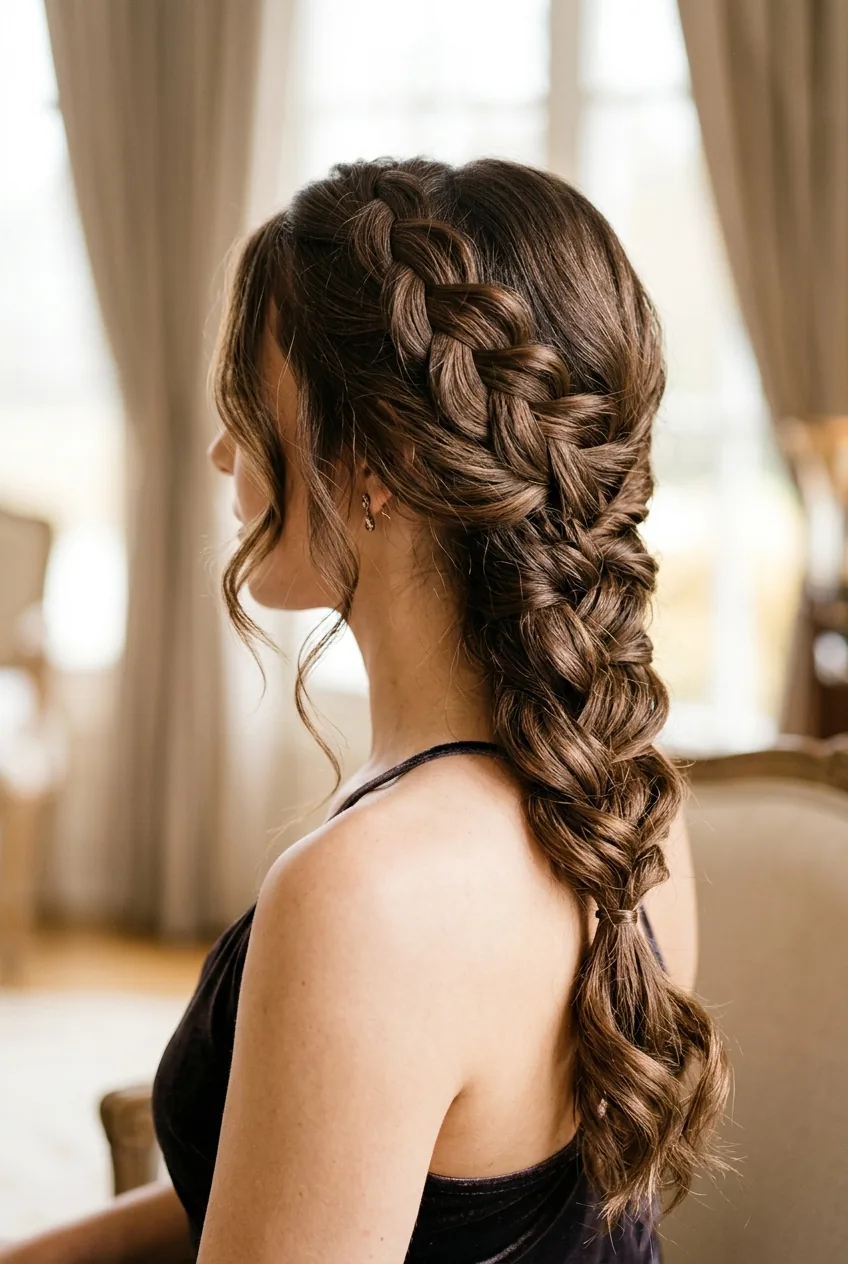
Suddenly, the braid felt natural. My hands knew where to go without my brain micromanaging every movement. The tension stayed consistent. The sections were even. It wasn’t perfect, but it was mine.
That’s when I realized that simple braided hairstyles aren’t about following a formula — they’re about developing a feel for your own hair. Your hair texture, your hand size, your arm reach. All of these factors influence how the technique needs to be adapted.
The breakthrough moment feels different for everyone. Some people get it after five tries. Others need fifty. But when it happens, you’ll know. Your reflection in the mirror will finally match what you saw in that tutorial.
Why It’s Worth It Anyway
Because once you nail even one simple braided hairstyle, you have a go-to look that works for everything. Bad hair day? Braid it. Fancy event? Braid it differently. Gym session? Braid it tight. Beach day? Braid it loose.
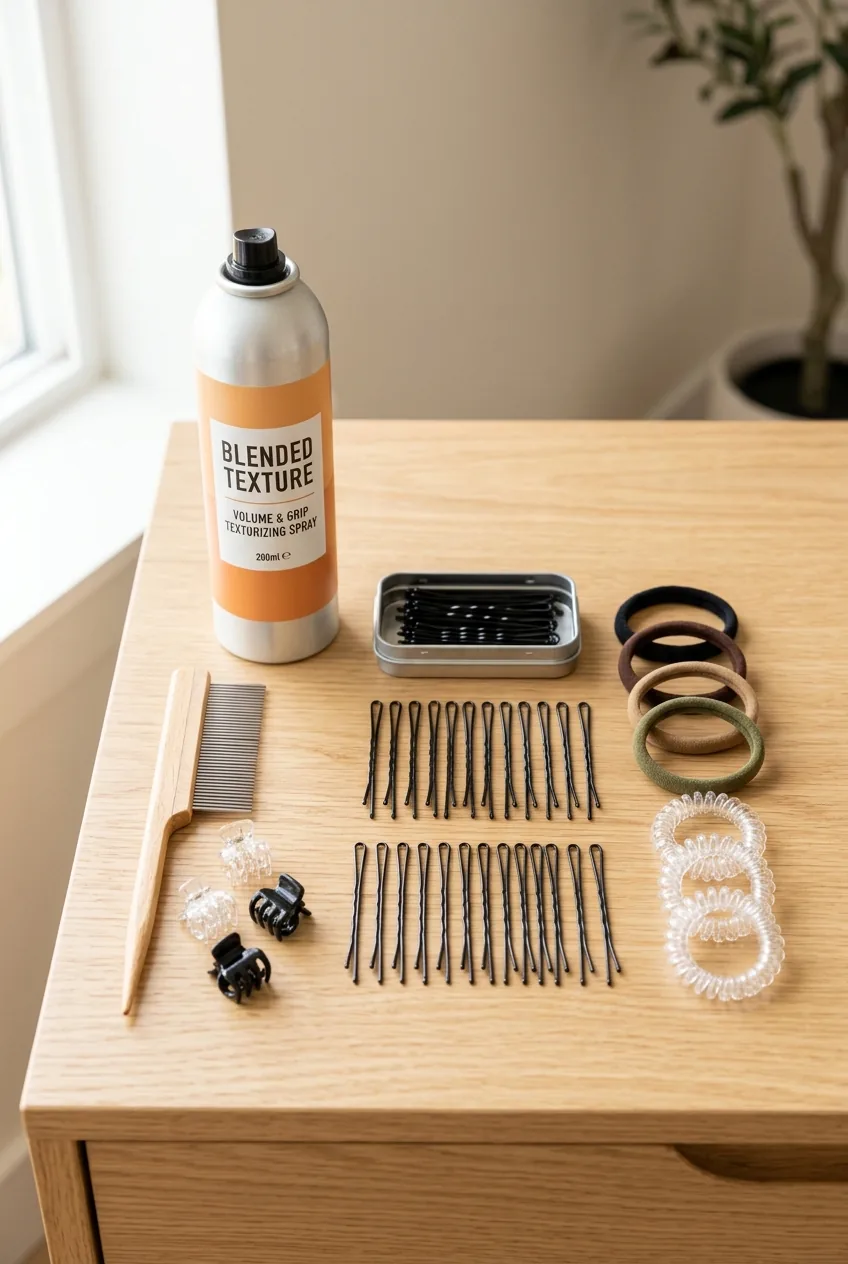
But more than that, there’s something deeply satisfying about creating something beautiful with just your hands and your hair. No heat tools. No expensive products. Just technique and patience.
I love how versatile these styles are for different occasions too. The same basic technique can look casual for brunch or elegant for dinner, depending on how you finish it.
The messy truth about simple braided hairstyles is that they’re not actually simple — they’re just worth the learning curve. Your first attempts will be frustrating. Your arms will get tired. You’ll question why you started this journey in the first place. But stick with it. The payoff is a skill that’ll serve you for life, and the confidence that comes with mastering something that once seemed impossible.