


I’ve been braiding hair since I was twelve, starting with simple three-strand braids on my little sister. What began as weekend practice sessions turned into a genuine love affair with the art of weaving hair. The thing about braids is they look impossibly complicated until someone shows you the pattern — then it clicks.
I’ve ranked these eight braided styles from absolute beginner to show-off level. Each one builds skills you’ll use in the next, so don’t skip ahead too fast.
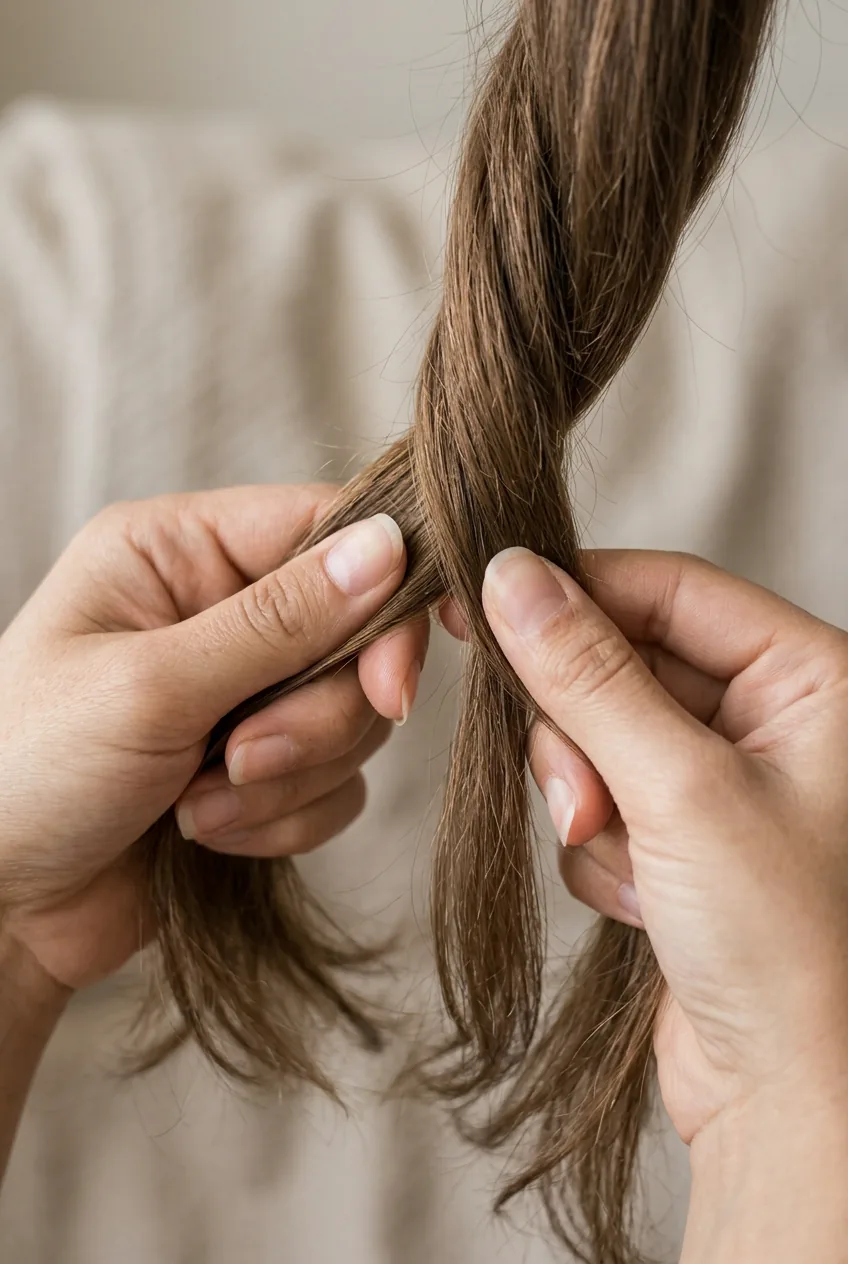
Beginner Friendly: Classic Three-Strand Braid
Difficulty: ⭐ (1/5) | Time: 2-3 minutes | Tools: Hair tie
This is where everyone starts, and honestly, where I still go when I want something quick and reliable. Divide your hair into three equal sections. Cross the right section over the middle, then the left over the new middle. Keep alternating — right over middle, left over middle — until you reach the ends.
The trick is keeping even tension. Too loose and it looks messy. Too tight and your scalp will hate you by afternoon.
Easy Level: Side Braid
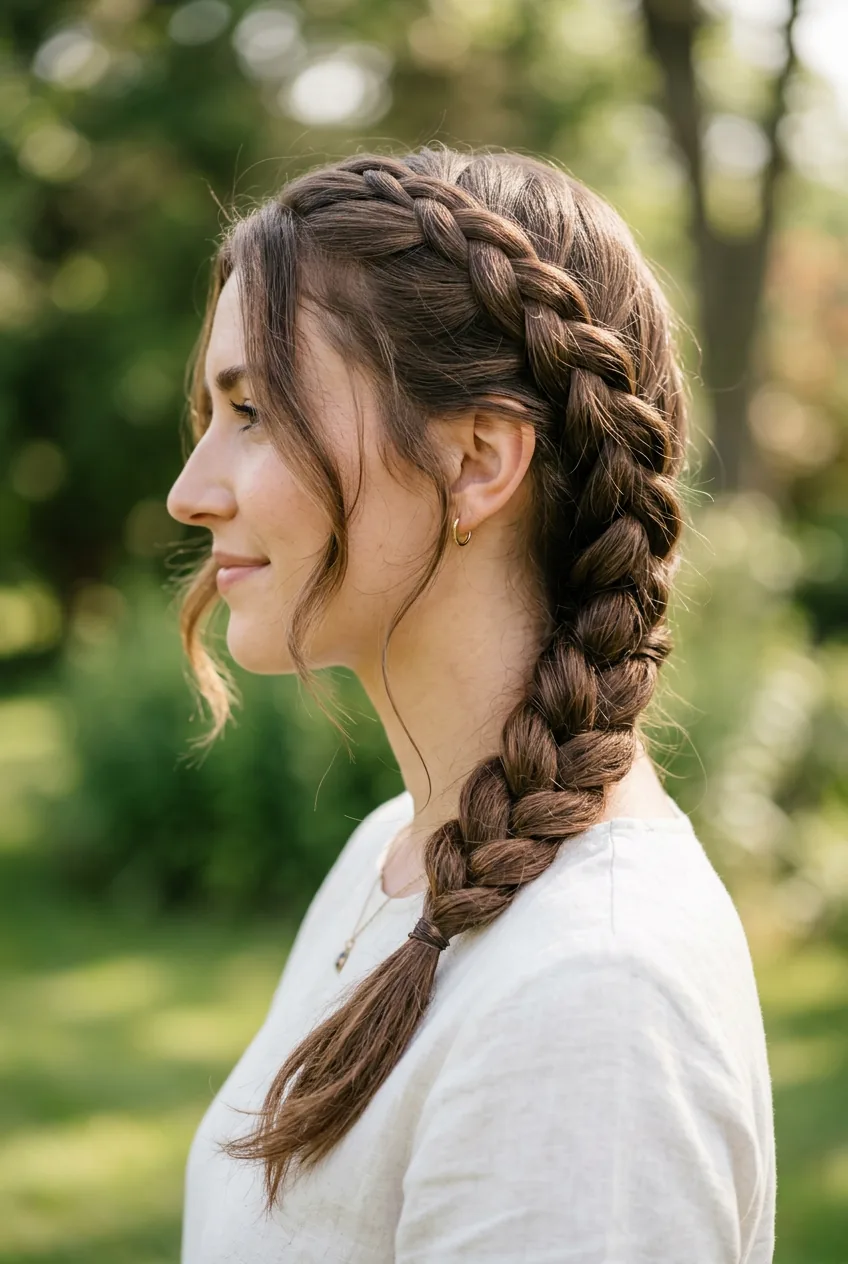
Difficulty: ⭐ (1/5) | Time: 3 minutes | Tools: Hair tie, bobby pins
Same technique as the classic braid, just swept to one side. I part my hair deep on the left and gather everything to the right side of my neck. The asymmetry makes even the most basic braid look intentional and polished.
Pro tip: Leave a few face-framing pieces loose before you start braiding. It softens the whole look.
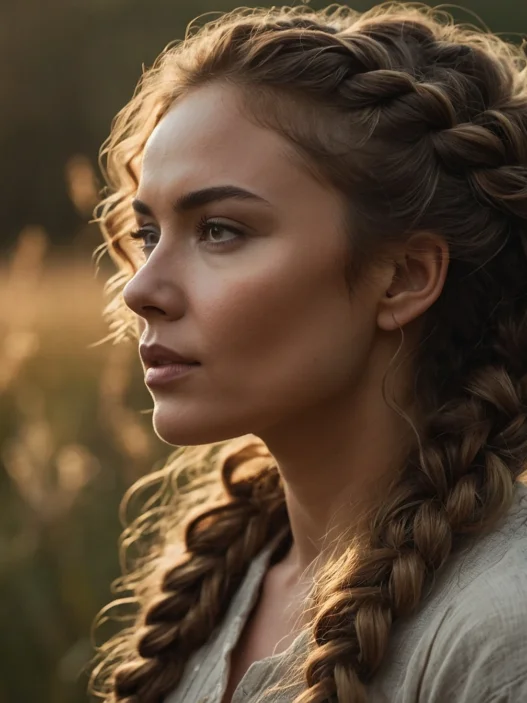
Still Easy: Basic French Braid
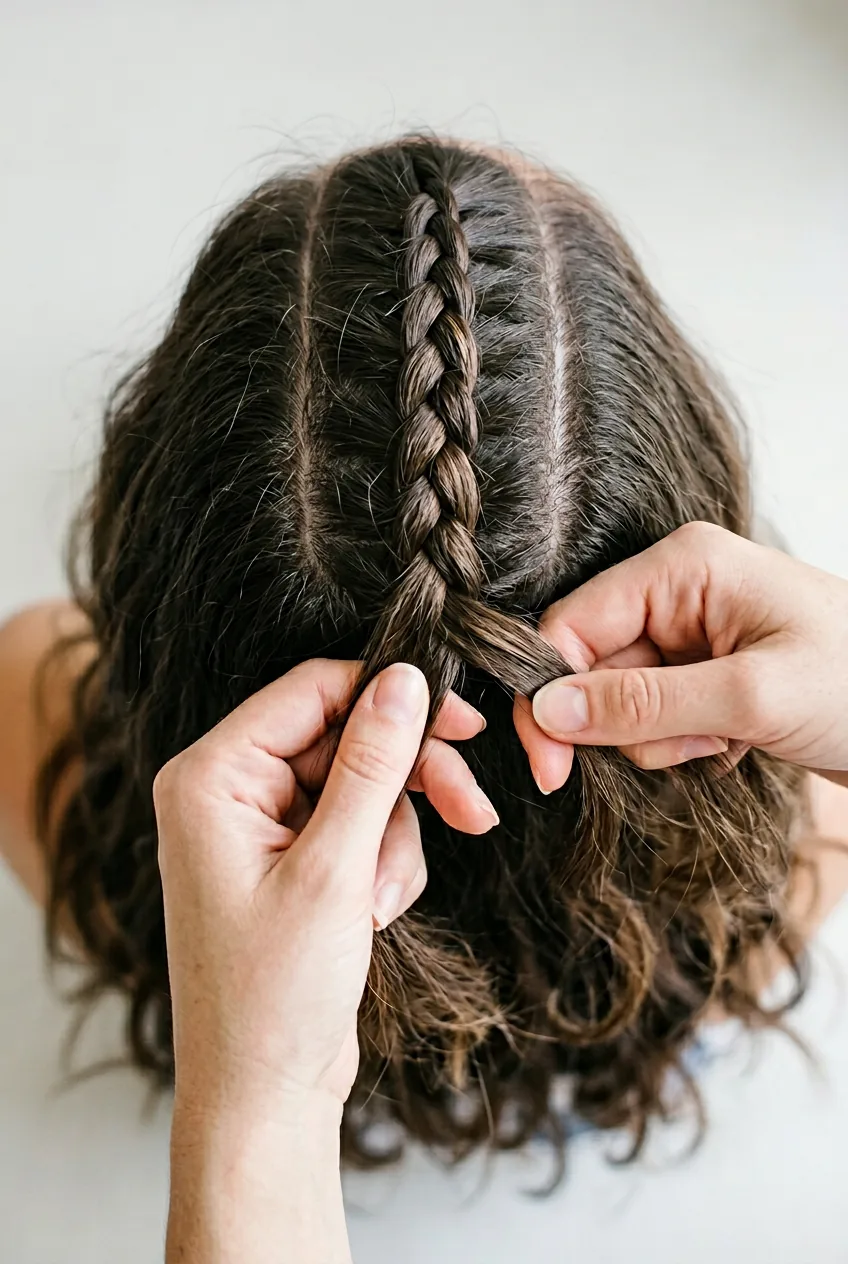
Difficulty: ⭐⭐ (2/5) | Time: 5-7 minutes | Tools: Hair tie, comb
Here’s where things get interesting. Start with a small section at your crown, divide into three pieces, and do one regular cross-over. Then — and this is key — before you cross again, pick up a small section of loose hair and add it to the outer strand you’re about to cross over.
French braids intimidated me for years until my hairdresser showed me to start small. Don’t try to grab huge sections of hair. Thin additions blend better and the braid stays neater. I practiced this one in front of Netflix for weeks.
My personal pick for everyday wear? The French braid wins every time. It keeps my hair completely secure during workouts, looks polished enough for meetings, and I can do it in my sleep now. Literally — I’ve braided my hair in hotel bathrooms at 6 AM without fully opening my eyes.
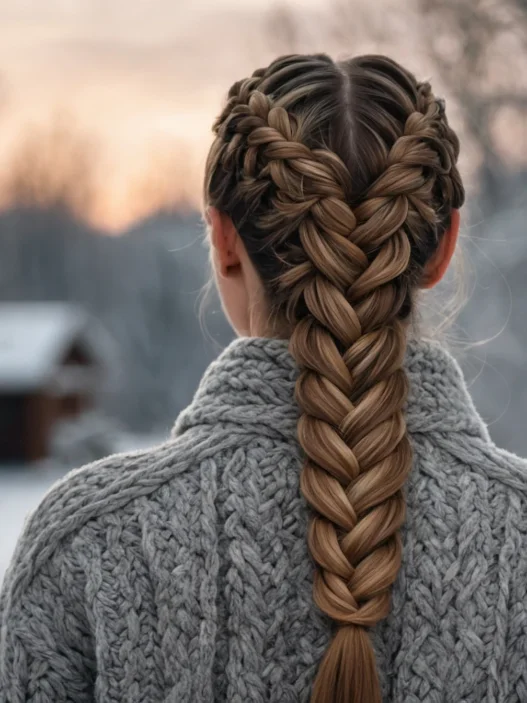
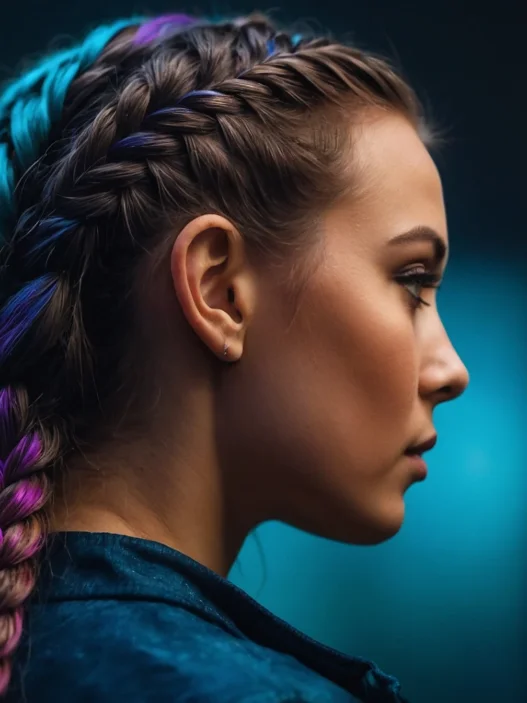
Getting Warmer: Dutch Braid
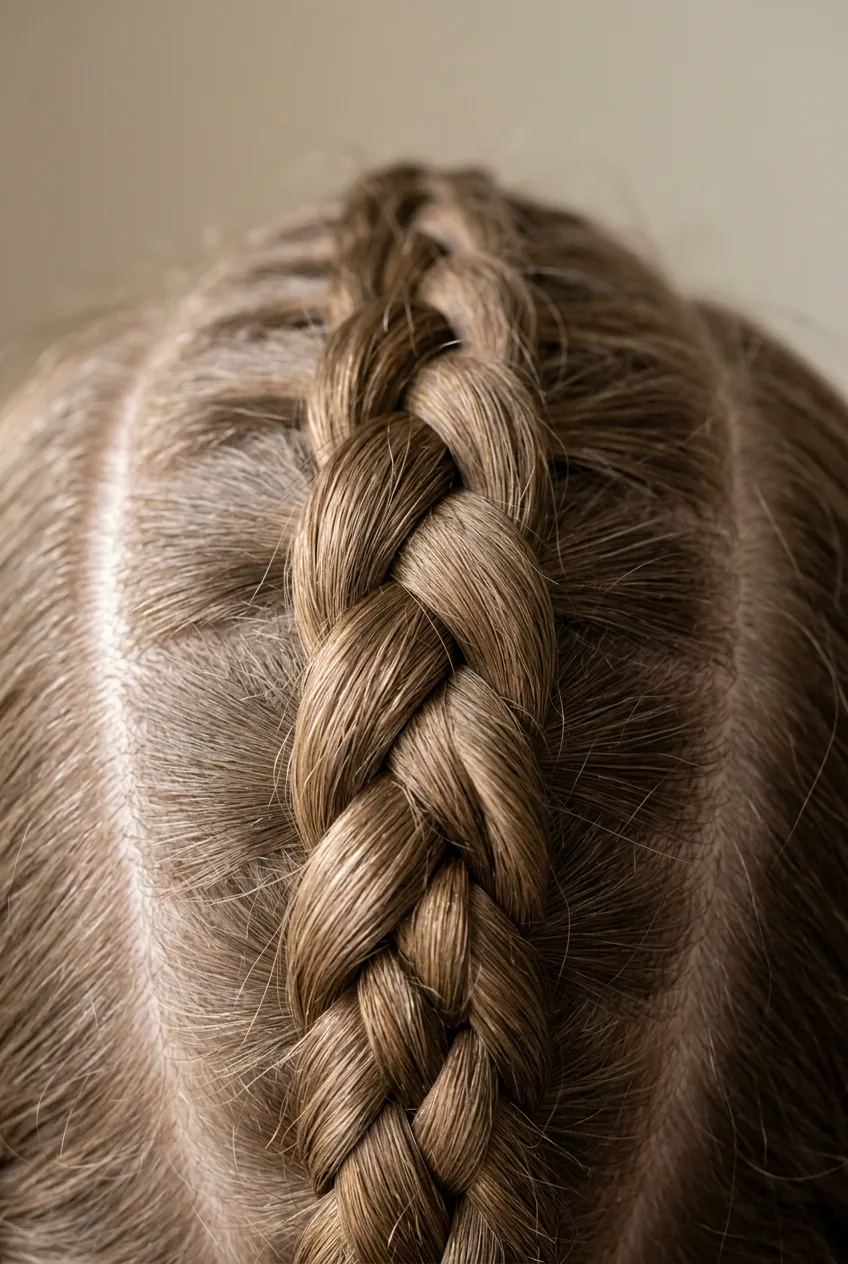
Difficulty: ⭐⭐ (2/5) | Time: 6-8 minutes | Tools: Hair tie, comb
Think of this as a French braid’s rebellious sister. Instead of crossing sections over the middle, you cross them under. It creates this gorgeous raised effect that sits on top of your head like a crown.
The hand motion feels backward at first — your brain wants to go over, but you force yourself to go under. I had to consciously think “under, under, under” for the first dozen attempts. Now it’s muscle memory, and I actually prefer Dutch braids for special occasions because they photograph beautifully.
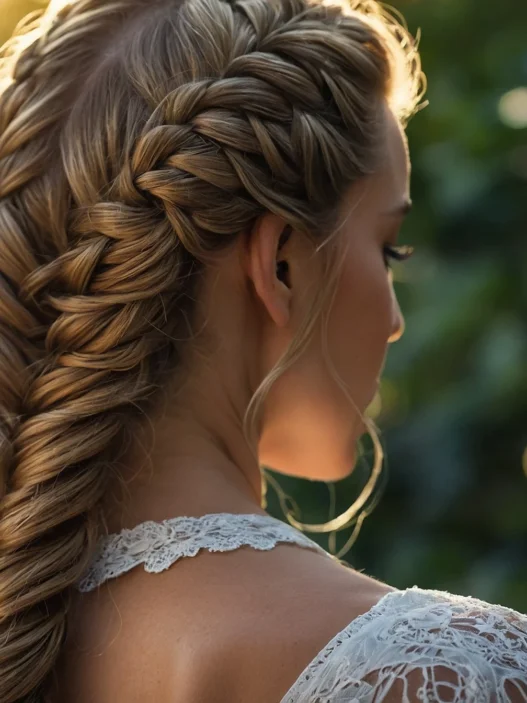
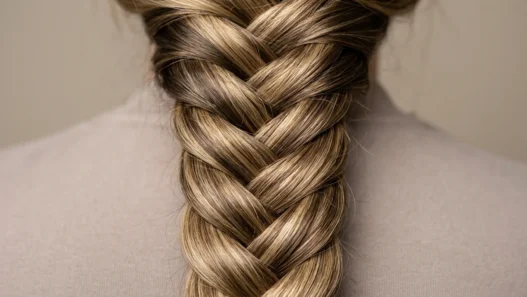
Intermediate Challenge: Fishtail Braid
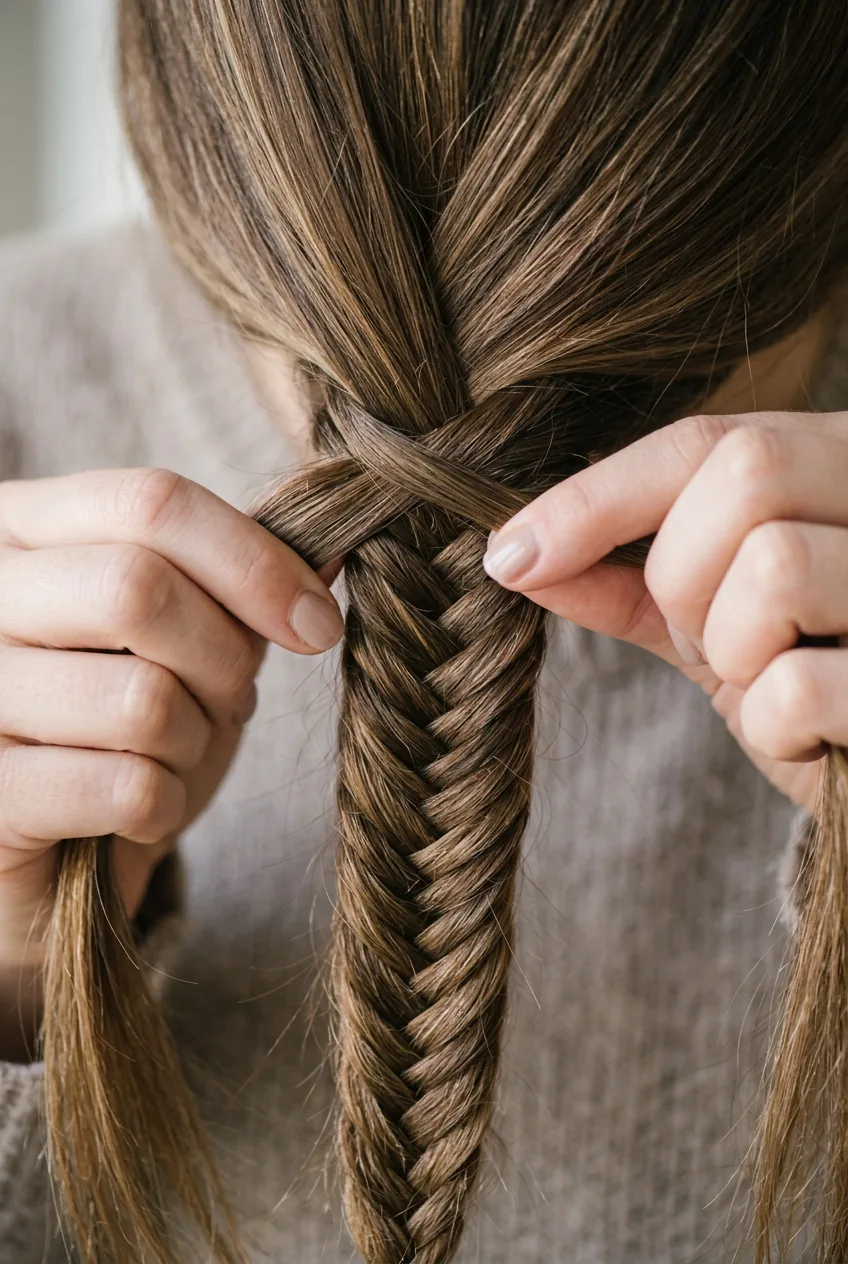
Difficulty: ⭐⭐⭐ (3/5) | Time: 8-12 minutes | Tools: Hair tie, texturizing spray
This one looks way harder than it actually is, which makes it perfect for impressing people. Divide your hair into just two sections instead of three. Take a thin strand from the outside of the left section and cross it over to join the right section. Then take a thin strand from the outside of the right section and cross it to the left.
The key word here is “thin.” I see people grabbing thick chunks and wondering why their fishtail looks chunky. Keep those crossing pieces skinny — about the width of your pinky finger. It takes longer, but the intricate pattern is worth it. I like to work with textured hair for this one because it grips better.
This Tutorial Finally Made It Click
Stepping It Up: Waterfall Braid
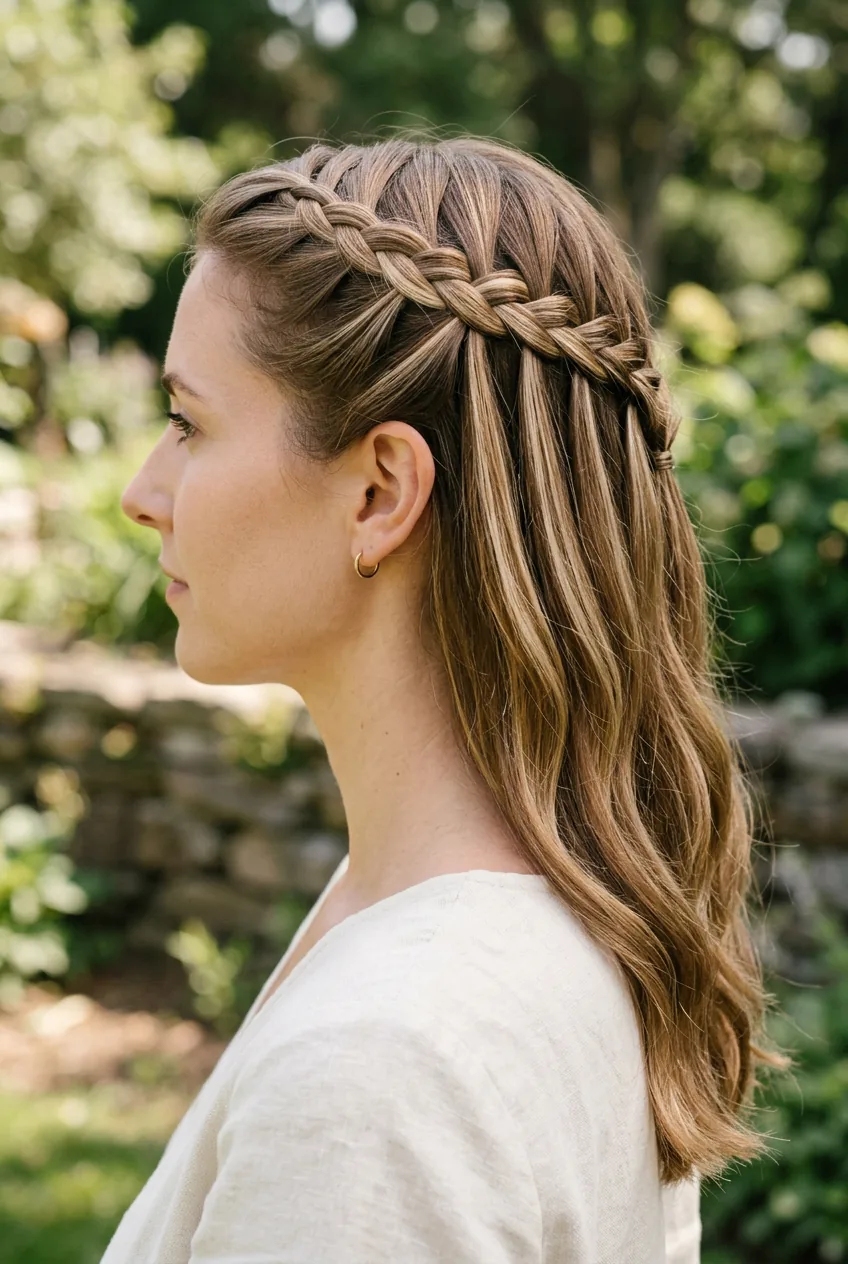
Difficulty: ⭐⭐⭐⭐ (4/5) | Time: 10-15 minutes | Tools: Hair tie, bobby pins, patience
Now we’re getting fancy. The waterfall braid creates this gorgeous cascading effect where strands of hair “fall” through the braid like water. Start like you’re doing a French braid along your hairline, but here’s the twist: instead of adding hair to both sections, you only add to the top section. The bottom section gets dropped and replaced with new hair each time.
I won’t lie — this one made me want to quit braiding entirely the first few times. The dropping and picking up new sections felt like trying to juggle. But once you get the rhythm, it’s mesmerizing. Perfect for special occasions when you want something that looks impossibly complicated.
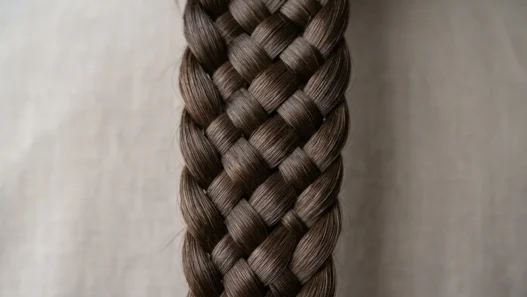
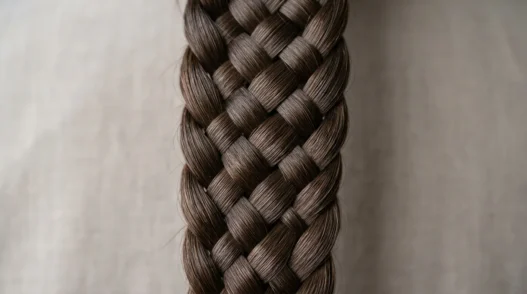
Advanced Level: Four-Strand Braid
Difficulty: ⭐⭐⭐⭐ (4/5) | Time: 12-18 minutes | Tools: Hair tie, sectioning clips
Four strands instead of three sounds simple in theory. In practice, your hands will feel like they’re learning a new language. The pattern goes: far right under middle right, far left under middle left, then middle right under middle left. Repeat until your arms ache.
I use sectioning clips to keep track of which strand is which while I’m learning a new pattern. The four-strand creates this gorgeous rope-like texture that’s completely different from traditional braids. Worth the learning curve, but don’t attempt this when you’re rushing to get somewhere.
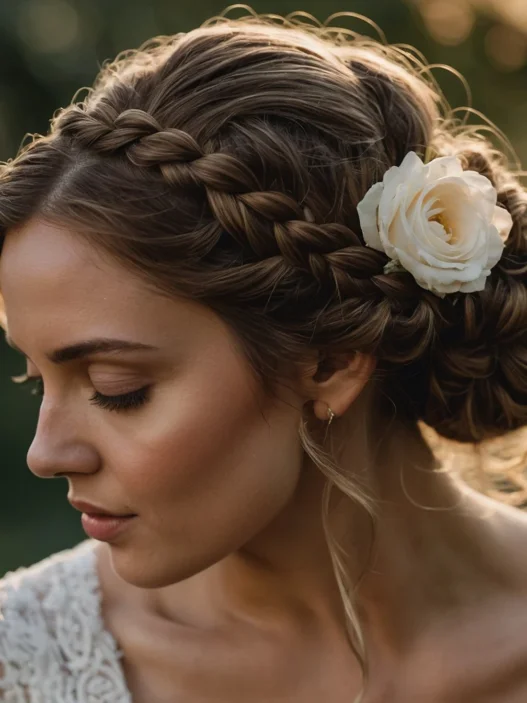
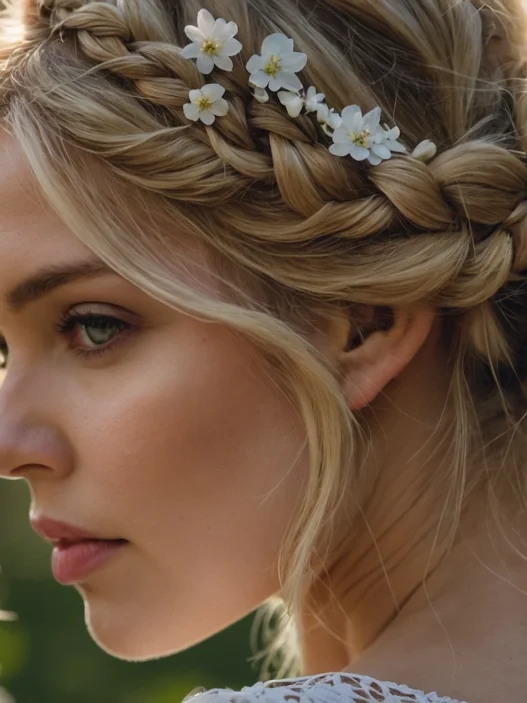
Master Level: Crown Braid
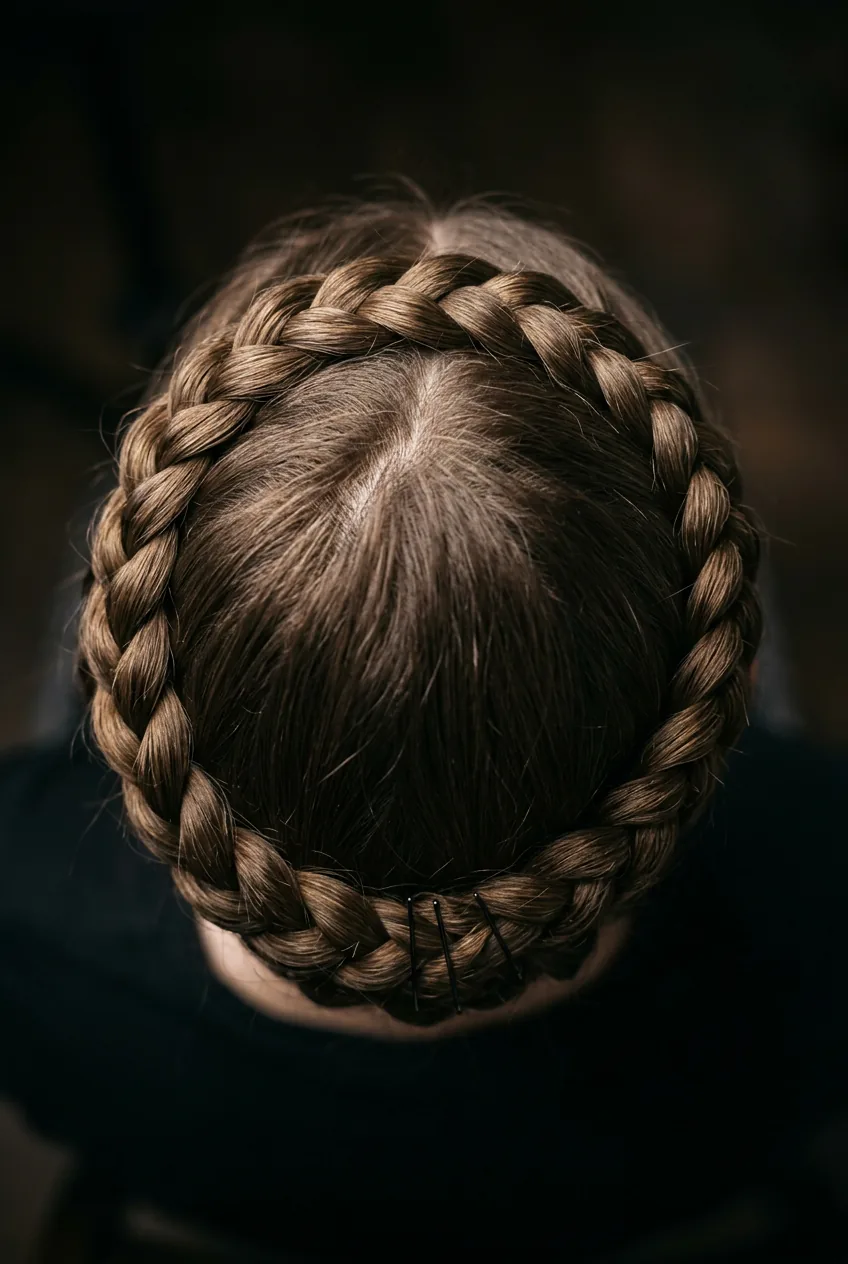
Difficulty: ⭐⭐⭐⭐⭐ (5/5) | Time: 20-30 minutes | Tools: Hair ties, bobby pins, sectioning clips, mirror setup
The crown braid is basically a Dutch braid that travels in a circle around your head. Start at one ear, Dutch braid along your hairline, curve around the back, and meet back where you started. Then you tuck the end under and pin everything invisibly.
This requires two mirrors and the flexibility of a yoga instructor. I had to recruit my sister as a human mirror for weeks before I could manage it solo. The hardest part is keeping the braid the same size all the way around — it wants to get tighter as you curve around the back of your head.
But when you nail it? Pure magic. I’ve never felt more like a hair goddess than the first time I successfully completed a crown braid. Advanced techniques like this take practice, but they’re absolutely achievable.
Questions I Always Get About These Braids
How long should I practice each level before moving up?
I tell people to master each braid to the point where you can do it while watching TV before moving to the next level. For most people, that’s about a week of daily practice per braid.
What if my arms get tired during the longer braids?
Take breaks! I pause mid-braid all the time, especially with the crown braid. Just secure your work with a small elastic and shake out your arms. Your technique will actually be better when you’re not fighting fatigue.
Do these work on short hair?
Most of these need at least shoulder-length hair to work properly. The exceptions are the side braid and waterfall braid, which can work on shorter styles with some creative bobby pinning.
Should I braid on wet or dry hair?
Slightly damp hair is actually ideal — it has grip without being slippery. Completely wet hair is too heavy and will stretch your braids out. Bone-dry hair can be flyaway and hard to control.
Start with that classic three-strand braid and work your way up. I promise the muscle memory builds faster than you think, and there’s something deeply satisfying about creating these intricate patterns with your own hands. The right tools make a difference, but honestly, your fingers and a hair tie will get you pretty far.