







I had a 4 p.m. vineyard wedding last June, a long slip dress that showed my whole back, and hair that absolutely refused to hold a curl past the ceremony. I did not want to look like a bridesmaid, and I definitely did not want to be re-pinning in the bathroom during cocktail hour. That day is why I built this exact timed routine, and I have worn it to three weddings since.
I call it my low twisted wedding guest updo, because it sits right at the nape, looks soft from the front, and does all the pretty work from behind where the photos actually happen. If you follow along in real time with me, you will be out the door in about 40 minutes.
Follow Along With My Timed Routine
- What You Will Need
- Step 1: 0:00, Day-Old Prep and Grit
- Step 2: 5:00, Map Your Part and Sections
- Step 3: 12:00, Build Soft Texture and Volume
- Step 4: 20:00, Twist and Pin the Nape Base
- Step 5: 28:00, Wrap the Sides and Lock It In
- Step 6: 35:00, Soften, Shine and Final Check
- What People Ask Me About This Low Wedding Guest Updo
What You Will Need
I keep everything on my bathroom counter before I start, because once my hands are full of twists I do not want to go digging. My hair is long, thick at the back and kind of slippery on top, so my kit leans grippy, not stiff. You do not need pro tools for this, just the right mix of hold and softness.
- Wide-tooth comb plus a fine tail comb for clean parts
- 4 to 6 small clear elastics, I love the snag-free kind
- 12 to 16 U-shaped hair pins in your hair color, plus 8 standard bobby pins
- Lightweight texturizing spray and a flexible-hold hairspray
- Heat protectant and a pea-size bit of smoothing cream
- 1-inch curling iron or wand, and a blow dryer if you are starting damp
- 2 duckbill clips for sectioning, and small mirror for the back check
If your hair is super clean, grab dry shampoo too. Freshly washed long hair is my least favorite base for any wedding guest updo, it just slides. And if you are working with shorter layers, add two extra mini claw clips, they save you around the ears. I learned about how different lengths behave when I was browsing wedding guest hairstyles for every length and realized my nape placement had to change for chin-grazing pieces.
Step 1: 0:00, Day-Old Prep and Grit
Start your timer. Seriously, the time stamps are what keep this doable when you are also doing makeup and steaming a dress. I do this style on day-old or even day-and-a-half hair. If you washed this morning, rough dry it completely, then mist dry shampoo at the roots and brush it through. You want matte, touchable grit, not squeaky.
I rake a wide-tooth comb through everything, then work a tiny bit of smoothing cream only from mid-length to ends. Keep it off the roots or you will lose the lift we build in a minute. Then I spray heat protectant all over, because we are adding soft bends next and I have fried my ends before a wedding once and never again. Ask your stylist about heat-safe routines for long hair before you turn up the iron, especially if you color.
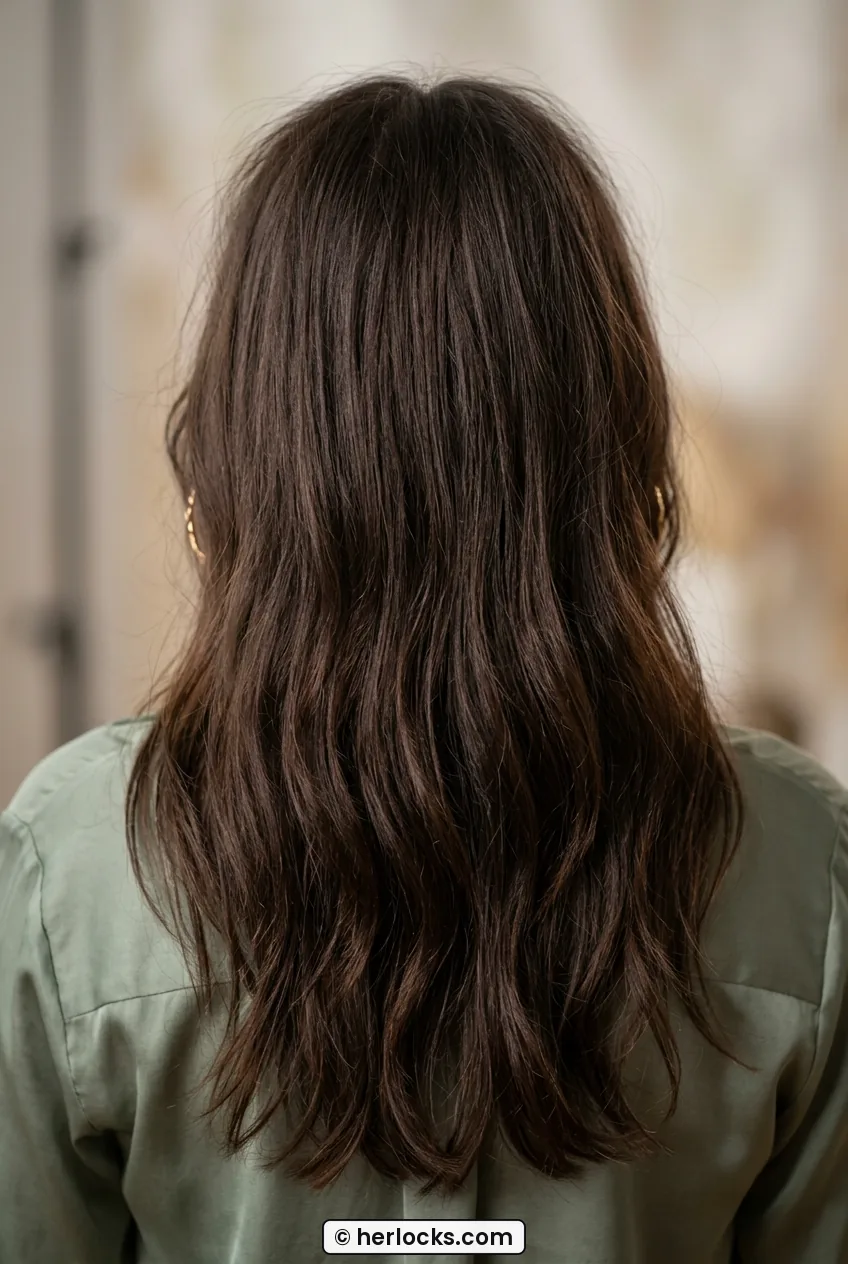
By now you should see hair that looks a little lived in, moves when you shake your head, and does not separate into silky ribbons. If it still feels too soft, add one more veil of texturizing spray at the crown and scrunch. That is your foundation. Do not skip this, a low twist needs friction to sit at the nape without sliding down by dinner.
Step 2: 5:00, Map Your Part and Sections
At the five minute mark I decide my part, and I stick with it. I love a soft off-center part for weddings, it photographs better than a severe middle part on me and gives that little face-framing swoop. Use your tail comb to draw it clean from hairline to crown, then finger soften it just a touch so it does not look drawn on.
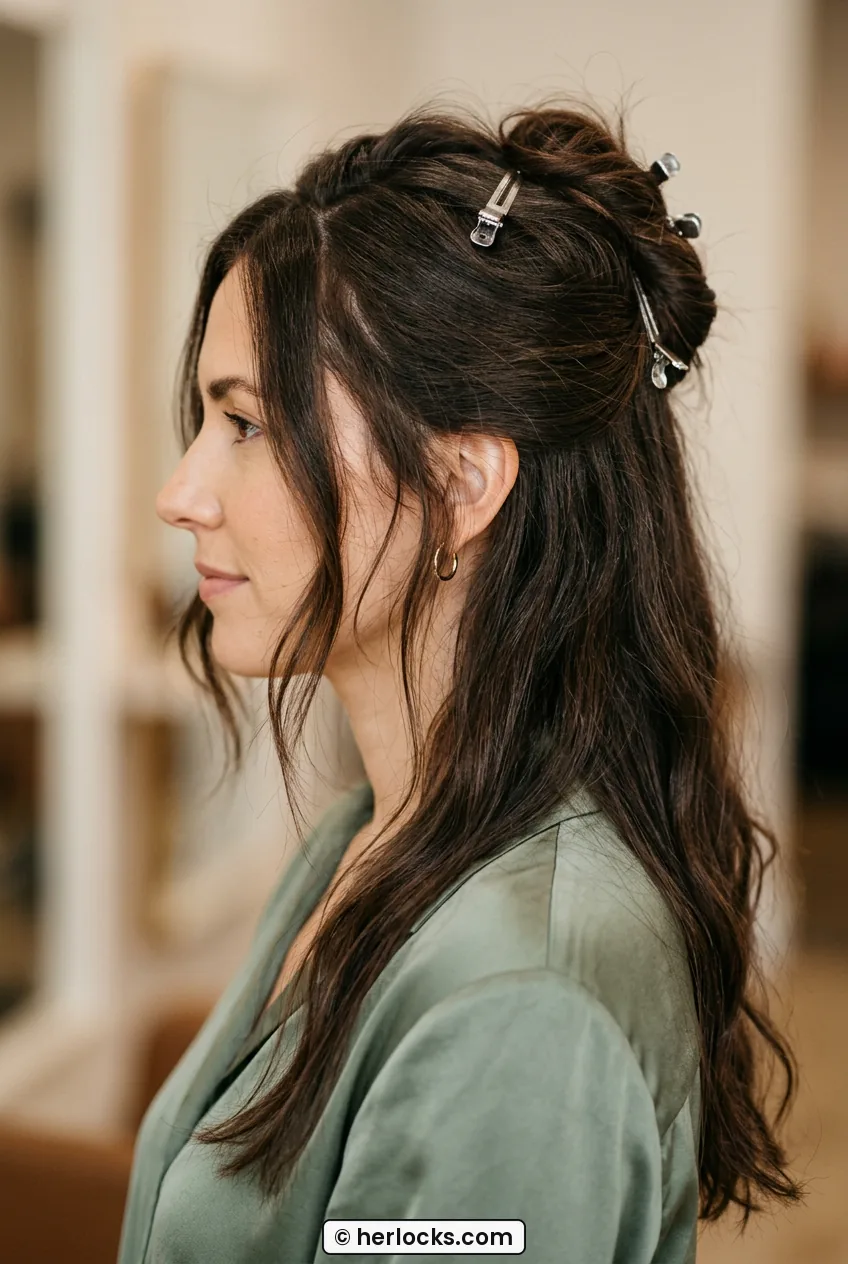
Now section like you mean it. Clip the top crown area up and out of the way, then split the back into a left and right, and leave two generous two-inch side pieces out by each ear. Those front pieces are your money pieces, they become the final wraps. If you love a wedding guest half up half down look normally, think of this as its polished cousin, same softness around the face, but everything tucked low so it lasts.
I also pull out a wispy bit at each temple right now, not later. Trying to pull face-framers out after you have pinned is how you unravel everything. By now you should see three clear zones: crown clipped up, sides left out, back split in two. Take a quick photo from the front. Does one side look heavier? Fix it now while it is easy.
Step 3: 12:00, Build Soft Texture and Volume
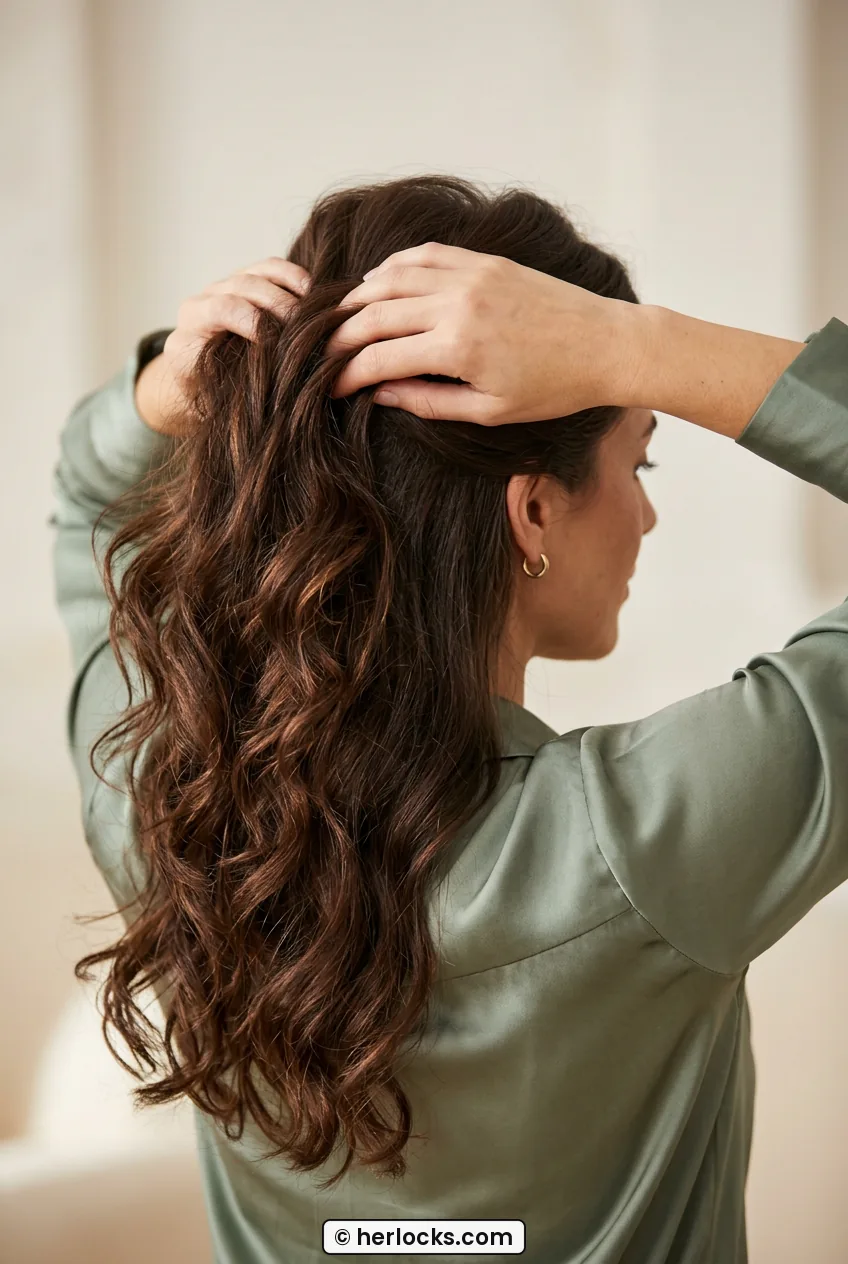
You are twelve minutes in, time for bends. I wrap one-inch sections around my curling iron, leaving the last inch out straight for a more modern, undone wave. I curl away from my face on the sides, and alternate directions in the back so the base does not form one solid sausage roll. You do not need perfect curls, you need memory.
Let each section cool for a minute before you touch it. I usually curl the whole head, shake it out with my fingers, then mist with flexible hairspray. Then I backcomb just at the crown, two or three gentle pushes with a fine comb, and smooth the top layer over it. My favorite trick from years of frizz is reading up on humidity-proof curl prep before summer weddings, it changed how I layer product.
By now you should see soft, touchable volume, not pageant volume. Put your head upside down and shake once, then flip back. If the crown falls flat immediately, you need one more puff of texturizing spray at the roots. For my friends with effortless wedding guest hairstyles for summer on their minds, this is the step to keep light, too much spray plus humidity equals crunch.
Step 4: 20:00, Twist and Pin the Nape Base
Twenty minutes, this is the heart of it. Gather the back section into a low, loose ponytail right at the nape, but do not pull it tight to your head. You want a little pillow of volume above it. Secure with a clear elastic, then gently tug the hair above the elastic up and out for lift. This little pouf is what keeps the style from looking glued down in photos.
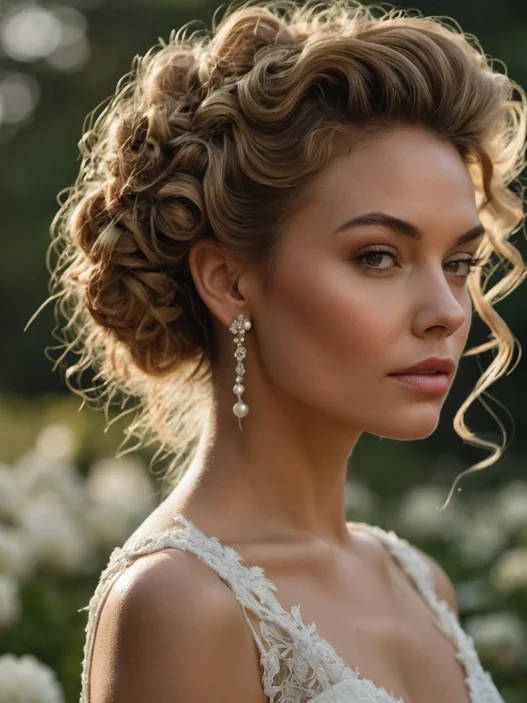
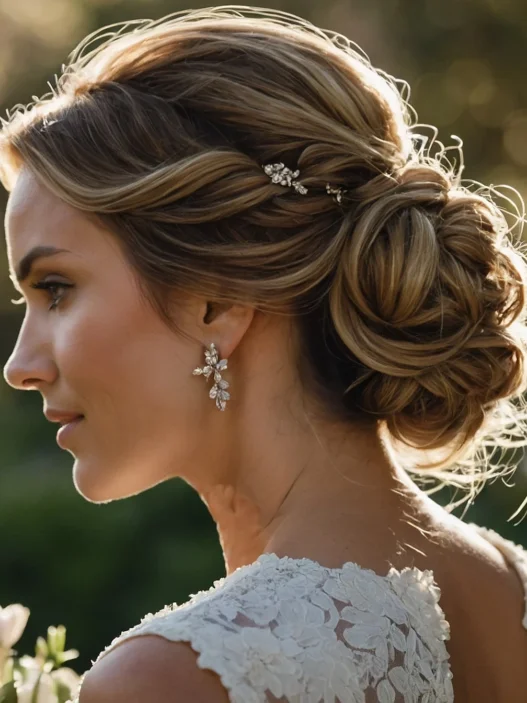
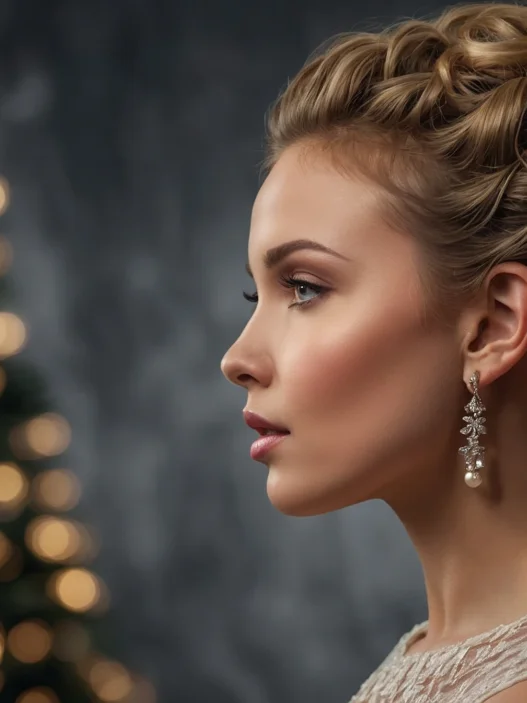
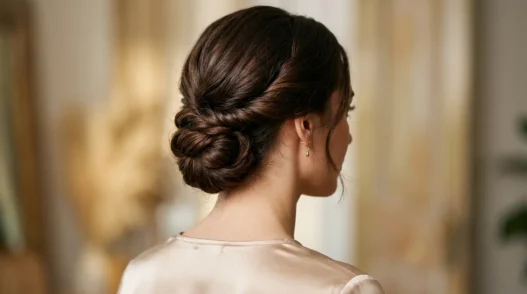
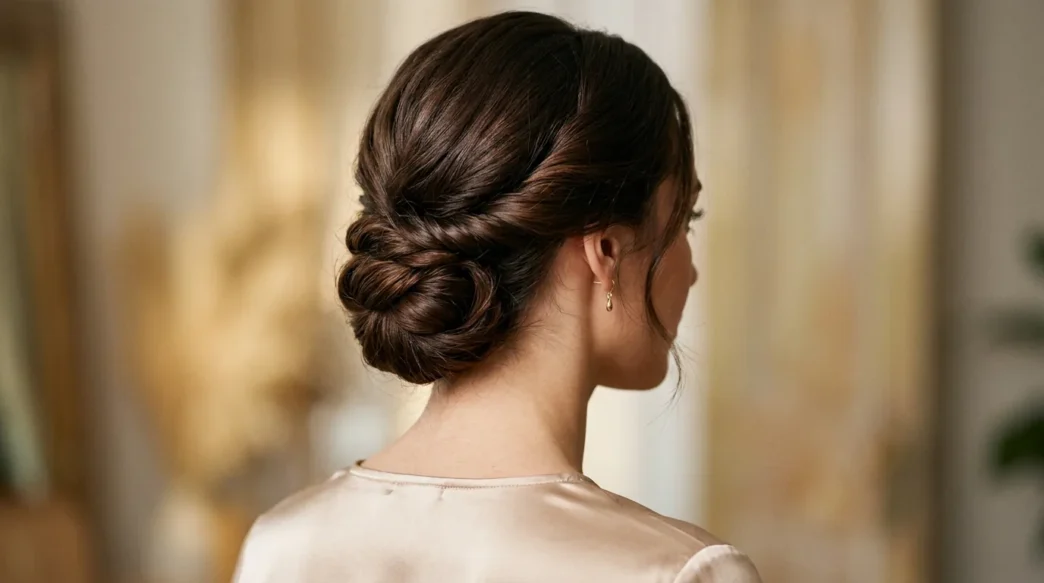
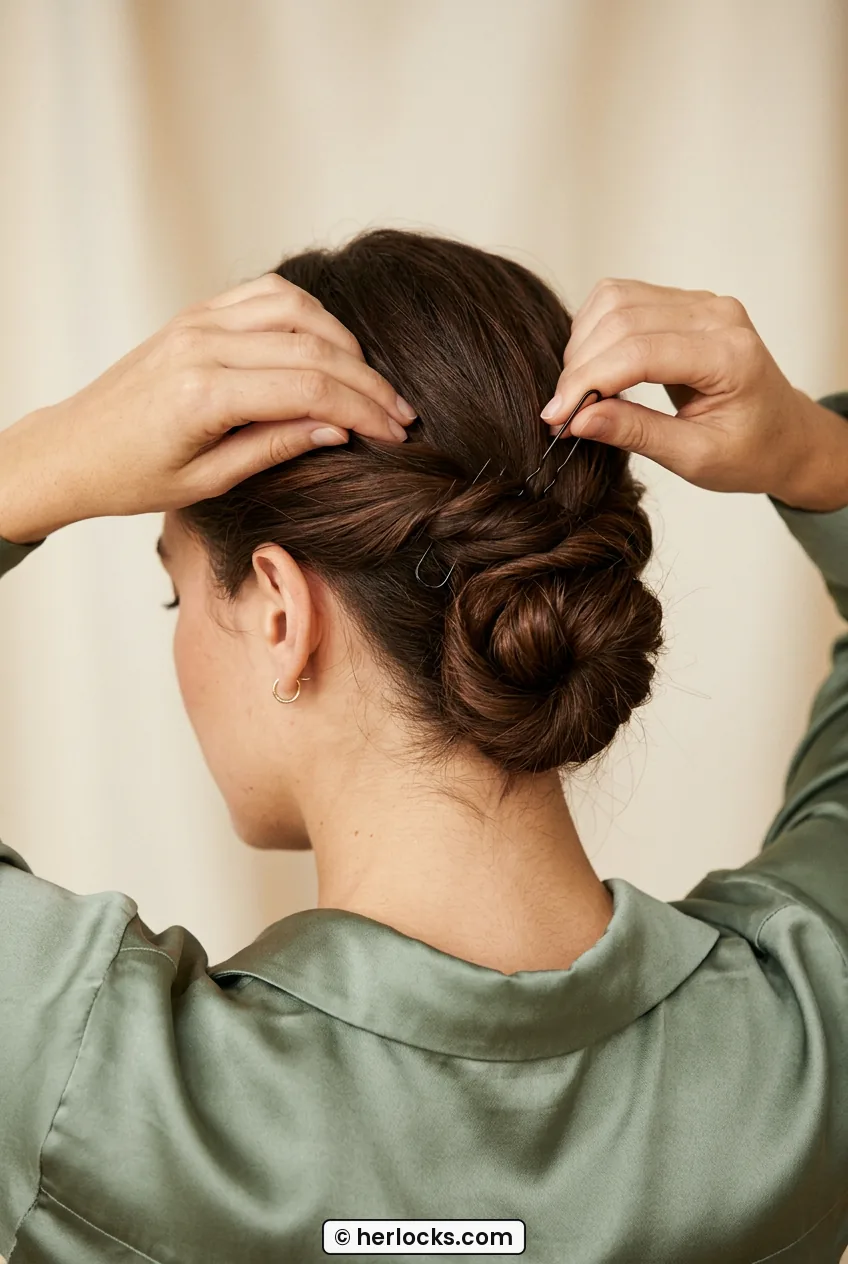
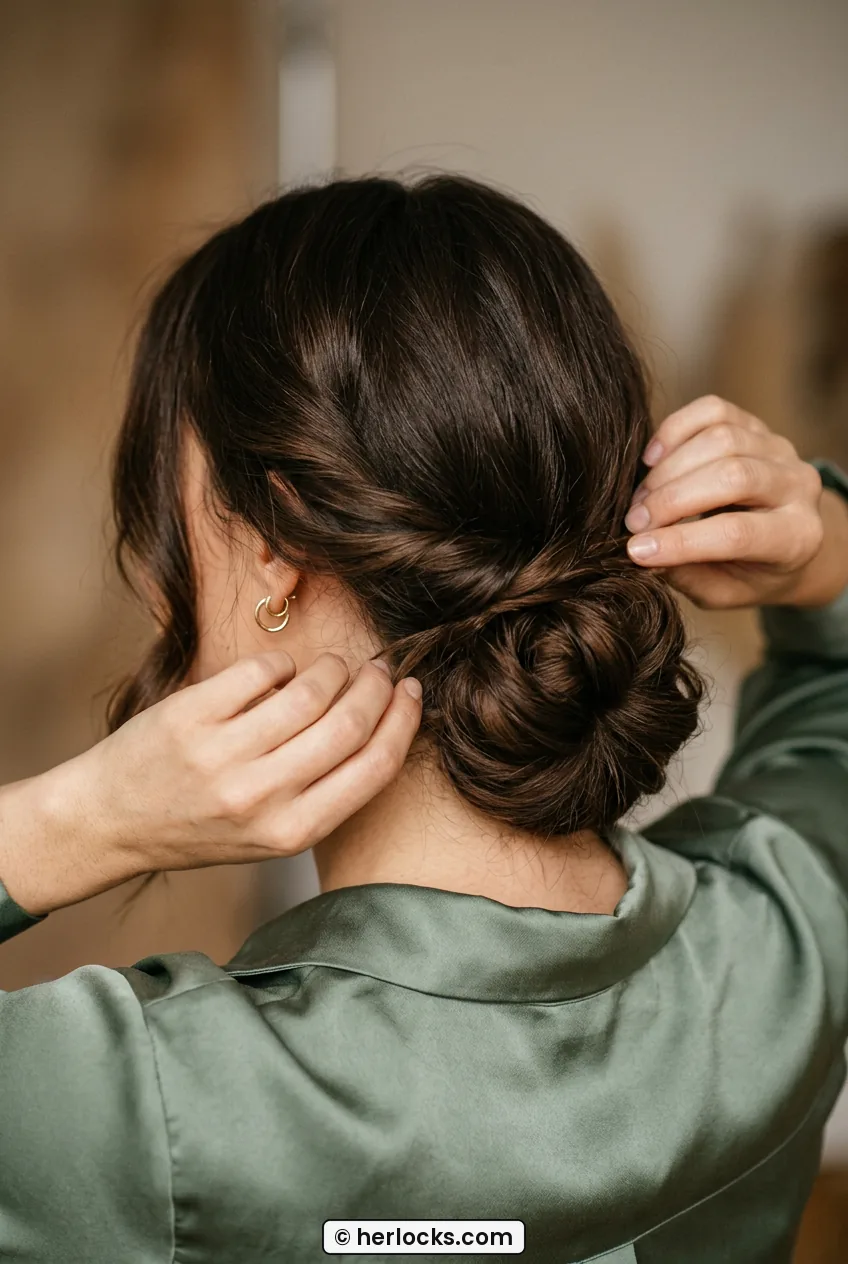
Split that ponytail into two. Twist each half loosely, then cross them over each other and coil them into a soft low bun shape. Look at how she is wearing hers in the photo below, see how the twists sit flat against the nape but you can still see the individual ropes? That dimension is exactly what you are after. Pin with U-pins, not bobby pins here, slide one in from the left, one from the right so they lock like a little X inside the hair.
My mistake the first time? I pinned straight down into the bun and every pin slid out by the first dance. You have to catch scalp hair with each pin, push in, then wiggle back toward the bun. Once I started actually anchoring to the head, it did not move for eight hours.
By now you should see a soft, slightly messy chignon sitting at the nape, wider than it is tall. It should feel secure when you nod yes and no. If it wobbles, add two more U-pins in an opposite direction. Spray lightly, but do not shellac it yet, we still have side pieces to blend in. For extra inspiration on shape, I keep coming back to elegant formal updos for weddings and prom when I want mine a little more polished or a little more undone.
See the Twist and Pin Live
Step 5: 28:00, Wrap the Sides and Lock It In
At twenty eight minutes, unclip those side pieces. Take the right side, twist it back toward the bun, keeping it fairly loose over the ear. You want it to skim, not pull. Lay it over the top edge of your base and pin it into the bun with a bobby pin hidden underneath. Repeat on the left, crossing just above or just below the first twist so they overlap like a little knot.
This is where long hair really wins, you get those long, drapey lines that make the back look intricate without any braiding. If you have layers that pop out, that is fine, just tuck the ends under and pin. I use a pea-size dot of cream on my fingertips to smooth flyaways as I twist. And if you are working with short hair wedding guest lengths, do the same move but in two smaller twists per side, pinning each one separately so nothing pulls. I stole that idea after falling down a rabbit hole of winter wedding guest hairstyles for 2025 where everyone was tucking shorter bits under low twists.
By now you should see no elastics, no part lines in the back, just soft interwoven twists leading into the nape bun. Touch the sides, they should feel smooth but still move a little when you turn your head. If they feel tight, loosen with the tail end of your comb by sliding it under the twist and lifting a millimeter. Then give the whole thing a real mist of flexible hairspray, I do a slow circle around my head from about ten inches away. Curious about hold versus softness? I learned a lot from long-lasting formal hairstyles about layering light layers instead of one heavy coat.
Step 6: 35:00, Soften, Shine and Final Check
Last five minutes, this is all finesse. Pull your little temple wisps forward and curl them very lightly if they fell flat, just one quick wrap. Then use your fingertips to gently pancake the twists, tug outward a tiny bit for airiness. Less is more here, I do three tugs max per side. Step back and look from the front first, do you look soft and awake? Good.
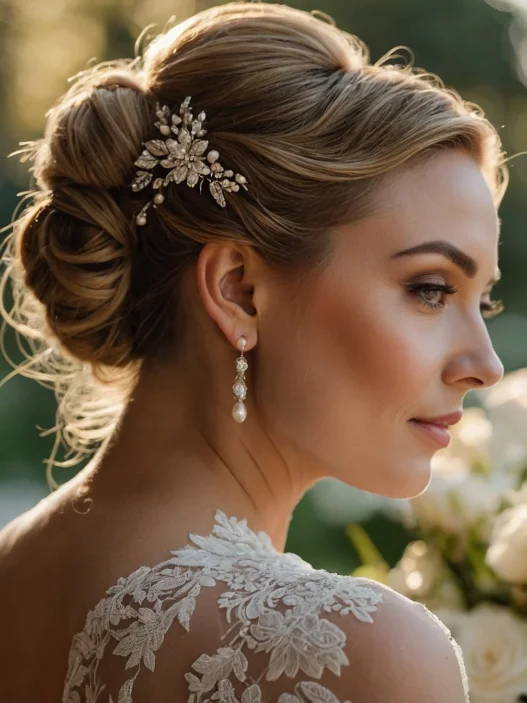
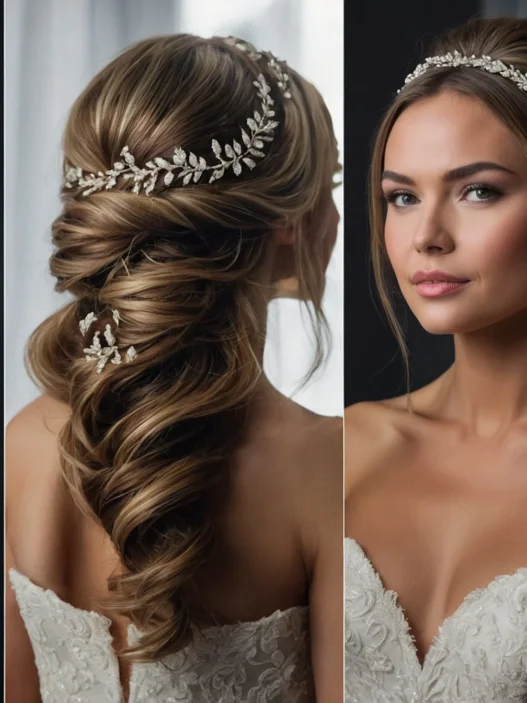
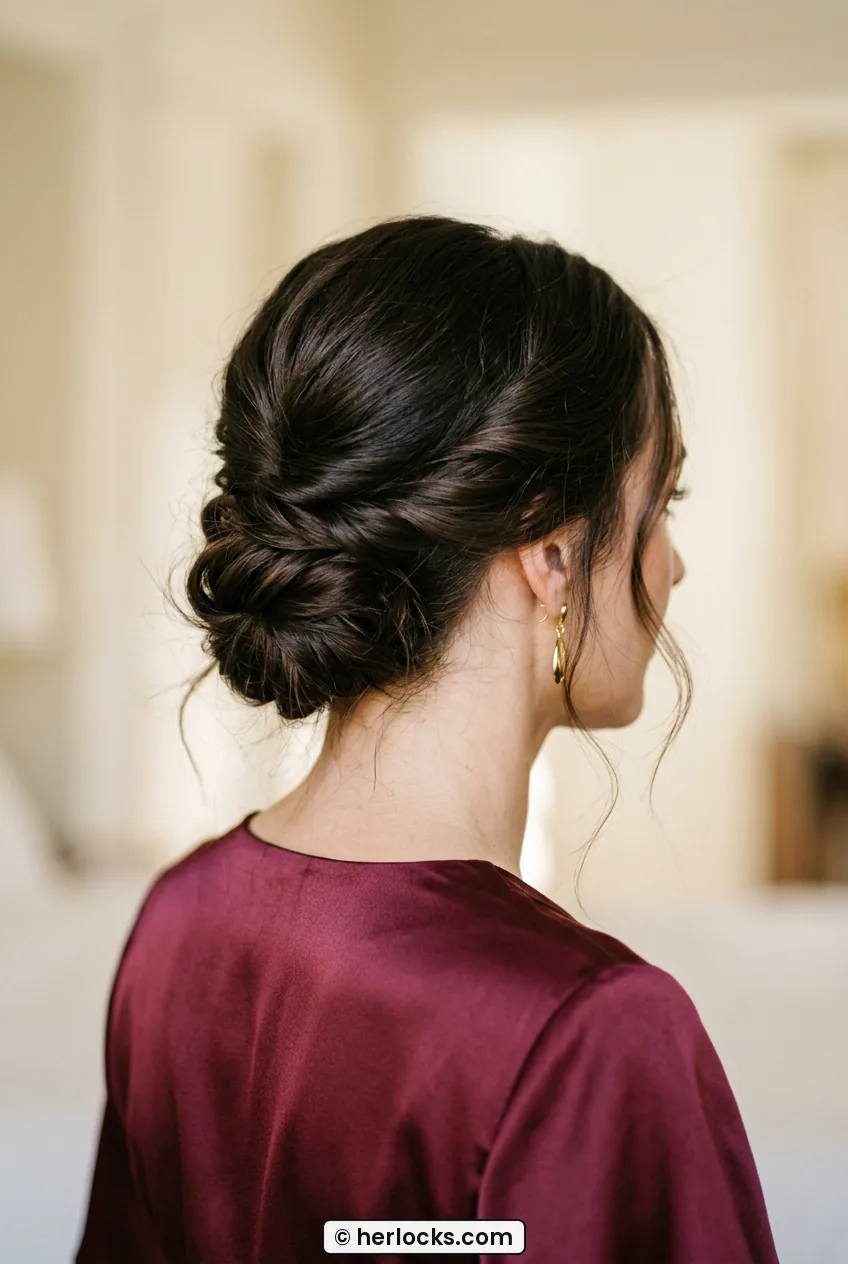
Now check the back with a hand mirror, or take a phone photo with flash. Look at the back view in the photo here, notice how her earrings still show and the neck looks long? That is because we kept the bulk low and left a little skin visible above the bun. If yours is creeping up too high, press it down gently and add one more U-pin underneath. Add a drop of shine serum over the top layer only, and one final whisper of spray.
By now you should see a low, touchable wedding guest updo that moves when you dance but does not shed pins. Do the final tests I always do: lean your head back like you are laughing, tilt side to side like you are hugging everyone, look down at your shoes. Nothing shifting? You are done. Pop in earrings, they sit perfectly with this neckline, and get out the door. My last look lasted from 3 p.m. photos through midnight tacos, and the back still looked twisted and soft in the photographer’s sneak peek. And when my curls want more definition in the twists, I borrow tricks from curly updos for weddings and events to keep the texture piecey instead of fuzzy.
What People Ask Me About This Low Wedding Guest Updo
Will this work on fine or slippery hair?
Yes, but do not skip the grit. I would add dry shampoo at the roots and a little texturizing powder right where you pin. Use more U-pins than you think and keep the twists a touch tighter at the start, they always relax.
How do I make it last through dancing?
Anchor every pin to scalp hair, layer two light coats of spray instead of one heavy one, and keep the base low. High buns pull with gravity, low ones rest. I also tuck two extra bobby pins and a tiny spray in my clutch just in case.
Can I do this on short hair or a lob?
You can, just split the sides into smaller twists and build a smaller base. Fake fullness with gentle backcombing in the ponytail before you coil it. Leave the front pieces a little longer around the face so it does not look pulled.
What if I want it more casual for an outdoor wedding?
Leave more texture out. I would pull one extra wisp per side and pancake the twists a bit wider. Skip the shine serum and let it stay matte, it reads more relaxed in daylight and still holds.
I wore this to that vineyard wedding with gold hoops and a low-back dress, and my friend actually thought I had gone to a salon that morning. Nope, just me, my bathroom mirror, and a timer. Try it once before the big day if you can, you will be so much calmer knowing exactly how your hair twists.