


I used to think rubber band hairstyles were just for little kids or gym days. You know the look — messy ponytails that slide down by lunch, or those bumpy sections that scream “I gave up.” But last summer, when my straightener died right before a wedding, I had to get creative with just a pack of clear elastics. What I discovered completely changed how I think about these simple tools.
What You’ll Need for This Technique
The beauty of this method is how simple the supply list is. I keep all of this in a small makeup bag that goes everywhere with me:
- 8-12 clear elastic bands (the small, snag-free kind)
- 2-3 regular hair ties that match your hair color
- Wide-tooth comb
- Texture spray or dry shampoo
- Small rattail comb for precise parting
- Bobby pins (about 6-8)
- Light-hold hairspray
- Hair clips for sectioning
The clear elastics are non-negotiable. Those colored ones you find at drugstores will break mid-style, and don’t even get me started on the rubber bands from your office drawer.
Step 1: Prep Your Hair Base
Start with hair that has some texture — day-old hair actually works better than freshly washed. If your hair is too clean and slippery, spray texture spray throughout, focusing on the mid-lengths and ends.
Comb through to remove any tangles, but don’t brush it smooth. You want that slight grip that comes from natural oils or product. I learned this the hard way when my first attempt on squeaky-clean hair resulted in every section sliding out within an hour.
Part your hair where you normally wear it. This foundation parting will guide the entire style, so don’t rush this step.
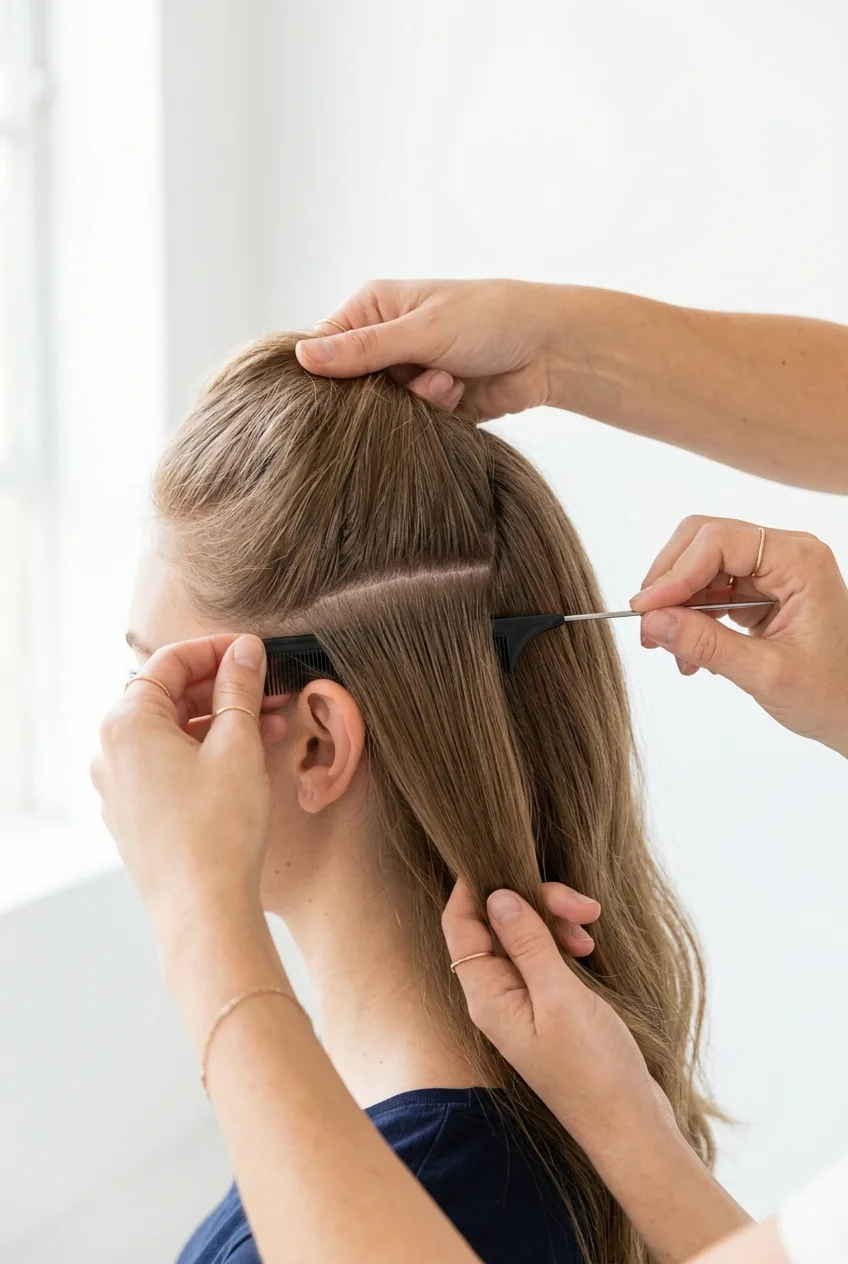
Step 2: Create Strategic Sections
Here’s where most people go wrong — they just grab random chunks of hair. Instead, think of your head in zones. Using your rattail comb, create a horizontal part from ear to ear, separating the top half of your hair from the bottom.
Clip the top section away temporarily. Now divide the bottom section into three equal parts: left, center, and right. Each section should be about 2-3 inches wide at the nape of your neck.
The key is making these sections clean and even. Messy sectioning leads to messy results, and no amount of clever elastic placement can fix uneven foundation work.
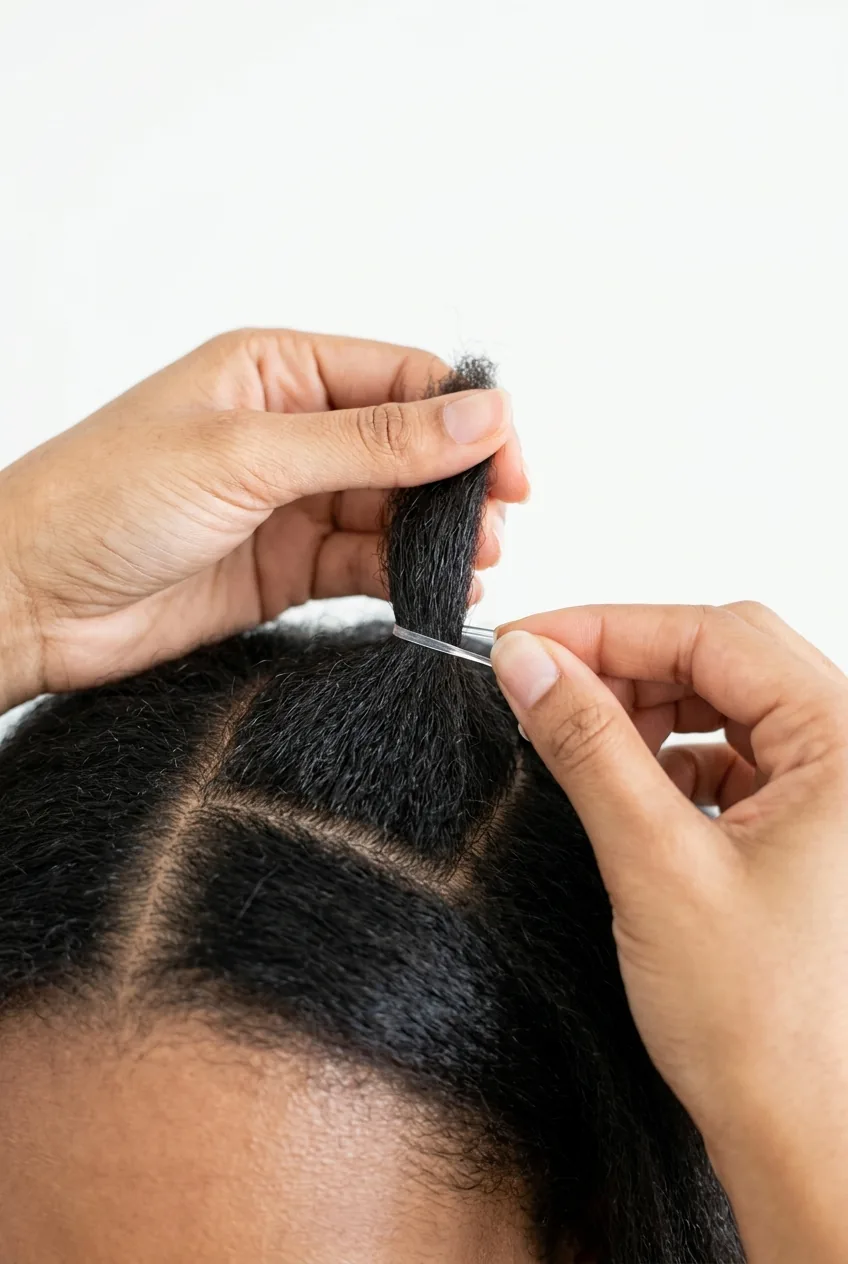
Step 3: Master the Elastic Placement
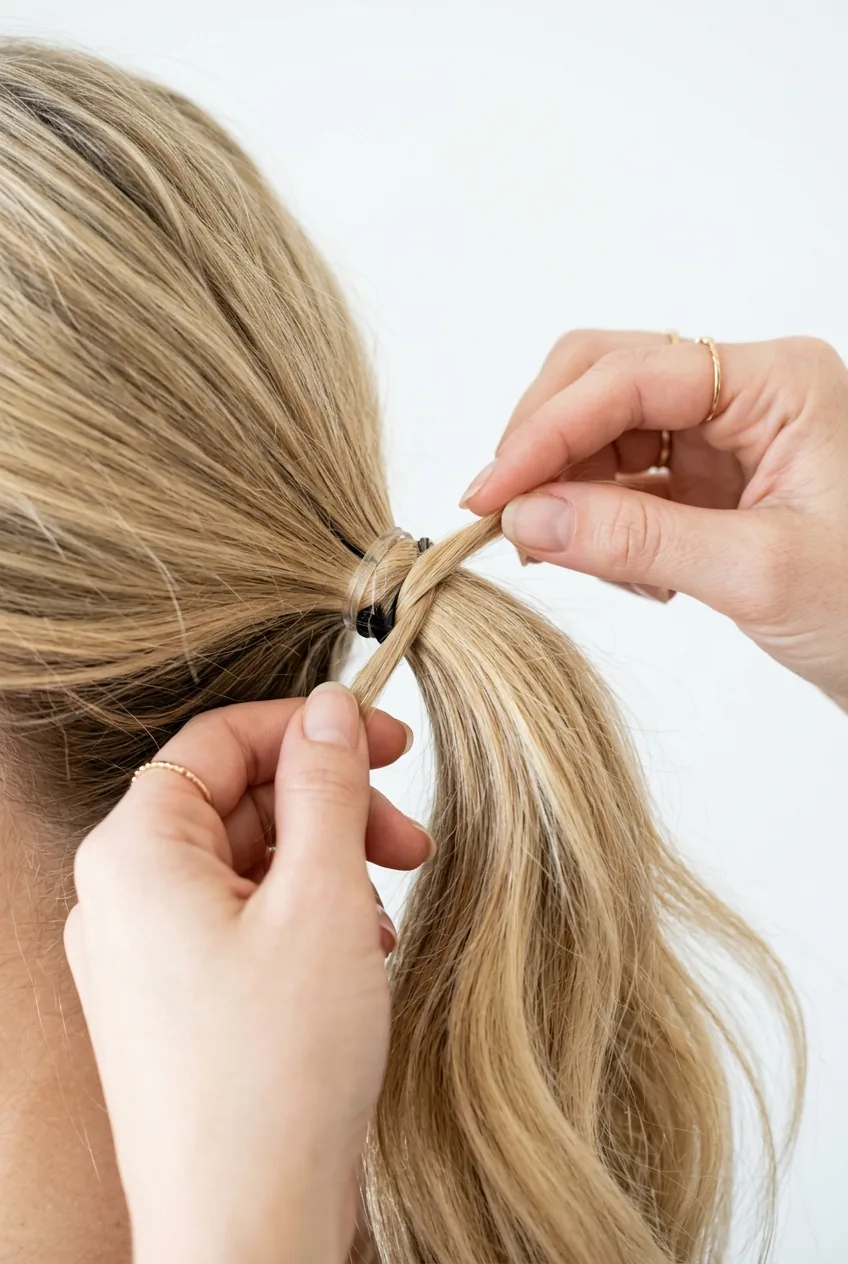
Starting with your bottom-center section, place the first elastic about 2 inches from your scalp. Don’t pull it tight yet — just secure it loosely. The magic happens in the next steps when we manipulate these sections.
Move to the left section, then the right, placing elastics at the same 2-inch mark from the scalp. Consistency in placement creates that polished, intentional look that separates amateur rubber band styles from ones that look professionally done.
Now here’s the crucial part: gently tug at each section above the elastic to create subtle volume. Don’t go crazy — just enough to add some fullness and prevent that “slicked back” appearance.
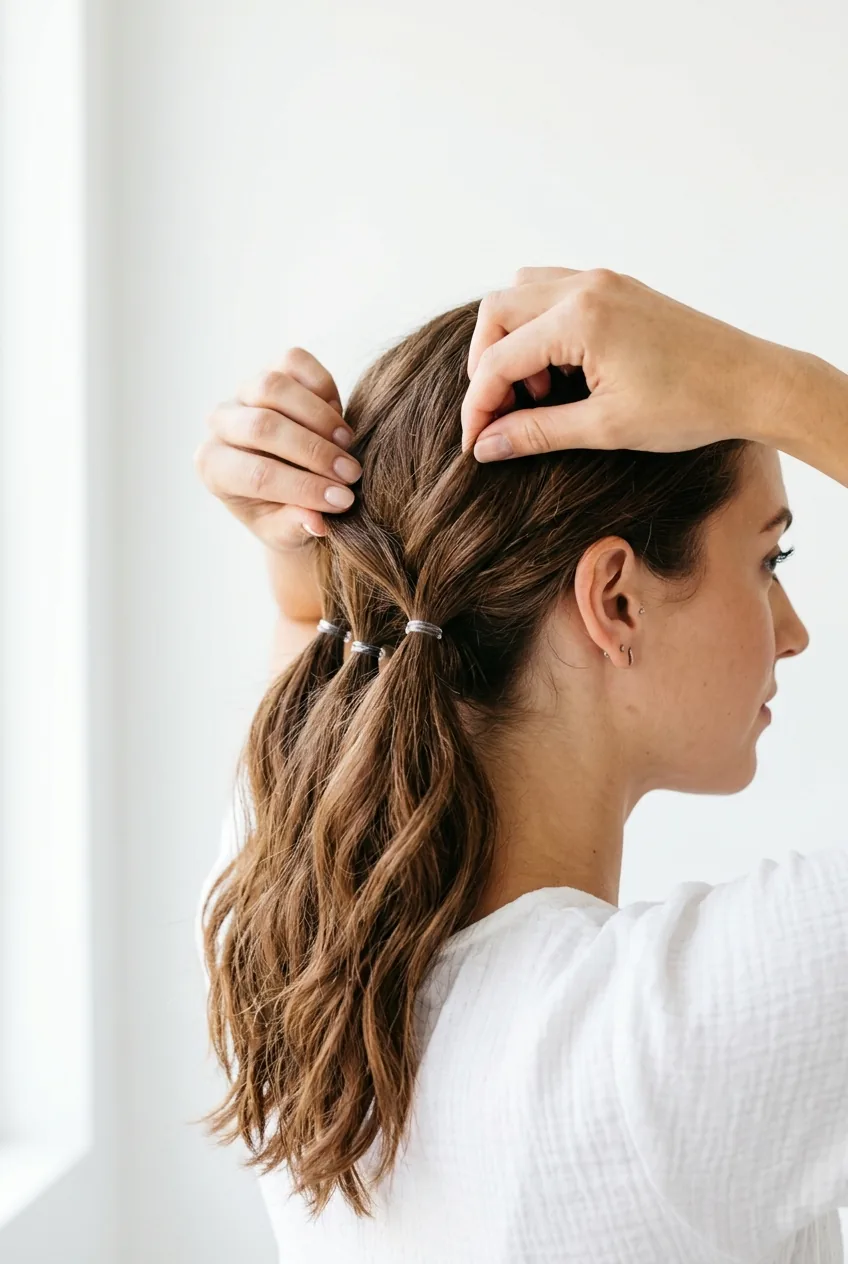
Step 4: Build Your Foundation Layer
Release your top section and divide it into the same three parts, aligning with the sections below. This is where the style starts coming together in a way that looks complex but follows a simple pattern.
Take each top section and combine it with the corresponding bottom section. So your top-left joins with bottom-left, creating longer, fuller sections. Secure each combined section with another elastic, about 3 inches below the first one.
This creates that cascading effect that makes hairstyles for fine hair look dramatically fuller. The staggered elastic placement gives the illusion of multiple layers even when you’re working with one length.
I used to skip this combination step and just work with six separate sections. Big mistake. The style looked choppy and fell apart within hours. Combining sections creates stability that lasts all day.
Step 5: Add Volume and Texture
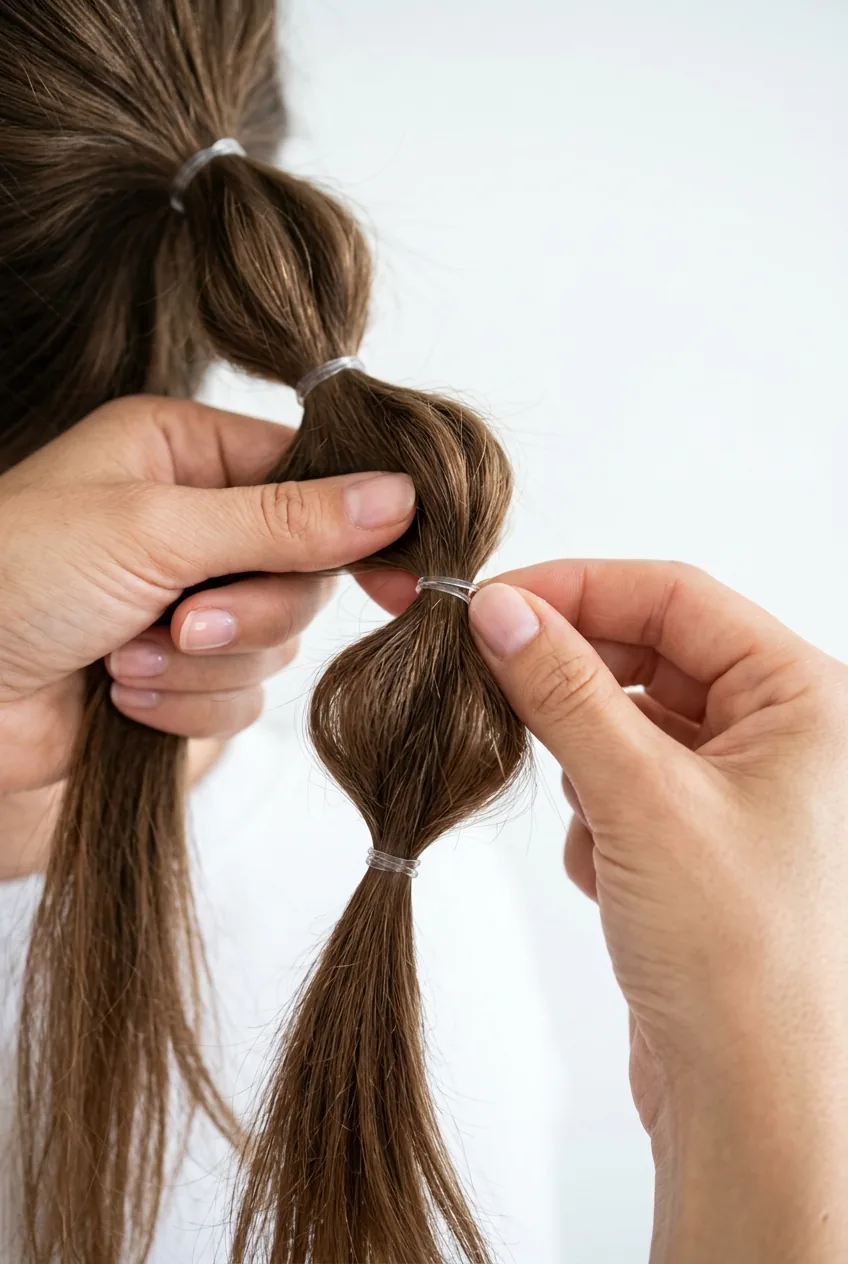
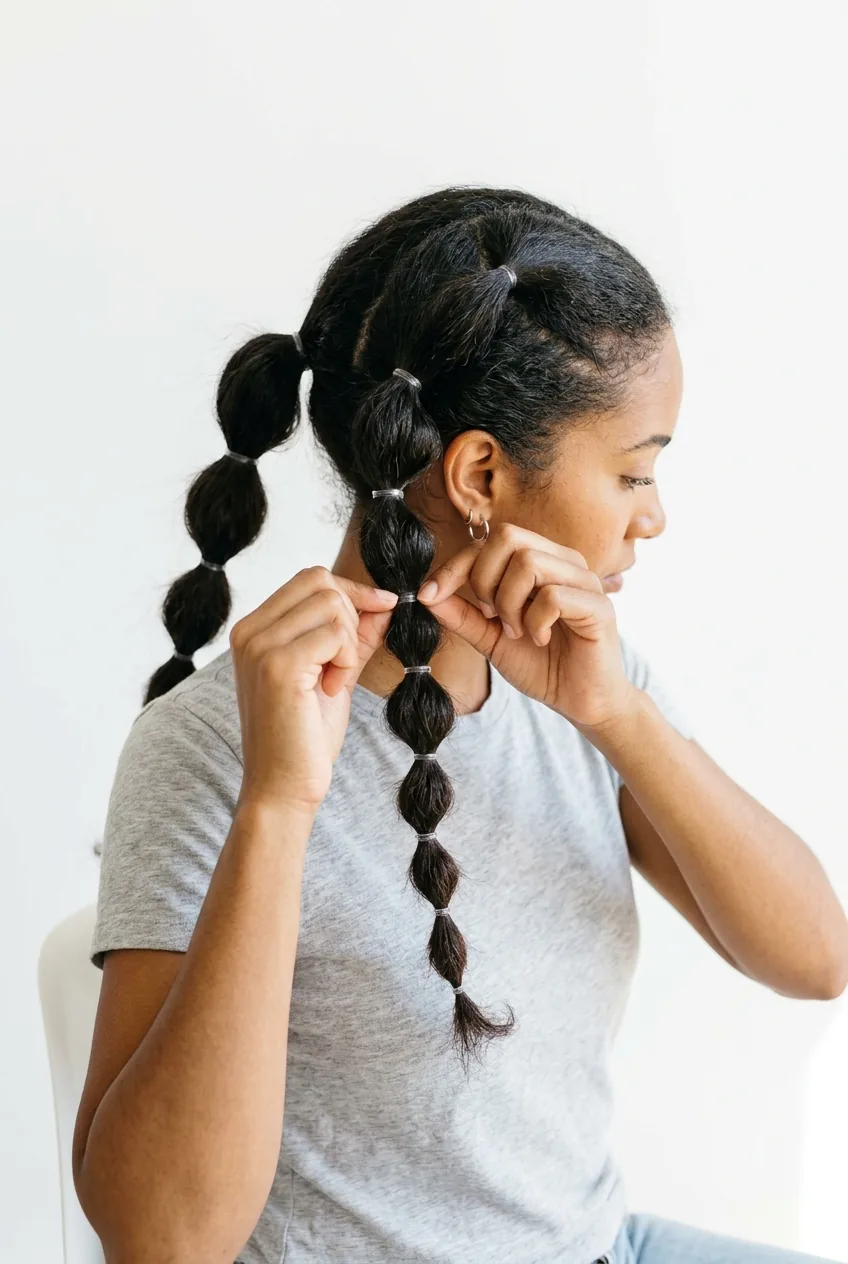
Now comes the fun part. Gently pull apart each section between the elastics, creating that bubble effect that adds so much visual interest. Work from the scalp down, tugging lightly at the sides of each segment.
Don’t make them perfectly round — slight asymmetry looks more natural and modern. Some bubbles can be fuller, others more elongated. This irregularity is what makes the style look effortless rather than overly constructed.
If you have layers, let some shorter pieces escape naturally around your face. These wispy pieces add softness and prevent the style from looking too severe.
Step 6: Secure with Hidden Bands
Continue down each section, adding elastics every 3-4 inches depending on your hair length. The spacing doesn’t have to be perfectly uniform — in fact, varying it slightly creates more visual movement.
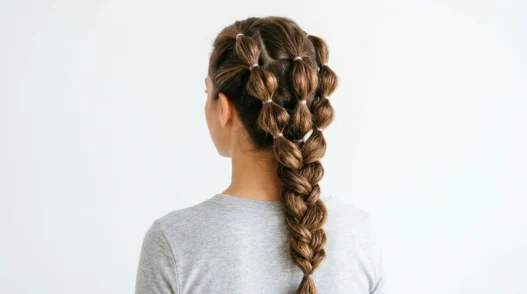
As you get toward the ends, switch to smaller clear elastics or even wrap a tiny section of hair around each band to hide it completely. This finishing touch elevates the entire look from “rubber band ponytail” to “intricate braided updo.”
For the final elastic on each section, leave about 2 inches of hair below it. This prevents that blunt, chopped-off appearance that screams “I ran out of hair.”
Step 7: Perfect the Finishing Details
Step back and assess your work. Any sections looking too tight? Gently tug them out. Any looking too loose? Add bobby pins strategically inside the bubbled sections where they won’t show.
Mist lightly with hairspray, focusing on the roots and any pieces that tend to fly away. But don’t over-spray — you want the style to move naturally and feel touchable.
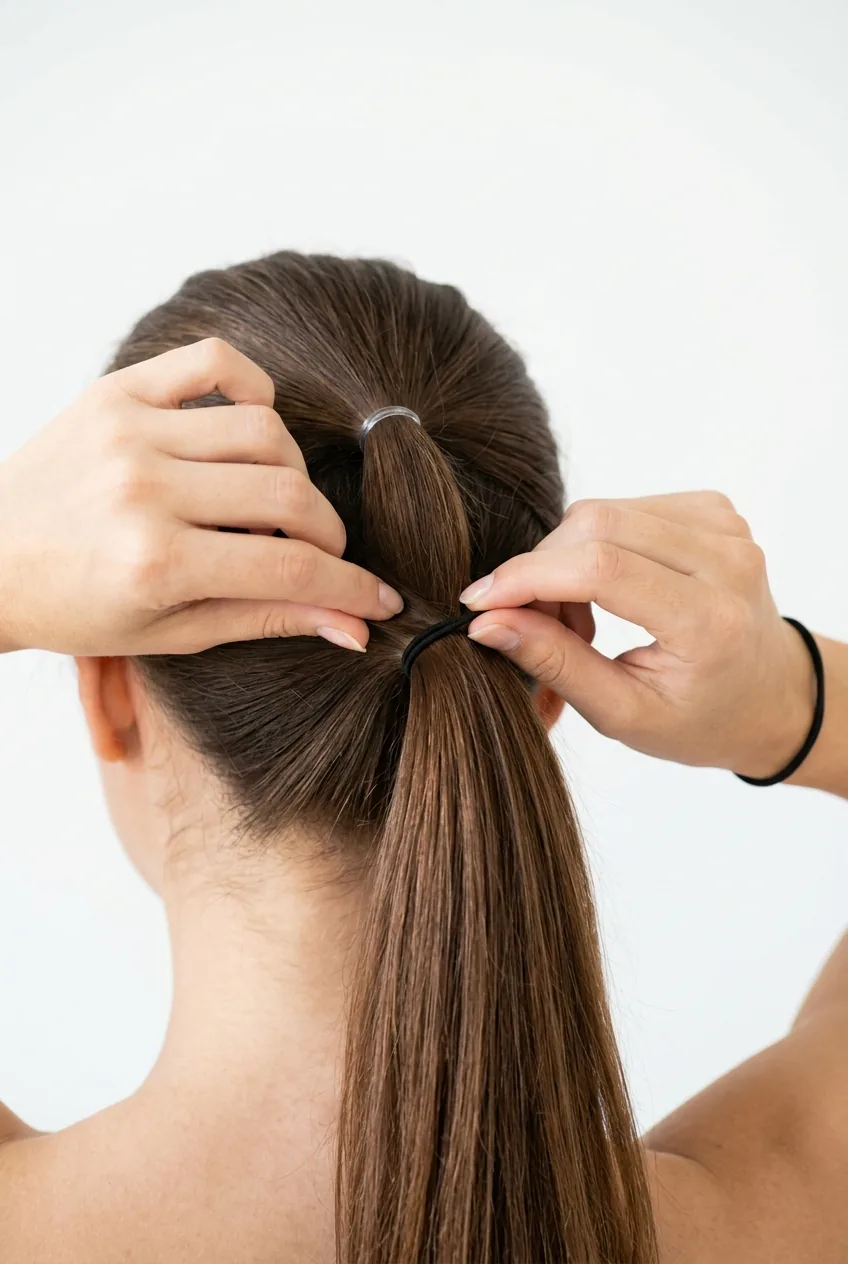
The final step is my secret weapon: take your three sections and loosely twist them together at the nape, securing with a hair tie that matches your color. This transforms three separate ponytails into one cohesive style that looks like it took an hour to create.
Questions I Get About This Technique
How long does this style actually last?
With proper prep and the right elastics, I can wear this for 12+ hours without major touch-ups. The key is not making the initial sections too tight — they’ll naturally settle and look better as the day goes on.
Will this work on really short hair?
You need at least shoulder-length hair to get the full cascading effect. On shorter hair, try the same technique but with just two sections and fewer elastics — it creates a cute bubble ponytail instead.
Can I sleep in this style?
Absolutely not recommended. The elastics will create kinks and potentially break your hair. This is definitely a daytime-only style that should be taken down before bed.
What if my hair is too slippery for elastics to grip?
Use more texture spray or even a tiny bit of texturizing mousse before you start. Slippery hair needs that extra grip to make any elastic-based style work properly.
This technique completely changed my relationship with simple hair accessories. What started as an emergency wedding-day fix became my go-to style for everything from work presentations to weekend brunch. The best part? People always ask if I went to a salon, and I love telling them it’s just rubber bands and a little strategy.