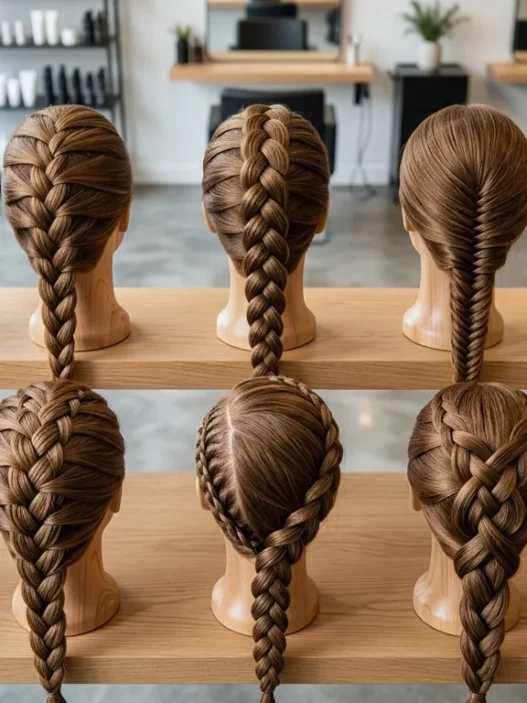











I used to be that person who hit snooze three times and then panicked about my hair. Not cute. After years of rushing out the door with wet hair or the same boring ponytail, I finally figured out a system that actually works. These hairstyles are ranked by difficulty so you can start where you’re comfortable and work your way up.
Quick Hair Solutions by Skill Level
- Beginner Friendly: The Classic Low Pony
- Beginner Friendly: Messy Top Knot Magic
- Easy Level: Twisted Side Sweep
- Intermediate Challenge: The Half-Up Twist
- Intermediate Challenge: Braided Headband Style
- Advanced Level: The Faux Bob Tuck
- Advanced Level: Double Dutch Braids
- Expert Challenge: Rope Braid Crown
- Master Level: The Waterfall Braid Updo
1. Beginner Friendly: The Classic Low Pony
Difficulty: ⭐ (1/5)
Time needed: 2 minutes
Tools: Hair elastic, brush
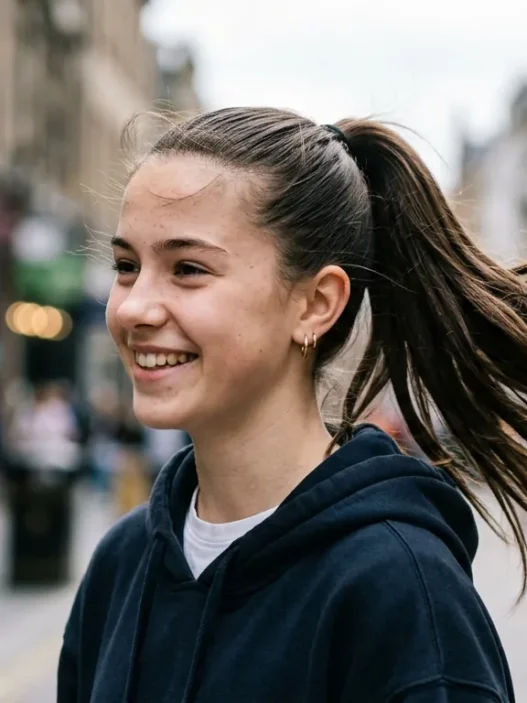
This is where everyone should start. I know it sounds basic, but there’s an art to making a low ponytail look intentional rather than rushed. The secret is in the placement — right at the nape of your neck, not floating somewhere in the middle.
Look at how she’s positioned hers in this photo. See how it sits right where her neck meets her shoulders? That’s the sweet spot. Brush everything straight back, secure with an elastic, and you’re done. No teasing required.

2. Beginner Friendly: Messy Top Knot Magic
Difficulty: ⭐ (1/5)
Time needed: 3 minutes
Tools: Hair elastic, bobby pins
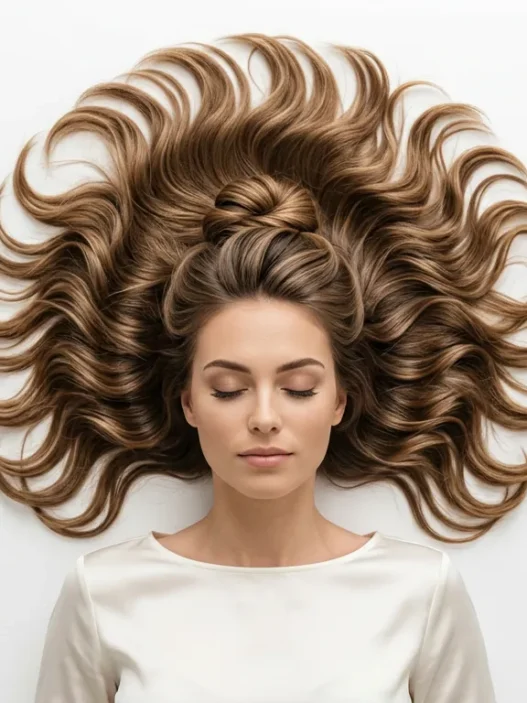
The messier, the better with this one. Seriously. I spent years trying to make my top knots perfect and neat until I realized the “imperfect” ones actually looked way more expensive and effortless.
Flip your head upside down, gather everything at the very top of your head, and twist it into a knot. Don’t pull the ends all the way through on the last loop — let them stick out. That’s what creates the texture. A few bobby pins to secure any loose pieces and you’re golden.

3. Easy Level: Twisted Side Sweep
Difficulty: ⭐⭐ (2/5)
Time needed: 4 minutes
Tools: Bobby pins, texturizing spray
This is my go-to when I want to look put-together but don’t have the energy for anything complicated. The twisted side sweep adds just enough detail to make people think you actually tried.
Part your hair deeply to one side. Take a section from the heavier side and start twisting it back toward your ear. Keep adding hair as you go, like you’re doing a loose French twist but only on one side. Pin it behind your ear and let the rest of your hair fall naturally. She’s got similar hair to mine, and this style always looks so romantic on her.
My Personal Pick: This twisted side sweep has saved me on countless occasions. It works with dirty hair, clean hair, and everything in between. I’ve worn it to job interviews and casual coffee dates — it’s that versatile.

4. Intermediate Challenge: The Half-Up Twist
Difficulty: ⭐⭐⭐ (3/5)
Time needed: 6 minutes
Tools: Clear elastic, bobby pins, comb
Now we’re getting into territory where you actually need to think about what you’re doing. The half-up twist looks complicated but it’s really just two simple twists meeting in the middle.
Take sections from each temple and twist them back toward the crown of your head. Cross them over each other and secure with an elastic. The tricky part is getting the tension right — too loose and it falls out, too tight and you look like you’re being pulled backward. Practice makes perfect with this one.
For extra security, I always add a few bobby pins underneath the elastic. Nobody sees them, but they keep everything in place all day. Check out lob hairstyles for every face shape if you want to see how this works with different hair lengths.

5. Intermediate Challenge: Braided Headband Style
Difficulty: ⭐⭐⭐ (3/5)
Time needed: 8 minutes
Tools: Small elastic, bobby pins, texturizing spray
This one requires some basic braiding skills, but nothing too fancy. You’re essentially creating your own headband out of hair, which is way cooler than it sounds.
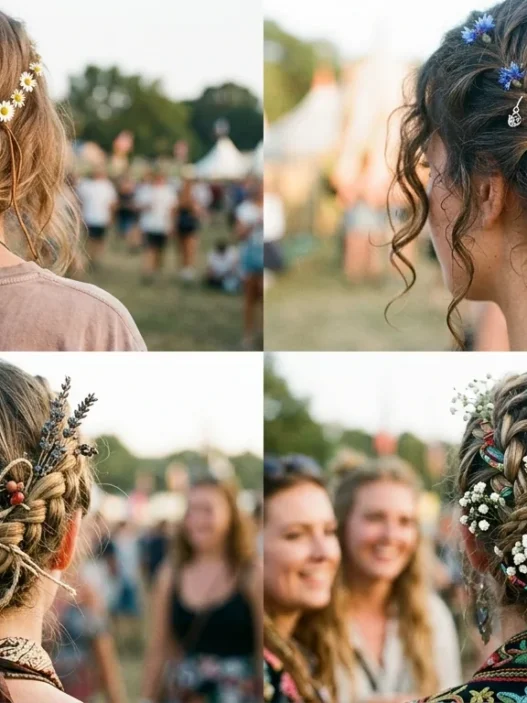
Start with a deep side part. Take a section from the front of the heavier side and braid it back toward your ear. The braid doesn’t need to be perfect — a little messiness actually adds to the bohemian vibe. When you reach your ear, secure with a small elastic and wrap the rest around to the back of your head, pinning it behind your opposite ear.
The rest of your hair can be curled, straight, or whatever. The braided “headband” is the star of the show. Hair accessories can add even more personality if you want to layer on some sparkle.

See the Braiding Technique in Action
6. Advanced Level: The Faux Bob Tuck
Difficulty: ⭐⭐⭐⭐ (4/5)
Time needed: 10 minutes
Tools: Bobby pins (lots), hair elastic, strong-hold hairspray
Okay, this is where things get real. The faux bob tuck makes it look like you have a chic bob when you actually have longer hair. It’s like hair magic, but it requires patience and quite a few bobby pins.
Start by curling your hair inward at the ends. Create a low ponytail, but don’t secure it too tightly. Roll the ponytail up toward the base and tuck it under, creating the illusion of a bob. The hardest part is getting it to look natural and not like you have a weird lump at the back of your head.
Pin everything in place and use lots of hairspray. This style takes practice, but when you nail it, people will ask if you cut your hair. I love experimenting with different hair lengths, and this lets you test drive a shorter look without the commitment.

7. Advanced Level: Double Dutch Braids
Difficulty: ⭐⭐⭐⭐ (4/5)
Time needed: 12 minutes
Tools: Two hair elastics, comb, bobby pins
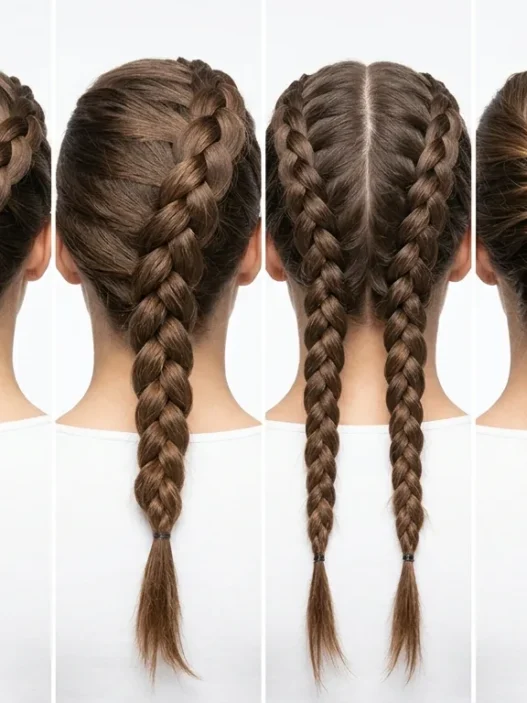
Dutch braids are like French braids’ cooler cousin — they sit on top of your head instead of sinking into your hair. Two of them? That’s next-level stuff that requires some serious hand coordination.
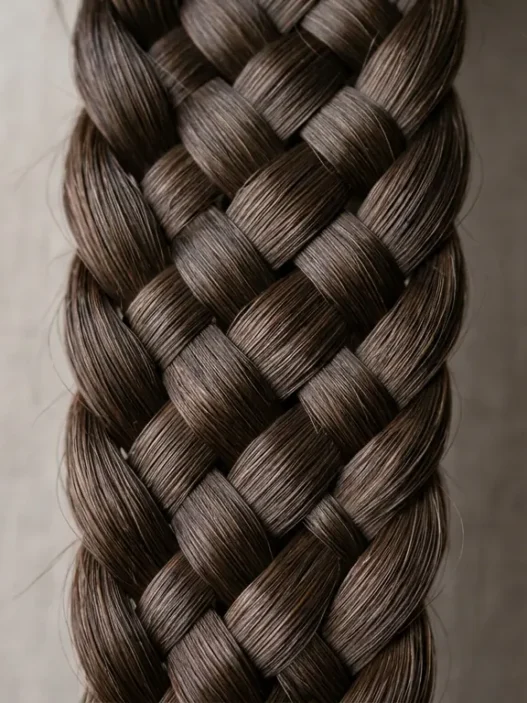
Part your hair straight down the middle. Working on one side at a time, start your Dutch braid at the front hairline. Instead of crossing sections over the middle like a regular braid, you cross them under. This creates that raised, rope-like effect.
The trick is keeping even tension and making sure both braids are symmetrical. I always start with the side I find easier (my right side, since I’m right-handed) and try to match it when I do the left. Look at how perfectly balanced hers are — that’s the goal.

8. Expert Challenge: Rope Braid Crown
Difficulty: ⭐⭐⭐⭐⭐ (5/5)
Time needed: 15 minutes
Tools: Multiple bobby pins, strong elastic, texturizing spray
We’re in advanced territory now. The rope braid crown looks like something a professional stylist would do, but it’s actually achievable at home if you’re willing to practice. A lot.
Start with textured hair — either naturally wavy or enhanced with some spray. Create a rope braid by twisting two sections of hair around each other, adding more hair as you work your way around your head. The goal is to create a crown-like effect that frames your face.
This style requires you to work with sections you can’t easily see, which is why it’s so challenging. I recommend doing this when you have plenty of time and good lighting. The first few attempts might look wonky, but keep practicing. When you get it right, it’s absolutely stunning.
Women with longer hair might want to check out specific techniques for over 40 hairstyles that work with this type of braided crown styling.

9. Master Level: The Waterfall Braid Updo
Difficulty: ⭐⭐⭐⭐⭐ (5/5)
Time needed: 20 minutes
Tools: Multiple elastics, numerous bobby pins, hairspray, patience
This is the holy grail of DIY hairstyles. The waterfall braid updo combines the complexity of a waterfall braid with the elegance of an updo. It’s wedding-guest appropriate but challenging enough that most people assume you had help.
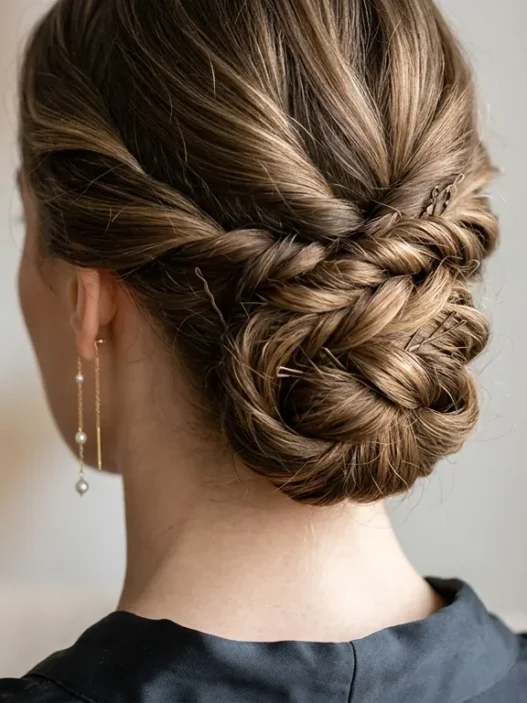
Start with a side part and begin your waterfall braid from the front. In a waterfall braid, you drop sections as you go instead of carrying them through the entire braid. The dropped sections create that “waterfall” effect. Continue the braid around the back of your head, then gather all the loose hair into a low bun or chignon.
The coordination required for this style is no joke. You’re managing multiple hair sections, maintaining braid tension, and trying to create something that looks effortless. I won’t lie — this took me about ten tries to get right. But when I finally nailed it, I felt like a hair wizard.

Pro tip: Practice the waterfall braid technique on loose hair first before attempting the updo version. Master one element at a time.
Questions I Get About Quick Hairstyles
How long does it take to master the advanced styles?
Honestly? The rope braid crown took me about three weeks of regular practice, and I still mess up the waterfall braid sometimes. Start with the easier styles and work your way up — don’t jump straight to expert level and get frustrated.
What if my hair is too short for these styles?
The first four styles work great on shoulder-length hair or longer. For shorter cuts, focus on the twisted side sweep and half-up styles — they’re the most adaptable to different lengths.
Do I need expensive tools to make these work?
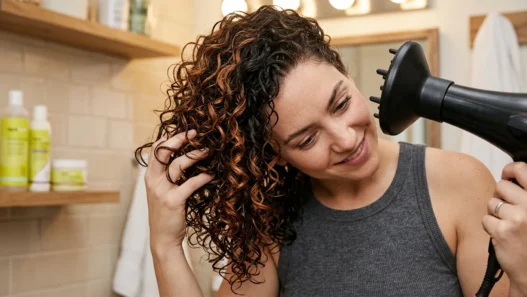
Not at all. A good brush, basic hair elastics, and quality bobby pins will get you through 90% of these styles. The only “investment” I’d recommend is a decent texturizing spray — it makes everything hold better and look more polished.
Which style is best for second-day hair?
The messy top knot and twisted side sweep actually look better with slightly dirty hair. The natural oils give you better texture and grip, so don’t feel like you need to start with freshly washed hair for every style.
Start with the beginner styles and don’t get discouraged if the advanced ones take time to master. I still have days where my rope braid crown looks more like a bird’s nest, and that’s okay. The point is having options that fit your skill level and time constraints. Your hair routine should work for you, not against you.