


I’ve been experimenting with updos for years, and let me tell you — the learning curve is real. Some styles look impossibly complex but take five minutes, while others appear simple and require professional-level skills. I’ve ranked these 15 gorgeous hair up styles from easiest to most challenging, complete with time estimates and skill requirements.
Your Complete Hair Up Styles Guide
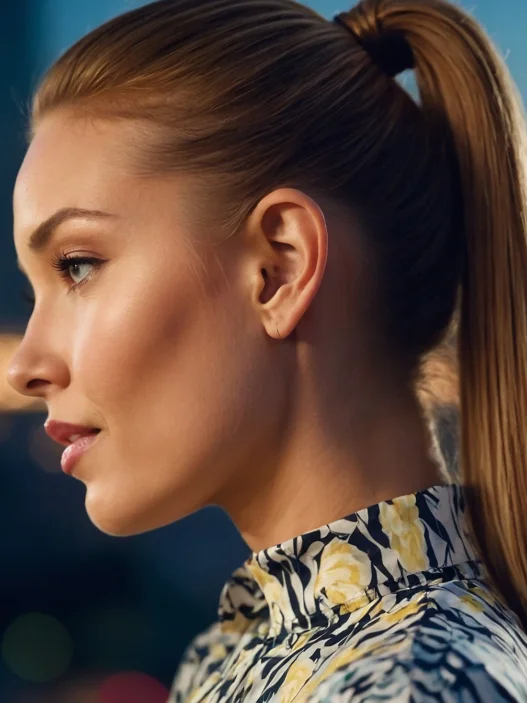
- High Ponytail with Twist
- Low Bun with Hair Elastic
- Half-Up Top Knot
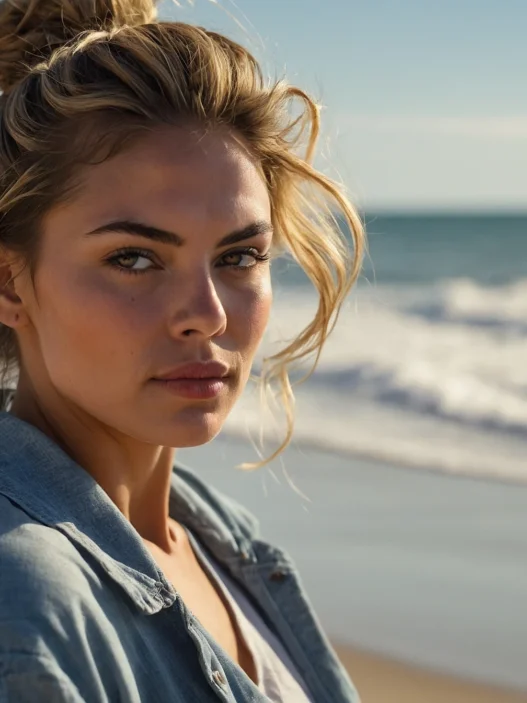
- Messy Bun with Bobby Pins
- Side-Swept Low Ponytail
- Classic French Twist
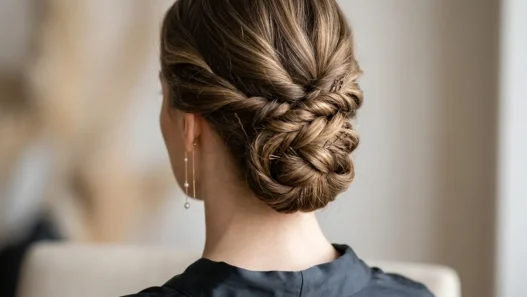
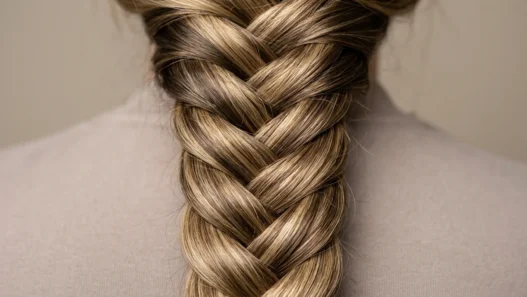
- Braided Crown Updo
- Twisted Side Chignon
- Dutch Braid into Bun
- Vintage Victory Rolls
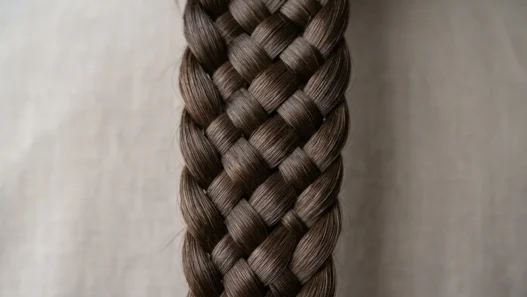
- Intricate Fishtail Updo
- Multi-Braid Crown
- Elaborate Gibson Tuck
- Complex Knotted Chignon
- Professional Editorial Updo
1. Beginner Friendly: High Ponytail with Twist
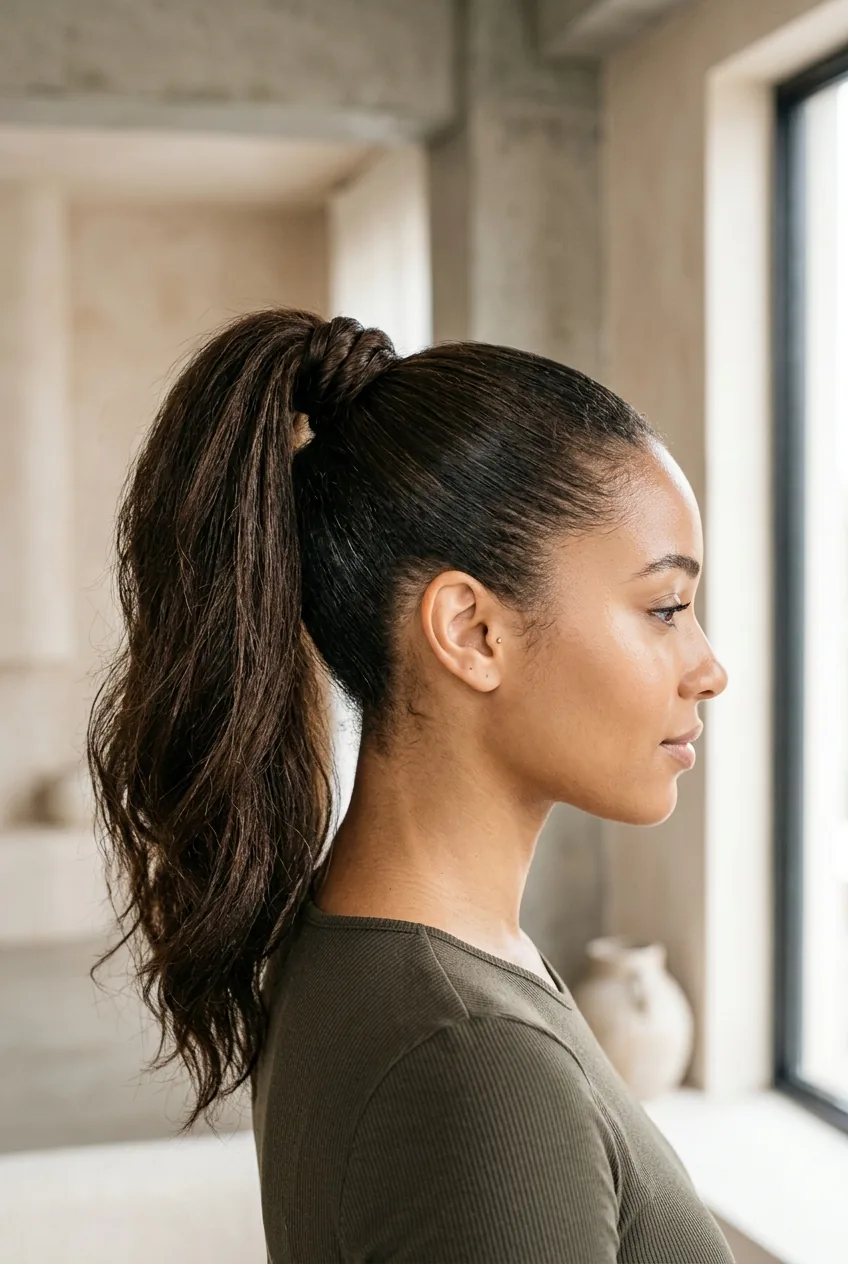
Difficulty: ⭐ (Super Easy)
Time: 3-5 minutes
Tools needed: Hair elastic, comb
This is where everyone should start. I love this style because it’s literally impossible to mess up — even if your twist isn’t perfect, it looks intentionally tousled. Simply gather your hair high, twist the ponytail once around the base, and secure with an elastic.
The secret is pulling out a few face-framing pieces after you secure it. Trust me, those little wisps make all the difference between “gym hair” and “effortlessly chic.”
2. Beginner Friendly: Low Bun with Hair Elastic
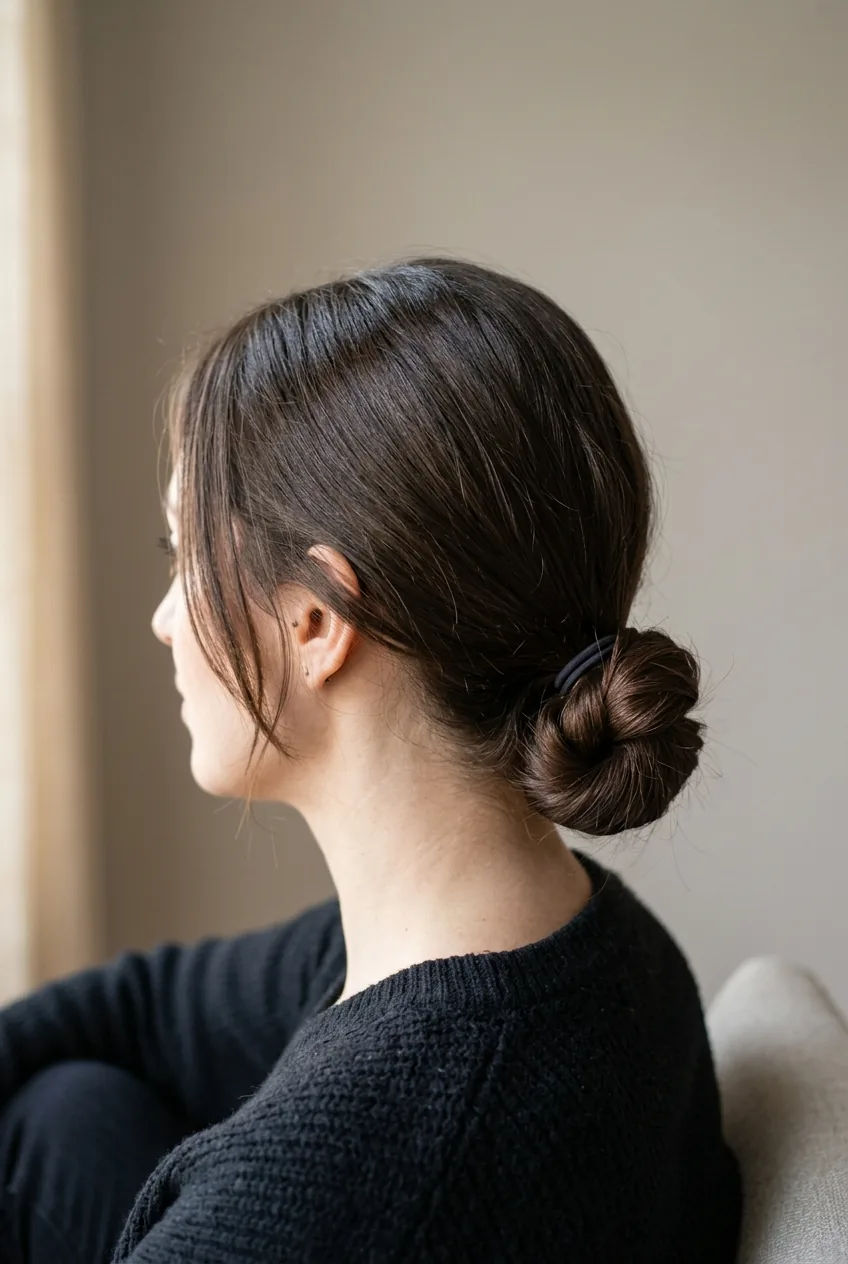
Difficulty: ⭐ (Super Easy)
Time: 2-4 minutes
Tools needed: 2 hair elastics
My go-to when I’m running late but need to look put-together. Create a low ponytail, then loop the hair through the elastic one more time — but don’t pull it all the way through. You’ll get this perfect little bun that stays secure all day.
The beauty is in its imperfection. Don’t smooth down every flyaway — a little texture gives it that modern, lived-in feel I’m always chasing.
3. Beginner Friendly: Half-Up Top Knot

Difficulty: ⭐⭐ (Easy)
Time: 5-7 minutes
Tools needed: Hair elastic, bobby pins
Perfect for when you want your hair up but down at the same time. I section off the top portion from temple to temple, create a high ponytail, then twist it into a knot. The key is leaving the rest of your hair flowing freely — it’s effortlessly romantic.
This works brilliantly for shoulder length hairstyles because you get the best of both worlds — hair off your face but still showing length.
4. Beginner Friendly: Messy Bun with Bobby Pins
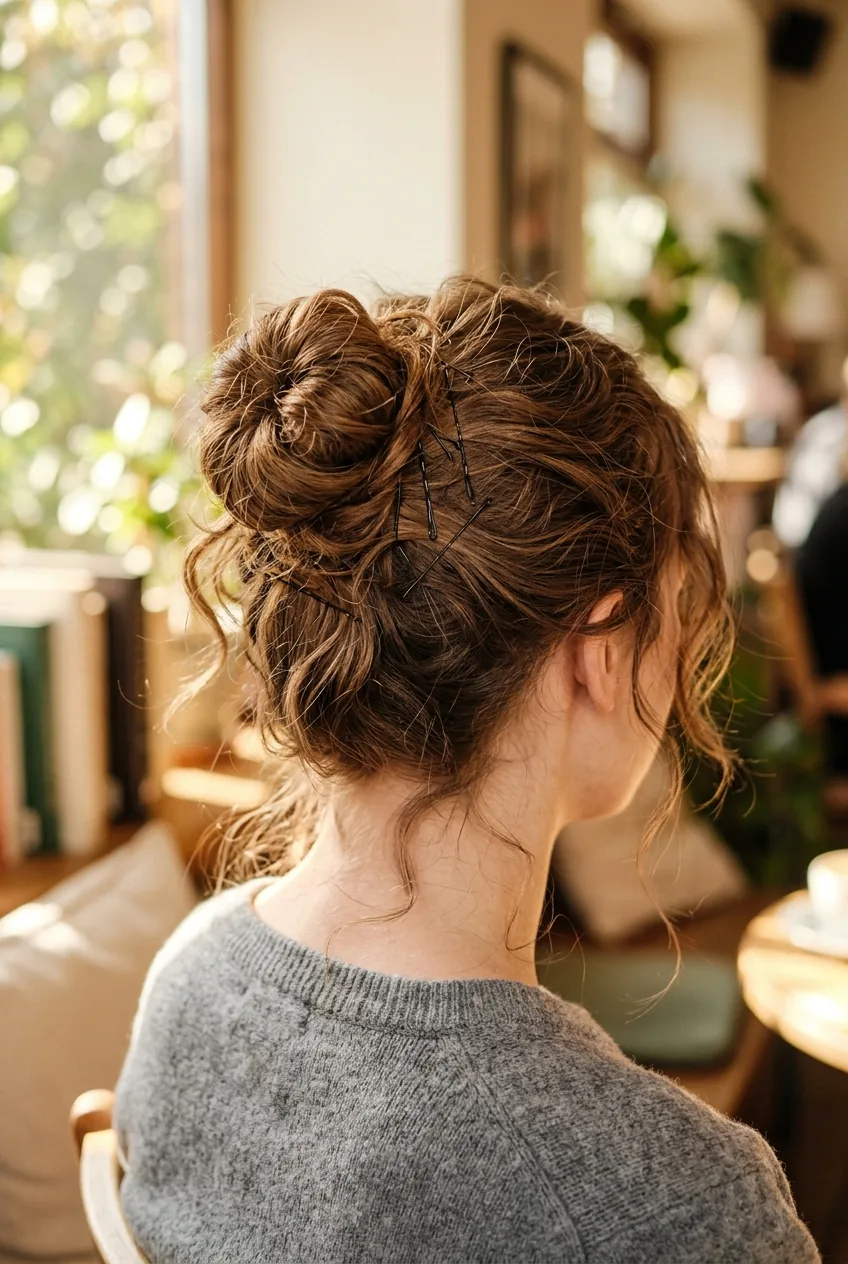
Difficulty: ⭐⭐ (Easy)
Time: 5-8 minutes
Tools needed: Hair elastic, 6-8 bobby pins
The “messy” part is doing most of the work here. I twist my hair into a loose coil, pin it wherever it wants to sit, and call it done. The more haphazard, the better — this isn’t about precision.
What I love about this style is how forgiving it is. Pieces falling out? Perfect. Uneven bumps? Even better. It’s the kind of effortless look that takes years to master, except it doesn’t.
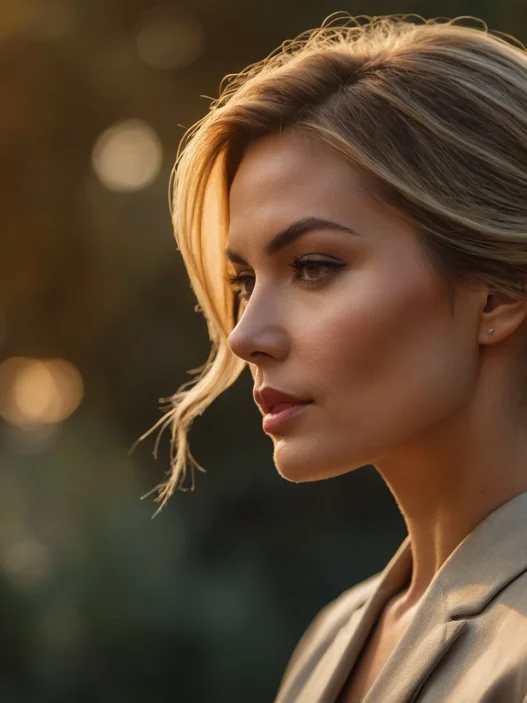
5. Easy Plus: Side-Swept Low Ponytail
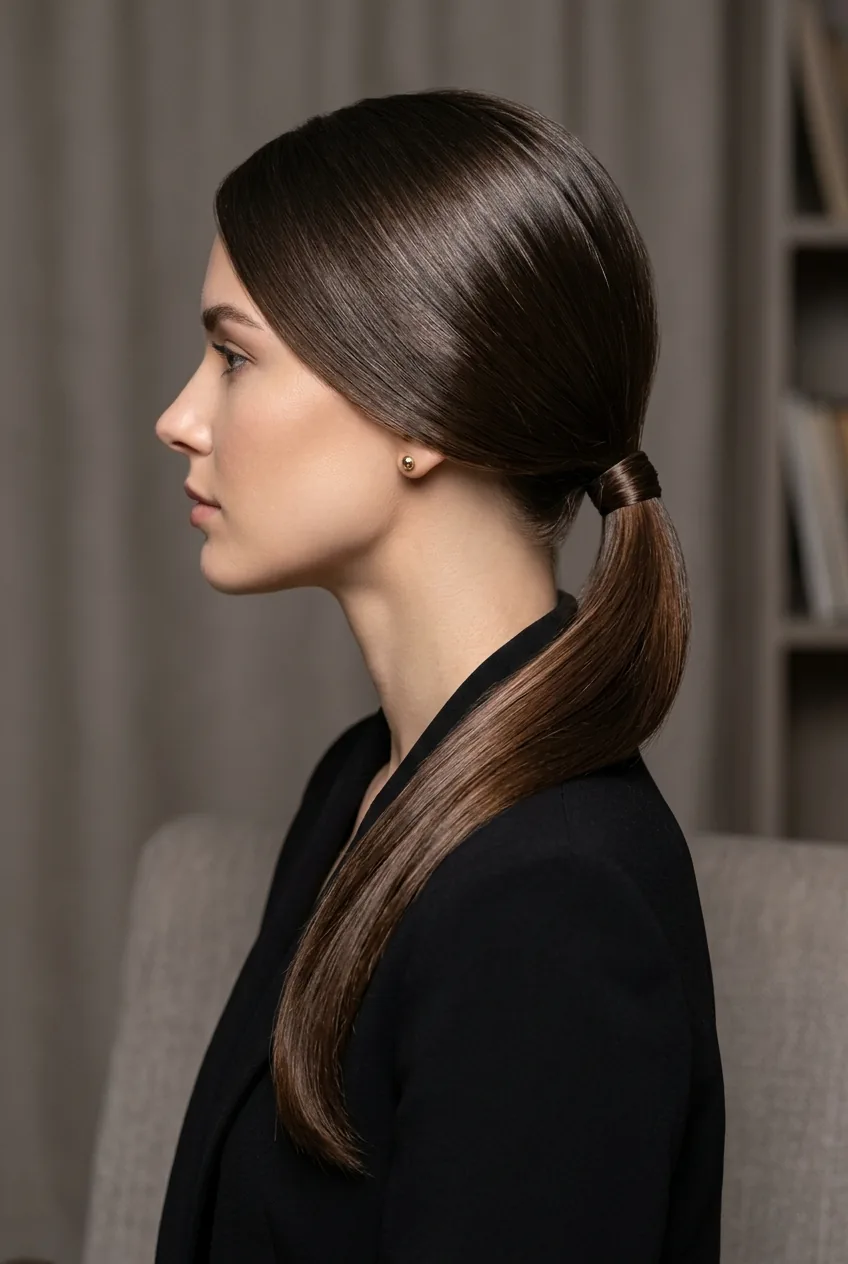
Difficulty: ⭐⭐ (Easy)
Time: 6-10 minutes
Tools needed: Hair elastic, bobby pins, light-hold hairspray
This is where we start adding some finesse. I create a deep side part, sweep everything to one side, and secure low at the nape. The trick is pinning down that sweep so it stays sleek but not flat.
I always finish with a spritz of texturizing spray to add just enough grip without the crunch. It’s sophisticated enough for work but relaxed enough for weekend brunches.
6. Intermediate Challenge: Classic French Twist
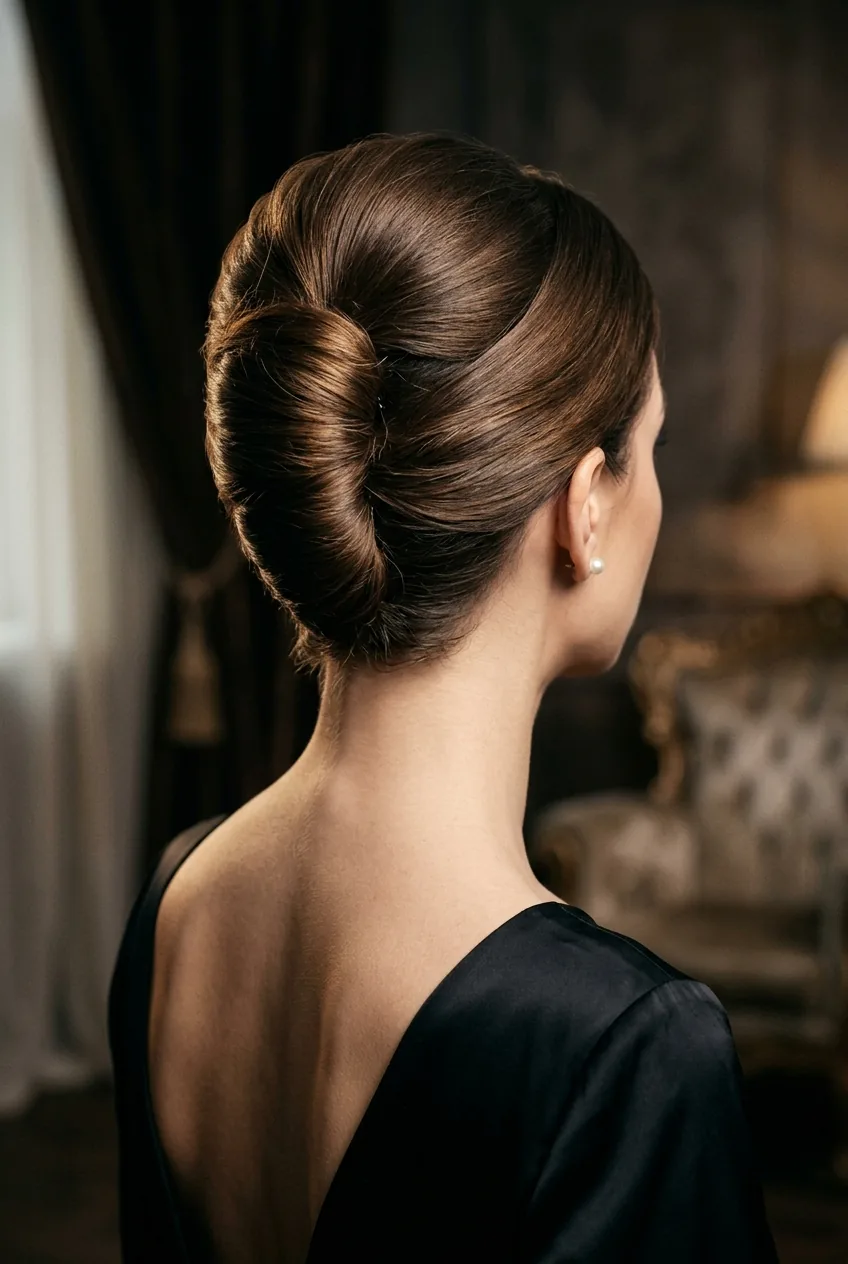
Difficulty: ⭐⭐⭐ (Moderate)
Time: 10-15 minutes
Tools needed: Bobby pins, hair comb, hairspray
Here’s where things get interesting. The French twist requires actual technique — you’re essentially creating a vertical roll that stays put without any elastics. I spent weeks perfecting the twist-and-tuck motion, and even now, some days it cooperates better than others.
The secret is starting with slightly dirty hair. Clean hair is too slippery and won’t hold the shape. This style screams elegance once you nail it.
My personal pick from this whole list? The twisted side chignon coming up next. It looks incredibly complex but once you get the hang of the twisting technique, it becomes second nature. I’ve worn this to weddings, work presentations, and date nights — it works everywhere.
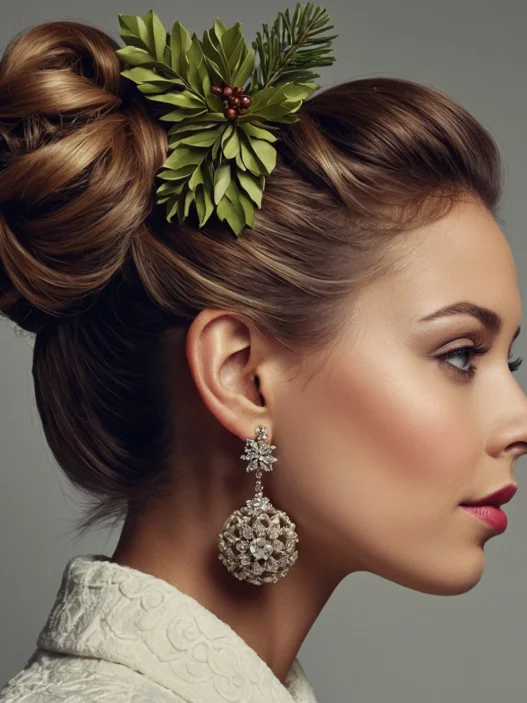
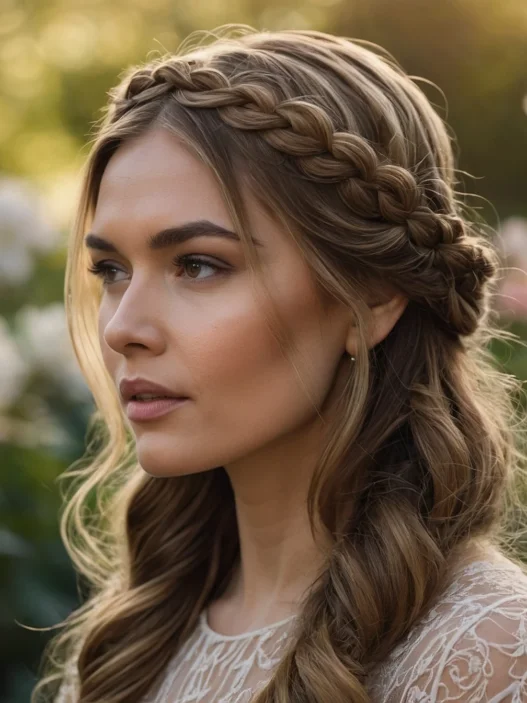
7. Intermediate Challenge: Braided Crown Updo
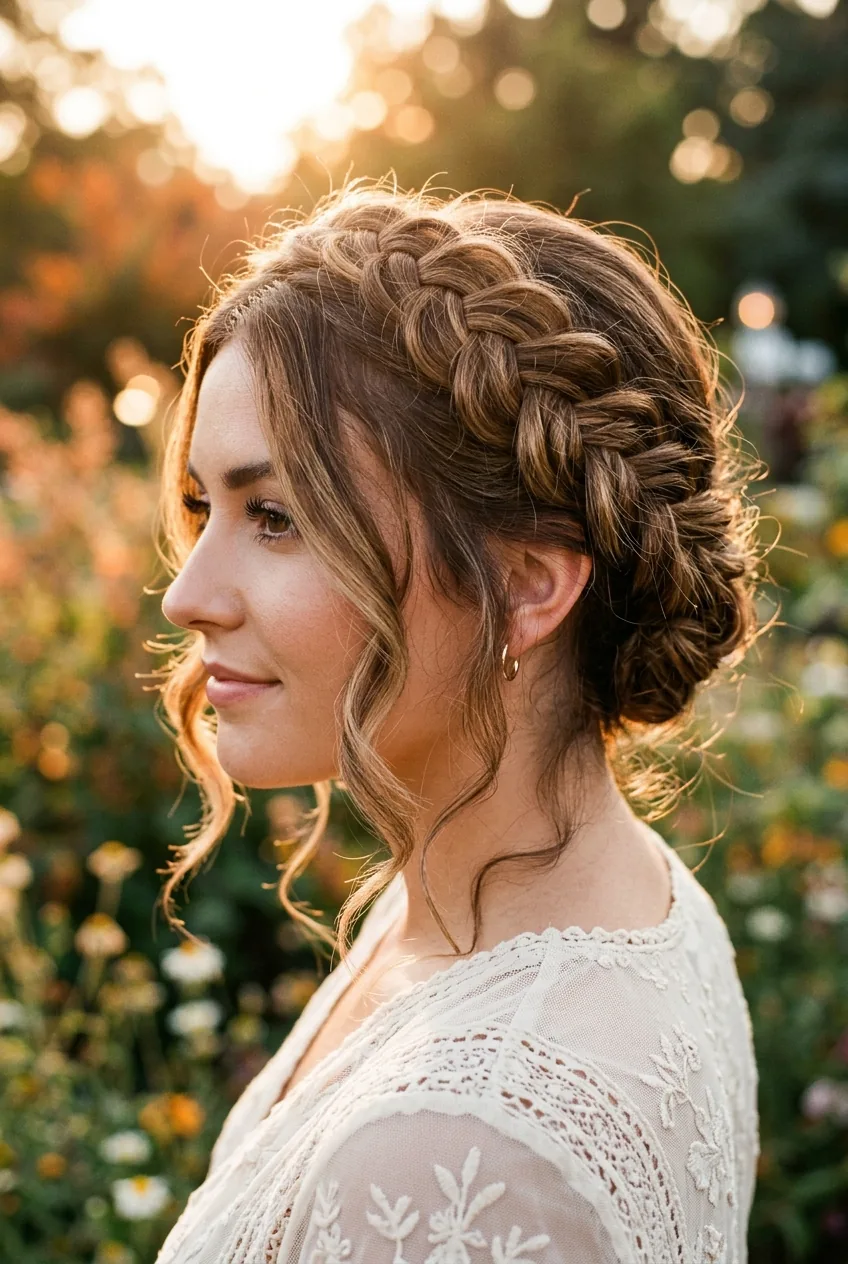
Difficulty: ⭐⭐⭐ (Moderate)
Time: 12-18 minutes
Tools needed: Hair elastics, bobby pins, tail comb
This combines basic braiding with updo construction. I create two side braids that meet at the back, then twist the remaining length into a low bun. It sounds simple, but getting the crown portion to lay flat while maintaining volume takes practice.
The braided element gives it a romantic, almost bohemian feel that I absolutely love for outdoor events. It photographs beautifully too.
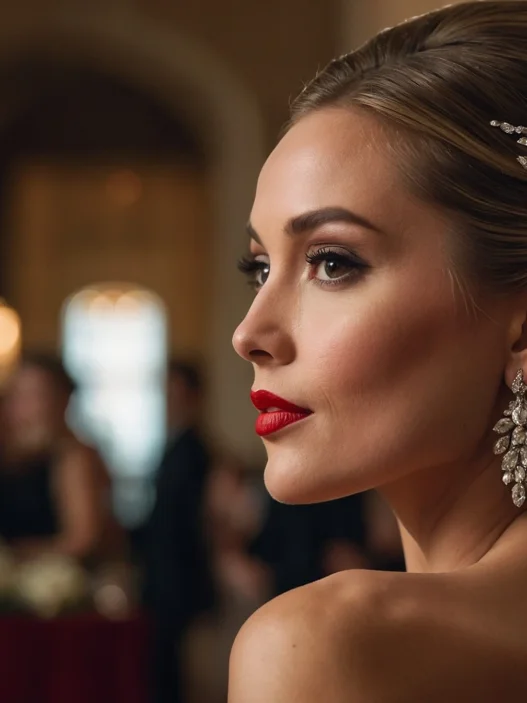
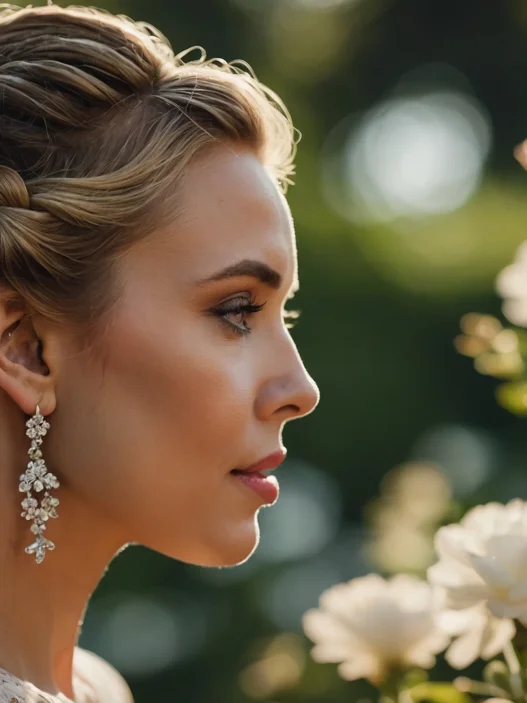
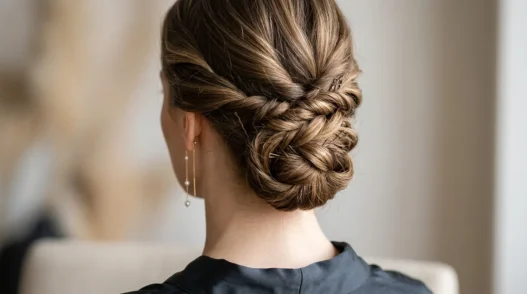
8. Intermediate Challenge: Twisted Side Chignon
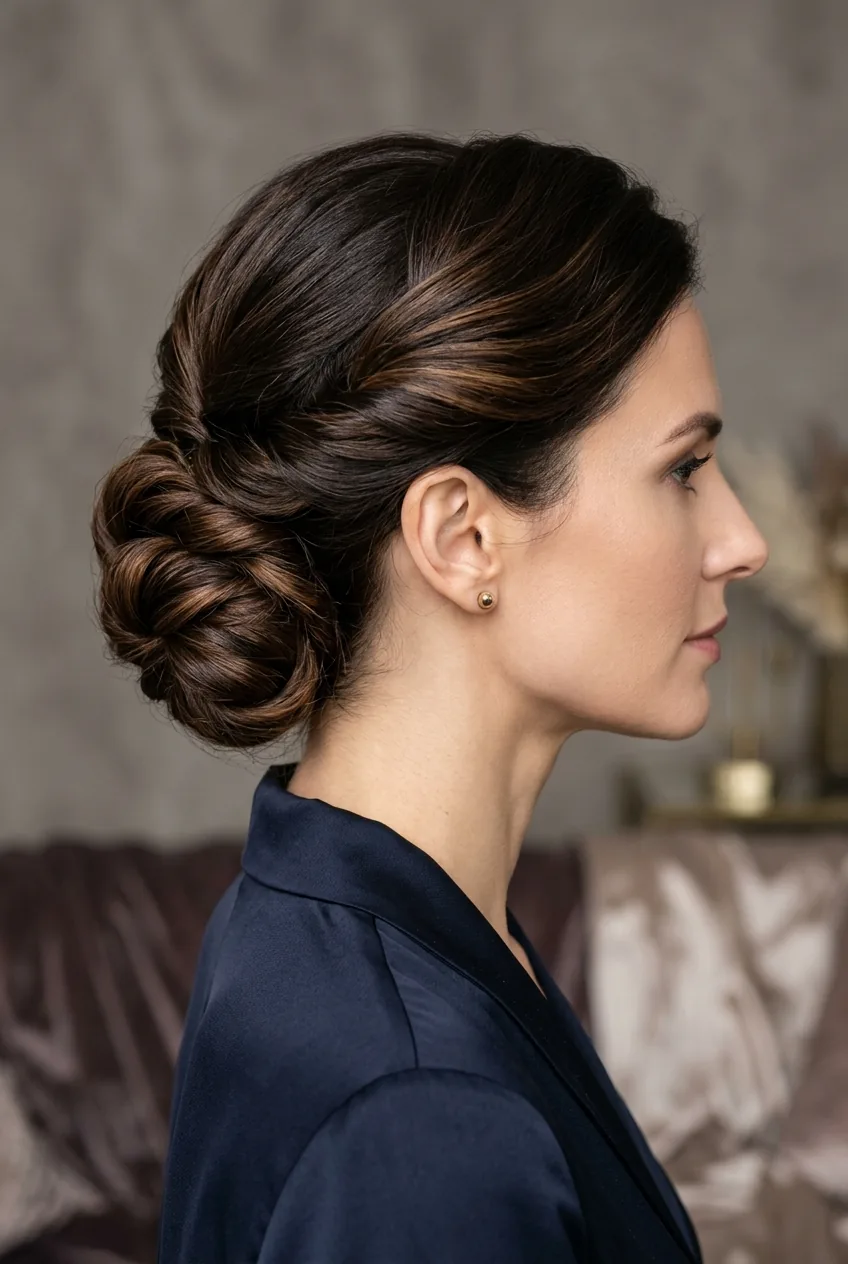
Difficulty: ⭐⭐⭐ (Moderate)
Time: 15-20 minutes
Tools needed: Bobby pins, hair elastic, smoothing serum
This is my desert island hairstyle. I gather everything to one side, twist it into a rope-like coil, then wrap it into a low chignon. The asymmetrical placement makes it feel modern while still being classically elegant.
What makes this challenging is achieving the right tension — too loose and it falls apart, too tight and it looks severe. But once you find that sweet spot, it’s absolutely gorgeous.
9. Intermediate Plus: Dutch Braid into Bun
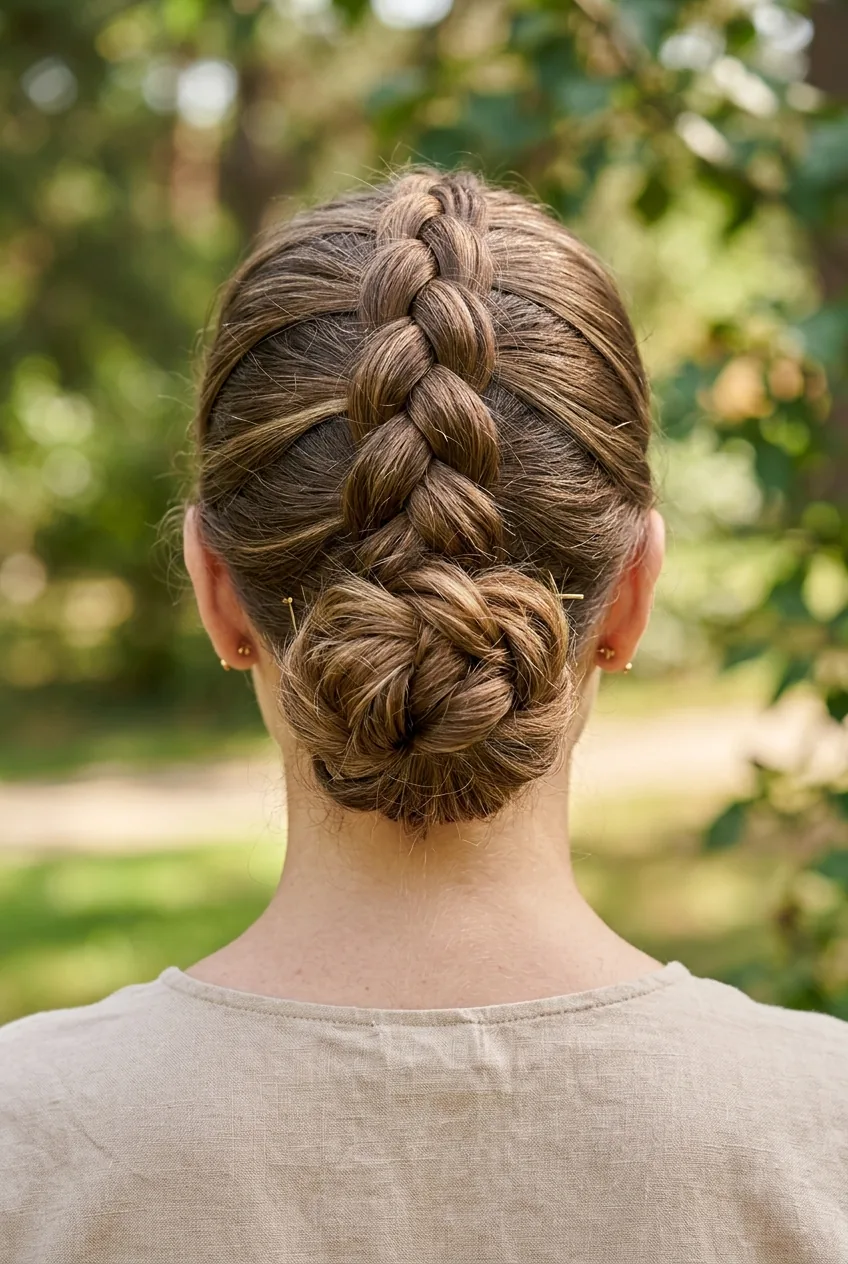
Difficulty: ⭐⭐⭐ (Moderate)
Time: 15-25 minutes
Tools needed: Hair elastics, bobby pins, texturizing spray
Dutch braiding (the “inside-out” braid) requires some serious finger coordination. I start at the crown, Dutch braid down to the nape, then coil the remaining length into a bun. The raised braid creates this beautiful textured detail that elevates the whole look.
If you can already do a regular French braid, this is the next logical step. The motion is similar, just reversed — you’re crossing under instead of over.
10. Advanced Level: Vintage Victory Rolls
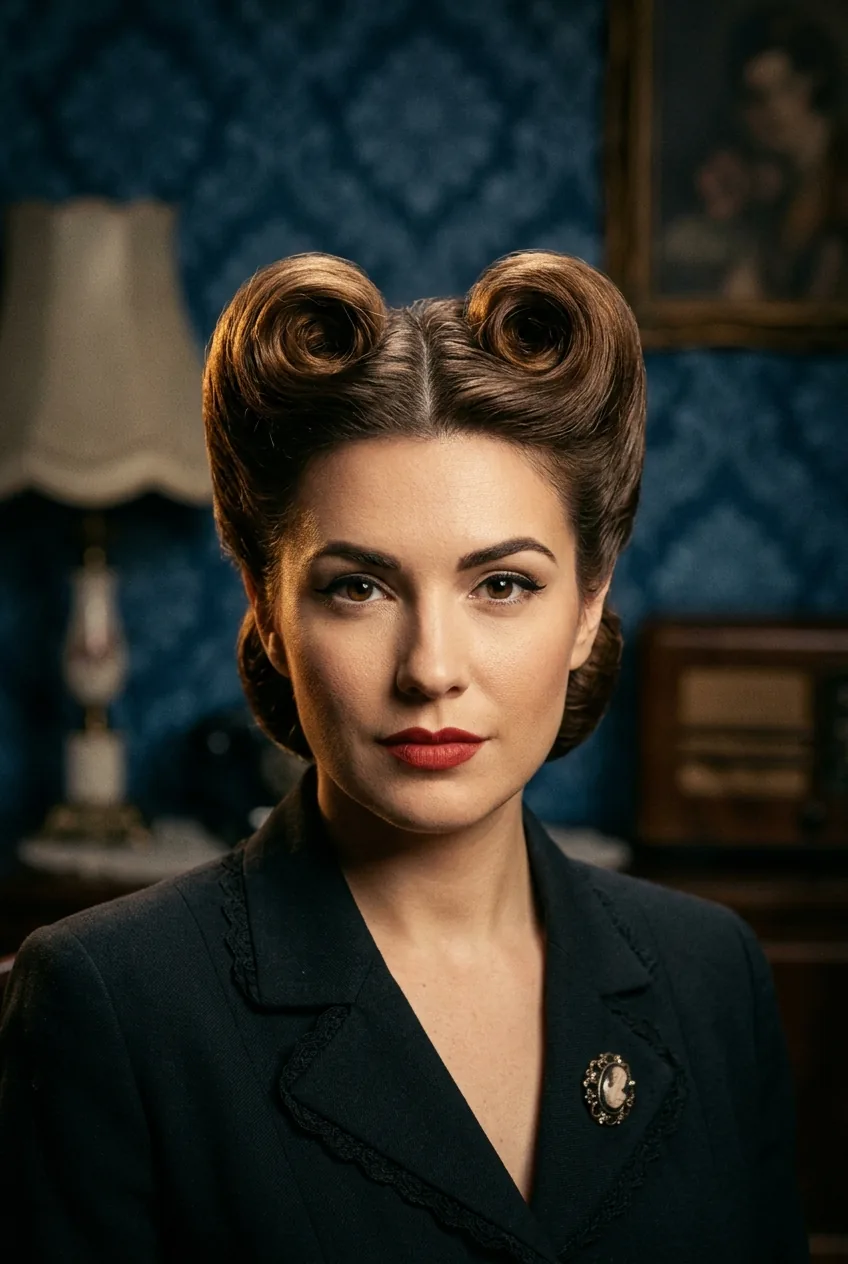
Difficulty: ⭐⭐⭐⭐ (Challenging)
Time: 20-30 minutes
Tools needed: Round brush, bobby pins, strong-hold hairspray, hair padding/teasing comb
Welcome to the 1940s! Victory rolls require patience and a lot of bobby pins. You’re essentially creating two symmetrical rolls on either side of your head, which sounds easy until you try to make them match.
I had to watch about fifteen YouTube tutorials before I got even close to the authentic shape. The key is building volume with teasing before you start the rolling motion. This style works beautifully for thick hair because you need that density to create the dramatic rolls.
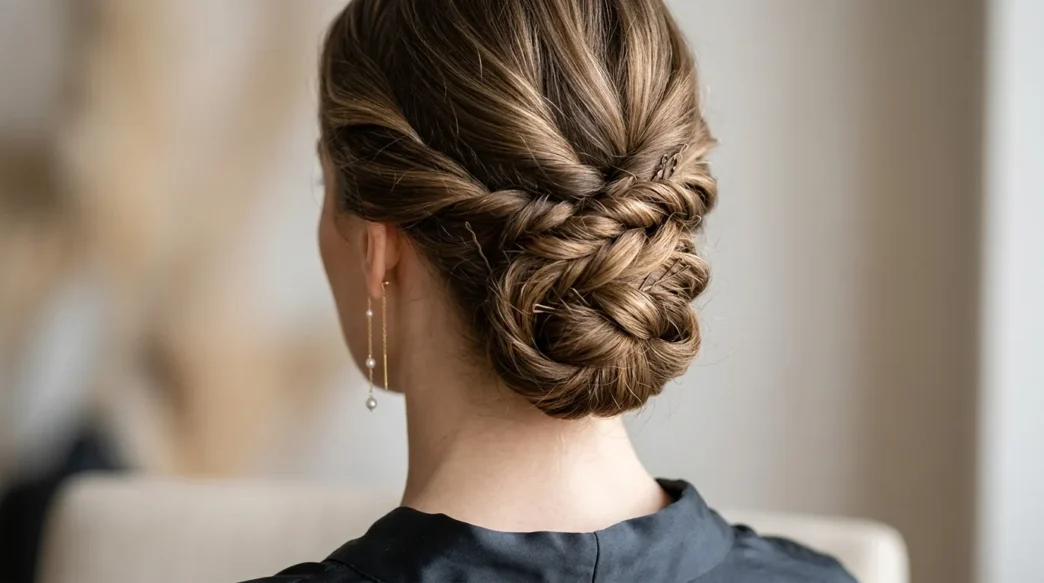
11. Advanced Level: Intricate Fishtail Updo
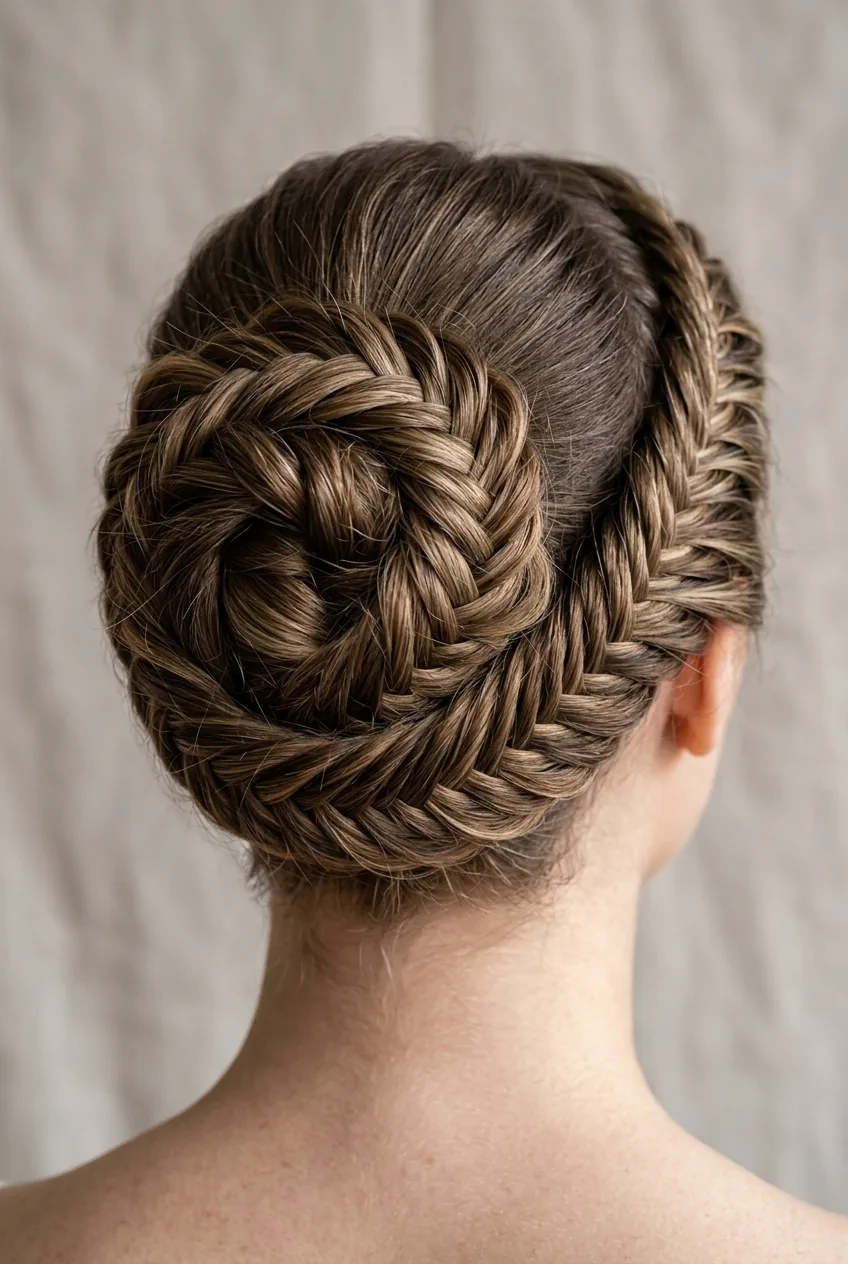
Difficulty: ⭐⭐⭐⭐ (Challenging)
Time: 25-35 minutes
Tools needed: Hair elastics, bobby pins, tail comb, hairspray
Fishtail braids are beautiful but time-consuming, and turning one into an updo adds another layer of complexity. I create a loose fishtail braid, then carefully coil it into a low bun while maintaining the intricate pattern.
The payoff is incredible though — it looks like something a professional stylist would charge $150 for. Just don’t attempt this when you’re in a hurry.
12. Advanced Plus: Multi-Braid Crown
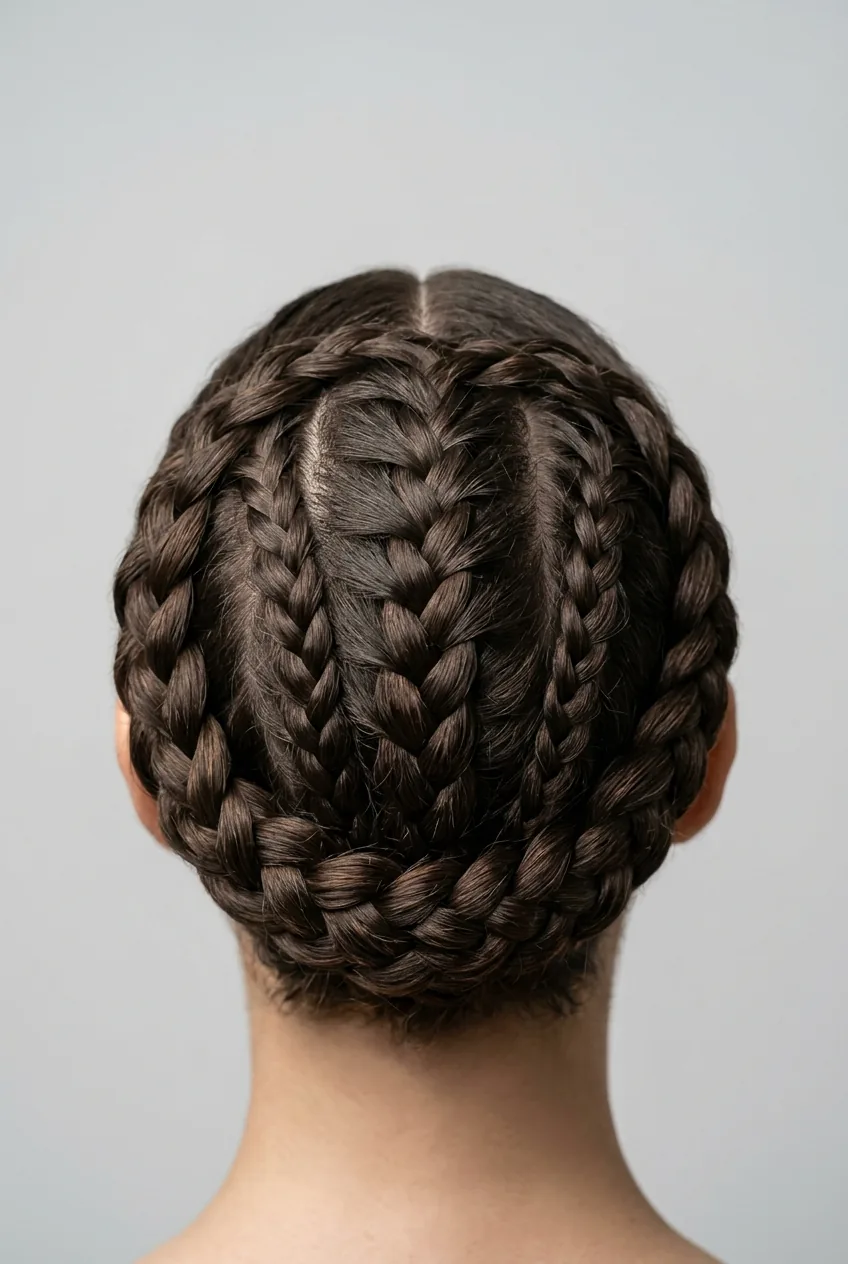
Difficulty: ⭐⭐⭐⭐ (Challenging)
Time: 30-40 minutes
Tools needed: Multiple hair elastics, bobby pins, sectioning clips, patience
This involves creating three separate braids that weave together into a crown effect. The challenge isn’t just the braiding — it’s the spatial awareness needed to make them intersect properly.
I map out the sections with clips first, which helps enormously. This look is absolutely stunning for special occasions, but definitely practice on a lazy Sunday before attempting it for an event.
13. Expert Level: Elaborate Gibson Tuck
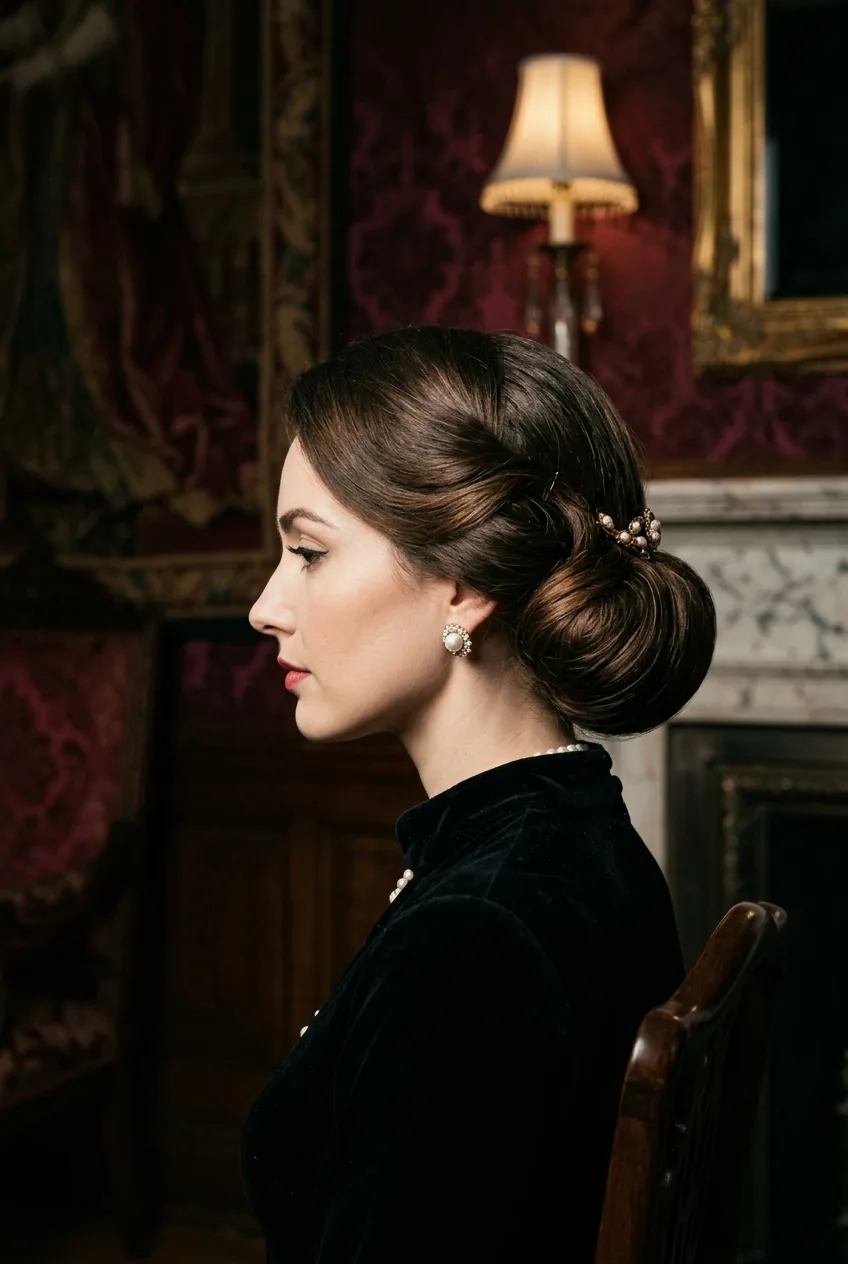
Difficulty: ⭐⭐⭐⭐⭐ (Very Challenging)
Time: 35-45 minutes
Tools needed: Bobby pins, hair accessories, strong hairspray, sectioning clips
The Gibson Tuck is deceptively complex. You’re creating multiple twisted sections that tuck into themselves in a specific pattern. Getting the proportions right while maintaining security is genuinely difficult.
I’ve only successfully pulled this off a handful of times, but when it works, it’s absolutely stunning. It has this vintage elegance that photographs beautifully from every angle.
14. Expert Level: Complex Knotted Chignon
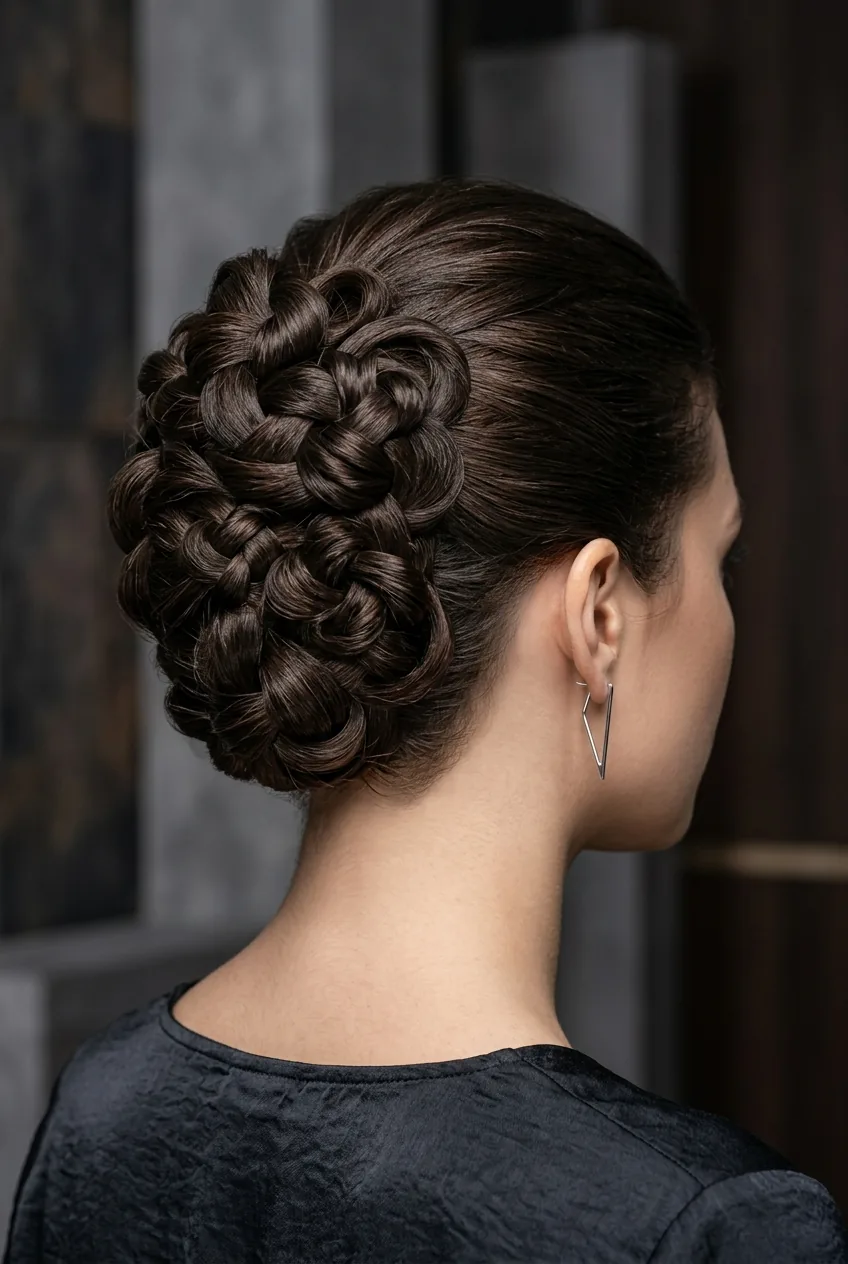
Difficulty: ⭐⭐⭐⭐⭐ (Very Challenging)
Time: 40-50 minutes
Tools needed: Bobby pins, hair donuts, smoothing products, precision
This involves creating multiple knots that layer over each other in a sculptural way. It’s less about following steps and more about understanding how hair moves and falls.
Honestly, I consider this more of an art form than a hairstyle. The few times I’ve achieved it, I felt like I could charge admission for people to look at my head.
15. Master Level: Professional Editorial Updo
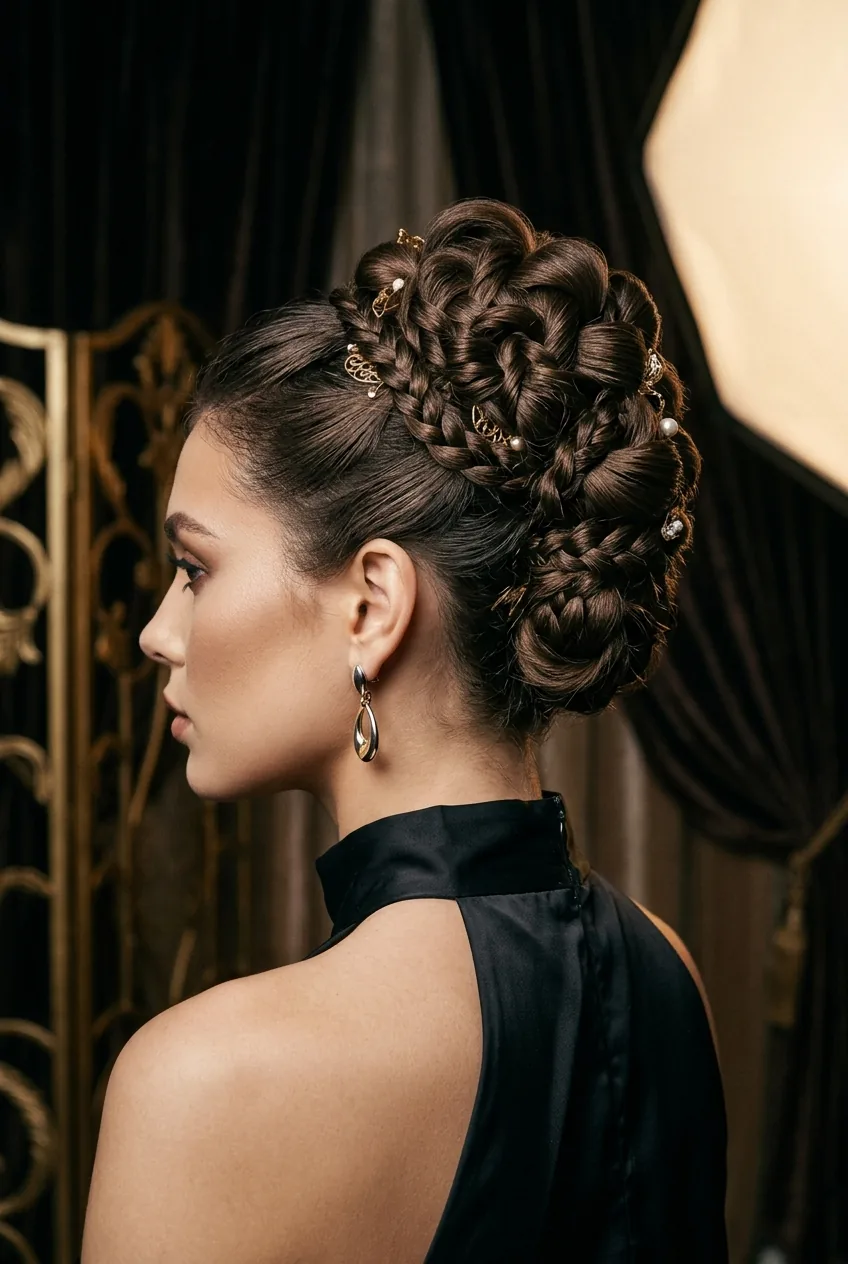
Difficulty: ⭐⭐⭐⭐⭐ (Master Level)
Time: 45-60+ minutes
Tools needed: Professional tools, multiple products, advanced techniques
This is the kind of updo you see in high-fashion magazines — impossibly intricate, perfectly balanced, and requiring years of training to execute properly. It combines multiple advanced techniques into one cohesive masterpiece.
I’m not going to lie — I’ve never successfully completed one of these at home. They require the kind of technical skill and spatial awareness that professional stylists spend years developing. But they’re absolutely mesmerizing to watch being created.
Some looks are meant to inspire rather than replicate, and these editorial updos fall firmly in that category. Though if you ever do master one, please send me photos because I’ll be genuinely impressed.
Quick Styling Questions
Can I do advanced updos on myself?
Absolutely, but it takes practice and patience. I recommend starting with styles rated 3 stars or below, then gradually working your way up. Having a friend help with the back sections makes a huge difference.
What hair length works best for updos?
Medium to long hair gives you the most options, but I’ve created beautiful updos on shoulder-length hair too. Very short hair limits your choices, but styles like the half-up top knot still work beautifully.
Should I use dirty or clean hair?
Day-old hair is actually ideal for most updos. It has better grip and texture than freshly washed hair. If your hair is clean, add some texturizing product before styling.
How do I make updos last all day?
Use enough bobby pins (more than you think you need), secure each section as you go, and finish with hairspray. The key is building a strong foundation rather than trying to fix a loose style later.
Watch the Twist Technique in Action
Start with the beginner styles and work your way up — trust me, there’s no shame in mastering a perfect messy bun before attempting victory rolls. I still reach for those easy options more often than the complex ones, and they never disappoint.