


I still remember frantically trying to braid my hair in the school bathroom before first period. Some mornings I’d nail it, other mornings… well, let’s just say scrunchies saved my life more than once. After years of experimenting (and plenty of bad hair days), I’ve figured out which school hairstyles actually work for different skill levels.
Quick Style Guide by Difficulty
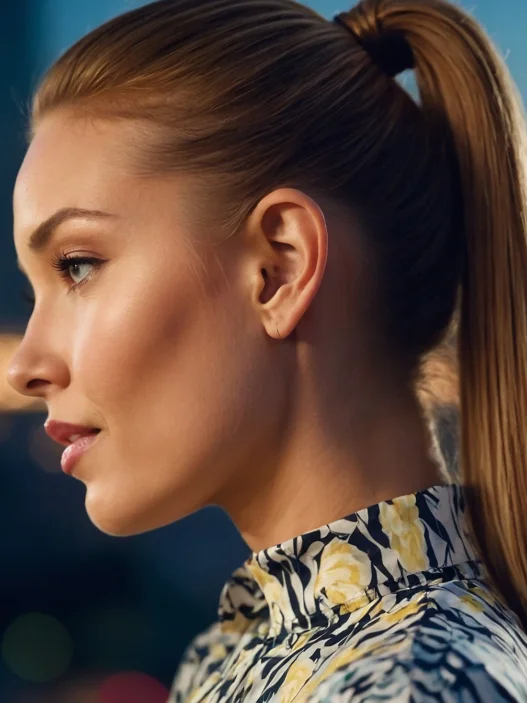
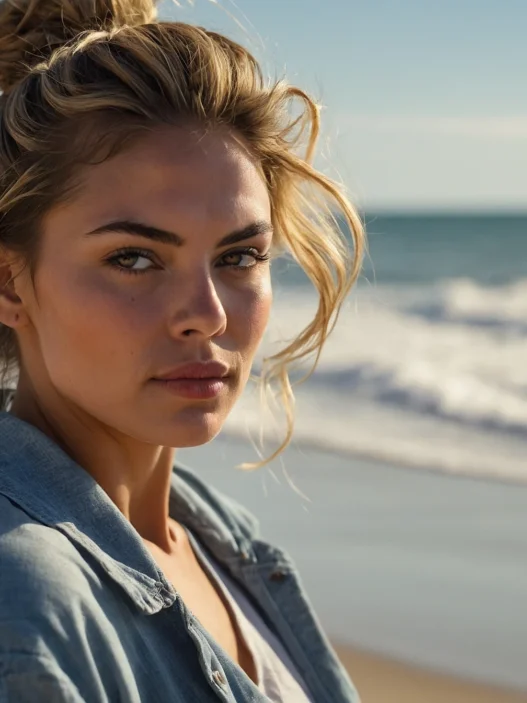
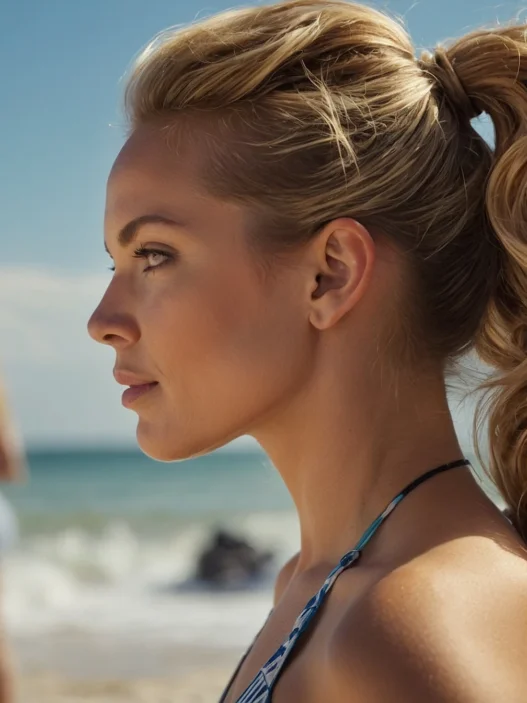
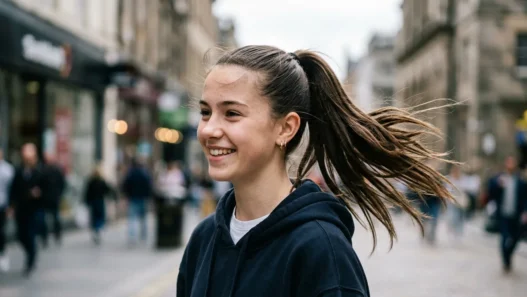
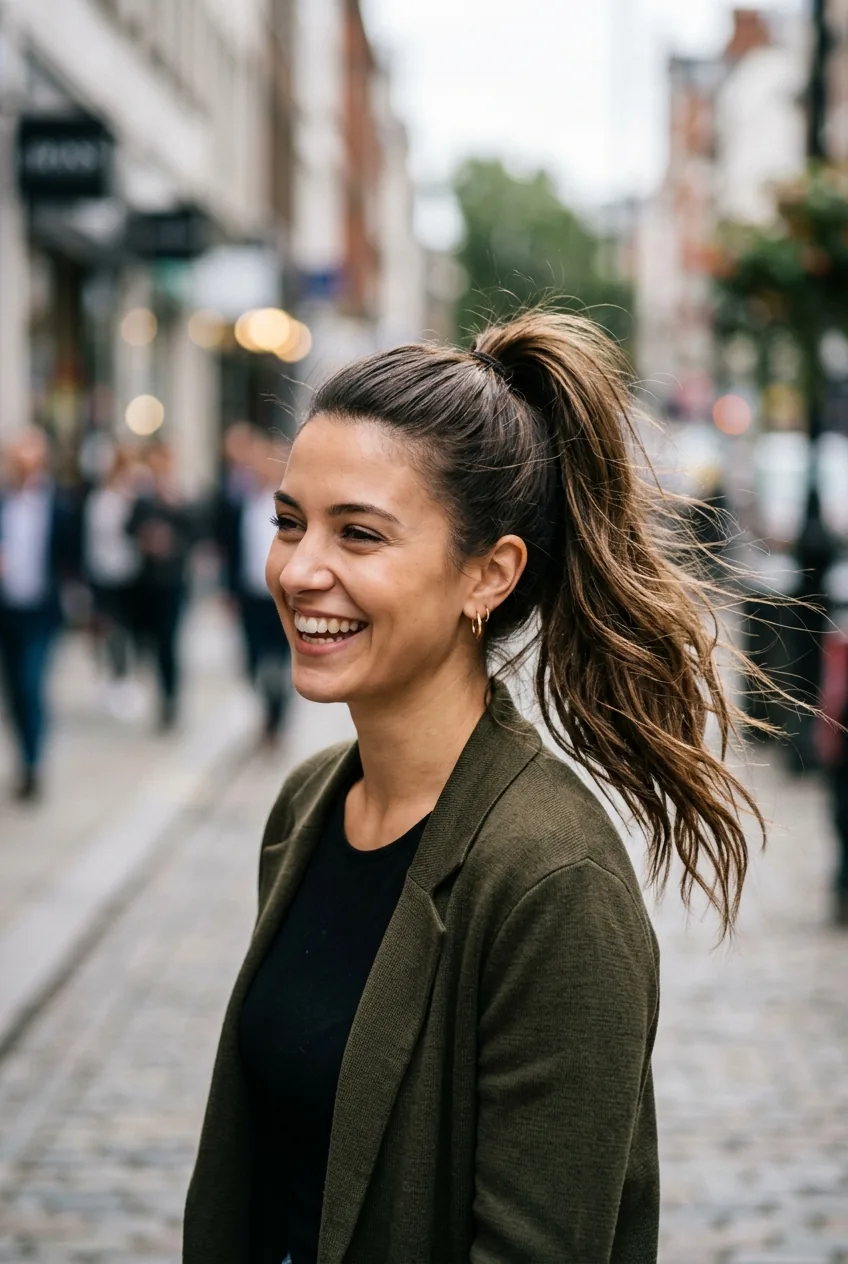
1. Beginner Level: Basic High Ponytail
Difficulty: ⭐
Time: 30 seconds
Tools needed: Hair tie, brush
Don’t roll your eyes at me. The high ponytail is criminally underrated when done right. I see so many people just throwing their hair up without any thought, but there’s actually a technique that makes all the difference.
The secret? Brush your hair straight up from the crown of your head, not from your hairline. This creates volume at the roots and prevents that deflated look by lunch time. Wrap the hair tie twice for medium thickness hair, three times for fine hair.
Look at how she’s positioned hers — that height is perfect for keeping hair completely off the face during tests or presentations. And it works on literally every hair type.
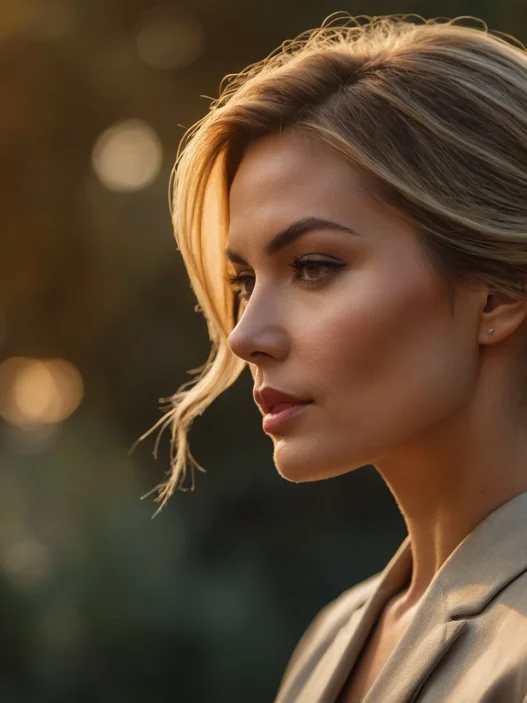
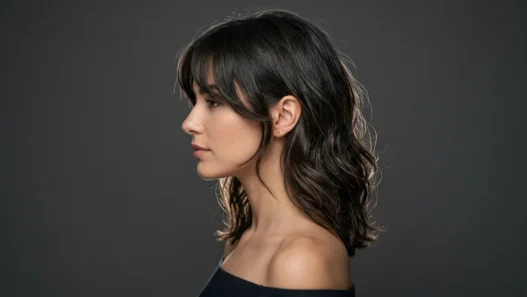
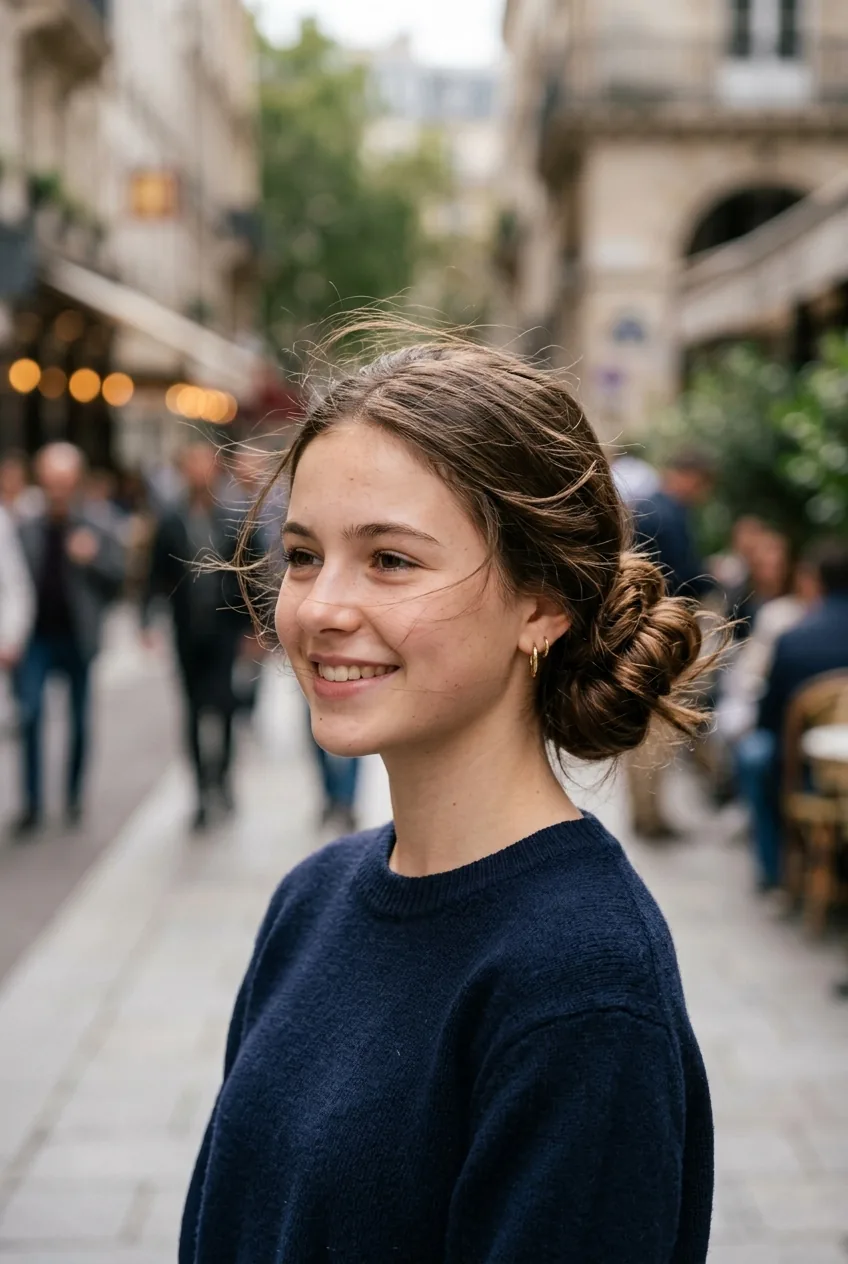
2. Beginner Level: Low Side Bun
Difficulty: ⭐
Time: 1 minute
Tools needed: Hair tie, 2-3 bobby pins
This became my go-to during senior year when I wanted to look put-together but couldn’t be bothered with complicated styles. Part your hair dramatically to one side, gather everything at the nape of your neck on the heavier side, and twist into a loose bun.
The key word here is “loose.” Don’t pull it tight — you want that effortless, slightly undone vibe. Pin with bobby pins that match your hair color, and deliberately pull out a few face-framing pieces.
She’s wearing it exactly how I learned to do mine. See how relaxed it looks? That’s intentional — and it stays put all day without feeling like your scalp is being stretched.
3. Easy Level: Half-Up Twist

Difficulty: ⭐⭐
Time: 2 minutes
Tools needed: Hair tie, bobby pins
When I discovered this style, it solved my “I want my hair down but also out of my face” dilemma. Take sections from each side of your head (about temple width), twist them back, and secure with a small hair tie at the back of your head.
The trick is in the twisting technique. Don’t twist away from your face like most tutorials say — twist toward your face, then flip the whole section over. This creates more volume and prevents the twists from falling flat.
I love how this gives you the best of both worlds: hair flowing down your back but completely clear vision for taking notes or doing presentations. Plus, it works whether your hair is straight, wavy, or curly.
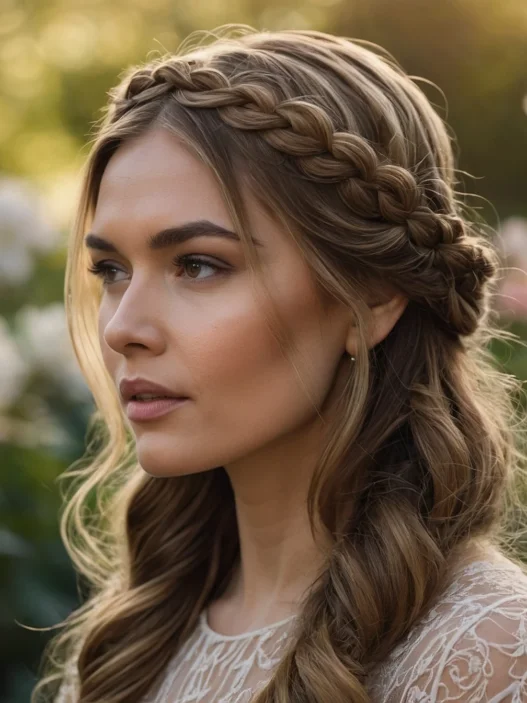
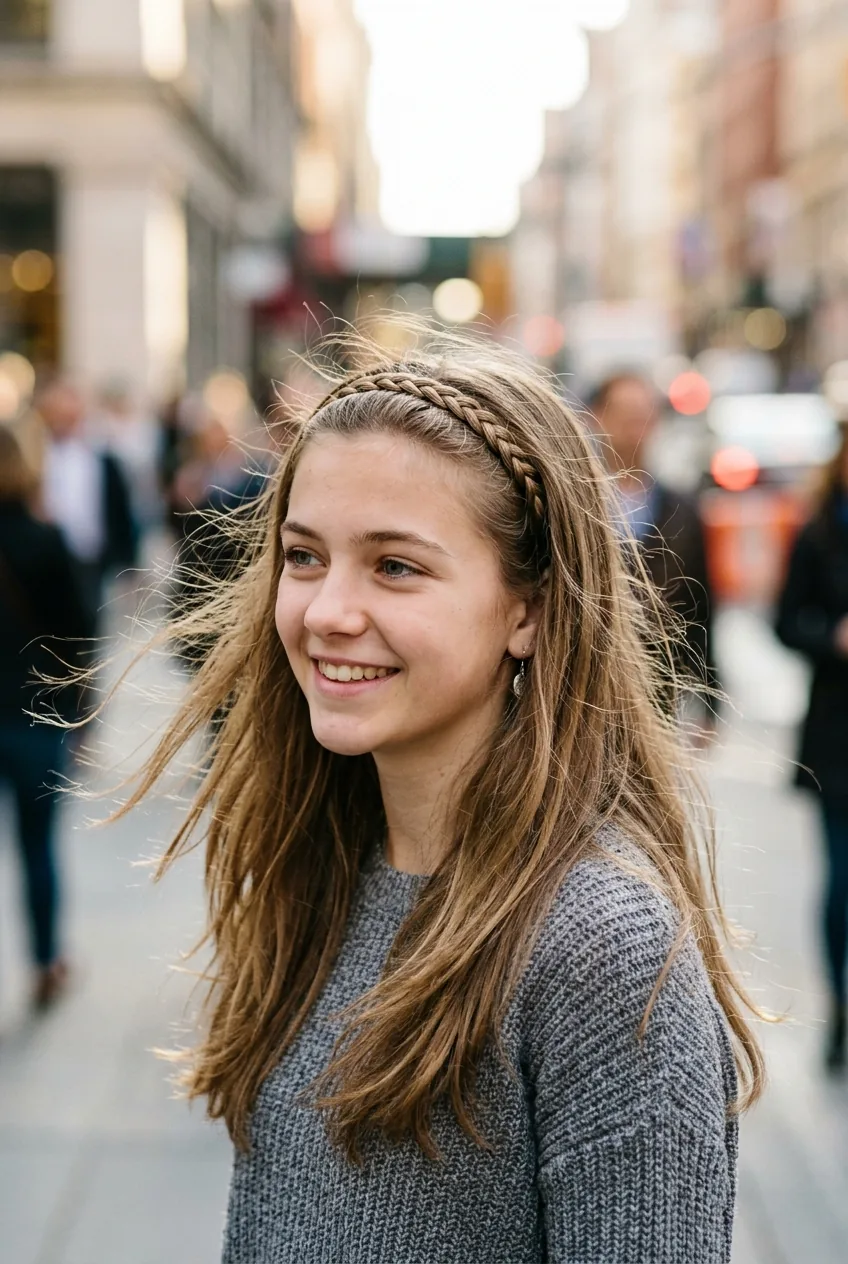
4. Easy Level: Simple Braided Headband
Difficulty: ⭐⭐
Time: 3 minutes
Tools needed: Bobby pins, small hair tie
This is where we start getting into “wow, how did you do that?” territory, even though it’s surprisingly simple. Start with a deep side part, then begin a regular three-strand braid right at your hairline on the heavier side.
Braid along your hairline toward your ear, incorporating small pieces as you go (like a mini French braid). Once you reach your ear, finish the braid normally and pin it behind your ear with bobby pins.
Personal pick: This was my absolute favorite during junior year. It looked intricate but took less time than straightening my hair, and teachers always complimented it during parent-teacher conferences.
The best part? Even if your braiding isn’t perfect, the slight messiness actually adds to the charm. I’ve seen girls with hairstyles for thin curly hair absolutely nail this look.
5. Intermediate Level: Dutch Side Braid

Difficulty: ⭐⭐⭐
Time: 5 minutes
Tools needed: Hair tie, bobby pins
Okay, this is where things get real. A Dutch braid is essentially a French braid turned inside-out — instead of crossing sections over the middle, you cross them under. The result is a braid that sits on top of your hair like a raised design.
Start at your deep side part and work diagonally across your head toward the opposite ear. The key is keeping consistent tension — too loose and it falls apart, too tight and you’ll have a headache by third period.
Practice this on weekends first. I’m not kidding. The muscle memory needs to develop before you attempt it on a school morning when you’re running late.
This is the exact angle I’m talking about — see how the braid follows the natural curve of her head? Professional braiding techniques make all the difference in getting that smooth, even look.
Watch the Technique in Action
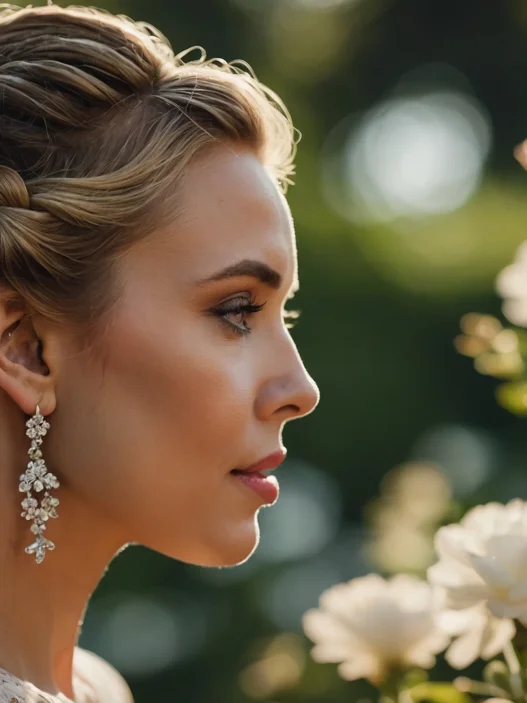
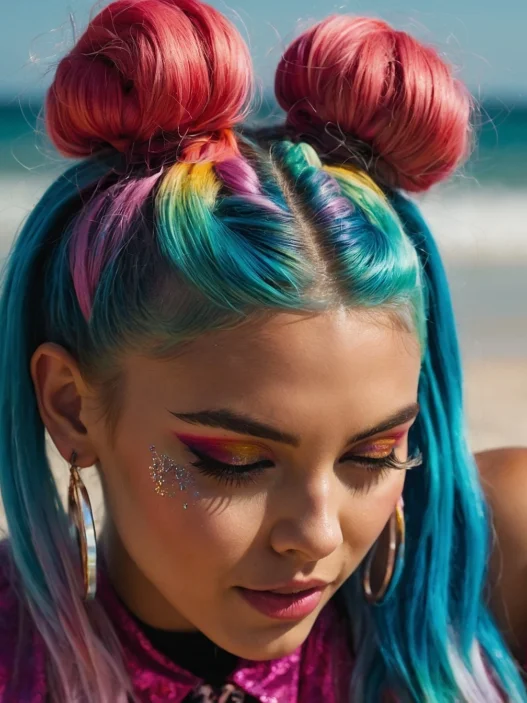
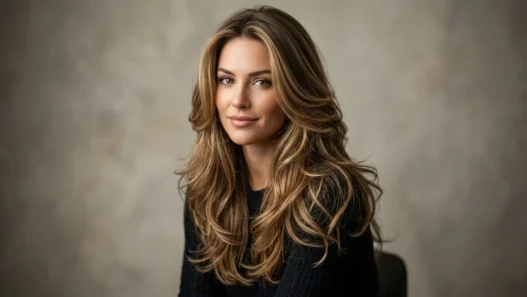
6. Intermediate Level: Messy Top Knot

Difficulty: ⭐⭐⭐
Time: 3 minutes
Tools needed: Hair tie, bobby pins, texturizing spray
The “messy” top knot is actually harder than it looks because the mess has to be intentional. Flip your head upside down and gather your hair into a high ponytail — this creates natural volume and texture.
Here’s where most people mess up: they try to make the bun too neat. Instead, twist your ponytail loosely and wrap it around the base, leaving the ends sticking out. Pin strategically but not everywhere.
The secret weapon is texturizing spray applied before you start. It gives your hair grip and makes the “messy” parts stay exactly where you want them. Without it, fine hair just falls flat and thick hair looks too polished.
She’s got the perfect amount of controlled chaos going on here. Notice how some pieces escape but they’re not random — they frame her face intentionally.
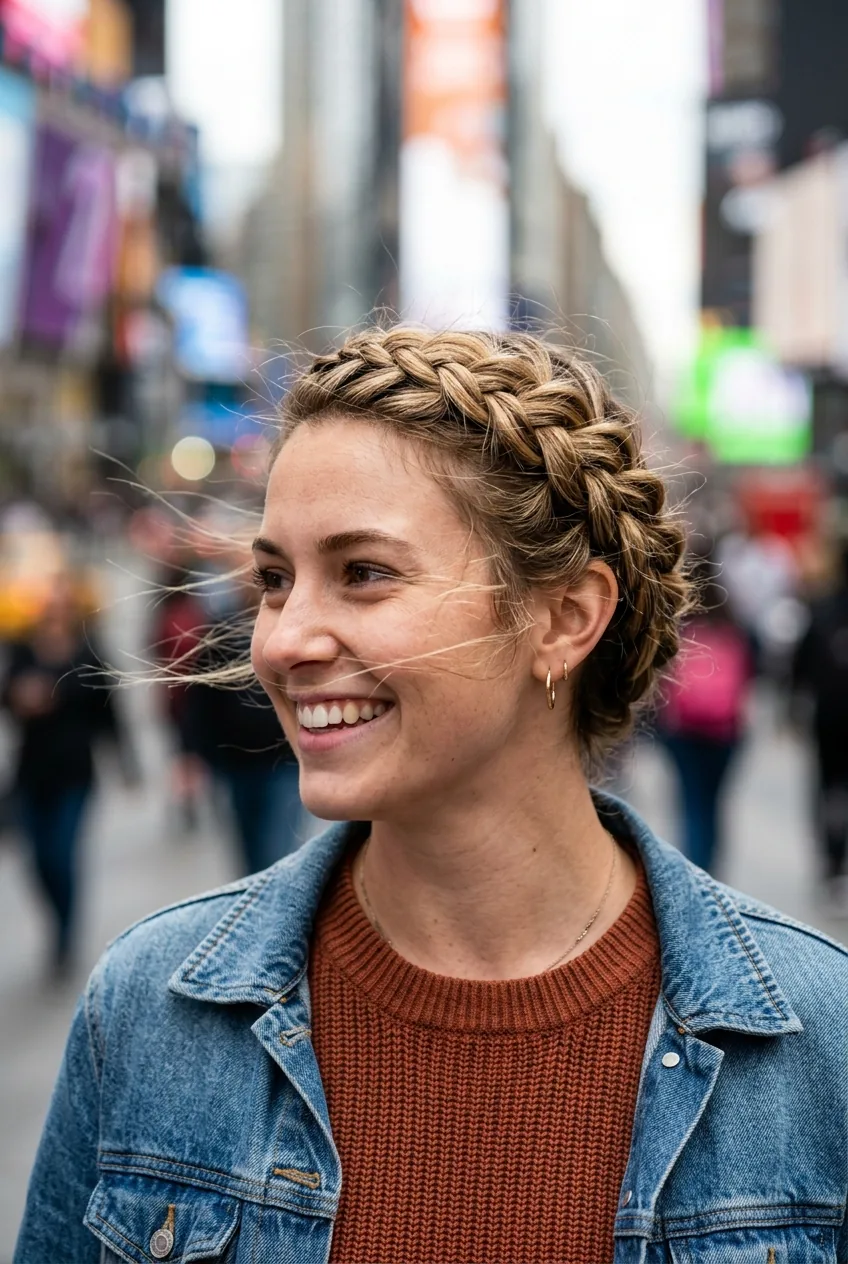
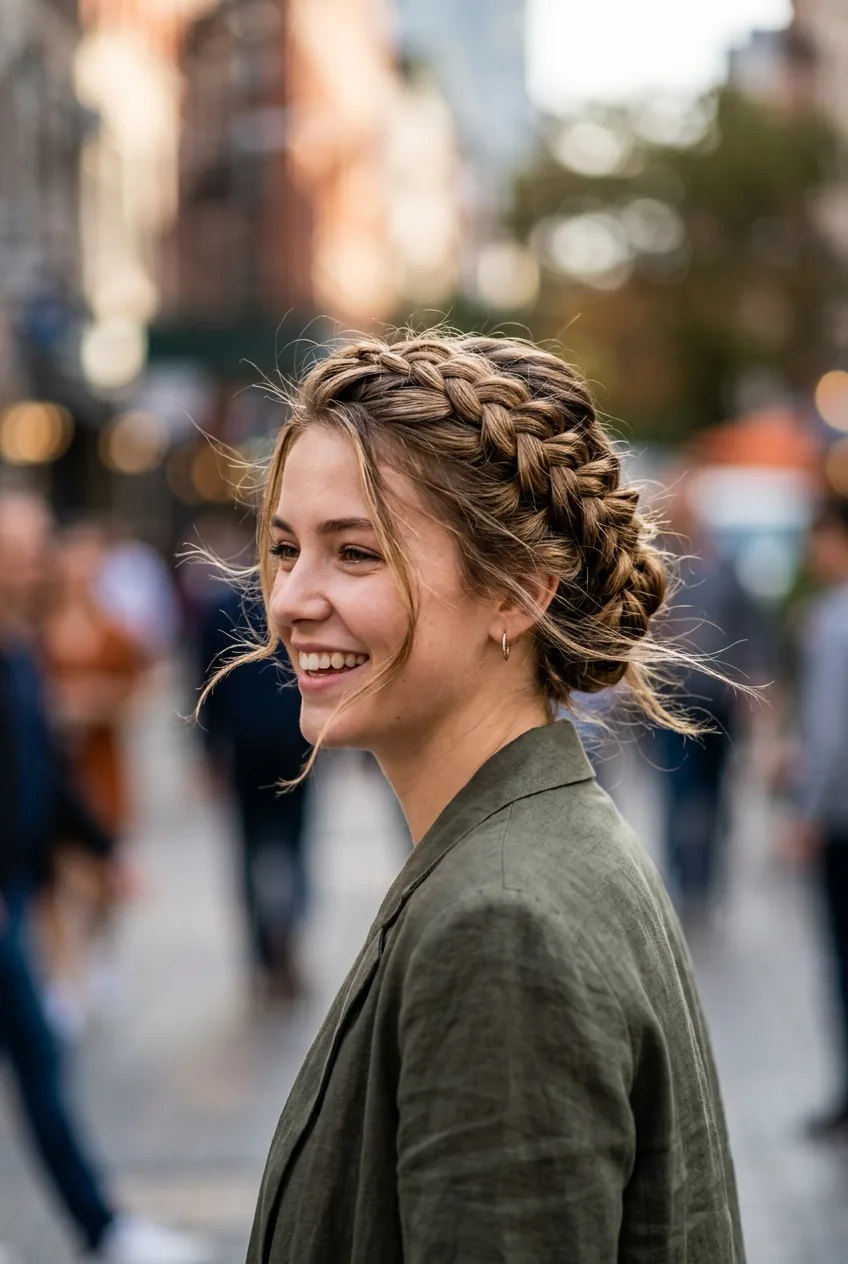
7. Advanced Level: French Braid Crown
Difficulty: ⭐⭐⭐⭐
Time: 8-10 minutes
Tools needed: Hair ties, multiple bobby pins, patience
This is the style that made me feel like a hair goddess when I finally mastered it senior year. You’re essentially creating a French braid that goes around your entire head like a crown.
Start behind one ear and French braid around your hairline, incorporating hair from the top of your head as you go. The challenge is maintaining even tension while navigating around the curves of your head.
When you complete the circle, you’ll have a tail of hair left over. Tuck this under the braid and pin it securely. The end result should look like you’re wearing an intricate hair crown.
Fair warning: your arms will be tired halfway through. Take breaks if you need to. I used to practice this while watching Netflix on Sunday nights until it became second nature.
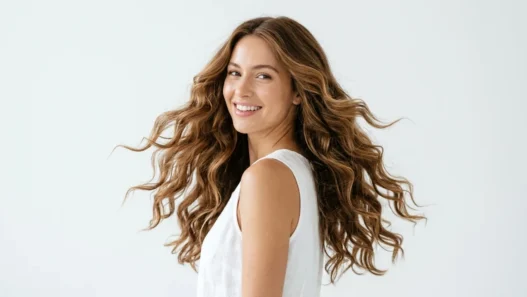
8. Advanced Level: Waterfall Braid

Difficulty: ⭐⭐⭐⭐
Time: 7 minutes
Tools needed: Bobby pins, small hair tie
The waterfall braid looks like magic when it’s done right. You’re essentially doing a French braid but dropping sections instead of incorporating them, creating the illusion of hair “falling” through the braid like a waterfall.
Start with a deep side part and begin braiding normally. But here’s the twist: every few stitches, you drop the bottom section and pick up a new piece from the top. The dropped pieces become the “waterfall” cascading down.
This took me forever to learn because you’re literally doing the opposite of what your muscle memory wants to do. But once it clicks, you’ll feel like you’ve unlocked a hair superpower.
Look at how the loose strands create that ethereal, romantic effect. This was my go-to for school dances and special presentations where I wanted to look extra polished.
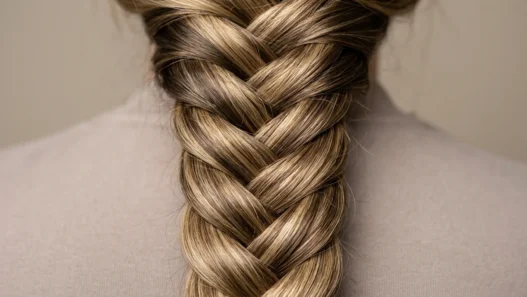
9. Expert Level: Four-Strand Braid Updo
Difficulty: ⭐⭐⭐⭐⭐
Time: 12-15 minutes
Tools needed: Multiple hair ties, bobby pins, mirror setup, determination
This is the Mount Everest of school hairstyles. A four-strand braid creates an intricate, almost woven pattern that looks impossibly complex. Then you coil it into an updo that belongs in a salon, not a high school hallway.
The four-strand technique involves crossing strands over and under in a specific pattern: over, under, over. It takes serious practice to keep the four sections separate and maintain the pattern while your arms are getting tired.
Once you have the braid, coil it at the base of your neck and pin strategically. The thick, textured braid creates a stunning updo that photographs beautifully and stays put through entire school days.
I only attempted this for senior picture day and graduation. It took three practice rounds to get right, but the compliments made every minute of arm cramping worth it.
She’s wearing the exact style I’m talking about. See how dimensional and rich that braid pattern looks? That’s the four-strand magic at work.
Quick Answers to Common Questions
Which styles work best for fine hair?
The high ponytail and half-up twist are your friends. Both create the illusion of thickness, and texturizing spray beforehand gives fine hair the grip it needs to hold styles all day.
How do I keep braids from falling out during long school days?
Start with slightly dirty hair — day-two hair has more texture and grip than freshly washed hair. Also, use bobby pins that match your exact hair color and insert them in an X pattern for maximum hold.
What if I mess up a complicated style right before school?
Always have a backup plan. Keep a few cute hair ties and headbands in your backpack. A messy bun with a headband can look intentional even when it’s actually a rescue job.
Should I practice these styles beforehand?
Absolutely, especially for anything rated three stars or higher. Weekend practice sessions while watching TV are perfect. Your muscle memory needs time to develop before you attempt complex braids on busy mornings.
The truth is, mastering school hairstyles isn’t just about looking good — it’s about feeling confident walking into class. Start with the beginner styles and work your way up. Some of my best high school memories involve friends practicing braids on each other during lunch breaks. Your hair journey is uniquely yours, so embrace the learning process and don’t stress about perfection.