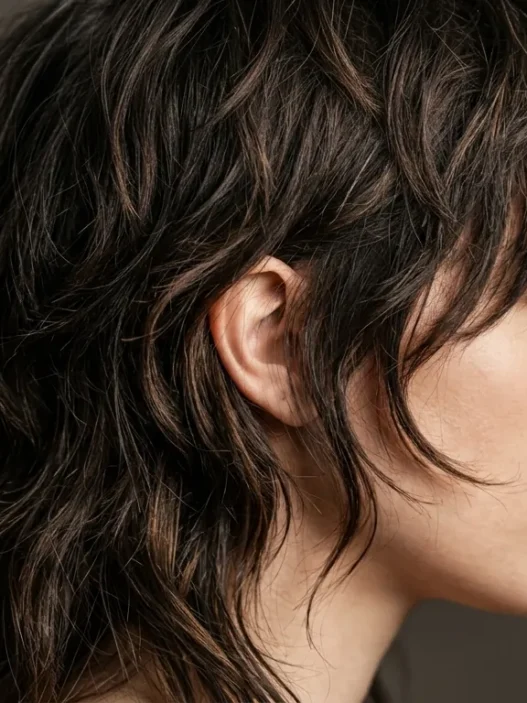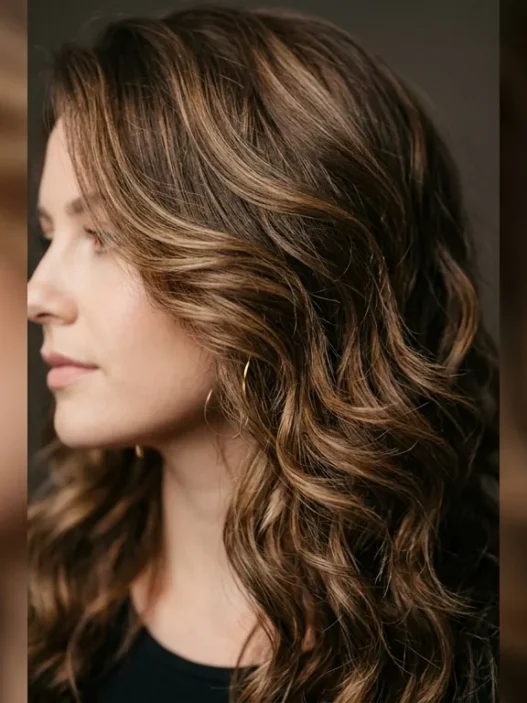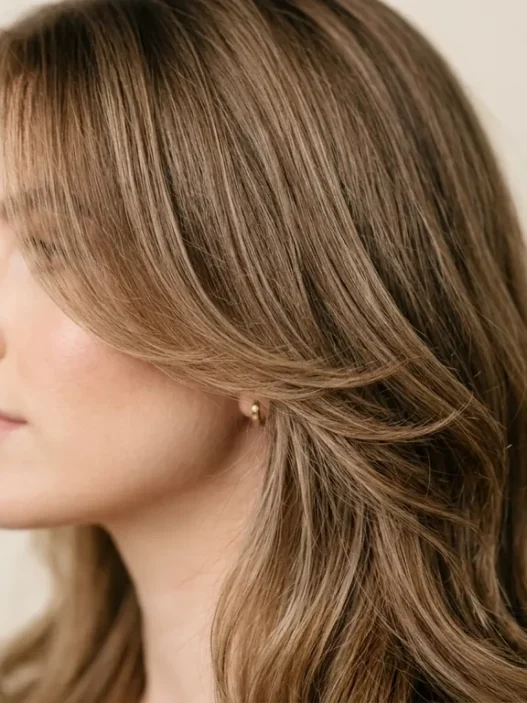









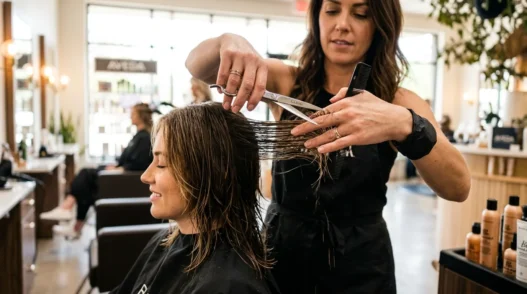
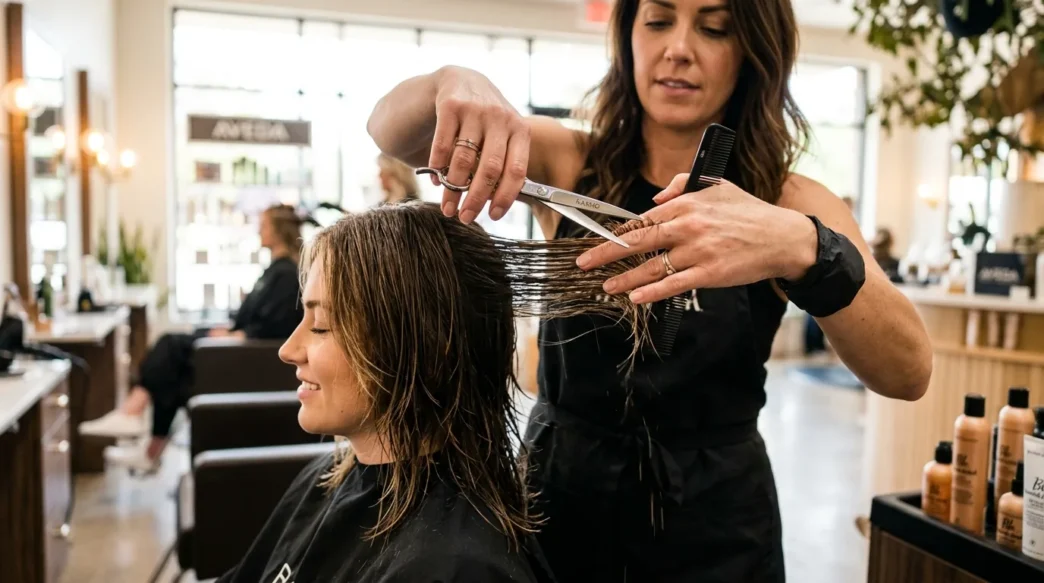
I spent years getting mediocre shag cuts that fell flat after two weeks. The layers looked choppy, the texture disappeared, and I’d end up with what looked more like a grown-out bob than that effortless, piece-y shag I was after. Then I watched my stylist work on another client and realized what I’d been missing — it’s not about cutting more layers, it’s about how you texturize them.
What Professionals Do Differently
Here’s what your stylist knows that most of us don’t: a layered shag isn’t about cutting dramatic layers. It’s about creating texture through strategic point cutting and slide cutting techniques. The magic happens in the texturizing phase, not the initial layering.
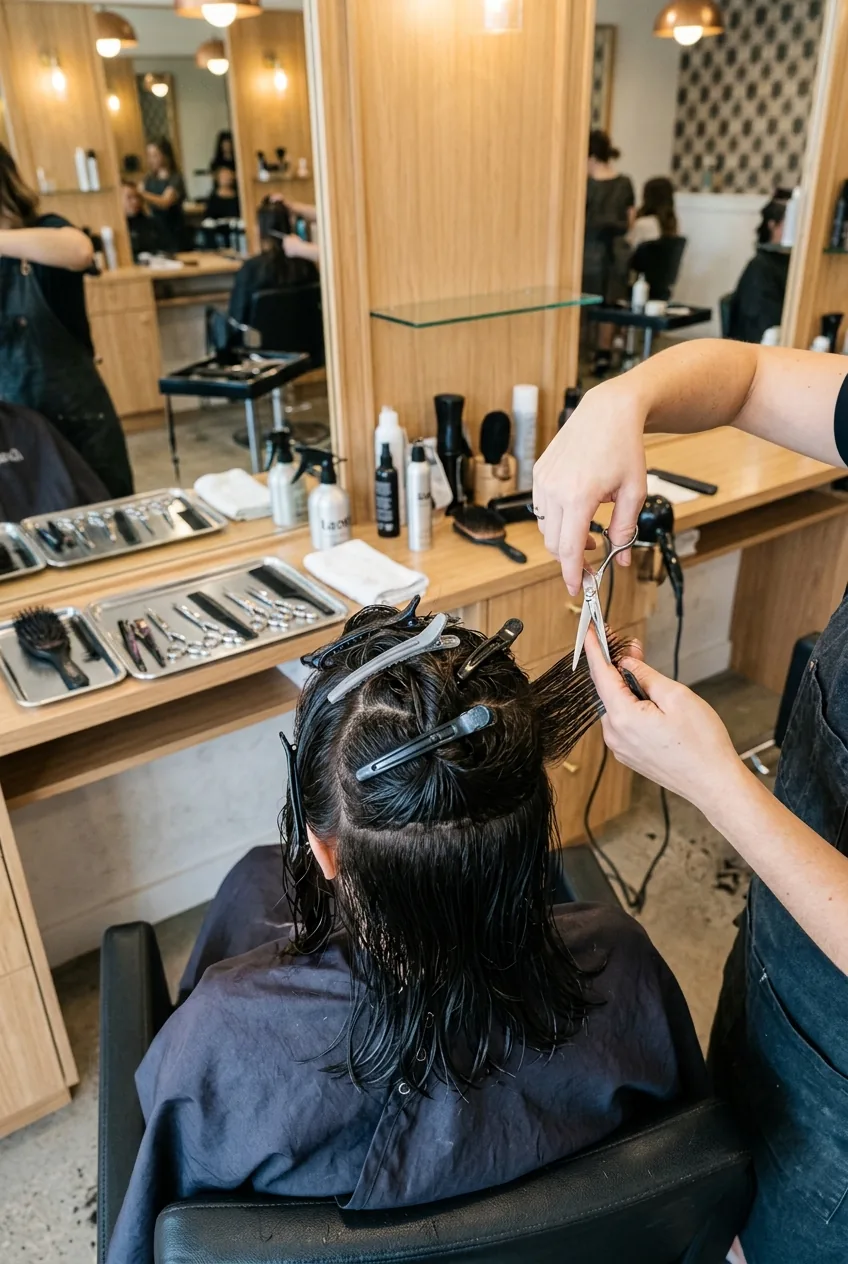
Professional stylists work in much smaller sections than you’d think. While you might grab a huge chunk of hair to “save time,” they’re meticulously working through quarter-inch sections to ensure every piece moves independently. This is why salon shags look so effortlessly tousled — each strand has been individually considered.
The other game-changer? They cut hair when it’s damp, not soaking wet or completely dry. Slightly damp hair shows its natural fall pattern while still being manageable enough to cut precisely. Too wet, and you can’t see how it’ll actually lay. Too dry, and you lose control of the cutting angle.
Essential Tools for Pro Results
Before we dive into the technique, let’s talk tools. This isn’t about having the most expensive equipment — it’s about having the right ones for the job.
- Professional thinning shears (not regular scissors — the texture comes from these)
- Sharp haircutting scissors (dull blades create split ends, not smooth layers)
- Sectioning clips (at least 8-10 small ones)
- Fine-tooth cutting comb
- Spray bottle for maintaining dampness
- Hair elastic for securing sections
- Texturizing spray (optional but helpful for grip)
The thinning shears are non-negotiable. I learned this the hard way when I tried to create texture with regular scissors. You end up with blunt, disconnected pieces instead of that soft, feathery movement that makes a shag look natural.
Step 1: Strategic Sectioning
Start with clean, damp hair — about 70% dry. Create your first horizontal section from ear to ear across the back of your head, about two inches above the nape. This becomes your baseline. Clip everything above it out of the way.
Now here’s where most people go wrong: they create sections that are too thick. Your sections should be thin enough that you can see through them when held up to the light. This seems like it’ll take forever, but it’s the difference between a choppy DIY cut and salon-quality layers.
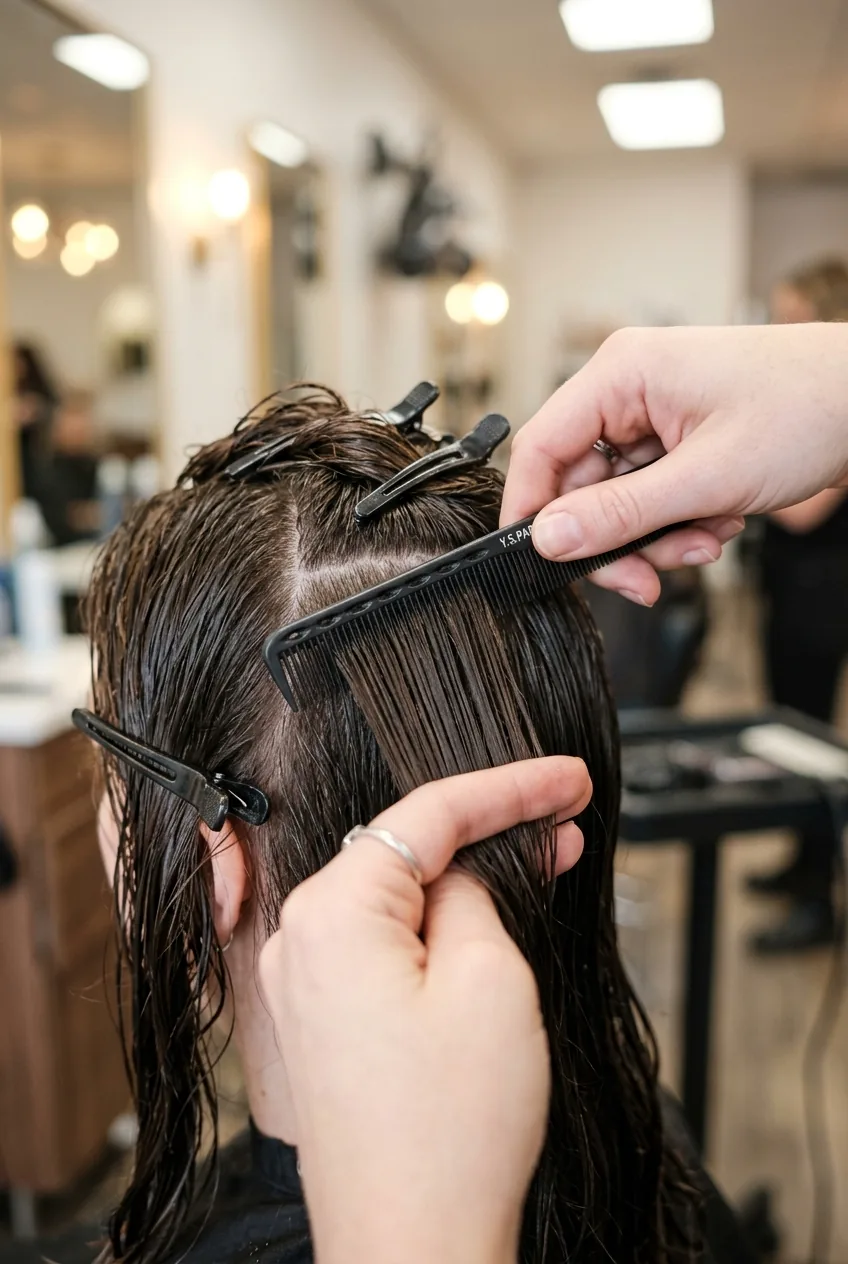
Work your way up the head in horizontal sections, each one about half an inch apart. The key is maintaining consistent spacing — use the end of your comb to measure. Each section should overlap the one below it by about a quarter inch.
Step 2: Creating the Foundation Layers
Starting with your bottom section, hold the hair straight out from the head at a 90-degree angle. This is crucial — not up, not down, straight out. Cut with your regular scissors in a straight line, creating your first layer length.
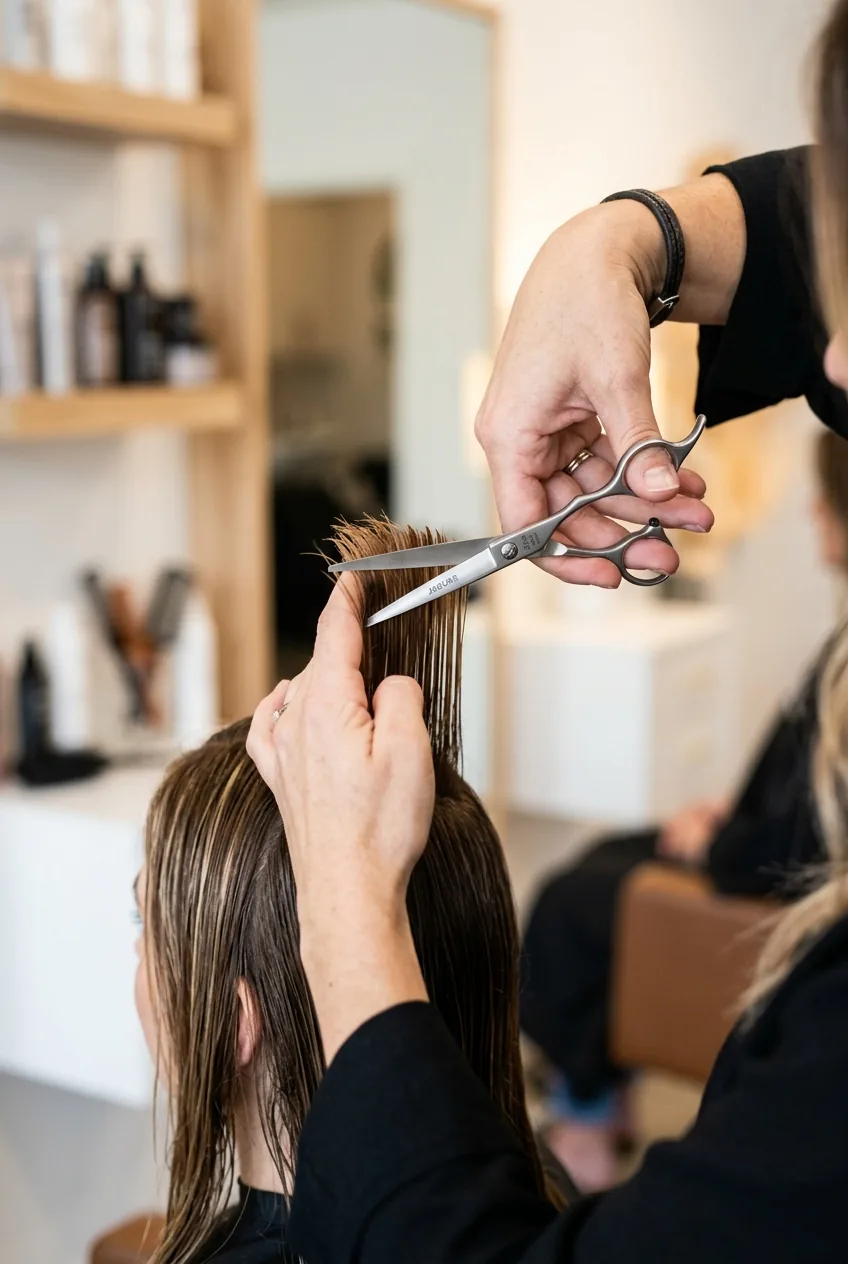
For each subsequent section, you’ll cut slightly shorter than the one below — but we’re talking about quarter-inch increments, not dramatic jumps. The layering should be so subtle at this stage that it’s barely noticeable. The drama comes later with texturizing.
As you work up toward the crown, maintain that 90-degree angle religiously. I’ve seen people start angling the hair upward “to create more layers,” but this creates holes and disconnection in the cut. Trust the process — the layers are being created through the systematic shortening, even if you can’t see them yet.
I got impatient during this step on my first attempt and started cutting bigger chunks with more dramatic length differences. The result looked like a mullet, not a shag. Sometimes the subtle approach is the only approach that works.
Step 3: The Texturizing Technique
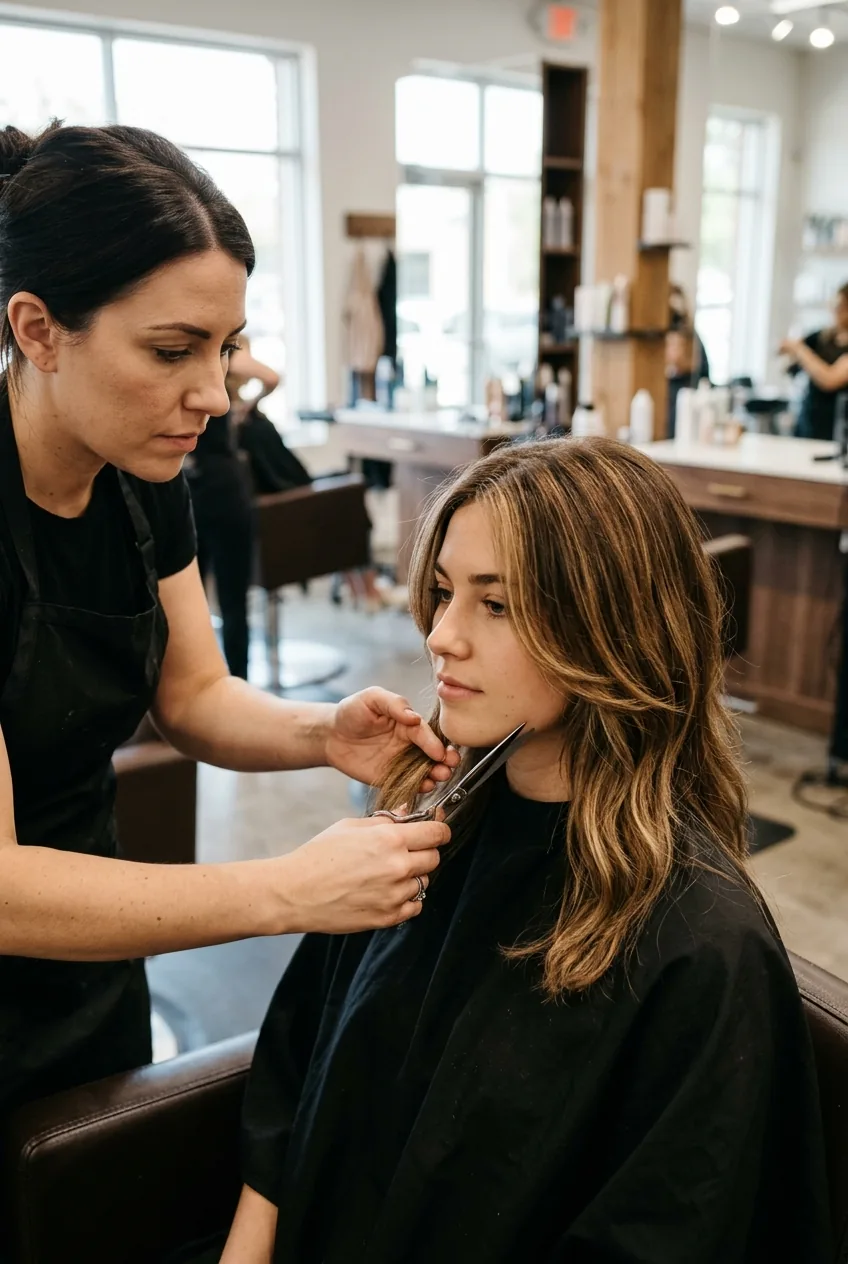
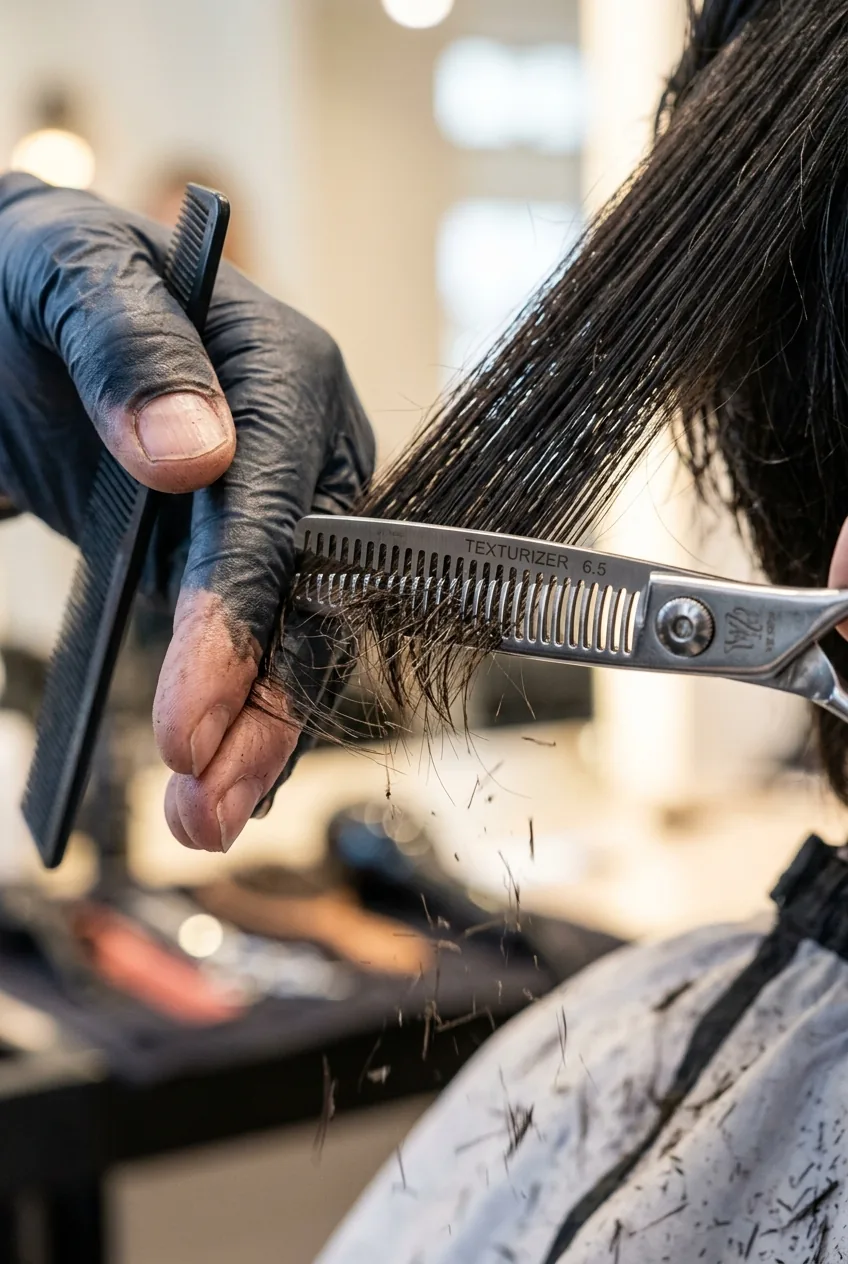
Now comes the magic. Switch to your thinning shears and go back to that bottom section. Instead of cutting straight across, you’ll point cut into the ends. Hold each small section between your fingers and make tiny snips straight into the hair shaft, creating irregular, feathery ends.
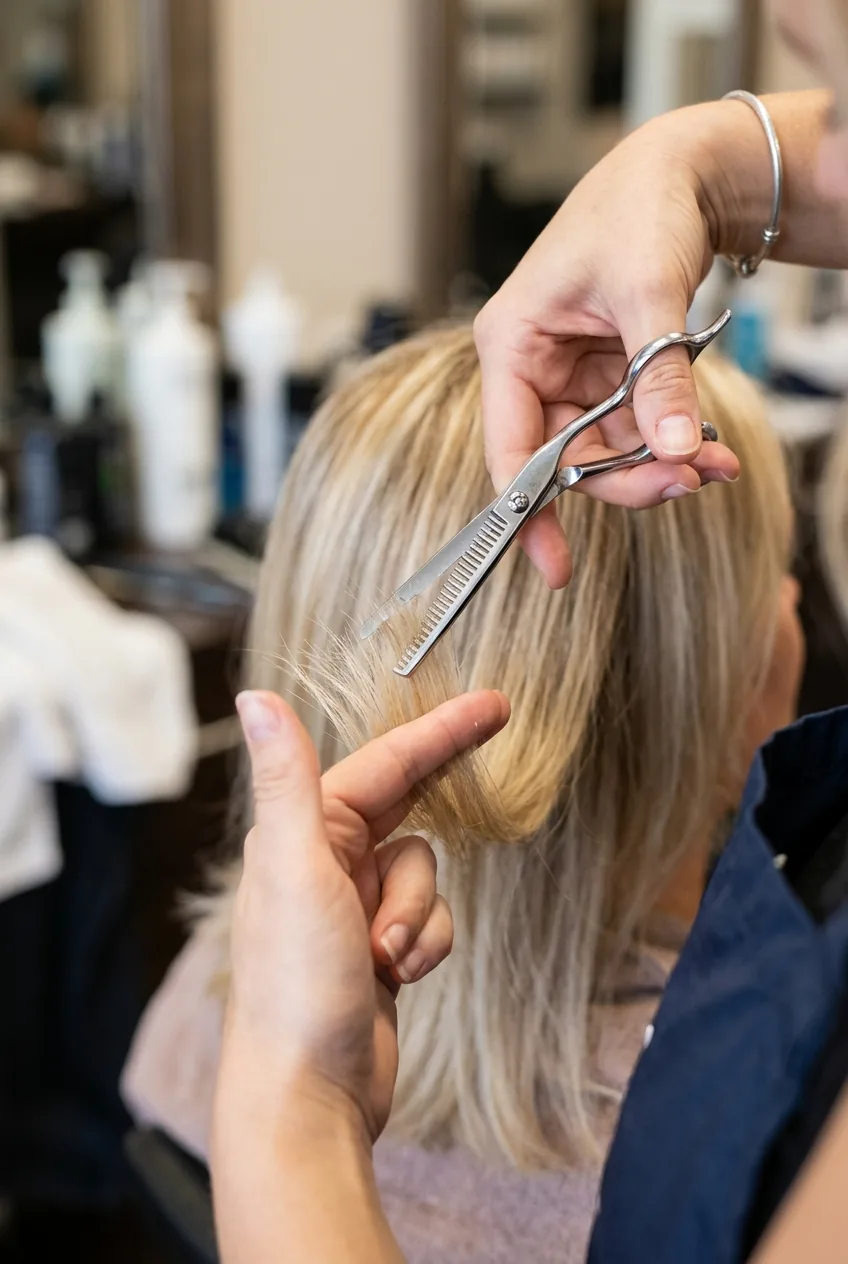
The thinning shears should only touch the bottom inch and a half of each section. Work in short, quick snips rather than long cuts. This creates the piece-y, separated texture that makes shag layers move independently instead of clumping together.
Here’s the professional trick: vary your angle with each snip. Some cuts go straight up into the hair, others at a slight diagonal. This randomness is what creates that “I woke up like this” texture. If you cut at the same angle every time, it looks too uniform — more like a precision cut than a relaxed shag.
Watch This Texturizing Magic Happen
Step 4: Face-Framing Magic
The face-framing pieces are where you can get creative, but they need to connect seamlessly with your layered cuts in the back. Start by sectioning out triangular pieces from your part down to your cheekbones.
These pieces should be cut at an angle that follows your jawline, not straight across. Hold the hair between your fingers and cut diagonally, with the shortest point hitting around your cheekbone and the longest around your jawline. This creates that signature shag sweep that frames your face.
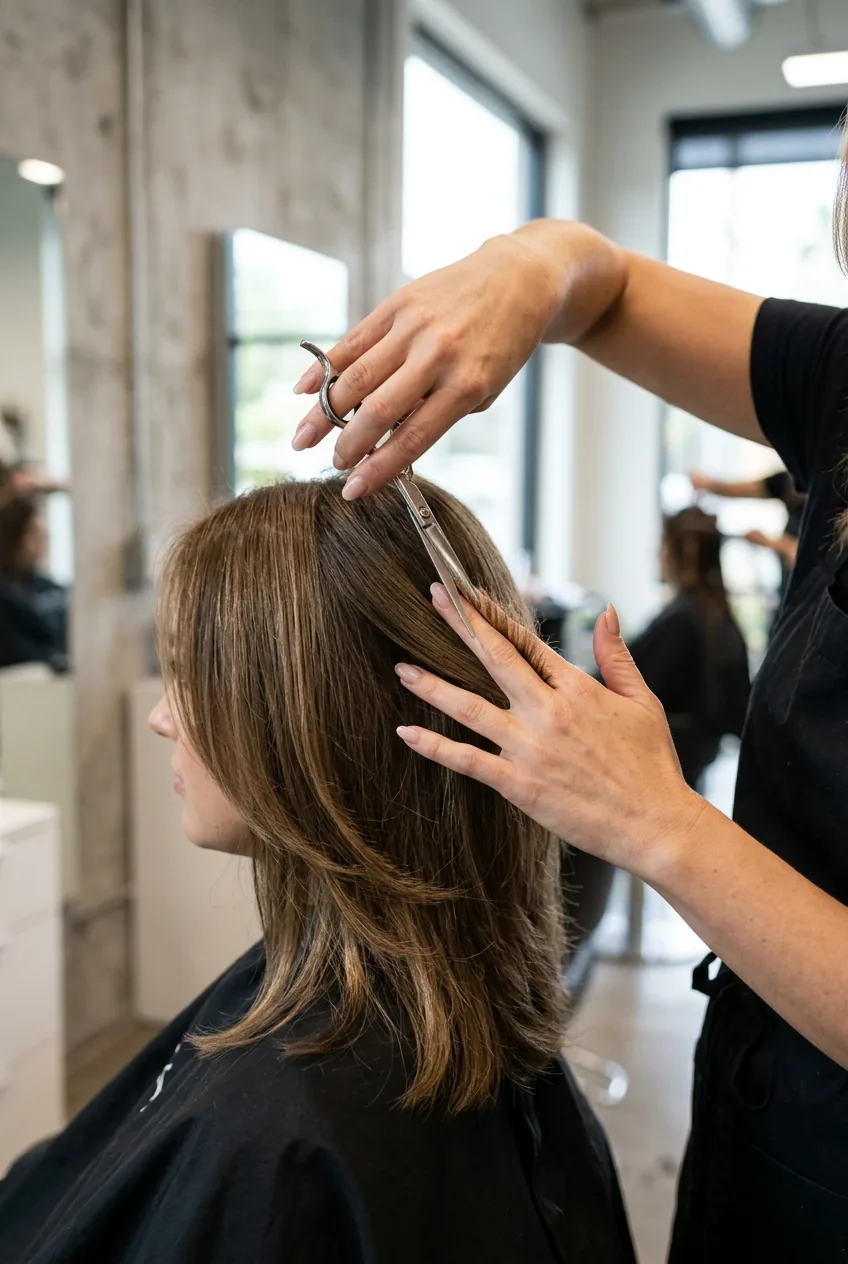
Use your thinning shears generously on these pieces. The face-framing sections should be the most textured part of your entire cut. I literally go over each section three times with thinning shears — once at the ends, once about an inch up, and once more just at the tips for extra movement.
Step 5: Blending for Movement
This step separates amateur cuts from professional ones. You need to blend where your back layers meet your side pieces, and where your side pieces meet your face-framing sections. Take small vertical sections at these junction points and use a slide-cutting technique.

Slide cutting means opening your shears slightly and gliding them down the hair shaft while gently closing and opening them. This removes bulk and creates seamless transitions between different lengths. It’s subtle, but it’s what makes the difference between choppy layers and flowing ones.
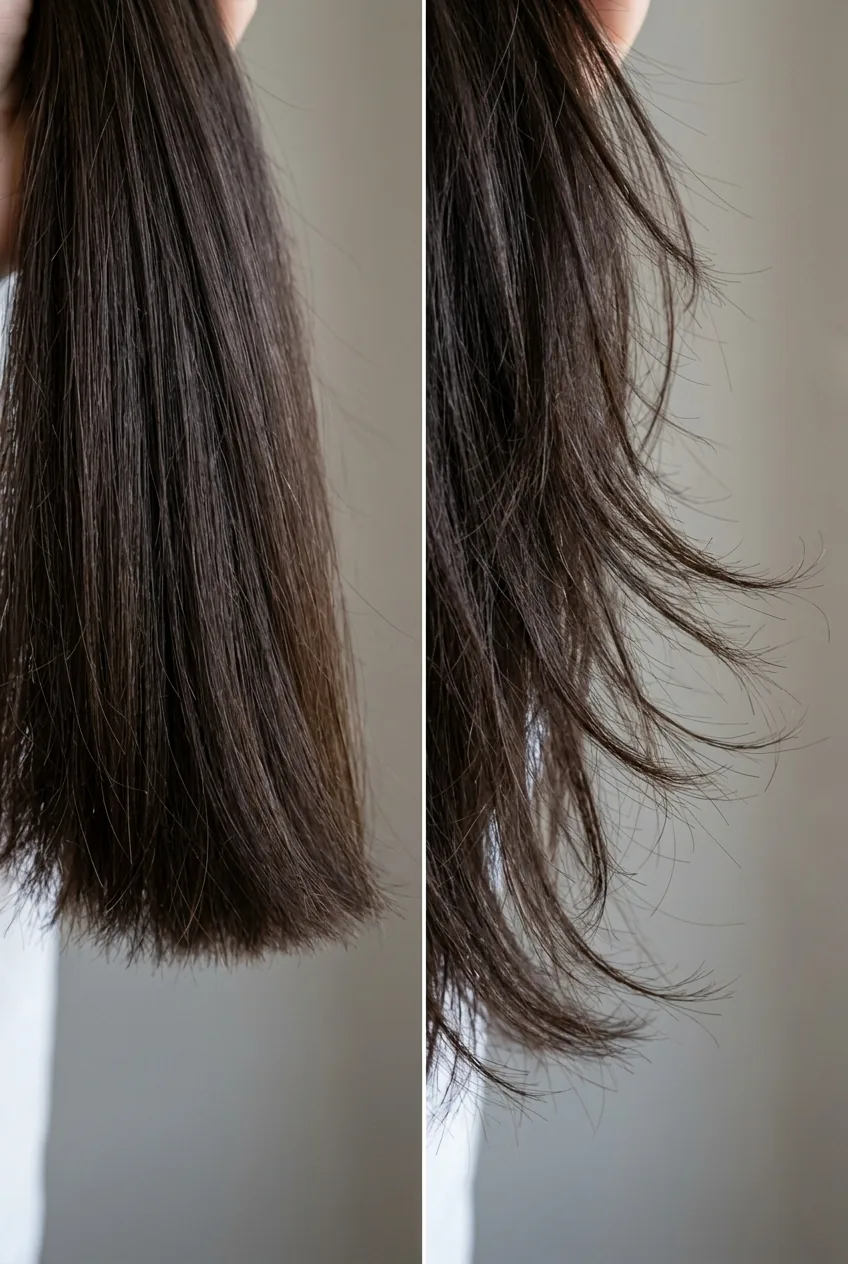
Pay special attention to the area around your ears. This is where most DIY shags go wrong — there’s often a harsh line where the face-framing pieces meet the back layers. Use your thinning shears to soften this transition, working in tiny sections until everything flows together naturally.
Step 6: The Finishing Touch
Let your hair dry completely before making any final adjustments. Wet hair lies differently than dry hair, and you need to see the true shape before deciding if anything needs tweaking. Texturizing products can help enhance the natural movement you’ve created.
Once dry, look for any pieces that stick out awkwardly or seem too heavy. Use your thinning shears to spot-correct these areas, but be conservative — it’s easier to cut more than to add length back. Focus on creating separation rather than removing length at this stage.
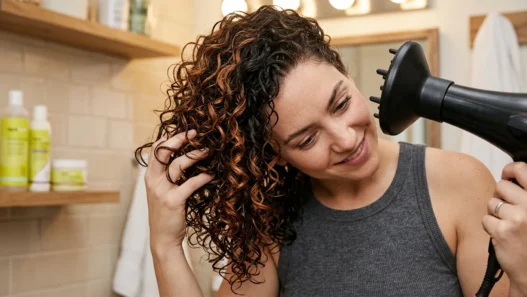
The final step is styling. Scrunch in a texturizing mousse or sea salt spray and either air dry for natural texture or use a diffuser on low heat. The beauty of a well-cut layered shag is that it looks great with minimal styling effort.
Questions I Get About This Technique
Can I do this on wet hair instead?
I don’t recommend it. Wet hair stretches and doesn’t show its natural fall pattern. You’ll end up cutting too much length and won’t see how the layers actually lay until it’s too late.
How often do I need to repeat this process?
A properly cut layered shag grows out beautifully for about 8-10 weeks. You might need minor touch-ups around the face-framing pieces sooner, but the overall shape holds remarkably well.
What if I mess up the face-framing sections?
These are the trickiest part, honestly. If you cut too short, you’ll need to wait for growth or see a professional for damage control. Start longer than you think you need — you can always cut more.
Will this work on fine hair?
Absolutely, but use thinning shears more sparingly. Fine hair needs some bulk to look full, so focus the texturizing mainly on the ends rather than working up the hair shaft.
The result? I finally have that effortlessly cool, piece-y texture that moves naturally and actually looks better as it grows out. My morning routine went from 20 minutes of fighting my hair to 5 minutes of scrunching in some product and walking out the door. Sometimes the professional approach really is worth learning.