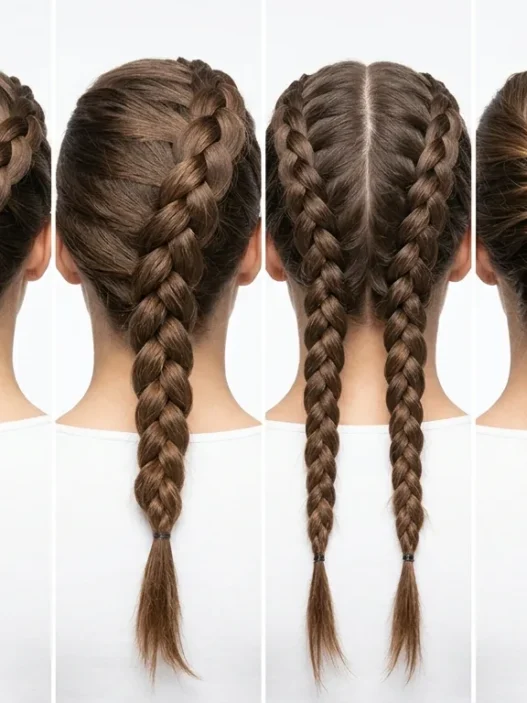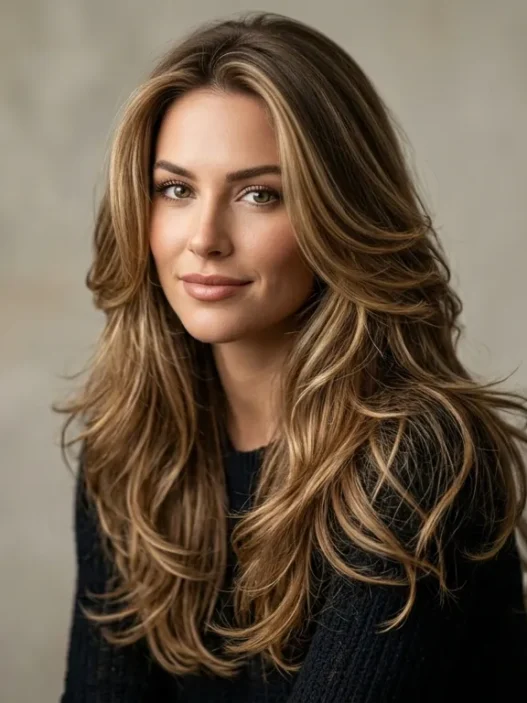









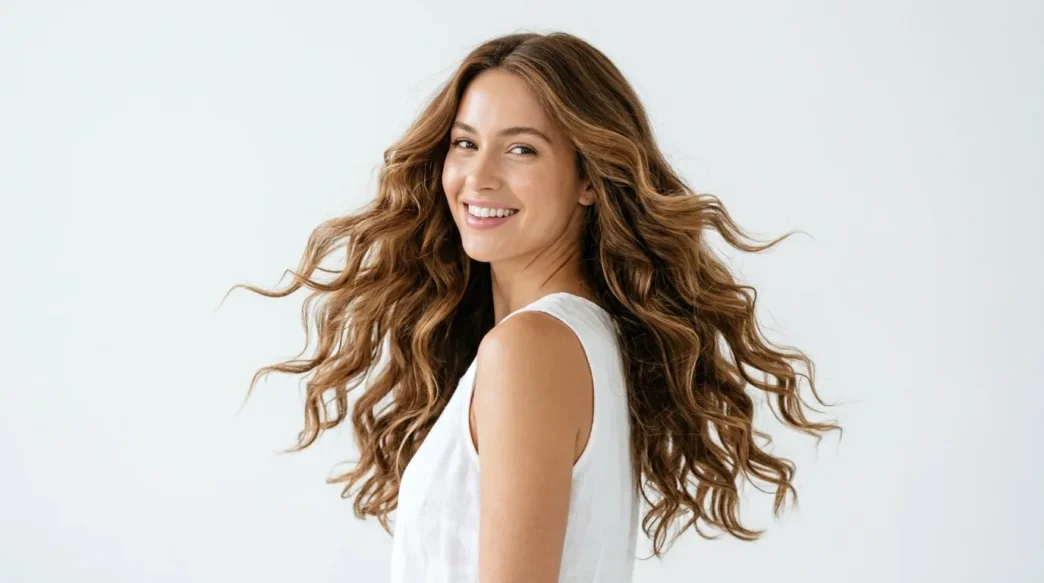
I used to think long hair tutorials were just for people with naturally perfect hair. You know, those Instagram girls who seem to wake up with bouncy, voluminous locks? But after months of limp, lifeless styles that fell flat within an hour, I finally cracked the code. This 5-step method transformed how I approach styling my long hair — and honestly, it’s simpler than I ever imagined.
What You’ll Need
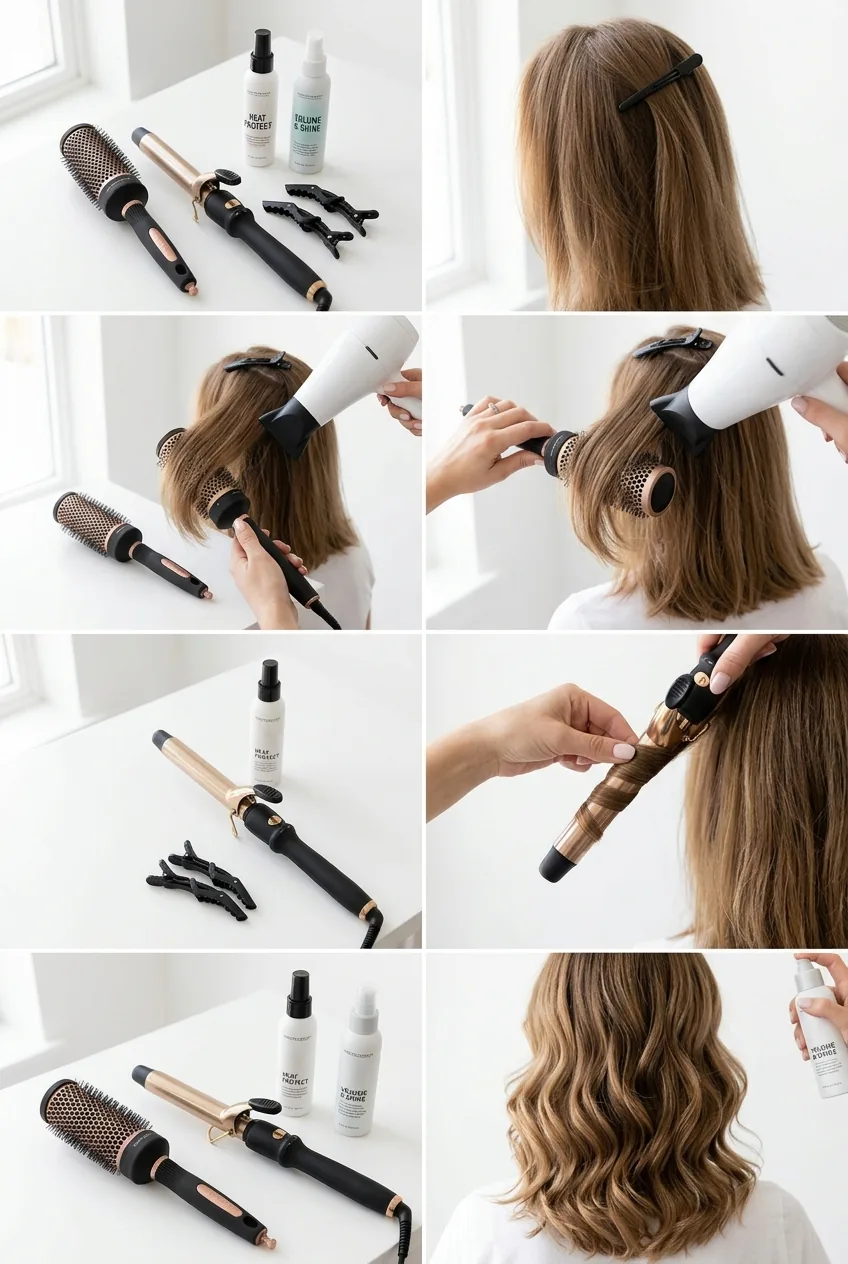
Before we jump in, let’s gather your tools. I’ve learned the hard way that having everything within reach makes this so much smoother.
- Heat protectant spray (non-negotiable)
- Volumizing mousse or root lift spray
- Wide-tooth comb
- Hair clips or sectioning clips (at least 4)
- Round brush (medium barrel works best for long hair)
- Blow dryer with concentrator nozzle
- Curling iron or wand (1.5-2 inch barrel)
- Texturizing spray or sea salt spray
- Flexible hold hairspray
- Shine serum (just a tiny amount)
The key here isn’t having expensive tools — it’s having the RIGHT tools for each step. I used to try shortcuts with whatever was lying around, and it showed.
Step 1: Prep Your Hair Foundation
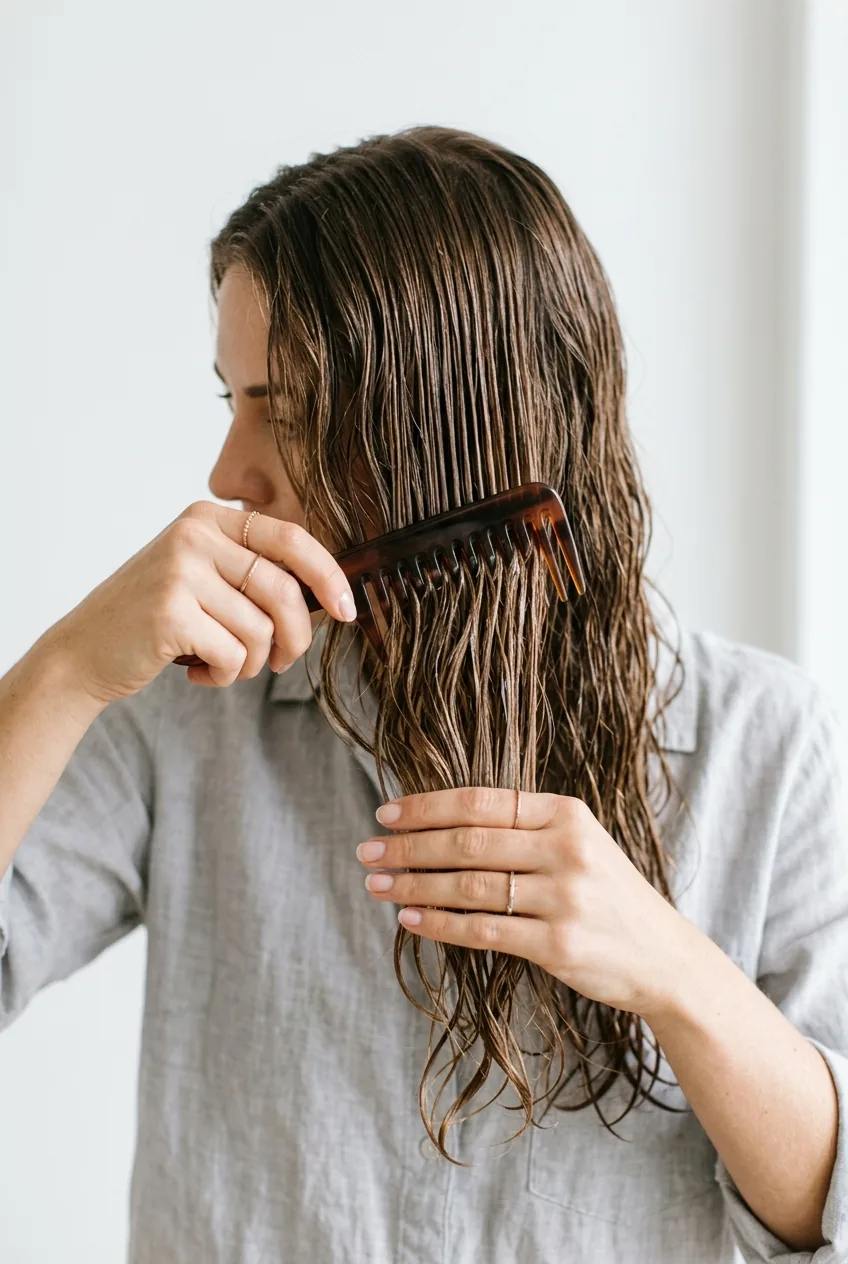
Start with damp (not soaking) hair. If you’re working with day-two hair, lightly mist it with water until it feels slightly damp to the touch. This is where most people go wrong — bone-dry hair won’t hold any style, and dripping wet hair takes forever to dry properly.
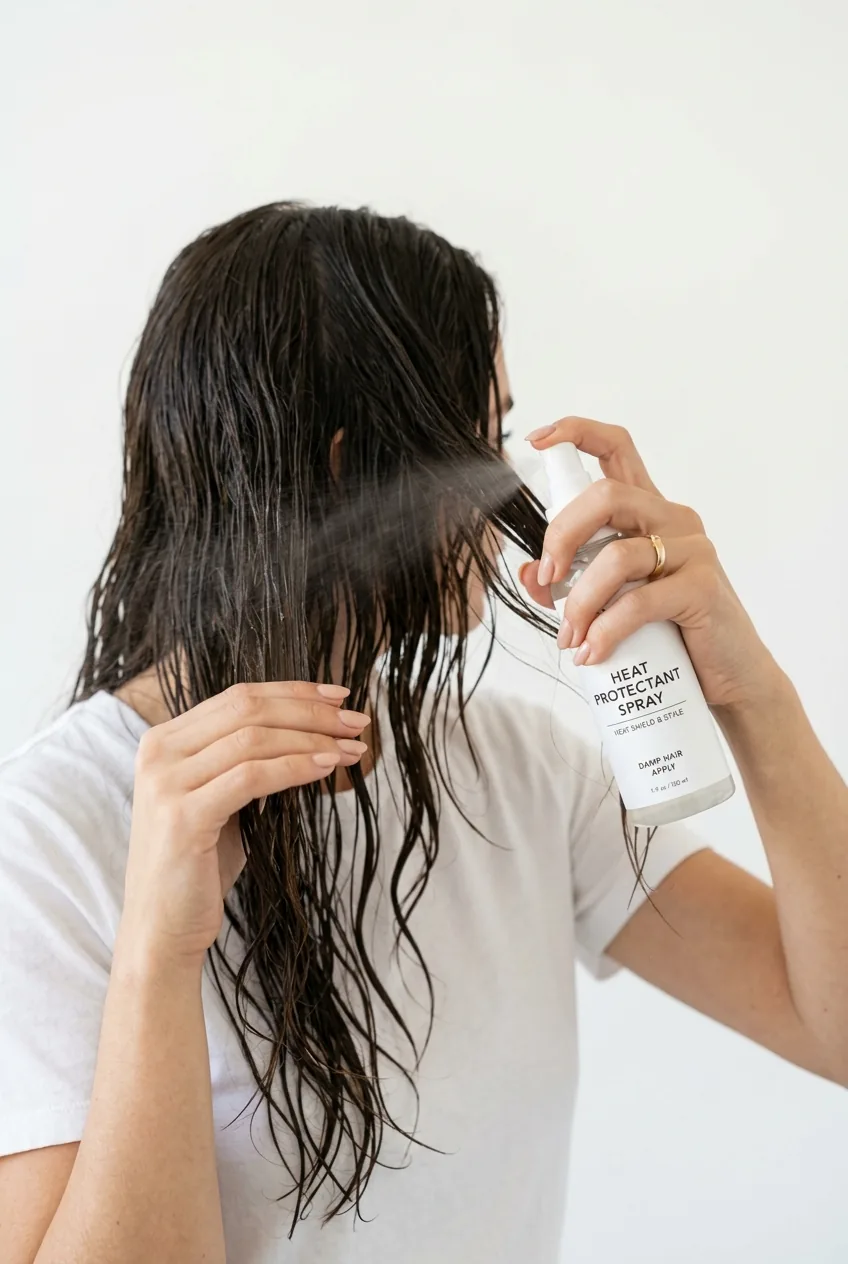
Apply your heat protectant from mid-length to ends first. Don’t skip the underneath layers — those get the most heat damage but are often forgotten. Then work a golf ball-sized amount of volumizing mousse through your roots, focusing on the crown area where hair tends to fall flattest.
Comb everything through with your wide-tooth comb, starting from the ends and working up. This distributes the products evenly and prevents that crunchy, uneven texture that screams “overproducts.”
Step 2: Section and Secure
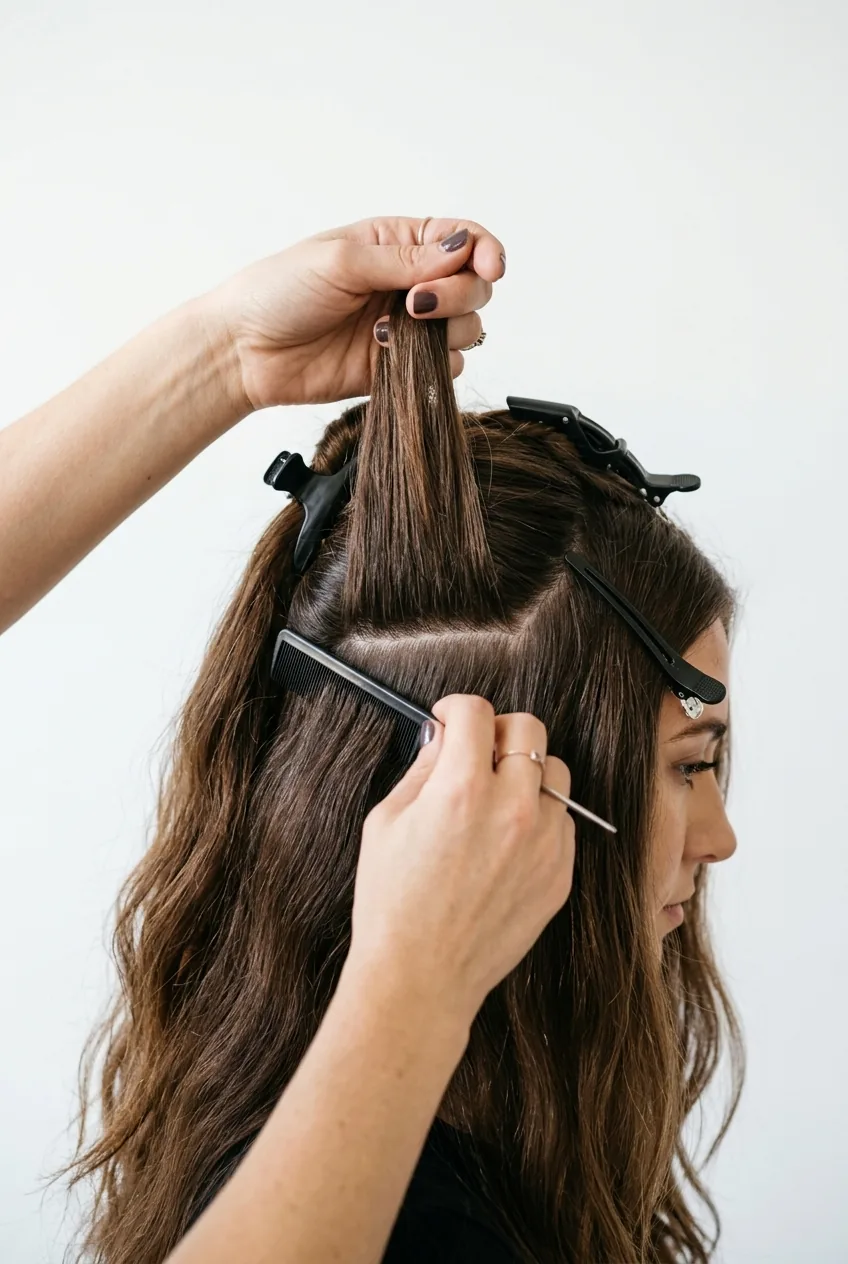
Here’s where patience pays off. Create a horizontal part from ear to ear, dividing your hair into top and bottom sections. Clip the top section up and out of the way. Then divide the bottom section into three parts: left side, back center, and right side.
I know it seems like overkill, but working with smaller sections means each piece gets proper attention. When I used to tackle my whole head at once, I’d end up with perfectly styled front pieces and a flat, forgotten back section.
Pro tip: If your hair is particularly thick or long, create even smaller subsections within each main section. Better to have too many clips than not enough control.
Step 3: Create Volume and Texture
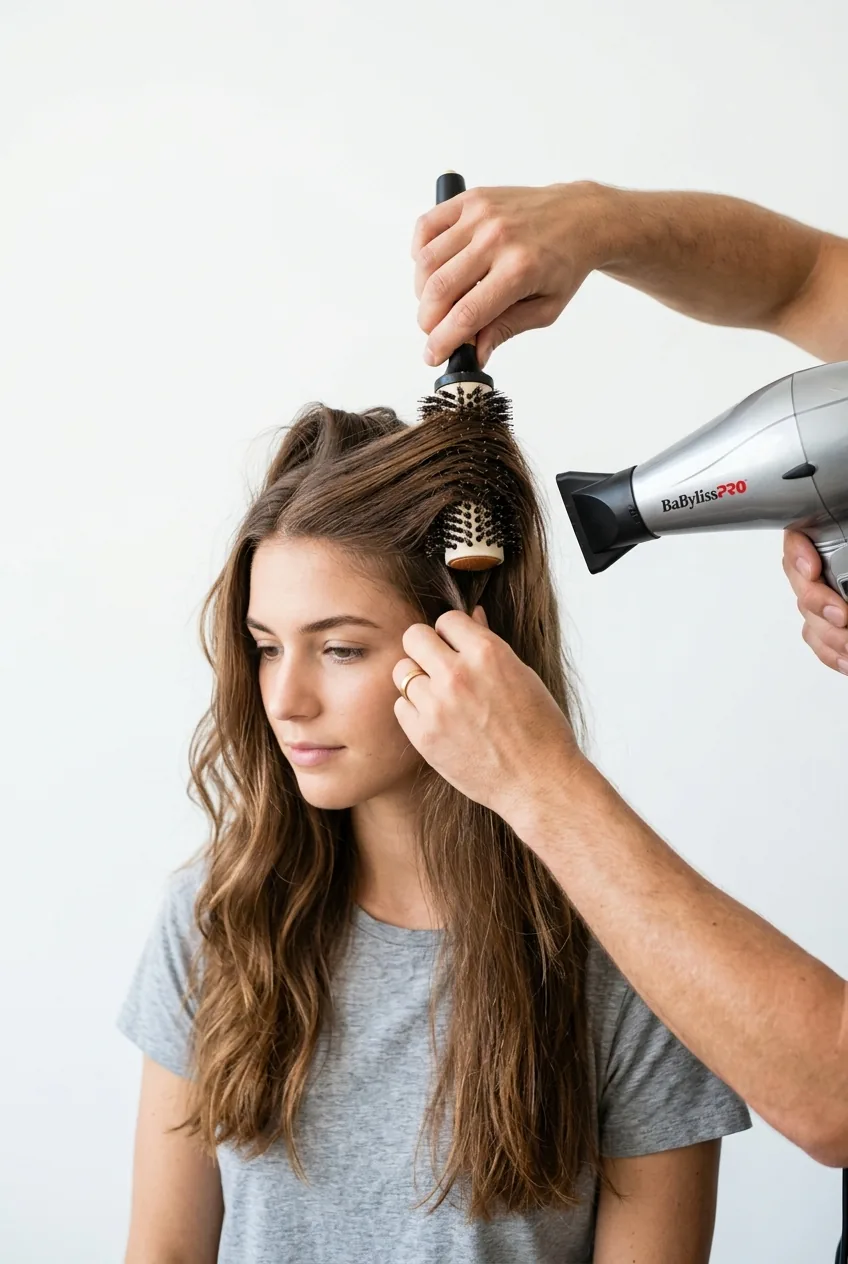
This is the game-changer step. Start with your bottom sections and work on one at a time. Using your round brush, lift each section up and away from your head — not straight down like most tutorials suggest.
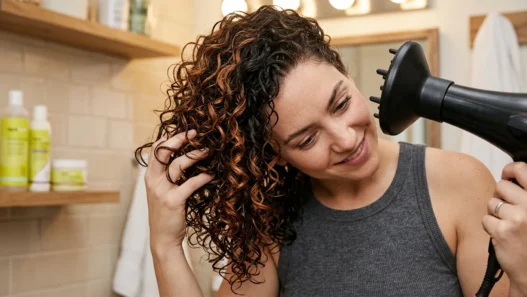
Here’s the technique that changed everything for me: roll the brush through your hair while directing the blow dryer’s airflow from roots to ends. But instead of just pulling the brush straight through, give it a slight twist as you reach the ends. This creates natural movement instead of that flat, limp look.
I spent months wondering why my hair looked so flat until I realized I was blow-drying everything straight down. The secret is lifting up and back — it creates volume at the roots that actually lasts.
Once you finish the bottom sections, release the top section and repeat the process. The crown area needs extra attention — spend more time lifting those roots up.
See This Volume Technique in Action
Step 4: Add Movement and Shape
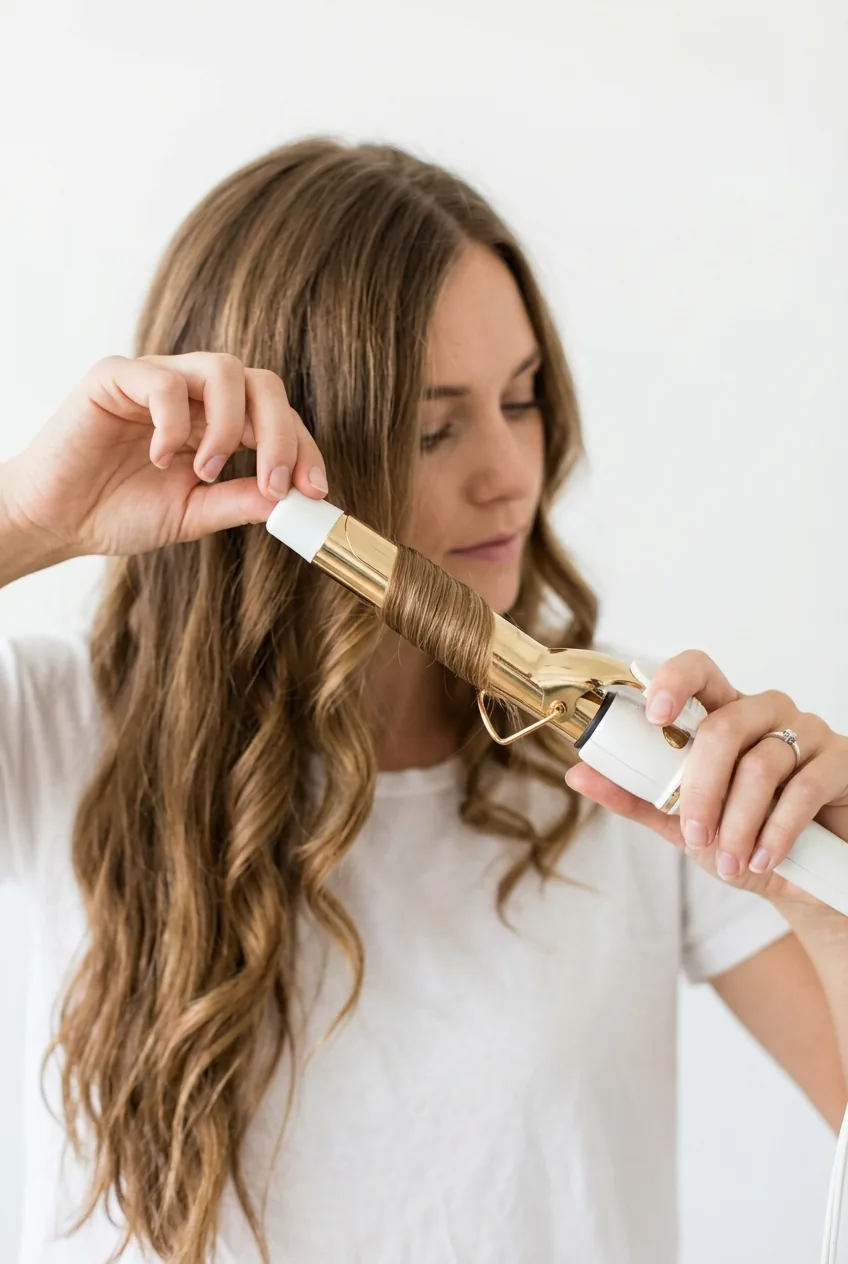
Now comes the fun part. With your hair fully dry and voluminous, it’s time to add those lived-in waves that make long hair look effortlessly gorgeous. Take 2-inch sections and wrap them around your curling iron, but here’s the twist — don’t curl every piece in the same direction.
Alternate the direction with each section. Curl one piece away from your face, the next toward your face, then away again. This prevents that “ringlet” look and creates natural-looking movement. Leave the very ends out of the barrel for a modern, undone finish.
The magic happens when you let each curl cool completely in your palm before releasing it. I used to rush this part and wondered why my curls fell out immediately. Easy hairstyles for long hair all have this cooling trick in common.
Professional styling techniques can seem overwhelming, but once you nail this alternating pattern, it becomes second nature.
Step 5: Lock in the Style
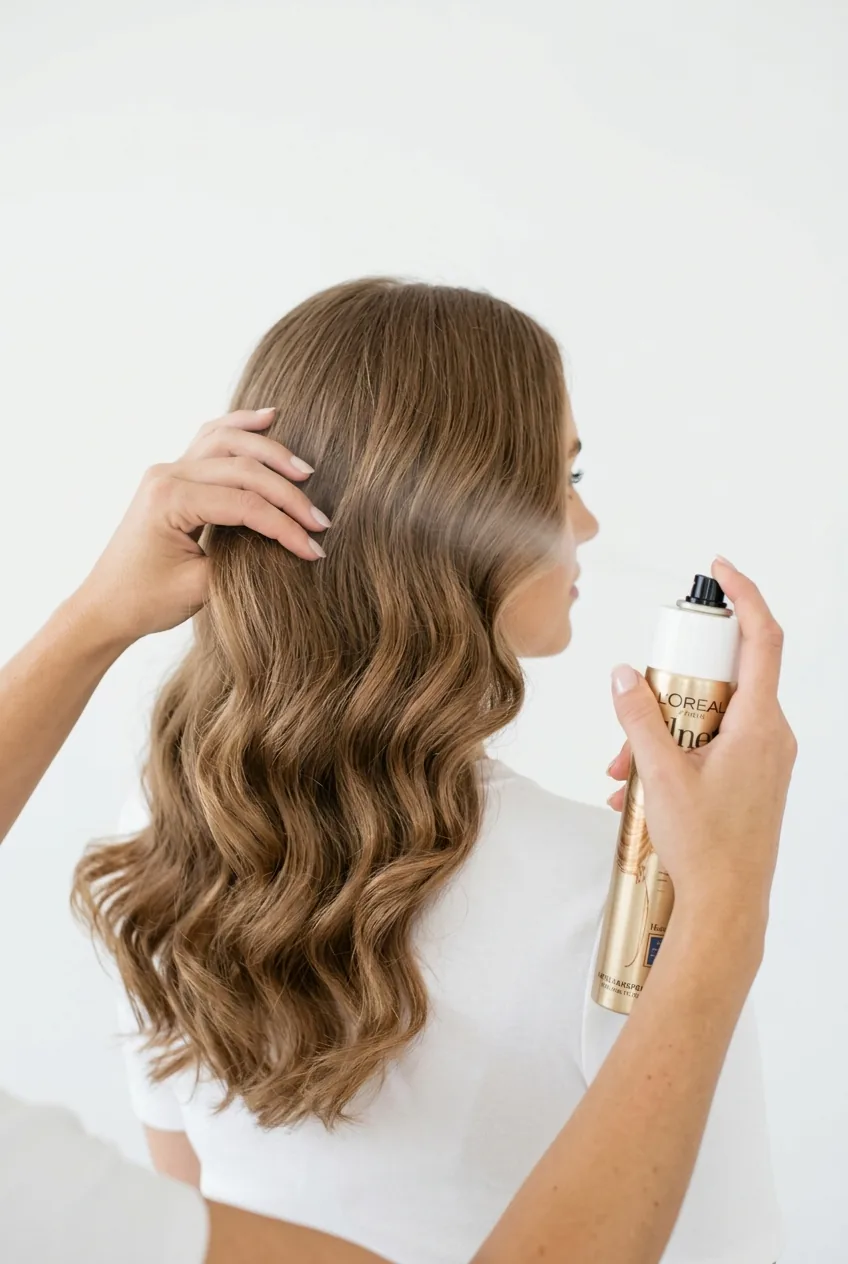
This final step makes the difference between a style that lasts two hours and one that looks good all day. Start by gently running your fingers through the curls — not combing, just loosely separating them to create that tousled, natural texture.
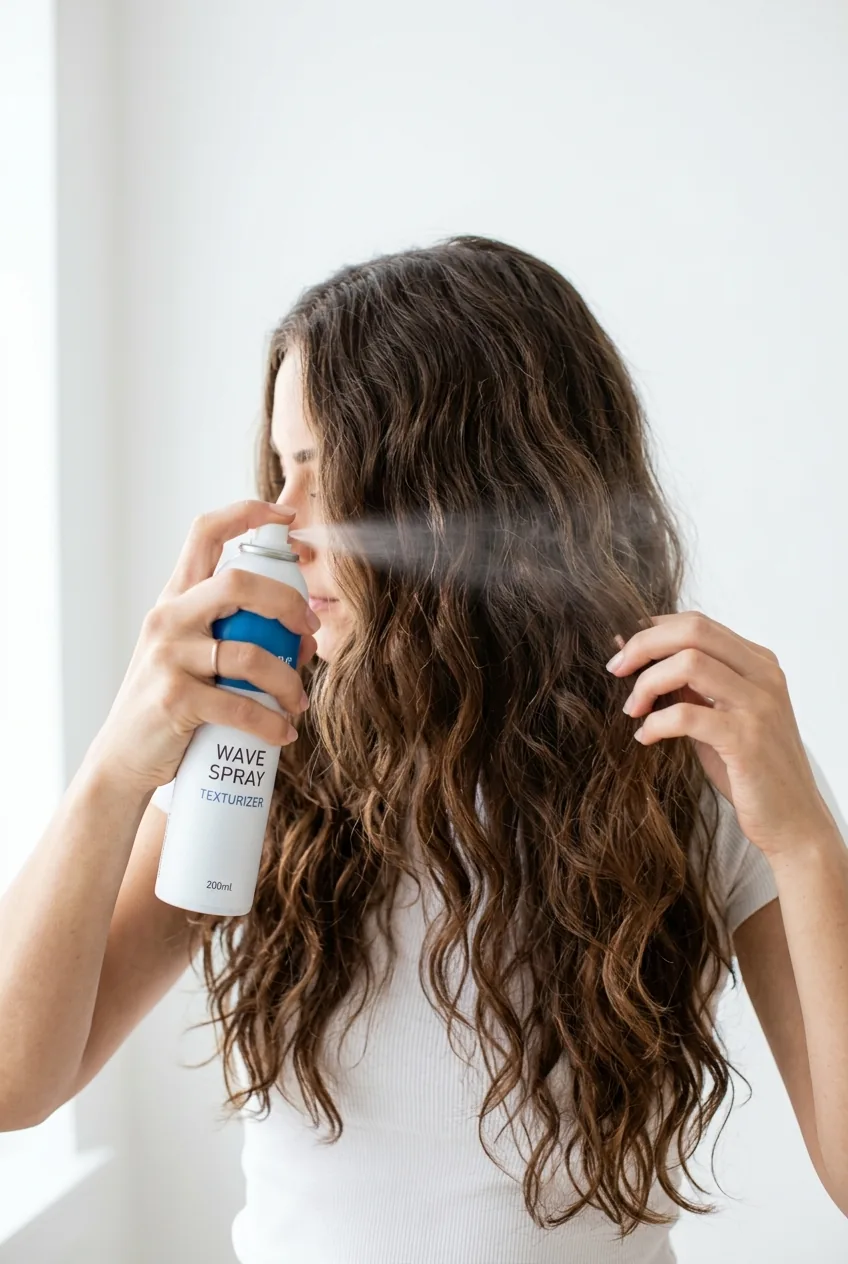
Mist your texturizing spray throughout, focusing on the mid-lengths where hair tends to fall flat first. Then flip your head upside down and scrunch gently while the spray is still slightly damp. This reactivates the volume and adds grip to the style.
Finally, set everything with a light mist of flexible hold hairspray, holding the bottle about 10 inches away. The key word here is “flexible” — you want movement, not a helmet. Add just a tiny drop of shine serum to your palms and gently press over the surface layer for that healthy, glossy finish.
Questions I Get About This Method
How long does this whole process take?
Once you get the hang of it, about 45 minutes from start to finish. The first few times took me over an hour, but now it’s part of my routine and goes much faster.
Will this work on fine or thin long hair?
Absolutely! Actually, this method works especially well for fine hair because the volume techniques give you that fuller look. Just use slightly less product and focus more on the root-lifting step.
Can I do this on second-day hair?
Yes, but you’ll need to refresh it first. Lightly mist with water, add a bit more volumizing product to the roots, and do a quick blow-dry before moving to the curling step.
What if I don’t have a round brush?
You can use a paddle brush, but you won’t get the same lifted volume at the roots. The round brush is really worth investing in — it makes such a difference in the final result.
The result? Hair that actually moves when I walk, holds its shape through humidity, and gets compliments from strangers. It took me way too long to figure out that the secret wasn’t better products or more expensive tools — it was better technique. And now that I’ve got this down, styling my long hair feels less like a chore and more like something I actually enjoy doing.