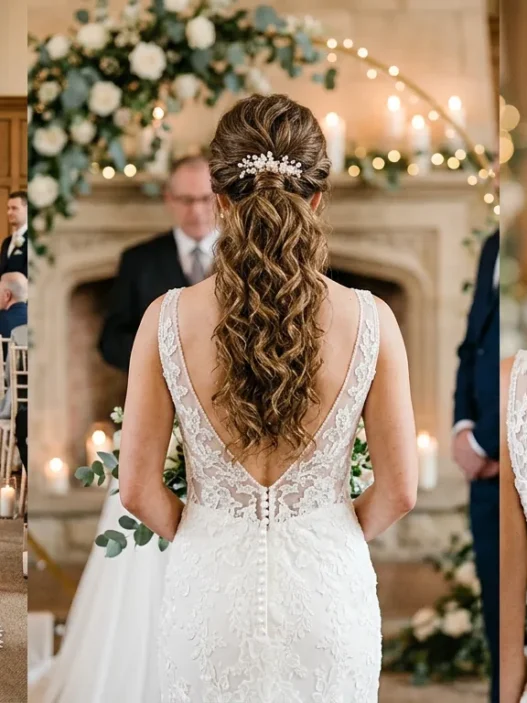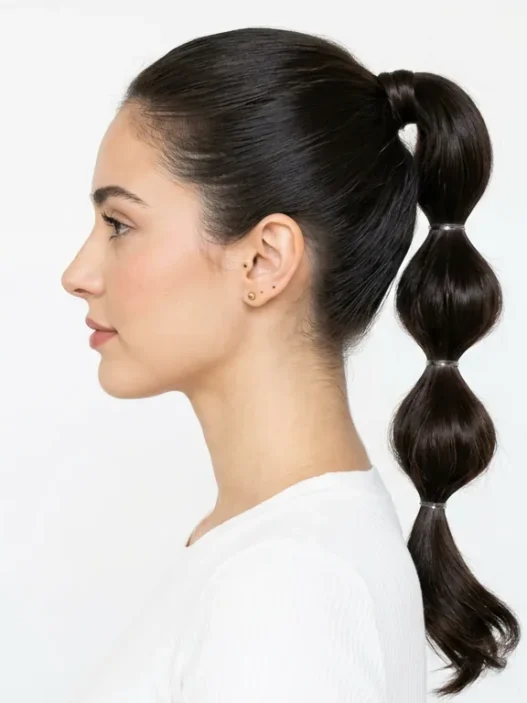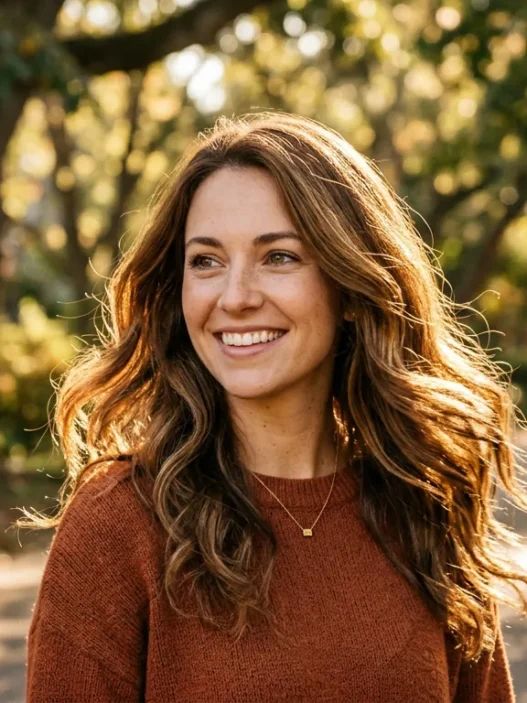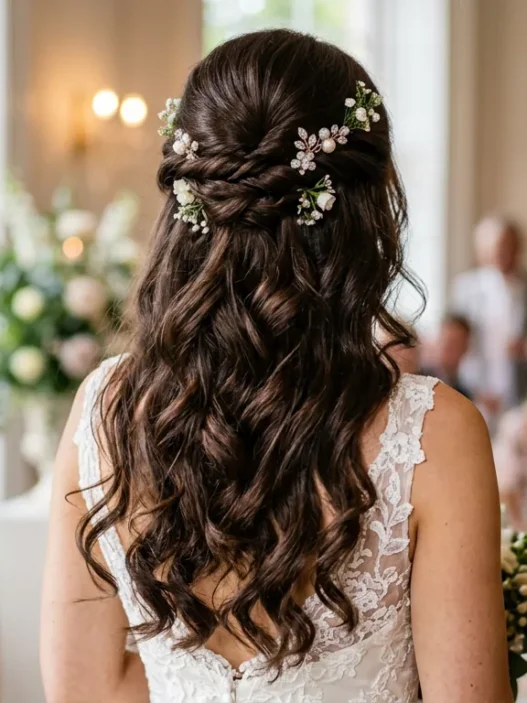







I used to scroll through Instagram thinking braided ponytails were this effortless, toss-your-hair-up kind of style. You know the ones — perfectly messy, gorgeously textured, looking like the girl just rolled out of bed looking like a goddess. Then I tried one myself. Oh boy, was I in for a reality check.
Behind the Scenes of Braided Ponytails
The Setup Nobody Shows You
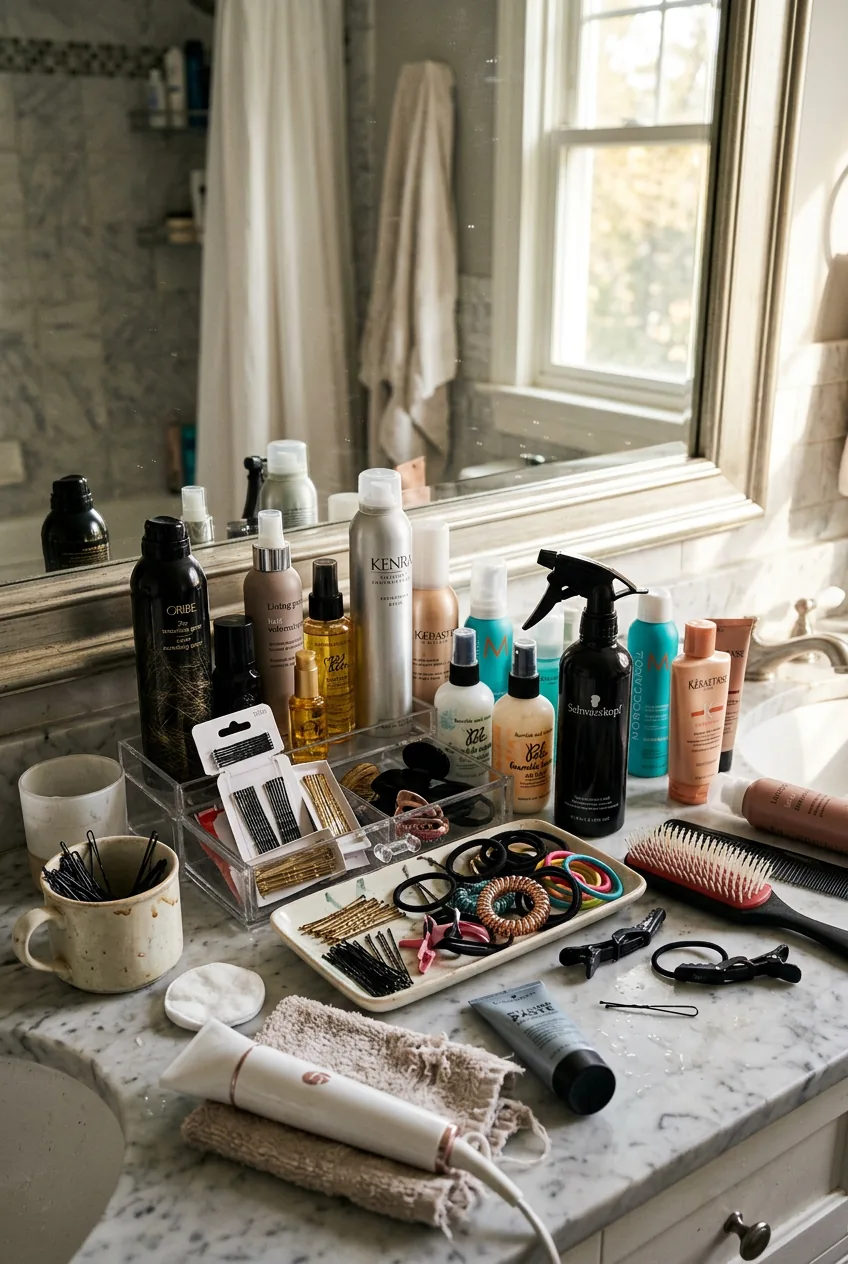
First things first — your hair needs to be the right kind of dirty. Not actually dirty, but that perfect second-day texture where it has some grip. I learned this the hard way after trying to braid freshly washed, silky hair that kept slipping out of my fingers like it was made of silk threads.
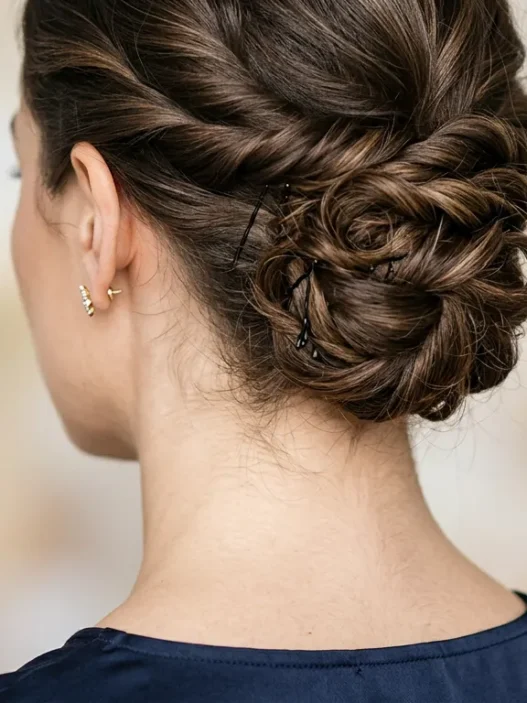
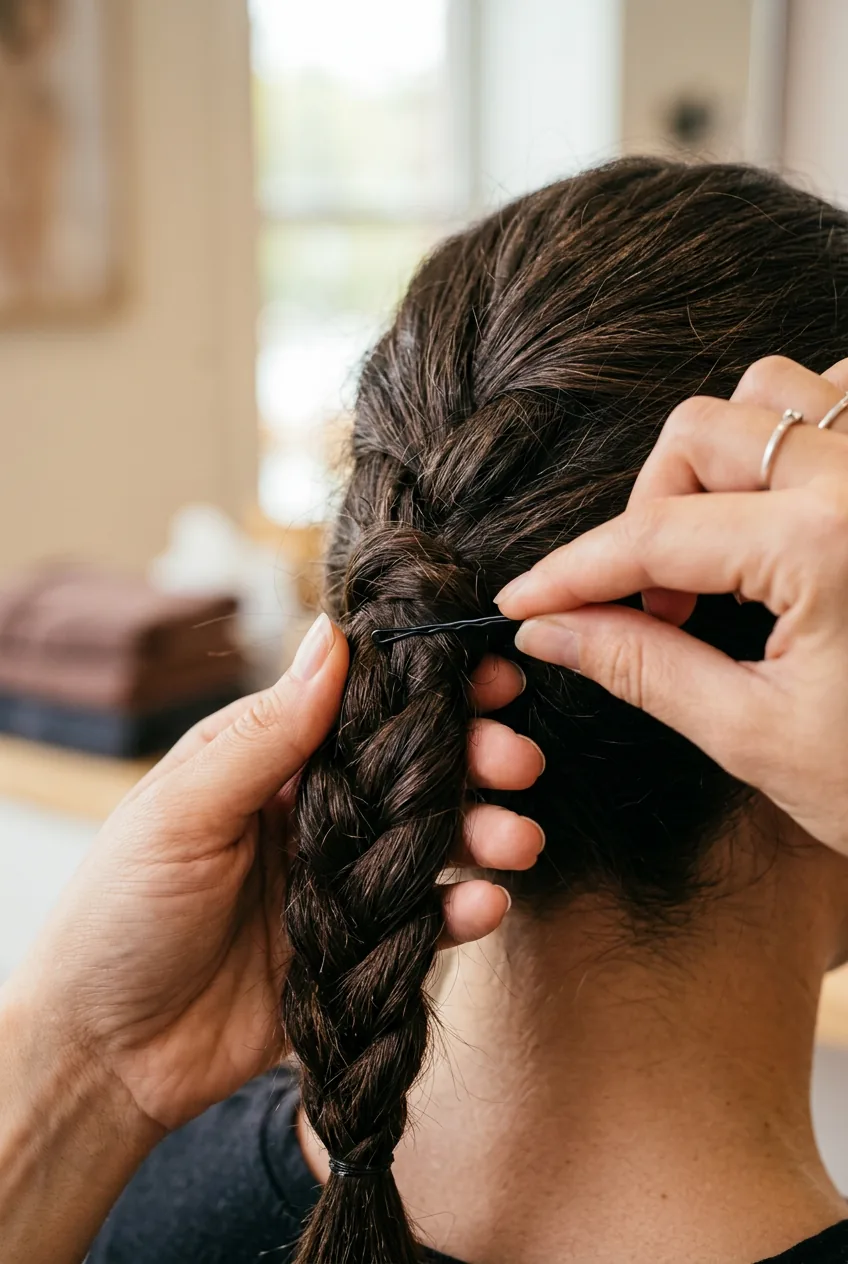
You’ll need way more bobby pins than you think. I’m talking at least 8-10, and they need to match your hair color. Nothing ruins the illusion faster than a rogue blonde bobby pin in dark brown hair. And here’s something nobody mentions — have a spray bottle handy. Dry sections don’t braid nicely, and misting problem areas makes all the difference.
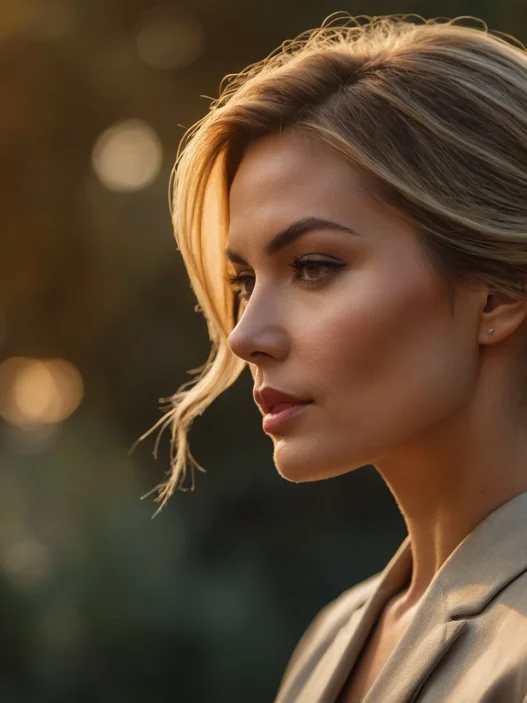
The lighting matters too. You can’t see what you’re doing in dim bathroom light, but harsh overhead lighting shows every imperfection. I do mine by a window during the day now, or I’ve learned to angle my vanity mirror just right.
What They Don’t Tell You About the Braiding
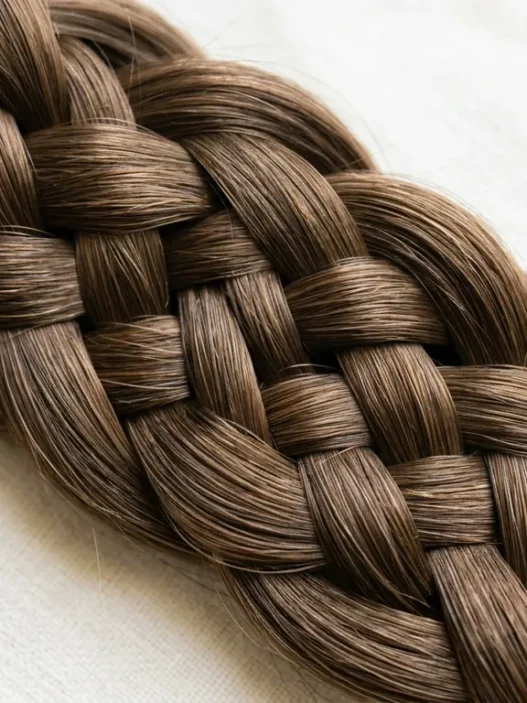
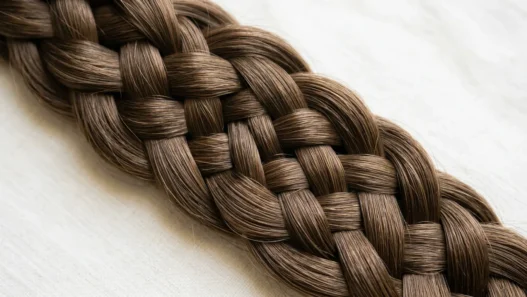
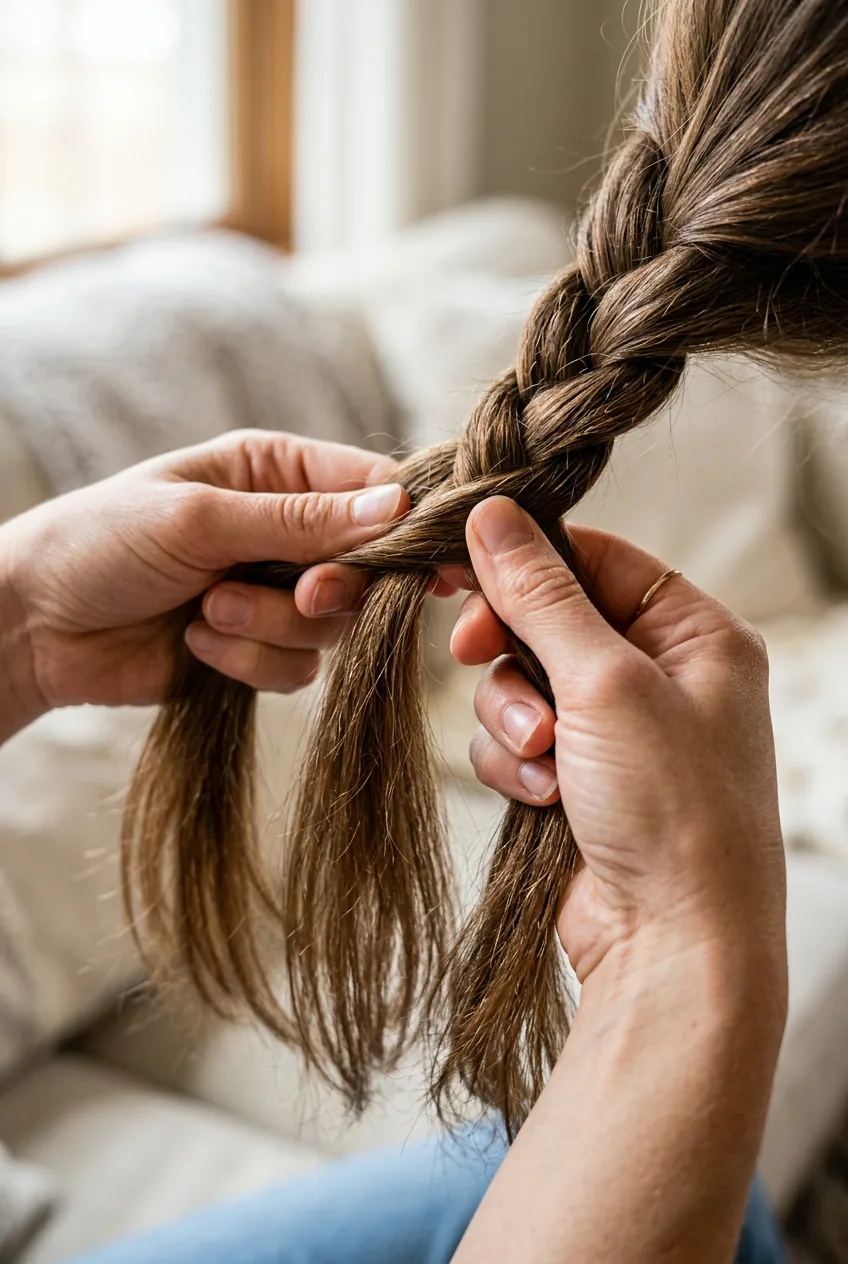
The braid itself? It’s going to be lumpy at first. Those perfectly even sections you see in tutorials? They come from practice, and lots of it. My first attempts looked like a rope that got tangled in a windstorm.
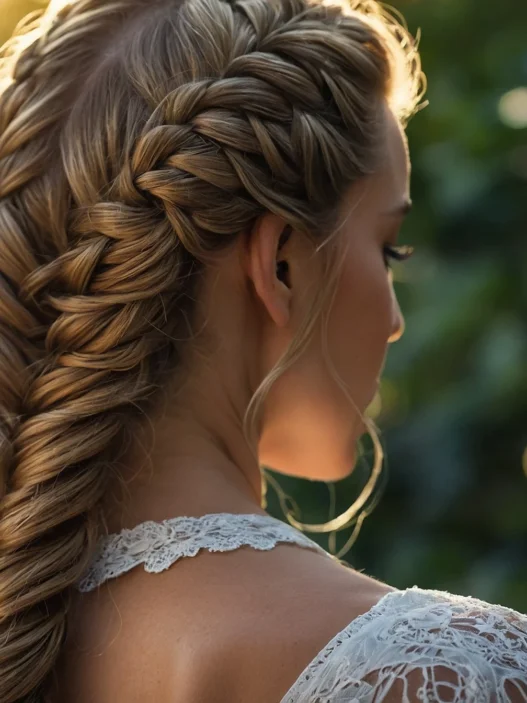
Your arms will get tired. Really tired. Especially if you’re doing a side braid or trying to incorporate multiple braids. I had to take breaks during my first few attempts because my shoulders were screaming. Now I know to warm up with some shoulder rolls — sounds silly, but it helps.
The tension is everything, and it’s the hardest part to master. Too tight and you’ll get a severe, pulled-back look that gives you an instant headache. Too loose and the whole thing falls apart by lunchtime. There’s this sweet spot where it feels snug but not painful, and finding it takes practice.
Also, your braid will look different depending on where you start it. High and tight gives you that sleek, professional vibe. Starting lower creates more of that effortless ponytail look that’s having a moment right now.
The Part That Takes the Longest
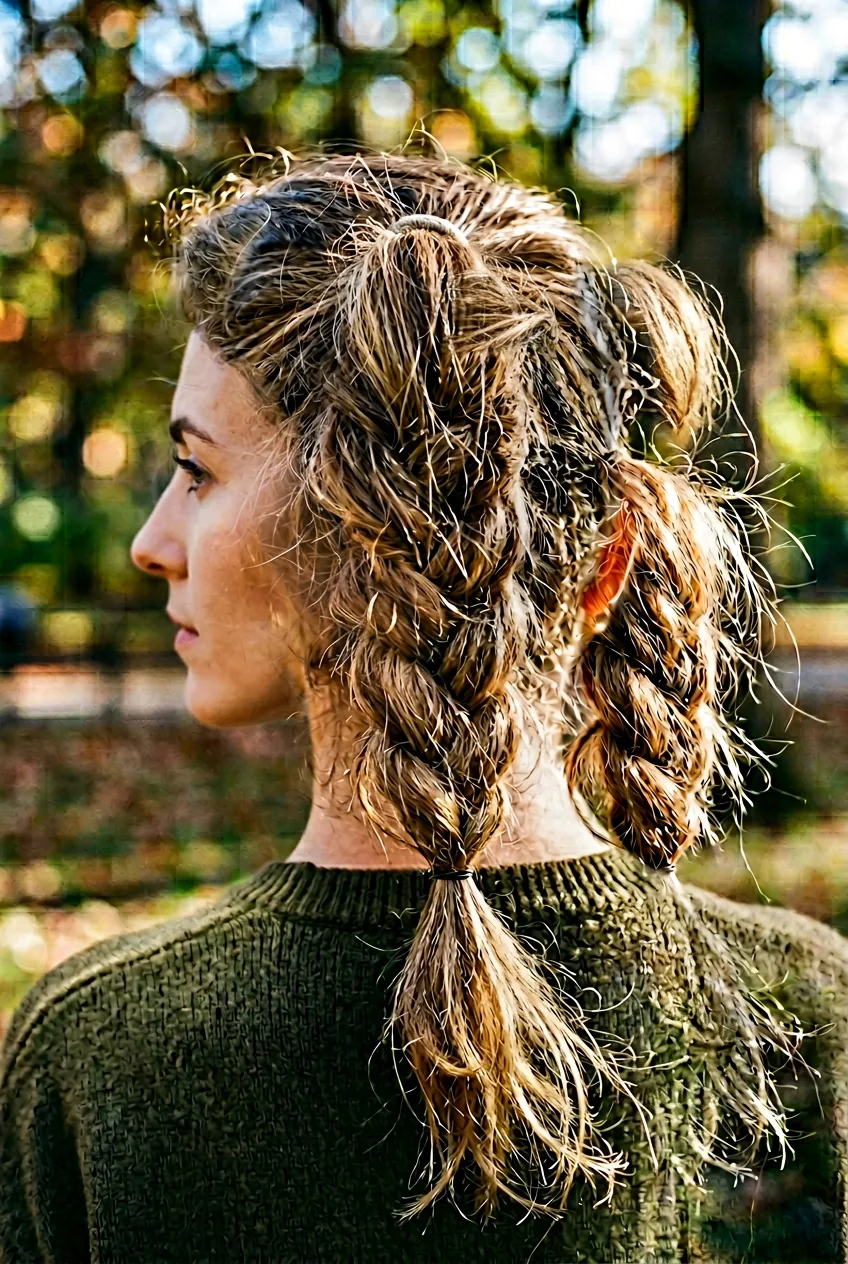
It’s not the braiding. It’s the fixing. Those little flyaways that pop up everywhere? The pieces that somehow escaped the elastic? The way one side looks perfect while the other looks like it was styled during an earthquake?
I spend more time with bobby pins and hairspray than I do actually creating the braid. And here’s the thing — sometimes you have to undo sections and redo them. That perfectly smooth top section that looked great in the mirror? It might have a weird bump when you see it from the side.
The baby hairs around your hairline are their own special challenge. They never want to cooperate, and you can’t just ignore them because they’ll stick out in photos. I’ve developed a whole routine with a small brush and some light-hold gel just for taming these rebels.
And don’t get me started on trying to make both sides even when you’re incorporating braids on each side. I’ve literally stood there with a ruler before, measuring the distance from my ear to where each braid starts. Yes, I’m that person now.
The Secret Nobody Mentions
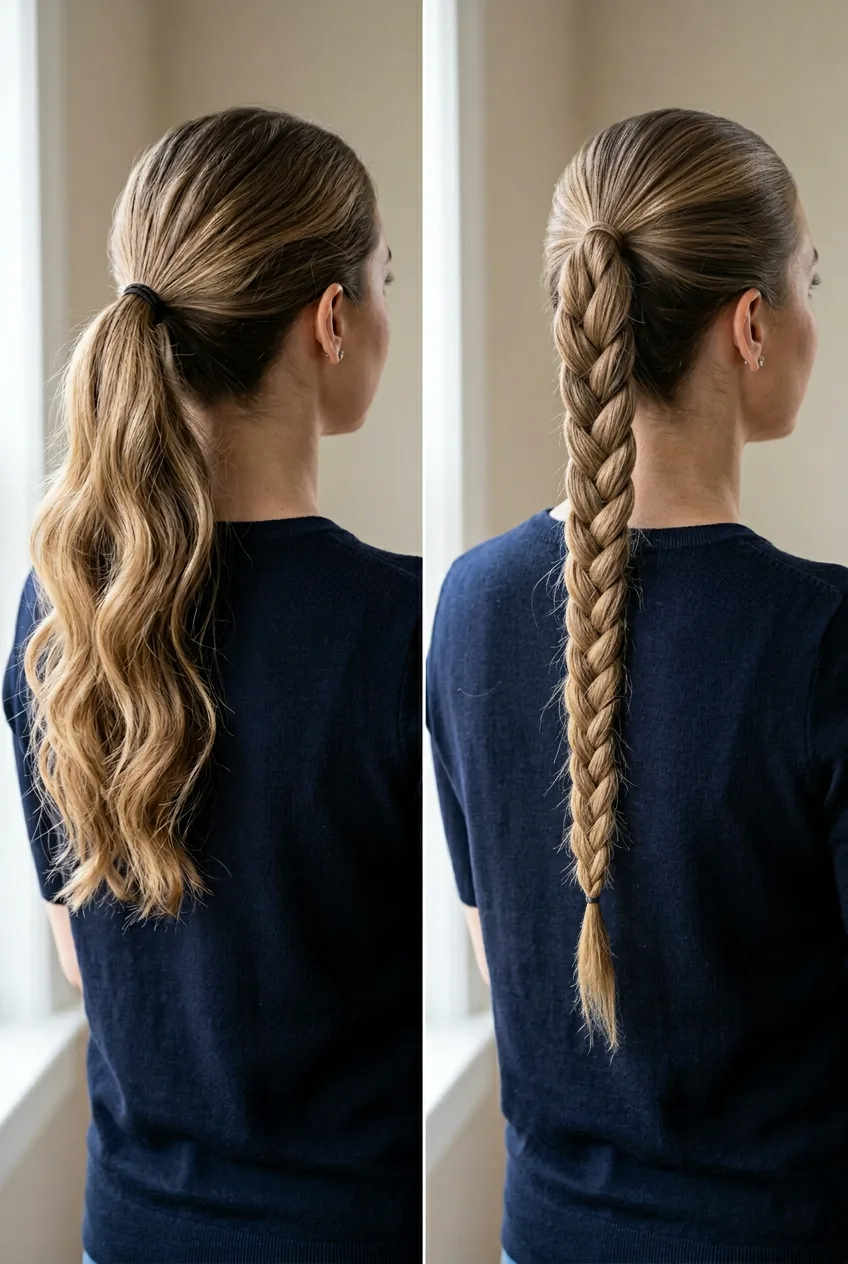
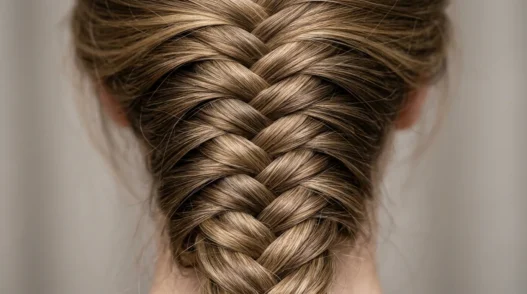
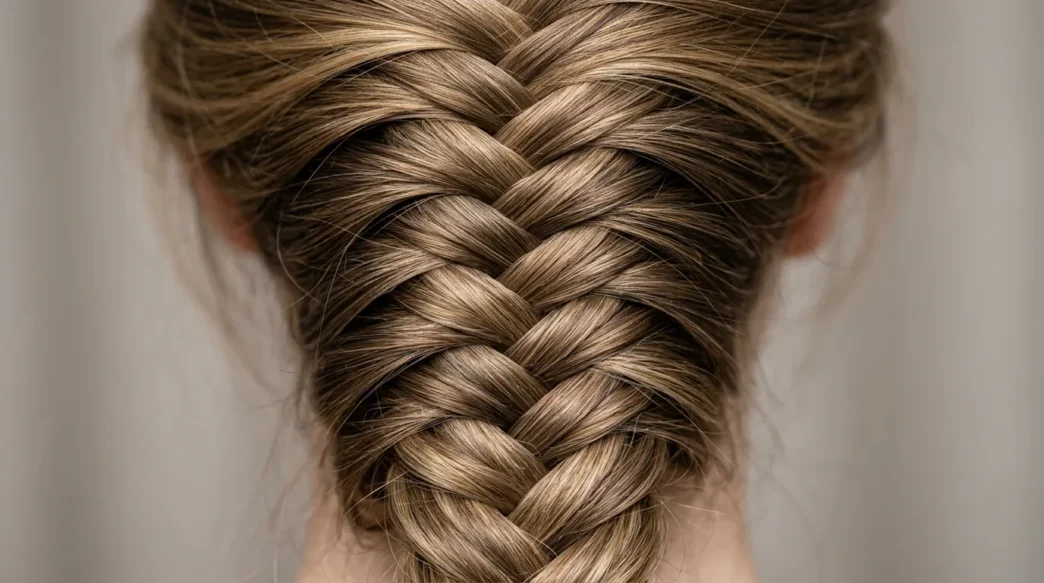
Here’s what changed everything for me: the pancaking technique. You know how professional braiders make their braids look so full and textured? They gently pull apart the braid sections after they’re done, creating this gorgeous, voluminous effect.
But here’s the secret part — you have to do it while the braid is still loose in your hands, before you secure it into the ponytail. Once it’s locked into position, pulling at it just creates a mess. This little timing detail makes the difference between a braid that looks professionally done and one that looks like you tried too hard.
The other secret? Hair texture spray is your best friend. Not the sticky kind — the kind that adds grip without making your hair feel gross. I spray it on my hands before I start braiding, and it makes everything so much easier to control.
And honestly? Sometimes the “imperfect” version looks better. Those slightly messy, lived-in braided ponytails you see on Pinterest? Half of them started as mistakes that the stylist decided to embrace instead of fix.
Watch the Pancaking Technique
Why It’s Worth It Anyway
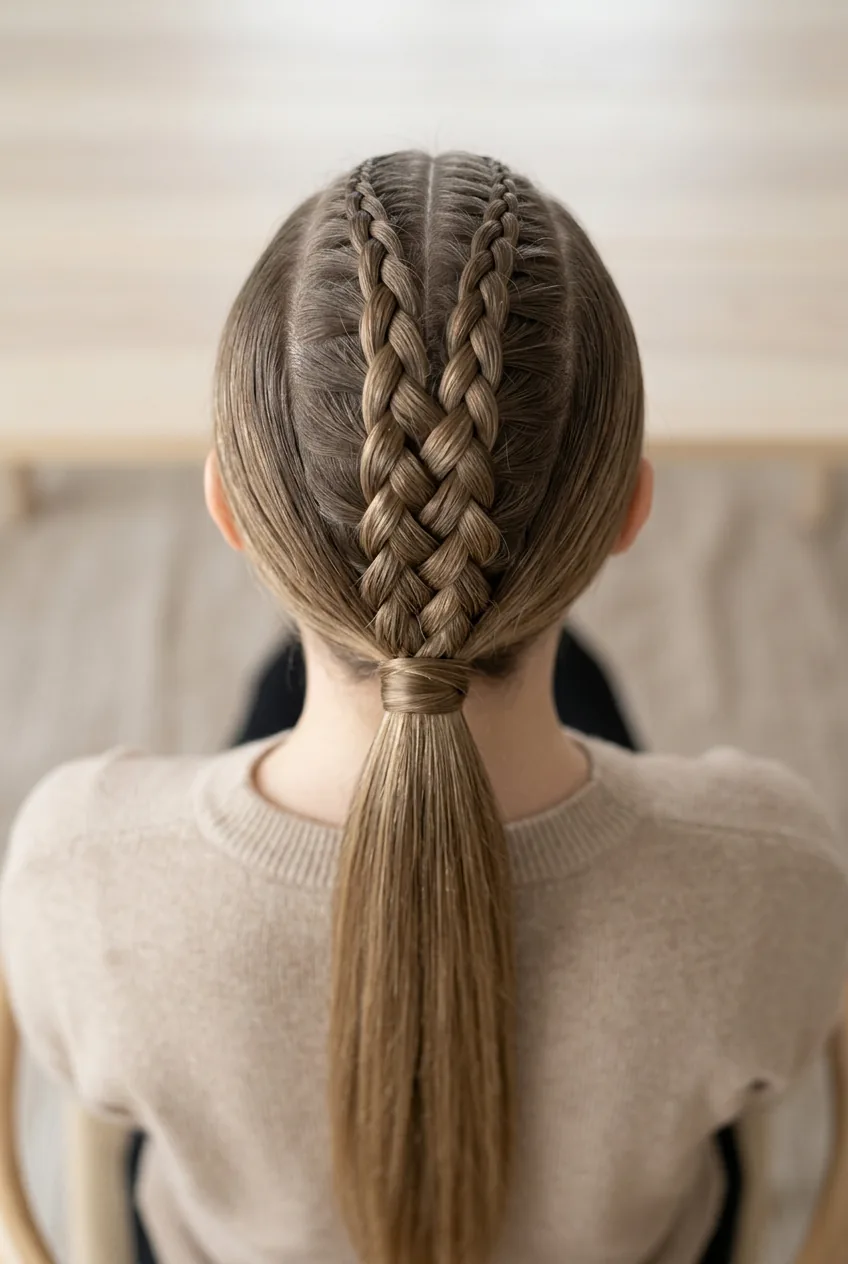
Despite all the behind-the-scenes chaos, I keep coming back to braided ponytails. There’s something so satisfying about nailing one — like solving a puzzle with your own hair. And once you get the hang of it, they really do become that effortless style you always thought they were.
They’re incredibly versatile too. The same basic technique works whether you’re going for sleek and polished or messy and textured. It just depends on your starting texture and how much you fuss with the final result.
But the best part? They actually hold up. A properly done braided ponytail will look good from morning to night, which is more than I can say for most hairstyles. The braid gives the ponytail structure and prevents that droopy, deflated look that regular ponytails get by mid-afternoon.
Plus, there’s something deeply satisfying about mastering a technique that looks so complex from the outside. Now when I see those Instagram tutorials, I know exactly which parts they skipped over and which struggles they edited out. And honestly? That makes me appreciate my own braided ponytails even more.
Quick Questions About Braided Ponytails
How long does it actually take to do a braided ponytail?
Honestly? About 10-15 minutes when you’re learning, but it gets faster with practice. I can do mine in about 5 minutes now, but that’s after months of trial and error.
What if my braid keeps falling apart?
Your hair is probably too clean or too slippery. Try using some texturizing spray or doing it on second-day hair. A little bit of grip makes all the difference.
Can you do this on short hair?
You need at least shoulder-length hair for a proper braided ponytail. Shorter hair just doesn’t have enough length to create the braid and still look proportional in the ponytail.
Why does my braided ponytail always look crooked?
This happens to everyone! The trick is to check your work from multiple angles as you go, and don’t be afraid to start over if something looks off. Your eyes will train themselves to spot issues faster with practice.
So there you have it — the real story behind braided ponytails. They’re not quite as effortless as they look, but they’re definitely worth the learning curve. Just don’t expect to nail it on your first try!