








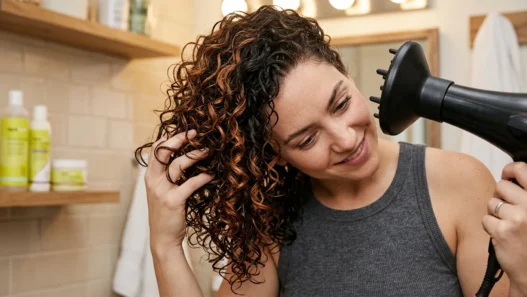

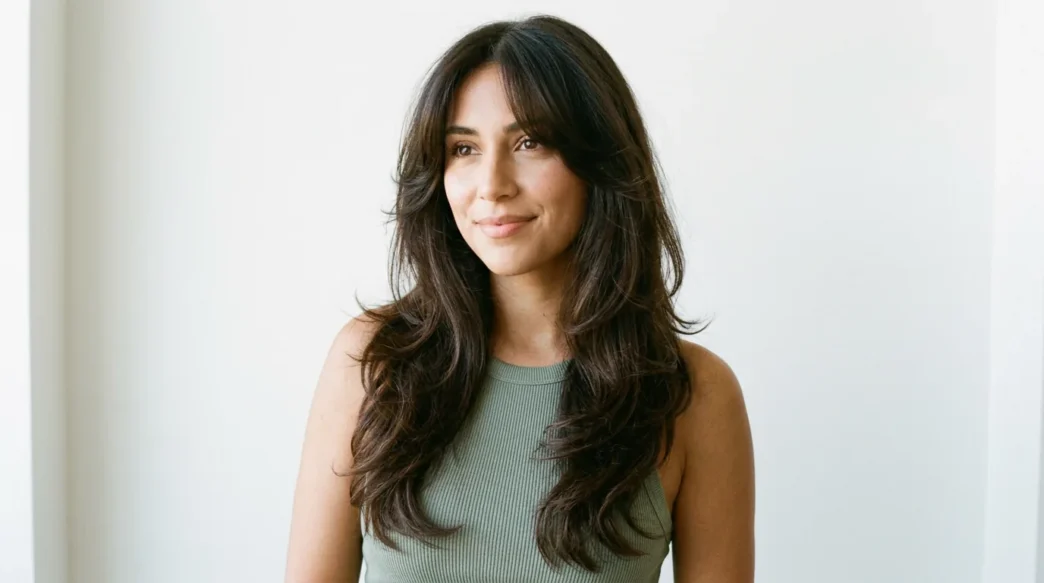
I cut my own curtain bangs in 2021 and we do not talk about that photo. But last spring I got a proper 90s long layered hair cut and suddenly I had to learn how to actually style it, because it looked amazing leaving the salon and kind of flat and sad on day three at home. I spent two months messing it up before I figured out a routine that gives me that bouncy, swoopy, supermodel finish every time.
And yes, this is a styling guide, not a cutting guide. I am not telling you to take scissors to your own long layers. This is how I take my cut from damp and blah to that soft, flicky 90s shape, start to finish.
What You’ll Need
I tried doing this with just a flat iron and prayers at first. It did not work. You do not need a pro kit, but you do need the right mix of lift at the roots and soft bend through the ends, otherwise 90s layers just collapse into early-2000s straight hair.
- A paddle brush and a large round brush, I use a 2-inch ceramic one for the flick
- Hair dryer with a nozzle, plus velcro rollers in two sizes, large for the back and medium for the face-framing pieces
- Claw clips for sectioning, a fine-tooth comb for a clean middle part
- Heat protectant, volumizing mousse, and a light-weight hair oil for the very ends
- Flexible-hold hairspray, I like the brushable kind, not the helmet kind
- One-inch curling iron or flat iron, whichever you already know how to handle, plus about 35 to 45 minutes start to finish
My hair is thick and a little wavy, so if yours is too, you will love this method. It was basically built for long layered haircuts for thick hair because it takes out bulk without making everything puffy. If you have fine hair, just use half the mousse and skip one roller in the back.
Phase 1: Prep and Foundation
This phase decides everything. I used to rush it and wonder why my layers fell flat by lunch. Clean, lifted roots plus damp, evenly prepped lengths are what give you that airy bounce later. Think of it as building the scaffolding.
Start with freshly washed hair, or fully re-wet second-day hair in the shower. 90s volume hates grease at the crown. I shampoo twice, condition only from mid-lengths down, then squeeze out the water with a T-shirt instead of a terry towel. Less frizz instantly. Comb through with the paddle brush while it is still very damp, then create your middle part right now with the fine-tooth comb. Do not wait until it is dry, it will fight you.
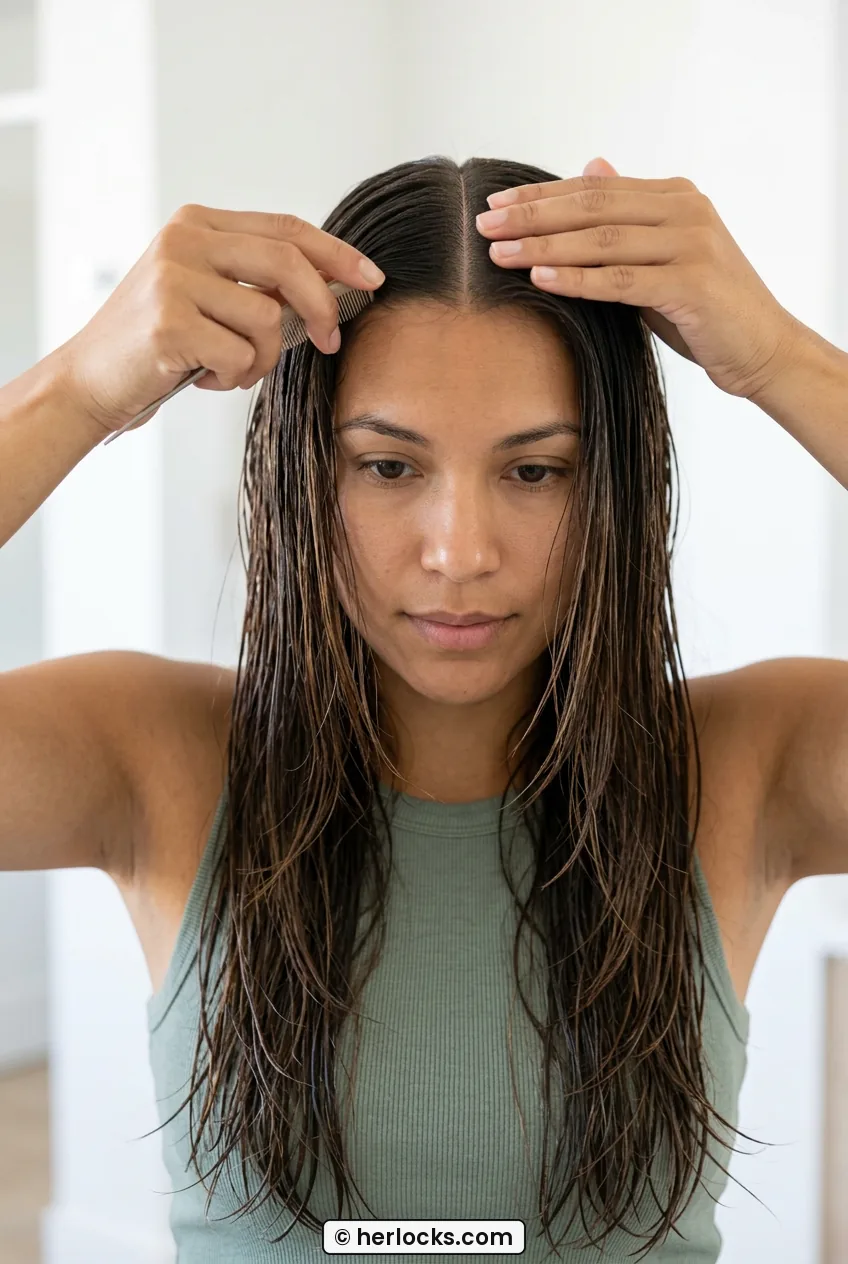
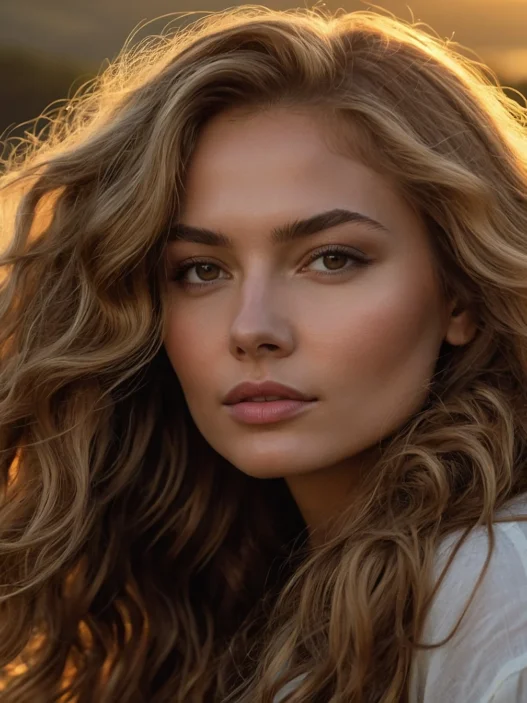
Look at how she’s wearing hers, dead-center part with the front pieces falling forward over her shoulders. That angle is exactly what I mean about setting the part early. I spray heat protectant all over, then rake a golf-ball of mousse through my roots with my fingertips. Not the ends, just the first three inches. Flip your head upside down and rough-dry to about 70% dry, focusing the airflow right at the roots. You want lift, not smoothness yet.
For my thick hair, this rough-dry takes a good eight minutes. I lift sections with my fingers and point the dryer up toward the crown, which feels wrong but creates that cushiony base. If you air-dry completely flat, you lose the whole 90s lift. You can also read up on layered cuts for thick hair before your next trim, because the right interior layers make this prep phase ten times easier. My stylist took a ton of weight out through the back and left the perimeter long, and styling got so much faster after that.
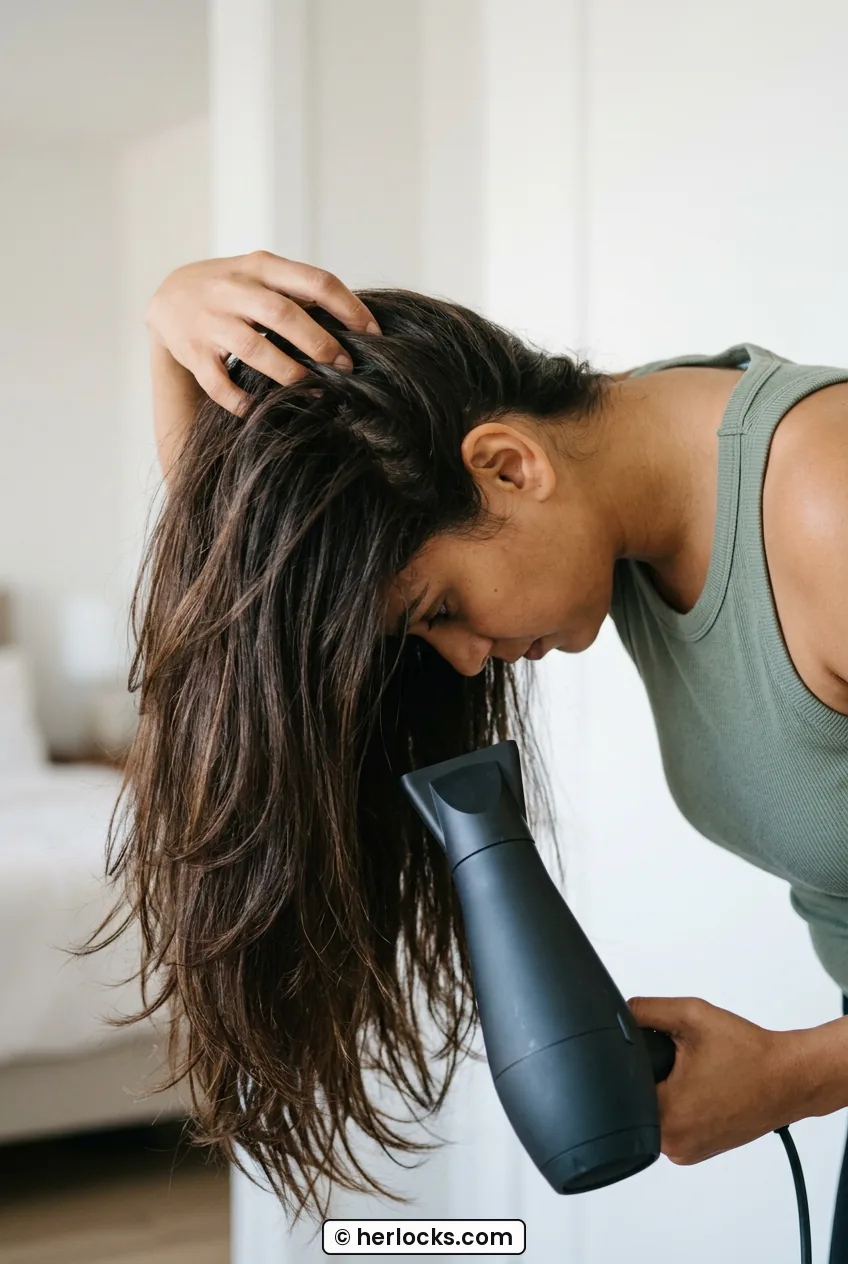
Finish Phase 1 with a two-minute cool shot all over. Clip the top section up loosely so air gets underneath. Your hair should feel damp but not wet, bouncy at the roots, ends still a little cool to the touch. If the roots are already flat against your head, add a tiny bit more mousse and re-lift just the crown. I learned that fixing it now saves twenty minutes later.
Phase 2: Building the Shape
Okay, this is where 90s long layered hair actually happens. This is the round-brush blowout plus roller set that creates those long, swooping layers and the flipped-under ends. Do not skip the rollers. I did for a month and my hair looked nice for an hour and then went limp.
Work in four sections: bottom back, middle back, sides, then top and front. Keep everything else clipped up. Take a two-inch section, place the large round brush underneath, and pull up and away from your head as you follow with the dryer nozzle pointed down the hair shaft. The brush is held out at 90 degrees from the head, clearly lifted and not flat against the scalp. At the ends, roll the brush under once for that soft C-shape. A well-placed round brush matters more than dryer wattage here, and learning how a round brush creates volume properly made my blowout last two days instead of two hours.
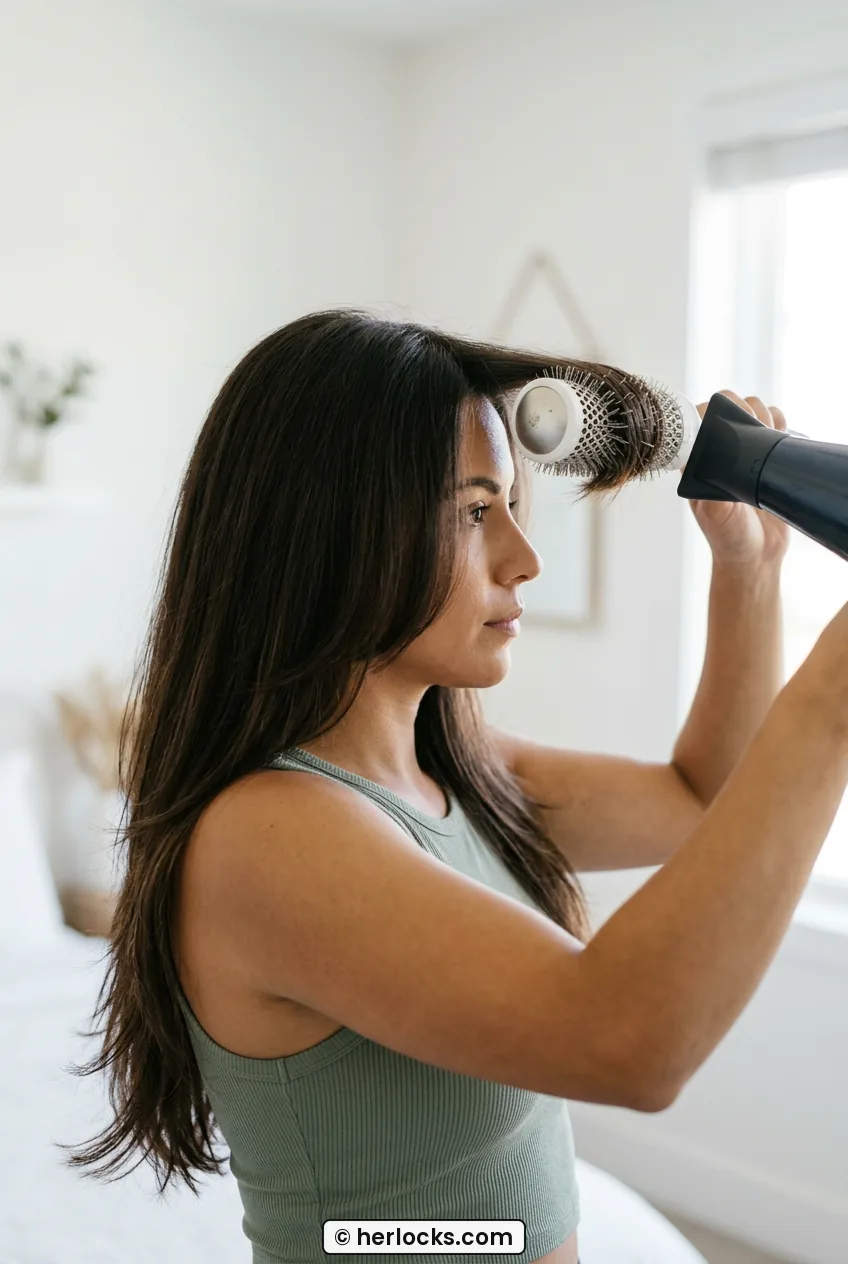
She’s got a similar density to mine, and honestly, this is the length I am talking about. See how it hits well past her chest but the brush is lifting right at the cheekbone? That is your face-framing layer doing its job. For the sides, over-direct forward. I pull the left front section toward my chin and dry it forward and under, then do the same on the right. It feels weird, but that forward pull is what makes curtain bangs swoop instead of splitting open.
Speaking of bangs, if you have long layered hair with curtain bangs, treat those two front pieces as their own mini-section. Dry them forward over your forehead first, then split them down the middle and place each side in a medium velcro roller rolling away from your face. I leave the rest of the just-dried hair in large rollers too, rolling everything up and away, and let them cool for at least 15 minutes while I do makeup. That cool-down time is when the bend actually sets.
My big mistake? I used to take the rollers out while they were still warm because I was impatient, and then complained my blowout fell flat. Leave them in until they are stone-cold. I make coffee, feed the cat, answer texts. Cold rollers equal bouncy hair that actually stays.
If your cut leans more toward a long layered shag, with lots of choppy ends and shorter layers around the crown, use the same method but take smaller sections and do less rolling under. I finger-twist those shaggy ends while drying for a little piece-y texture instead of a perfect smooth curl. My friend has that cut and it looks so cool with this blowout, just a bit more lived-in. For inspiration on grow-out and shape, I keep saving photos from layered medium hairstyles even though my hair is long, because the face-framing ideas translate perfectly.
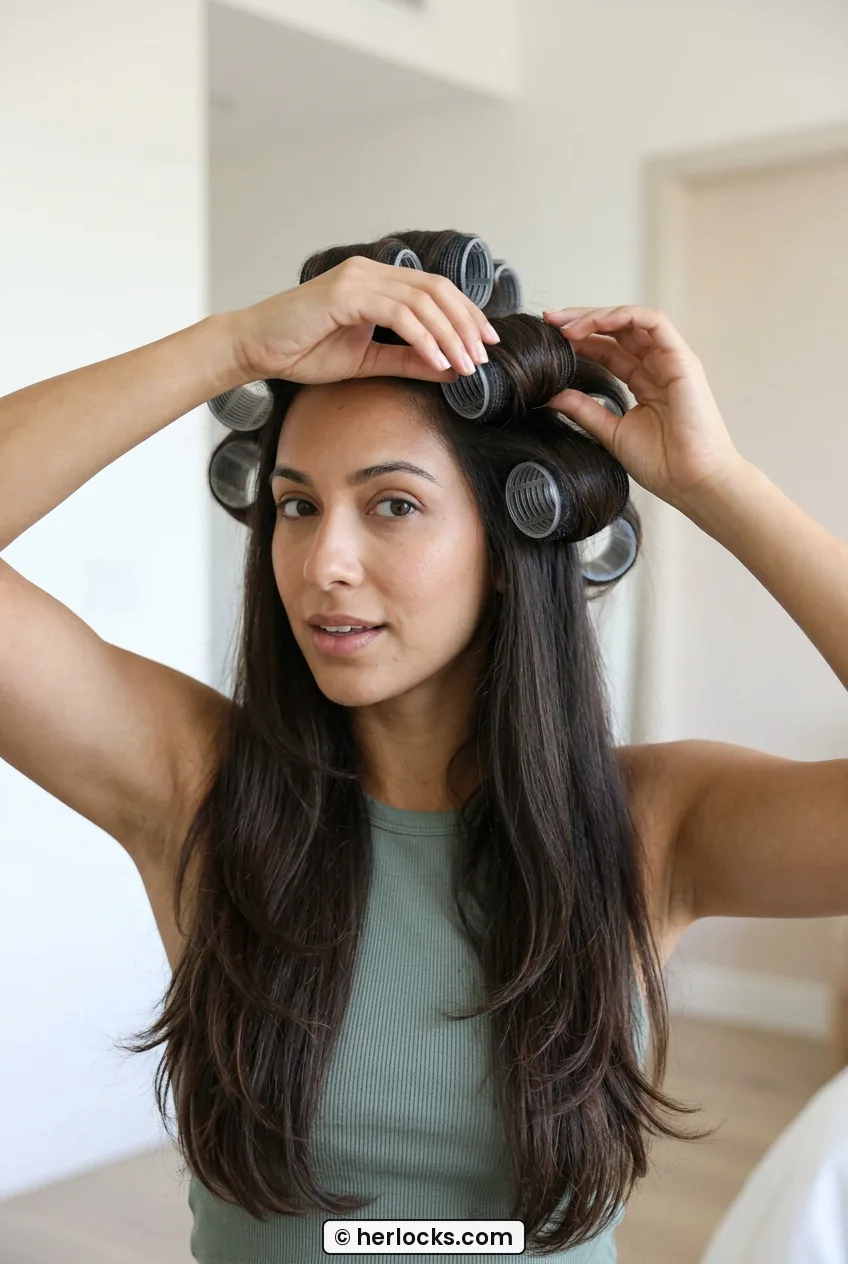
See the Round-Brush Flick in Action
Phase 3: Definition and Hold
Rollers are out, your hair is huge, and you look a little like a newscaster. Perfect. Now we refine it into soft 90s flicks instead of pageant curls. This phase is fast, maybe ten minutes, but do not rush the cooling and brushing.
Remove rollers from bottom to top, gently unwinding instead of pulling. Shake your head upside down once, then smooth over the top with the paddle brush, just one light pass. I then go back in with my one-inch curling iron only where I need it. Usually that is the two front curtain pieces, curled away from the face for eight seconds, and two or three ends in the back that dried a little straight. Clamp mid-shaft, wrap the ends under, release and cup the curl in your hand for three seconds to set it. The iron is held vertically beside the cheek, well clear of her face and at the hair only, not angled in toward the eyes.
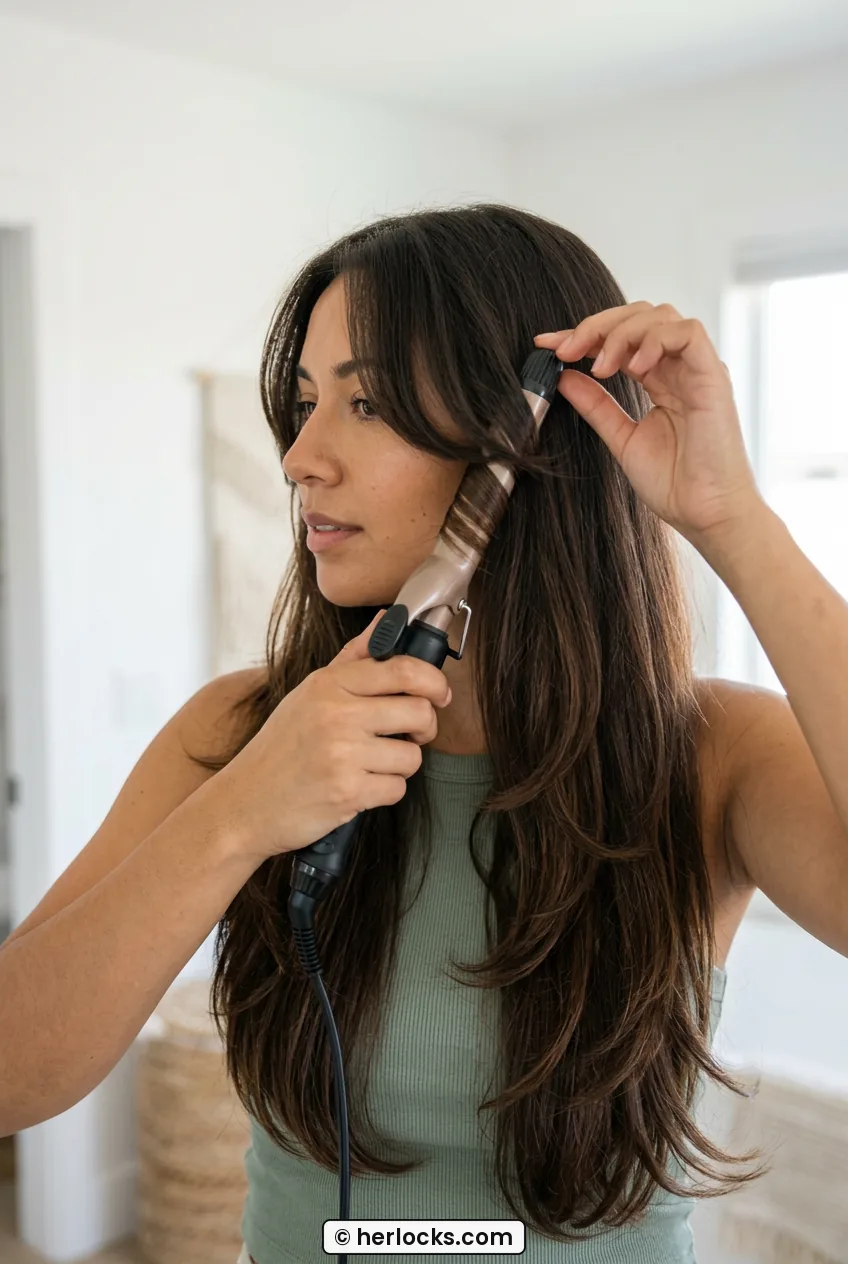
This is the exact swoop I aim for every time. See how her front layer curves out and then back under at the chin? I hold that curl off her cheek for a second after releasing so it keeps its lift. I also flip a couple of longer layers outward, just at the very tips, for that 90s flick. One piece in, one piece out, keeps it from looking too done. I learned the flick direction by watching curtain bang blowout techniques on repeat until my wrists hurt, and the away-from-the-face rule finally stuck.
Now lock it without crunch. I mist flexible-hold hairspray from arm’s length, then scrunch the ends up lightly with my hands to break up the curls. A pea-size drop of oil, warmed between palms, goes only on the very last inch to tame flyaways. Too much oil kills volume, so I keep it off the roots completely. If you love that seasonal fullness, layered fall haircuts for volume is where I got the idea to keep the top smooth and let the ends stay fluffy, it photographs so well in sweaters and scarves.
Phase 4: The Final Polish
This last five minutes is the difference between good hair and that bouncy 90s hair that swings when you walk. I do this right before I leave, not right after styling, so it sits fresh.
Flip your head upside down and massage just the roots with your fingertips for ten seconds. It breaks up any helmet feel from the spray. Flip back up, re-split your middle part with two fingers, and arrange those curtain pieces in front of your ears, not tucked behind. Tucking kills the frame. I do a final cool shot around the hairline to lay down baby hairs, then one tiny mist of spray on the brush, not on the hair, and glide it over the crown to smooth frizz without flattening.
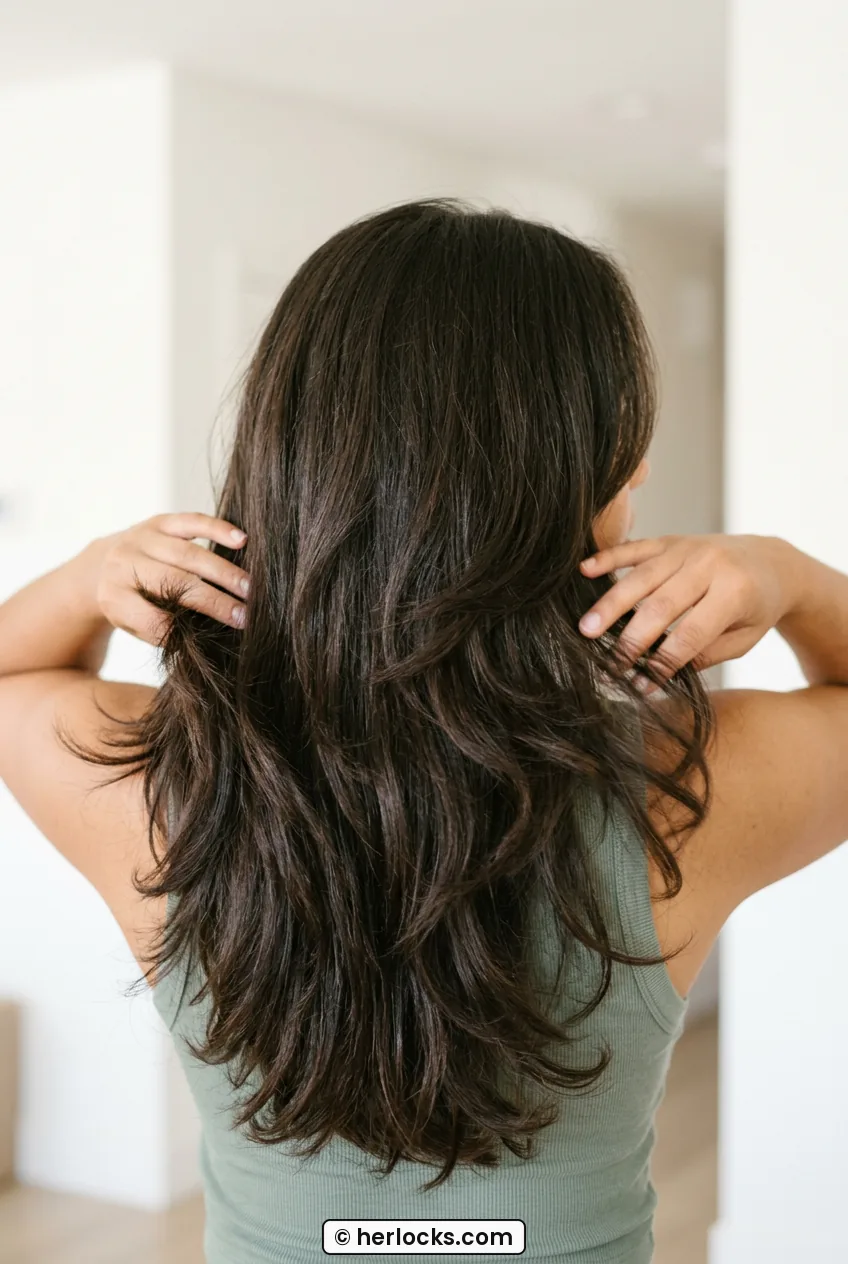
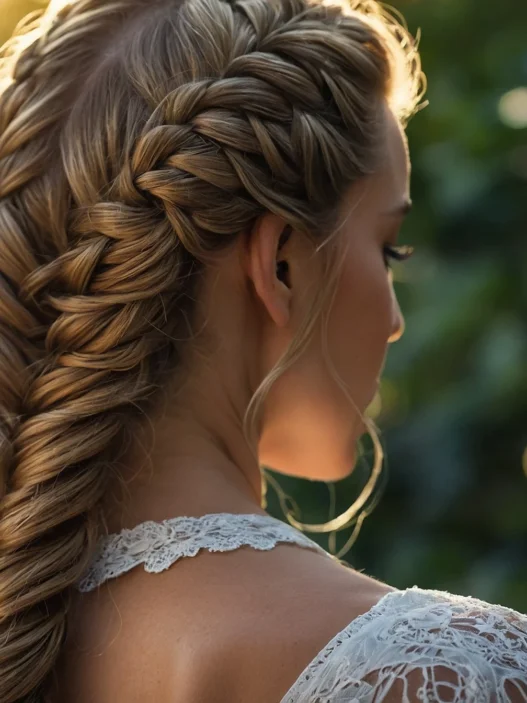
Look at that back view for a second. See how the layers cascade instead of hanging in one heavy sheet? That soft V-shape through the back is what I check for in the bathroom mirror before I call it done. If a piece sticks straight out, I just curl it under for five seconds and move on. I also love how her ends look full but not thick, which is exactly what happens when the interior layers are cut right. Lately I have been pulling a lot of ideas from my layered fall cuts obsession and soft layered cuts for spring for keeping the shape fresh between trims without losing length.
What did I actually get after all this trial and error? Yesterday I wore this to brunch and my sister asked if I got a fresh blowout that morning. Nope, that was day-two hair refreshed with just a roller in each curtain piece for ten minutes while I had coffee. It swings, it holds its part, and the ends flick out exactly like those old Cindy Crawford clips I keep saving. It takes me 40 minutes on wash day and 10 minutes to refresh, and honestly I feel so much more put-together than when I just straightened everything flat.
90s Layers Questions You Keep Sending Me
Can I get this 90s blowout look without velcro rollers?
You can, but it will not last as long on long hair. I tried with just a round brush and my layers fell by 2 p.m. If you hate rollers, use large pin curls clipped while cooling, same idea, less volume at the roots.
How do I keep thick layered hair from getting too puffy?
Point your dryer nozzle down the hair shaft and keep oil only on the ends. The puff usually comes from drying upward on the lengths. Lift only at the roots, smooth downward everywhere else, and skip extra mousse below the ears.
Do 90s long layers work if I do not have curtain bangs?
Totally. I grew mine out for two months last winter and just used the shortest face-framing layer the same way. Dry those front pieces forward and away from the face and you still get the swoop, just softer and longer.
How often should I trim to keep the shape?
Every 10 to 12 weeks for me. Long layers grow out gracefully, but once those face-framing pieces hit below the collarbone they stop flicking right. A tiny dusting of the front keeps the whole style alive without losing length.
Try it on a day when you are not rushed, put on a good playlist, and give those rollers time to cool. Want me to share my exact refresh routine for day three? Because that is where the real magic happens.