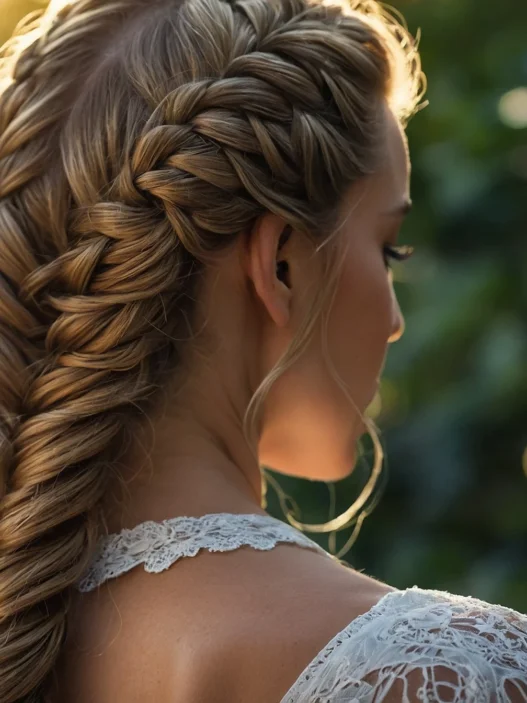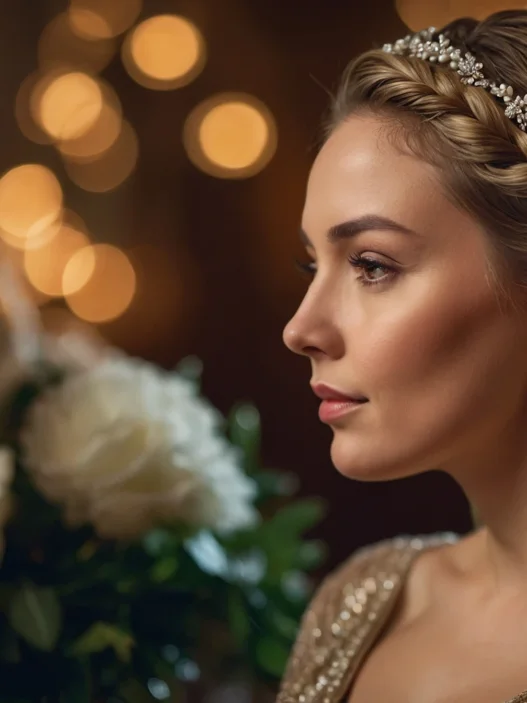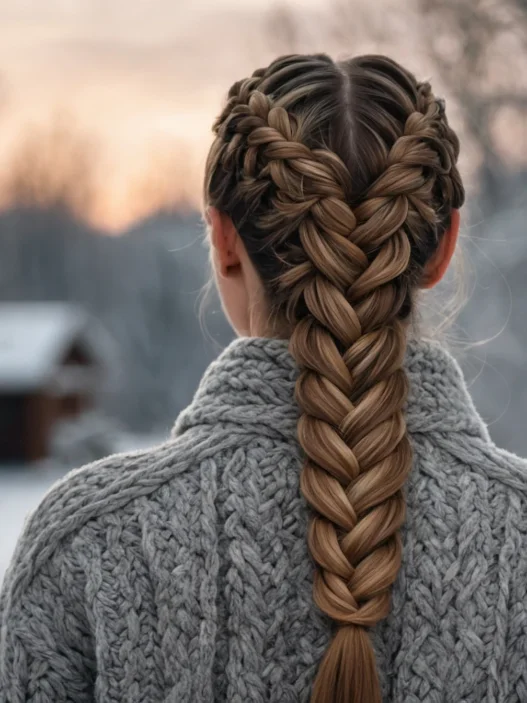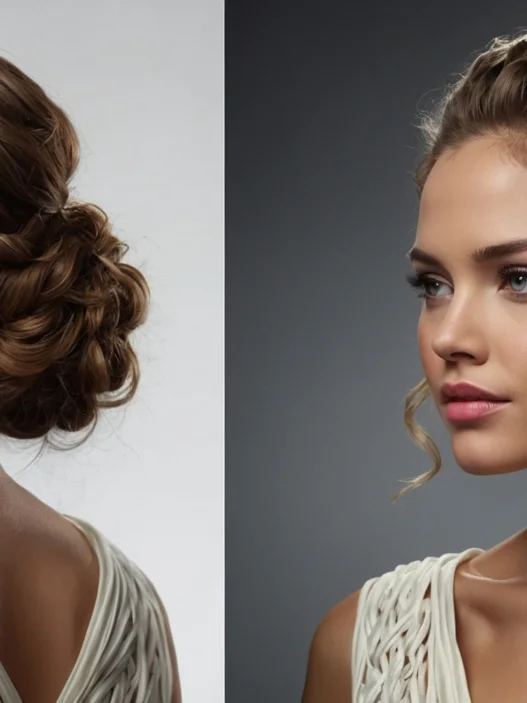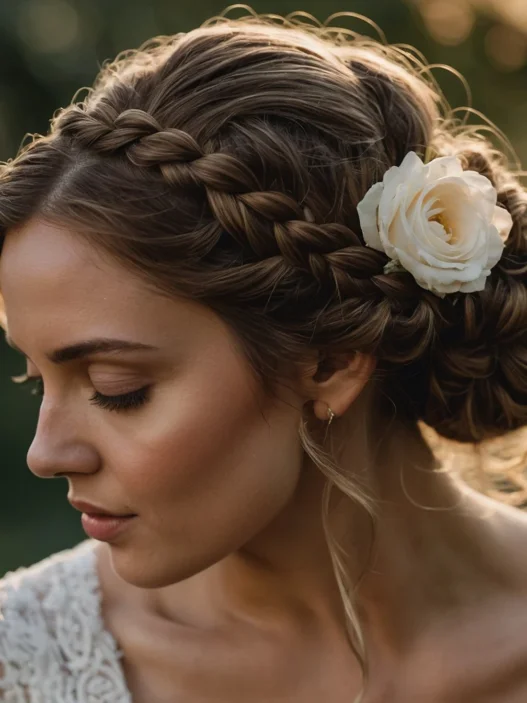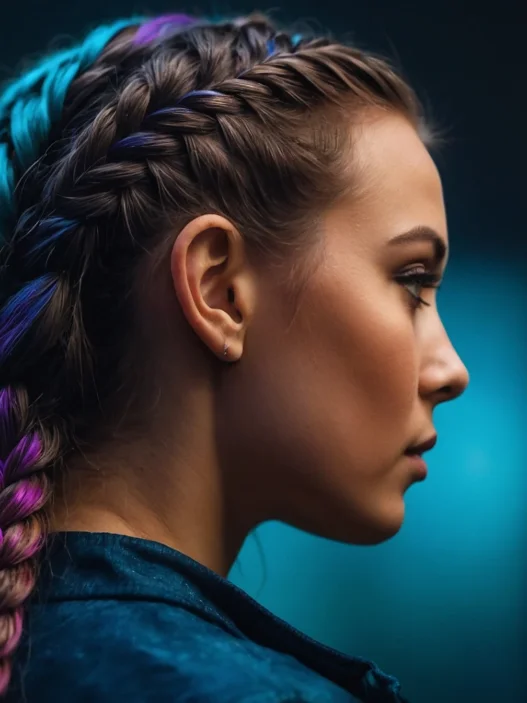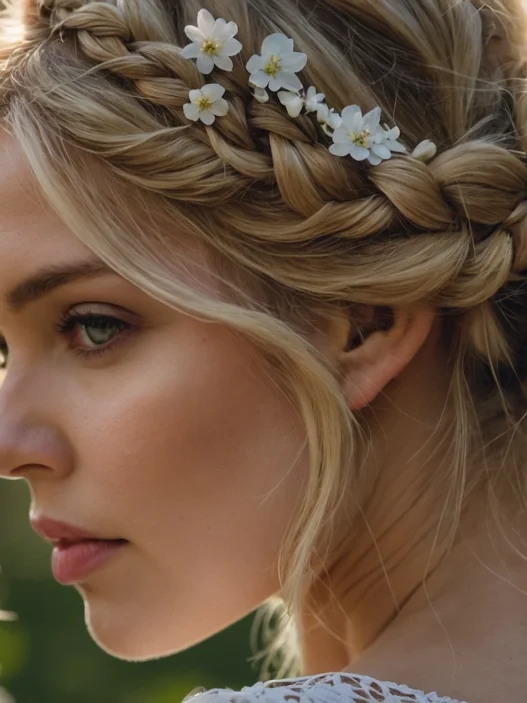







I spent months trying to recreate those gorgeous braided half up boho looks I kept seeing everywhere. You know the ones — effortlessly messy, perfectly undone, with those romantic braids that somehow look complicated and simple at the same time? Mine always ended up looking like I’d been in a windstorm or, worse, like I was trying way too hard.
The turning point came when I realized I was approaching it all wrong. I kept focusing on the braids themselves instead of understanding that this style is really about creating the right foundation first.
What You’ll Learn in This Tutorial
What You’ll Need
Before we dive in, let me save you from my early mistakes by making sure you have the right tools. I used to think any hair tie would work — spoiler alert, it won’t.
- Clear elastic bands (the tiny ones — regular hair ties are too chunky)
- Sea salt spray or texturizing spray
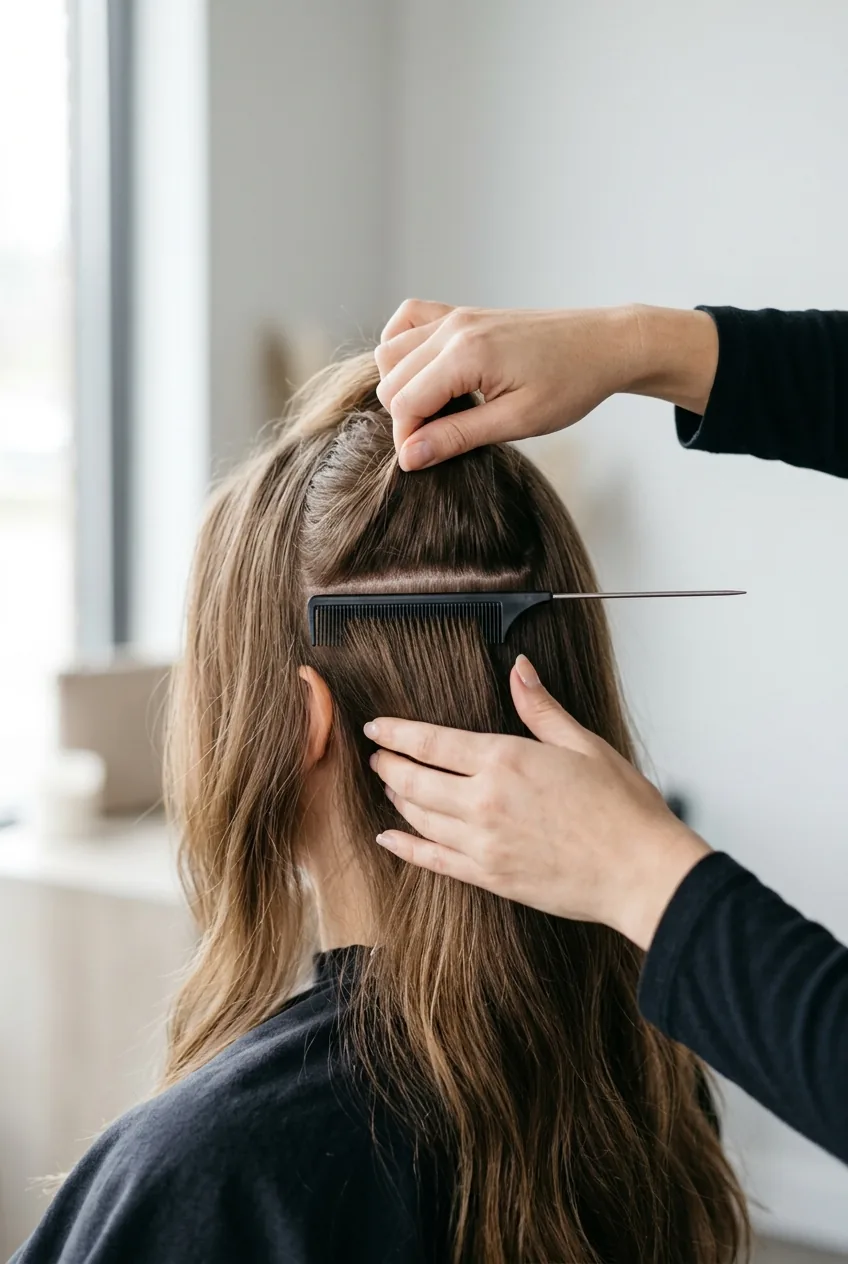
- A rattail comb for clean sections
- Bobby pins that match your hair color
- Dry shampoo (trust me on this one)
- A curling iron or wand (1-1.5 inch barrel)
Getting Your Hair Ready
This is where most tutorials skip the important stuff. They assume your hair just naturally has that perfect slightly-dirty, perfectly-textured look. Mine definitely doesn’t.
Start with day-old hair if possible. Freshly washed hair is too slippery and clean for this style. If you must start with clean hair, spray some dry shampoo at the roots and scrunch it through the lengths. This gives you that essential grip.
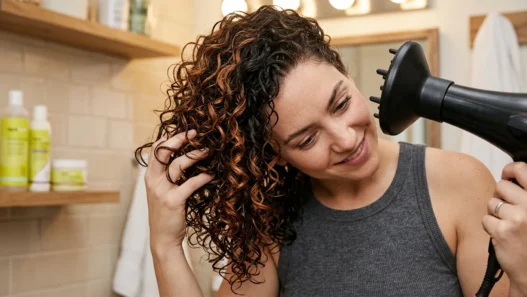
Next, mist your hair lightly with sea salt spray. Don’t soak it — just enough to add some texture. I like to scrunch it in with my hands to encourage any natural wave. If your hair is stick-straight, you might want to add some loose waves with your curling iron first, but make them really loose and messy.
The Secret to Perfect Sectioning
Here’s what changed everything for me. Most people grab random chunks of hair and hope for the best. But there’s actually a specific way to section that makes the whole style work.
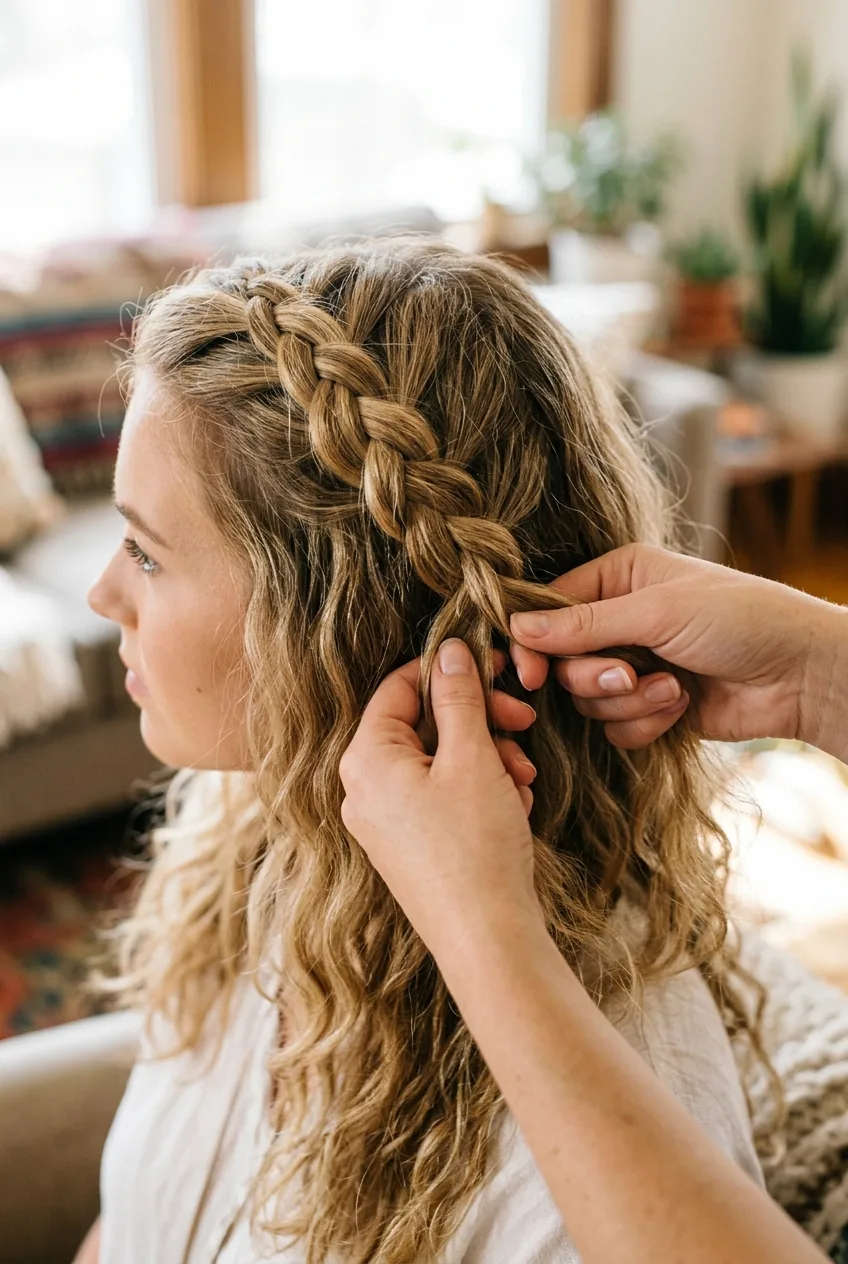
Using your rattail comb, create a horizontal part from ear to ear, about halfway up your head. This isn’t a precise measurement — you want it to look natural. The key is making sure this line sits where your head starts to curve, not too high on the crown.
Now comes the part that took me forever to figure out. Within that top section, you’re going to create two smaller sections on either side of your head. But instead of making them symmetrical, make them slightly different sizes. The asymmetry is what gives this style that effortless boho vibe.
I used to spend ages trying to make both sides perfectly even. The day I stopped caring about symmetry was the day this style finally clicked for me. Embrace the imperfection!
Creating the Foundation Braids
Now for the braiding part. But these aren’t your typical tight, neat braids. Think loose, lived-in, like you braided them yesterday and slept on them.
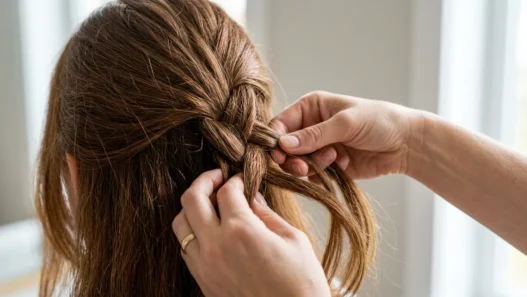
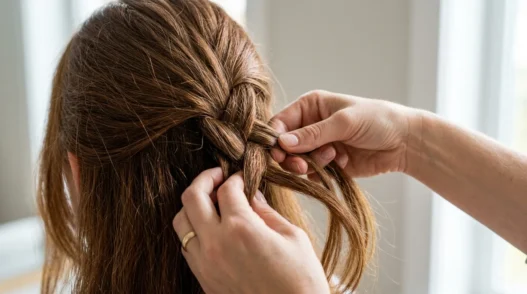
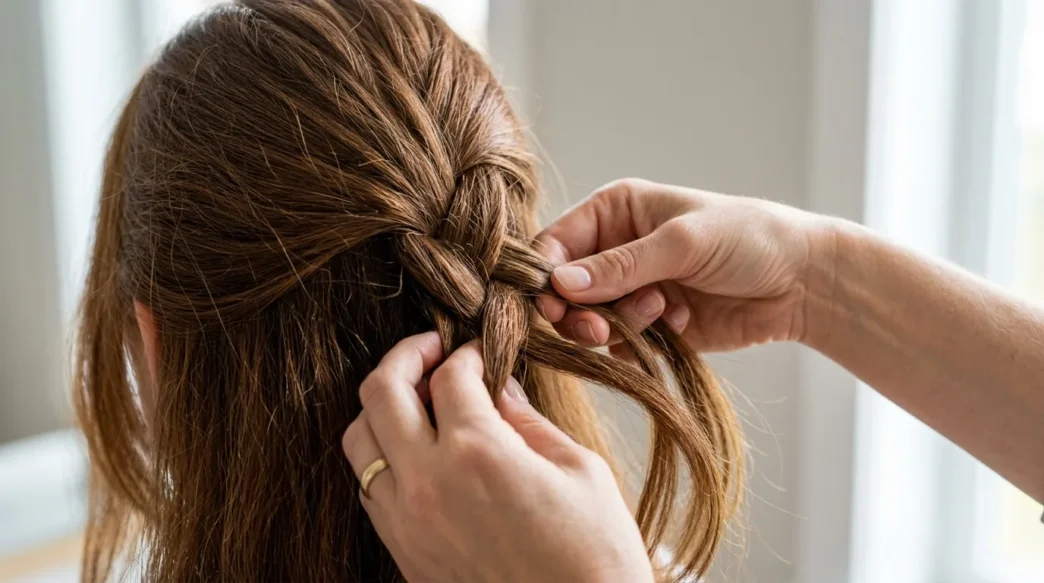
Start with one of your side sections. Create a loose Dutch braid — that’s where you cross the strands under instead of over. But here’s the crucial part: keep it really loose. I’m talking loose enough that you can see scalp between the sections.
As you braid, only incorporate hair from the hairline side. Leave the interior hair free — this creates that cascading effect where some pieces fall naturally while others are caught up in the braid. Braid down about 3-4 inches, then secure with one of those clear elastics.
Repeat on the other side, but make this braid slightly different. Maybe start it a little higher, or make it a bit tighter. The goal is intentional imperfection. When I learned to embrace the differences between sides, my braided long hairstyles finally started looking effortless instead of forced.
Watch the Braiding Technique Live
Building That Boho Texture
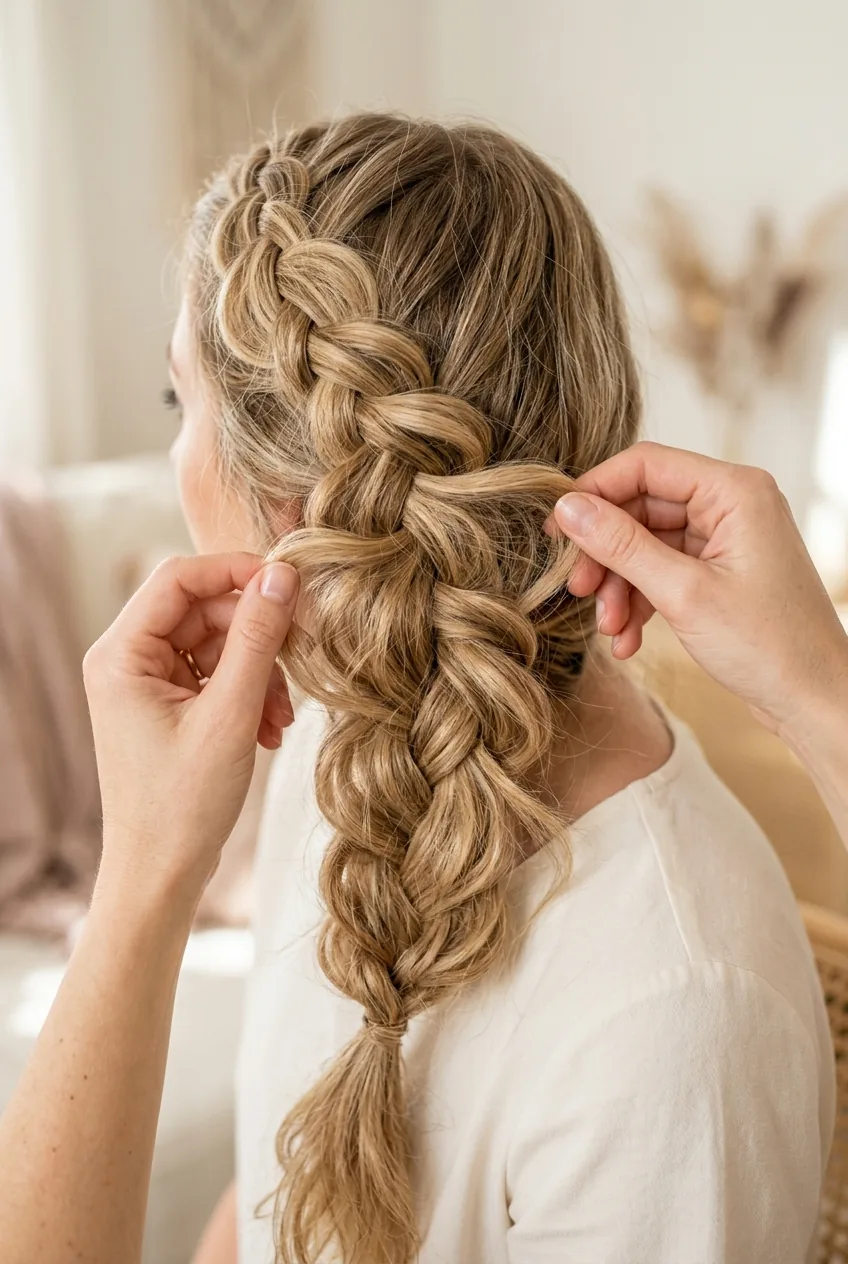
This step is what separates a good attempt from that perfect boho goddess look. You need to pancake those braids — but not evenly.
Starting from the bottom of each braid, gently tug at the outer edges of each section. But don’t pull every section the same amount. Pull some more, some less, some barely at all. You want it to look like the braid naturally loosened itself.
Here’s where the magic happens — take a few face-framing pieces that didn’t get caught in the braids and give them a light curl away from your face. These pieces should look completely accidental, like they just happened to fall perfectly.
Texturizing methods like this really transformed how I approach casual styling. The key is building layers of intentional messiness.
The Final Assembly
Now comes the moment where it all comes together. Take both braids and bring them to the back of your head, but don’t position them at exactly the same height. One should sit slightly higher than the other.
Instead of tying them together with another elastic, I prefer to pin them. Use bobby pins that match your hair color and insert them at angles so they’re completely hidden. The goal is to make it look like the braids are just naturally staying put.
Once everything’s secured, go back and pull out a few more face-framing pieces. Twist them loosely around your finger and let them fall. This breaks up any lines that look too intentional.
The final touch? A light mist of texturizing spray over the whole thing. This adds that slightly undone finish that makes the style look like you just rolled out of bed looking gorgeous.
Questions I Always Get About This Style
Will this work on short hair?
You need at least chin-length hair for the braids to work properly. If your hair is shorter, you can adapt it by doing smaller braids and pinning them more creatively, but the classic version needs some length.
How long does this style last?
With the right products and pinning technique, this can easily last all day. I’ve worn mine from morning coffee to dinner dates without touching up. The messier it gets, the better it looks.
What if my hair is really fine and slippery?
Fine hair actually works great for this style once you prep it right. Use more dry shampoo than you think you need, and consider adding some mousse for grip. The braids might be looser, but that just adds to the boho effect.
Can I sleep in this hairstyle?
Absolutely! Just loosen the pins slightly and maybe braid the loose ends loosely to prevent tangles. You’ll wake up with even better texture for easy morning styling.
The result? I finally have a go-to style that looks like I spent way more time on it than I actually did. It works for everything from prom party hairstyles to casual brunches, and the best part is that it gets better as the day goes on. Sometimes the most beautiful looks are the ones that embrace a little imperfection.