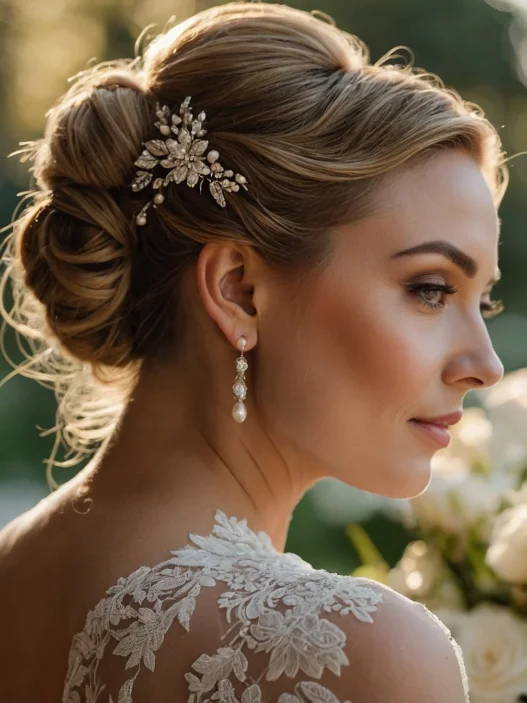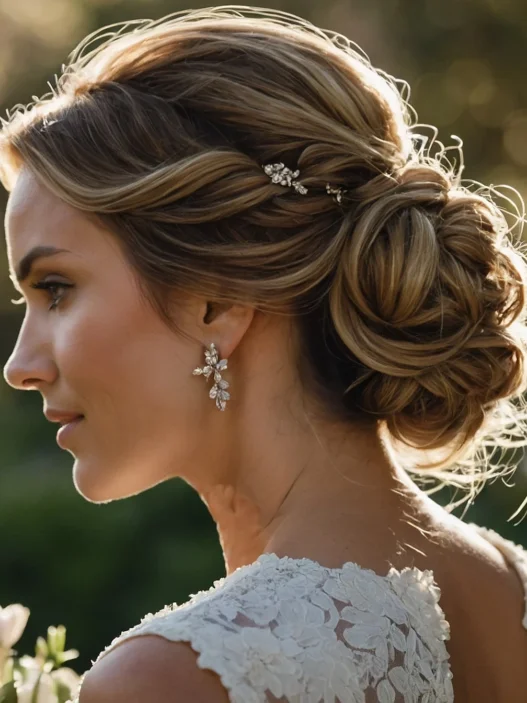







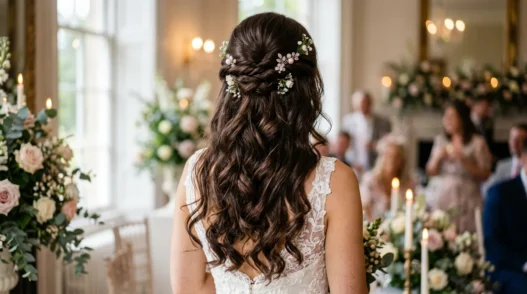
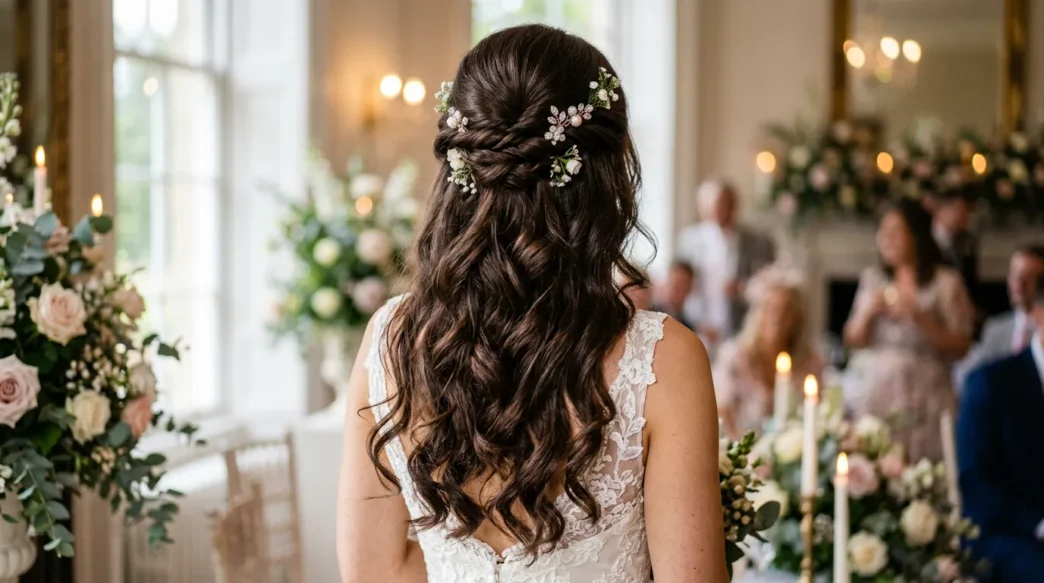
When I was planning my sister’s wedding last year, she kept changing her mind about her hair. One day it was a full updo, the next it was completely down. But when she saw a bridal half up half down style on Pinterest, she knew that was it. The problem? Her trial run was a disaster, and her wedding was three weeks away.
I spent hours researching techniques and practicing on anyone who’d let me. What I discovered was that most tutorials skip the crucial prep steps that make this style actually stay put. After perfecting this method, my sister’s hair looked flawless for 12 hours straight.
What You’ll Need
Here’s everything I keep in my bridal hair kit. Don’t try to wing it with random products — trust me, I learned this the hard way.
- Heat protectant spray (I swear by the lightweight ones)
- Volumizing mousse or texturizing spray
- Medium-barrel curling iron (1.25 inches is perfect)
- Fine-tooth comb and wide-tooth comb
- Clear elastic bands (never use the thick ones)
- Bobby pins in your exact hair color (buy way more than you think you need)
- Hairspray — both working spray and strong-hold finishing spray
- Hair clips for sectioning
- Small hair tie or clear elastic
Step 1: Prep and Prime Your Hair
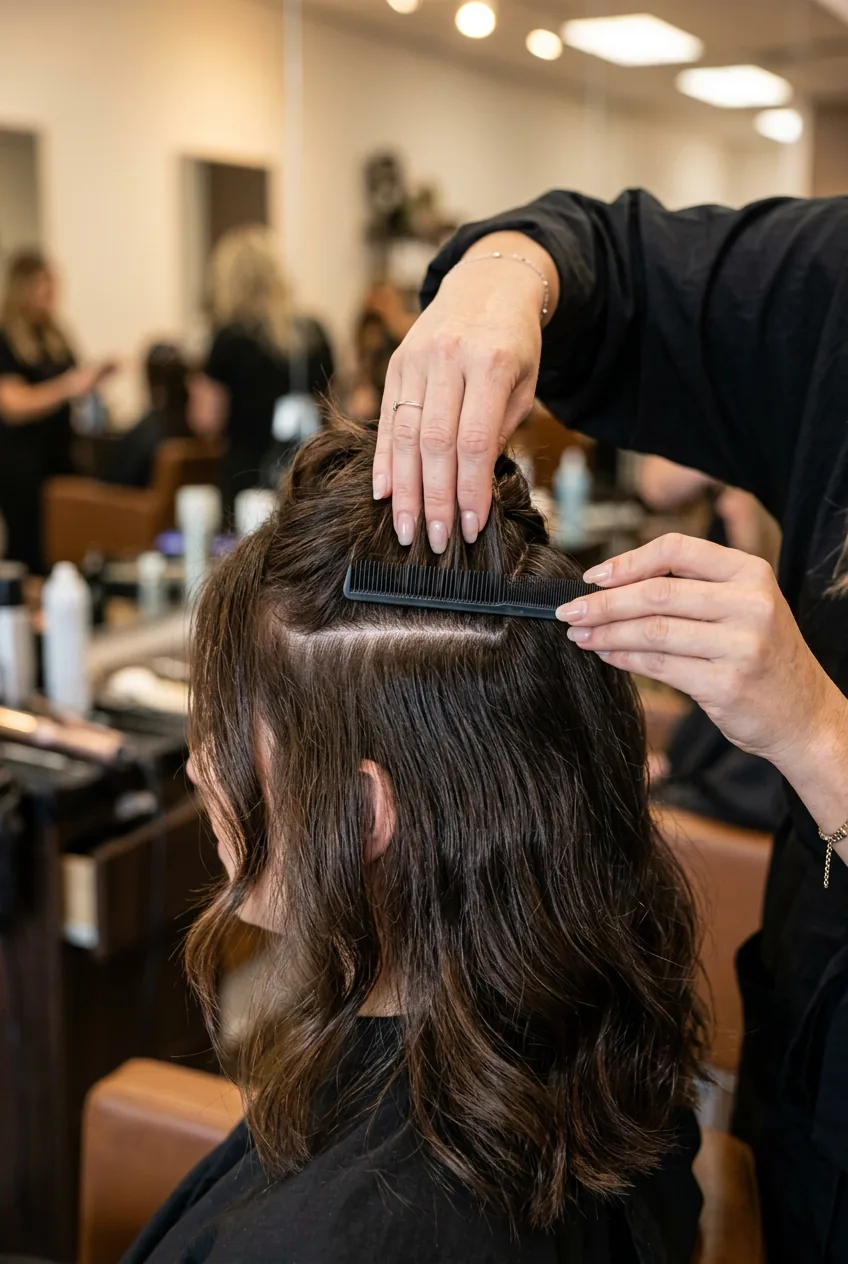
Start with hair that’s about 80% dry — not soaking wet, not completely dry. This is the sweet spot where products actually absorb without weighing your hair down. I always wash bridal hair the night before because day-old hair holds styles better than squeaky clean strands.
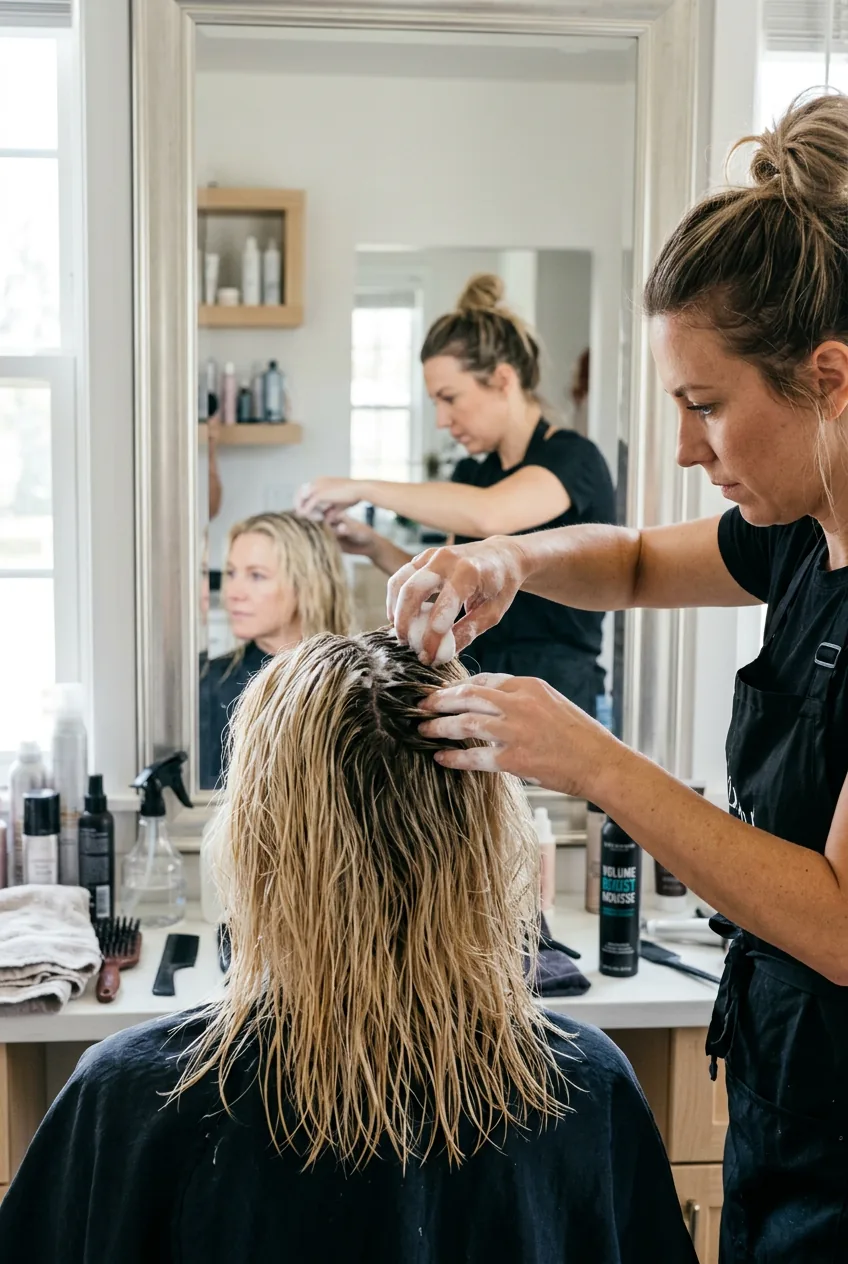
Spray your heat protectant from mid-length to ends, then work a golf ball-sized amount of volumizing mousse through your roots. The key here is to focus the volume product where you’ll need lift later — around the crown and temples.
Blow dry using a round brush, lifting sections at the root as you go. Don’t skip this step even if you’re in a rush. Proper prep work makes the difference between a style that lasts two hours and one that survives the entire reception.
Step 2: Section and Secure the Top
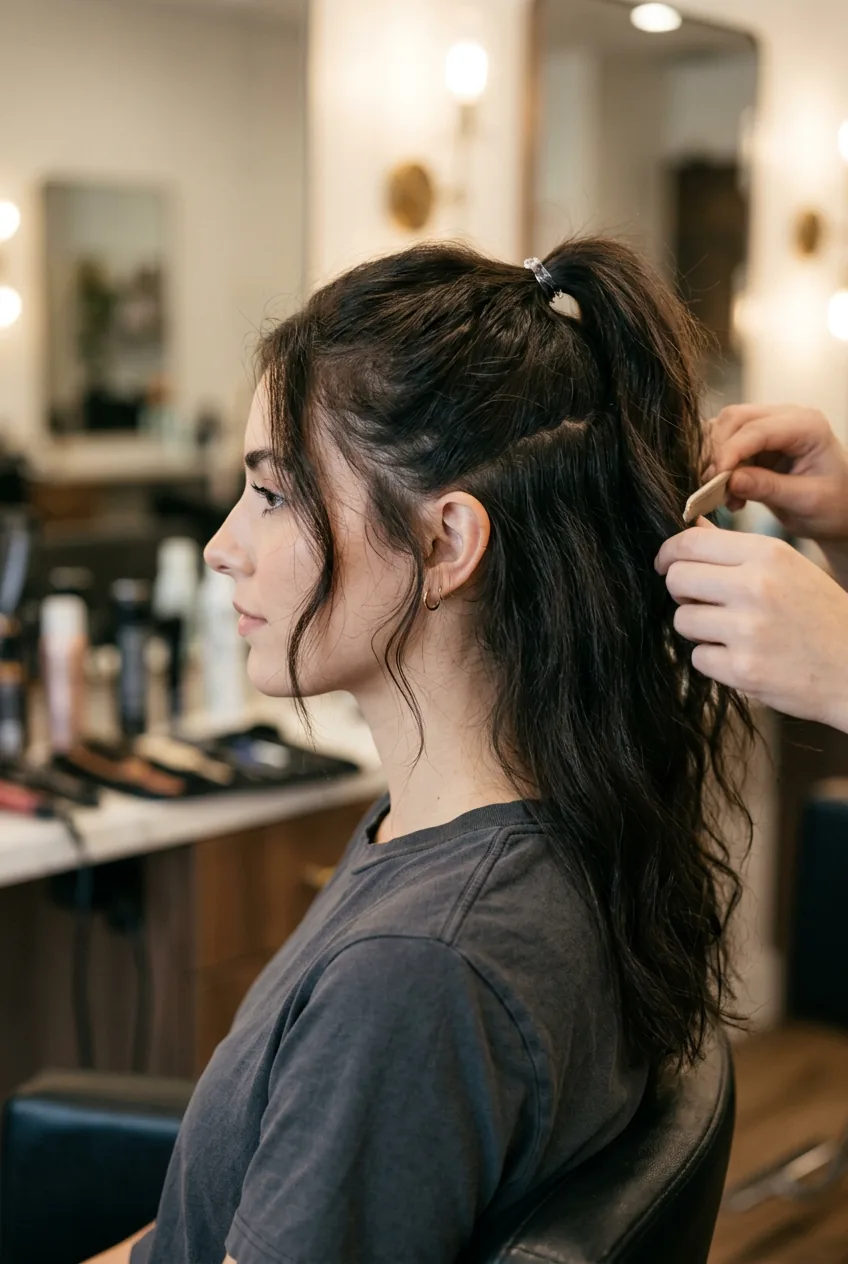
This is where most people mess up. They grab random pieces and wonder why their half-up looks lopsided. Here’s my foolproof sectioning method that works on every face shape.
Part your hair wherever it naturally wants to fall. Fighting your natural part creates tension and weird bumps. Then, using the end of your comb, draw a line from the top of one ear, over the crown of your head, to the top of the other ear. This creates your half-up section.
Gather this top section loosely in your hands. Don’t pull it tight — you want soft volume, not a severe pullback. Secure with a clear elastic about two inches from your scalp. The loose gathering is what gives you that romantic, effortless look.
Clip the remaining hair out of your way. Those loose pieces will get their turn to shine in the next steps.
Step 3: Create Volume and Texture
Here’s where the magic happens. Gently tug at the hair above your elastic to create that coveted volume. Start at the crown and work your way around, pulling small sections outward. This technique is called “pancaking” and it’s what separates amateur styles from professional-looking ones.
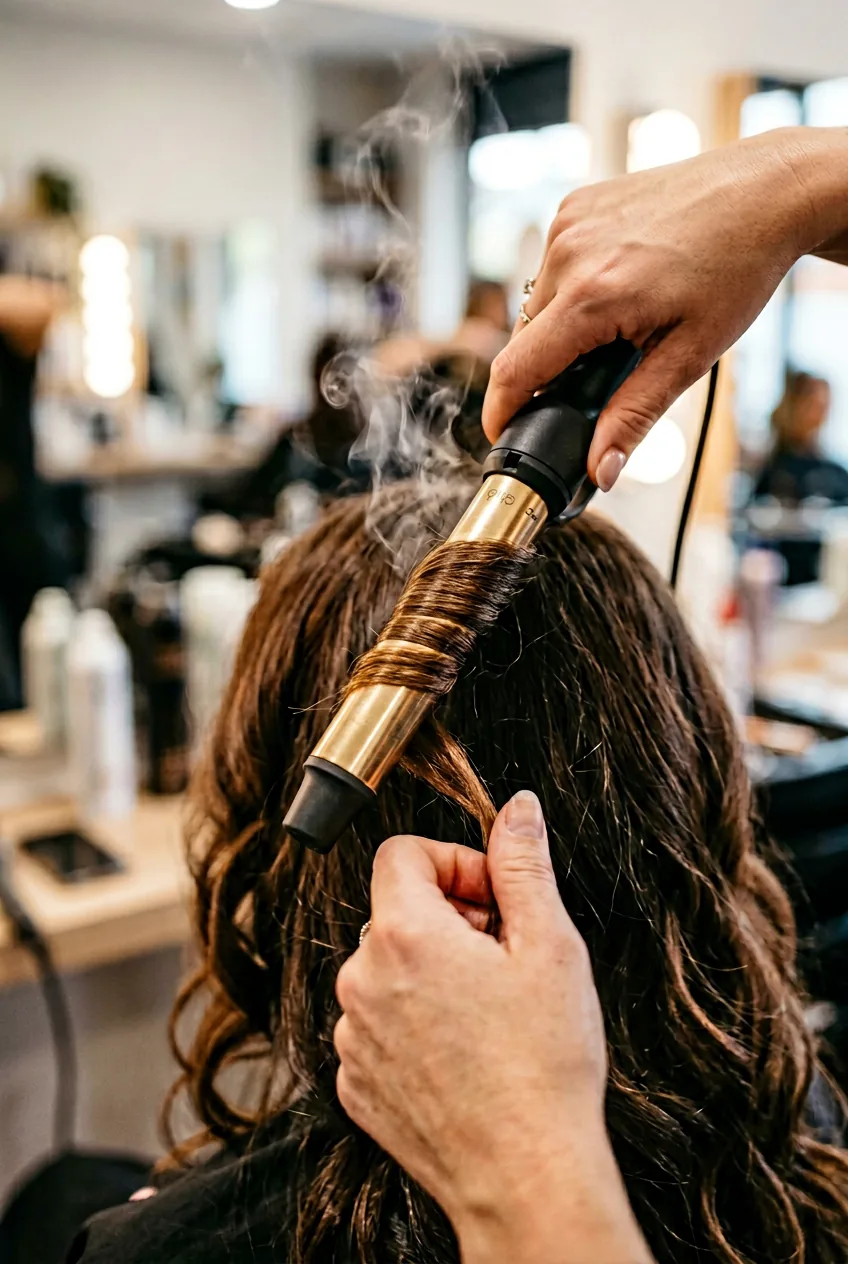
Now for the loose hair around your face. Take pieces that are about an inch wide and curl them away from your face using your curling iron. I hold each curl for about 8 seconds, then immediately pin it to your head to cool in the curl shape. This sets the curl memory and makes everything last longer.
The bottom section gets curled too, but in alternating directions. Curl one section toward your face, the next away from it. This creates natural-looking movement instead of that “all curls going the same way” look that screams “I just curled my hair.”
I made a huge mistake during my first attempt at this style — I curled everything in the same direction and it looked like a 1980s prom photo. The alternating curl pattern is absolutely crucial for that modern, effortless vibe.
Step 4: Pin and Perfect the Half-Up
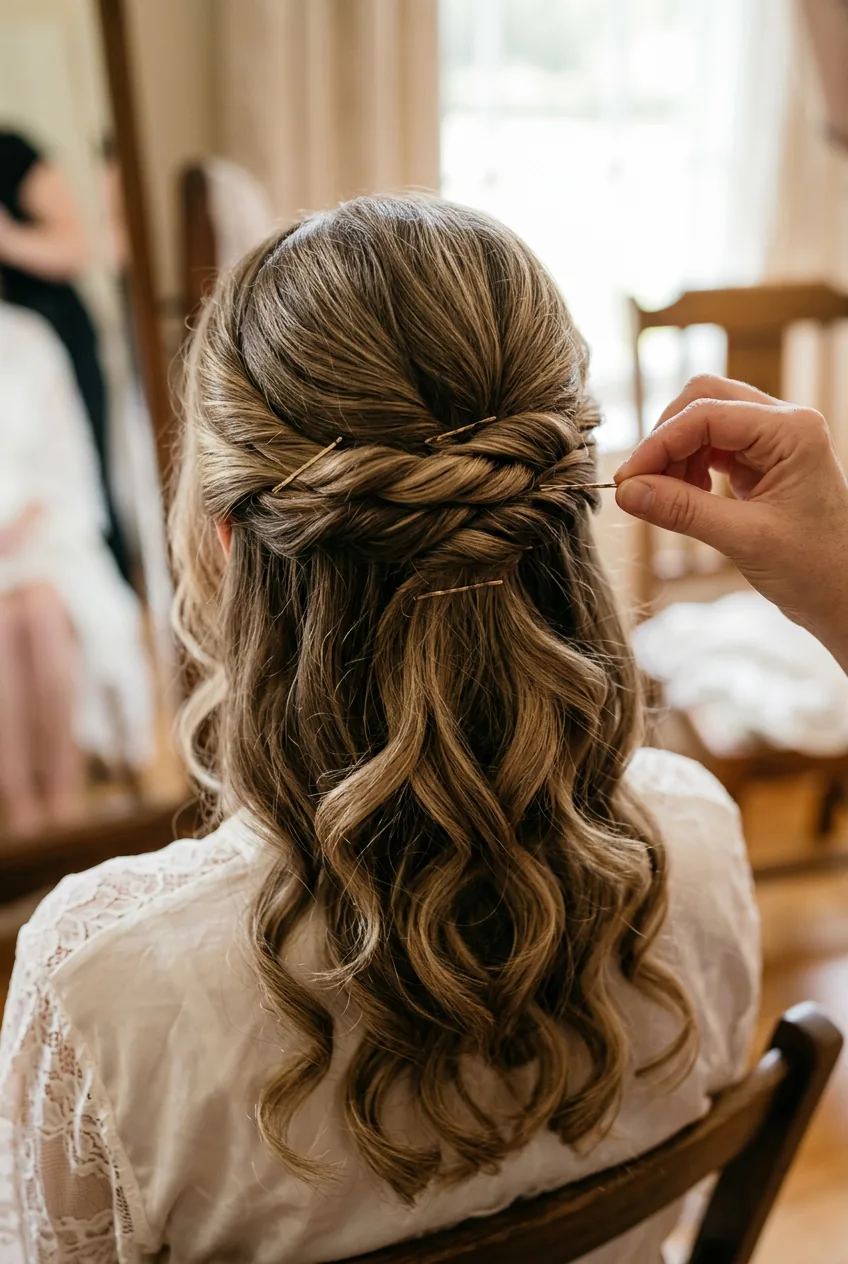
Once your curls have cooled, remove all the clips and gently finger through them to soften. Don’t brush them out — just break them up with your fingers to create that lived-in texture.
Take your half-up section and twist it loosely before pinning. I like to twist it about halfway down, then pin the twist in place with bobby pins inserted horizontally (not straight down). This creates a more secure hold than vertical pinning.
Here’s my secret weapon: after pinning, pull out a few face-framing pieces. Not chunks, just wispy little tendrils. This softens the whole look and prevents it from looking too “done.” Those wedding hairstyles half up half down that look effortlessly romantic always have these strategic loose pieces.
Check your work from every angle. Walk around, move your head, even do a little dance move. If anything feels loose or looks uneven, fix it now. Better to take an extra five minutes than have your hair falling apart during photos.
Watch the Pinning Technique in Action
Step 5: Finish and Lock It Down
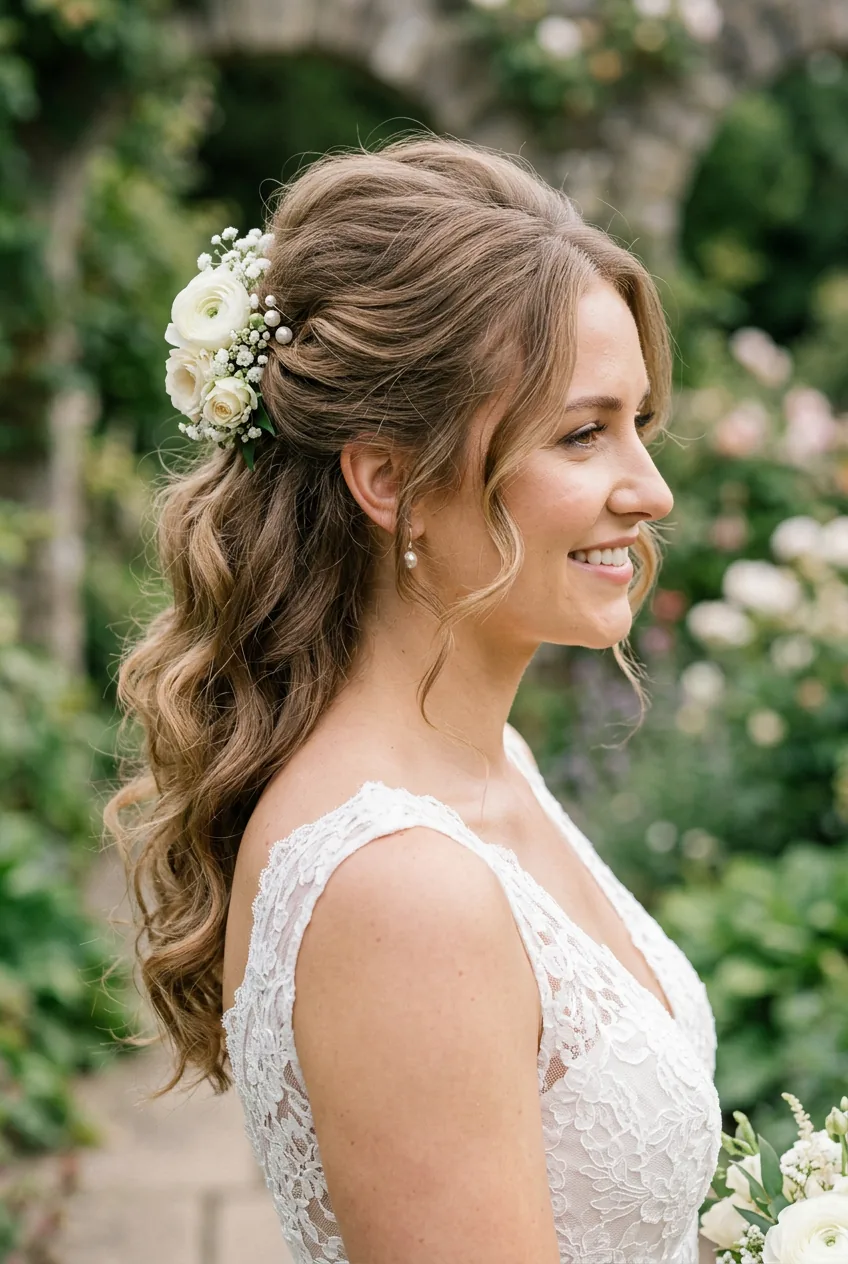
The finishing touches make or break this entire look. Spray everything lightly with working hairspray first — this gives you a chance to make final adjustments without everything being cement-hard.
Add any accessories now. Hair vines, clips, or subtle sparkly pins work beautifully with this style. I always place them where the twist meets the rest of the hair — it looks intentional and covers any less-than-perfect pinning.
For the final step, hit everything with your strong-hold hairspray. But here’s the trick: spray it on your hands first, then smooth over any flyaways. Direct spray can create stiff, crunchy spots that photograph terribly.
Professional-grade products really do make a difference for special occasions like this. The investment in quality hairspray alone will save you from touch-ups throughout the day.
Quick Answers Before You Start
How long before the wedding should I practice this?
At least three times, with the last practice being a week before. Your hands need muscle memory for this to look effortless on the actual day.
Will this work on thin or fine hair?
Absolutely. The volumizing mousse and teasing technique in Step 3 are specifically designed to give fine hair more body. Just be gentler with the pulling and use smaller sections when curling.
What if my hair is naturally very straight?
Use a stronger texturizing spray in Step 1 and let your curls cool completely before touching them. You might also want to set them with pins for longer than I mentioned.
How do I prevent the half-up section from sliding down?
The key is in Step 4 — those horizontal bobby pins create much more grip than vertical ones. Also, make sure you’re using bobby pins that match your hair color exactly.
The result? My sister’s hair looked absolutely stunning, and more importantly, it stayed that way through eight hours of photos, ceremony, cocktails, and dancing. She actually forgot to check her hair once because she wasn’t worried about it falling apart. That’s exactly what you want on your wedding day — one less thing to stress about so you can focus on what really matters.