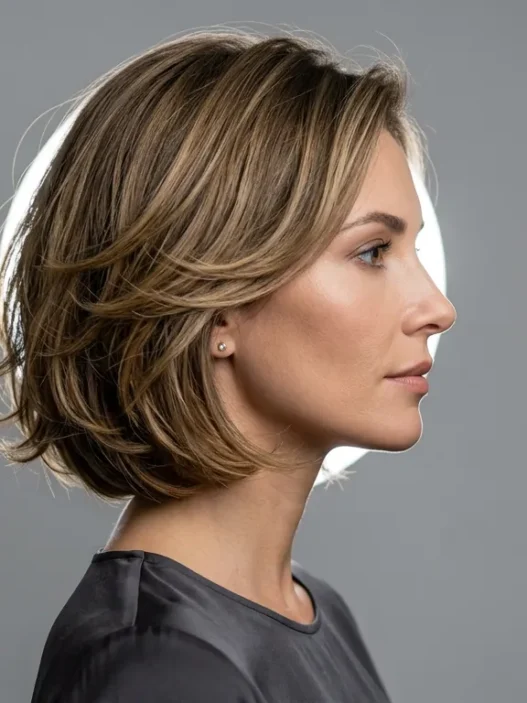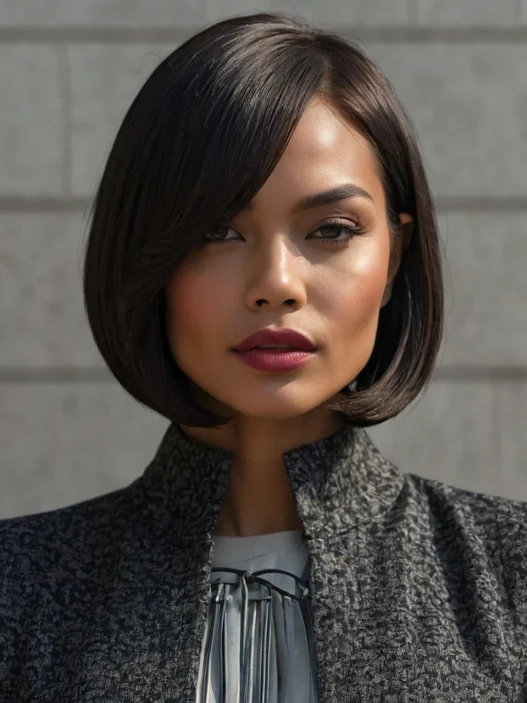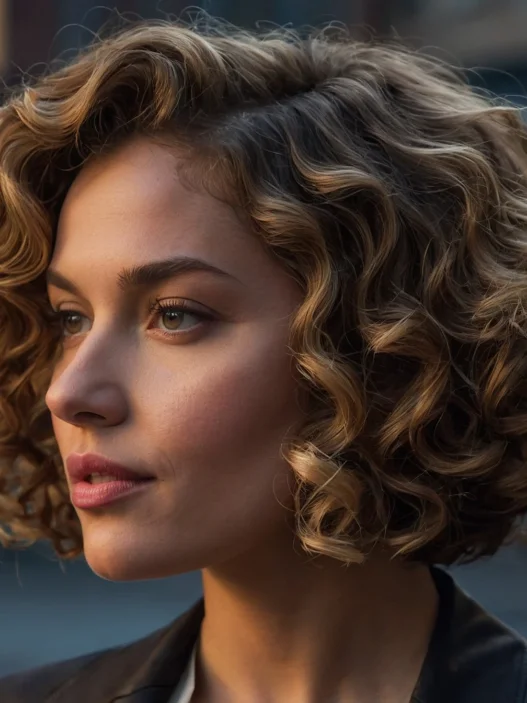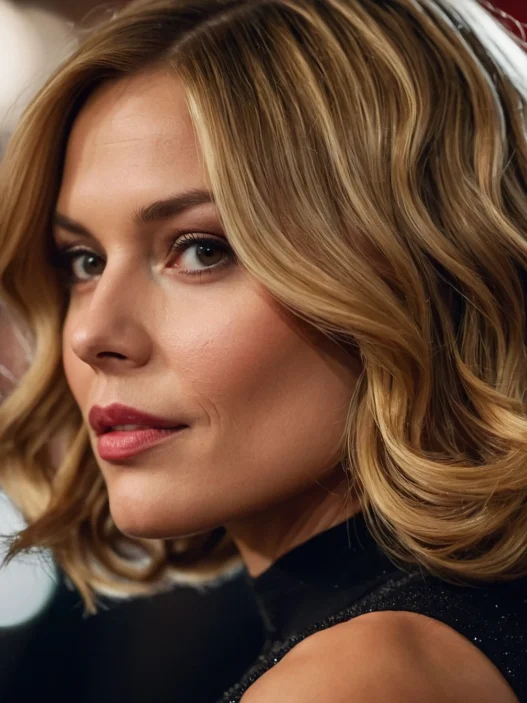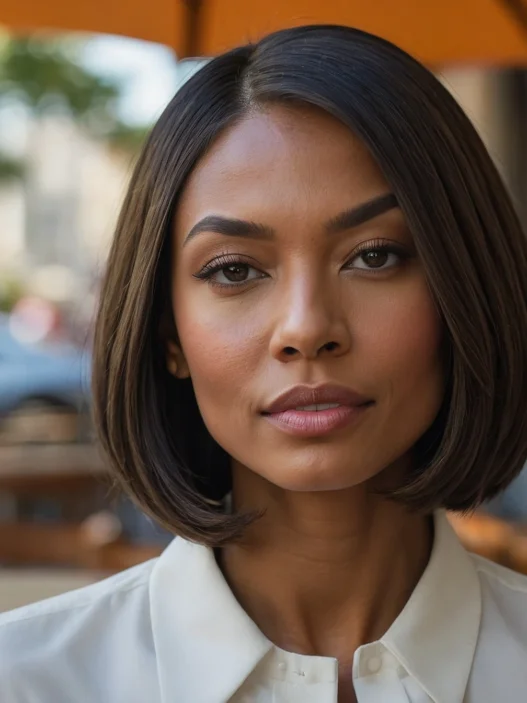







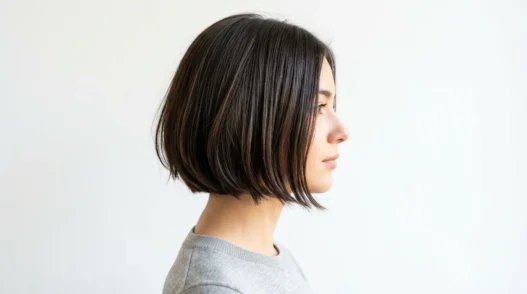
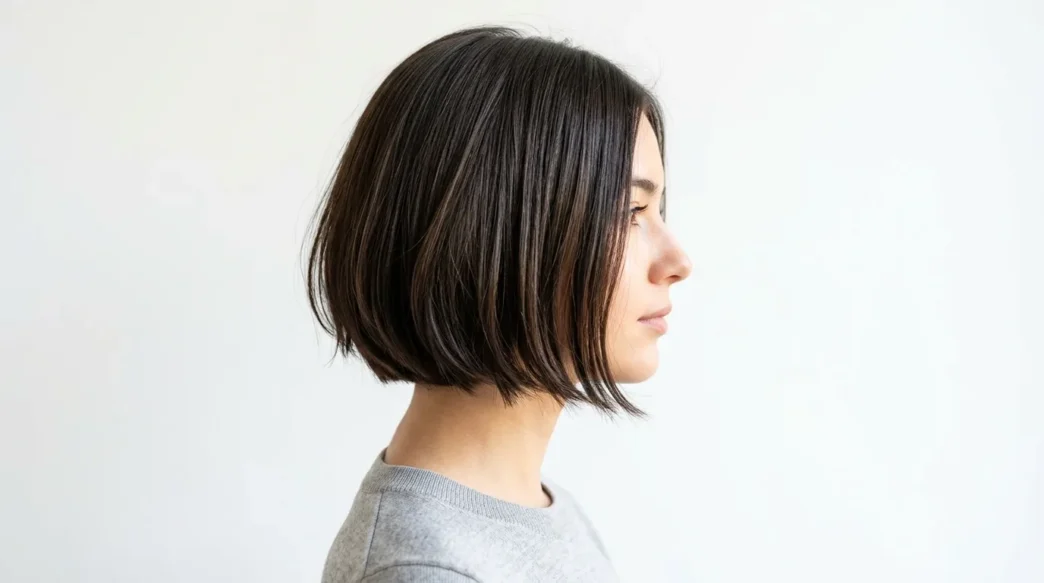
I was so tired of my hair looking like I tried too hard. You know that feeling when you spend an hour styling and it still looks… manufactured? That’s exactly why I fell head over heels for the French bob. It’s that perfect “I woke up like this” vibe that actually takes some technique to nail.
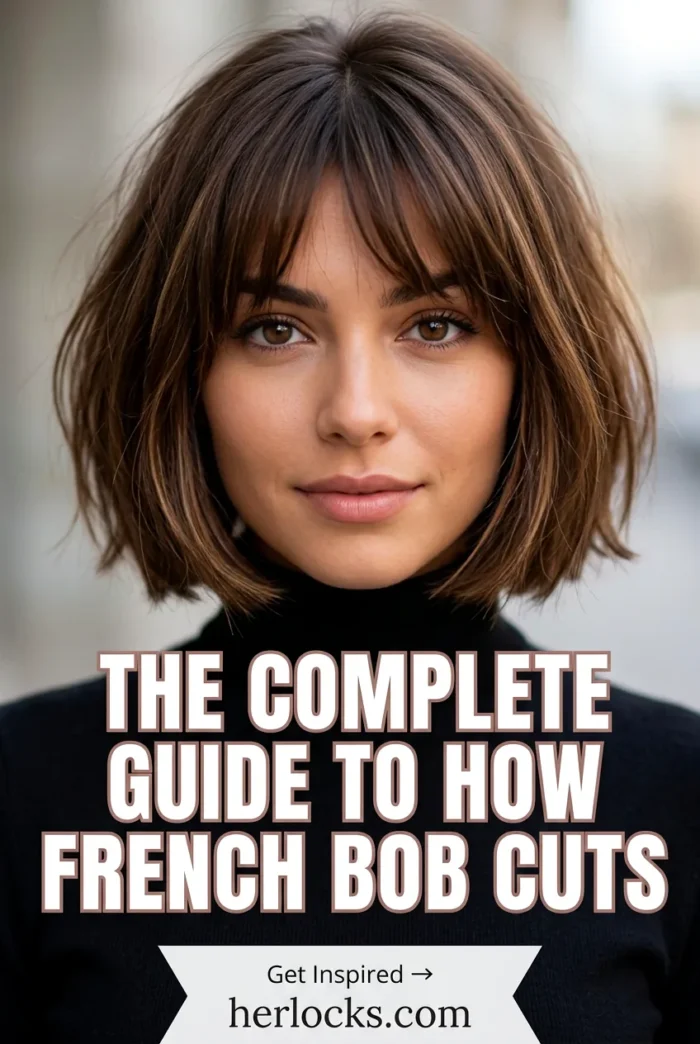
Your French Bob Transformation Roadmap
Tools and Timing
Before we dive in, let’s talk reality. This isn’t a 5-minute routine, but it’s not a production either. Give yourself about 15-20 minutes from start to finish — less once you get the hang of it.
What you’ll need:
- Round brush (medium barrel, about 1.5 inches)
- Blow dryer with a concentrator nozzle
- Sea salt spray or texturizing spray
- Light-hold mousse
- Flat iron (optional, for stubborn pieces)
- Dry shampoo
- A good hair oil (just a few drops)
The timing matters too. I do this on day-two hair usually — it holds better than freshly washed hair, and that slight bit of natural oils gives you that lived-in texture.
The Prep Phase
This is where most people mess up. They skip the foundation work and wonder why their French bob looks flat or too structured.
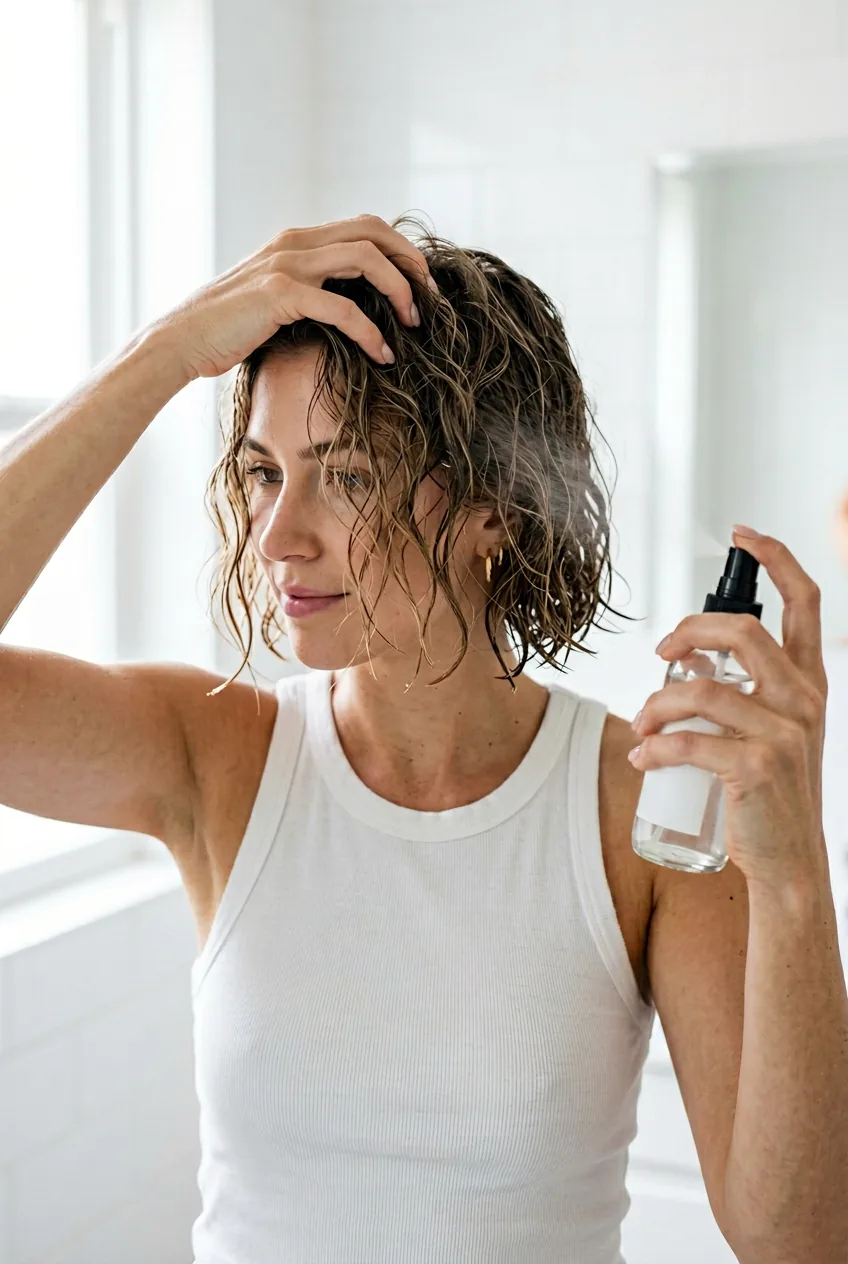
Start with slightly damp hair — not soaking, not completely dry. If your hair is wet, rough dry it with your hands until it’s about 60% dry. This gives you the perfect canvas.
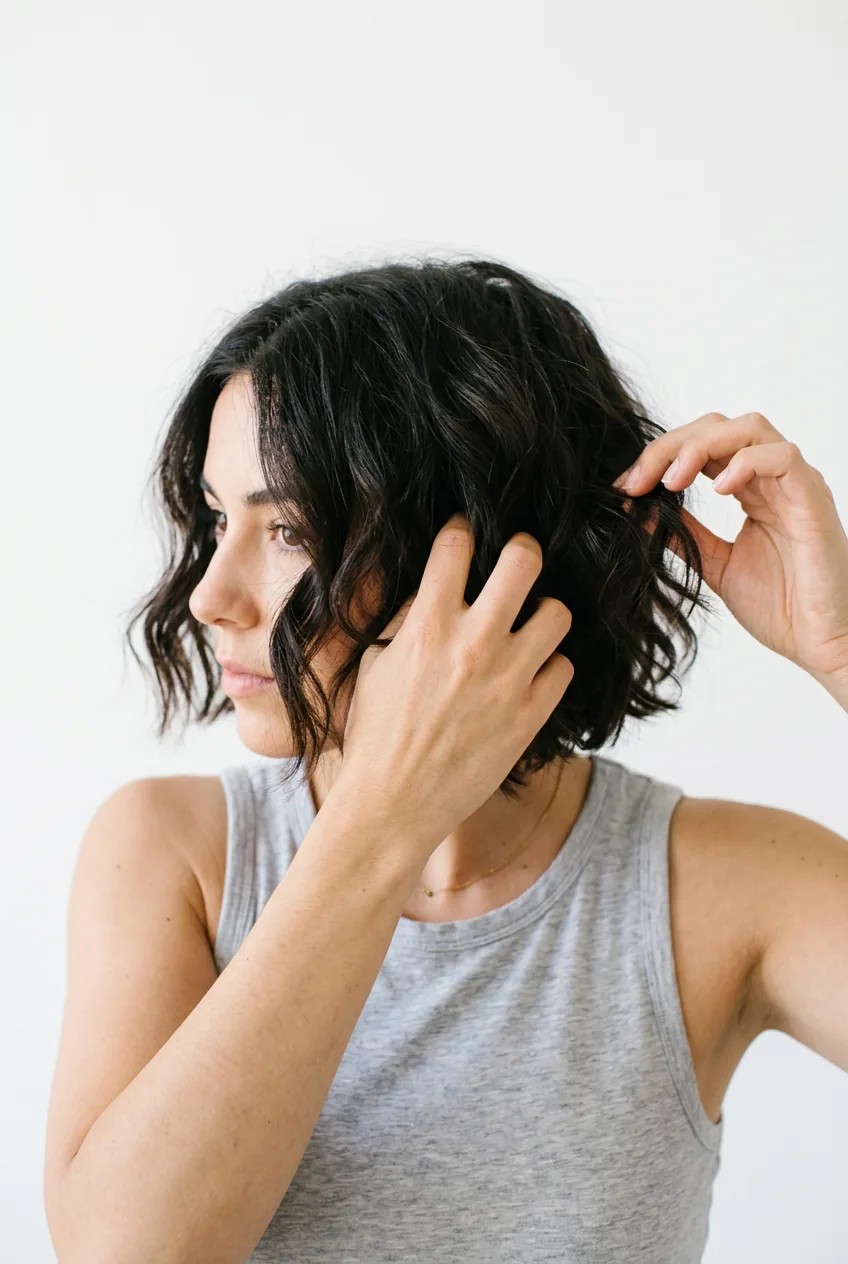
Spray your texturizing spray throughout, focusing on the mid-lengths and ends. I’m obsessed with sea salt sprays for this — they give that gritty, beachy texture that makes the French bob sing. Work it through with your fingers, scrunching gently as you go.
Now here’s the key: apply a golf ball-sized amount of mousse to your roots only. The French bob needs volume at the crown, but too much product on the ends makes it look heavy and un-French.
Building the Foundation
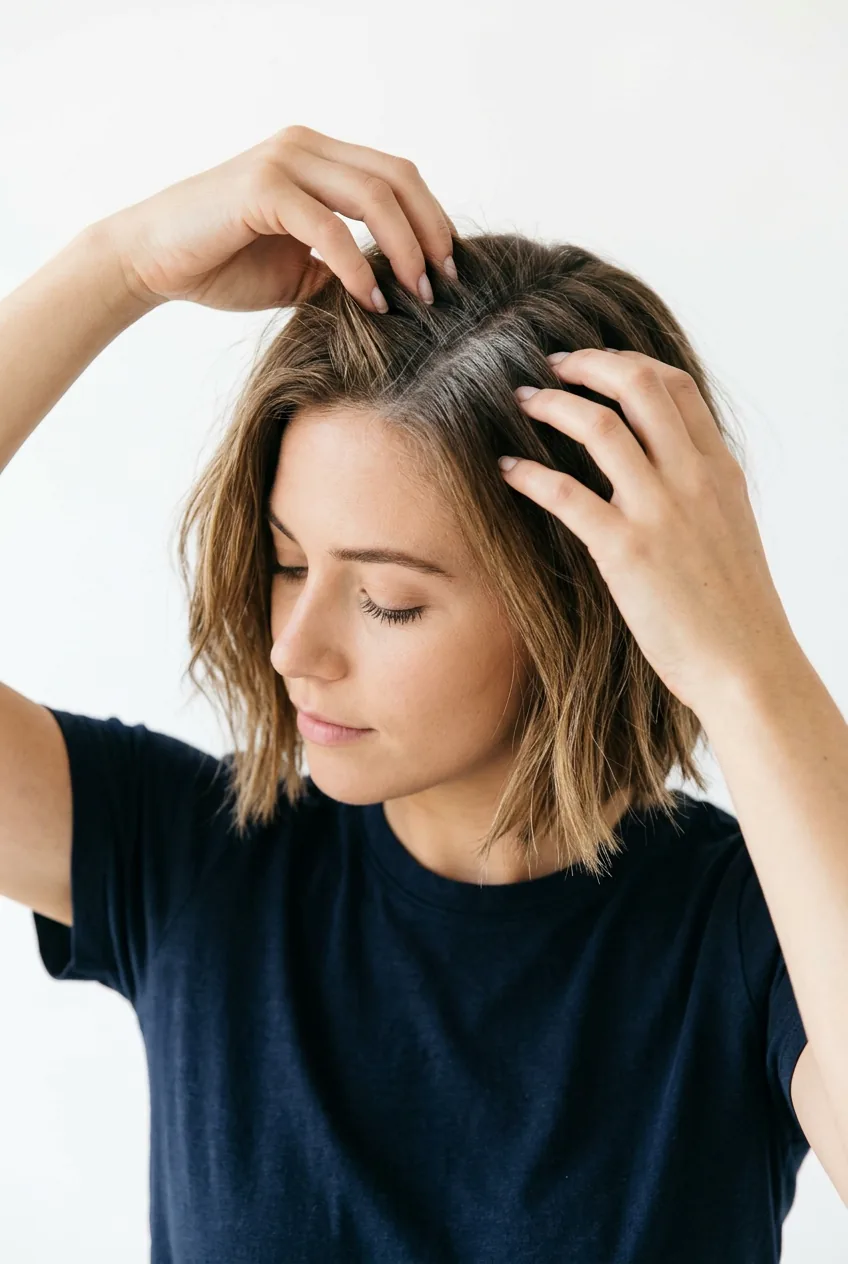
Section your hair into three parts: top crown section, and two side sections. The crown section should be about the width of your round brush.
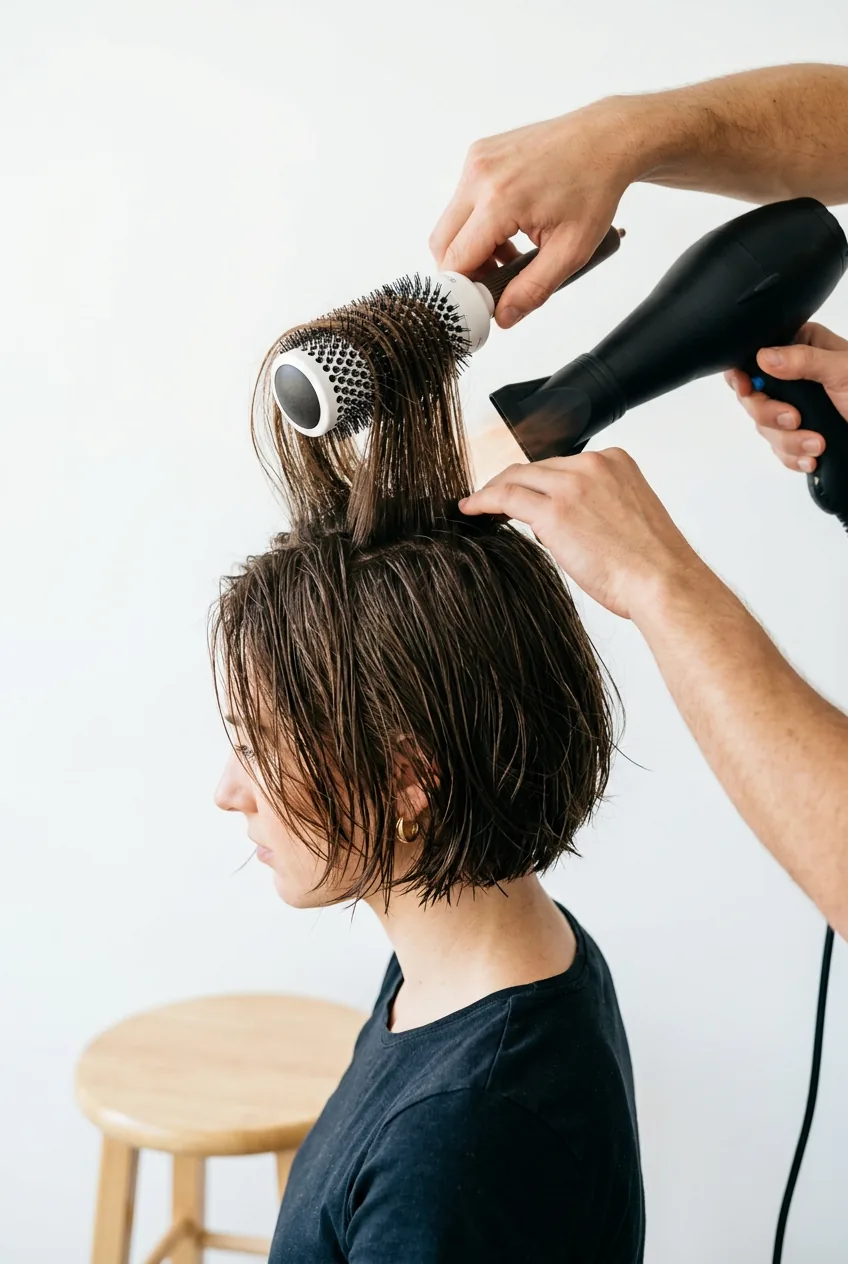
Start blow-drying the crown section first. Here’s the magic trick: lift the hair straight up and blow dry it from underneath. This creates that subtle lift that makes French bobs look so effortlessly chic.
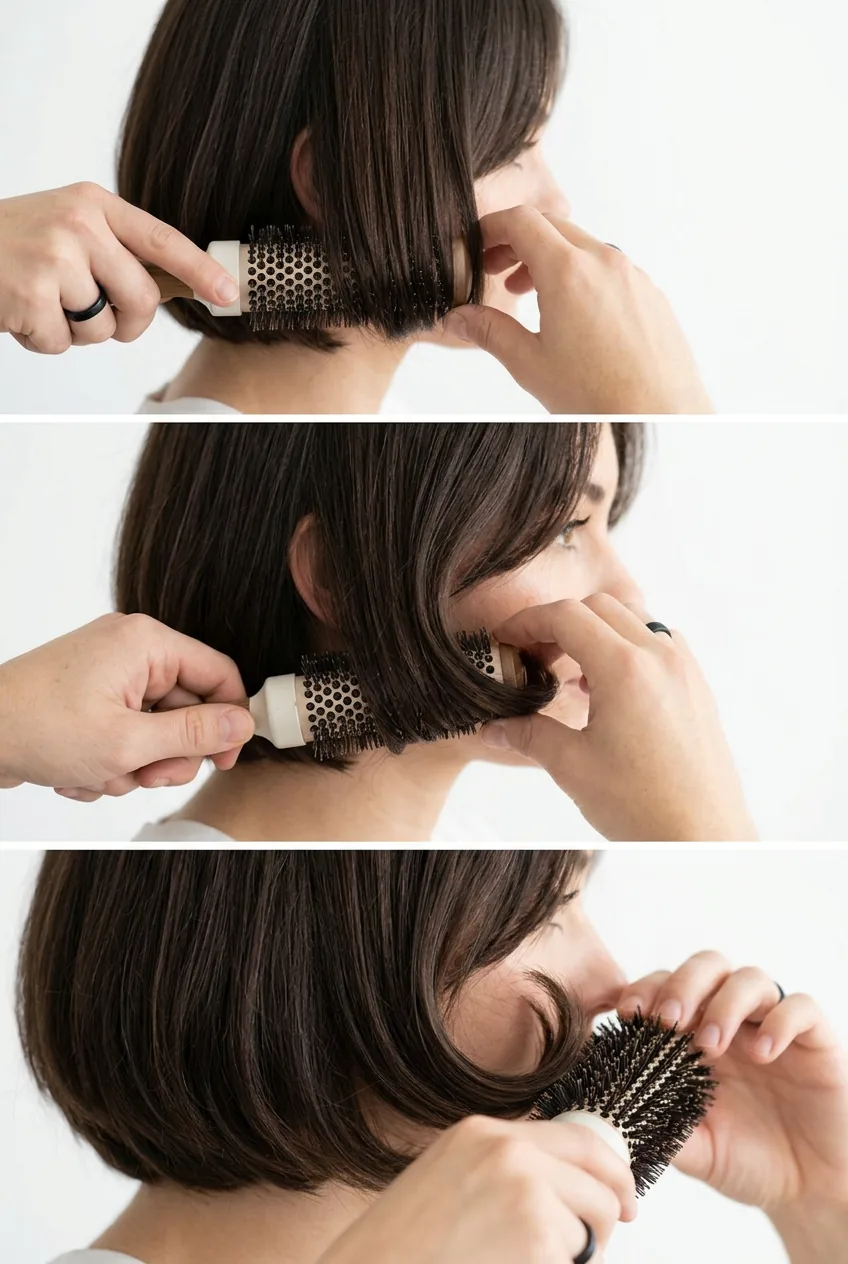
For the side sections, this is where you create that perfect inward curve. Wrap each section around your round brush and pull it slightly forward as you dry — not back like you would for volume, but forward toward your face. This creates that gentle curve that frames your jawline beautifully.
I used to blow dry everything straight back, wondering why my French bob looked like a soccer mom cut. The forward motion is everything — it creates that face-framing shape that makes the whole style work.
Keep your blow dryer moving constantly. Static heat in one spot creates that dreaded “helmet hair” look. The French bob should have movement, not perfection.
Creating That French Girl Texture
This is where the magic happens. Your hair should be about 90% dry now, with that foundation shape in place.
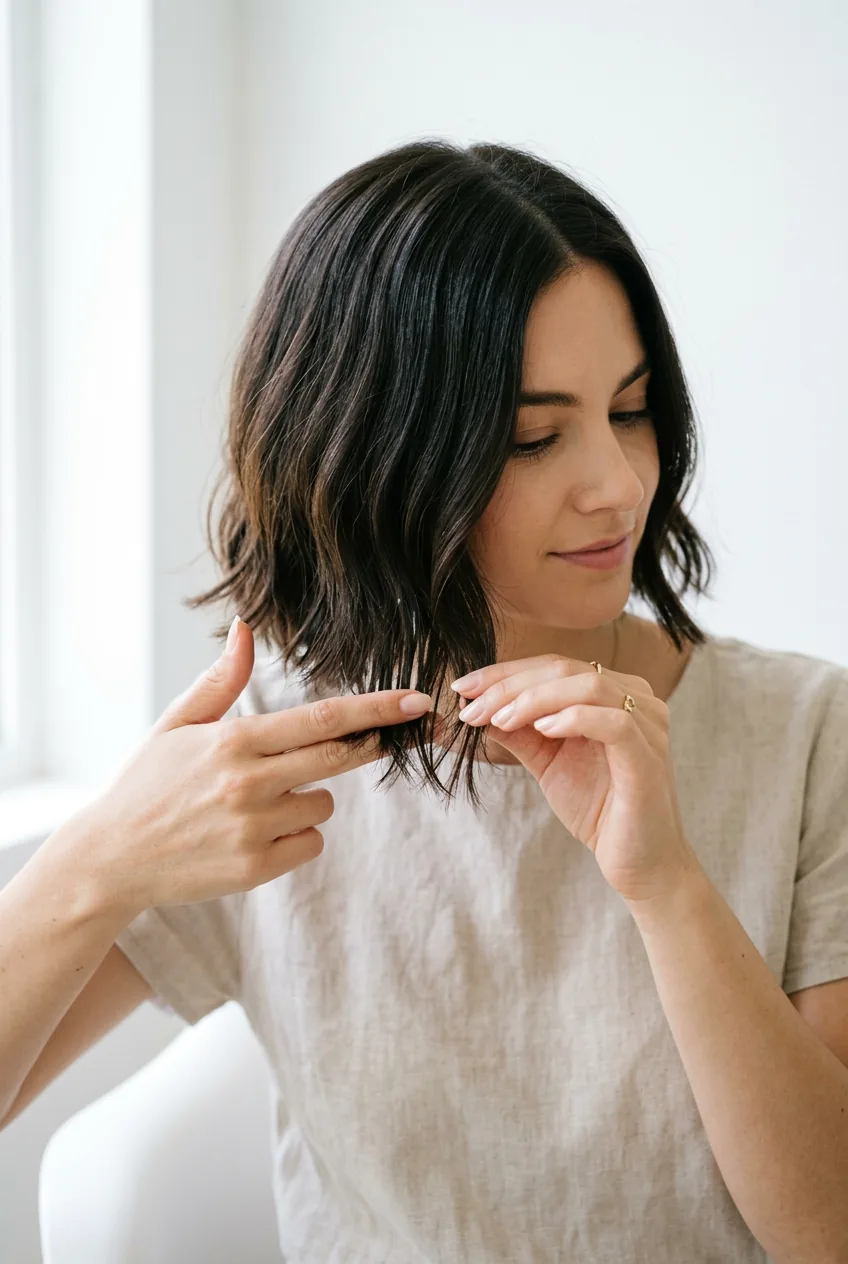
Take random sections — and I mean random, not perfectly divided — and twist them loosely around your fingers. Scrunch each twisted section gently, then release. This breaks up any uniformity and creates that effortless, undone texture.
For pieces that are being stubborn (we all have them), use your flat iron on a low heat setting. Don’t straighten — instead, create a very loose bend by clamping the iron about halfway down the hair shaft and gently curving it toward your face as you slide down.
Now sprinkle some dry shampoo at your roots. Yes, even if your hair is clean. It adds grip and that slightly matte texture that screams Parisian effortless style. Work it in with your fingertips, not a brush.
See the Technique in Action
The Finishing Touch

Almost there! This final phase is about enhancing what you’ve built without overdoing it.
Take a tiny amount of hair oil — we’re talking 2-3 drops max — and warm it between your palms. Gently press your hands to the very ends of your hair. This adds shine without weight and helps separate the pieces for that piecey, modern finish.
The final step is my favorite: the shake test. Gently shake your head from side to side. Your French bob should move naturally and fall back into place with minimal adjustment. If anything feels stuck or stiff, gently run your fingers through those sections to soften them.
Look for these telltale signs you’ve nailed it: subtle volume at the crown, pieces that naturally curve toward your jawline, and that lived-in texture that looks like you didn’t try (even though you totally did). The whole style should feel bouncy, not heavy.
And honestly? Don’t be afraid to mess it up a little. The most gorgeous French bobs I’ve seen — both on myself and others — have that slightly imperfect quality. It’s supposed to look like you’re living your best Parisian life, not like you just stepped out of a salon.
If you’re looking to switch up your bob game entirely, these chic bob styles might give you some fresh inspiration for your next cut.
Questions I Get About This
Will this work on fine hair?
Absolutely — in fact, fine hair often takes to this technique better than thick hair. The key is using less product, especially the oil at the end. Skip it entirely if your hair gets weighed down easily.
How often should I wash my hair for the best French bob results?
Every 2-3 days is the sweet spot. Day-two hair actually styles better than freshly washed hair because it has more grip and natural texture. Plus, the slight oils help create that lived-in look.
Can I do this without heat styling?
You can get close! Air dry with the texturizing spray and mousse, then use the finger-scrunching technique once it’s about 80% dry. Heatless styling tricks can help you achieve similar results, though the shape won’t be quite as polished.
What face shapes does the French bob flatter most?
Pretty much everyone, but the key is adjusting the length. Longer French bobs work beautifully on round faces, while shorter versions are stunning on angular faces. The forward curve always creates flattering face-framing, regardless of your shape.
How long does this style last throughout the day?
With the right prep work, it should hold its shape for 8-10 hours. The beauty is that even when it falls a bit, it still looks intentional. A quick finger-scrunch at lunch usually refreshes everything.
When I first mastered this technique, I couldn’t believe how many compliments I got. People kept asking if I’d gotten a haircut, when really I’d just learned how to style the cut I already had. That’s the power of nailing the French bob — it transforms not just your hair, but how you feel about your entire look.