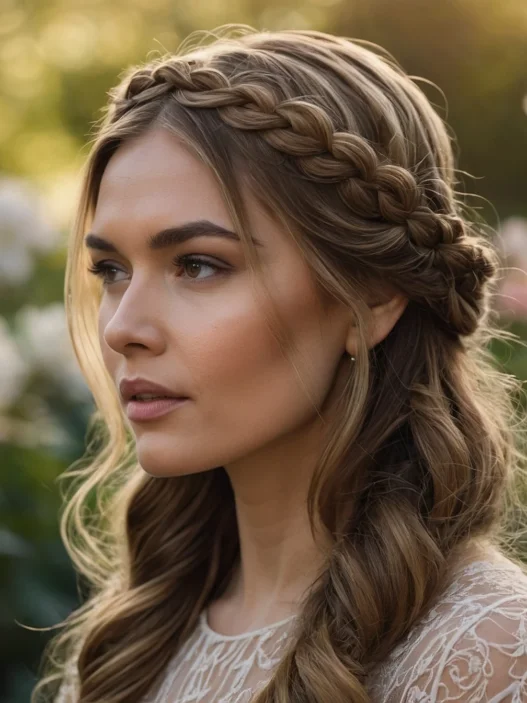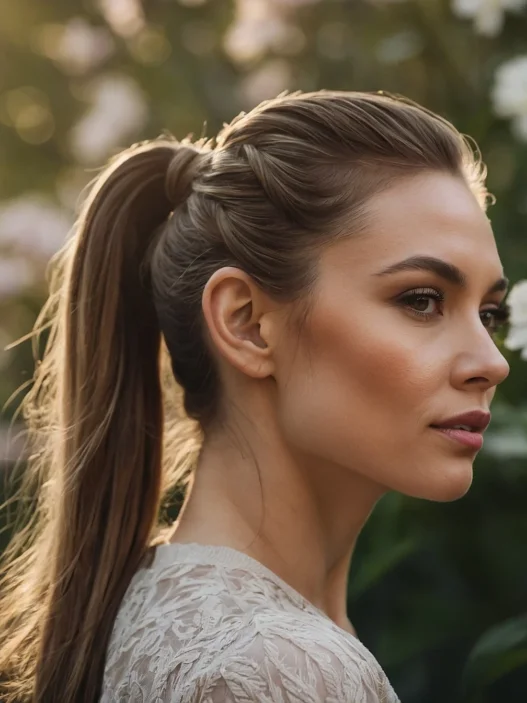







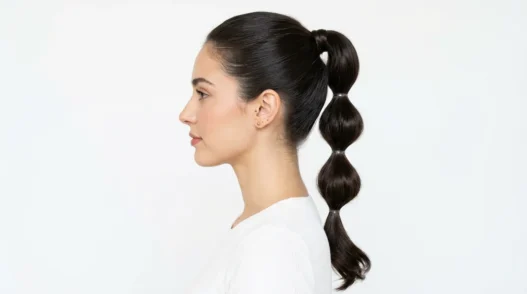
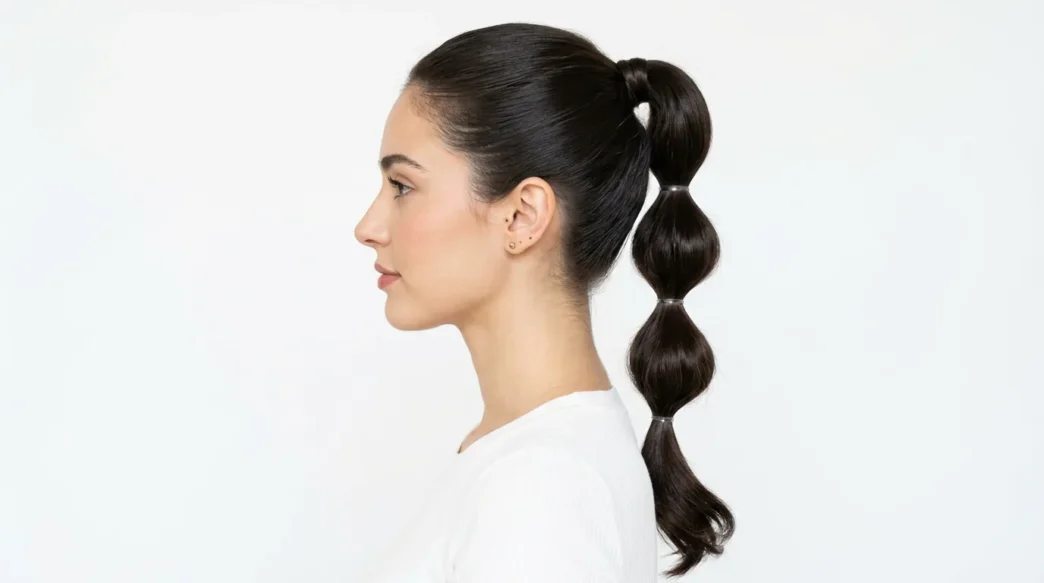
I used to think bubble ponytails were impossible on my fine hair. Every time I tried, the “bubbles” would deflate within an hour, leaving me with sad little sections that looked more like a regular ponytail with random hair ties. But after months of experimenting and one particularly enlightening YouTube rabbit hole, I finally cracked the code.
What You’ll Need
The right tools make all the difference here. I learned this the hard way after trying to create bubbles with regular rubber bands (spoiler alert: disaster).
- Clear or matching elastic hair ties (at least 6-8 for medium length hair)
- Texturizing spray or dry shampoo
- Teasing comb or fine-tooth comb
- Strong-hold hairspray
- Bobby pins (same color as your hair)
- Hair brush for smoothing
- Small hair clips for sectioning
Step 1: The Foundation Prep
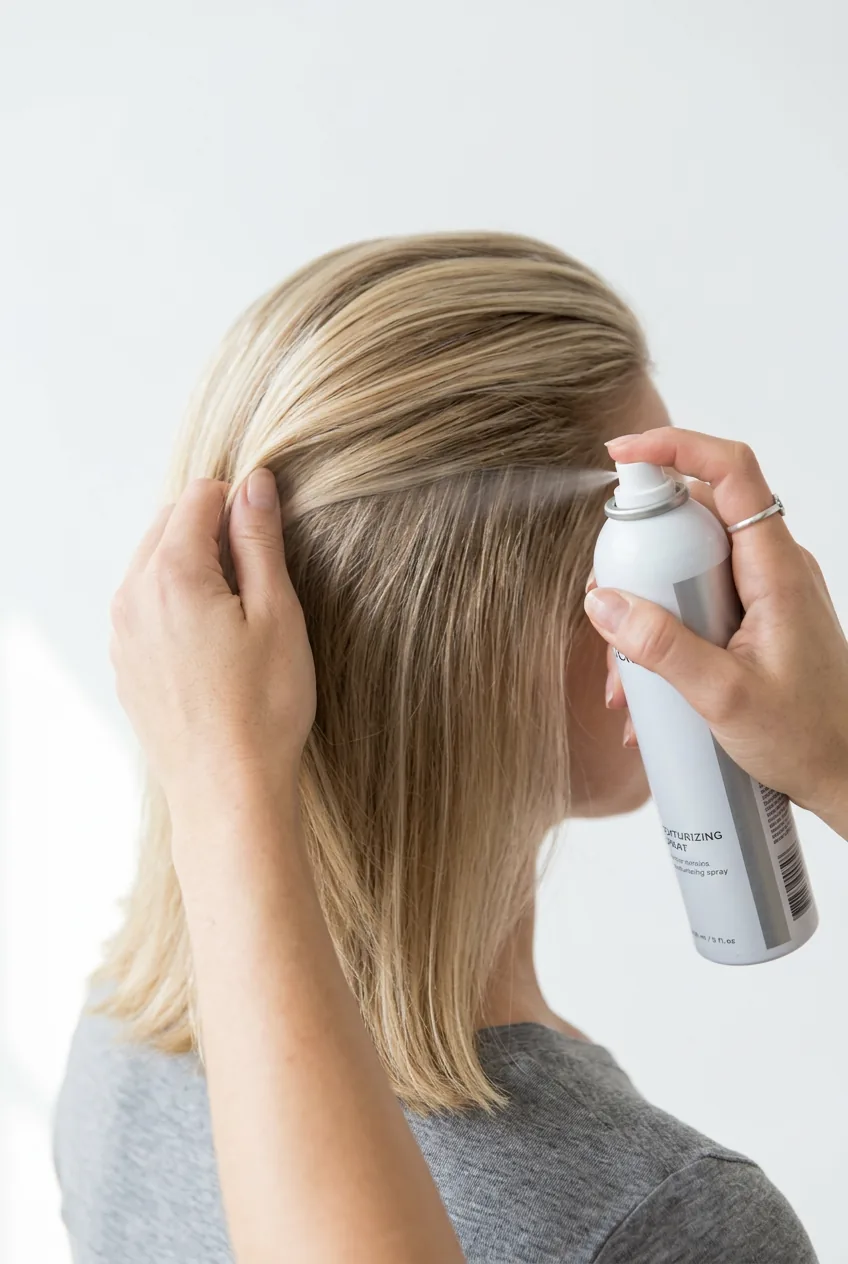
Start with hair that has some texture — day-old hair actually works better than freshly washed. If your hair is squeaky clean, spray it with texturizing spray from mid-length to ends. I focus especially on the areas where I’ll be creating the bubbles.
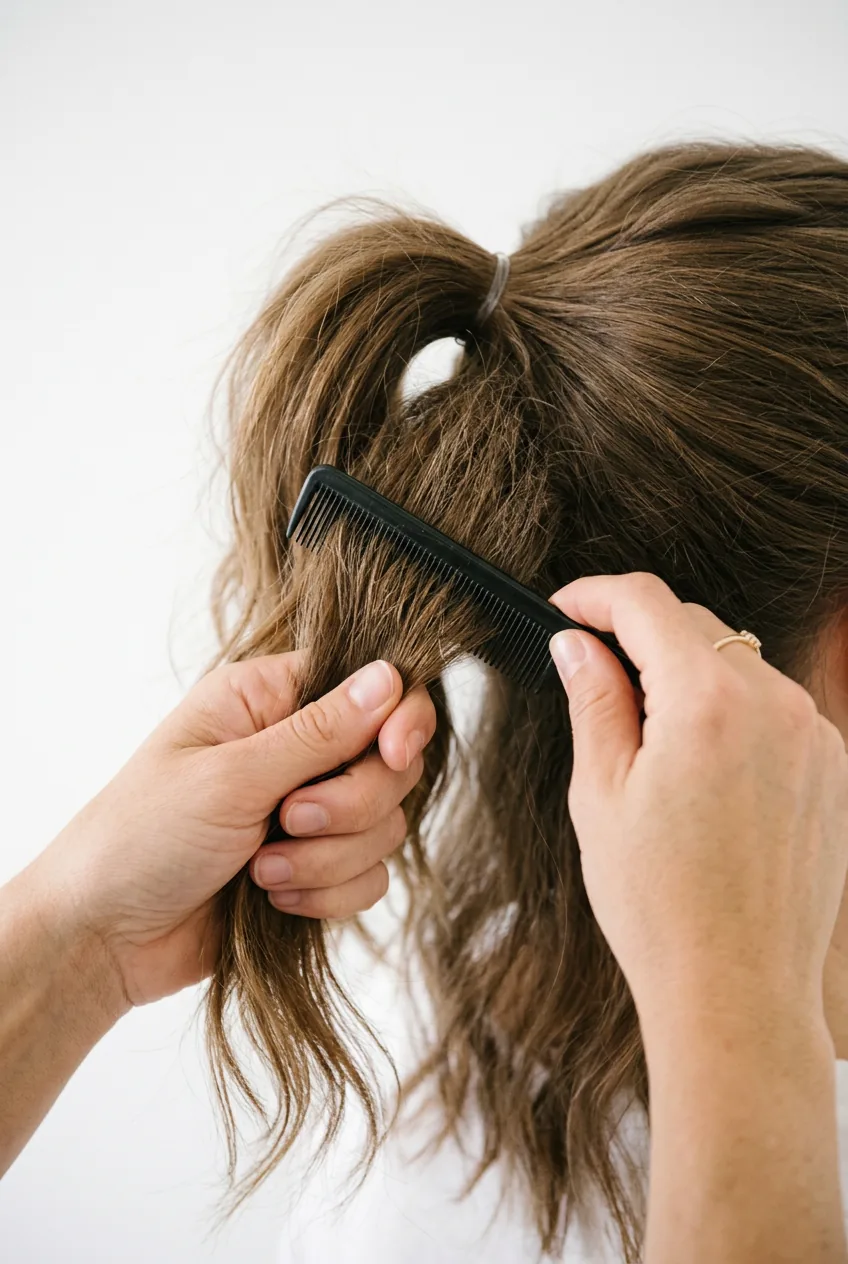
Brush your hair back into a high ponytail position, but don’t secure it yet. The key is getting all the bumps and flyaways smooth at this stage. I always check the back with a handheld mirror because nothing ruins a bubble ponytail like a lumpy base.
Step 2: Creating the Base Ponytail
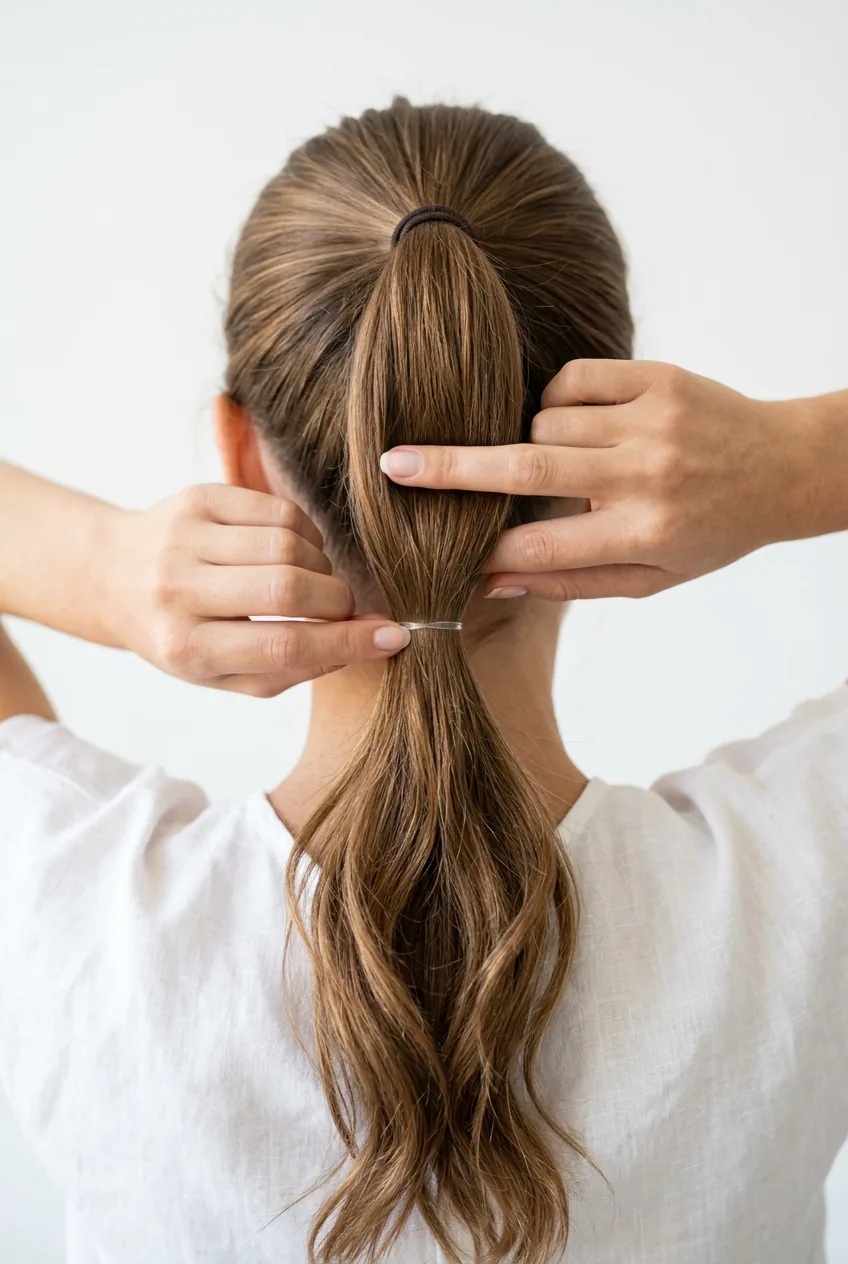
Secure your high ponytail with a strong elastic — this is your anchor point for everything that follows. The tighter, the better. I wrap the elastic three times minimum, sometimes four if I have thick hair that day.
Once secured, gently tug at the crown area to add some volume. Don’t go crazy here — just enough to create a little lift. This prevents that slicked-back look that can make bubble ponytails feel too severe.
Step 3: Teasing for Maximum Volume
Here’s where the magic happens. Starting about two inches down from your base elastic, gently backcomb small sections of the ponytail. I work my way around the entire circumference, focusing on the areas that will become the center of each bubble.
The mistake I made for months was teasing too aggressively. I’d end up with a tangled mess that looked more like a bird’s nest than beautiful bubbles. Light, gentle backcombing is all you need — the hair ties do most of the shaping work.
Spray each teased section lightly with hairspray before moving to the next. This helps the volume hold while you work on the rest of the ponytail.
Step 4: Adding the Bubble Sections
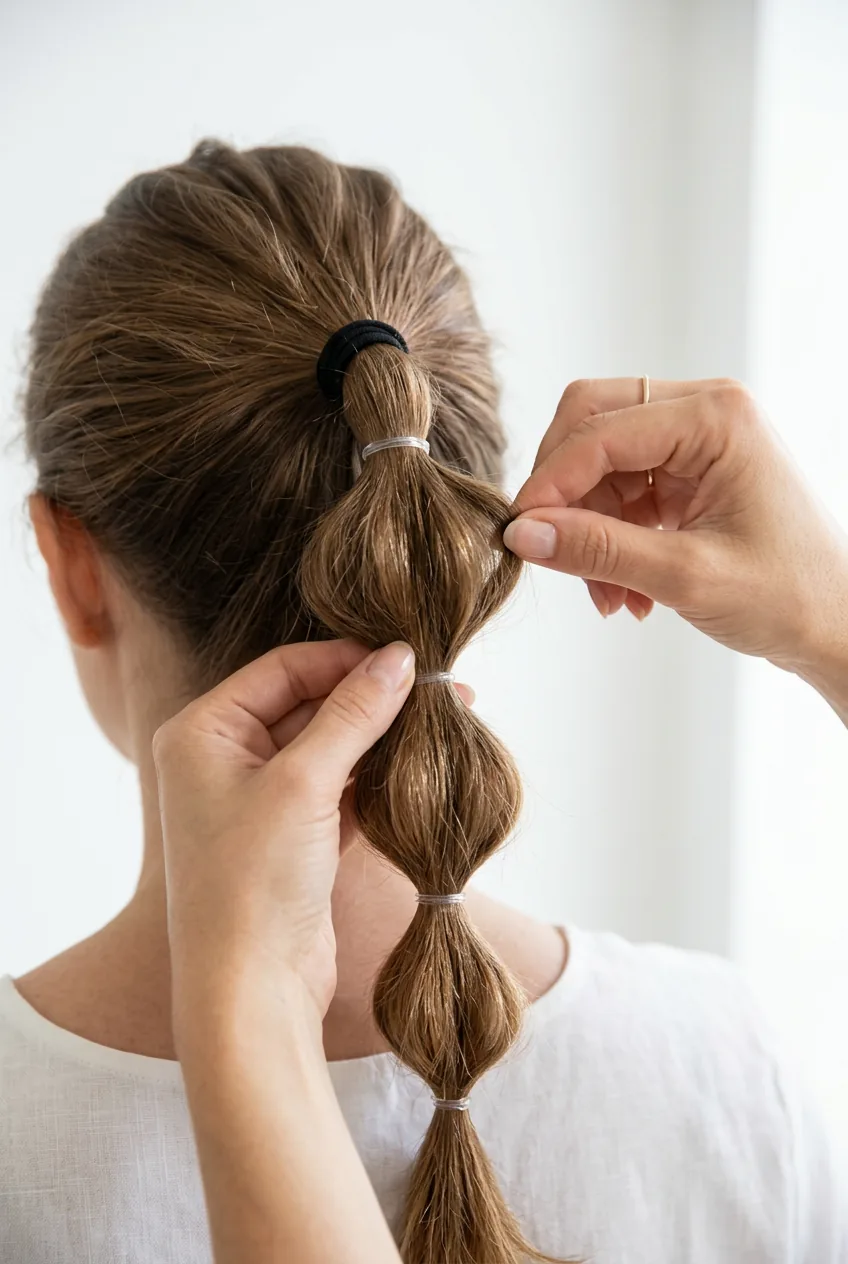
Now for the fun part — creating those perfect bubble shapes. Measure down about 2-3 inches from your base ponytail and secure another elastic. The exact distance depends on how dramatic you want your bubbles and how long your hair is.
Once the second elastic is in place, gently pull apart the hair between the two ties. Work your fingers into the section and carefully separate the strands to create that rounded bubble effect. Start from the sides and work toward the center.
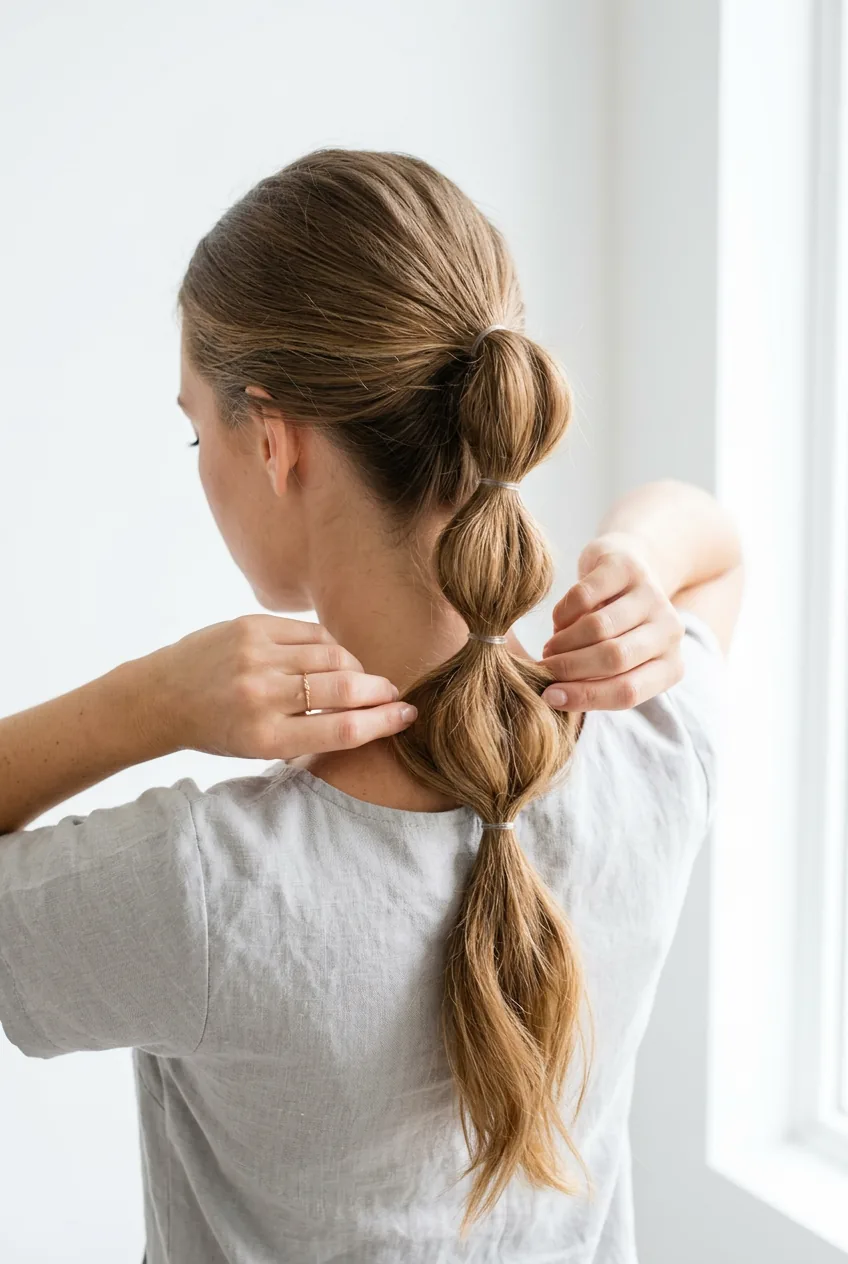
Continue this process down the length of your ponytail. I usually get 3-4 good bubbles on my shoulder-length hair. The key is keeping the spacing consistent — measure each section with your fingers to maintain that polished look.
Watch the Bubble Shaping Technique
Step 5: Final Touches and Hold
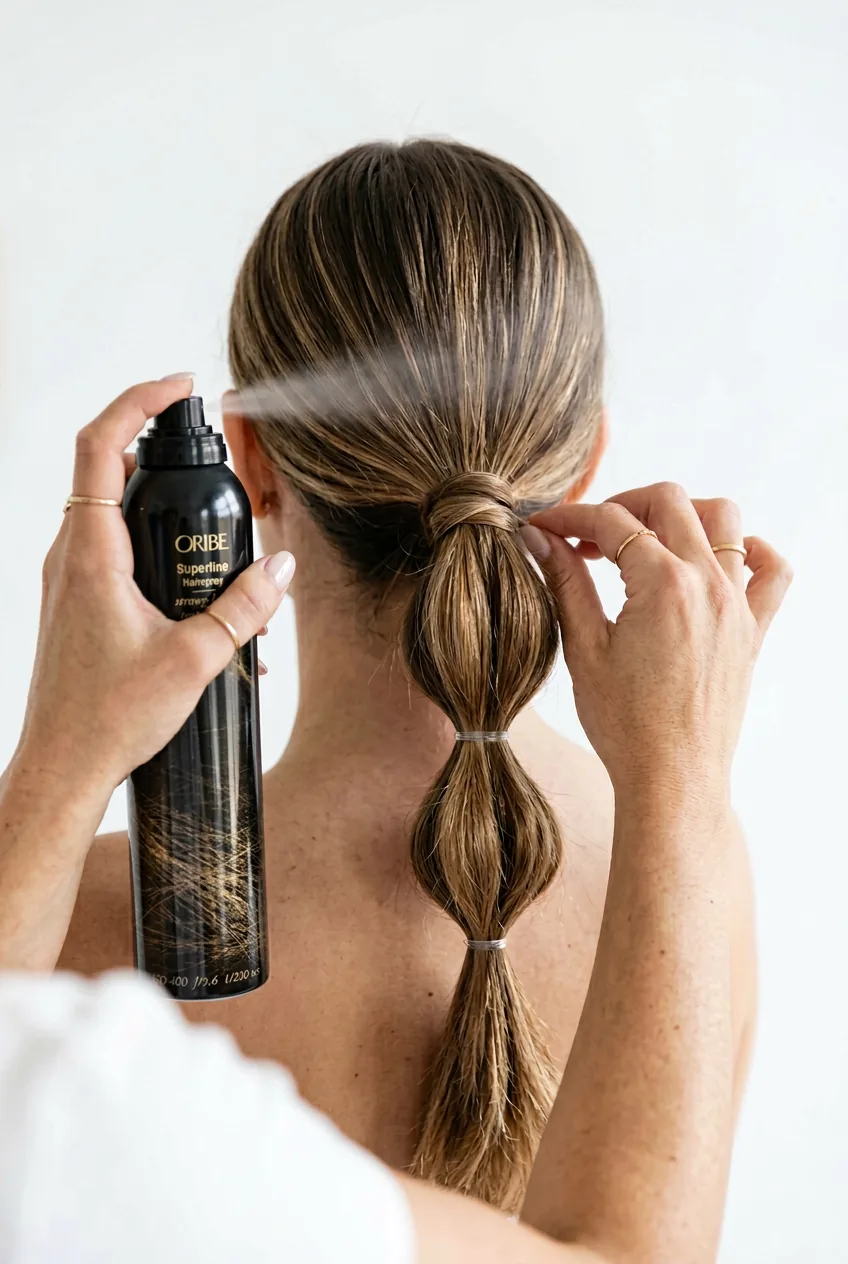
Go back through each bubble and adjust the shape. Sometimes they need a little more pulling apart, sometimes they need to be tightened. I like to take a photo at this point because it’s easier to spot any uneven sections in a picture.
Finish with a generous spray of strong-hold hairspray all over the ponytail. Don’t forget to lift each bubble slightly and spray underneath — that’s where the volume tends to collapse first.
If you have any stubborn flyaways around the base or between bubbles, smooth them down with a tiny bit of hair pomade on your fingers. Just a tiny amount — too much will weigh everything down.
Questions I Get About This Style
How long does a bubble ponytail stay perfect?
With proper prep and strong-hold products, mine lasts 8-10 hours easily. The key is that initial teasing and not skimping on the hairspray. I’ve worn this to full wedding days and it still looked great in evening photos.
Can you do bubble ponytails on fine hair?
Absolutely — fine hair actually holds this style really well because it’s lighter. The trick is using more texturizing spray and being extra gentle with the teasing. I have fine hair and this is one of my most reliable ponytail hairstyles when I need volume that lasts.
What if my bubbles look flat by midday?
Usually this means you need more teasing or stronger hold products. Try carrying a small travel-size texturizing spray for touch-ups. A quick spritz and gentle fluffing with your fingers can revive deflated bubbles instantly.
How many elastics should I use?
For shoulder-length hair, I use 4-5 total (including the base ponytail). Longer hair can handle 6-7. The key is keeping bubbles proportional — too many small bubbles can look busy, while too few large ones might not have enough impact.
The first time I nailed this technique, I wore it to brunch and got three compliments before I even ordered coffee. Now it’s my go-to whenever I want something that looks complicated but takes less than 10 minutes. And unlike my failed attempts from before, these bubbles actually stay put all day long.