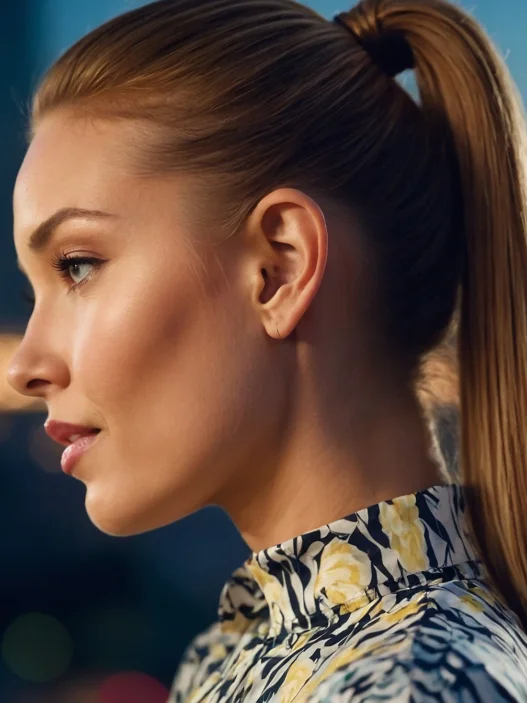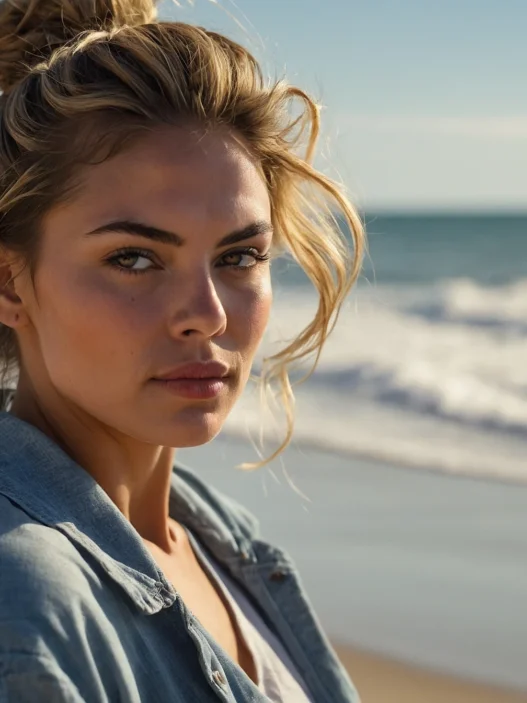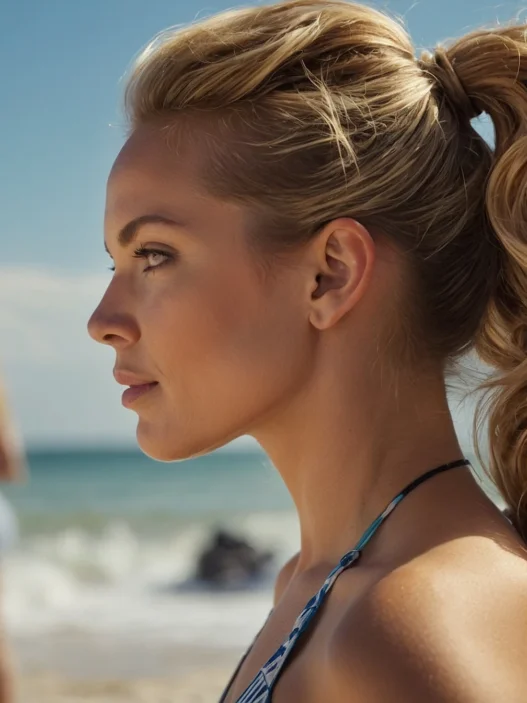







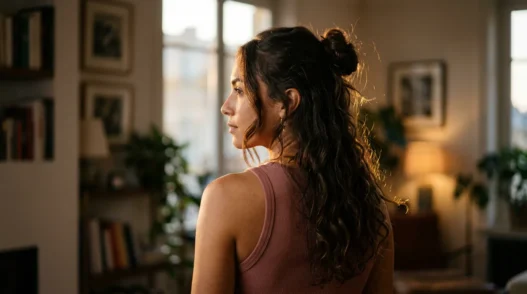
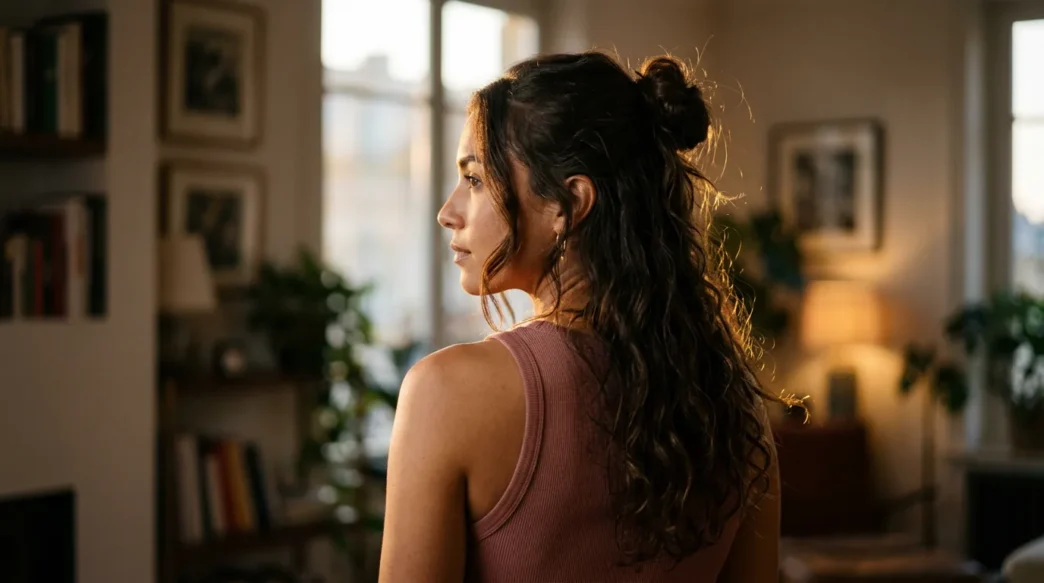
I needed a style that would survive school drop-off, a sweaty workout, and dinner out without a full restyle. My hair is long and kind of in-between, not super curly but never straight, and most updos either pull too tight or fall out by 10am.
This half up bun is the one I keep coming back to. It takes me about 15 minutes now, it works best on lived-in texture, and it actually looks better a little messy. And yes, I start it on damp hair so the top sets smooth while the ends stay soft.
Total time: 15-20 minutes. Skill level: easy. Best on: second-day hair or damp-to-dry hair, medium to long lengths.
Jump to Each Half Up Bun Step
What You’ll Need
I tried doing this with just an elastic and a prayer once. It did not go well. Grab this little pile before you start, because once your hands are in your hair you do not want to be digging through drawers.
- A wide-tooth comb and a paddle brush for smoothing without flattening
- A light leave-in cream or detangler for damp ends
- A travel-size mousse or texture spray for grip, especially if your hair is silky
- One small clear elastic, plus one soft scrunchie or fabric elastic for the bun
- 4-6 bobby pins in your hair color, opened and ready on your wrist
- A 1-inch curling wand or flat iron, only if your natural wave needs help
- A mini claw clip to hold sections while you work
- A flexible-hold hairspray you can brush through
My hair drinks up product, so I keep the leave-in only from mid-length down. If your roots get oily fast, skip cream up top and just use a little dry shampoo instead. That grit is your best friend here.
Step 1: Prep Damp Hair for Grip
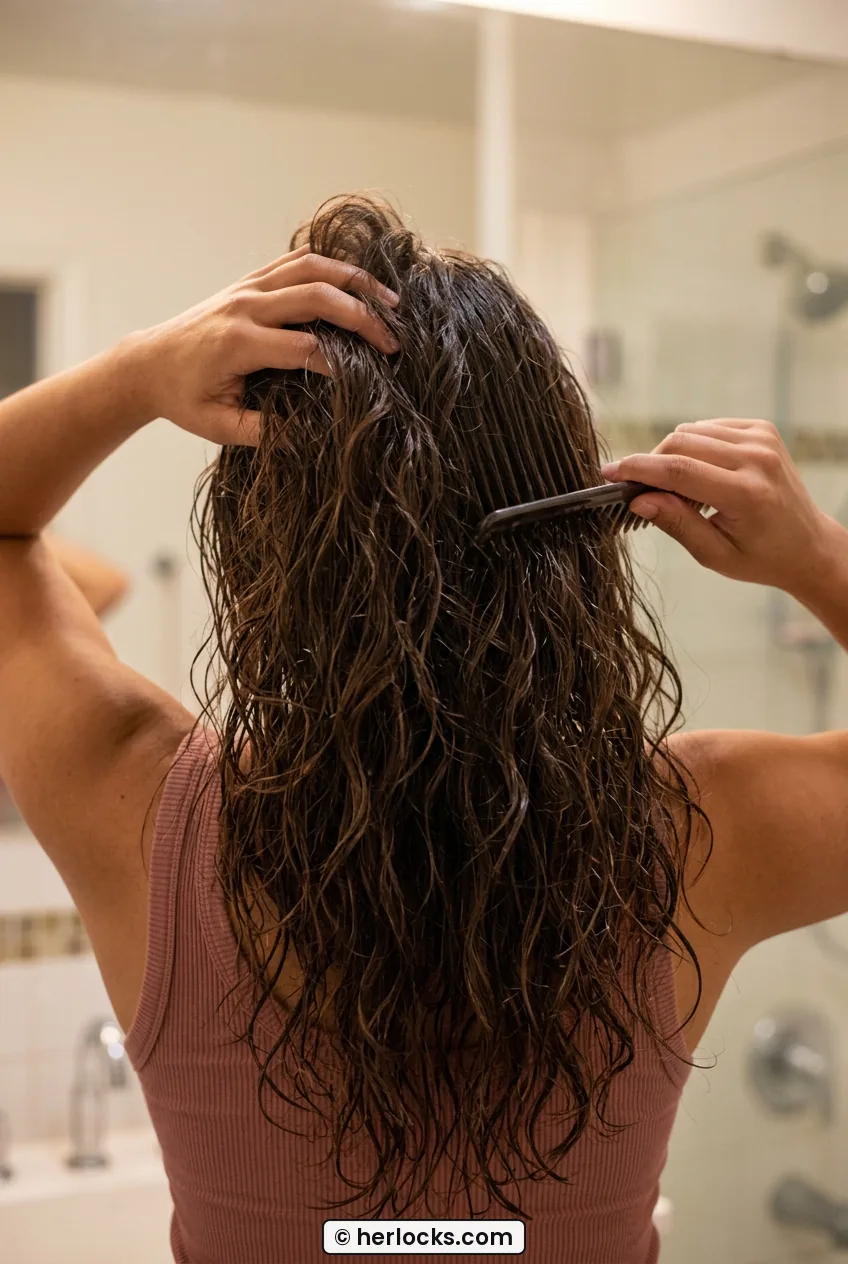
I start with damp, not dripping hair. Think towel-dried for 10 minutes after a shower, or day-old hair misted with water until it feels cool to the touch. When I tried this on soaking-wet hair, the bun stretched out and slid down my head by noon. When I tried it bone-dry and freshly washed, every pin slid right out.
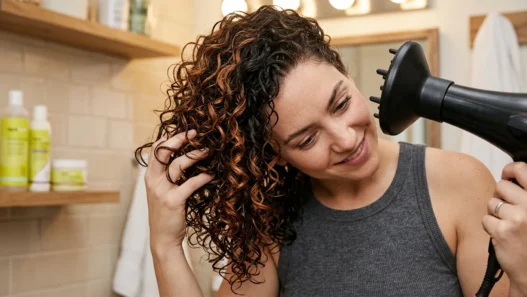
I rake a pea-size amount of leave-in cream through the bottom half only, then comb through with my wide-tooth comb. Then I scrunch a golf-ball of mousse at the crown and through the sides. Not crunchy 2000s mousse, just enough to give that slightly tacky, second-day feel. I flip my head over and rough-dry on medium heat for about three minutes, just until it is about 80% dry. The roots should feel dry, the ends can still feel a little cool.
This is where I learned to read up on easy half up hairstyles for spring for inspo, because damp prep is what makes those airy looks actually stay. You can also read about how a good blow-dry primer changes hold how damp-hair prep holds styles before you even pick up an elastic, and it made a huge difference for my slippery layers.
Step 2: Add Soft Texture and Part
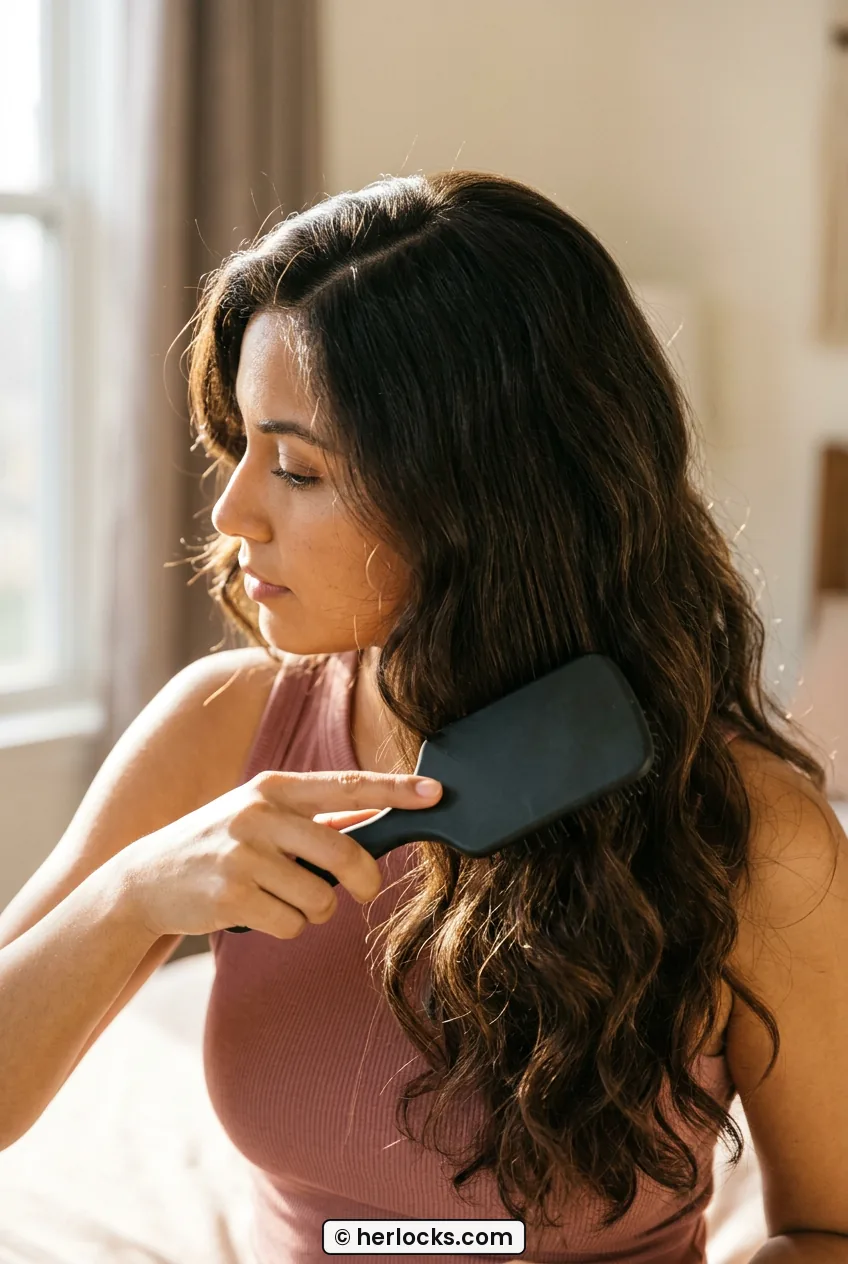
Now I decide on the part. I am a middle-part girl most days, but for this half up bun I actually love a soft off-center part. Like, just an inch over. It gives the bun a little lift on one side and keeps my face from looking too flat on top. Have you ever noticed how a dead-center part with a top knot can look a little severe?
I use the tail of my comb to draw that shallow side part, then I smooth the front with my paddle brush. I do not aim for glass-hair perfect. I want soft. If your hair is naturally straight, wrap 6-8 random 1-inch sections around a curling wand away from your face, just through the mid-lengths and ends. Leave the last inch out for that undone bend. If you already have wave or curl, just finger-coil a few front pieces with a dab of cream.
For my half up half down side part days, this is the whole trick. That deep-versus-shallow choice changes the mood completely. I keep mine soft and low for daytime, and if I am going out I push it a little deeper for more drama. For more ideas on placement, I saved a bunch of looks from half up prom hair as a major moment because the way they set the part makes even simple buns look evening-ready.
Step 3: Section the Crown
This is the step I used to rush, and it showed. I would just grab a random handful from the top and wonder why my bun looked tiny and my sides looked puffy. Now I section like I mean it.
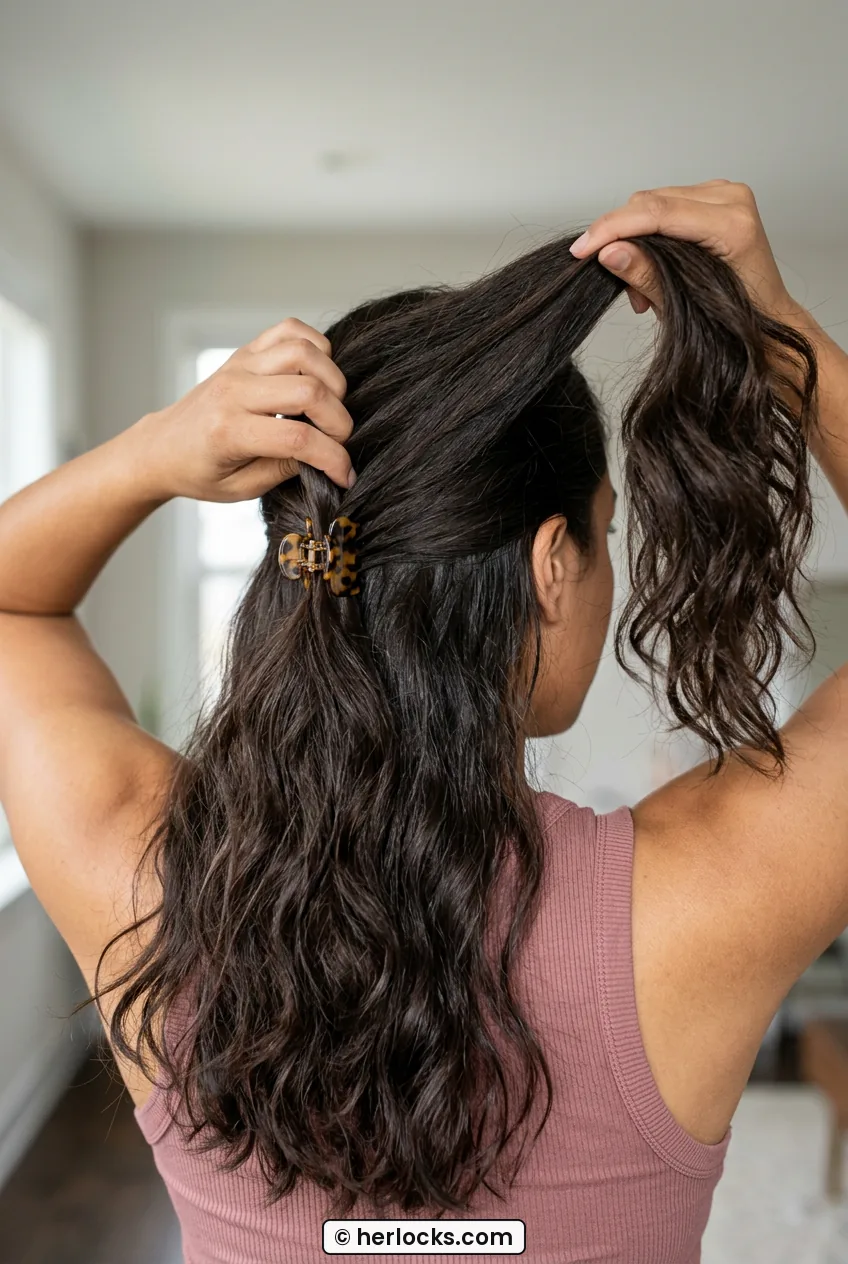
I place my thumbs at the outer corners of my eyebrows and slide them straight back over the top of my head until they meet. That triangle is my section. It should include the crown but not go too far down the sides. Clip the bottom hair out of the way for a second. Then I gently backcomb just at the base of that crown section, two or three strokes with a small brush, and smooth the top layer over it with my palms. You are not building a beehive. You are just making a little pillow so the pins have something to bite.
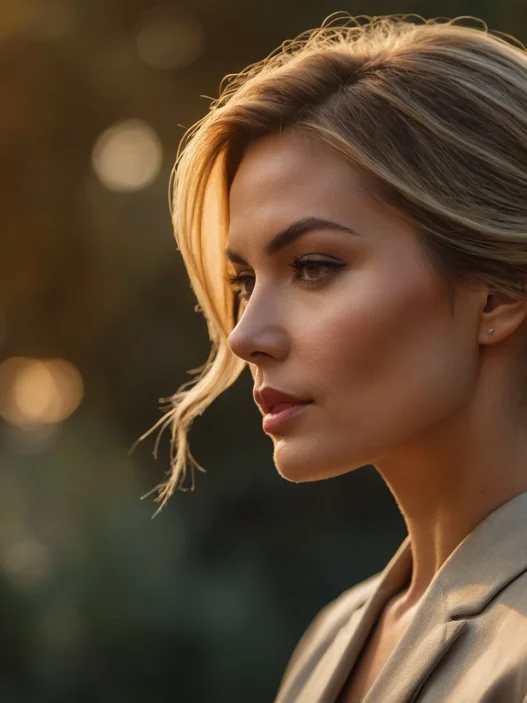
I love how she is holding her crown section up high in the photo here, see how her fingers are spread wide to keep the tension even? That is exactly what I do to avoid that dent where the elastic sits. And keep the section clean around your ears. Any lumps left at the sides will poke out once the bun is up.
Step 4: Twist in a Loose Side Braid
Okay, this is my favorite part, and it is also where the Pinterest girls got me. I kept seeing that braided half up half down detail and thinking it was too fussy for a Tuesday. It is not. It is literally a three-strand braid that takes 60 seconds.
On the heavier side of my part, I take a 1-inch piece right at the hairline and do a loose three-strand braid back toward the crown. I do not add hair like a French braid, I just braid the piece itself and angle it back. Secure it with a tiny clear elastic, then pancake it. That just means gently tugging the edges outward so it looks twice as thick. Then I pull that braid back to join the crown section I made in Step 3.
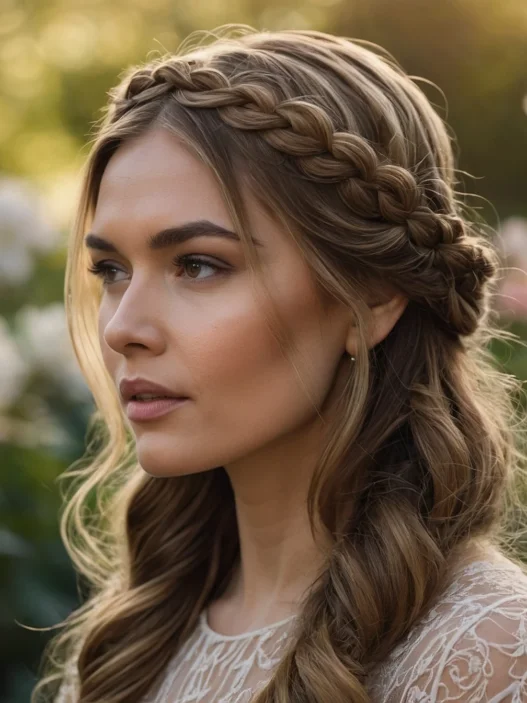
If braids are not your thing, you can just twist that front piece twice and pin it back. Same effect, less work. But I will say the little braid photographs so pretty from the side. I practiced the tension by following a couple of braided half up half down boho styles last summer, and the trick is to keep it loose at the scalp. Tight braids pull the bun forward and give you a headache. You can also brush up on keeping braids soft without frizz braiding techniques for fine hair if your front pieces snap easily like mine do.
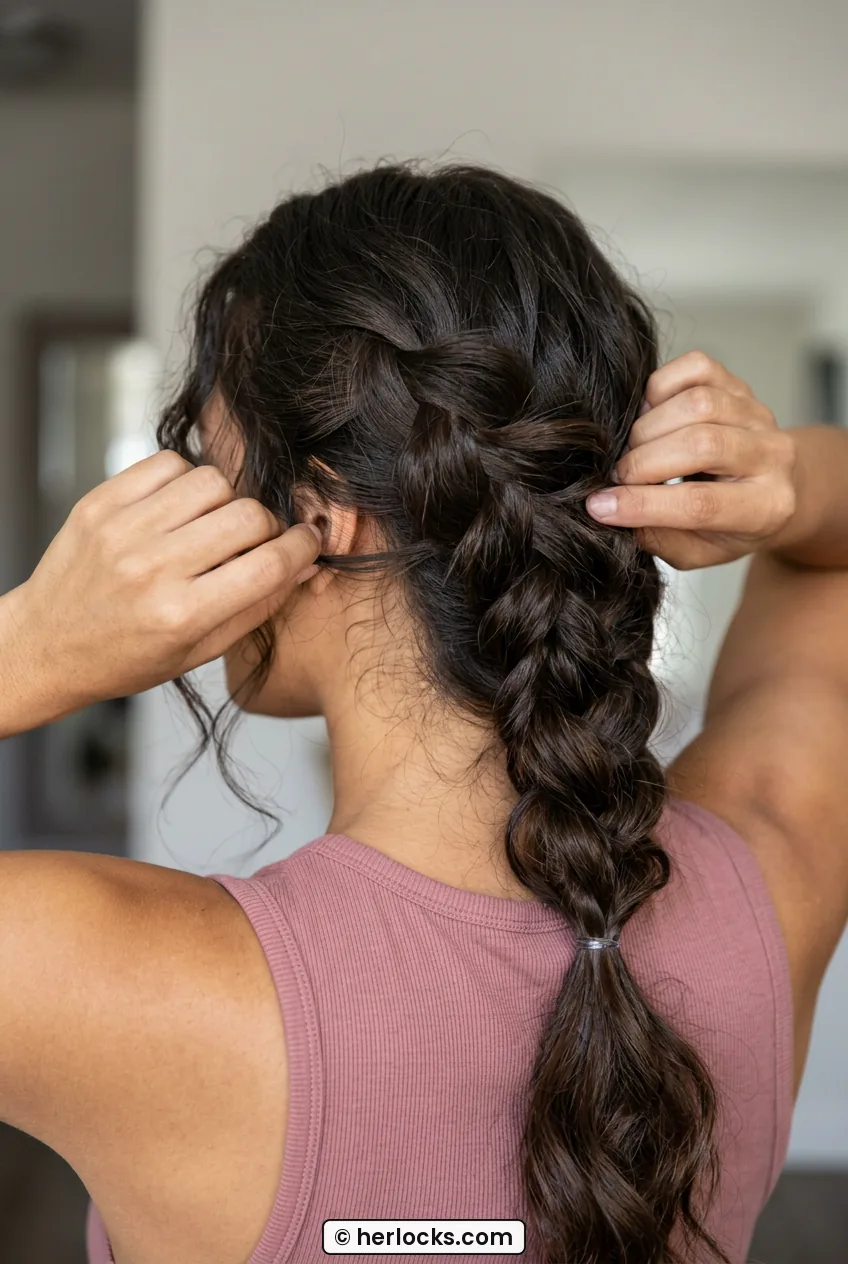
Mistake I made: I used to braid all the way to the ends and then try to wrap that skinny tail into the bun. It stuck out everywhere. Now I stop the braid behind my ear and just let the tail melt into the ponytail base. So much cleaner, and the bun stays round.
Step 5: Form the Half Up Bun
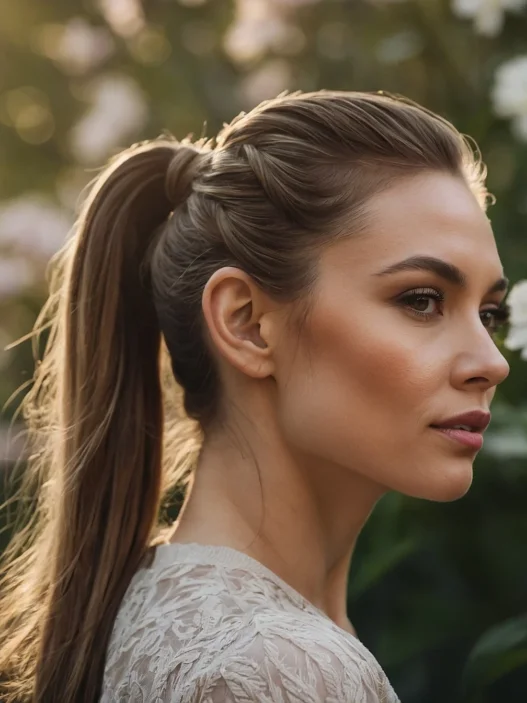
Gather that whole crown section, braid tail included, into a ponytail right at the back of the crown. Not super high like Ariana, not low. I find my spot by feeling for where my head starts to curve down in back. Tie it once with the small elastic.
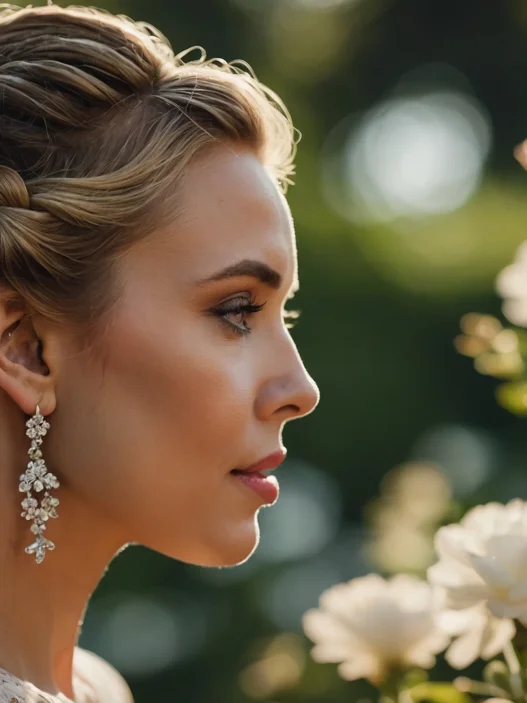
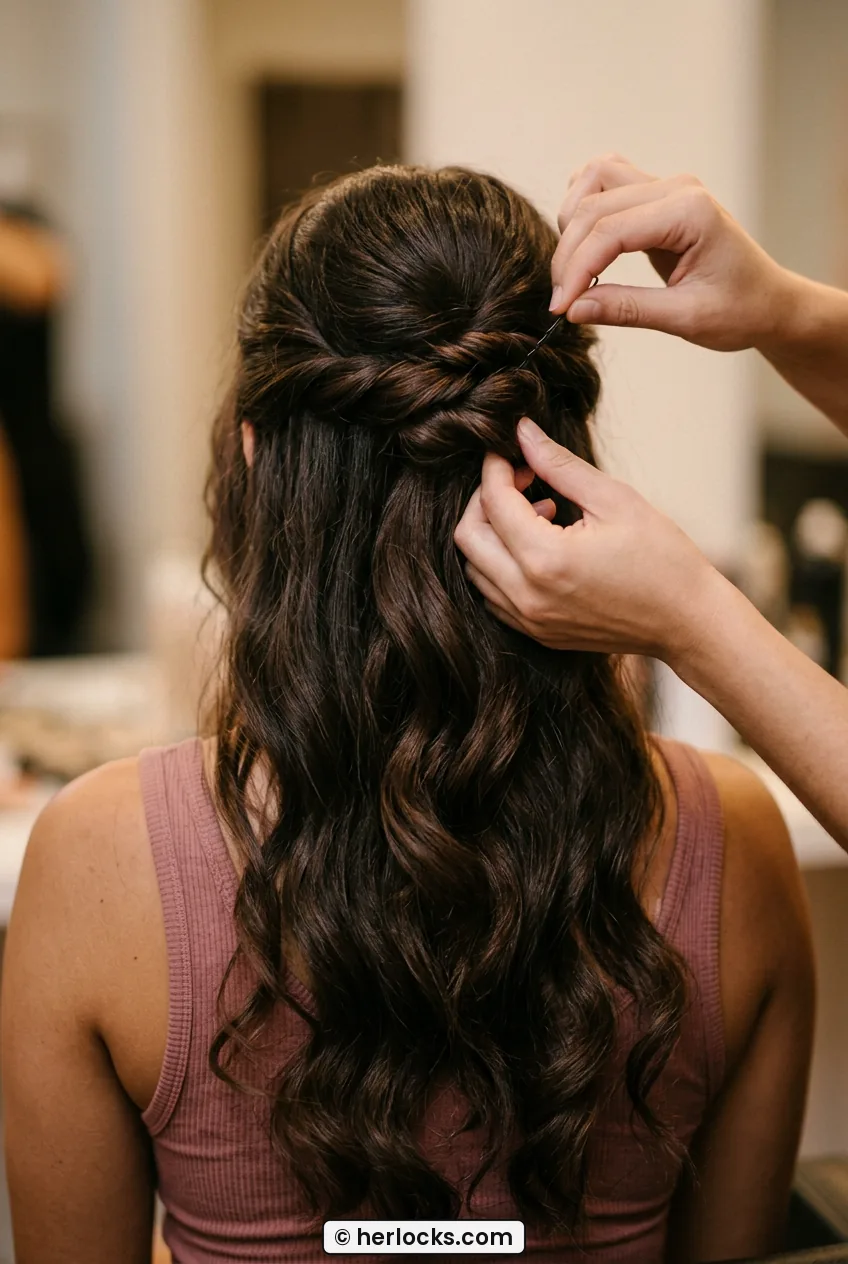
Now for the bun itself. I twist the ponytail loosely, wrap it around its base once or twice depending on length, and tuck the ends under with my thumb. I secure it with the soft scrunchie or a second elastic, then I pin. Four pins is my magic number. North, south, east, west. Push each pin into the base, catch scalp hair, then flip it back into the bun. Look at the close-up here, see how the stylist is threading the pin into the twisted edge, not just stabbing the middle? Copy that angle. That is what holds all day.
Then I make it messy on purpose. I tug the bun edges out a little with my fingertips until it is about the size of a clementine. Bigger than you think. A tiny tight bun on top of a lot of down hair looks unbalanced. I learned shaping from looking at effortless messy buns for summer because those girls know how to make a bun look full without teasing it to death. My bun is never perfect, and that is the point.
See the Bun Twist Up Close
Step 6: Soften and Shape Curly Pieces
Let down that bottom hair and shake it out. This is where half up half down curly hair girls really win, because the contrast between the smooth top and the soft bottom is everything. If your natural curl is doing its thing, just separate a few curls with your fingers and let them sit forward over your shoulders.
I pull out two thin face-framing pieces, about half an inch each, right in front of my ears. I curl them away from my face with my wand for five seconds, then pull them straight with my fingers while they are still warm so they fall soft, not Shirley Temple tight. Then I pinch and pull the hair right above the bun forward just a smidge for height. If it falls flat, I slide one bobby pin vertically under the bun to prop it up. Sneaky and it works.
Check the back in your phone camera. You want a smooth blend where the bun meets the loose hair, no shelf or ledge. If you see a bump, just lift the bun slightly and smooth the hair underneath with your brush. She has got that perfect soft fall in this photo, see how the waves start at cheek level and not at the root? That keeps the whole half up bun from looking too pageant-y.
Step 7: Lock It In for All Day
I do not hairspray like I am shellacking furniture. I mist from about 10 inches away, one pass over the top, one over the bun, and then I scrunch the ends with my hands to break up any stiffness. If it is humid, I add a tiny bit more at the hairline where I get frizz.
My all-day check: I tilt my head forward and gently shake. If the bun wobbles as one piece, you are good. If the elastic slides separately, add one more pin crossing over the first in an X. That cross is stronger than two parallel pins. I also toss two extra pins and that mini claw in my bag. I almost never need them, but knowing they are there makes me stop touching my hair, which honestly is what ruins most styles.
For weddings or photos, I steal the finishing trick from bridal half up half down perfect technique and set the front pieces with a tiny bit of wax on my fingertips instead of more spray. It keeps them touchable in pictures. And if you want extra staying power for fine hair, a good texturizing spray tutorial helps texturizing sprays for updos before that final mist, just a quick puff at the bun base for grip.
Half Up Bun Questions I Hear a Lot
Does a half up bun work on short hair?
Yes, if you can get the top into a little pony, you can do it. My bob-length friend does a mini version with a tiny claw instead of wrapping a full bun. Use more pins and keep the bun small to match.
How do I keep my half up bun from sagging?
Sagging is almost always a prep issue. Start with grip from mousse or dry shampoo, place the pony higher than you think, and anchor pins into scalp hair, not just the bun. That X-cross with two pins fixes most droop.
Can I do this on very curly hair without straightening the top?
Absolutely, and please do. Smooth just the hairline with edge control or cream and leave your curl pattern alone on top. The bun will be naturally fuller and you will get less frizz than if you flat-ironed first.
How long does it last on second-day hair?
On me, a full workday plus evening. Second-day hair actually holds better because of the natural oils. I refresh the front pieces in the morning with water and a quick curl, and I am out the door.
My Finished Look
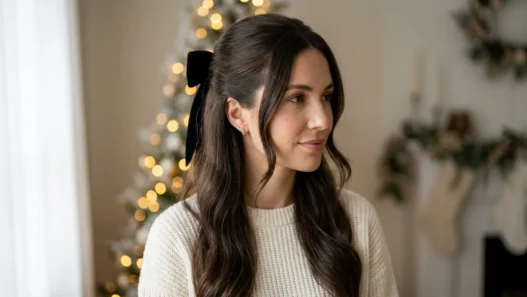
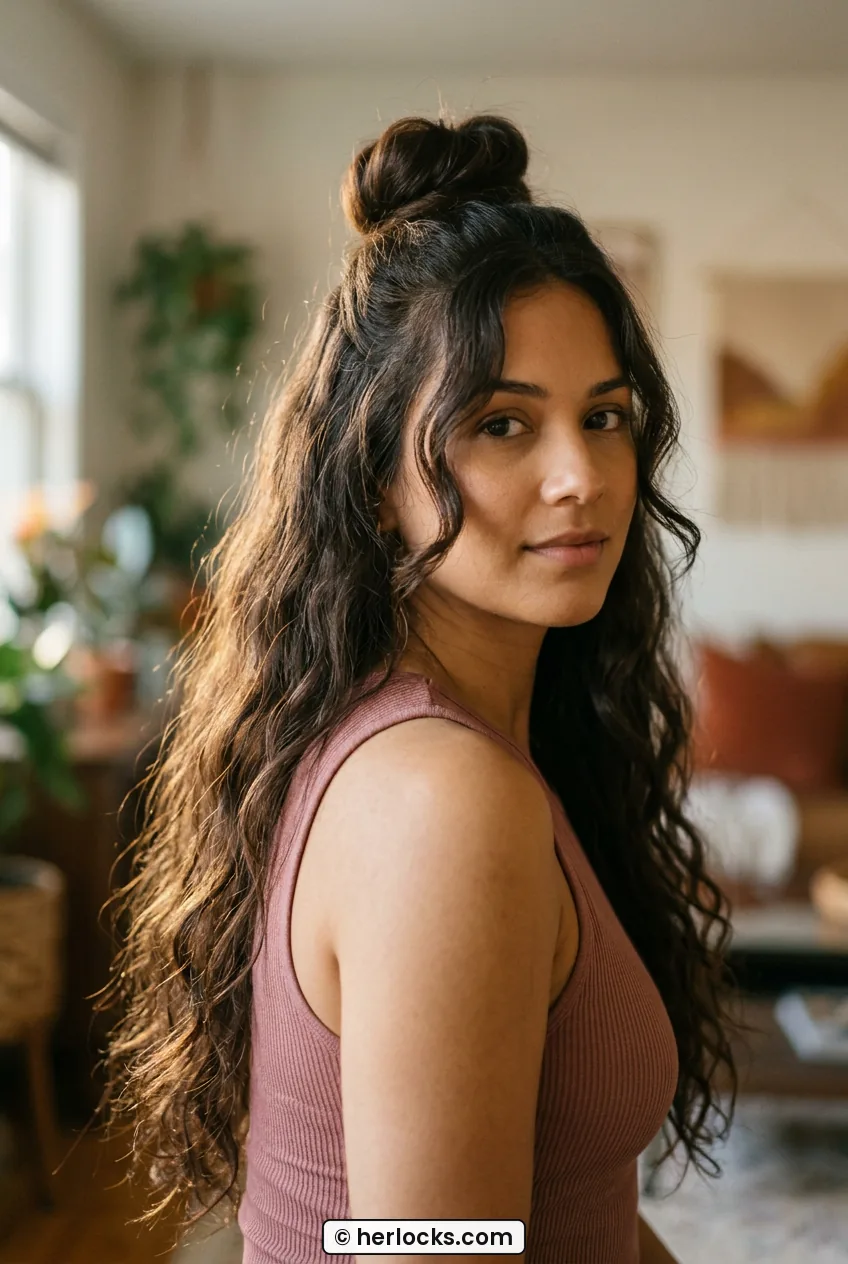
Mine came out soft and high with that little side braid peeking in, and the rest falling in loose waves past my shoulders. It felt secure but not tight, and I could actually turn my head without pulling. I wore it to brunch and my friend asked if I had curled my whole head, which is funny because I only curled like six pieces.
What I love most is it looks intentional but took almost no time. The top stayed smooth, the bun stayed round, and the ends got better as the day went on. I am already planning to wear it again this weekend, maybe with the part a little deeper and gold pins. Try it once on damp hair and tell me you are not hooked.