


I’ve had shoulder-length hair with layers approximately seventeen different ways. Some looked amazing. Others made me want to wear a hat for three months straight. The thing about shoulder-length layered cuts is that they’re deceptively tricky—they look so simple in magazines, but there’s actually a narrow sweet spot between “perfectly effortless” and “triangle head disaster.”
Why Most Layered Cuts Fail at Shoulder Length
Here’s what nobody talks about: shoulder length is the Bermuda Triangle of hair lengths. Too short for long layers to really cascade. Too long for short, choppy layers to look intentional rather than grown-out. The hair hits right at that awkward spot where it wants to flip out, especially if you have any natural wave or cowlick.
I learned this the hard way after asking for “long layers, nothing too dramatic” and walking out looking like I had a reverse mullet. The stylist had started the layers too high up—around my ears—which created this pyramid effect that no amount of styling could fix.
The problem with most shoulder-length layered cuts is that stylists default to the same basic formula: start layers at the cheekbones, graduate down to the shoulders. But your shoulders aren’t the same as everyone else’s shoulders. Your hair texture isn’t the same. Your styling routine definitely isn’t the same.
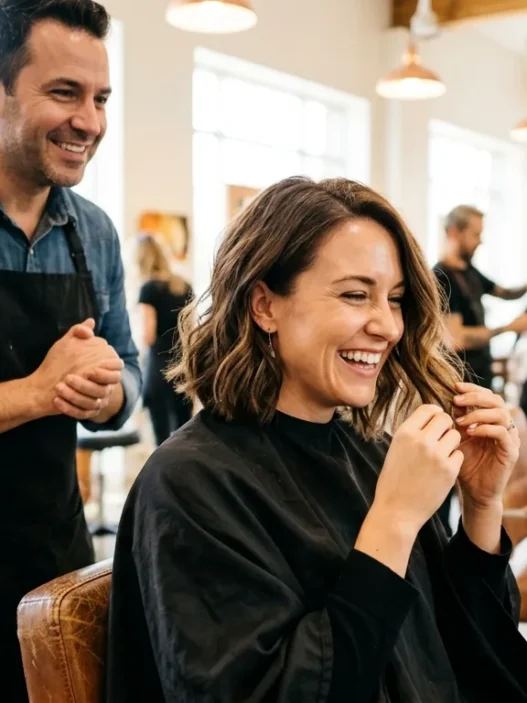
I’ve noticed that cozy chic shoulder length hairstyles work better when the layers are placed with intention, not just following a template. The cuts that photograph beautifully in magazines often require professional styling every single day to look that perfect.
And can we talk about how shoulder-length hair moves? It doesn’t have the weight of longer hair to keep layers smooth, but it doesn’t have the structure of shorter cuts to hold a shape. It’s this in-between length that requires layers to be placed very strategically to avoid that dreaded “Christmas tree” silhouette.
The Science Behind Perfect Layer Placement

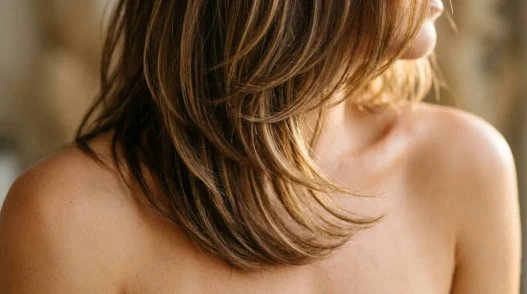
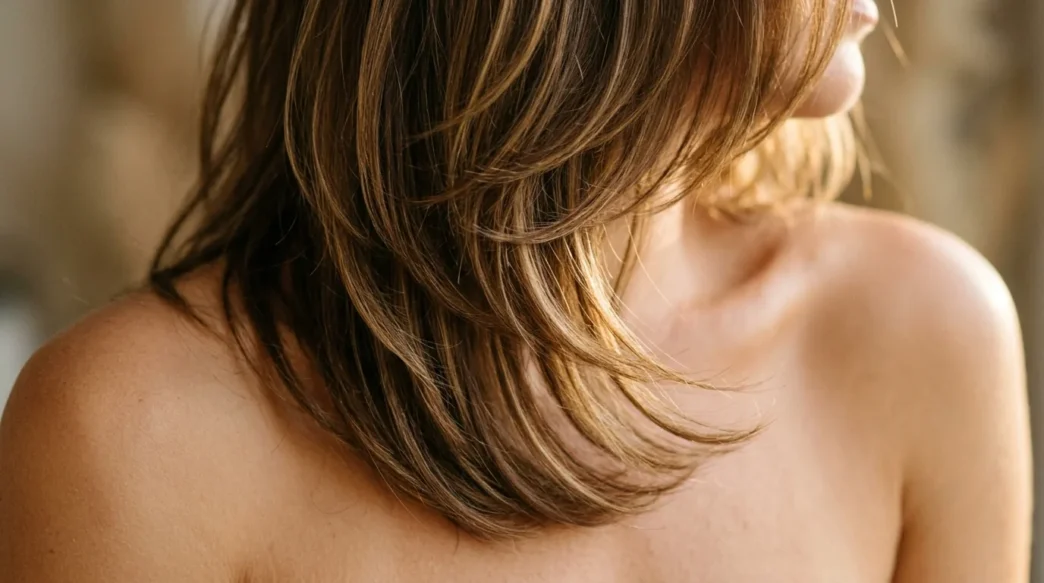
After years of trial and error, I finally understand why some shoulder-length layers work and others don’t. It comes down to where your hair naturally wants to bend and flip. Most people have a natural bend point about two inches above where their hair hits their shoulders—this is where layers need to start to look intentional rather than accidental.
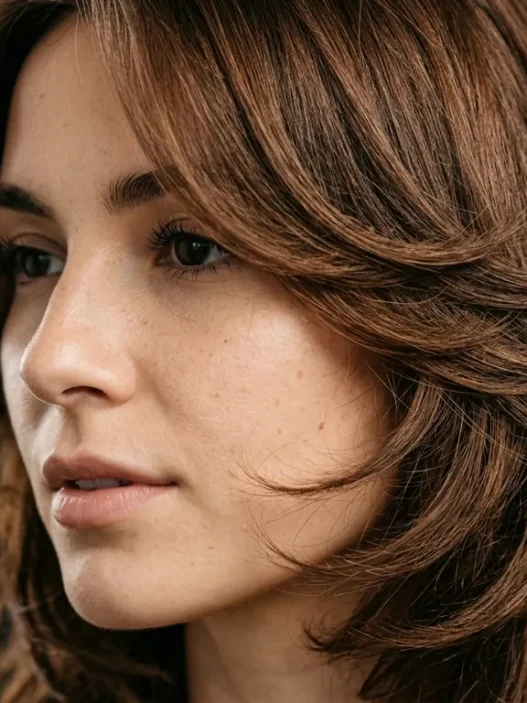
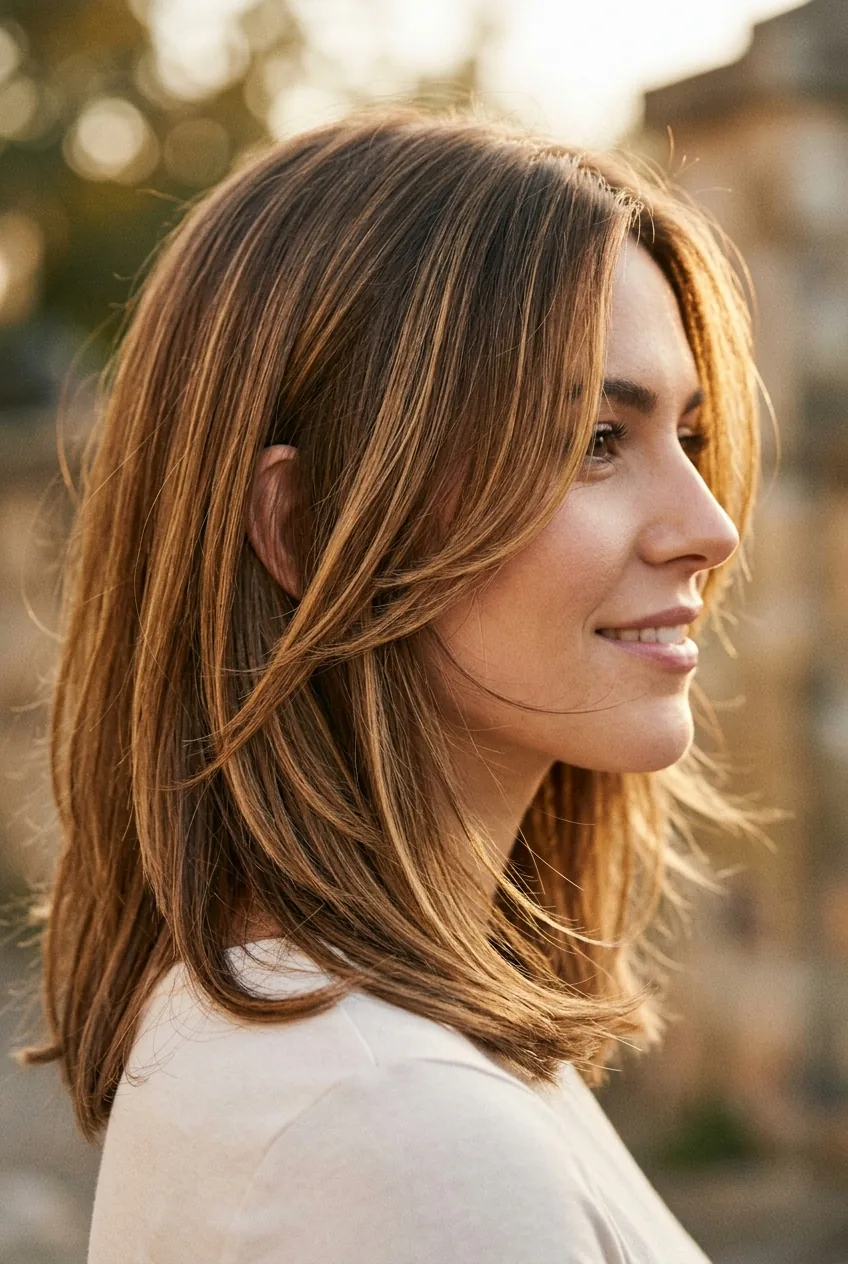
The key is something I call the “two-inch rule.” If your hair hits your shoulders when straightened, your longest layer should hit about two inches above that point. This creates movement without that awkward flip-out that happens when layers start exactly at shoulder level. Look at this—see how the layers begin well above where the hair would naturally want to bend outward?
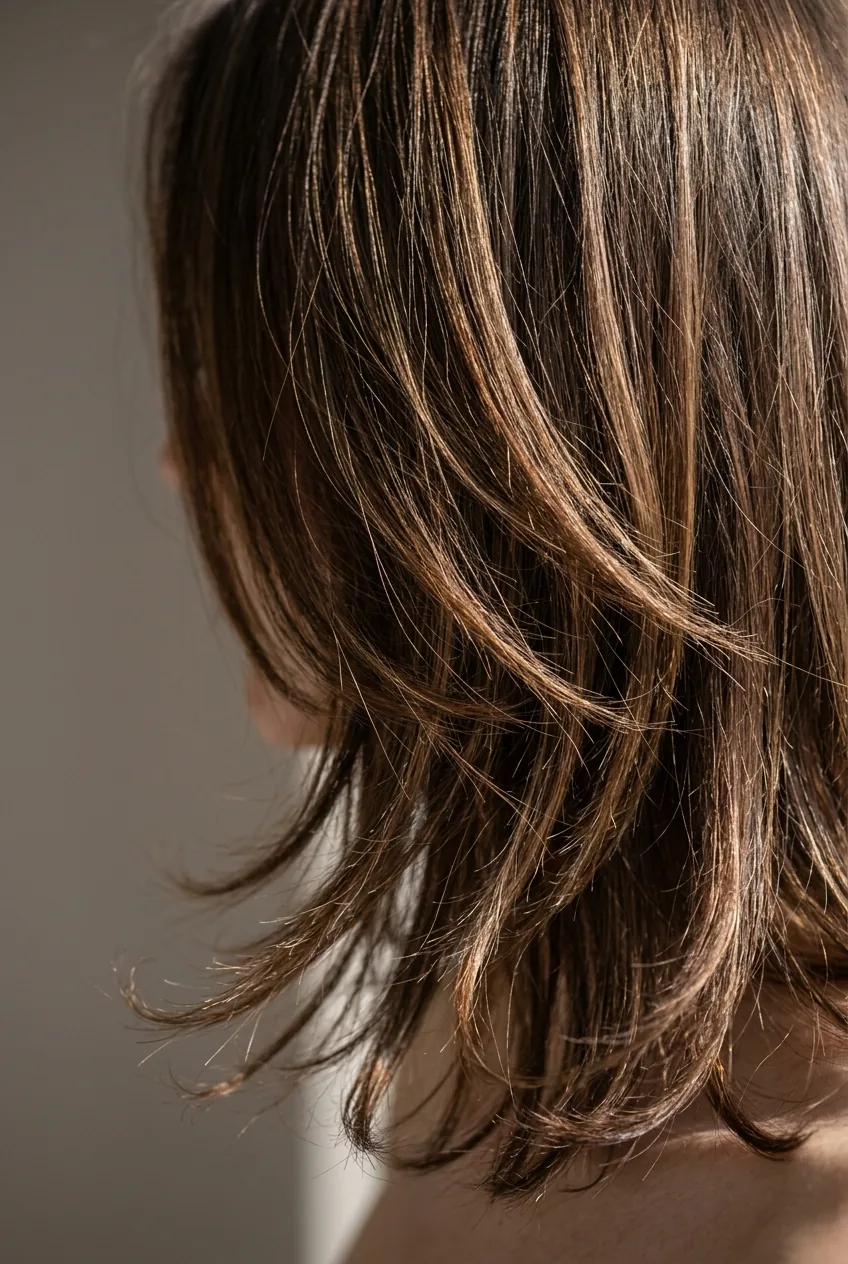
Weight removal is just as important as where you remove it. Too much weight taken out of the ends creates that stringy, see-through look. Too little, and you don’t get any movement or shape. The sweet spot is removing about 30% of the bulk from the interior layers while keeping the perimeter full enough to maintain density.
Here’s something most people don’t realize: shoulder-length hair with layers needs to be cut at least a quarter-inch longer than your desired final length. Hair at this length has a tendency to “spring up” once it’s layered and styled, especially if you have any natural texture. Professional cutting techniques account for this bounce-back effect.
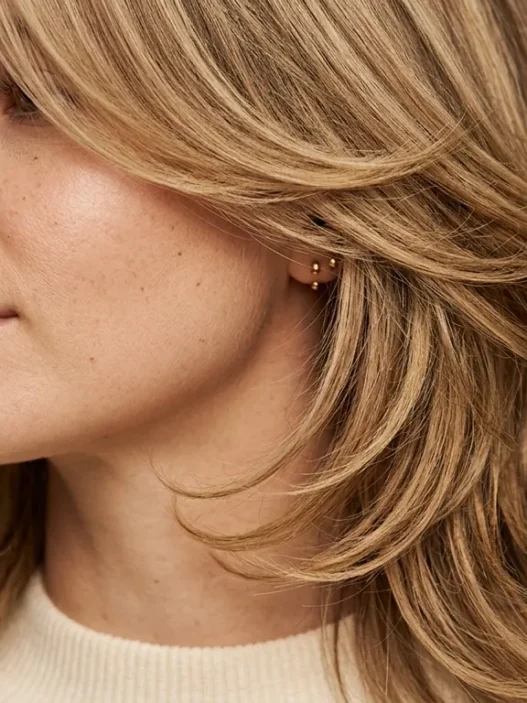
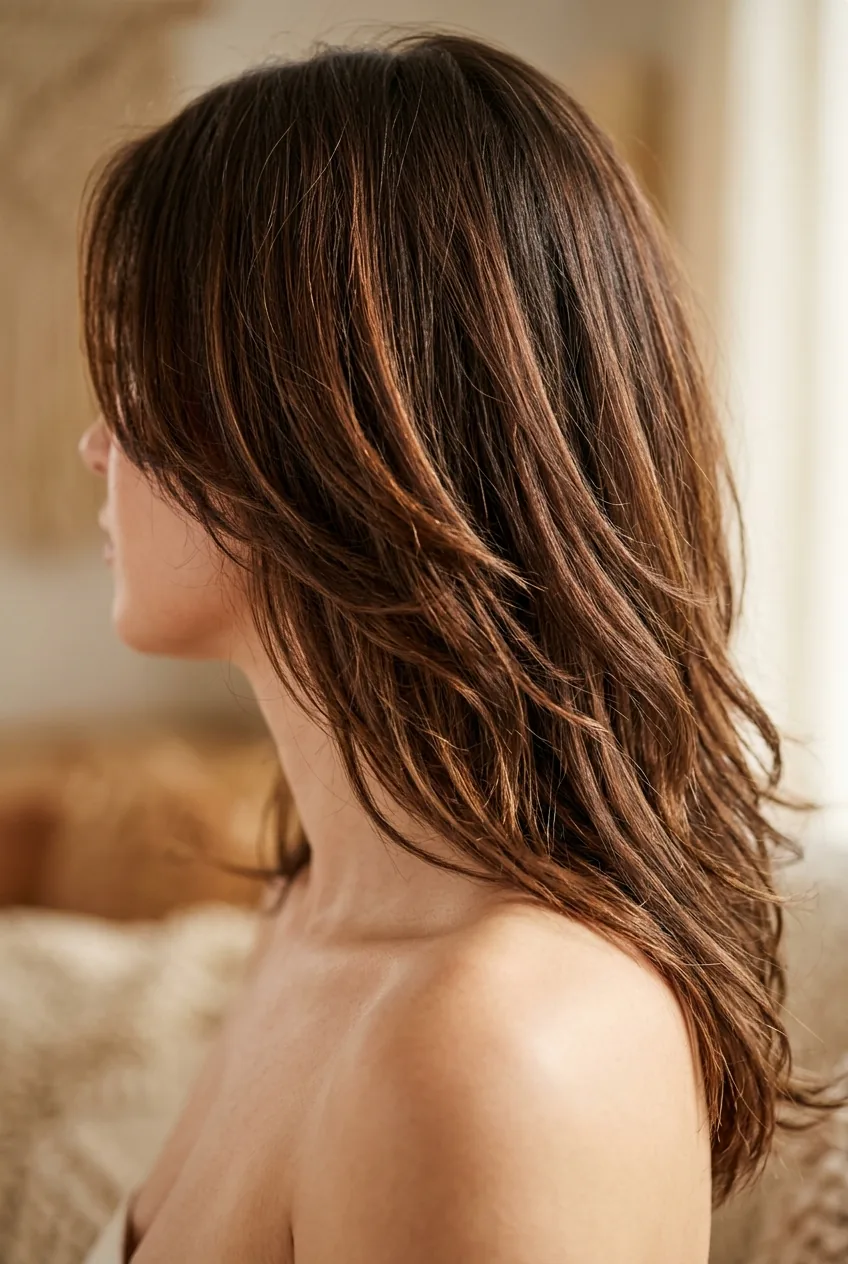
The angle of the layers matters more than most people think. Layers cut straight across create a blunt, heavy feel—great if you want structure but not much movement. Layers cut at a slight angle (about 15-20 degrees) create soft movement without looking too choppy. Anything steeper than 30 degrees starts to look dated and harsh.
Watch This Technique in Action
What Your Stylist Won’t Tell You About Face Shape
Do layers work for round faces? Yes, but not the way most stylists do them. What about square faces? Absolutely, with one crucial adjustment. Oval faces get all the luck? Actually, no—they have their own challenges with shoulder-length layers.
Here’s my controversial opinion: face shape rules are mostly marketing nonsense designed to make you think you need a professional to figure out your hair. I have a round face, and I’ve had gorgeous layered shoulder-length cuts that “shouldn’t” work according to the magazines. The secret isn’t following face shape rules—it’s understanding how layers interact with your specific jawline and neck.
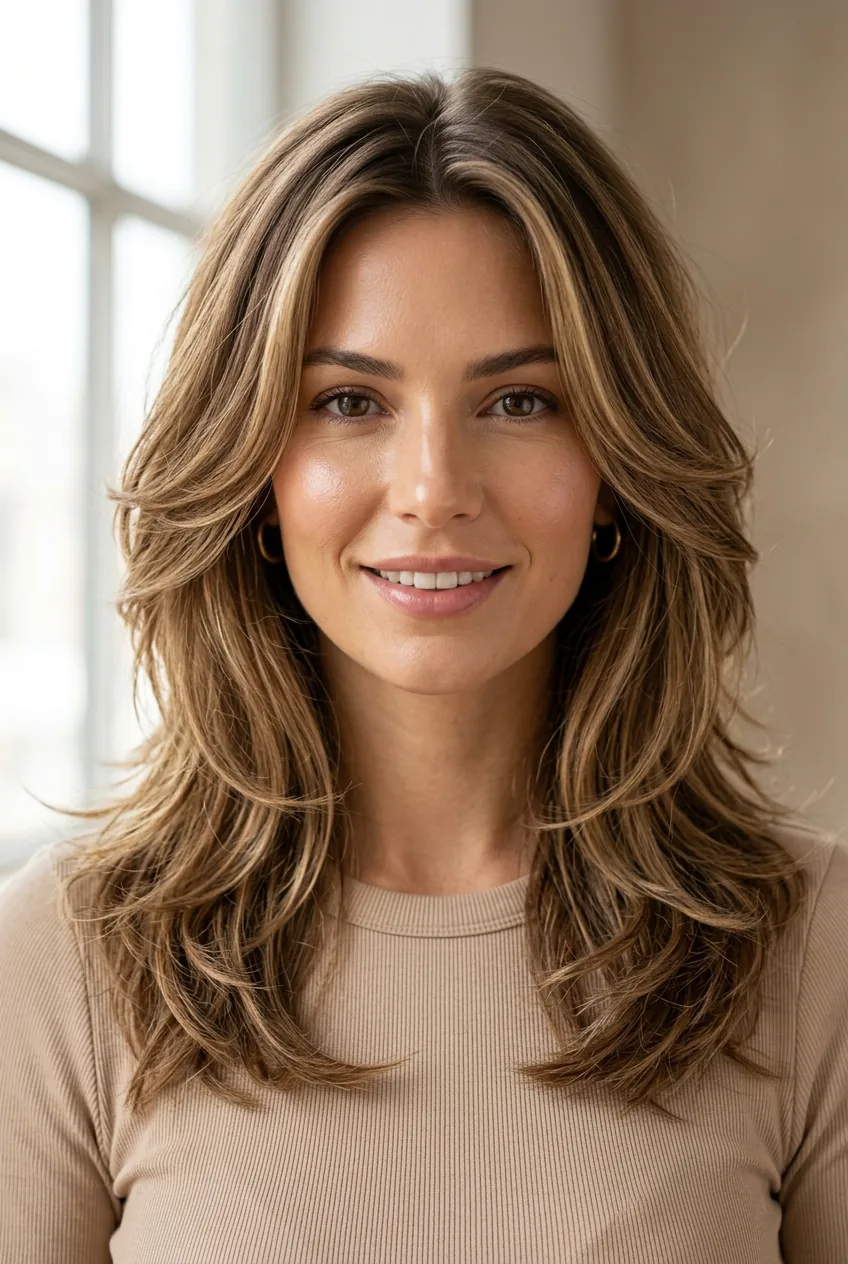
For round faces, the magic happens when the shortest layer hits about an inch below your jawbone, not at the jawline like most stylists suggest. This creates a soft framing effect without emphasizing roundness. Square faces actually benefit from layers that start right at the jawline to soften harsh angles—completely opposite advice from what you’ll read everywhere else.
Long faces need layers that add width, not length. This means shorter, more dramatically layered pieces around the face, with longer layers in the back. It’s counterintuitive because you’d think shorter layers would make a long face look longer, but the opposite is true when done correctly.
Heart-shaped faces—the ones with wider foreheads and narrow chins—actually look amazing with shoulder-length layers that start low and create volume at the bottom. Most stylists want to add volume at the crown, which just emphasizes the forehead. I learned this after three bad cuts that made my face look like an upside-down triangle.
The Texture Factor Everyone Ignores
Your hair texture determines everything about how shoulder-length layers will behave, yet most styling advice treats all hair the same. Fine hair, thick hair, wavy hair, straight hair—they all need completely different approaches to layering at shoulder length.
Fine hair is the trickiest to layer at shoulder length. Take too much weight out, and it looks wispy and insubstantial. Leave too much weight, and it looks heavy and flat. I’ve found that fine hair needs what I call “invisible layers”—very subtle length variations that create movement without obvious demarcation lines. The goal is to fool the eye into seeing more hair than there actually is.
Thick hair is more forgiving with shoulder-length layers, but it has its own challenges. The tendency is to over-layer thick hair, creating too much volume and making it look triangular. Thick hair actually needs fewer, more strategic layers—removing bulk from the interior while maintaining the weight line at the perimeter.
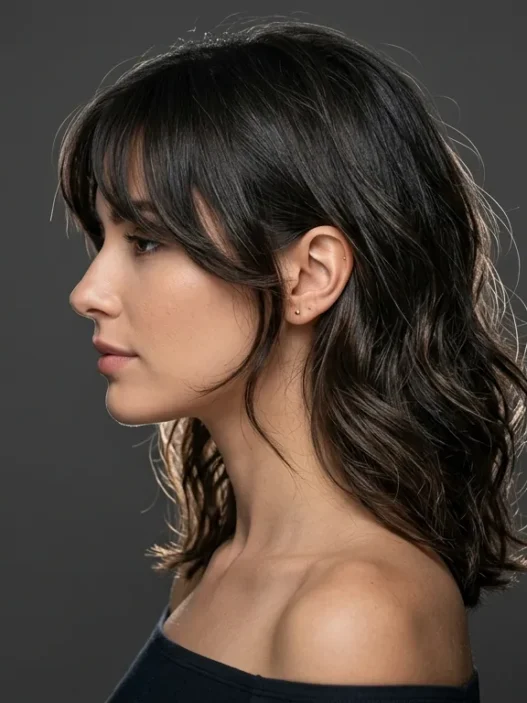
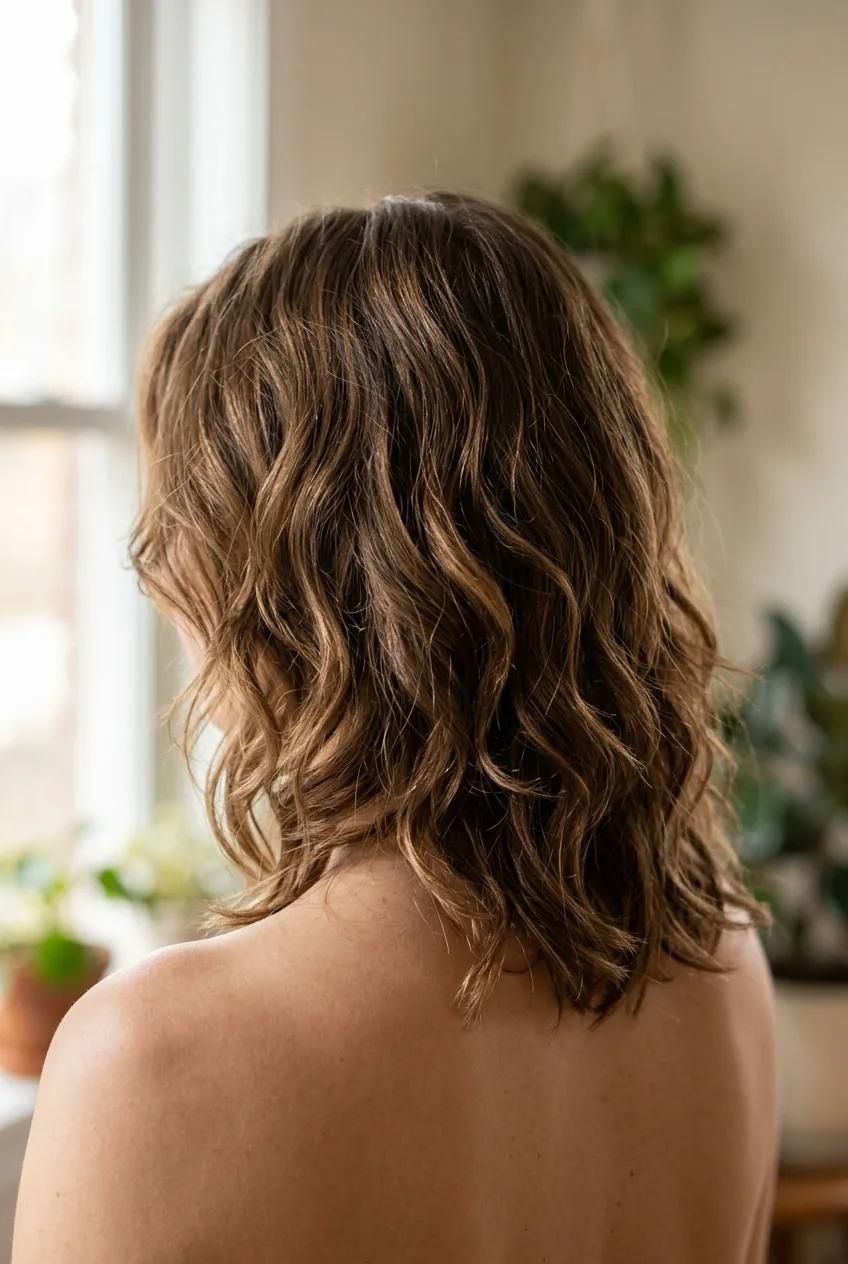
Wavy hair at shoulder length with layers can be absolutely gorgeous or a complete disaster, depending on how the layers work with your natural wave pattern. I learned this when I got layers cut on straight hair, then my natural waves came back after pregnancy hormones kicked in. The layers that looked perfect on straight hair created a weird stepped effect with waves.
Curly hair needs layers to prevent the dreaded triangle shape, but they need to be cut on dry, curly hair—never wet and straight. Most stylists who aren’t curl specialists will create layers that look great on wet hair but create chaos once it dries and curls up. The wavy shoulder-length cuts that work best are cut with the natural curl pattern in mind.
Why I’m Done With Cookie-Cutter Layer Formulas
After years of disappointing salon visits, I realized that most stylists are following formulas rather than really looking at your hair. “Shoulder-length layers” means one specific thing to them, and they execute that same cut regardless of whether it suits your hair type, lifestyle, or face.
The “shag” trend has made this worse, honestly. Everyone wants that effortlessly tousled look, so stylists are adding way too many layers to shoulder-length cuts, creating this choppy, over-layered effect that looks great for about two weeks, then grows out into a mess.
I’ve started asking stylists to show me exactly where they plan to place each layer before they cut. Most can’t give you a specific answer because they’re working from muscle memory rather than analyzing your individual hair. A good stylist should be able to explain why they’re placing layers at specific points based on your hair texture, growth patterns, and styling habits.
The Instagram effect has created unrealistic expectations too. Those gorgeous shoulder-length layered cuts you see on social media? They’re often professionally styled, with extensions for added thickness, and edited for perfection. Real hair doesn’t always cooperate like that, especially when you’re rushing to get ready for work in the morning.
Here’s what I wish more people understood: a great shoulder-length layered cut should look good when you literally do nothing to it except shampoo and air dry. If it needs forty minutes of styling every day to look decent, it’s not the right cut for your hair or lifestyle.
Making It Work: My Real-World Approach
These days, I approach shoulder-length layers completely differently. Instead of walking into a salon with a Pinterest photo, I spend time understanding how my hair behaves at different lengths and what kind of maintenance I’m actually willing to do.
First, I grow my hair to shoulder length and live with it for at least a month before adding layers. This shows me exactly where my hair wants to flip out, where it falls flat, and what areas need movement. Hair growth patterns reveal themselves over time, not in a single salon visit.
When I do get layers, I ask for them to be added gradually over two appointments. The first appointment adds subtle, long layers just to create some movement. The second appointment, about six weeks later, adds any additional layers needed based on how the first ones are growing out. This approach prevents over-layering disasters and gives you time to understand how your hair responds.
I also pay attention to how my hair behaves in different weather. Humidity makes some layer placements look amazing and others look terrible. Cold, dry weather can make certain layers lie flat while others stick out. A good shoulder-length layered cut should work in multiple conditions, not just in perfect salon lighting.
The maintenance factor is huge. Shoulder-length layers need refreshing every 6-8 weeks to maintain their shape—more frequently than longer layers but less than shorter cuts. Factor this into your budget and schedule before committing to a heavily layered shoulder-length style.
Most importantly, I’ve learned to trust my instincts over trends. If a shoulder-length layered cut doesn’t feel like “me” when I look in the mirror, no amount of styling will make it work. The best cuts are ones that enhance your natural texture and face shape rather than fighting against them.
Quick Answers to Your Layer Questions
How often should I trim shoulder-length layers?
Every 6-8 weeks to maintain the shape, but you can stretch it to 10 weeks if you’re trying to grow them out. The layers closest to your face will need the most frequent attention.
Can I add layers to existing shoulder-length hair?
Absolutely, and this is often the better approach than cutting layers and length simultaneously. Adding layers to hair that’s already at your desired length gives you more control over the final result.
Do shoulder-length layers work with fine hair?
Yes, but they need to be very subtle—think “long layers” rather than dramatic layering. Too many layers in fine hair creates a stringy, thin appearance instead of adding volume.
What’s the biggest mistake people make with shoulder-length layers?
Starting the layers too high up, around the ears or cheekbones. This creates a pyramid effect that’s hard to style and even harder to grow out gracefully.
How do I know if my face shape suits shoulder-length layers?
Honestly, almost every face shape can work with shoulder-length layers—it’s all about the placement and styling. The key is finding a stylist who understands how to adapt the cut to your specific features rather than following generic face-shape rules.
The truth about shoulder-length hair layers is that there’s no universal formula that works for everyone. What matters is finding the approach that works for your hair, your face, and your life. Sometimes that means ignoring conventional wisdom and trusting what you see in the mirror instead.