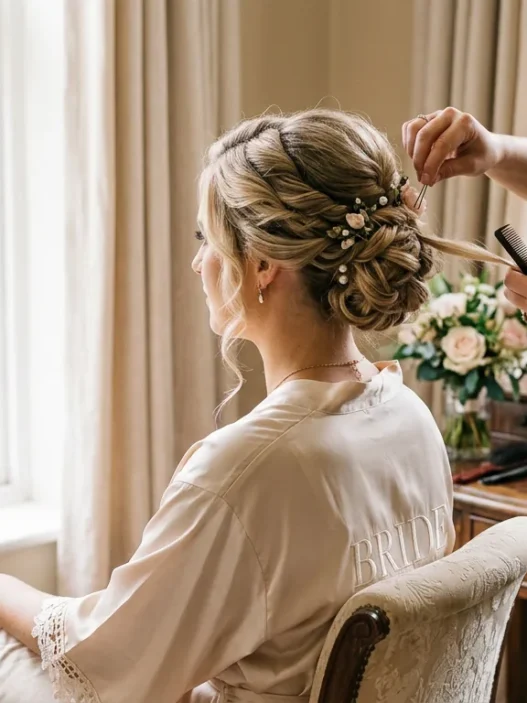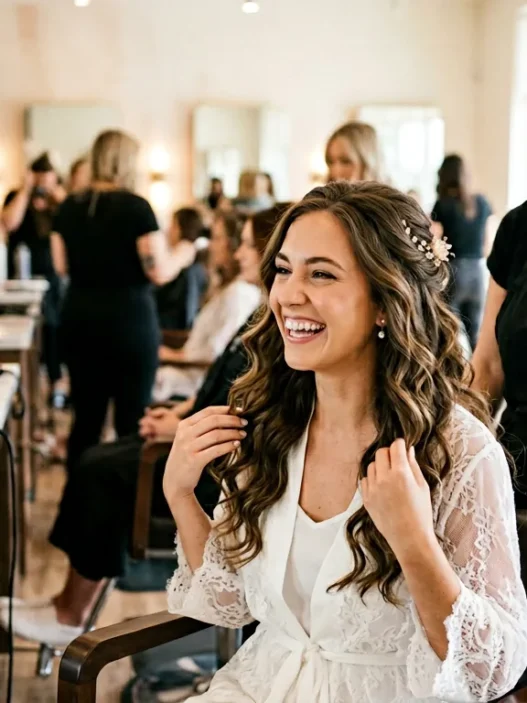


I remember sitting in that salon chair at 6 AM, watching my hairstylist pin and re-pin the same section of hair for what felt like forever. Instagram makes bridal updos look effortless — a few twists, some bobby pins, done. But the reality? It’s a marathon, not a sprint. And honestly, I wish someone had told me what actually happens during those hours.
Let me pull back the curtain on what getting a bride hairstyles updo really looks like. Because once you know the process, you’ll understand why that price tag makes sense — and why you need to block out way more time than you think.
What They Don’t Show You About the Timeline

Those time-lapse videos on social media are lying to you. A proper bridal updo takes anywhere from 2 to 4 hours — and that’s if everything goes smoothly. I’ve seen brides book 90 minutes thinking that’s plenty. Spoiler alert: it’s not.
The first hour is just prep work. Your stylist needs to assess your hair’s condition, figure out how it holds curl, and sometimes completely change the plan based on what your hair is doing that day. Then there’s the washing, conditioning, and rough drying. Before a single pin goes in, you’re already deep into hour two.
And here’s what no one tells you: the most beautiful updos require multiple rounds of curling. Your stylist curls everything, lets it cool completely, then brushes it out and starts building the actual style. It sounds counterintuitive, but that pre-curling creates the texture and grip that makes everything stay put for 12+ hours.
The Part That Takes the Longest
Everyone thinks it’s the actual styling that eats up time. Wrong. It’s the securing phase that’ll make you question your life choices. Each section has to be pinned in a specific way — not just stuck with a bobby pin and called good.
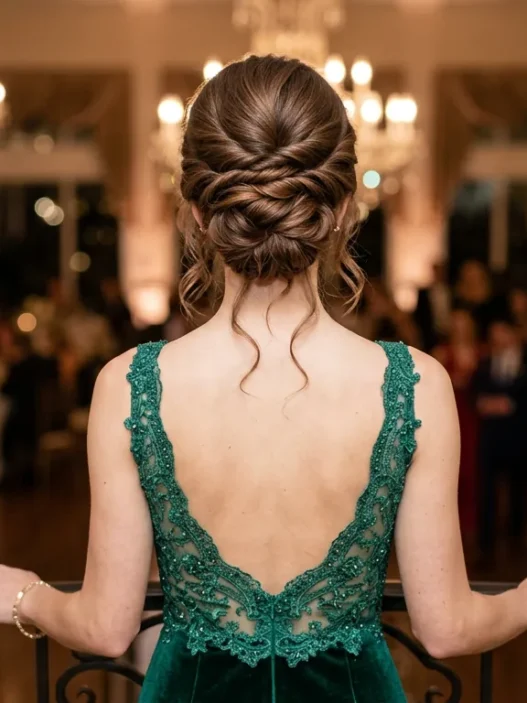
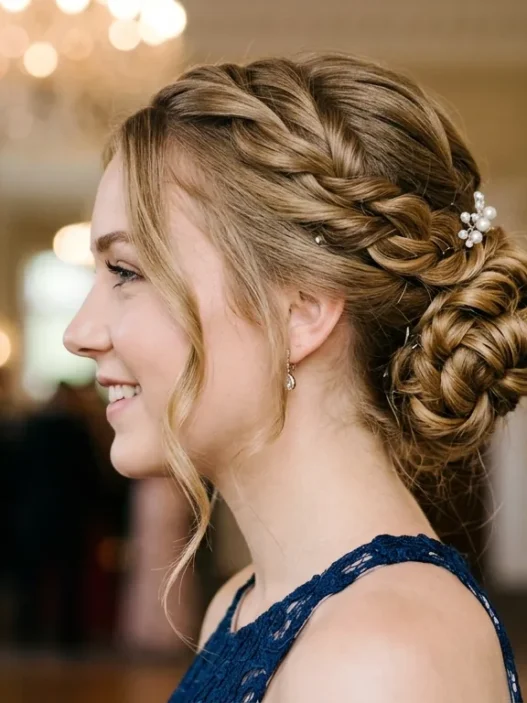
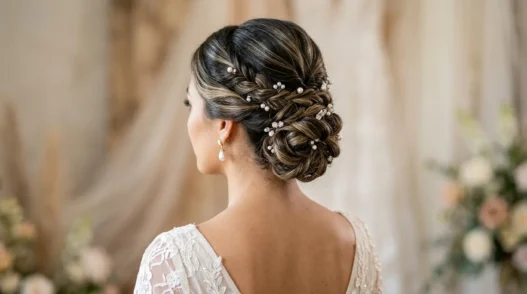
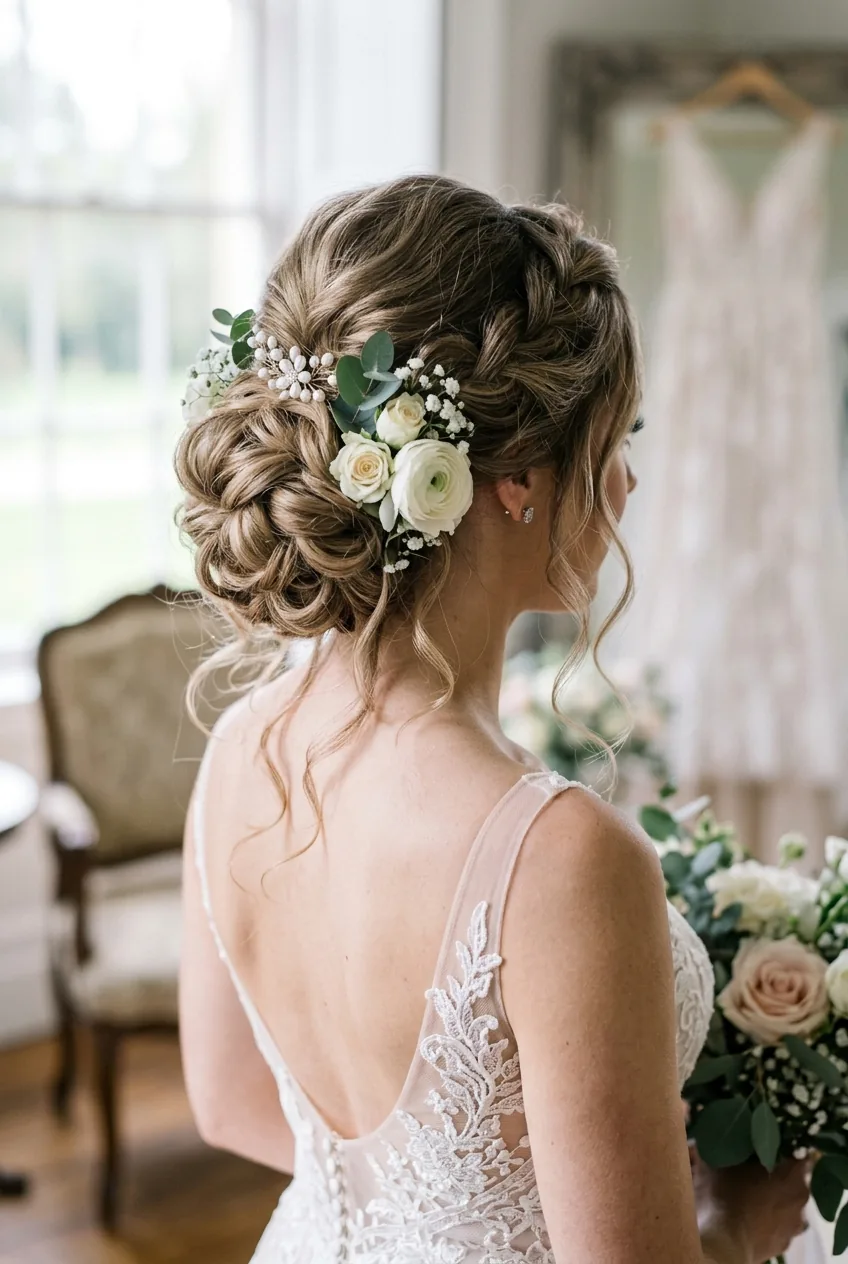
I watched my stylist spend 45 minutes just on the back section of my updo. She’d twist, pin, check in the mirror, adjust, re-pin, shake my head gently to test the hold, then start over. It felt excessive until I realized I danced until 2 AM and my hair still looked perfect in the last photos.
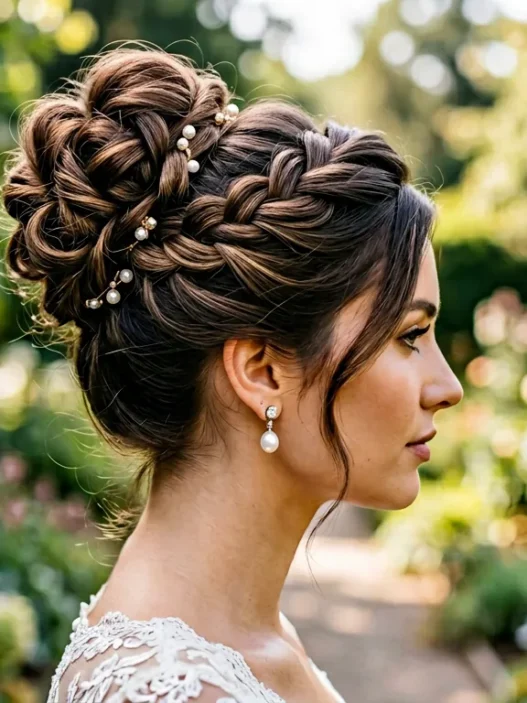
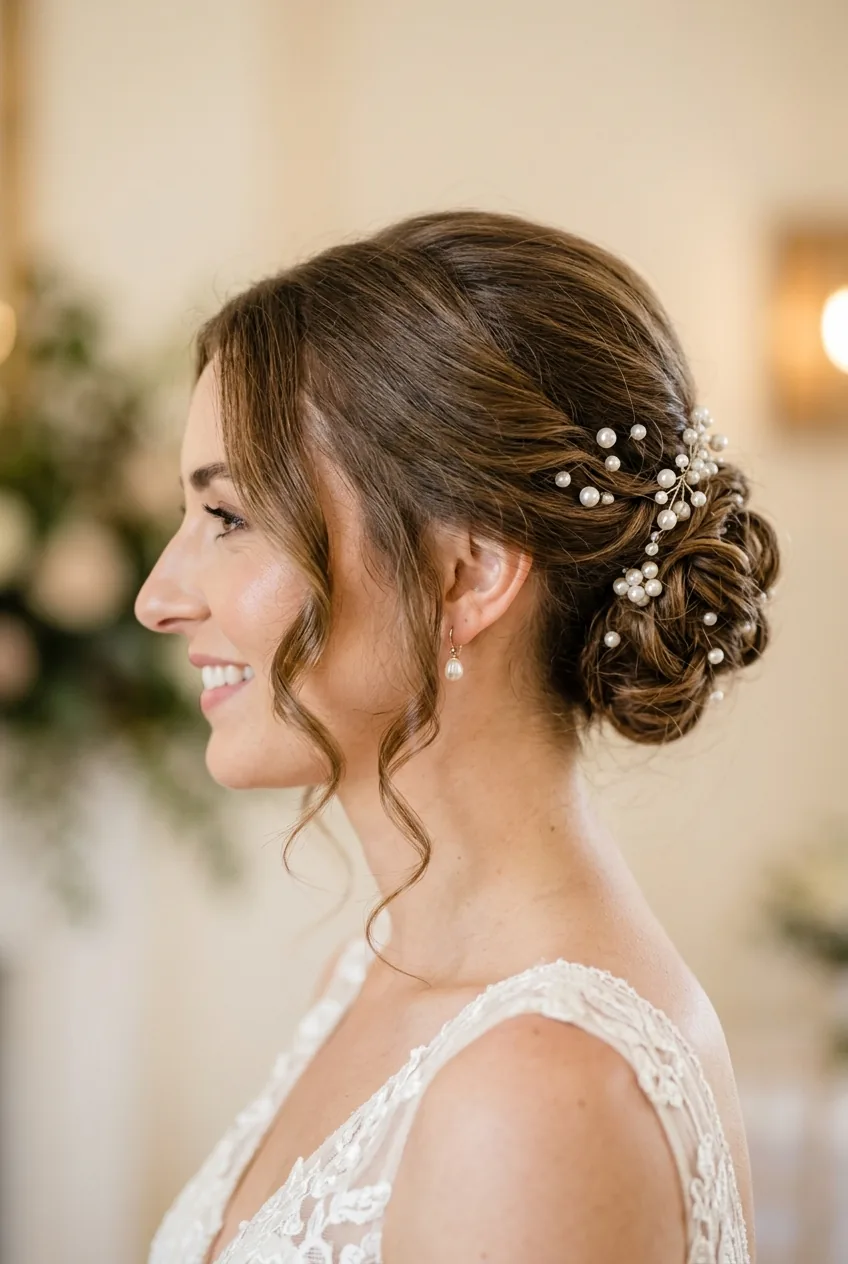
The face-framing pieces are another time sink. Those “effortless” tendrils you see? Each one is curled, positioned, pinned strategically, then gently loosened to look natural. Some stylists use up to 20 bobby pins just for the face-framing elements. It’s meticulous work.
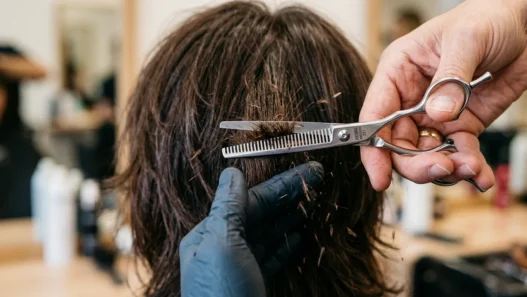
Then there’s the texture spray phase. Good stylists will mist, scrunch, let it set, mist again. They’re building layers of hold that photographs beautifully but doesn’t look crunchy in person. This attention to detail is why choosing the perfect bridesmaid haircut is equally important — it needs to photograph well from every angle.
Why Your Hair Might Look Worse Before It Looks Better
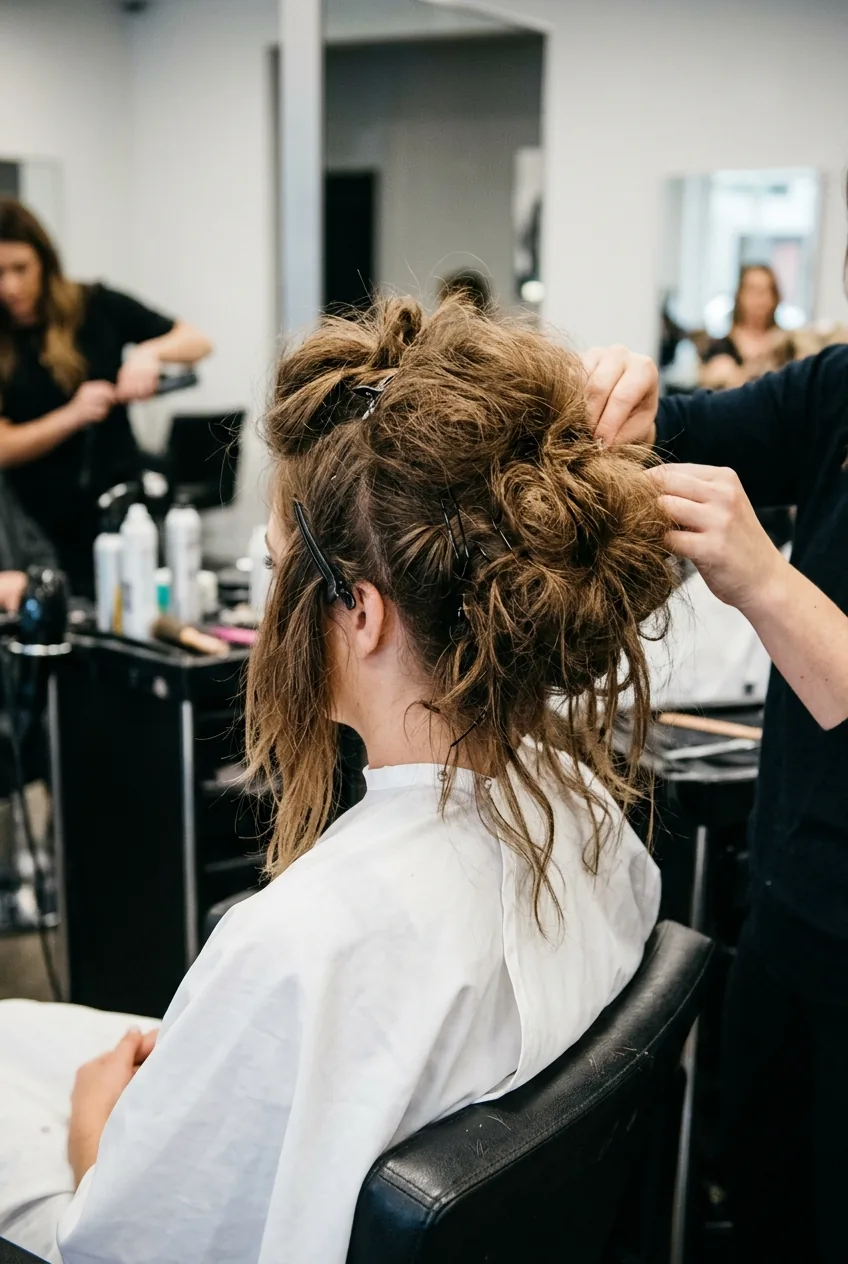
There’s this awkward middle phase where you look like you stuck your finger in an electrical socket. Your stylist has teased sections for volume, some pieces are pinned up while others hang loose, and you’re wondering if you made a terrible mistake.
This is completely normal. Updos are built in layers, and it has to look messy before it looks polished. The teasing creates the foundation that keeps everything lifted and dimensional. Those loose pieces will become the romantic, flowing elements once they’re properly positioned.
I panicked during this phase because one side looked significantly higher than the other. My stylist calmly explained she always builds one side first, then mirrors it on the other side. Trying to work both sides simultaneously creates symmetry issues. Trust the process — even when you look temporarily disheveled.
The other thing that might worry you: your scalp will show more than usual during construction. All that sectioning and pinning exposes your head in ways your everyday styles don’t. But once everything is positioned and the finishing touches are added, those gaps disappear completely.
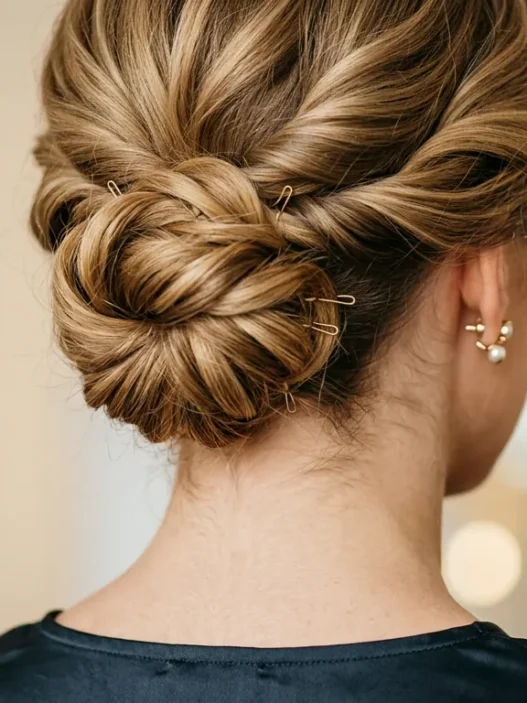
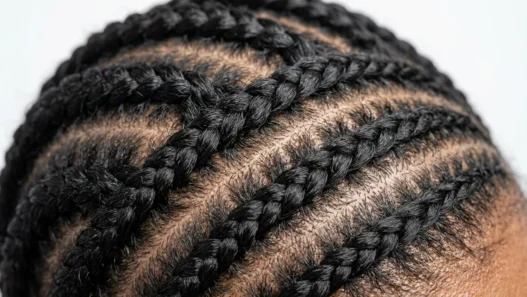
The Secret Nobody Mentions About Pin Placement
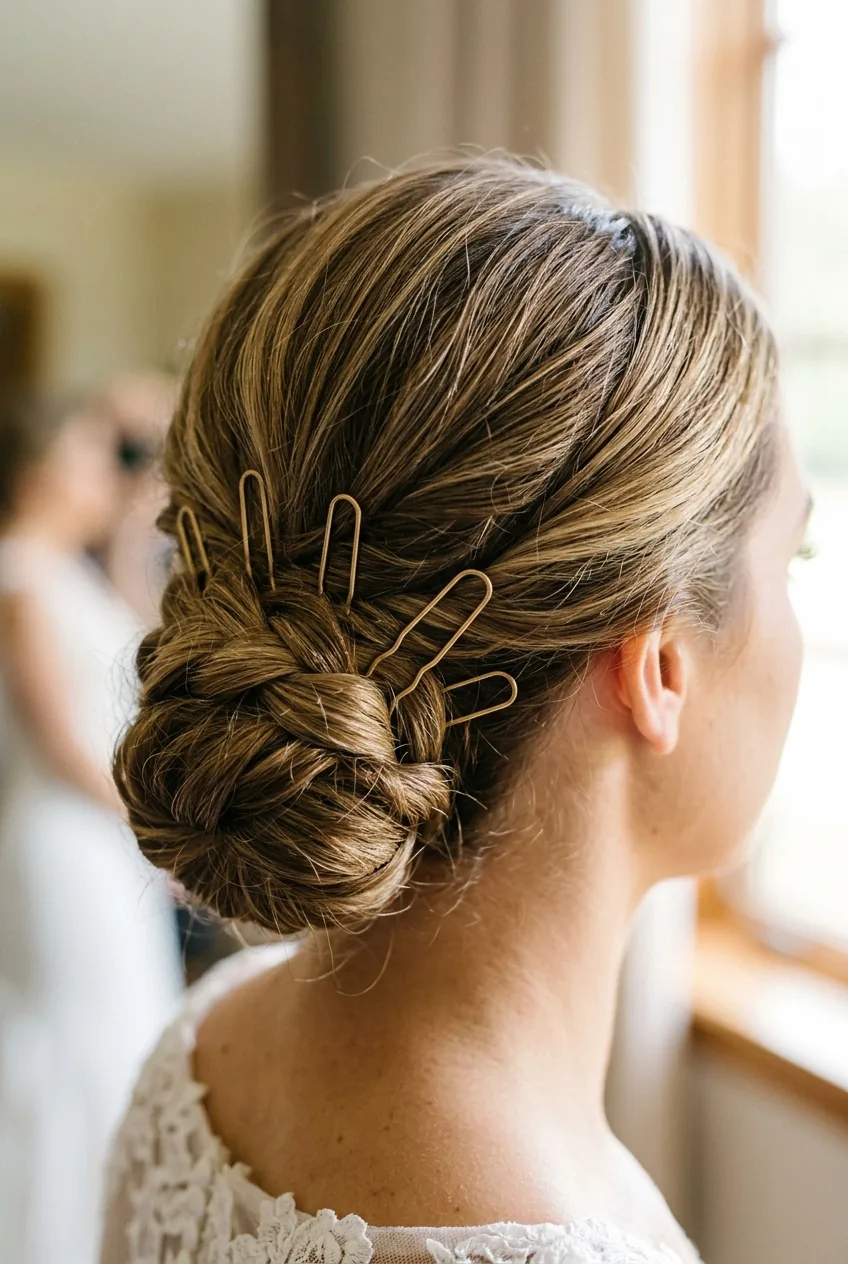
Bobby pins aren’t just shoved randomly into your hair. There’s a whole science to it that most brides never see because it happens behind their heads. Professional stylists use what they call “anchor pins” — these go in first and create the foundation that everything else attaches to.
The direction matters enormously. Pins should slide in following your hair’s natural growth pattern, not fighting against it. When a stylist inserts them correctly, you can barely feel them. When they’re wrong, you’ll have headache-inducing pressure points all day.
Here’s the part that blew my mind: good stylists use different types of pins for different jobs. The thin, wavy ones for fine detail work. Thicker, straight pins for structural support. Some even have tiny rubber tips that grip better. I counted 47 pins in my final updo, and each one had a specific purpose.
The finishing pins go in last and are often completely invisible. These secure the wispy pieces and add extra insurance to high-stress areas. Your stylist might add professional-grade tools that regular consumers don’t typically use at home.
Watch the Pin Technique in Action
What Happens When Things Go Wrong
Sometimes your hair just won’t cooperate. Maybe it’s too clean and slippery. Maybe it’s too dirty and weighted down. Maybe the humidity is wreaking havoc on the curl pattern. Experienced stylists have backup plans for all of these scenarios.
I watched a stylist completely start over when the bride’s hair kept falling out of the planned style. Instead of forcing it, she switched to a lower bun with more textural elements. The result was actually more flattering than the original plan, but it added an extra hour to the process.
Product conflicts are another common issue. If you’ve been using a new conditioner or styling cream, it might not play well with the salon’s products. This is why most stylists insist on washing your hair themselves rather than working with whatever you arrived with.
Weather can derail even the best-laid plans. High humidity makes some hair types frizzy and others limp. Smart stylists check the forecast and adjust their product choices accordingly. They might use stronger hold products on humid days or skip certain techniques that don’t photograph well in flat lighting.
Why It’s Worth Every Minute Anyway
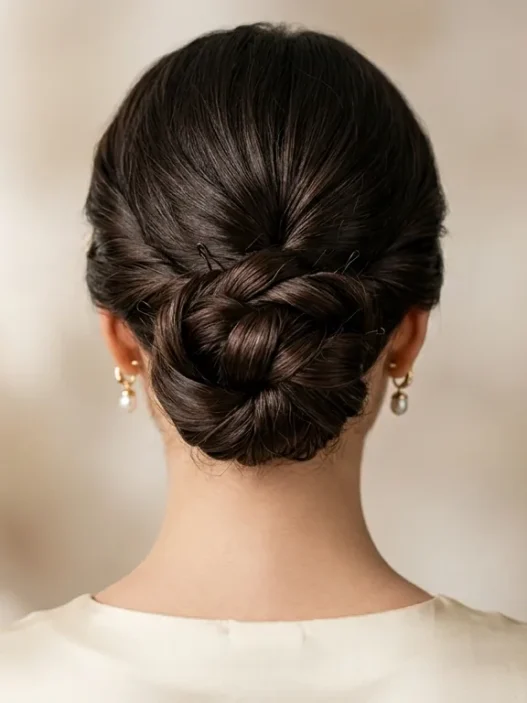
Despite the time investment and occasional stress, there’s something magical about watching a skilled stylist transform your hair into something that photographs beautifully from every angle. The attention to detail that goes into a proper bridal updo is unlike anything you’ll get for everyday styling.
The longevity alone justifies the process. While a quick updo might last through dinner, a professionally constructed bridal style survives dancing, hugging, outdoor photos, and emotional moments. I’ve seen brides who still looked polished at the after-party cleanup the next morning.
There’s also the confidence factor. Knowing your hair looks perfect from every angle allows you to be present in your day instead of worrying about touch-ups. You can hug freely, tilt your head back laughing, and move naturally without checking mirrors constantly.
And honestly? The pampering aspect shouldn’t be underestimated. Those hours in the chair are often the calmest part of your wedding day. It’s forced relaxation time with someone whose job is to make you look amazing. Embrace it instead of rushing through it.
The process might be longer and more complex than social media suggests, but understanding what actually happens helps you prepare mentally and schedule appropriately. Your updo isn’t just hair arranged prettily — it’s architecture designed to last through one of the most important days of your life.