


I used to think hair buns were the simplest updo in the world. Twist it up, stick some pins in, done. Then I spent an entire summer watching my carefully crafted buns droop, slide, and completely fall apart by lunch. That’s when I realized most of what we’re taught about bun styles is actually wrong.
The Science Behind Long-Lasting Buns
Here’s what changed everything for me: hair buns aren’t about the final twist. They’re about creating multiple anchor points that distribute weight evenly across your head. When I finally understood this, my buns went from lasting two hours to staying perfect for twelve.
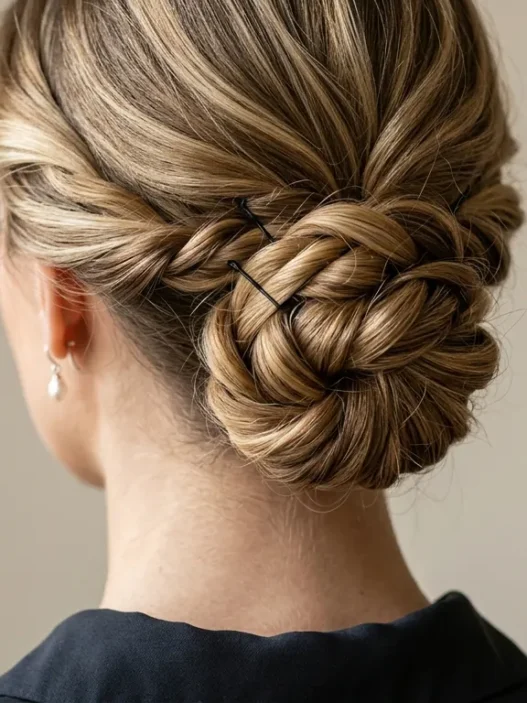
The trick lies in building layers of security. I start with a ponytail that’s slightly tighter than feels comfortable — because hair stretches and loosens throughout the day. Then I create what I call “tension breaks” every few inches as I twist. These are small, strategic points where I add bobby pins to catch the weight before it pulls down.
Most tutorials skip this entirely. They show you the pretty final result without explaining that hair is constantly fighting gravity. Your bun needs internal architecture, not just surface decoration.
I tested this theory obsessively last year. Same hair type, same products, same starting technique — but one version with tension breaks, one without. The difference was dramatic. The supported bun looked identical after eight hours. The unsupported one had that telltale droop by noon.
The science makes perfect sense once you see it. Hair weighs more than we think, especially when it’s twisted into a concentrated mass. Without strategic support points, that weight creates a constant downward pull that eventually overcomes even the strongest bobby pins.
What The Industry Gets Wrong About Texture
Every bun tutorial I’ve ever seen starts with “day-old hair” or “add some texturizing spray.” But here’s my controversial take: this advice is backwards for most people. Clean hair actually holds buns better — if you know how to prep it properly.
The myth that dirty hair grips better comes from old-school styling when we had fewer products. Now we have better tools. I’ve found that freshly washed hair, when treated with the right lightweight styling mousse, creates more reliable hold than second-day hair with natural oils.
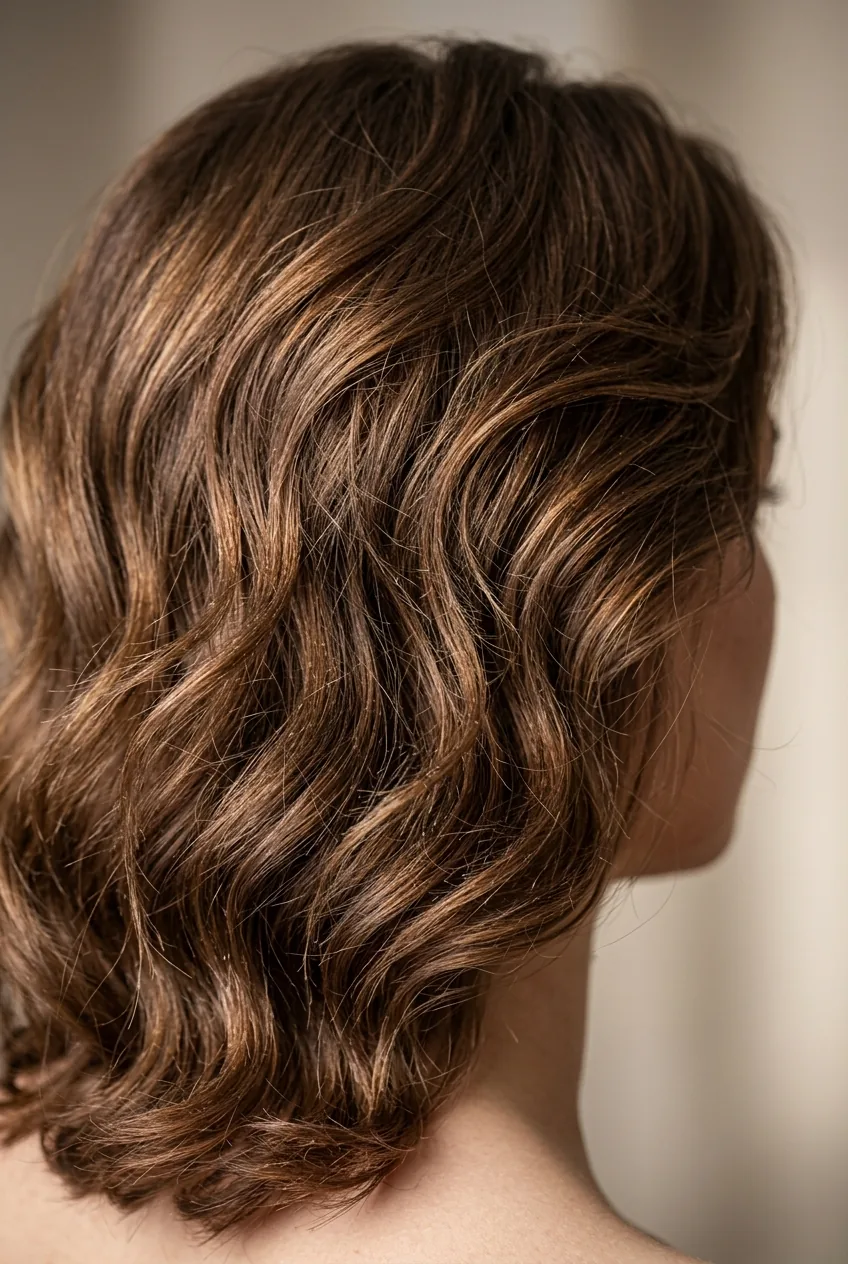
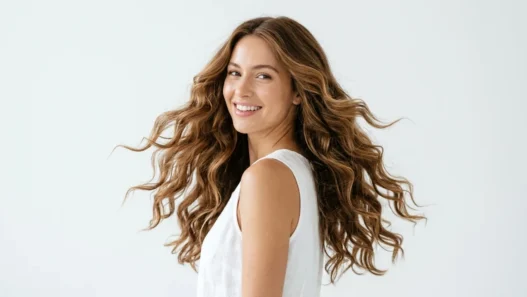
Here’s what actually matters: hair needs tooth, not oil. Texture spray isn’t about making hair dirty — it’s about creating microscopic friction points that help strands catch and hold against each other. The best texture I’ve achieved comes from applying mousse to damp hair, blow-drying with a round brush, then misting with a dry texture spray.
But the real game-changer? Salt spray on clean, dry hair. Not the beachy wave kind — the fine-mist texture kind that hairstylists use backstage. Two light spritzes through the mid-lengths before you start twisting, and suddenly your hair has enough grip to hold intricate shapes.
I know this contradicts everything you’ve read. But I’ve tried it both ways hundreds of times. Clean, properly textured hair consistently outperforms the “messy second-day” approach. The difference is preparation, not oil buildup.
The Placement Revolution
The biggest lie in bun styling? That there are only three placement options: high, mid, and low. I’ve discovered that the magic happens in the micro-adjustments — those tiny shifts in position that completely change how a bun looks and feels.
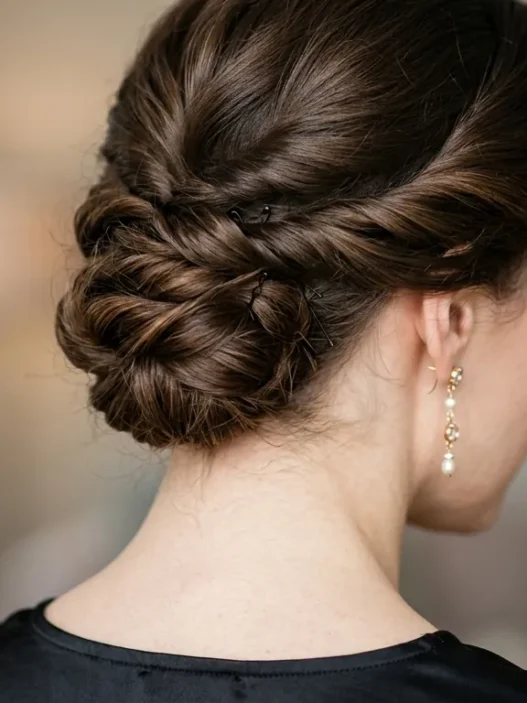
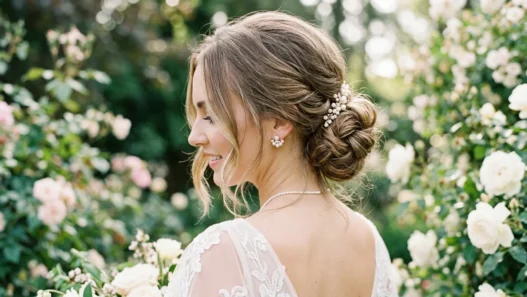
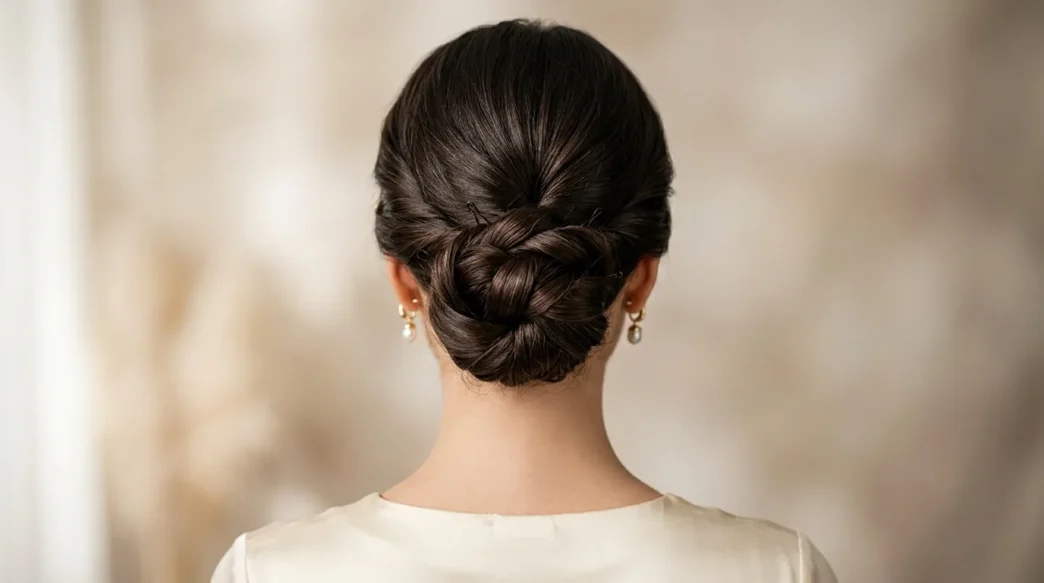
Take the “low bun.” Most people put it at the nape of their neck. But I’ve found the sweet spot is actually about an inch higher — right where the curve of your skull begins. This tiny change makes the bun look more intentional and keeps it from feeling too casual for professional settings.
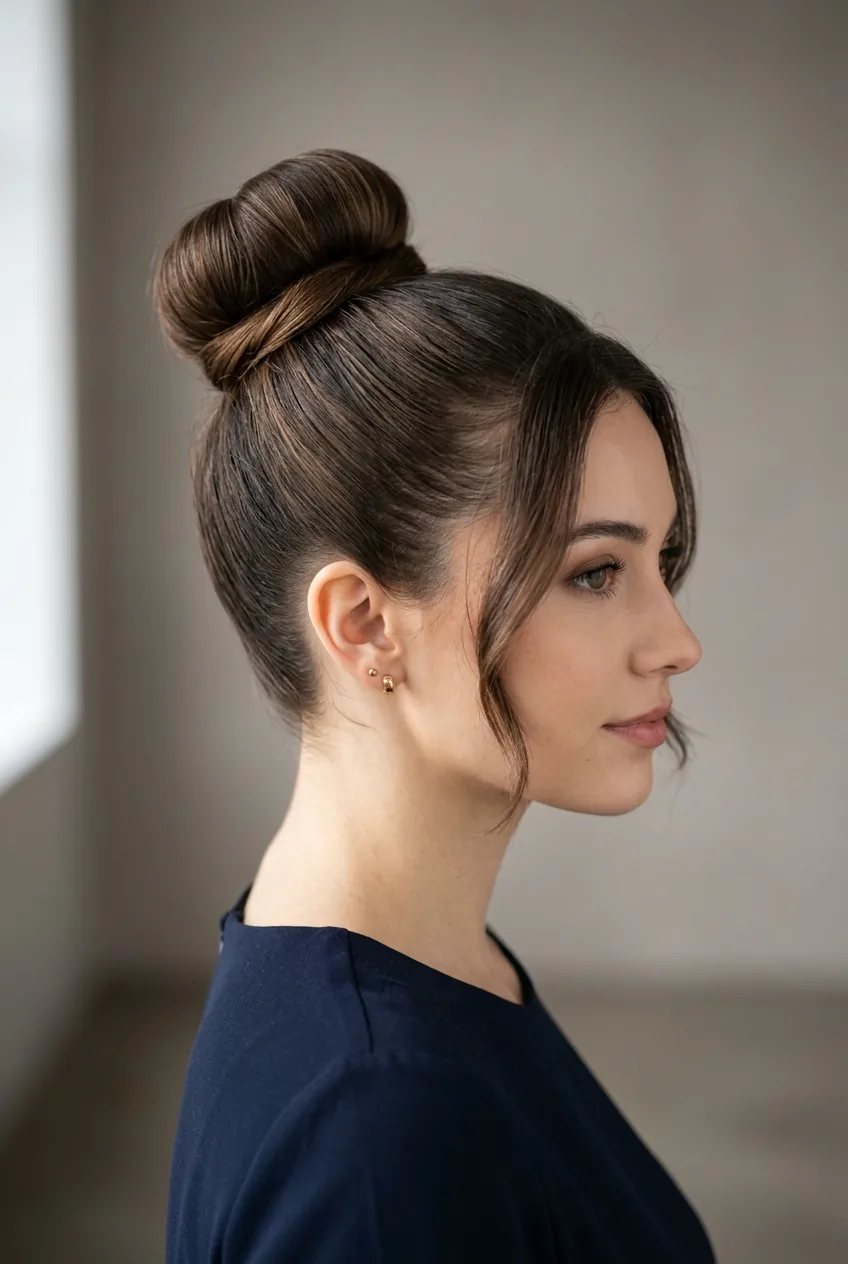
High buns are even trickier. The difference between “elegant ballerina” and “messy afterthought” is literally millimeters. I position mine at the very crown of my head — not behind it, not in front of it, but at the exact center point. You can find this by drawing an imaginary line from the tip of one ear to the other.
And then there’s the side bun revolution. Instead of centering everything at the back, I create an asymmetrical base — ponytail slightly off-center, bun twisted to one side. It’s subtle enough for work but interesting enough for evening events. The key is keeping the front pieces symmetrical even when the back isn’t.
Side buns also solve the dreaded “bun headache” problem. When all the tension pulls straight back, it creates pressure across your temples. An off-center bun distributes that tension more naturally across your scalp.
Why Your Bobby Pins Keep Sliding Out
This might be the most frustrating part of bun styling, and I’m going to share something that took me years to figure out: you’re probably using bobby pins completely wrong.
First, the wavy side goes against your scalp. I know this seems backwards, but the waves are designed to grip hair, not slide over it. When you flip the pin wavy-side-out, you’re essentially creating a slippery surface.
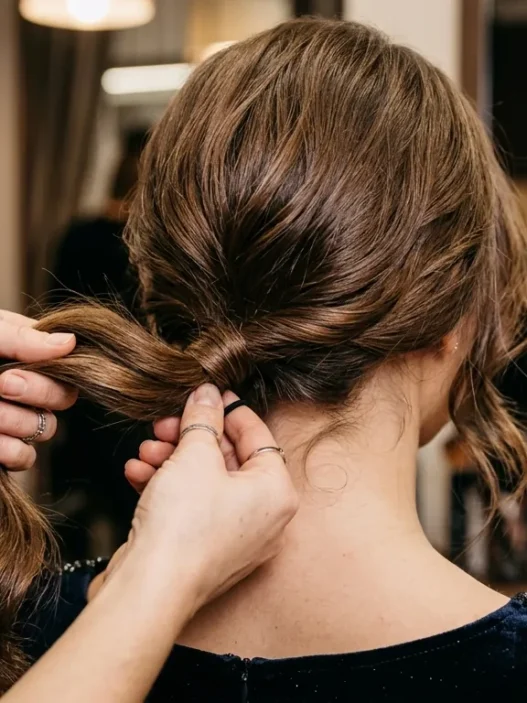
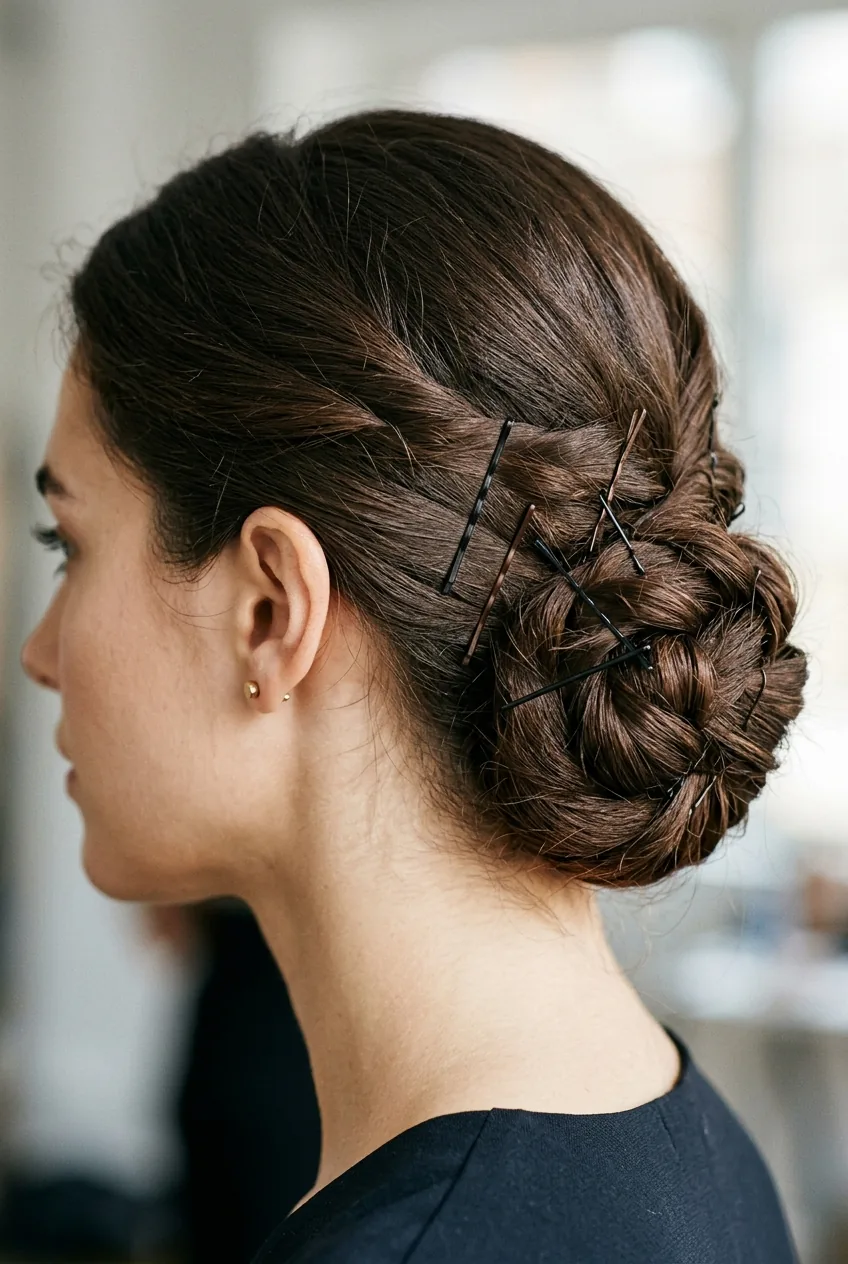
Second, bobby pins shouldn’t go straight into the bun. They should catch the base of the twist and anchor into the hair underneath. I create what I call a “pin sandwich” — bottom layer of hair, bobby pin, top layer of twisted bun. This gives the pin something solid to grip against.
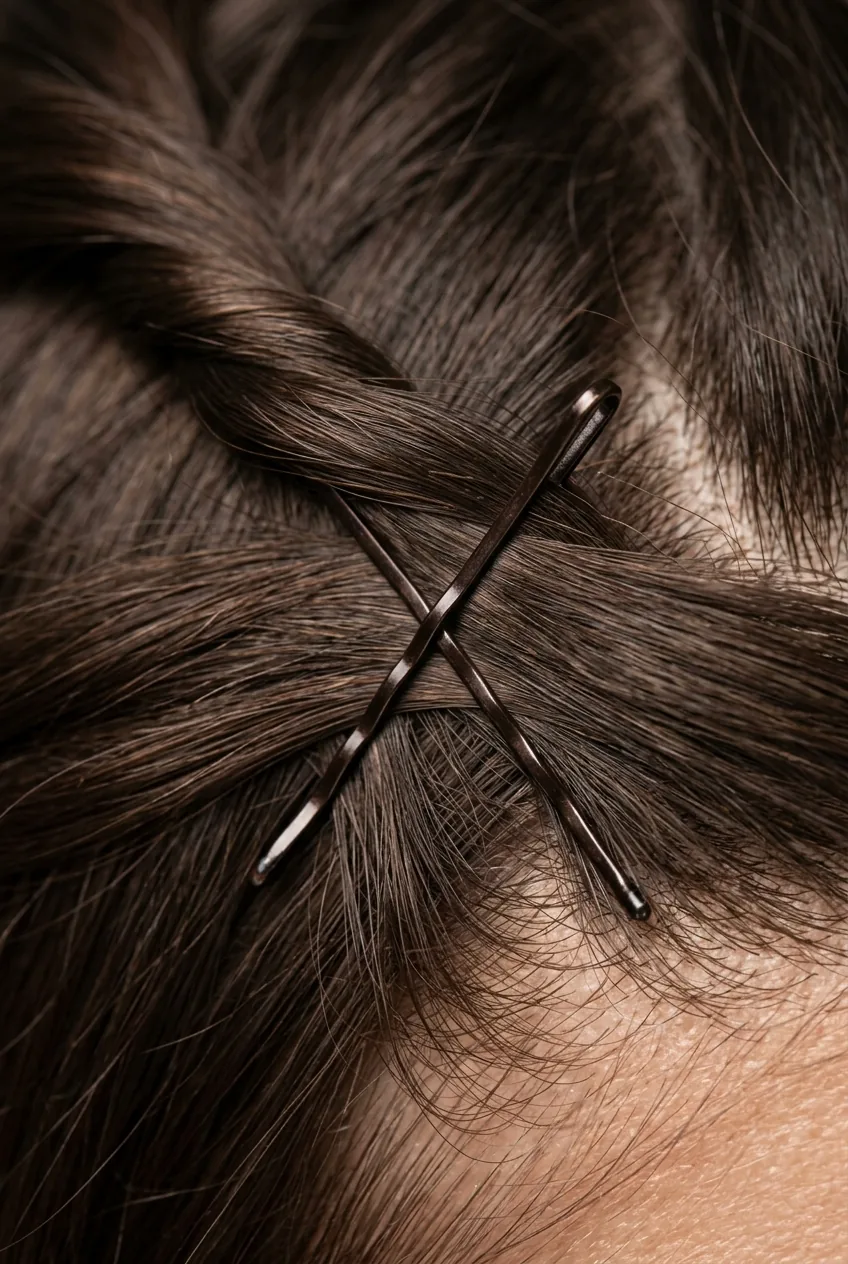
But here’s the technique that changed everything: the cross-pin method. Instead of inserting pins parallel to each other, I create X patterns. Pin one goes in from the right, pin two goes in from the left, crossing over the first pin. This locks them together and prevents the sideways sliding that kills most buns.
Pin color matters too, but not how you think. I use pins one shade darker than my hair color, not matching. Exact matches show every gap and imperfection. Slightly darker pins disappear into shadows and look more intentional.
And please, stop buying cheap bobby pins. The difference between drugstore pins and professional ones is night and day. Good pins have better grip, stronger springs, and don’t bend under pressure. It’s a small investment that transforms your results.
Watch the Cross-Pin Method
The Nuance Nobody Mentions About Face Shapes
Face shape rules for buns are mostly nonsense. I’ve seen round faces look stunning in high buns, long faces rock low chignons, and square jawlines softened by sleek center-parted styles. The real secret isn’t your face shape — it’s your personal proportions and how confident you feel.
What actually matters is the relationship between your bun and your neckline. A turtleneck changes everything about how a low bun looks. A strapless dress needs a different bun height than a crew neck sweater. I’ve started choosing my bun style after I’m dressed, not before.
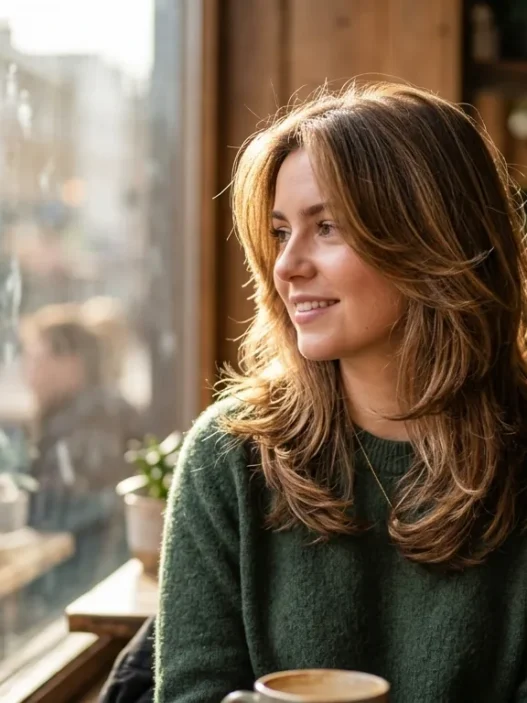
The front pieces are where you can really customize for your features. I never do completely slicked-back buns anymore. Instead, I leave tiny wisps around my hairline — not messy tendrils, just soft pieces that break up the severity. These micro-details make a huge difference in how flattering any bun looks.
Here’s something I discovered by accident: the angle of your bun changes how your neck looks. A perfectly horizontal bun can make your neck appear shorter. Tilt it slightly upward, and suddenly your neck looks more elegant. It’s a tiny adjustment that photographs beautifully.
For what it’s worth, I think the best bun for anyone is the one they can recreate easily at home. All the face shape theory in the world doesn’t matter if you can’t actually do the style yourself. I’d rather have a simple, well-executed bun than a complex style that falls apart.
Quick Answers to Your Bun Questions
How many bobby pins should I actually use?
For medium-thickness hair, I use 8-12 pins minimum. Fine hair needs fewer but better placement. Thick hair might need 15-20 pins. The rule is: when you think you have enough, add three more.
Why does my bun always look messy compared to tutorials?
Most tutorials are filmed on freshly styled hair with professional lighting. Real buns have texture and imperfections — that’s what makes them look lived-in and natural. Perfect buns often look too manufactured for everyday wear.
Can I sleep in a bun without damaging my hair?
Loose, low buns are fine for sleeping, but avoid tight ponytails as the base. Use silk scrunchies instead of elastic bands, and position the bun where it won’t press against your pillow all night.
What’s the difference between a bun and a chignon?
Honestly? Marketing. A chignon is just a fancy name for a low, elegant bun. The technique is nearly identical — it’s more about styling and formality than actual construction differences.
Hair bun styles are so much more complex and interesting than most people realize. Once you understand the engineering behind them, you’ll never go back to those basic twist-and-pin tutorials. Your buns will stay put, look intentional, and actually enhance your features instead of fighting against them.