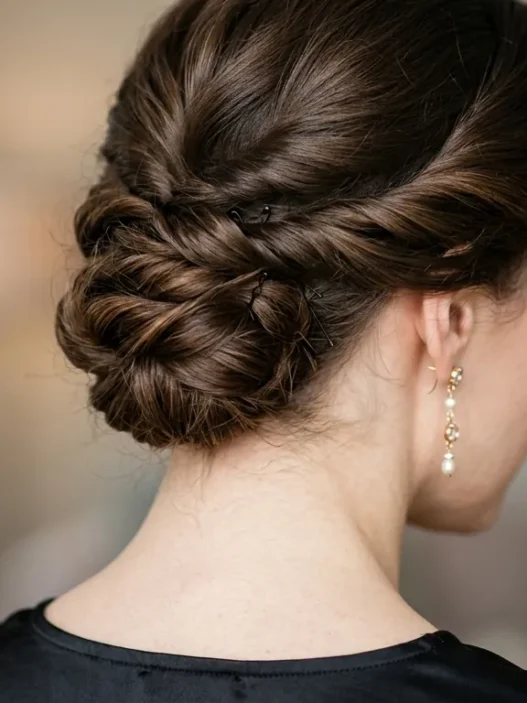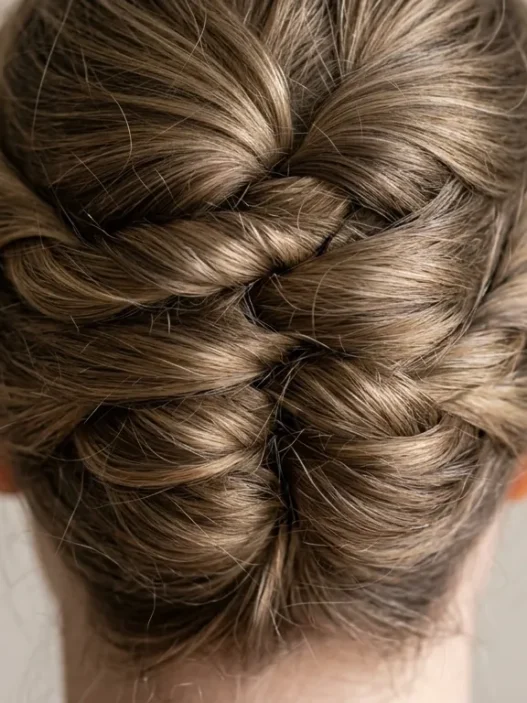


I’ll be honest — when I first saw those ethereal “hair down” wedding photos on Pinterest, I thought they were pure fantasy. My hair has always been fine and stubbornly straight, the kind that loses curls within twenty minutes. But something about those romantic, flowing styles just called to me.
My Wedding Hair Down Journey
What You’ll Need
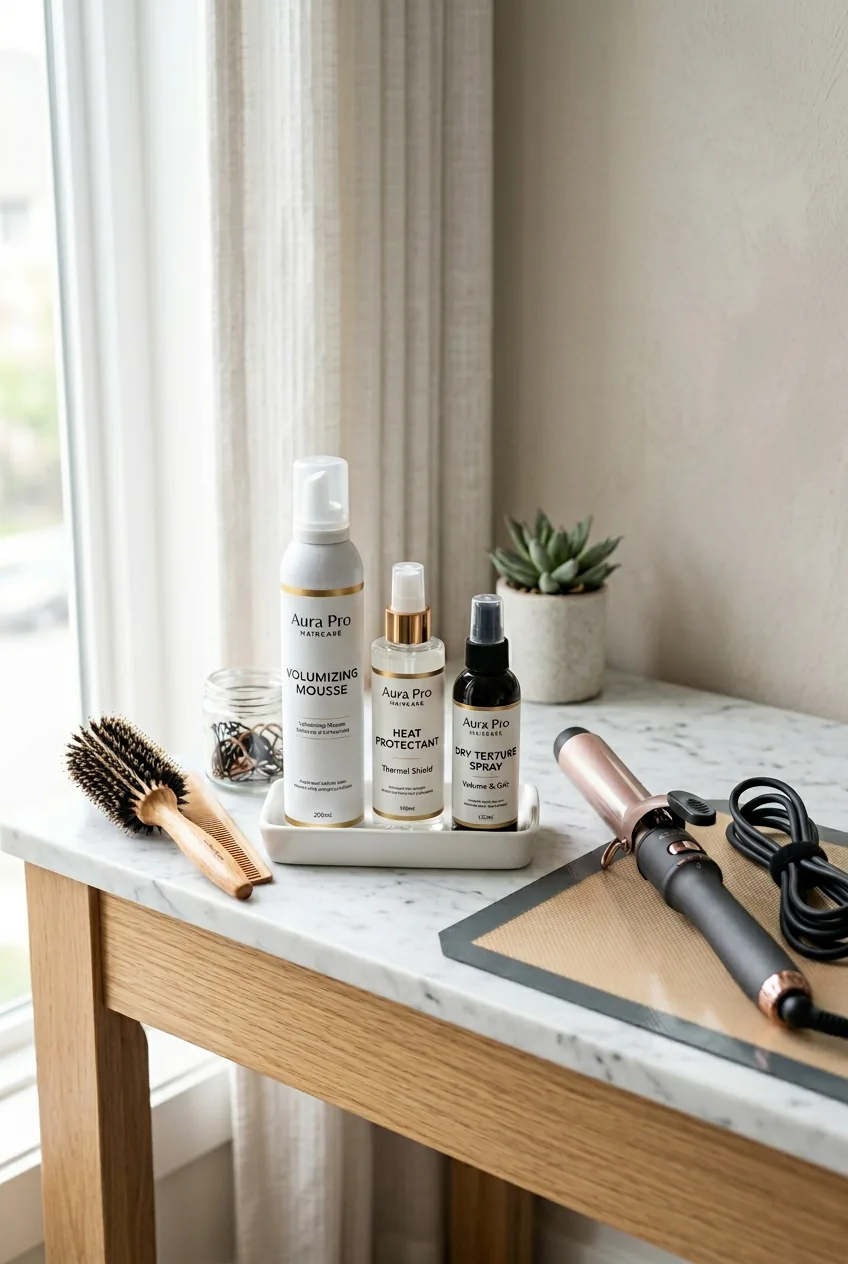
Before diving into my journey, here’s what saved me from disaster (learned the hard way):
- Volumizing mousse (not the crunchy kind)
- Large barrel curling iron (1.5 inch minimum)
- Heat protectant spray
- Texture spray or sea salt spray
- Light-hold hairspray
- Bobby pins that match your hair color
- Hair elastic (clear or matching)
- Wide-tooth comb
- Sectioning clips
Where I Started
Six months before my wedding, I was convinced I’d need an updo. My hair just didn’t do things. It hung there, limp and lifeless, no matter how many products I threw at it. When I mentioned wanting my hair down to my stylist, she gave me that look — you know the one.
“We can try,” she said diplomatically. Which basically translates to “honey, let’s be realistic.”
But I couldn’t shake the vision. Those brides with their hair cascading in soft waves, looking effortlessly romantic. I wanted that feeling — not the structured, formal look of an updo, but something that felt like me, just elevated.
The First Attempt

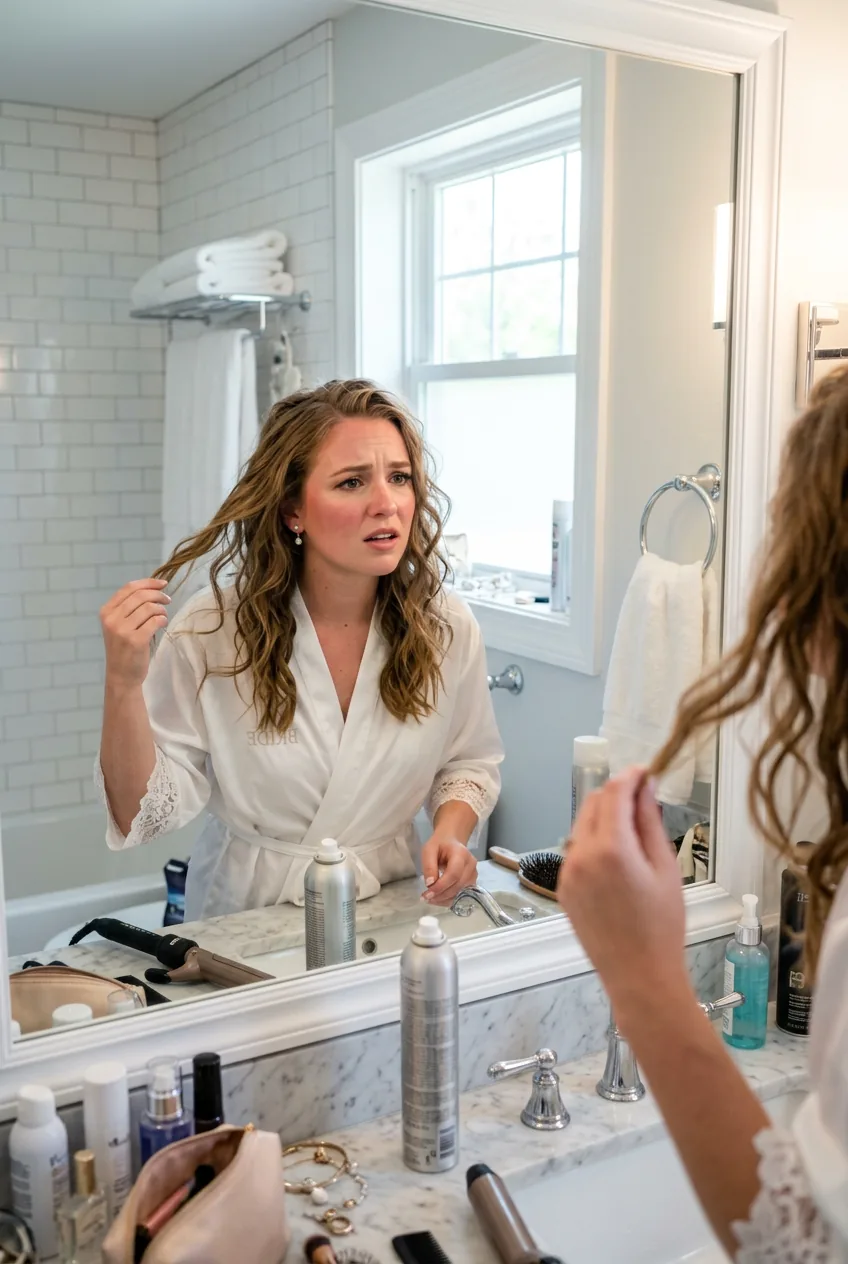
My first practice run was… educational. I curled every section of my hair with my trusty 1-inch iron, the same way I’d always done it. Sprayed it with hairspray. Looked in the mirror feeling pretty good about myself.
Twenty minutes later? Flat as a pancake.
I made the classic mistake of thinking more heat and more hairspray would solve everything. Instead, I ended up with hair that felt crunchy and still fell flat. The problem wasn’t the products — it was my entire approach.
That’s when I realized I needed to completely rethink my strategy. The brides in those photos weren’t achieving that look through force — there was something else going on.
What I Changed
The breakthrough came from an unexpected place: hair preparation techniques that focused on building foundation rather than just styling on top. I started prepping my hair completely differently.
First, I stopped washing my hair the day of styling. Day-old hair actually holds curl better — there’s just enough natural oil to give grip without being greasy. Game changer right there.
Then came the mousse revelation. I’d always avoided it because I associated it with that crunchy 80s look. But applied to damp hair and blown out properly? It creates this invisible scaffolding that gives fine hair something to hold onto.
The technique is everything: scrunch the mousse through damp hair, flip your head upside down, and blow dry with a diffuser on low heat. Your hair should feel slightly thicker but still soft.
The Breakthrough Moment
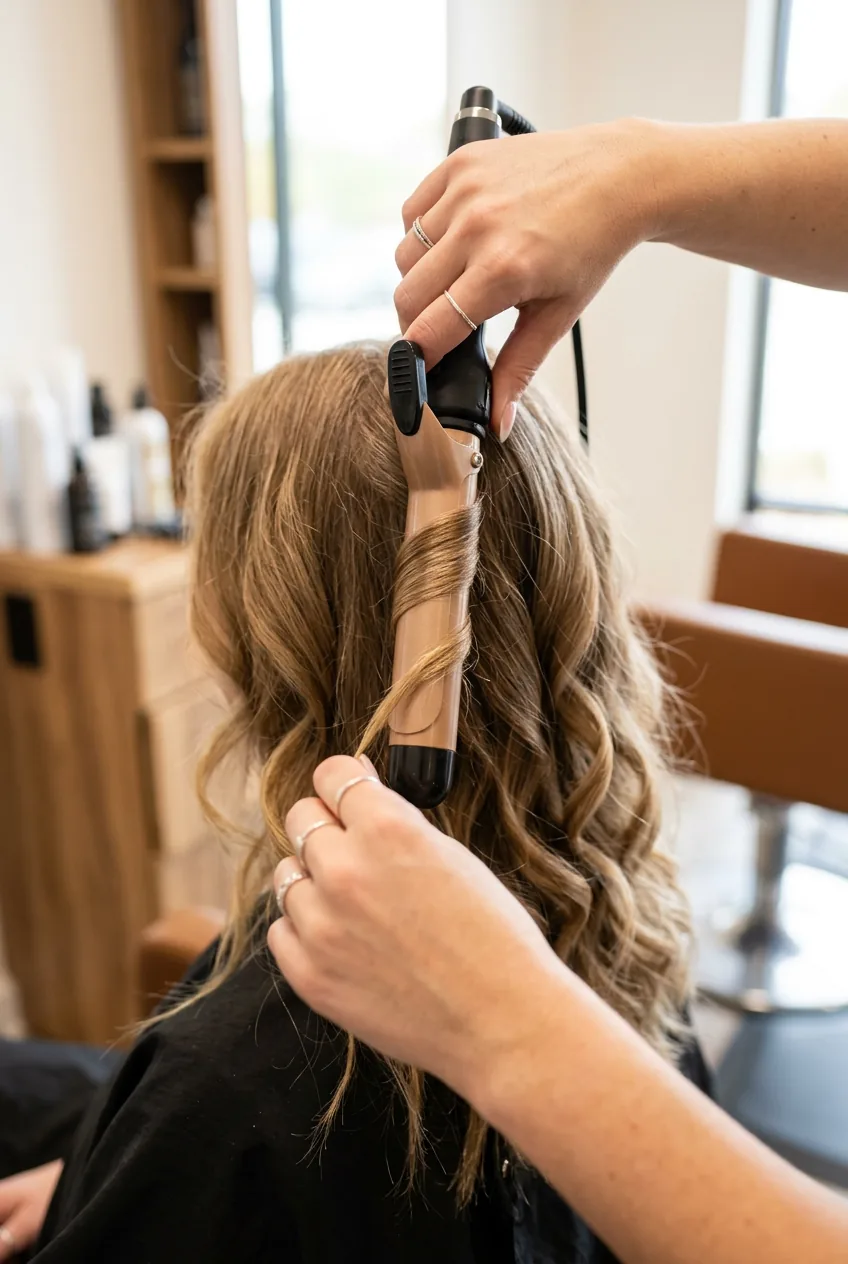
Here’s where everything clicked: I switched to a much larger curling iron. I know, I know — seems counterintuitive. Wouldn’t a smaller barrel give more curl?
But here’s the thing about wedding hair down styles — they’re not about tight curls. They’re about movement and softness. The 1.5-inch barrel gave me these gorgeous, loose waves that looked naturally effortless.
My curling technique completely changed too. Instead of wrapping hair around the barrel in uniform sections, I started varying the direction. Some pieces wrapped away from my face, others toward it. Some I wrapped loosely, others I held for a few extra seconds.
The result? Hair that looked like I’d spent the afternoon at the beach instead of standing in my bathroom with a curling iron.
The Texture Secret
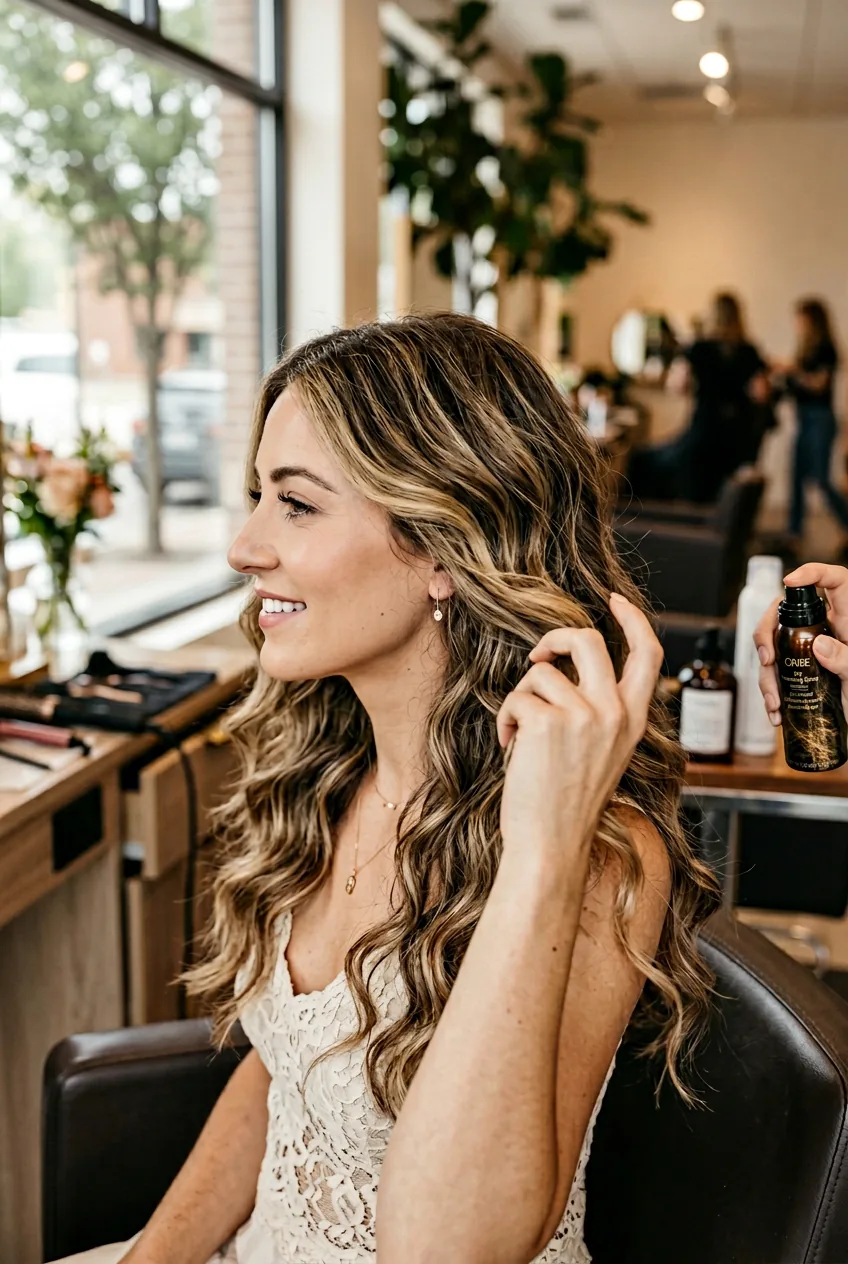
This is the step that took my hair from “nice” to “how did you DO that?” — the texture spray application. But timing is crucial here.
After curling each section, I let it cool completely in my palm before releasing it. This sets the curl memory. Then — and only then — I gently ran my fingers through to break up the curls slightly.
The texture spray goes on after everything is cooled and loosened. I hold it about 8 inches away and mist lightly, scrunching as I go. This is what gives you that piece-y, effortless texture that photographs so beautifully.
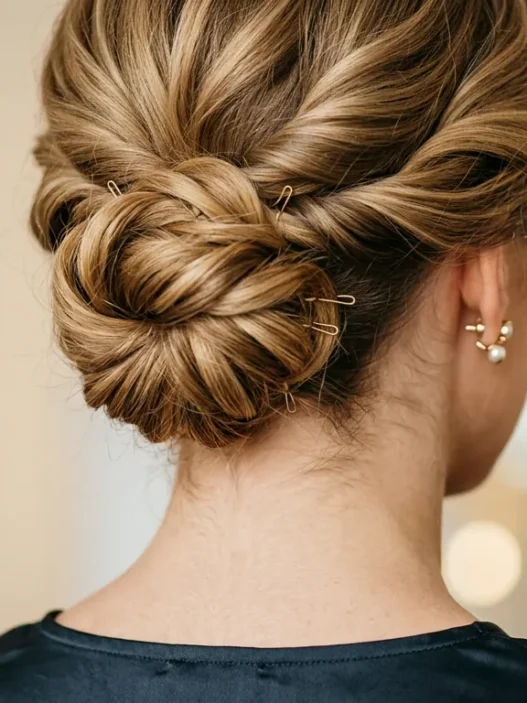
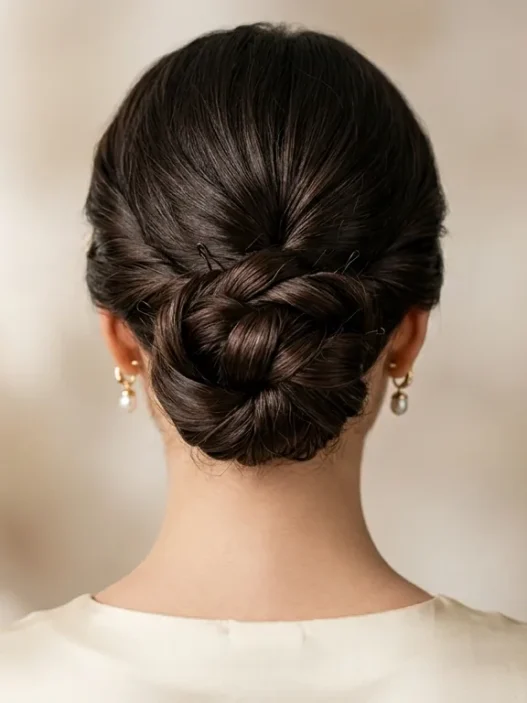
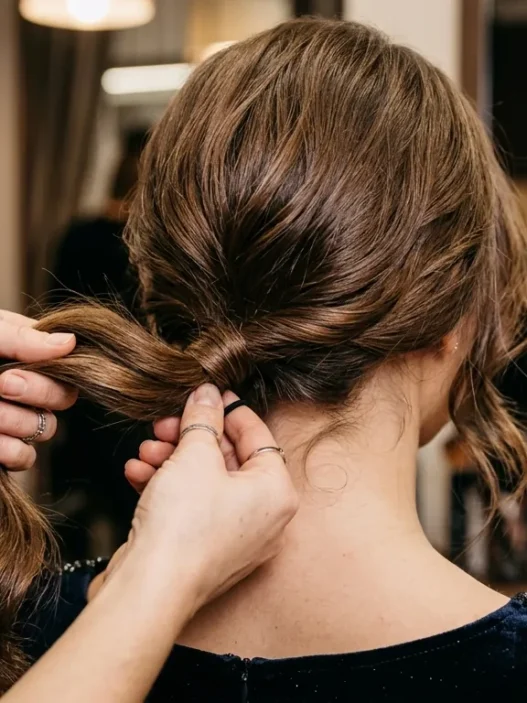
For the final touch, I gathered the top section very loosely and secured it with a clear elastic about halfway back, then gently tugged at the crown to create height. The key is making it look accidental — like you just twisted it up without thinking.
And here’s something I learned from watching wedding ponytail planning techniques — even with hair down styles, you need strategic bobby pins. I placed a few invisibly around my ears to keep pieces from falling forward during the ceremony.
The Final Result
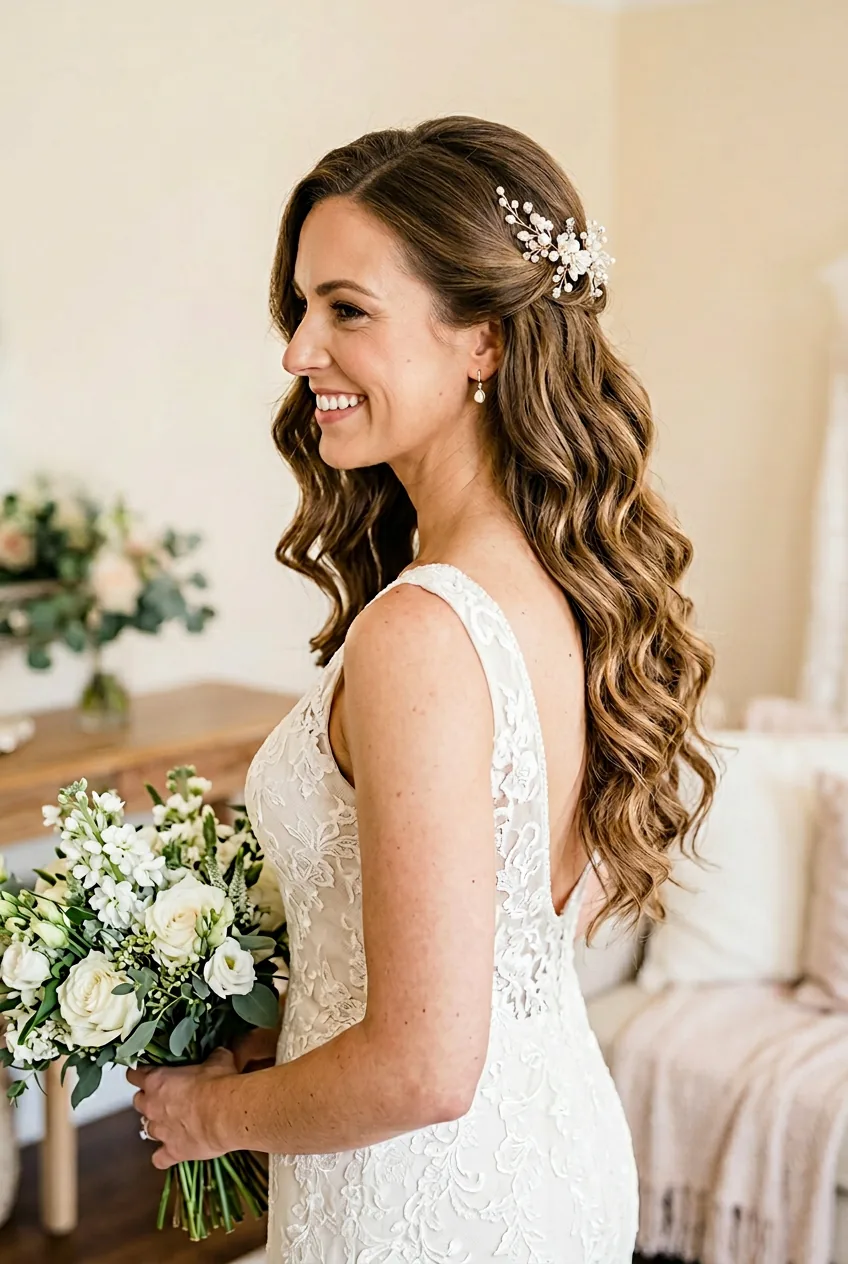
The morning of my wedding, I stood in front of the mirror and barely recognized myself. My hair had this incredible movement and bounce that lasted through twelve hours of celebrating. The style looked intentional but not overdone, romantic but not too precious.
What I loved most was how it felt like me. The elegant hair accessories I’d planned to add ended up staying in their box — the hair was beautiful enough on its own.
Looking back at the photos now, I can see exactly what those Pinterest brides had that I’d been missing: texture, movement, and that slightly undone quality that only comes from understanding your hair instead of fighting it.
The best part? I’ve recreated this look dozens of times since, for date nights and special occasions. Once you nail the foundation and technique, wedding-worthy hair down becomes surprisingly achievable.
Questions I Get About This Look
Will this work on really fine hair?
Yes! I have baby-fine hair and this method actually works better on fine hair than thick hair. The key is the mousse foundation and not over-styling. Fine hair shows texture beautifully once you know how to create it.
How long does it actually last?
With proper prep and the right products, this style lasted me a full 12-hour wedding day. The waves softened throughout the day but never went completely flat. For regular occasions, I typically get 6-8 hours of great hold.
Can I do this on freshly washed hair?
I wouldn’t recommend it. Day-old hair has just enough natural texture to grab onto products and hold curl better. If you must work with clean hair, use a texturizing shampoo and skip conditioner on your roots.
What if my hair is naturally curly?
Lucky you! You can skip the curling iron entirely and focus on enhancing your natural texture. Use the mousse method for definition, then scrunch with texture spray. The loose gathering technique works beautifully with natural curls.