


I spent three years fighting with shoulder length braids. They looked gorgeous on Instagram, disastrous on me. Every tutorial promised “effortless beauty,” but mine either looked too formal or fell apart by lunch. Then I realized something that changed everything — most of us are doing them completely wrong.
What You’ll Discover About Shoulder Length Braids
Why Most Shoulder Length Braids Fail
Here’s what nobody tells you about shoulder length braids: they’re the hardest length to get right. Too short, and they look choppy. Too long, and they drag your features down. Most people assume it’s about the braid technique itself — French versus Dutch versus rope. But that’s not the real issue.
The problem is proportion. When I finally understood this, everything clicked. Shoulder length sits right at the widest part of most body frames. If your braid placement is off by even an inch, it can make your shoulders look broader or your neck appear shorter. I learned this the hard way after months of trying to replicate braids I saw on Pinterest models who had completely different body proportions than me.
The second issue? Most tutorials assume you have thick, perfectly textured hair. I have fine hair that gets oily at the roots and dry at the ends. Following those standard techniques gave me braids that looked limp at the top and frizzy at the bottom. Sound familiar?
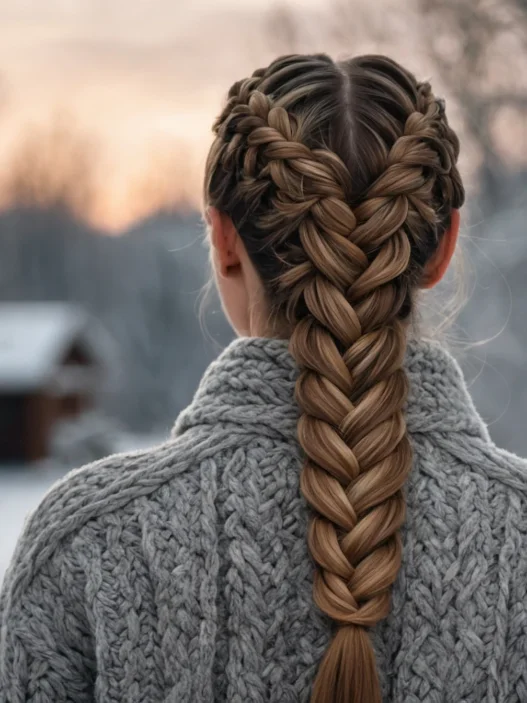
But here’s the thing that really frustrated me — everyone acts like shoulder length braids are “beginner friendly.” They’re not. They require more precision than longer braids because there’s less room for error. Every section matters. Every angle shows. Easy winter braids might work for other lengths, but shoulder length demands a different approach entirely.
Once I stopped trying to force techniques that weren’t designed for my hair type and body proportions, everything changed. The braids that looked effortless on others suddenly made sense on me too. But it took understanding why the standard advice wasn’t working first.
The Face Shape Science Nobody Talks About
Let me share something controversial: face shape rules for shoulder length braids are mostly backwards. Every guide tells round faces to avoid this length, but I’ve seen it look stunning on round faces when done right. The real factor isn’t your face shape — it’s where the braid sits in relation to your jawline and collarbone.
I tested this theory on myself and five friends with different face shapes. What I discovered changed how I think about braid placement entirely. The key is the “visual break” — where your braid creates the strongest horizontal line across your silhouette.
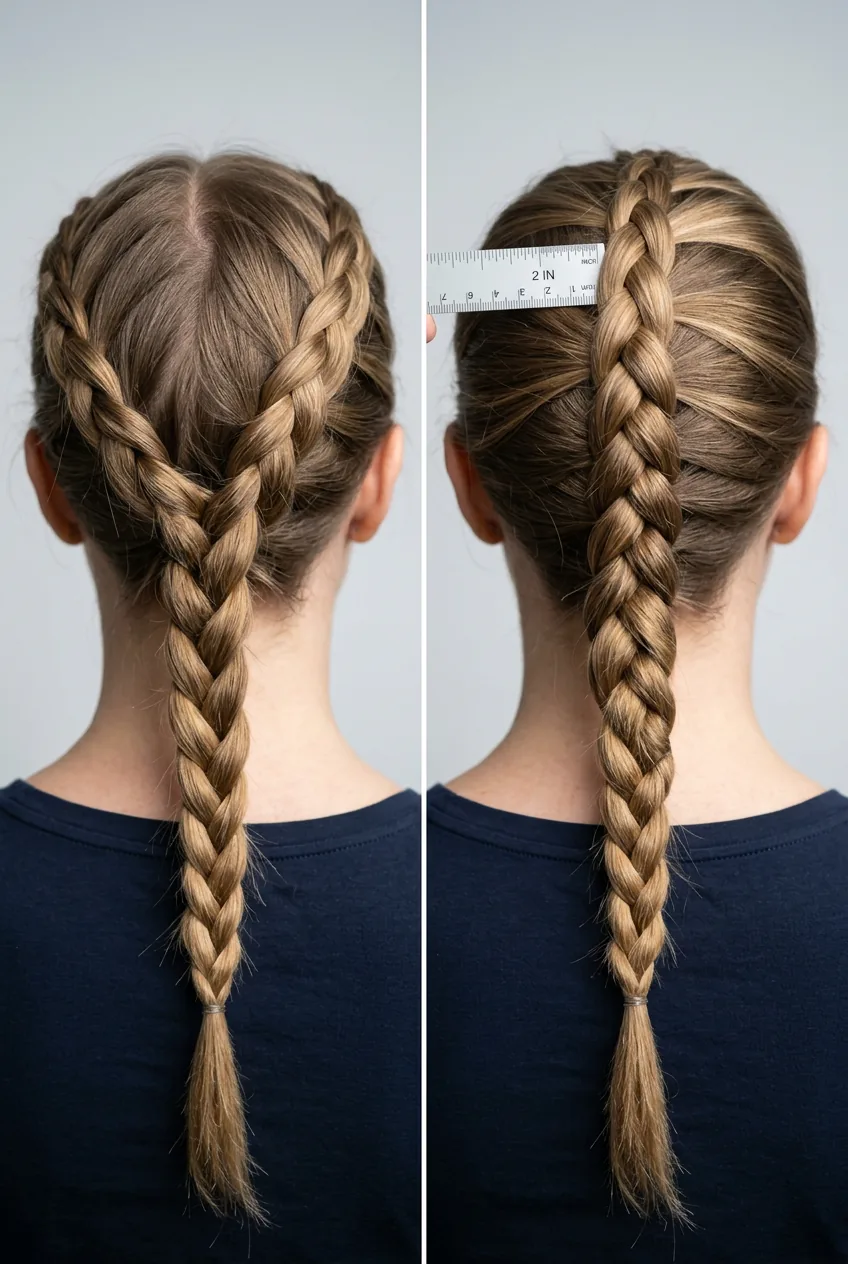
For heart-shaped faces, the magic happens when the braid ends hit exactly at the collarbone hollow. This balances the wider forehead with the narrower chin. But if it ends two inches higher or lower, the proportions look off. I spent hours with a measuring tape figuring out these exact placements.
Square faces need the opposite approach. The braid should end slightly below the collarbone to soften those strong jaw angles. And here’s what surprised me most — oval faces, supposedly the “perfect” face shape, actually look best when the braid has some asymmetry. A perfectly centered shoulder length braid can look too formal on oval faces.
Round faces? They need volume at the crown and the braid pulled slightly to one side. Never center-parted, never perfectly symmetrical. Professional styling guides will tell you otherwise, but I’ve seen the difference firsthand.
Long faces are the trickiest. The shoulder length can emphasize the length unless you create width through the braiding technique itself. This means looser, messier braids that add horizontal volume rather than sleek, tight ones that create vertical lines.
Texture Makes or Breaks Everything
This is where I got really frustrated with standard braid tutorials. They’re written for medium-thick, slightly wavy hair. But what if you have baby-fine strands? Or coarse, resistant hair? Or that weird combination where your hair is fine but dense?
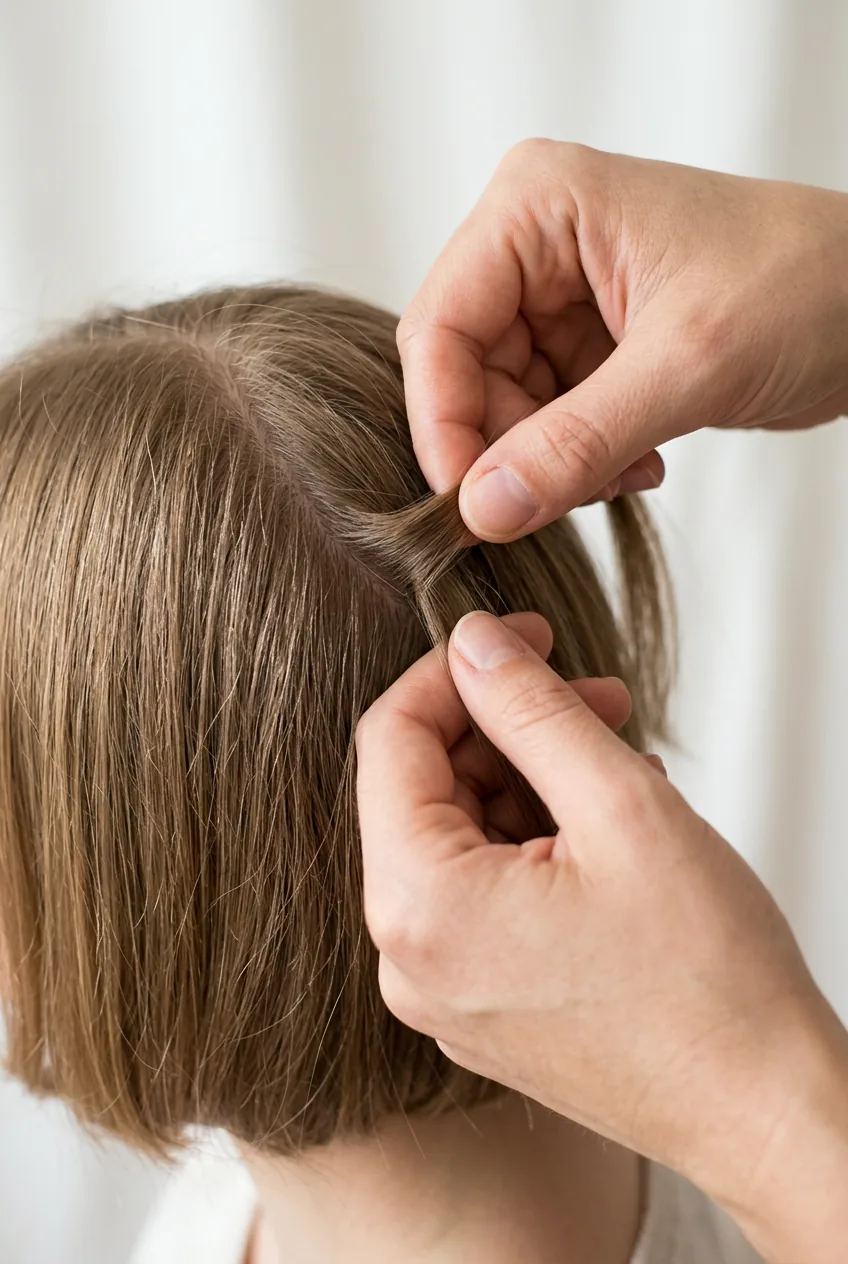
Fine hair needs what I call “the grip technique.” You can’t braid it the same way as thick hair because the sections slip and the finished braid looks stringy. I learned to use texturizing spray at the roots and mid-lengths, but never on the ends where it makes fine hair look dry and damaged.
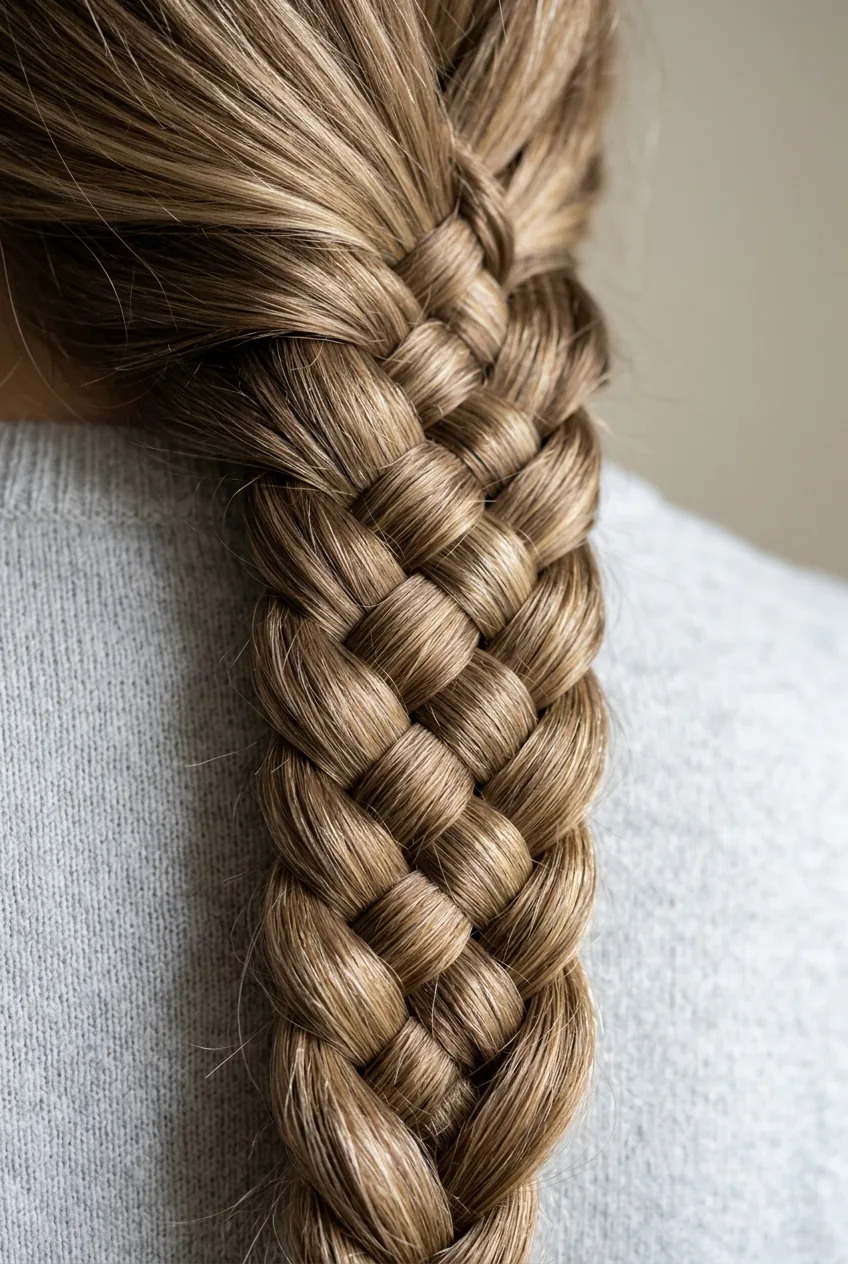
The sectioning is different too. Instead of three equal sections, fine hair needs a 40-30-30 split — slightly more hair in the center section to create the illusion of thickness. It’s a subtle difference, but it makes shoulder length braids on fine hair actually look intentional instead of accidental.
Thick hair has the opposite problem. Standard braiding creates these massive, rope-like braids that overwhelm the shoulder length proportions. The solution isn’t tighter braiding — it’s strategic sectioning. Take smaller pieces than you think you need. The braid will still look full, but it won’t dominate your entire silhouette.
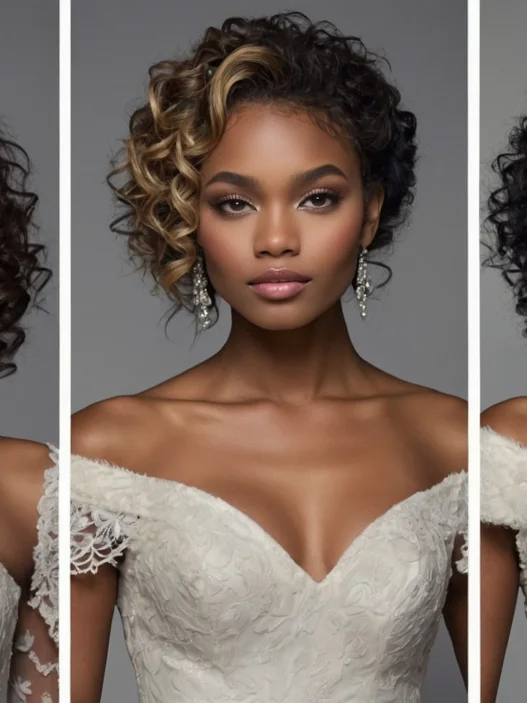
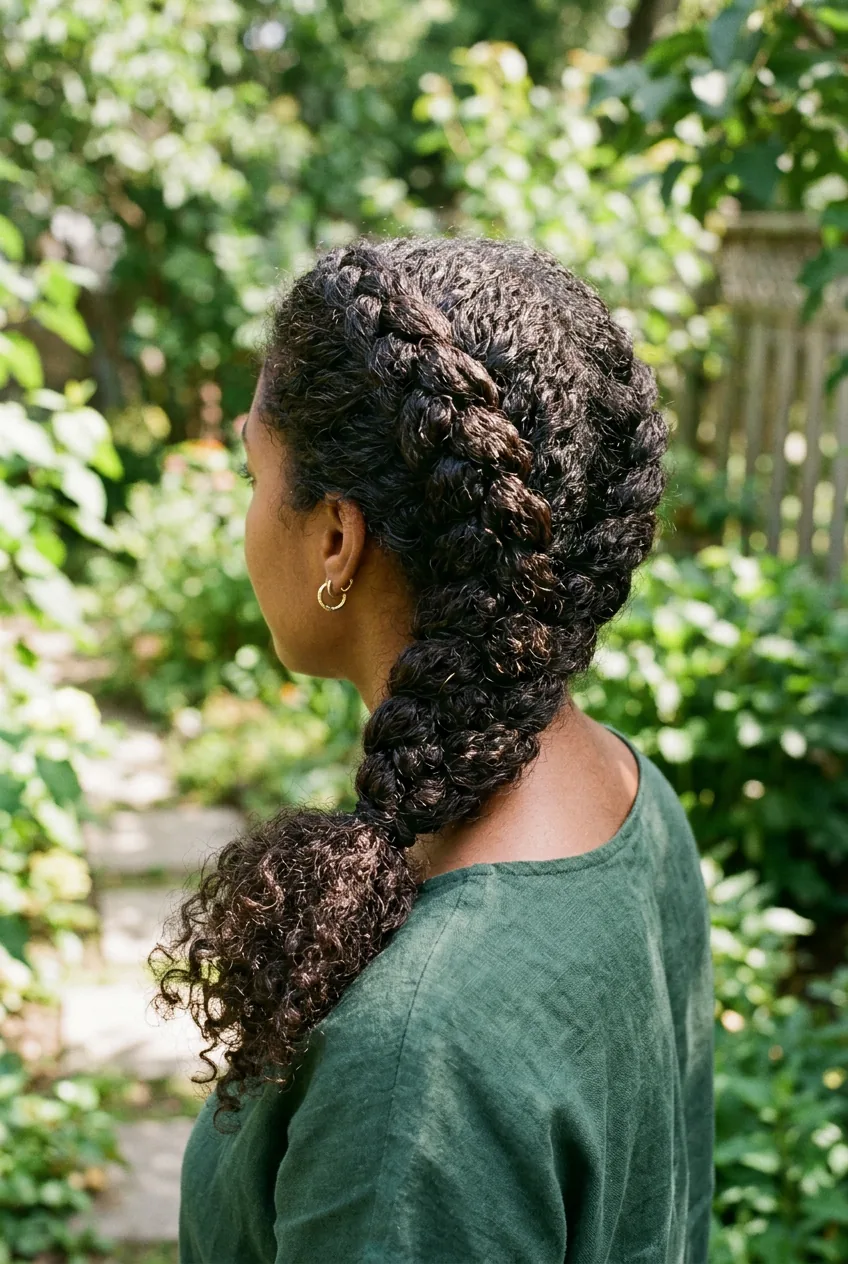
Curly hair is the wild card. The texture changes everything about how the braid sits and moves. I’ve watched friends with 3c curls create stunning shoulder length braids by embracing the texture instead of fighting it. They don’t try to smooth every strand — they let the natural curl pattern add interest and movement.
Straight hair presents a different challenge entirely. Without natural texture to grip onto, the braids can look too perfect and formal. The trick is creating artificial texture through technique — varying the tightness as you braid, pulling apart some sections after finishing, or incorporating small twists within the larger braid structure.
This Technique Finally Clicked for Me
The Placement Rules That Actually Work
After months of experimentation, I’ve developed what I call the “three-point system” for shoulder length braid placement. Forget everything you’ve heard about “just letting it fall naturally.” Shoulder length braids need intentional placement to look their best.
Point one: The starting position. Most people start their braids too high. The optimal starting point is two inches below the crown, not at the very top of your head. This creates better proportions and prevents that “pulled back too tight” look that ages you.
Point two: The angle of pull. This one took me forever to figure out. You’re not pulling straight back — you’re pulling at a 15-degree angle toward your opposite ear. So if you’re braiding on the right side, you pull toward your left ear. It sounds weird, but it creates a more natural line that follows your head shape.
Point three: The finish position. Here’s where I see most people go wrong. They secure the braid wherever it naturally ends. But shoulder length braids need to end at specific points for optimal face-framing. For most face shapes, that’s exactly at the point where your neck meets your shoulder — not on the shoulder itself, not above it.
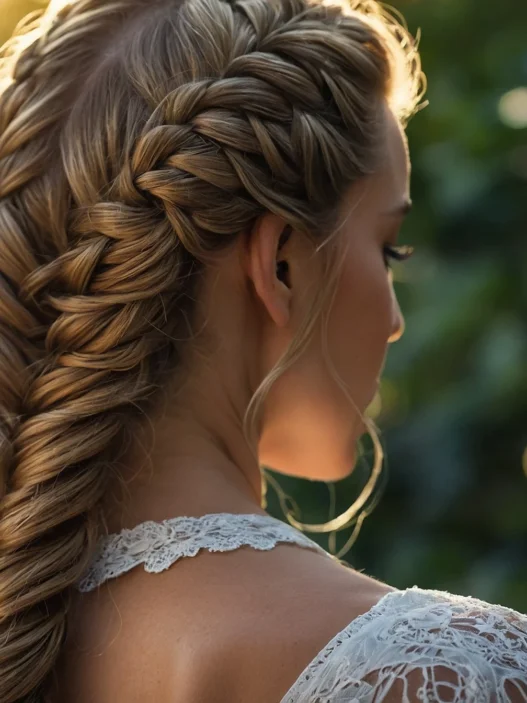
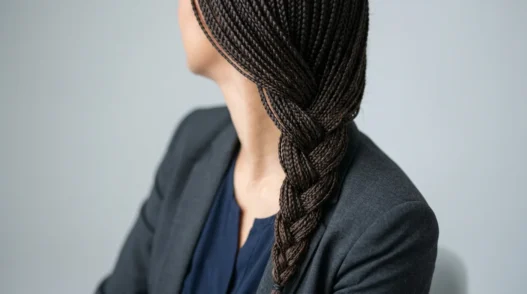
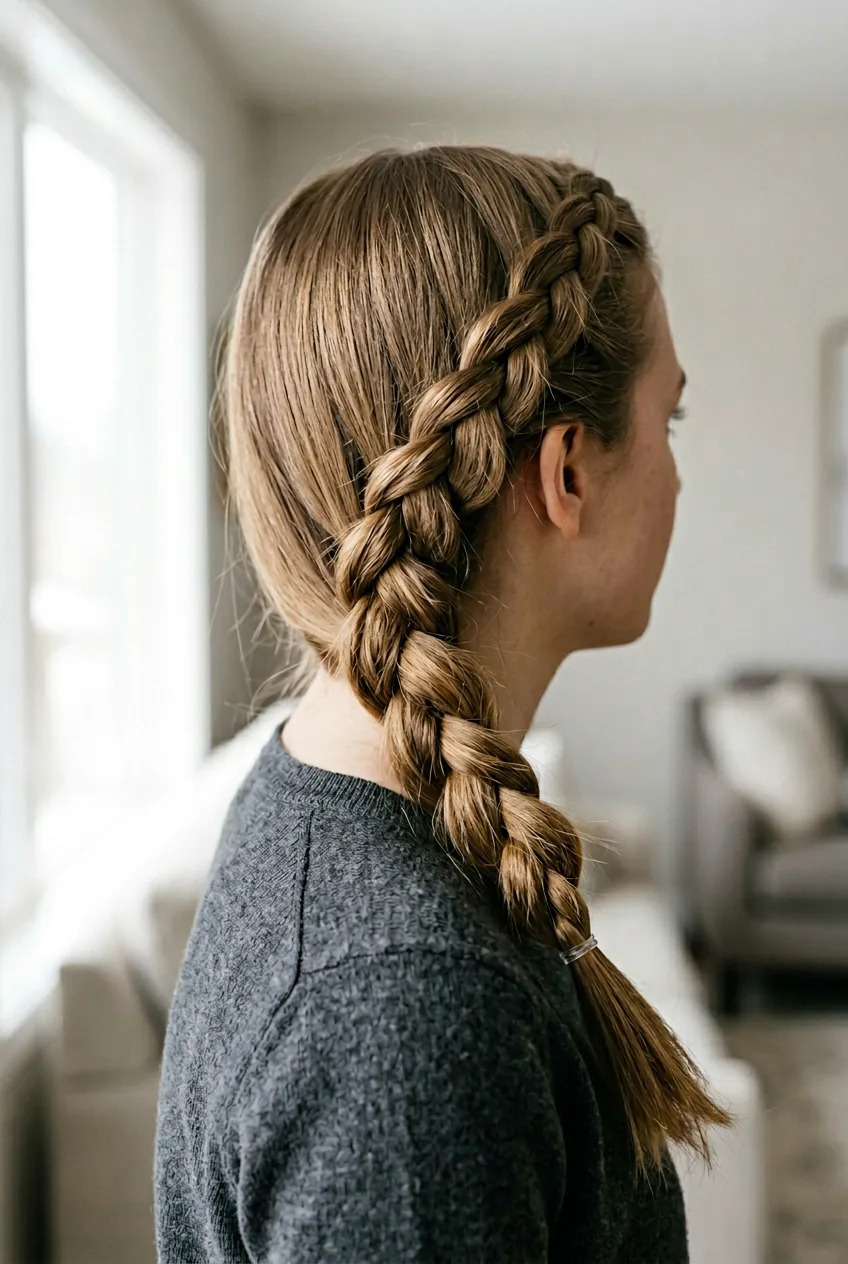
The side placement matters more than most tutorials admit. A true side braid should start with a deep side part — think 70-30, not 60-40. Anything less dramatic looks unfinished at shoulder length. And the braid should cascade over your stronger shoulder (usually your dominant hand side) to create the most flattering silhouette.
For center braids, which I honestly think are the hardest to pull off at shoulder length, the key is perfect symmetry in the starting sections but intentional asymmetry in the finishing. Let one side fall slightly forward, the other slightly back. It breaks up that too-perfect line that can look severe.
Multiple braids change all these rules. Two shoulder length braids need to be positioned differently than one. They should start wider apart and angle slightly inward as they progress. This creates a more balanced frame around your face instead of two competing vertical lines.
What The Hair Industry Gets Wrong
Here’s my most controversial opinion: the hair industry markets shoulder length braids all wrong. They sell them as low-maintenance, when they’re actually higher maintenance than longer braids. They sell them as “universally flattering,” when they require more customization than any other length.
The biggest lie? That shoulder length braids work with “any hair type.” This is marketing nonsense. They work brilliantly on some hair types and require significant modification on others. I wish someone had told me this before I spent months wondering why my braids never looked like the photos.
Stylists often default to shoulder length braids because they photograph well and look “safe.” But safe doesn’t mean optimal. I’ve seen too many women stuck with shoulder length braids that don’t suit their lifestyle, face shape, or hair texture simply because their stylist suggested it as a compromise length.
The refresh schedule is another area where the industry misleads people. Shoulder length braids need touch-ups every 6-8 weeks, not the 10-12 weeks you might get with longer styles. The proportions shift as your hair grows, and what looked perfect initially can look awkward surprisingly quickly.
Product recommendations are often wrong too. Heavy oils and creams that work beautifully on longer braids can weigh down shoulder length styles. Lightweight styling products are essential, but most braid tutorials don’t mention this crucial detail.
And here’s something that really bothers me — the assumption that shoulder length is a “stepping stone” length. Like you get shoulder length braids while you’re “growing out” your hair or “deciding what to do next.” This mentality means people don’t commit to making shoulder length braids work for them. They treat it as temporary, so they don’t invest the time to perfect the techniques.
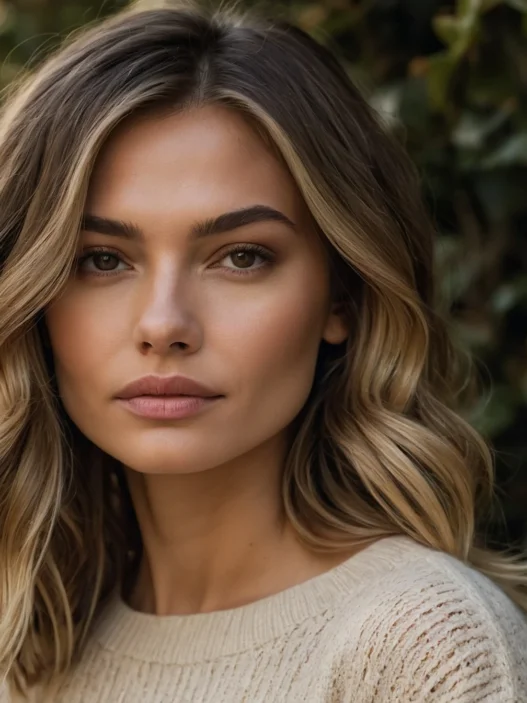
But when you approach shoulder length braids as an intentional choice — understanding the placement rules, respecting your hair texture, and customizing the technique for your face shape — they can be absolutely stunning. More dynamic than longer braids, more sophisticated than shorter ones. Vibrant balayage ideas shoulder length can add even more dimension to this already complex length.
The truth is, shoulder length braids are for people who want to make a statement without shouting about it. They’re quietly confident. Effortlessly put-together. But only when they’re done right.
Questions I Get About This
Do shoulder length braids work for professional settings?
Absolutely, but technique matters. Sleeker braids with minimal flyaways read as more professional than textured, messy styles. I’d avoid overly intricate braiding patterns for conservative workplaces and stick to classic French or Dutch braids.
How long does shoulder length hair need to be for braiding?
Your hair should reach at least 2 inches past your shoulders when straight. Any shorter and the braid won’t have enough length to create proper proportions. If you’re right at shoulder length, wait another 6-8 weeks before attempting these techniques.
Can you sleep in shoulder length braids?
Yes, but use a silk pillowcase and don’t braid them too tightly. Shoulder length braids are more likely to create weird kinks overnight than longer ones, so I usually redo mine in the morning rather than trying to preserve them perfectly.
What’s the biggest mistake people make with this length?
Treating it like longer hair. The techniques are different, the proportions are different, and the maintenance schedule is different. Most people try to apply long-hair braiding rules to shoulder length and wonder why it doesn’t work.
Shoulder length braids aren’t the compromise solution the beauty industry makes them out to be. They’re a specific technique requiring specific knowledge. Once you understand the real rules instead of the marketing myths, they become one of the most versatile and flattering styles you can master.