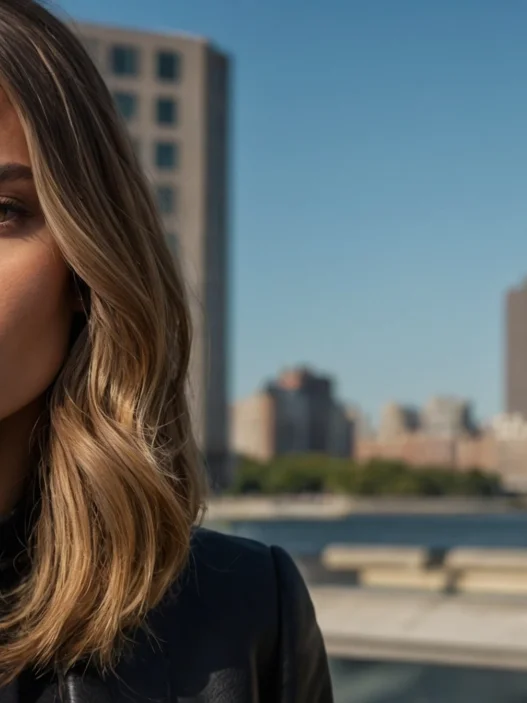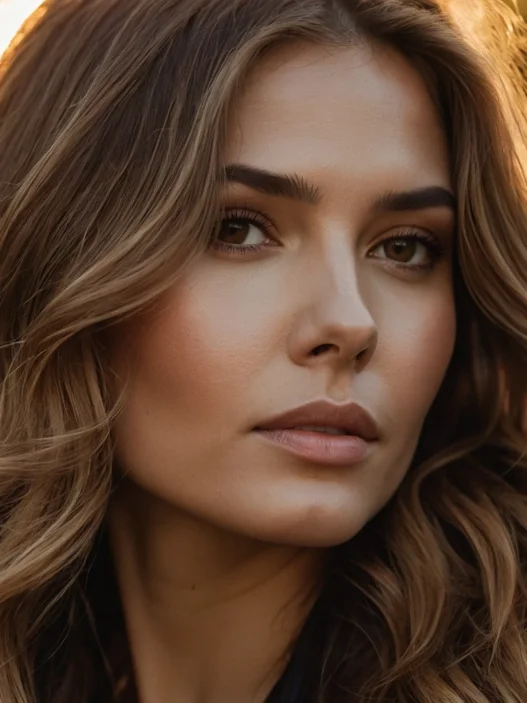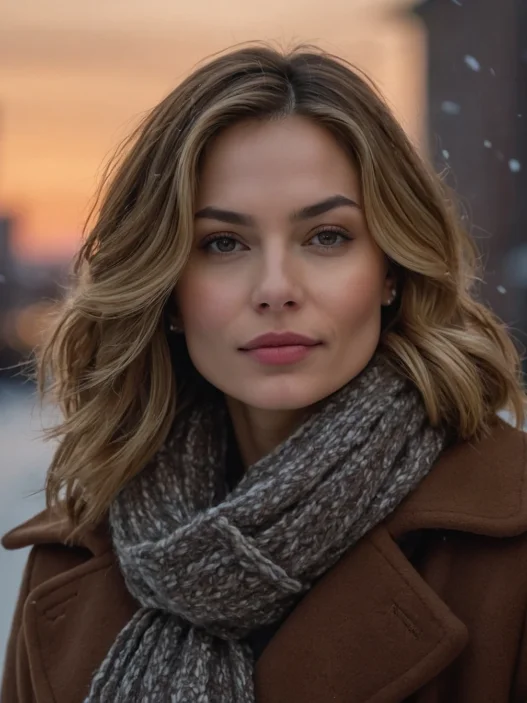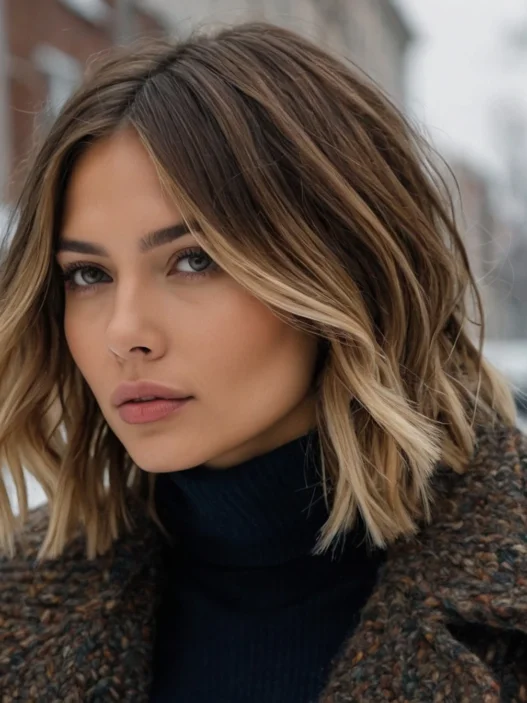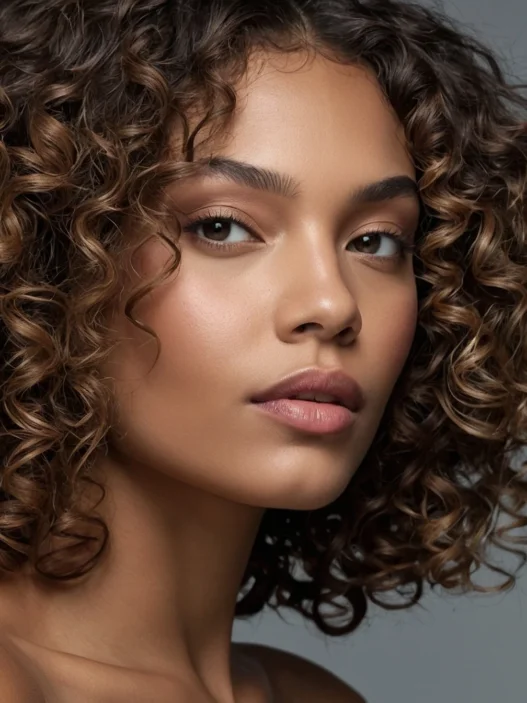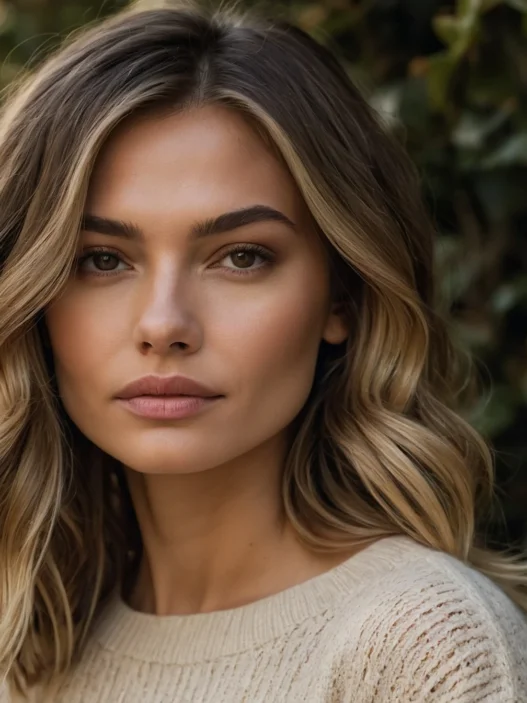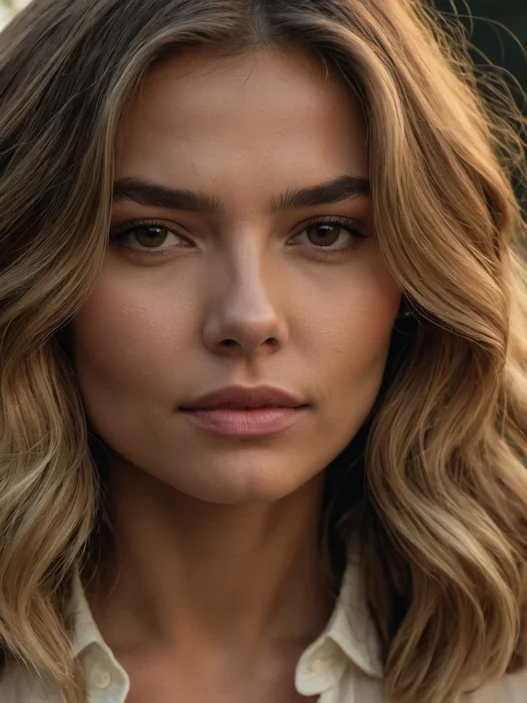







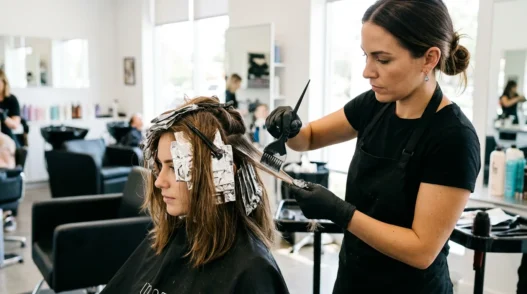
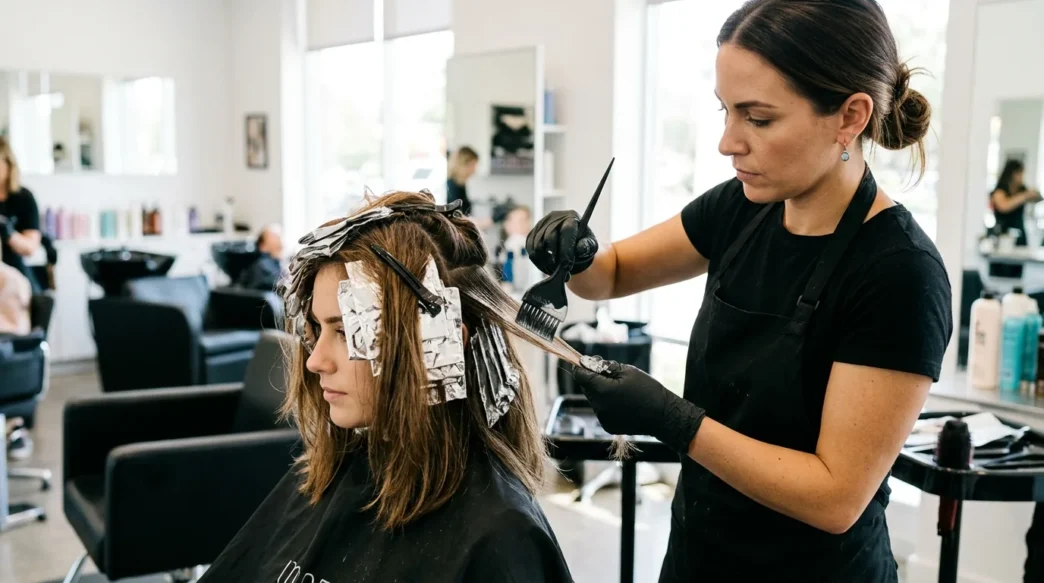
I used to wonder why my DIY balayage attempts never looked like the gorgeous lob styles I saw on Instagram. The highlights were too chunky, the blend wasn’t seamless, and honestly? It just looked amateur. Then I shadowed my colorist for an afternoon and discovered the one technique that changes everything.
The difference isn’t expensive products or magic formulas. It’s about understanding how professionals think about color placement on a lob cut specifically. Most at-home tutorials treat balayage like a one-size-fits-all technique, but lobs need a completely different approach to look natural and dimensional.
What Professionals Do Differently
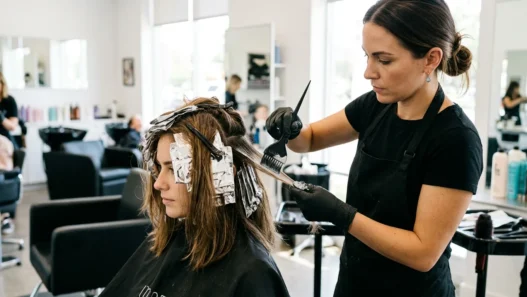
Here’s what I learned watching my colorist work: she doesn’t paint balayage highlights randomly. Every stroke follows the natural movement of my lob cut. The key insight? Lob styles have specific angles and layers that need color placement to enhance their shape, not fight against it.
Professional colorists also work in much smaller sections than most home tutorials suggest. They’re creating a map of light that follows how your hair naturally falls and moves. This creates that effortless, sun-kissed look that screams expensive salon work.
The other game-changer? They never go more than two shades lighter in one session. That gradual approach is what makes balayage look natural instead of stripey. Professional colorists understand that beautiful balayage is built over multiple sessions, not rushed in one afternoon.
Essential Tools for Home Balayage
Before we dive into the technique, let’s talk about what you actually need. I’ve tried this with drugstore supplies and salon-grade products, and honestly? The tools matter more than the brand names.
- Balayage board (or clean cutting board as backup)
- Tint brush with angled tip
- Foil sheets cut into 4-inch strips
- Tail comb for precise sectioning
- Hair clips (at least 6)
- Lightener powder and developer (20 vol max)
- Toner in your desired shade
- Deep conditioning treatment
- Timer (your phone works fine)
The balayage board is non-negotiable if you want professional results. It gives you control over pressure and lets you see exactly how the color is developing. And those foil strips? They’re not for wrapping — they’re for isolating sections so colors don’t bleed into each other.
Step 1: Strategic Color Placement
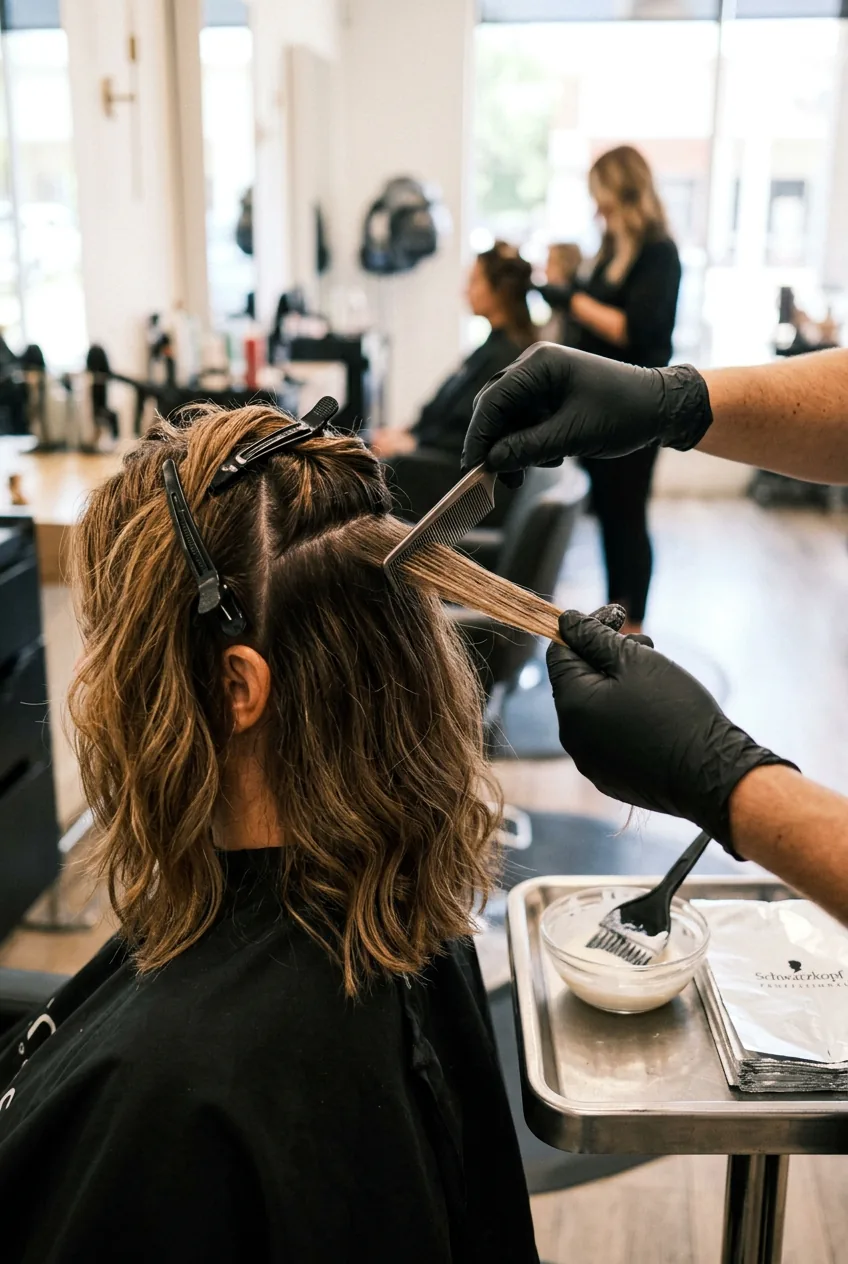
Start with clean, dry hair that hasn’t been washed for at least 24 hours. Your natural oils create a protective barrier that prevents over-processing. Section your lob into four quadrants — two in front, two in back — and clip everything except the back bottom section.
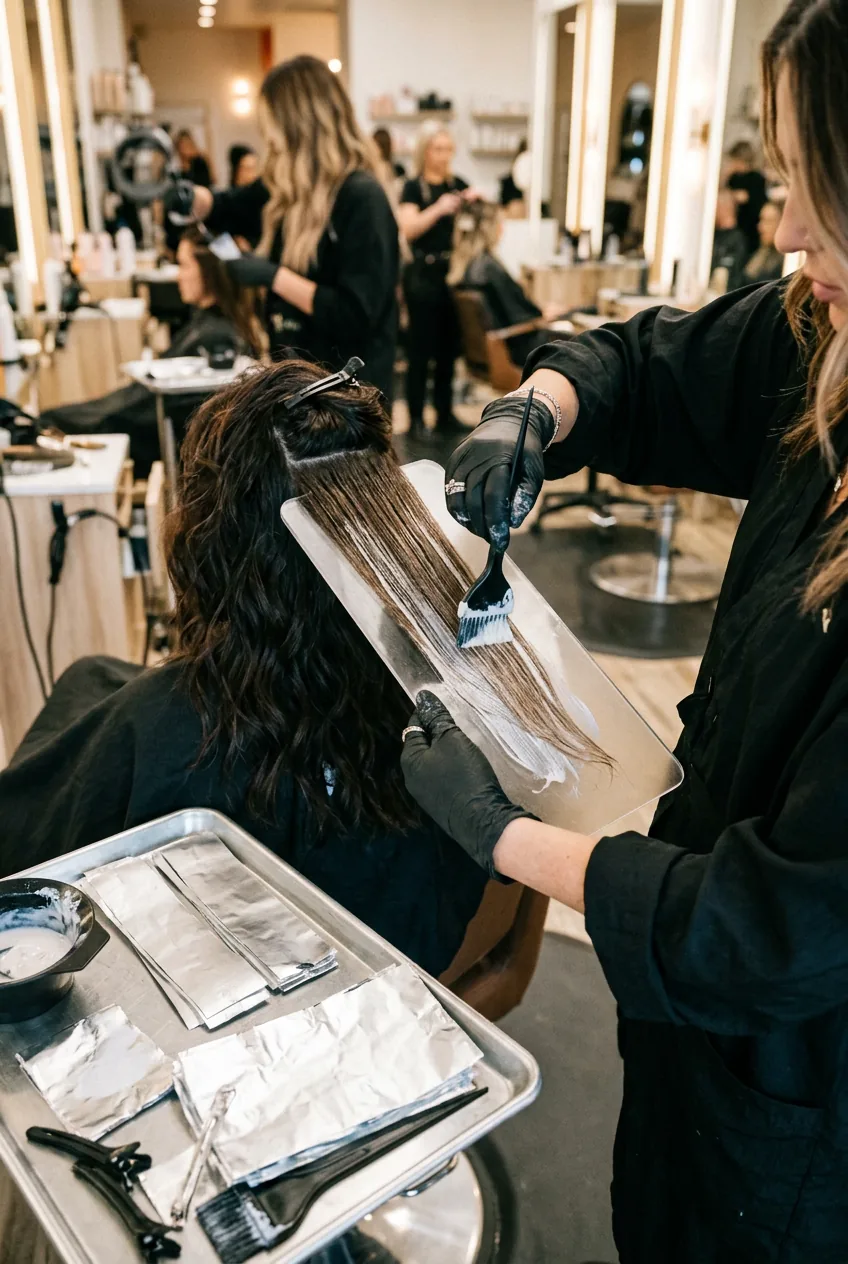
Here’s where the magic happens: you’re not highlighting every strand. Focus on the pieces that naturally catch light when you move your head. For lobs, this means the face-framing layers, the underneath sections that peek out when hair moves, and strategic pieces throughout the mid-lengths.
Take vertical sections about half an inch wide and twice as thick as a pencil. The key is inconsistency — vary the spacing between highlighted sections so it looks natural. Professional colorists call this “breaking up the pattern,” and it’s what prevents that streaky, DIY look.
Step 2: The Foiling Technique
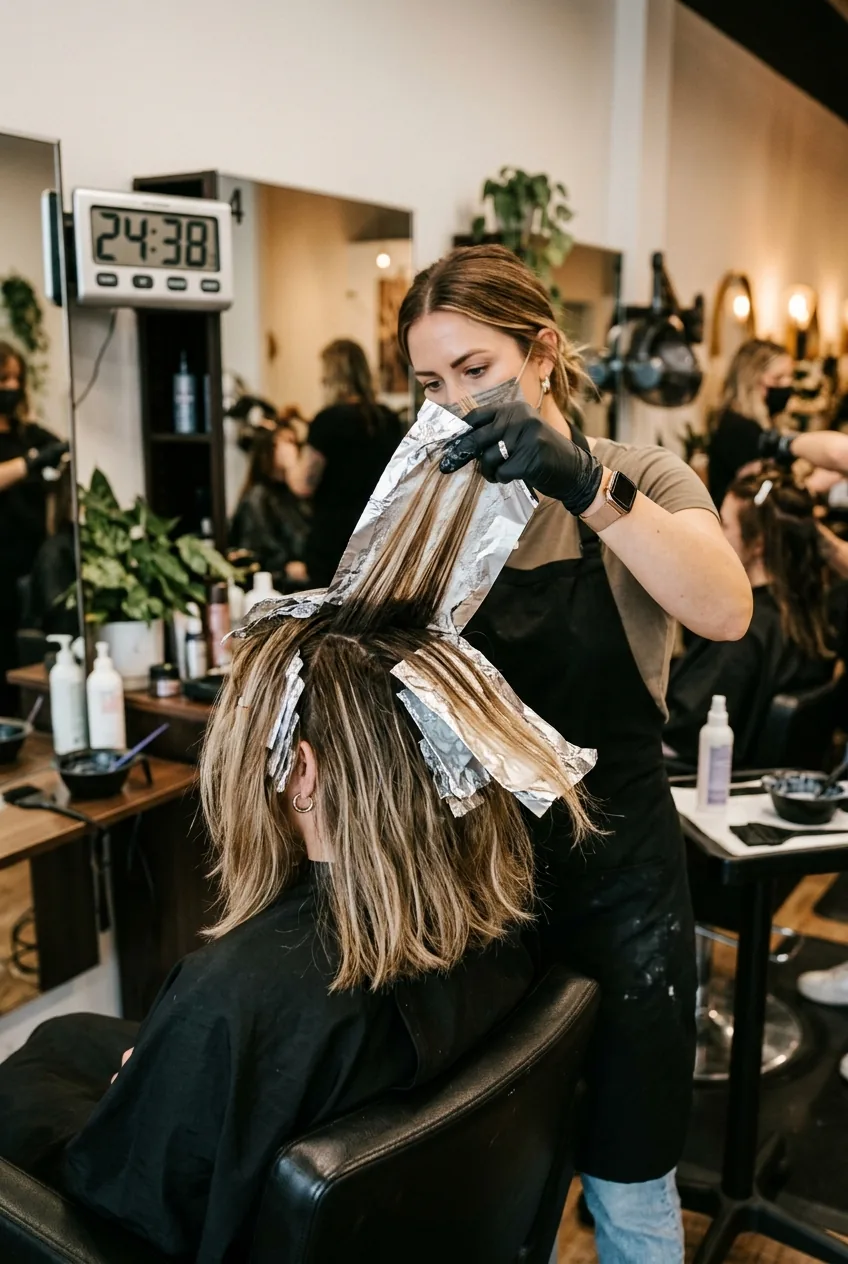
Place your balayage board under the section you’re working on. This is where most people mess up — they paint the lightener too close to the roots. Start your application about 2 inches down from the scalp and paint downward in quick, confident strokes.
The pressure matters. Press firmly enough to saturate the hair but not so hard that you’re grinding lightener into the cuticle. Think of it like watercolor painting — you want coverage without overworking the section.
I learned this the hard way during my second attempt. I kept going over the same sections trying to make them “perfect,” and ended up with fried, uneven results. The lesson? Commit to your brush stroke and move on.
Once you’ve painted a section, fold the foil over it — not to create heat, but to prevent the lightener from touching other hair. Work systematically through each quadrant, always starting with the back sections since they take the longest to lighten.
Step 3: Processing and Timing
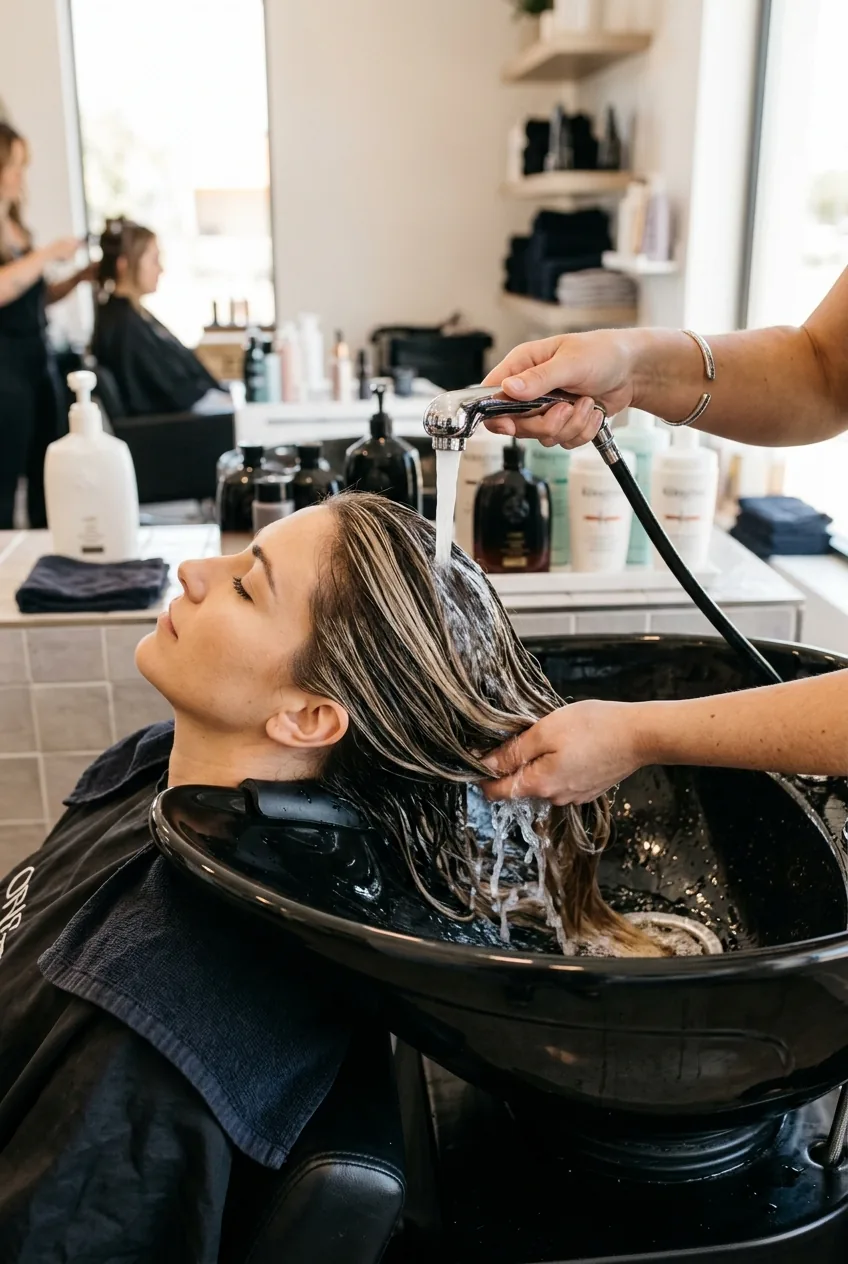
Set your timer for 15 minutes, then check your first section. You’re looking for a pale yellow color — not white, not brassy orange. The processing time varies based on your natural color, but most people need 20-35 minutes total.
Here’s a pro tip I wish I’d known earlier: check every section individually. Hair lightens at different rates depending on its position on your head and its natural porosity. The pieces around your face usually process faster because they’re more damaged from styling tools and sun exposure.
Don’t chase platinum on your first session. That pale yellow stage is perfect for toning to a beautiful golden or ash blonde. Pushing lightener too far is how you end up with breakage and an expensive salon fix.
Step 4: The Rinse and Tone
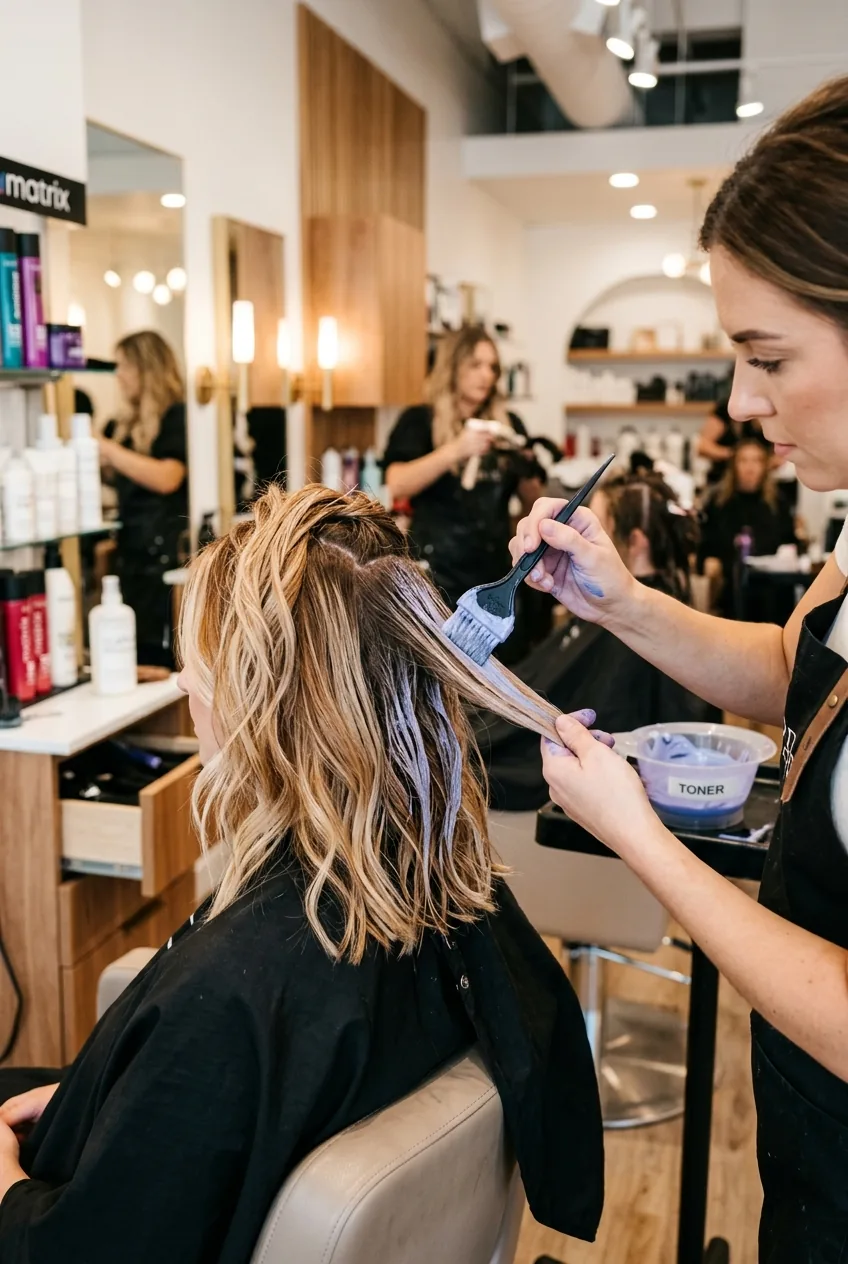
Rinse with lukewarm water until the water runs clear. Your hair will look brassy at this stage — that’s completely normal. This is where toner becomes your best friend. Mix your toner according to the package directions, usually with a 10 or 20 volume developer.
Apply the toner only to the lightened sections, working quickly but thoroughly. The goal is to neutralize unwanted yellow or orange tones and create your desired blonde shade. Most toners process in 10-20 minutes, but keep checking every 5 minutes.
When the toner has done its job, rinse again and follow immediately with a deep conditioning treatment. Your hair just went through a chemical process, and this step prevents dryness and keeps your new color looking vibrant.
Step 5: Final Styling for Maximum Impact
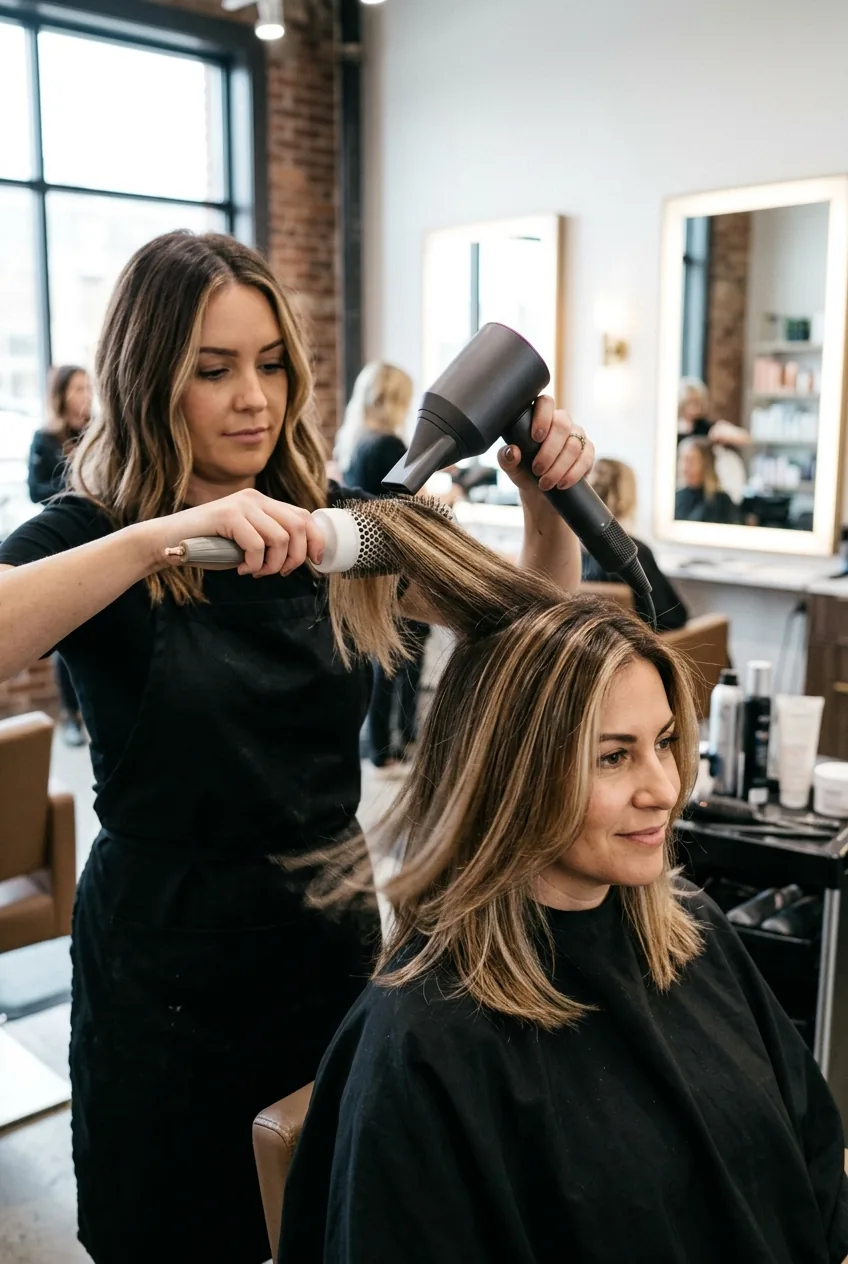
The final styling step is where your balayage lob really comes to life. Apply a heat protectant and blow-dry using a round brush, lifting at the roots to enhance the natural movement of your cut. The dimensional color will catch the light beautifully as you style.
For maximum impact, add loose waves using a large barrel curling iron. The interplay between the natural lob shape and the dimensional balayage creates that expensive, salon-fresh look. Focus the waves on the mid-lengths where most of your highlights live.
Finish with a light-hold texturizing spray. This enhances the natural movement that makes balayage so gorgeous and helps your color appear more multidimensional. Trust me — this final step makes all the difference between amateur and professional-looking results.
What People Usually Ask
Can I do this technique on previously colored hair?
Yes, but you’ll need to be more cautious with timing and developer strength. Previously colored hair can be unpredictable, so start with a strand test in a hidden area first.
How often should I touch up my lob balayage?
The beauty of balayage is its low maintenance. You can typically go 3-4 months between touch-ups since the grow-out is gradual and natural-looking.
What if my highlights turn out too brassy?
Brassy results usually mean you need a stronger toner or longer processing time. Purple shampoo can help maintain cool tones between salon visits, but for major brassiness, you’ll need professional toner.
Is this technique safe for damaged hair?
If your hair is already compromised, I’d recommend waiting until it’s healthier or consulting a professional. Lightener can cause further damage to already fragile hair.
After following this technique, my lob balayage looked like I’d spent $300 at the salon. The color was seamless, natural, and perfectly suited to my cut’s natural movement. More importantly, it held up beautifully as it grew out — exactly what professional balayage should do.