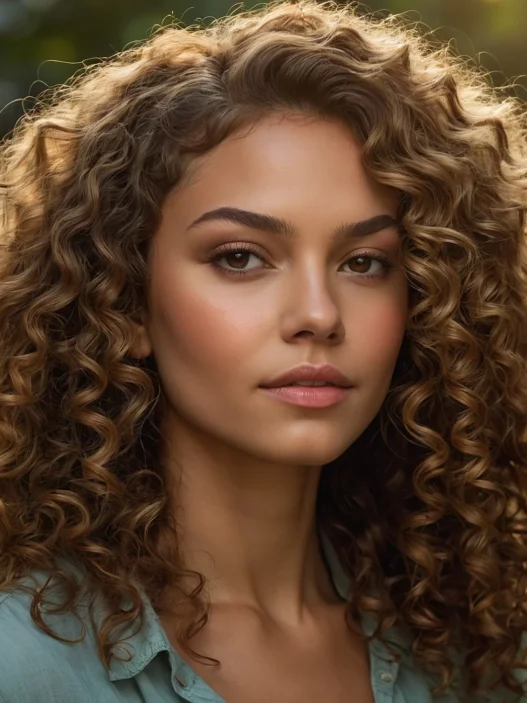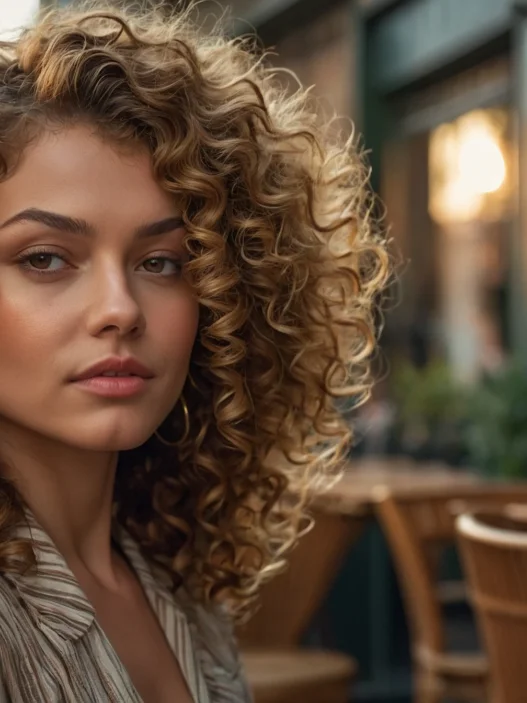









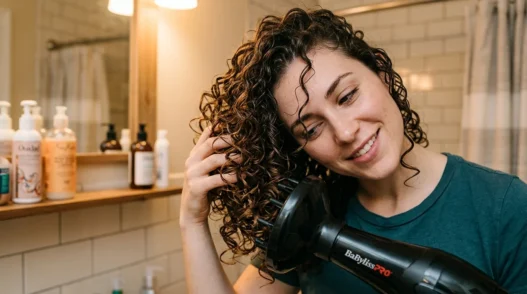
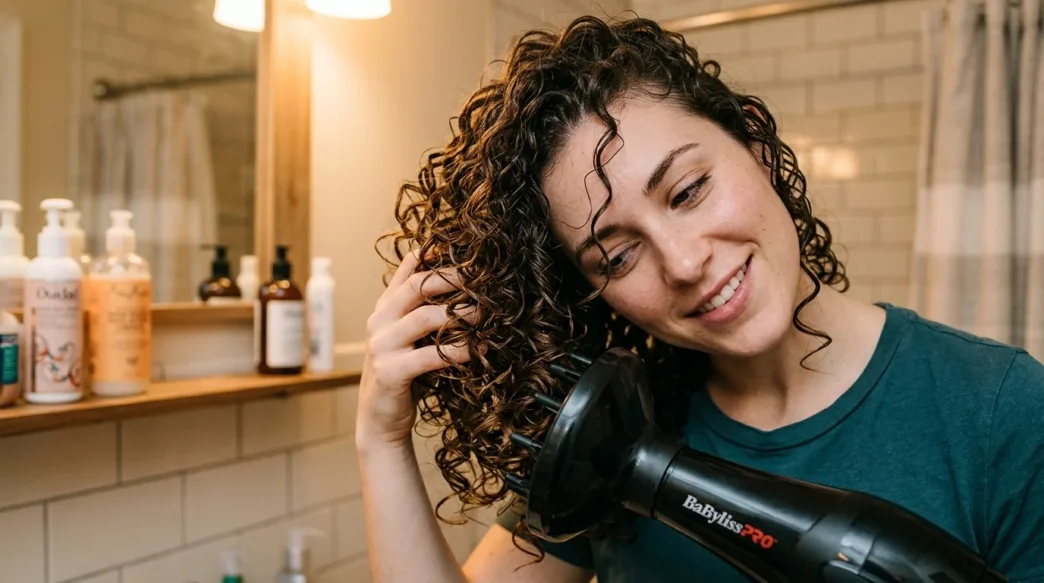
I spent years thinking my thin curly hair was just hopeless. It would either look flat and greasy, or frizzy and undefined — never the bouncy, voluminous curls I saw on other people. Every morning felt like a battle I was destined to lose. Then I discovered this method that completely changed everything.
What’s Inside This Curl Game Plan
What Was Going Wrong
For the longest time, I was doing everything backwards. I’d towel dry my hair first, then add products to damp hair, then try to scrunch some life into it. The result? Limp, stringy curls that had zero volume and looked like I hadn’t washed my hair in days.
Sound familiar? Most of us with thin curly hair make the same mistakes. We’re so worried about weighing down our delicate curls that we use too little product, or we rough up the hair cuticle with regular towels, or we blast it with heat thinking that’ll give us volume.
But here’s what I learned: thin curly hair isn’t just about having less hair. It’s about having hair that’s more fragile and needs a completely different approach than thick curls.
The Root Cause Most People Miss
The real problem isn’t that we don’t have enough hair — it’s that we’re disrupting the curl formation process. Thin curls are delicate little spirals that need moisture and gentle handling to clump together properly. When we towel dry or apply products to partially dry hair, we break up those natural curl families.
I used to think the solution was using lighter products or less product overall. Wrong! Thin curly hair actually needs MORE moisture and MORE product than I ever imagined. It just needs to be applied at exactly the right time and in exactly the right way.
The magic happens when your hair is soaking wet and every strand is primed to form perfect spirals. That’s when this method works its magic.
What You’ll Need
Here’s what I keep in my bathroom cabinet for perfect curls every time:
- A lightweight curl cream (I love ones with glycerin for thin hair)
- Strong-hold gel — don’t skimp on this
- Microfiber hair towel or cotton t-shirt
- Wide-tooth comb
- Hair diffuser attachment
- Blow dryer with multiple heat settings
- Hair clips for sectioning
The key is having products that work together, not against each other. I spent way too much money on products that promised the world but left my hair looking worse than when I started.
Step 1: Start With Soaking Wet Hair
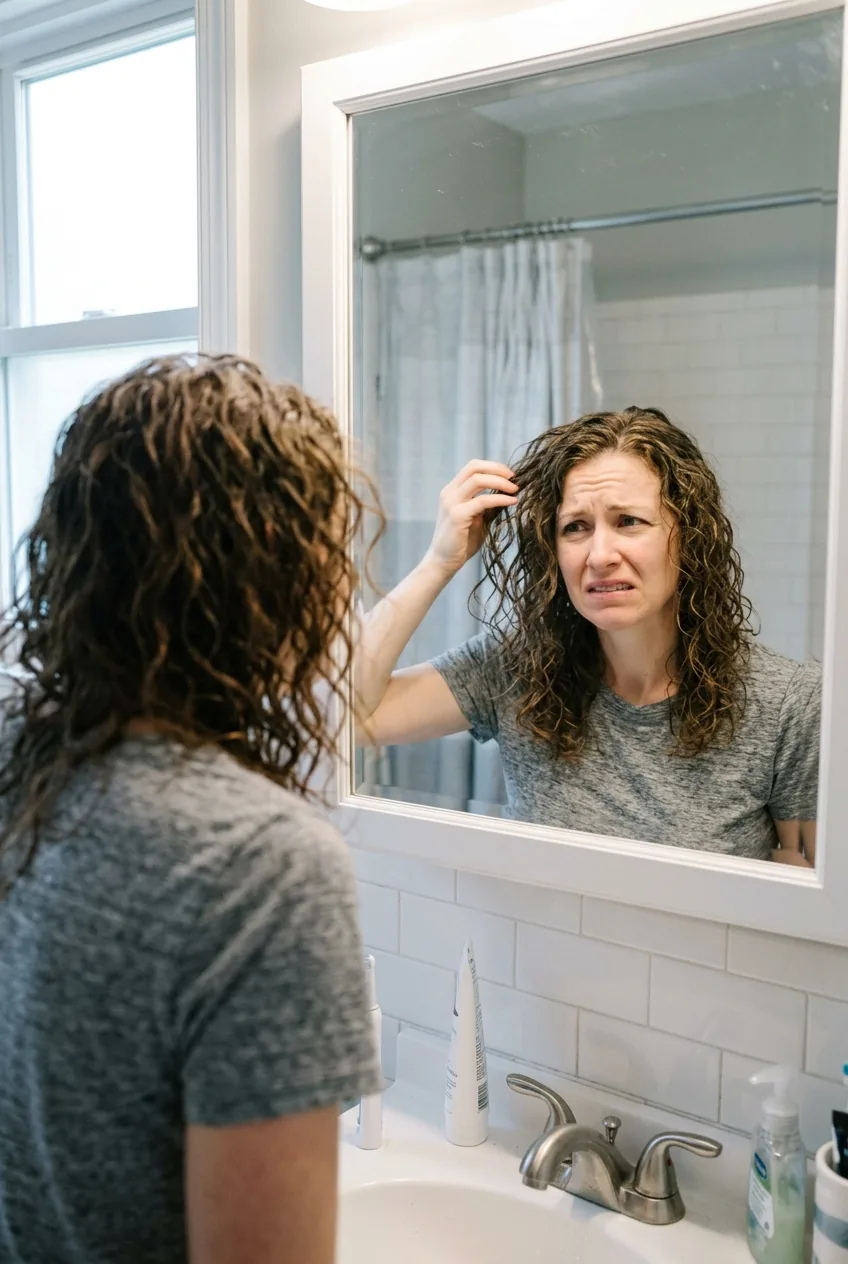
This is where most people go wrong right out of the gate. After washing, don’t touch that hair with a towel. Don’t squeeze it, don’t shake it out, don’t do anything except gently comb through with your wide-tooth comb while it’s still dripping wet.
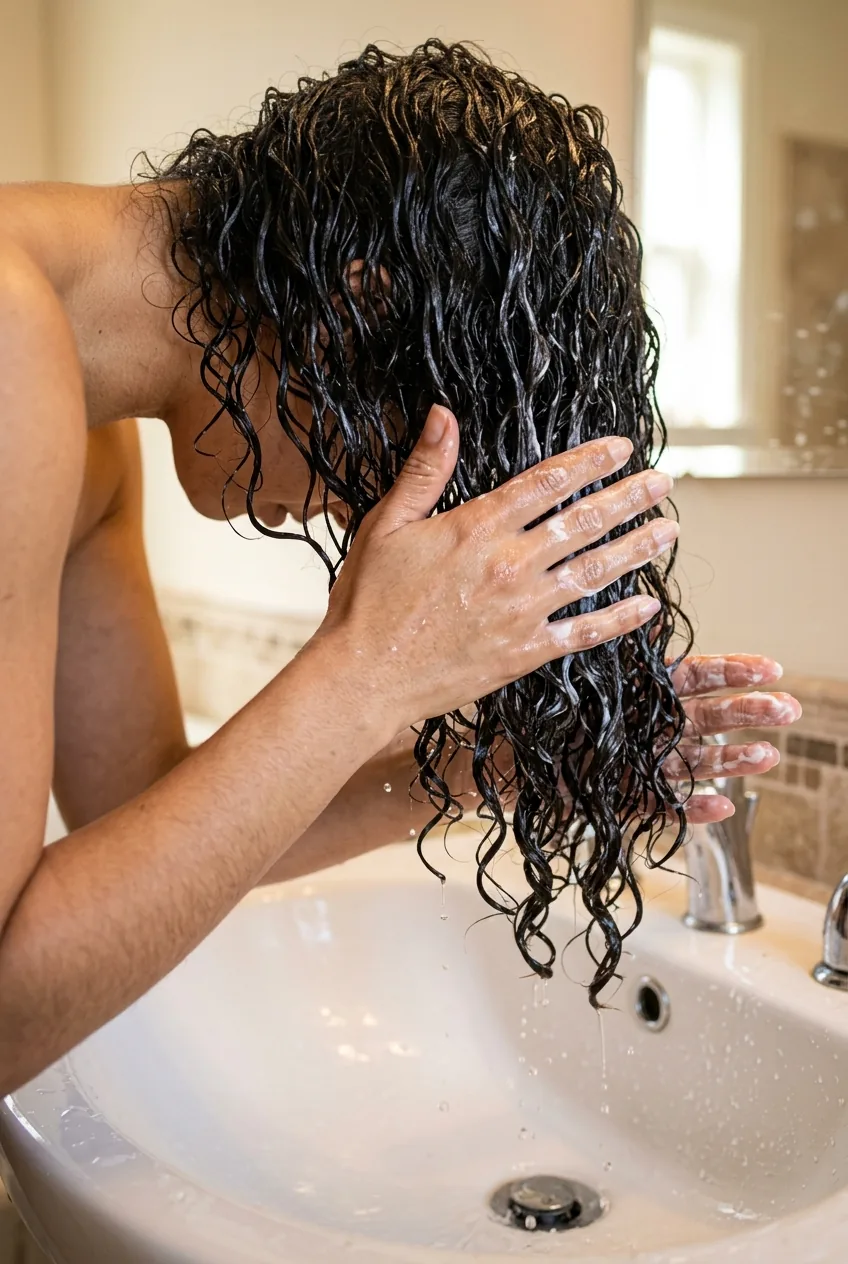
I like to comb from the ends up, working out any tangles super gently. Your hair should be so wet that water is literally dripping onto the bathroom floor. This feels wasteful and messy at first, but trust me — this moisture is what’s going to create those gorgeous curl clumps.
The goal here is to get all your curls going in the same direction and remove any knots before we add product. Think of it as setting the foundation for everything that comes next.
Step 2: Apply Product While Dripping
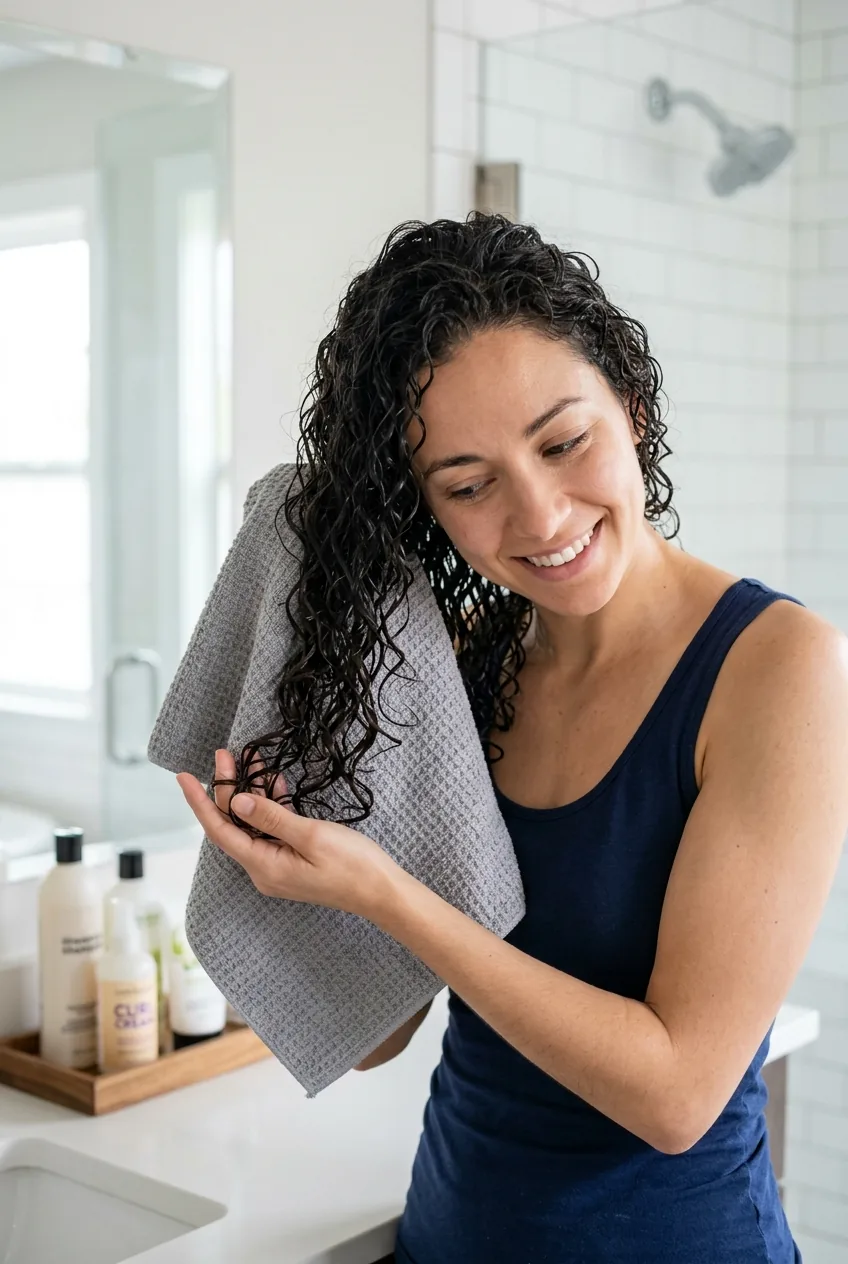
Here’s where the magic starts. With your hair still soaking wet, apply your curl cream first. I use way more than you’d think — probably twice what I used to use. The water helps distribute it evenly without weighing down individual strands.
Work it through with praying hands — palms together, smoothing down the length of your hair sections. Don’t scrunch yet! We’re just coating every strand with moisture and hold.
Next comes the gel. This part scared me at first because I thought gel would make my thin hair look crunchy and weird. But the right gel applied to soaking wet hair creates the cast that holds your curl pattern all day. Apply it the same way — praying hands, working through each section methodically.
The mistake I made for years: I would apply products to damp hair because I thought wet hair would dilute them too much. Actually, the water helps carry the product deeper into each strand and creates better curl formation. Who knew?
Step 3: Remove Excess Water Without Damage
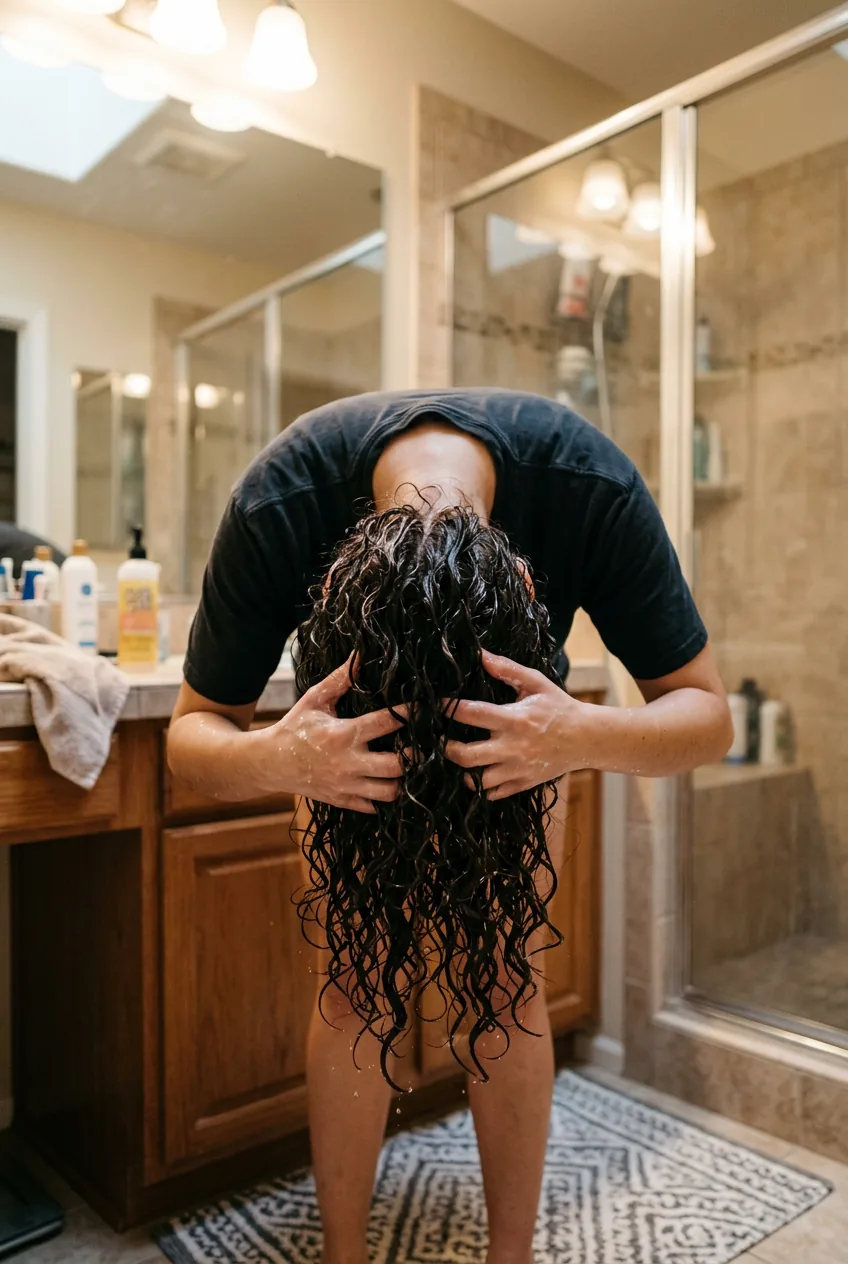
Now comes the tricky part. We need to remove some water so diffusing doesn’t take forever, but we can’t disrupt those beautiful curl clumps we just created. This is where your microfiber towel or cotton t-shirt becomes crucial.
Instead of rubbing or wrapping, I gently press the fabric against sections of my hair and squeeze. Think of it like pressing water out of a sponge — gentle pressure, no rubbing motion at all. I work from the ends up, section by section.
Your hair should still feel quite wet when you’re done, just not dripping everywhere. If you can shake your head without water flying off, you’re at the perfect moisture level for diffusing.
Step 4: The Game-Changing Flip
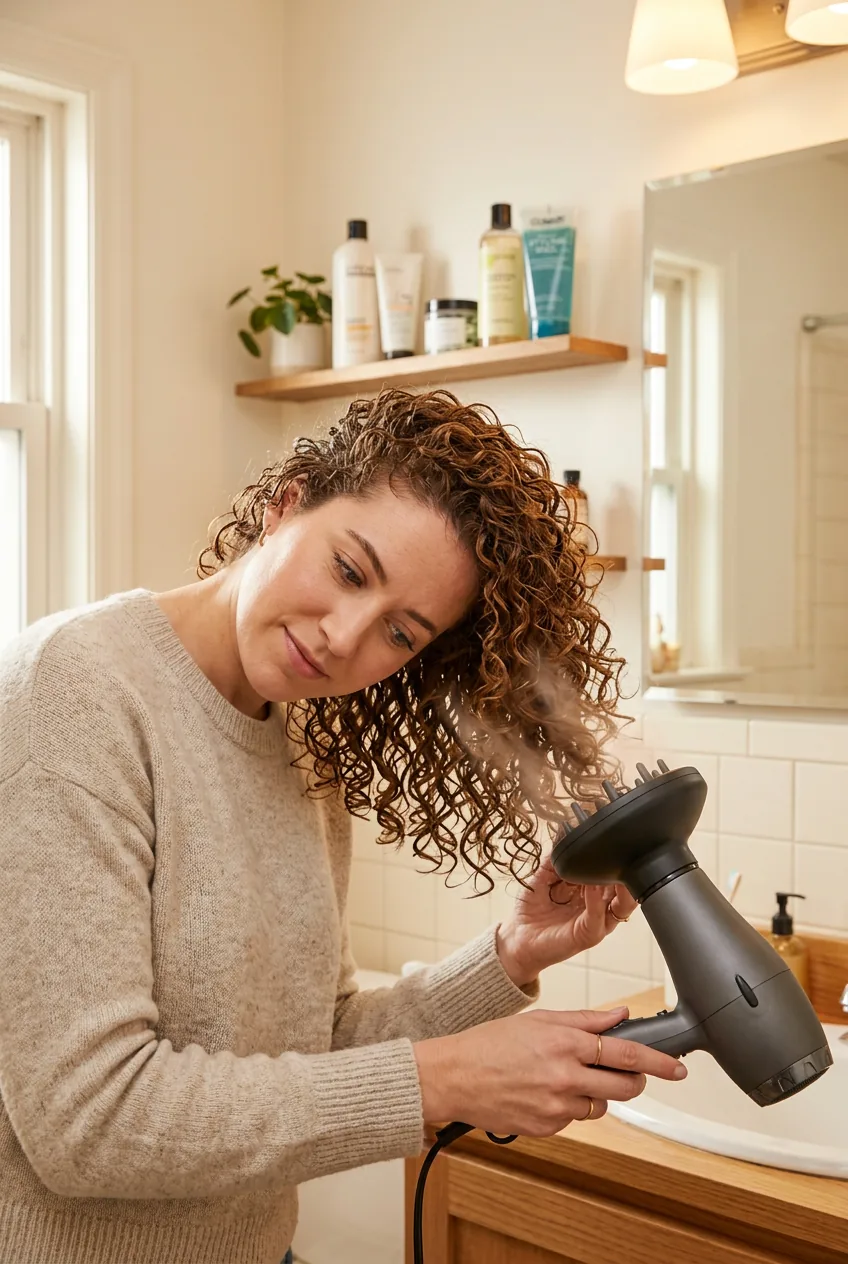
This step changed my entire curl game. Before diffusing, flip your head completely upside down and gently scrunch your curls up toward your scalp. This is when you’ll hear that satisfying squelch sound — that’s the gel cast forming around each curl.
But here’s the key: stay upside down for the first half of your diffusing session. This gives your roots maximum lift and prevents that flat, lifeless look that thin curly hair is prone to. Root lifting methods can make such a difference for fine-textured curls.
Scrunch gently but deliberately. You’re encouraging those curl families to stick together and form bouncy spirals. Don’t be afraid to really get in there — your hair is protected by all that product.
Step 5: Diffuse With the Hover Method
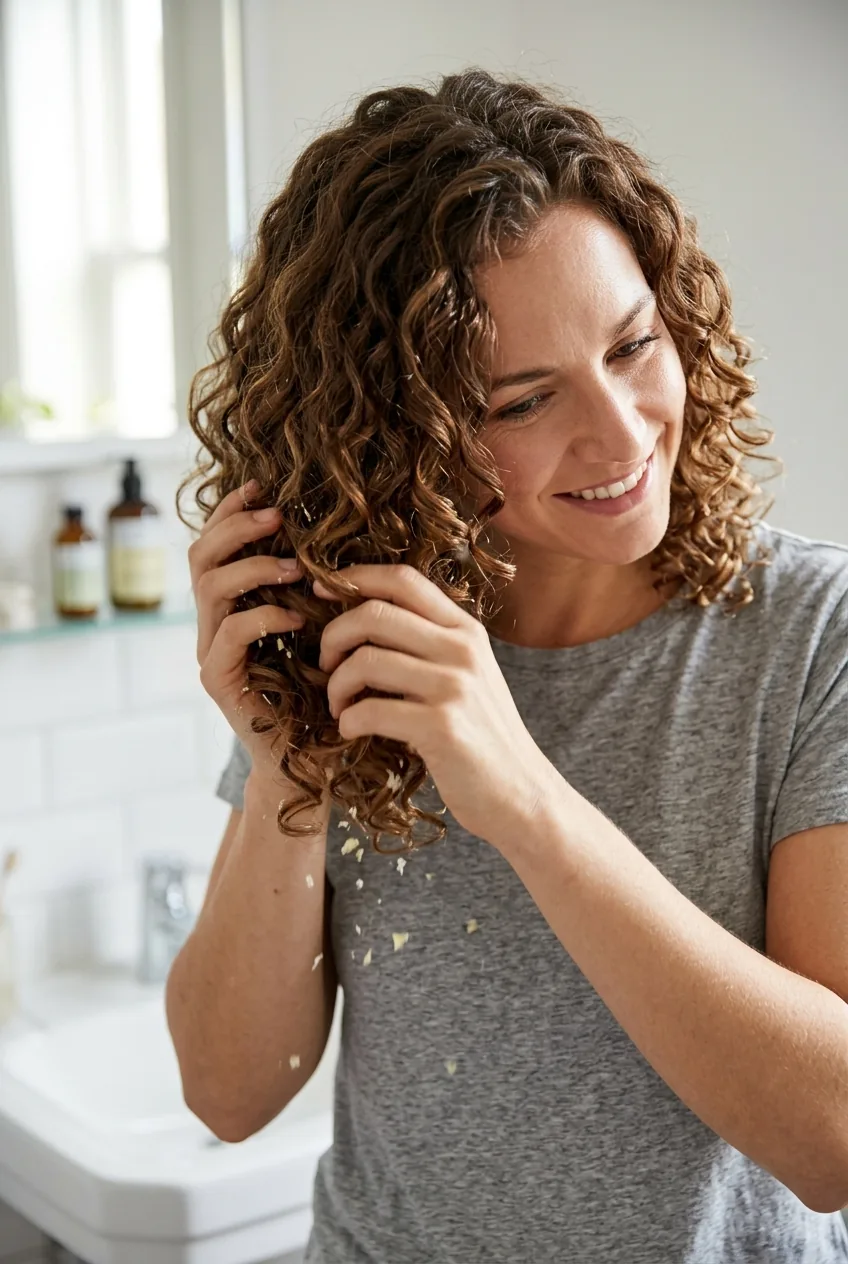
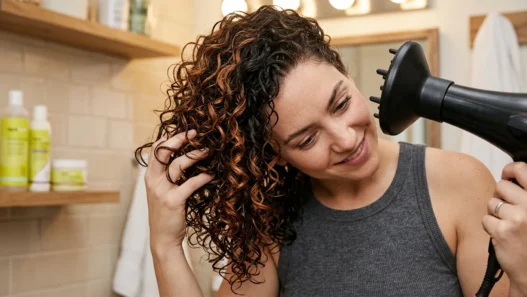
Traditional diffusing advice says to cup your curls in the diffuser bowl and press it against your head. That’s fine for thick hair, but thin curls need a gentler approach. I use what I call the hover method.
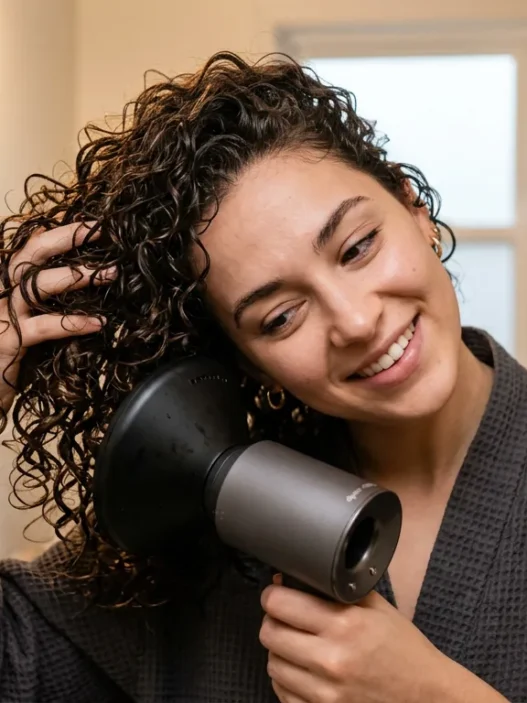
Hold the diffuser about 2 inches away from your hair and let the air flow gently around your curls. Start on low heat, medium speed. The goal is to slowly evaporate the water without disturbing the curl formation. It takes longer, but the results are so worth it.
Stay upside down for the first 10-15 minutes of diffusing, focusing on your roots and mid-lengths. Then flip back up and continue diffusing right-side up, moving the diffuser around your head in a systematic pattern. Don’t get impatient — thin hair dries faster than you think.
If you struggle with winter curly hair care, this gentle diffusing method becomes even more important when the air is dry and your curls are more fragile.
Step 6: Break the Cast for Soft Curls

Here’s where patience pays off. Your hair should be about 80% dry and feel a little crunchy — that’s the gel cast working perfectly. Now comes the most satisfying part: breaking that cast to reveal soft, defined curls.
With completely dry hands (this is crucial), gently scrunch your curls upward. You’ll feel the cast breaking and your curls becoming soft and touchable. Start at the ends and work your way up, being extra gentle near your roots where the hair is most fragile.
If some sections still feel a bit stiff, you can gently rake through them with your fingers or scrunch a tiny bit of lightweight oil through the ends. But honestly, if you’ve done the earlier steps right, you should have perfectly soft, bouncy curls that last all day.
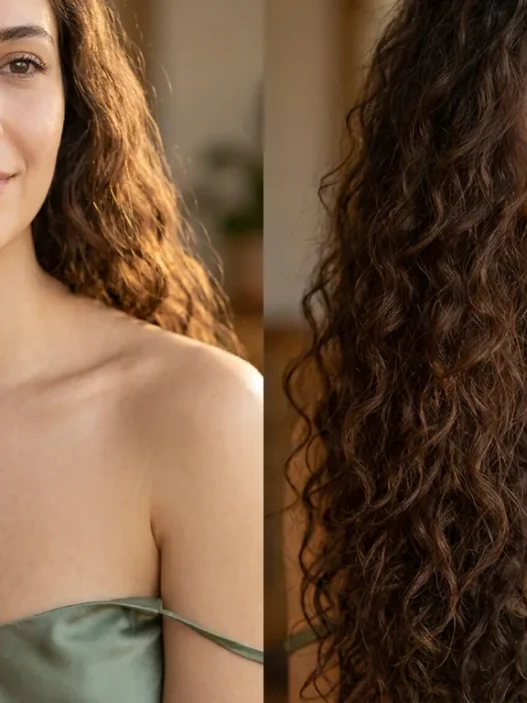
The transformation is honestly shocking. My curls went from looking like sad, deflated spirals to having actual volume and definition. And they stay that way until my next wash day!
Questions I Get About This Method
Won’t all that product weigh down my thin hair?
This was my biggest fear too, but it’s actually the opposite. When you apply products to soaking wet hair, they distribute more evenly and don’t create heavy spots. The water helps carry the product through your hair shaft instead of just sitting on top.
How long does this method take?
From start to finish, about 45 minutes including diffusing time. It sounds like a lot, but most of that is just waiting while the diffuser does its work. The actual hands-on styling takes maybe 10 minutes.
Can I air dry instead of diffusing?
You can, but you’ll lose a lot of the volume benefits. Thin curly hair tends to get weighed down by gravity when air drying, especially at the roots. The diffuser creates lift that air drying just can’t match.
What if my curls still look flat after trying this?
Check your products — you might need stronger hold gel or more curl cream than you think. Also make sure you’re staying upside down long enough during diffusing. Most people flip back up too soon and lose that crucial root volume.
This method completely transformed my relationship with my thin curly hair. Instead of fighting against its nature, I’m finally working with it. My curls have never looked more voluminous or felt more confident. Sometimes the best solutions are the ones that seem counterintuitive at first — like using more product instead of less, or keeping hair wetter for longer. Trust the process, and your curls will thank you.