







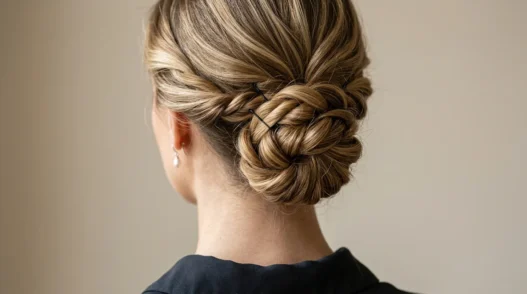
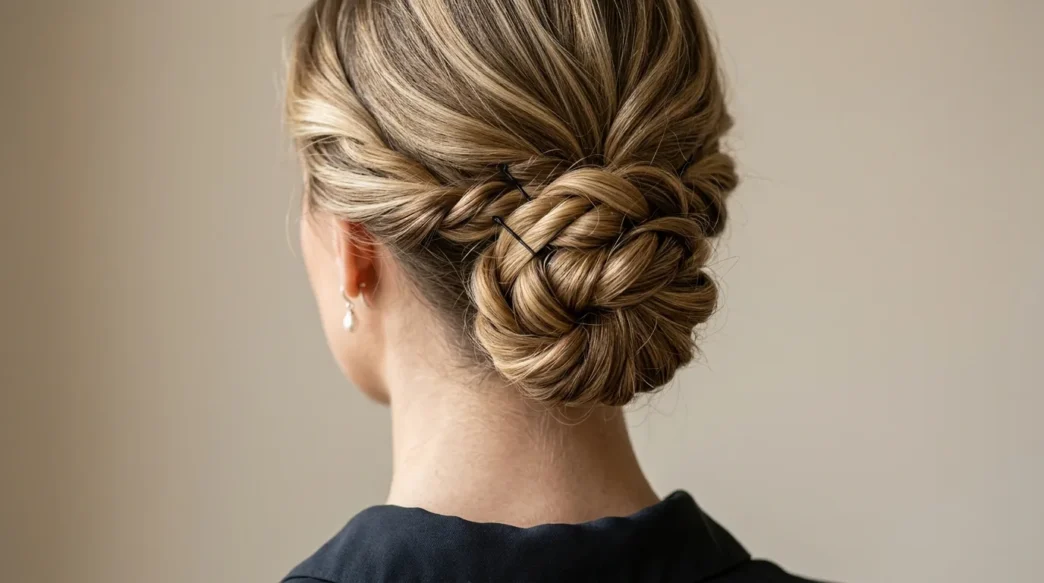
I’ve been doing my own hair for years, and let me tell you — up hairstyles can be intimidating. Some mornings I just want my hair off my neck, but other times I need something that looks like I spent hours in a salon chair. The thing is, not all updos are created equal. Some take five minutes and basic motor skills. Others require the patience of a saint and fingers that seem to have their own PhD in hairstyling.
I’ve ranked these 12 up hairstyles from the ones that’ll save your morning routine to the ones that’ll make you question your life choices. But here’s what I love about this progression — you can work your way up the difficulty ladder as your skills improve.
1. Beginner Friendly: Quick High Ponytail
Difficulty: ⭐ (1/5) | Time: 2 minutes | Tools: Hair tie, brush
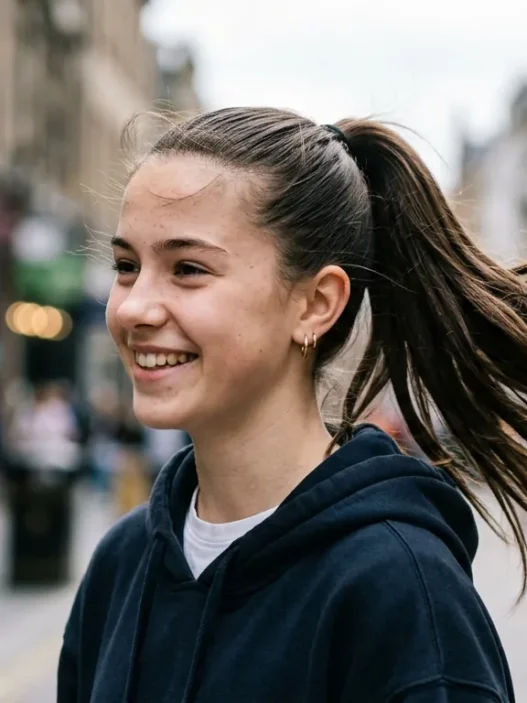
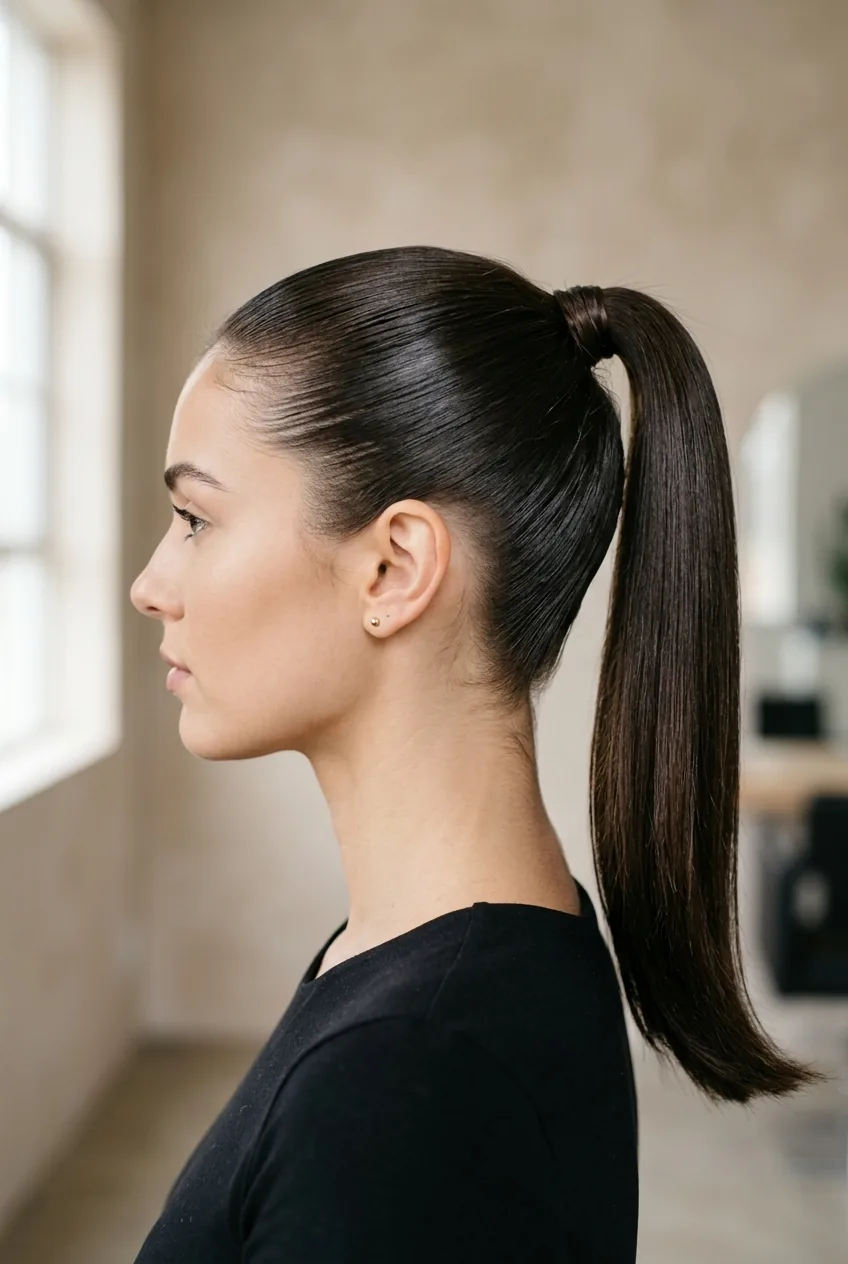
This is where everyone starts, and honestly? Sometimes it’s exactly where you want to end up. The high ponytail is the emergency exit of hairstyling — when you’re running late but need to look intentional about it.
The trick is in the positioning. Too high and you look like you’re twelve. Too low and it’s not really a “high” ponytail anymore. I aim for the crown of my head, right where my hand naturally lands when I’m gathering my hair up quickly. Smooth it back with a brush, secure with an elastic, and you’re golden.
2. Beginner Friendly: Low Side Bun
Difficulty: ⭐ (1/5) | Time: 3 minutes | Tools: Hair tie, bobby pins
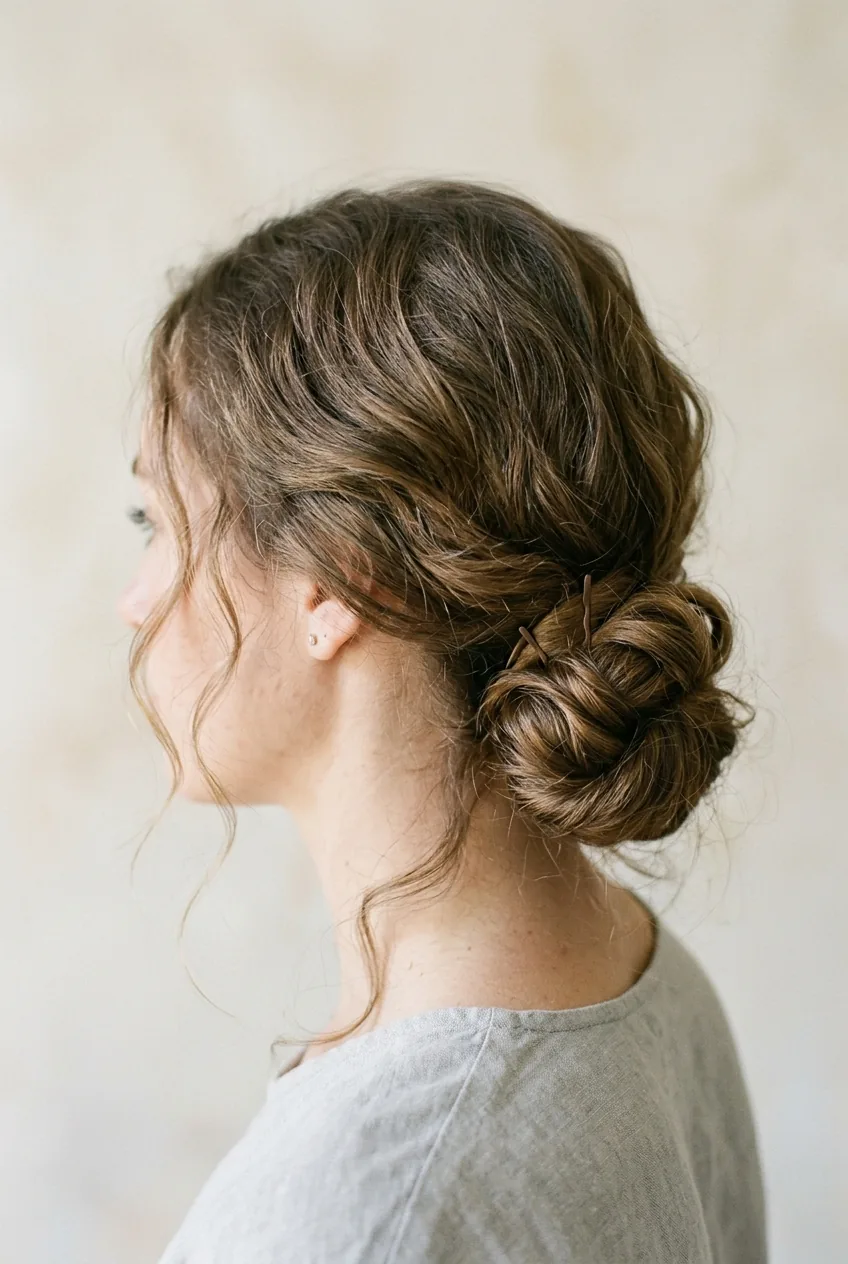
This one’s my go-to for video calls when I want to look polished from the shoulders up. You literally just gather your hair to one side at the nape of your neck, twist it into a loose coil, and pin it down. The asymmetry automatically makes it look more sophisticated than a center bun.
Don’t overthink the “perfect” spiral. The slightly messy, lived-in texture is what makes this work. I usually leave a few pieces loose around my face because perfect is overrated anyway.
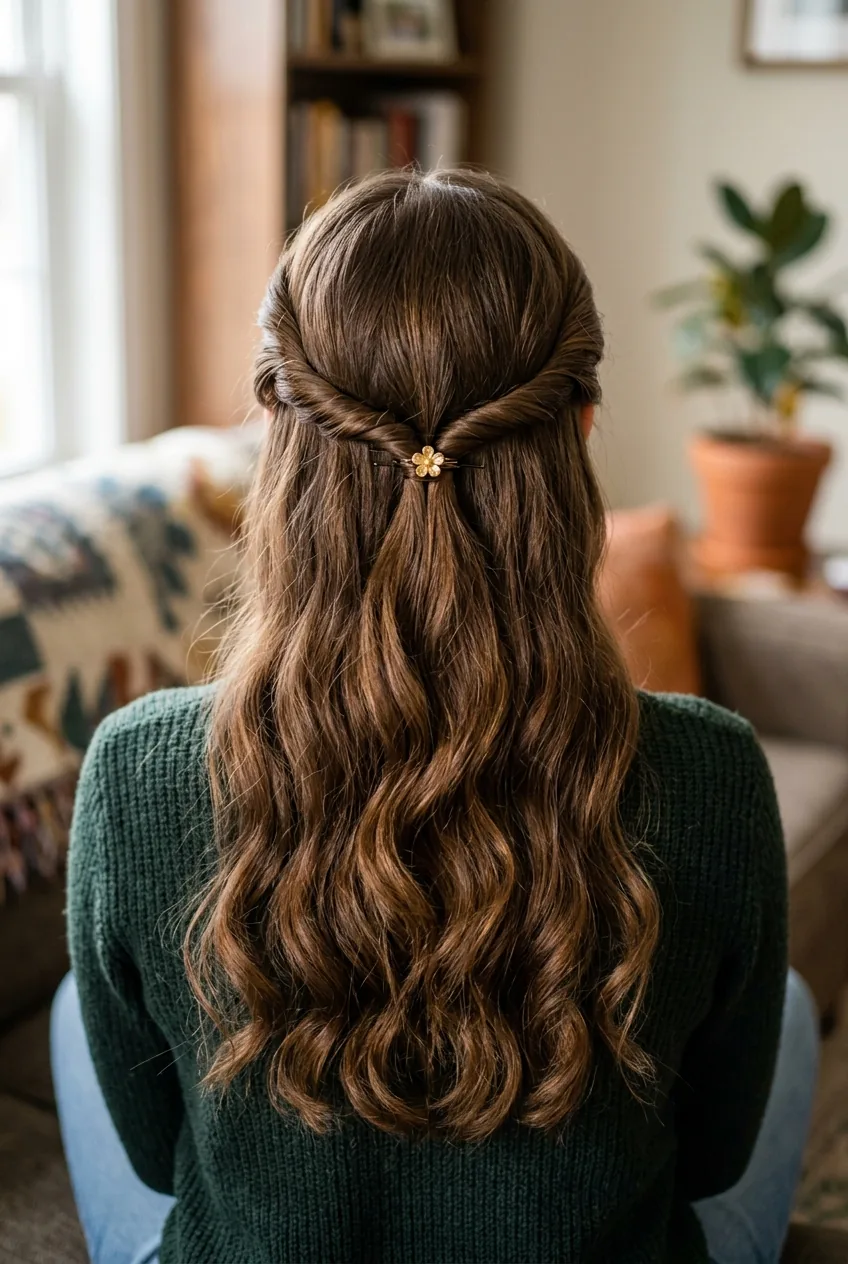
3. Beginner Friendly: Half-Up Twist
Difficulty: ⭐⭐ (2/5) | Time: 4 minutes | Tools: Bobby pins, small clear elastic
This is what I do when I want my hair “up” but not completely up, you know? Take sections from both sides of your head, twist them back, and secure them at the crown. It’s like the hairstyle equivalent of business casual — dressed up enough to be intentional, relaxed enough to be approachable.
The key is making sure both twists are roughly the same size. I’ve done lopsided versions before and trust me, it’s noticeable in photos. A little texturizing spray beforehand helps the twists hold their shape without looking too rigid.
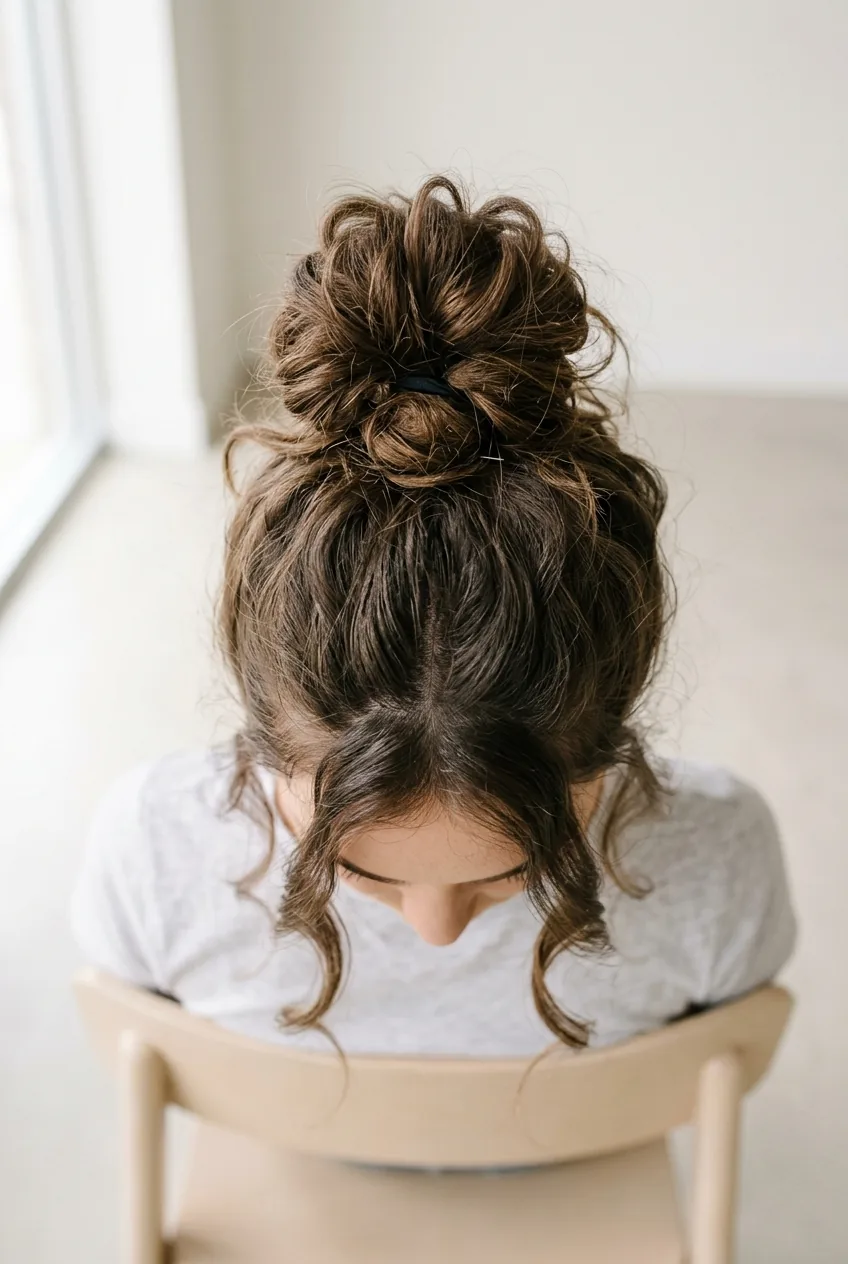
4. Easy Does It: Messy Top Knot
Difficulty: ⭐⭐ (2/5) | Time: 3 minutes | Tools: Hair tie, bobby pins
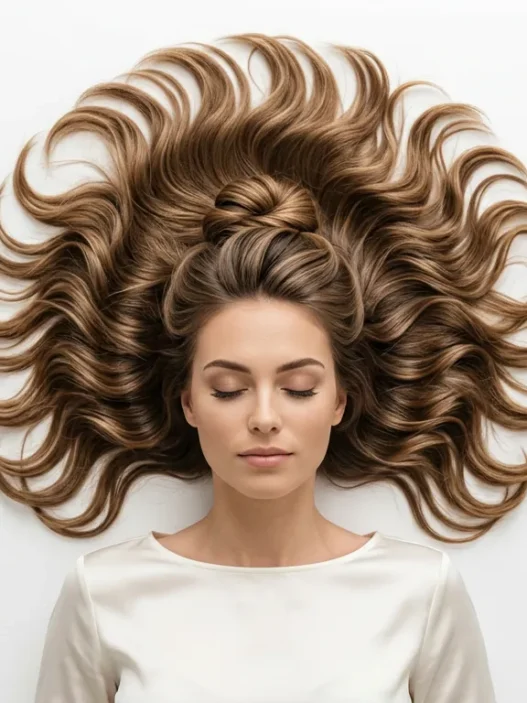
The messy top knot is basically a high ponytail that had commitment issues. You start with the ponytail, then twist the length into a loose bun and secure it haphazardly with pins. The goal is controlled chaos — messy enough to look effortless, neat enough to stay put.
Personal pick: This is my absolute favorite for gym days. It keeps everything off my neck, looks intentionally tousled instead of just sweaty, and takes literally no skill to master.
Don’t try to make it perfect. The whole point is that “I woke up like this” vibe. Pull out a few face-framing pieces after you’re done to soften the whole look.
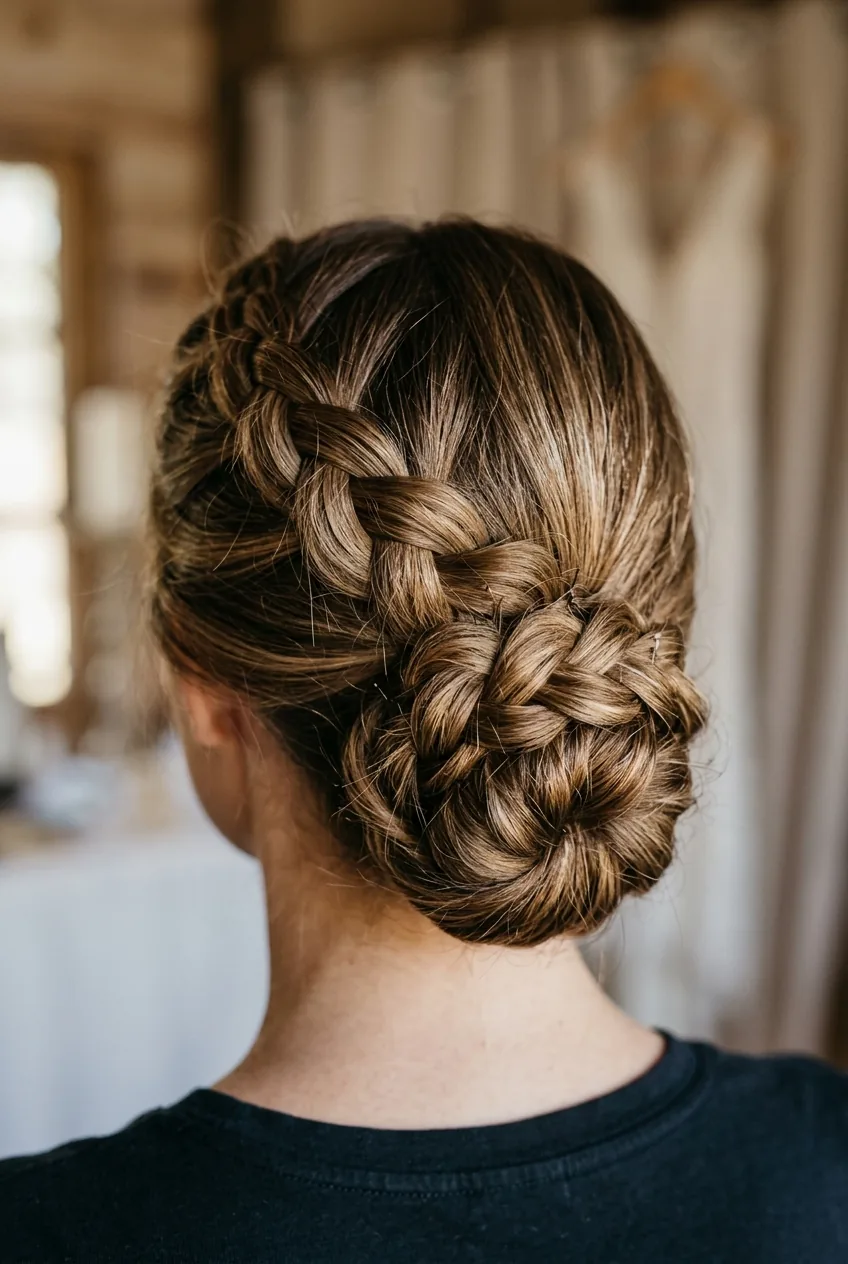
5. Getting Somewhere: Braided Low Bun
Difficulty: ⭐⭐⭐ (3/5) | Time: 8 minutes | Tools: Hair ties, bobby pins
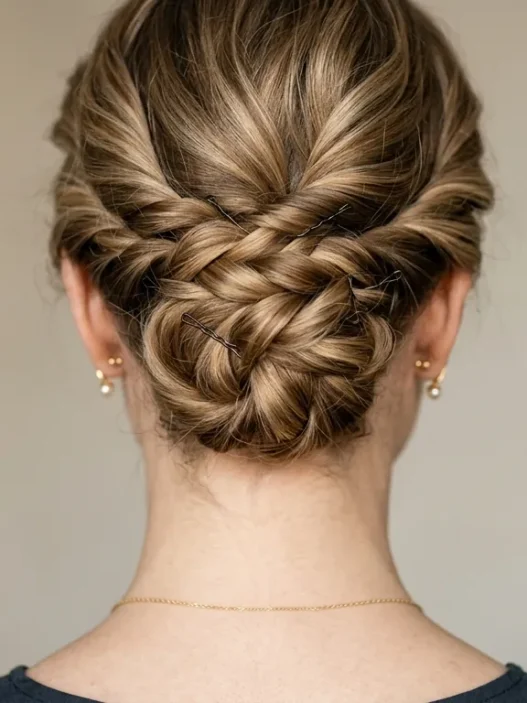
Now we’re getting into territory where you actually need to know what you’re doing. Start with a basic three-strand braid at the nape of your neck, then coil it into a bun and pin it down. Sounds simple enough, but getting the braid tension right so it doesn’t fall apart when you twist it? That takes practice.
I learned the hard way that you want your braid slightly looser than you think. A tight braid creates a stiff bun that looks forced. A looser braid gives you that romantic, textured finish that actually looks intentional.
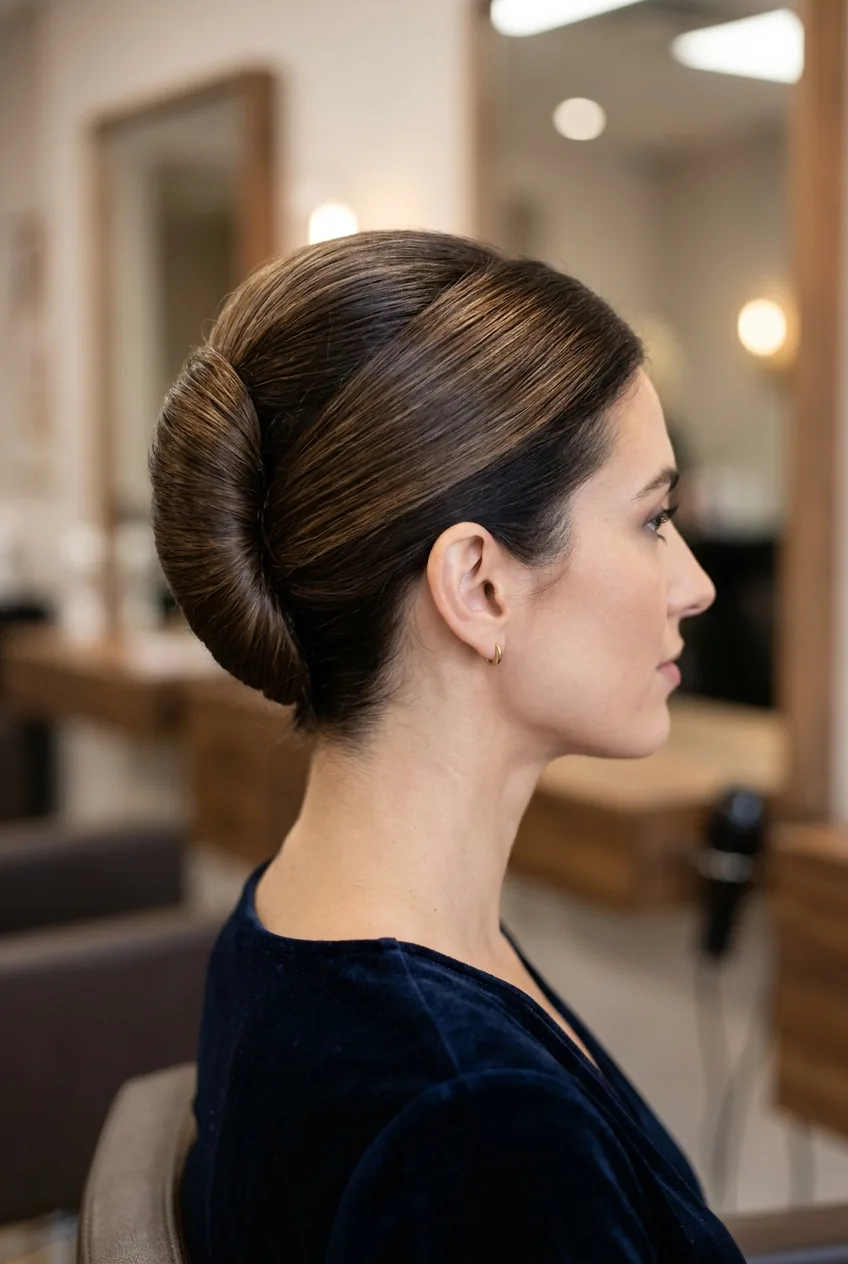
6. Intermediate Challenge: French Twist
Difficulty: ⭐⭐⭐ (3/5) | Time: 12 minutes | Tools: Bobby pins, hairspray
The French twist is where things get real. You’re basically rolling your hair up vertically and tucking the ends under, but the execution is trickier than it sounds. The secret is starting with slightly dirty hair — clean hair is too slippery and won’t hold the shape.
I spent way too many mornings in college trying to nail this one. The trick I finally figured out: don’t try to get all your hair in one smooth motion. Work in sections, securing as you go, then smooth over any bumps at the end. This style will make you look put-together for prom party hairstyles or important meetings.
This Tutorial Finally Made It Click
7. Intermediate Challenge: Rolled Updo
Difficulty: ⭐⭐⭐ (3/5) | Time: 15 minutes | Tools: Hair ties, bobby pins, rat-tail comb
This is basically the French twist’s more relaxed cousin. Instead of one clean vertical roll, you’re creating multiple smaller rolls around your head and pinning them into place. It sounds complicated, but once you get the rhythm down, it’s actually quite meditative.
The key is working with small sections and not rushing the process. Each roll should overlap slightly with the previous one. I like to start at one ear and work my way around to the other side. It creates this beautiful, textured finish that looks way more complex than it actually is.
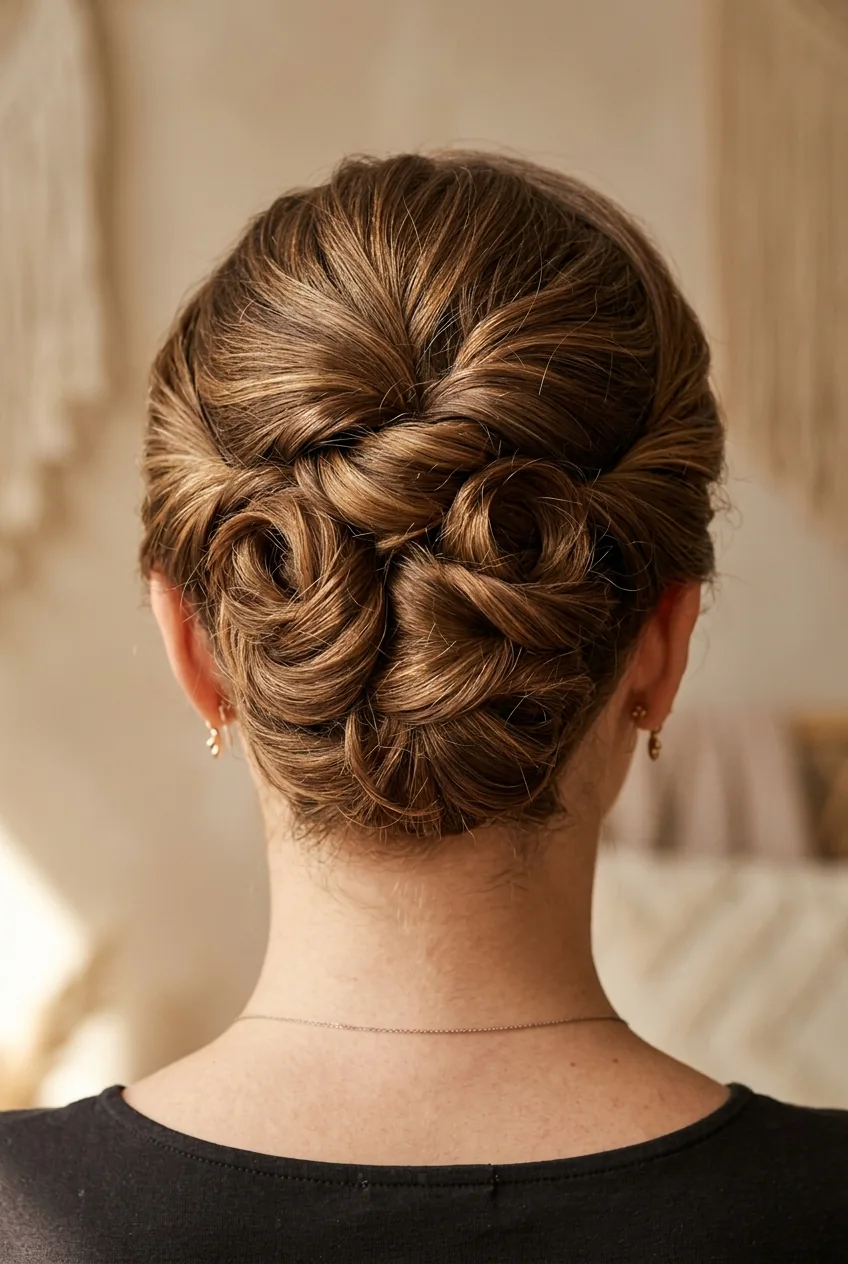
8. Stepping It Up: Twisted Side Chignon
Difficulty: ⭐⭐⭐⭐ (4/5) | Time: 18 minutes | Tools: Bobby pins, small elastics, texturizing spray
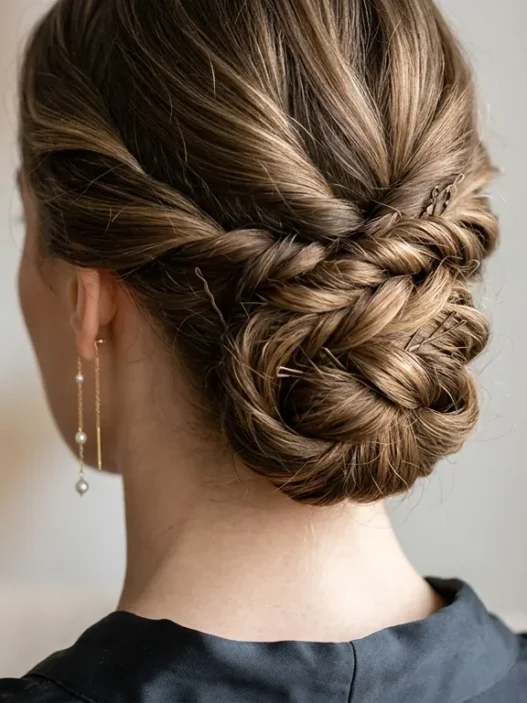
A chignon is basically French for “fancy bun,” and this twisted version lives up to the name. You’re creating multiple rope twists from different sections of your hair and weaving them together at the nape of your neck. It’s the kind of style that makes people ask if you had it professionally done.
The tricky part is keeping track of all your sections while maintaining consistent twist tension. I usually work with four main sections — two from the sides, one from the top, and one from the back. Each gets twisted individually before being incorporated into the final chignon.
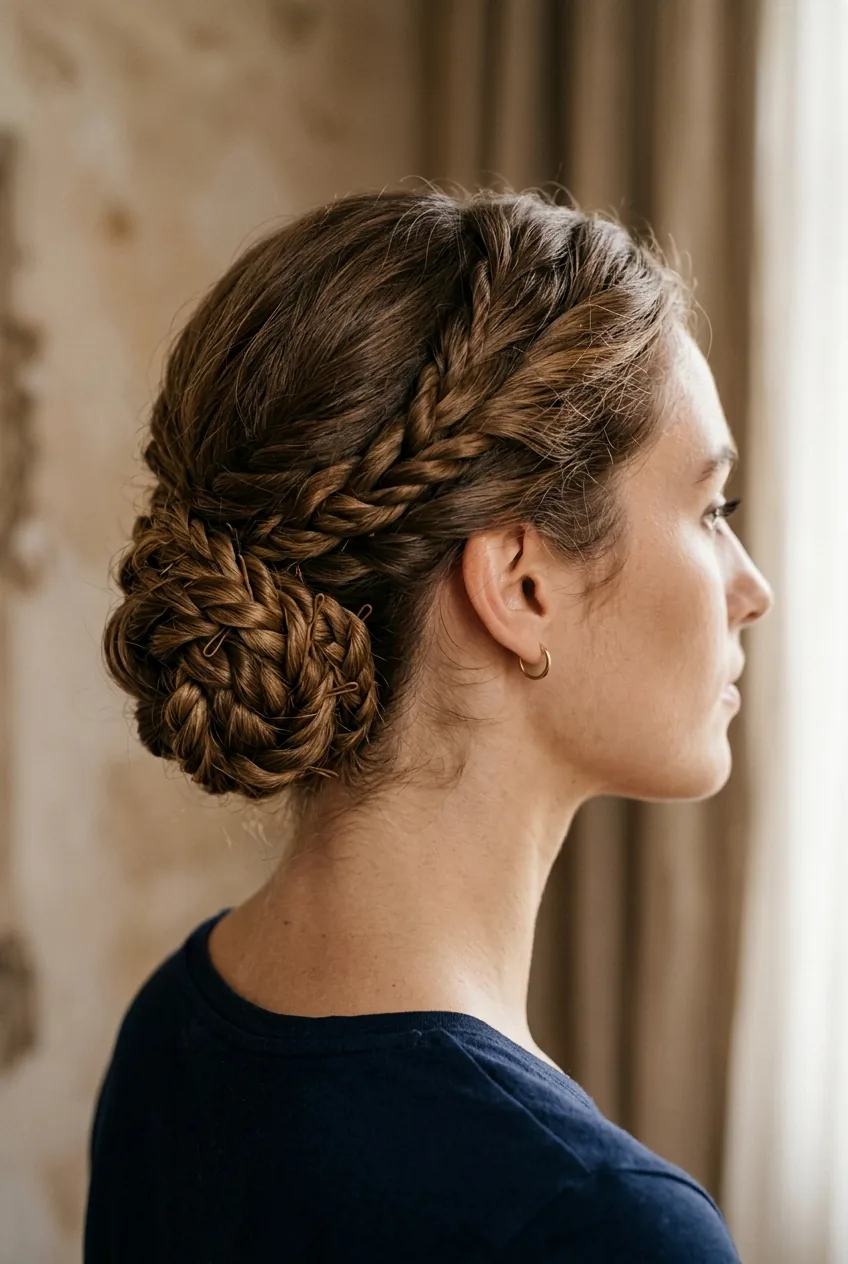
9. Advanced Level: Intricate Crown Braid
Difficulty: ⭐⭐⭐⭐ (4/5) | Time: 25 minutes | Tools: Small elastics, bobby pins, tail comb, mirror setup
This is where we enter “YouTube tutorial on repeat” territory. A crown braid that incorporates multiple braiding techniques and wraps around your head like a halo. You’ll need to understand Dutch braiding, French braiding, and have the flexibility to work on the back of your own head.
I’m not going to lie — I’ve started this one multiple times and had to take it down and start over. The key is having a good mirror setup so you can see what you’re doing behind your head. And honestly? Advanced braiding methods make all the difference when you’re working at this level.
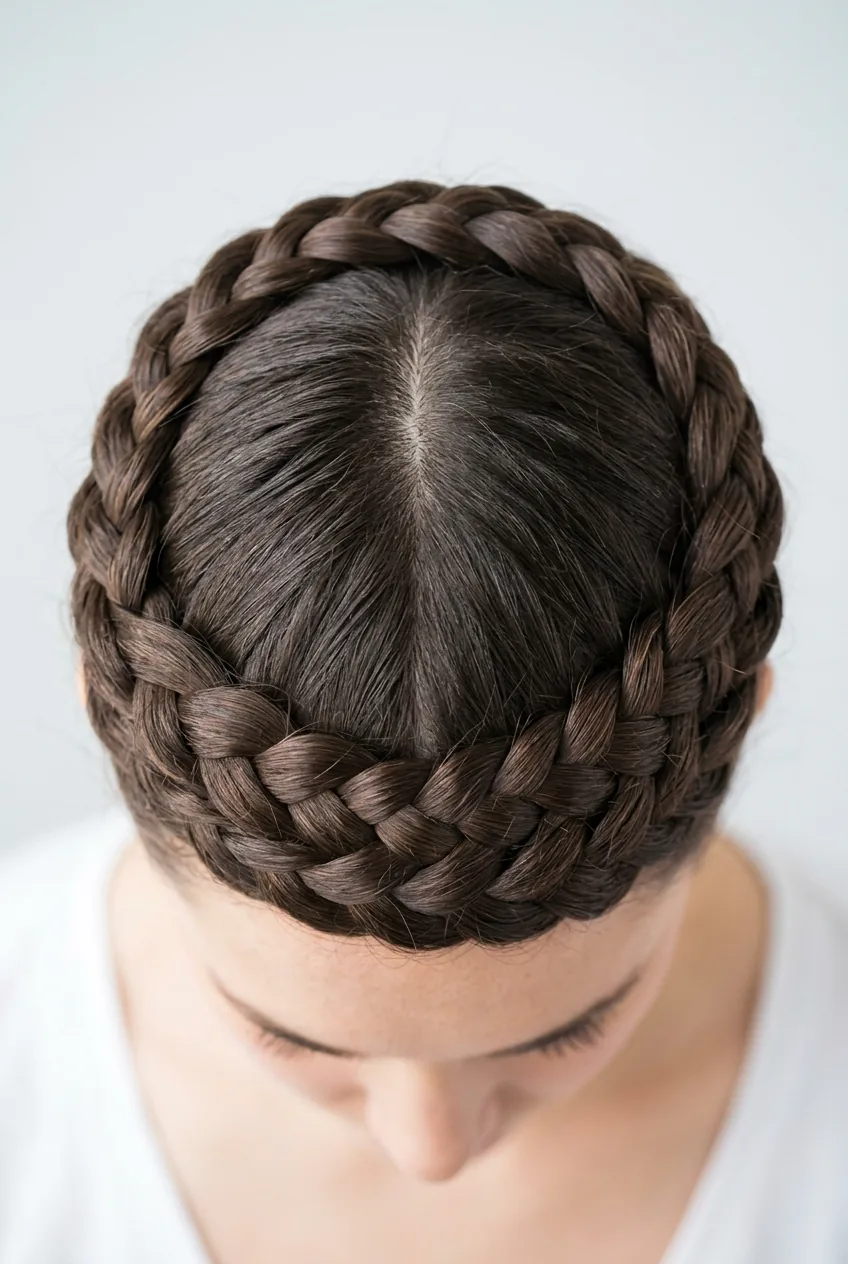
10. Advanced Level: Knotted Chignon
Difficulty: ⭐⭐⭐⭐ (4/5) | Time: 22 minutes | Tools: Bobby pins, hair ties, sectioning clips
Instead of twists or braids, this style uses actual knots to create texture and interest. You’re essentially tying sections of your hair into loose knots and arranging them into an elegant low bun. It creates this incredible organic, almost sculptural effect.
The challenge is making the knots look intentional rather than like you got tangled up in your own hair. Each knot needs to be loose enough to manipulate into the final shape but tight enough to hold its position. It’s a delicate balance that took me forever to figure out.
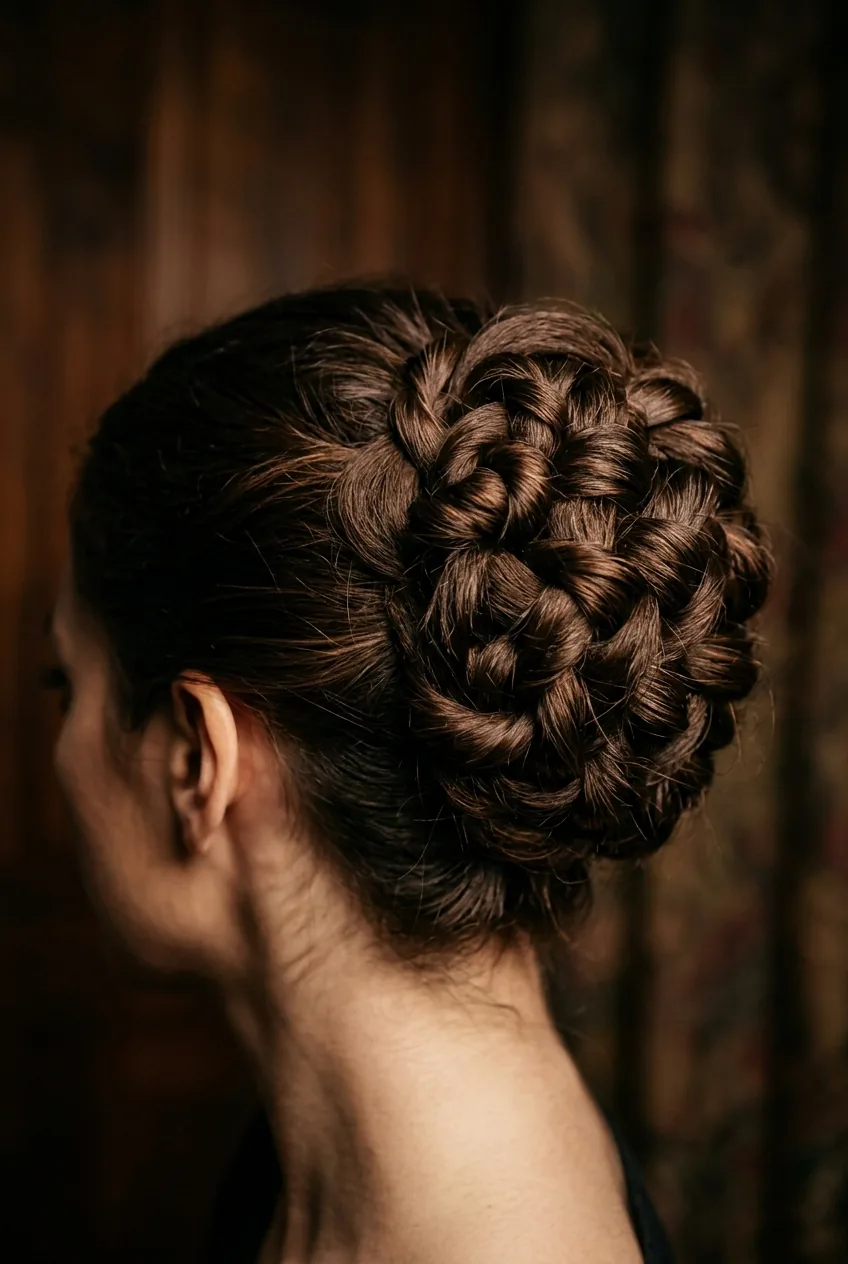
11. Expert Territory: Elaborate Pin Curls
Difficulty: ⭐⭐⭐⭐⭐ (5/5) | Time: 35 minutes | Tools: Curling iron, bobby pins, hairspray, sectioning clips
We’re talking vintage Hollywood glamour here. Individual curls are formed with a curling iron, then each curl is pinned into a specific position to create an overall design. Think 1940s movie star sophistication. This style requires not just technical skill but an artistic eye for placement and proportion.
Every curl needs to be the right size, curled in the right direction, and placed at exactly the right angle. One wonky curl and the whole thing looks off. I’ve attempted this exactly twice — once for a vintage-themed wedding and once because I was feeling ambitious on a Sunday afternoon. The wedding attempt was successful. The Sunday afternoon attempt… we don’t talk about that.
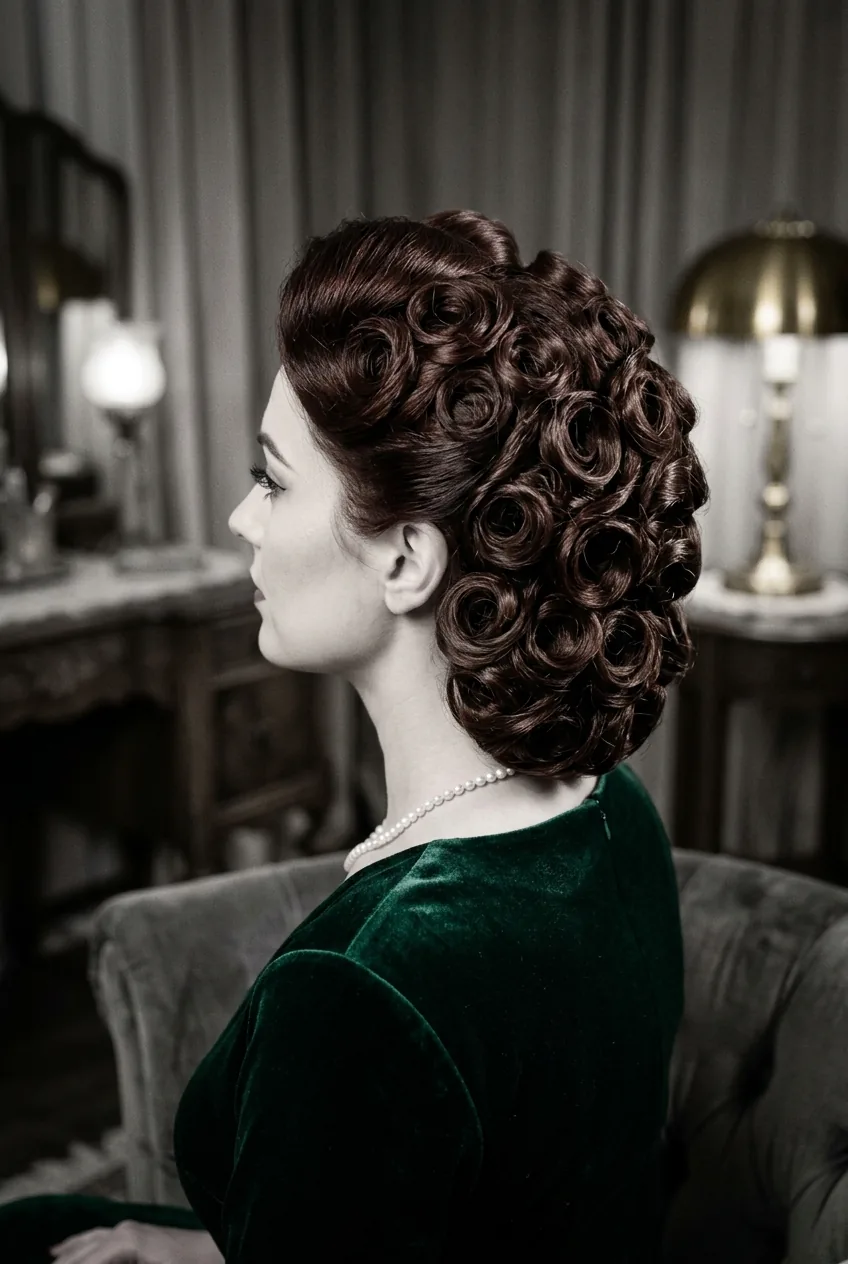
12. Master Class: Multi-Strand Braided Updo
Difficulty: ⭐⭐⭐⭐⭐ (5/5) | Time: 45+ minutes | Tools: Multiple hair ties, bobby pins, sectioning clips, tail comb, patience
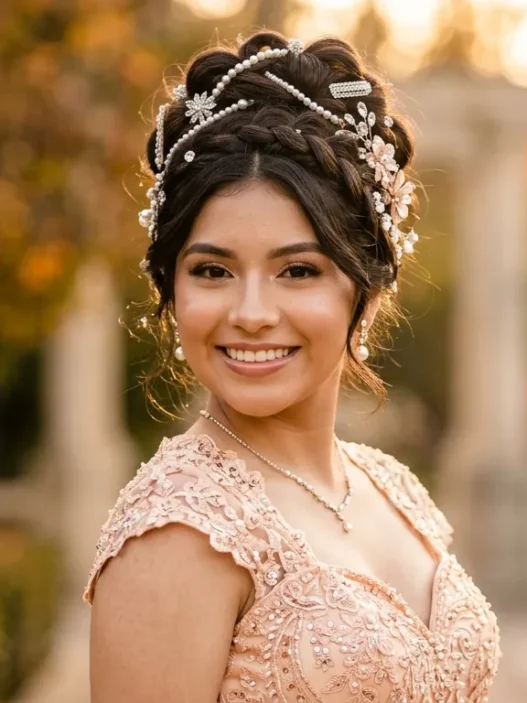
This is the final boss of up hairstyles. Multiple braids of different sizes and techniques, all woven together into one cohesive updo. We’re talking five-strand braids, fishtail braids, waterfall braids — all incorporated into a single style that looks like it belongs on a red carpet.
I’ve only successfully completed this style once, for my friend’s wedding, and it took me three practice runs to get it right. You need to understand multiple braiding techniques, have exceptional finger dexterity, and the kind of focus usually reserved for brain surgery. But the result? Absolutely stunning.
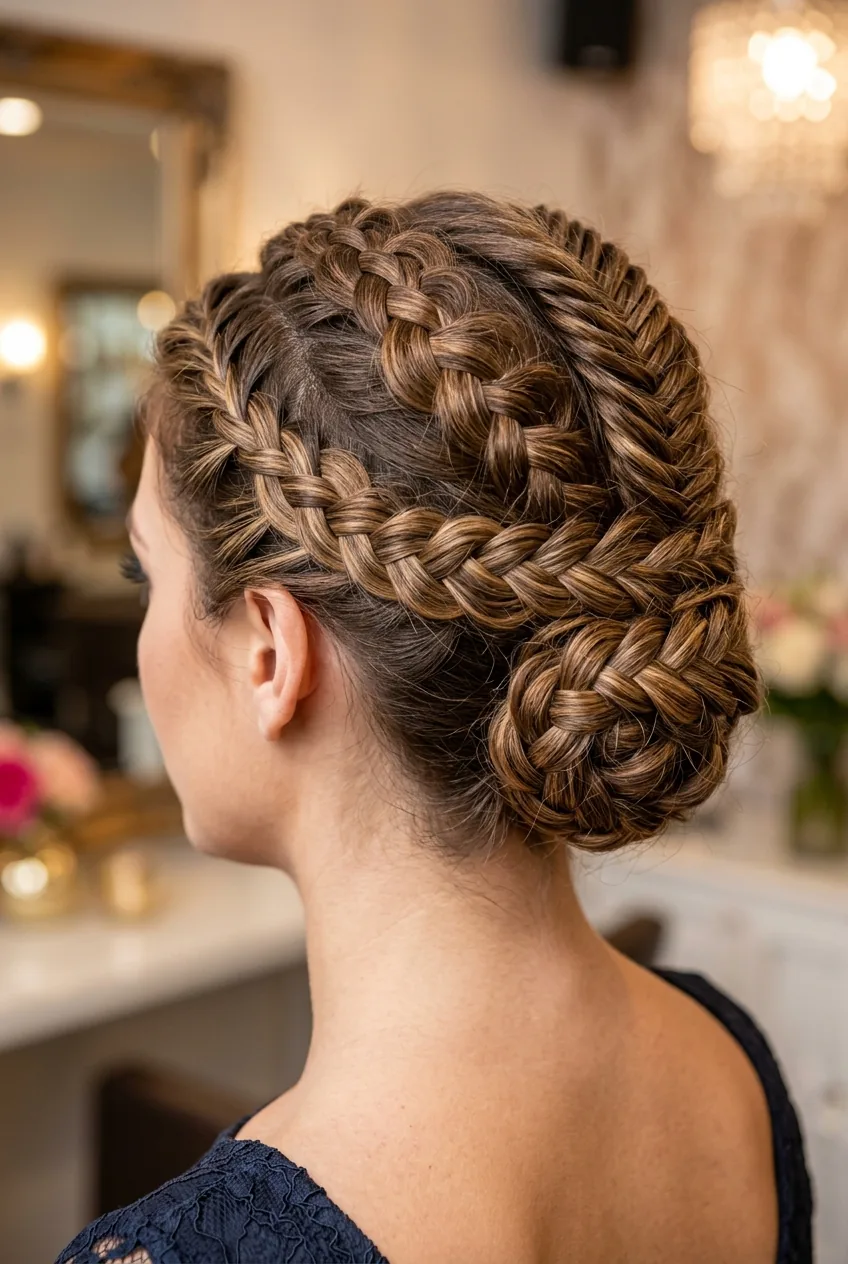
The complexity comes from managing multiple working sections simultaneously while maintaining pattern consistency across different braid types. Each braid needs to flow seamlessly into the next, creating the illusion of one continuous design rather than separate elements pinned together.
Quick Answers About Up Hairstyles
How do I make my updo last all day?
Start with slightly dirty hair — day-old hair has better grip than freshly washed. Use texturizing spray before styling and hairspray after. The key is using enough bobby pins and placing them strategically, not just randomly stabbing them in.
What if I have really fine or thin hair?
Work with what you have rather than fighting it. Fine hair actually holds some of these styles better because it’s less heavy. Try teasing sections before pinning to create more volume, and don’t be afraid to use accessories to fill out the look.
Can I do these with short hair?
Depends on your definition of short! You need at least shoulder-length hair for most of these, but even shorter styles can work with extensions or creative pinning. The first few options on this list are definitely doable with chin-length bobs.
How many bobby pins is too many?
There’s no such thing. I’ve used upwards of 30 pins on complex updos and that’s totally normal. Better to use too many and have it stay put than use too few and have it fall apart halfway through your event.
Here’s the thing about mastering up hairstyles — it’s not about being perfect from day one. I still mess up the French twist sometimes, and I’ve been doing my own hair for years. Start with the easier styles and work your way up. And remember, even a “failed” updo usually looks better than you think it does. Most people won’t notice if your bun is slightly lopsided, but they will notice that you made an effort.