







I’ve been experimenting with hairstyles since I was twelve, and let me tell you — some “easy” tutorials on Pinterest are absolutely not easy. After years of trial and error (and quite a few hair disasters), I’ve figured out which styles actually deliver on their promise of being simple. I’ve ranked these 11 cute hairstyles from the ones you can literally do with your eyes closed to the more challenging looks that still won’t make you late for work.
Your Hair Skill Journey Awaits
- Beginner Friendly: The Classic Low Pony
- Super Simple: Messy Top Knot
- Effortless Level: Beach Waves with a Headband
- Beginner Plus: Half-Up Twisted Crown
- Getting Warmer: Side-Swept French Braid
- Intermediate Challenge: The Perfect Messy Bun
- Stepping Up: Braided Side Ponytail
- Advanced Beginner: Textured Low Chignon
- Intermediate Plus: Dutch Braid into Bun
- Advanced Level: Romantic Loose Updo
- Expert Territory: Intricate Braided Crown
1. Beginner Friendly: The Classic Low Pony
Difficulty: ⭐ (1/5)
Time: 2 minutes
Tools needed: Hair tie, brush
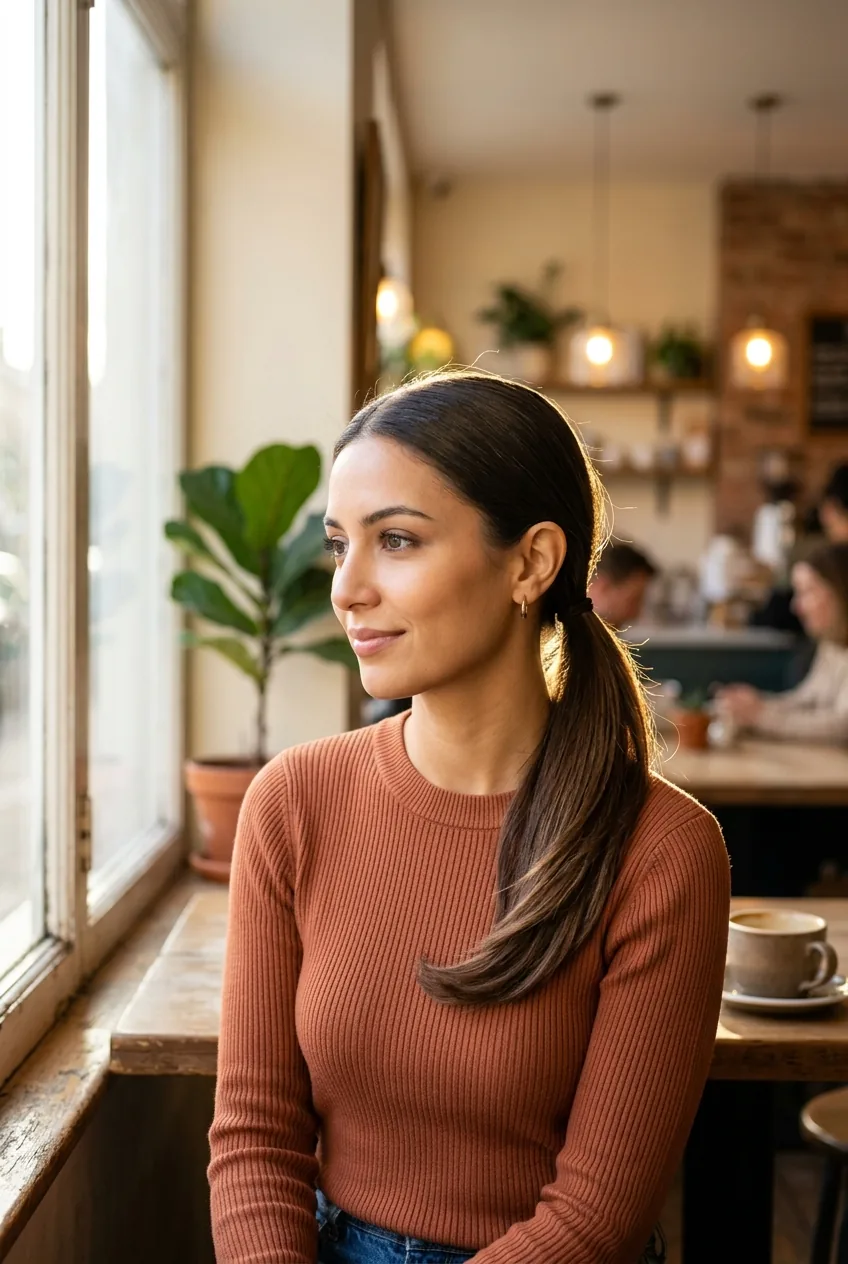
This is where everyone should start. I cannot mess this up even on my groggiest Monday mornings. The key is positioning the ponytail at the nape of your neck — it’s more forgiving than trying to get a perfect high pony centered.
Look at how effortlessly chic this looks on her — that’s exactly what I mean about low ponies being foolproof. Add a spritz of texturizing spray if your hair is slippery, and you’re done. This style works on literally every hair type I’ve encountered.
2. Super Simple: Messy Top Knot
Difficulty: ⭐ (1/5)
Time: 3 minutes
Tools needed: Hair tie, bobby pins (optional)
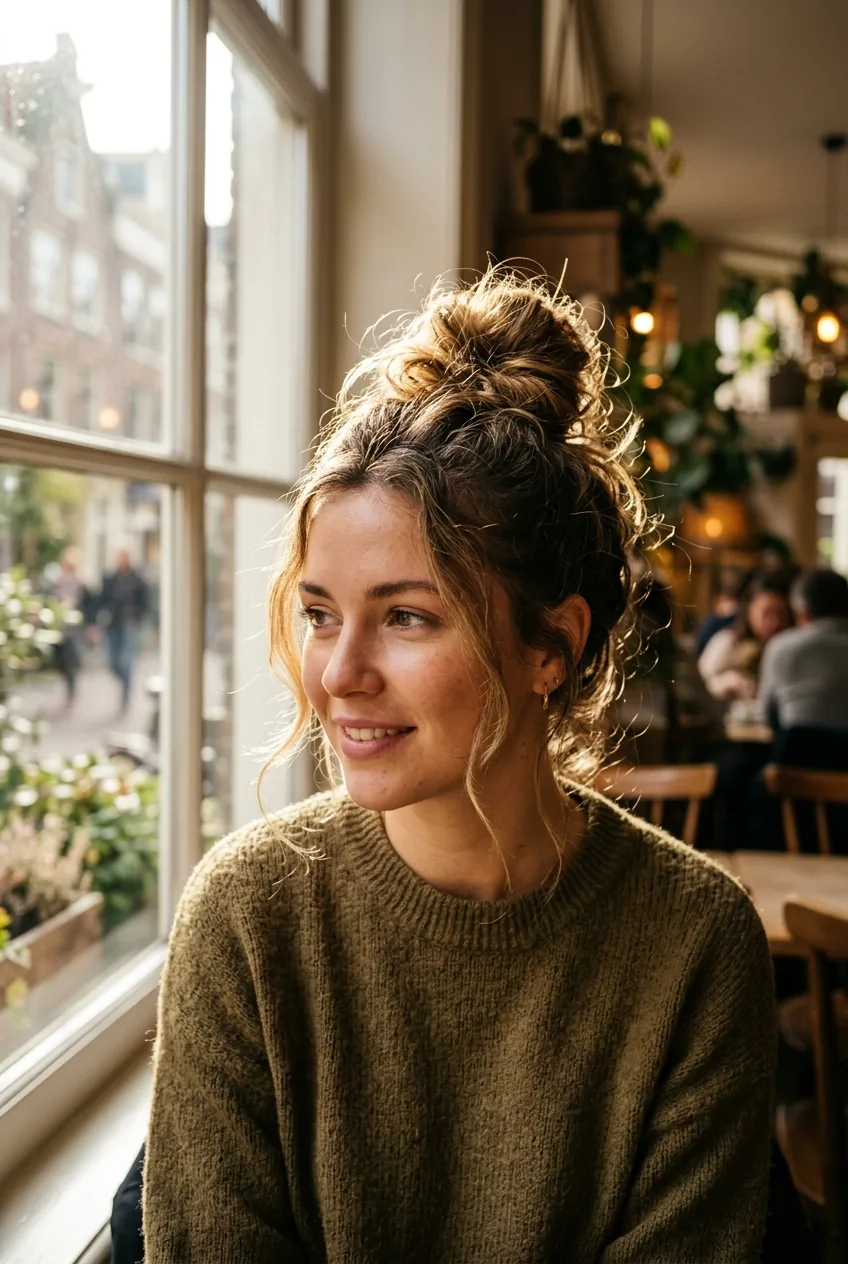
The beauty of a messy bun is right there in the name — it’s supposed to look imperfect. I throw my hair up in this style whenever I’m running late or need to look put-together fast. The secret? Don’t pull all your hair through the elastic on the final wrap.
She’s nailed that “I woke up like this” vibe that takes me about thirty seconds to achieve. If pieces fall out, great! That’s the whole point. Sometimes I deliberately pull out a few face-framing strands.
3. Effortless Level: Beach Waves with a Headband
Difficulty: ⭐⭐ (2/5)
Time: 5 minutes (plus overnight for heatless waves)
Tools needed: Headband, texturizing spray, scrunching hands
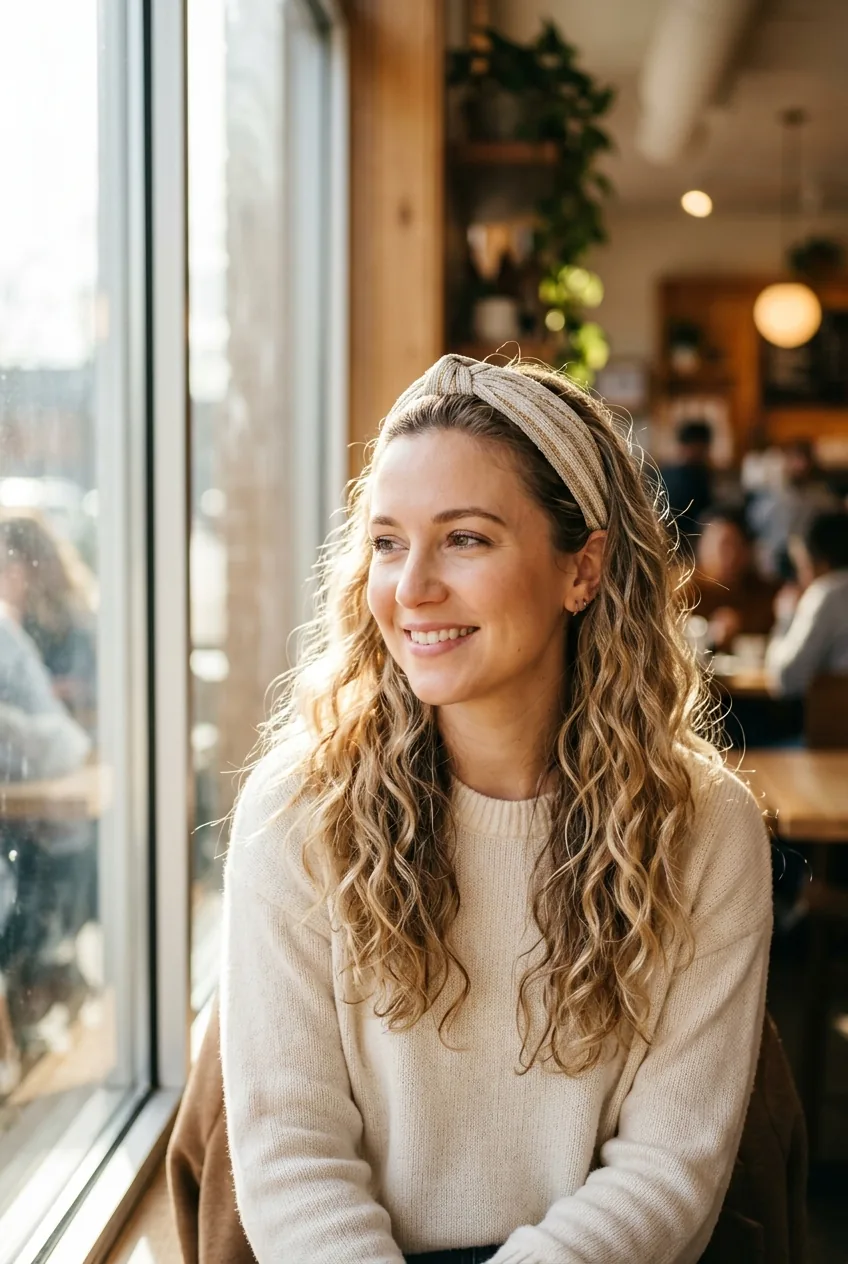
This one requires a tiny bit of planning ahead, but the payoff is huge. I scrunch my damp hair with sea salt spray before bed, sleep on it, and wake up to these gorgeous textured waves. The headband just makes it look intentional instead of like I rolled out of bed.
My personal pick for busy weeks when I want to look polished without any actual effort. The headband hides any weird sleeping patterns in my hair, and everyone always asks if I just got back from vacation.
See how the headband sits just above her ears? That’s the sweet spot. Too high and it looks like a costume; too low and it slides down. For bridesmaid hairstyles half up half down events, this is my go-to base before adding any fancy details.
4. Beginner Plus: Half-Up Twisted Crown
Difficulty: ⭐⭐ (2/5)
Time: 6 minutes
Tools needed: Clear elastic, bobby pins
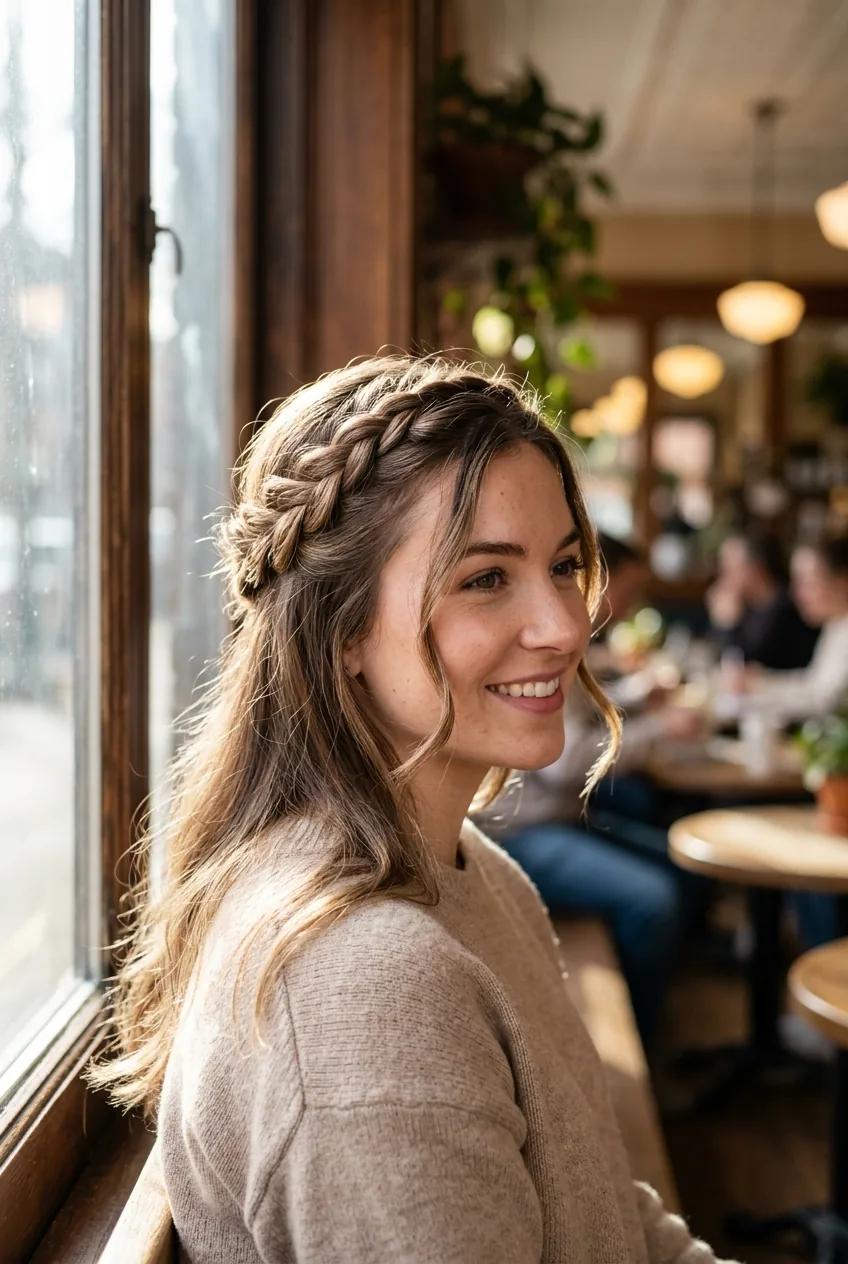
This is where we start getting into styles that make people think you tried harder than you actually did. I take sections from each temple, twist them back, and secure them at the crown. It’s basically a fancy version of getting your hair out of your face.
The trick is not overthinking the twisting technique. Her version here shows exactly what I mean — it doesn’t need to be perfect spiral twists. Just wrap the hair around itself a few times and pin it back. The slight messiness makes it look more modern.
5. Getting Warmer: Side-Swept French Braid
Difficulty: ⭐⭐⭐ (3/5)
Time: 8 minutes
Tools needed: Hair tie, basic braiding skills
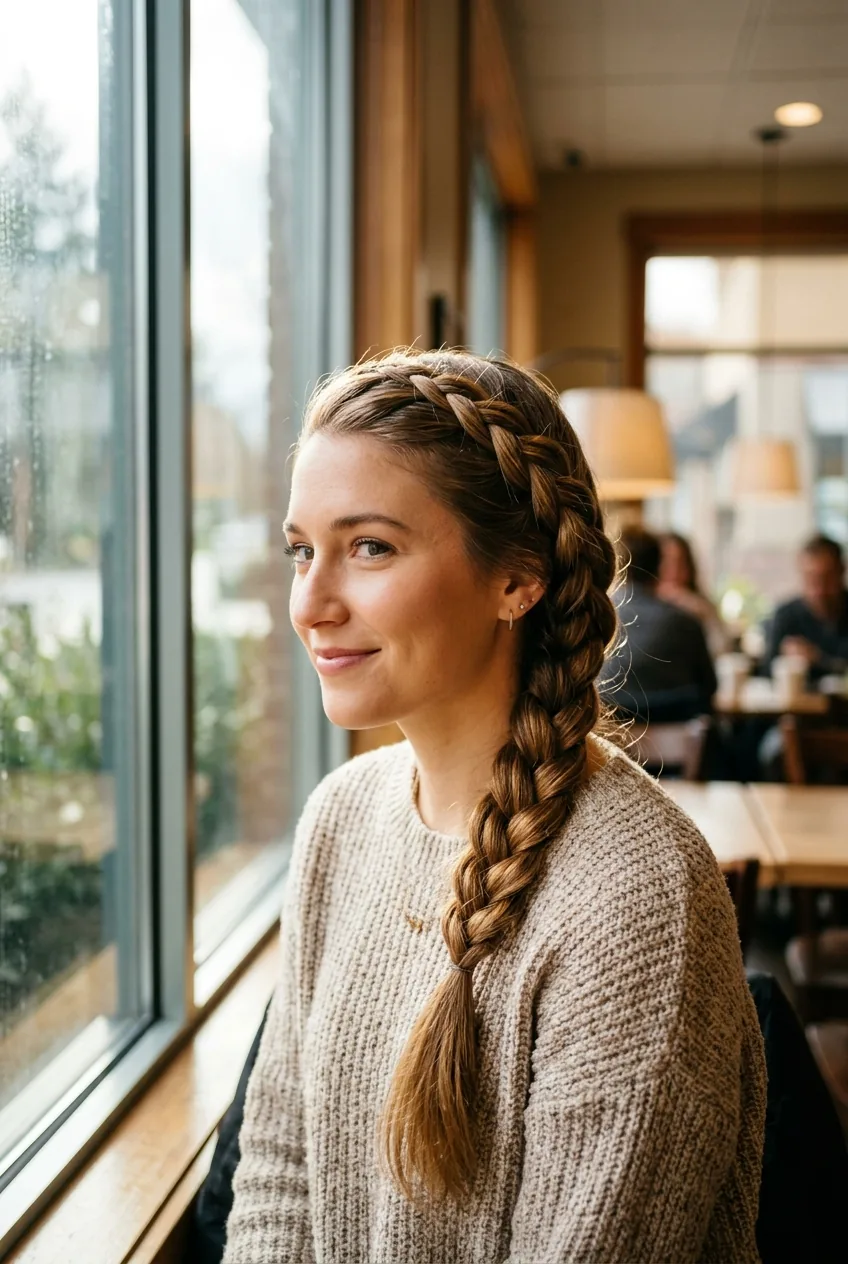
Here’s where things get interesting. I’ll be honest — it took me probably twenty attempts to nail a decent French braid. But once you get the hang of adding hair to the outer sections as you go, it becomes muscle memory.
Start the braid at your deep side part and work diagonally toward your opposite ear. She’s got the perfect loose, romantic version that I’m always aiming for. Don’t braid too tightly against your scalp — you want some texture and volume.
This Tutorial Finally Made It Click
6. Intermediate Challenge: The Perfect Messy Bun
Difficulty: ⭐⭐⭐ (3/5)
Time: 10 minutes
Tools needed: Hair tie, bobby pins, texturizing spray, teasing comb
Wait, didn’t we already do a messy bun? This is the elevated version — the one that looks effortless but actually requires some technique. The difference is in the prep work and the strategic placement of each piece.
I tease my hair first for grip and volume, then loosely twist it up while leaving strategic pieces to fall naturally. Look at how hers has that perfect undone texture but still holds its shape. That takes practice to achieve.

7. Stepping Up: Braided Side Ponytail
Difficulty: ⭐⭐⭐ (3/5)
Time: 12 minutes
Tools needed: Hair ties, bobby pins, brush
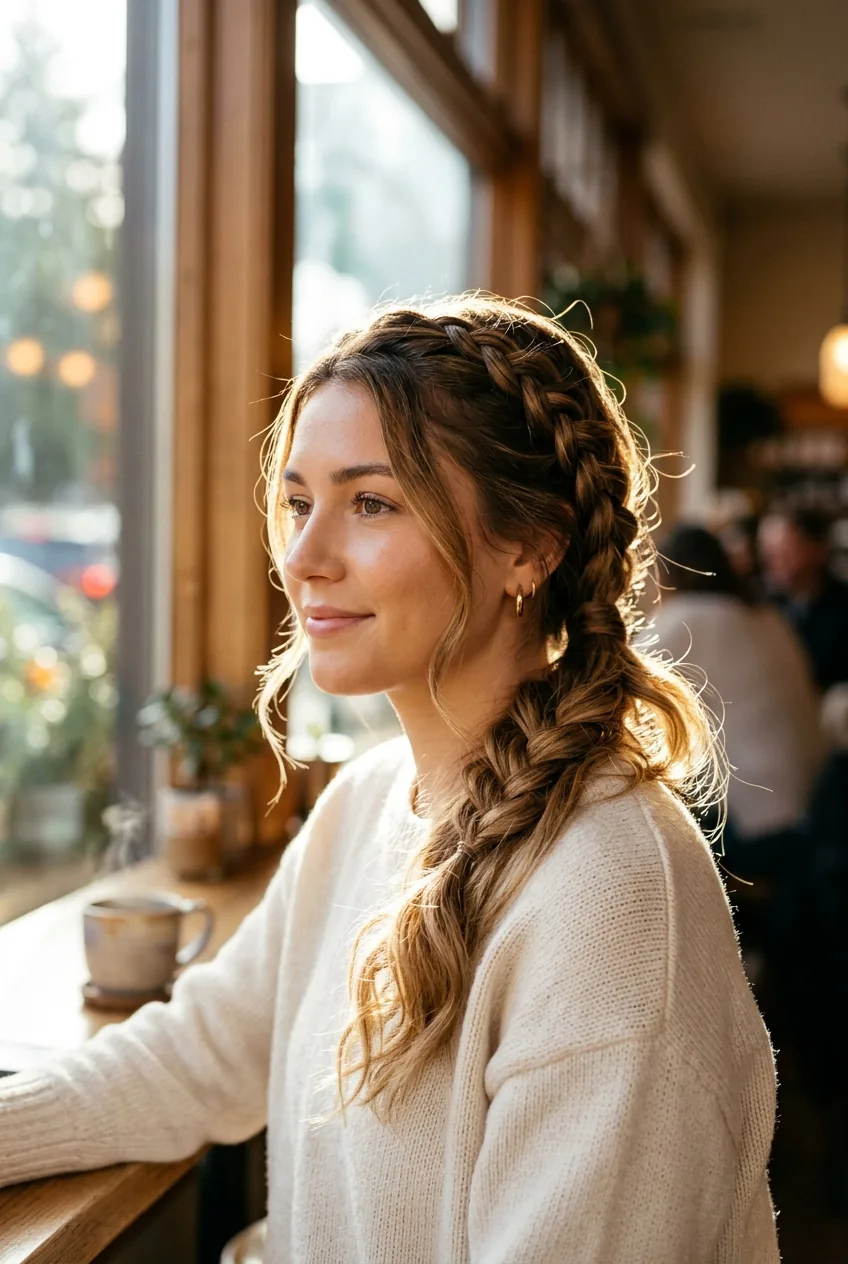
This combines two skills — creating a sleek side part and executing a clean braid that sits at an angle. I sweep all my hair to one side first, then braid from the heavy side down past my shoulder before securing with an elastic low on my neck.
The angle in her braid is what makes this look polished instead of like a regular side ponytail with a braid thrown in. You’re aiming for the braid to follow the natural curve from your ear to your opposite shoulder.
8. Advanced Beginner: Textured Low Chignon
Difficulty: ⭐⭐⭐⭐ (4/5)
Time: 15 minutes
Tools needed: Bobby pins, texturizing spray, hair tie, patience
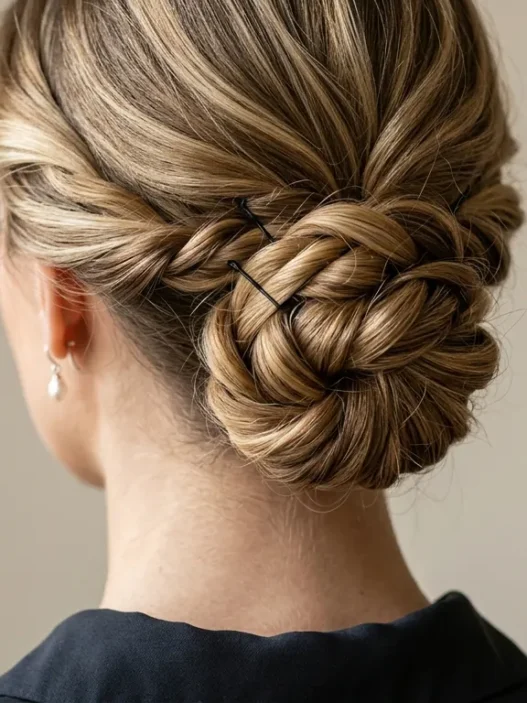
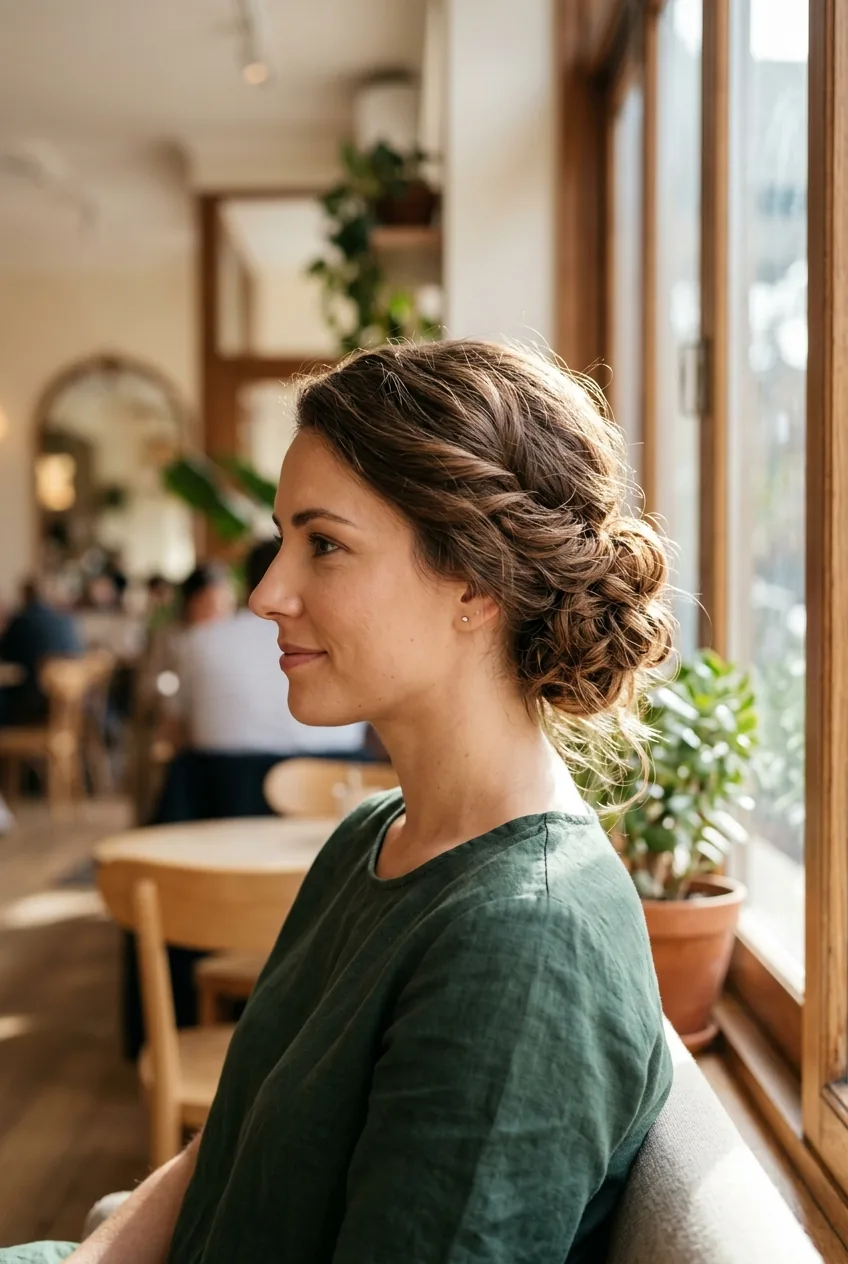
A chignon sounds fancy, but it’s basically just a low bun with more sophisticated pinning technique. I create texture first by scrunching some product through my hair, then twist it into a low, loose coil at the base of my neck.
See how her version has that slightly undone, romantic feel? That’s achieved by not pulling the hair too taut and strategically pulling out small sections after pinning. This style works beautifully for winter lob hairstyles when you want something more elevated than a basic updo.
9. Intermediate Plus: Dutch Braid into Bun
Difficulty: ⭐⭐⭐⭐ (4/5)
Time: 18 minutes
Tools needed: Hair ties, bobby pins, Dutch braiding technique
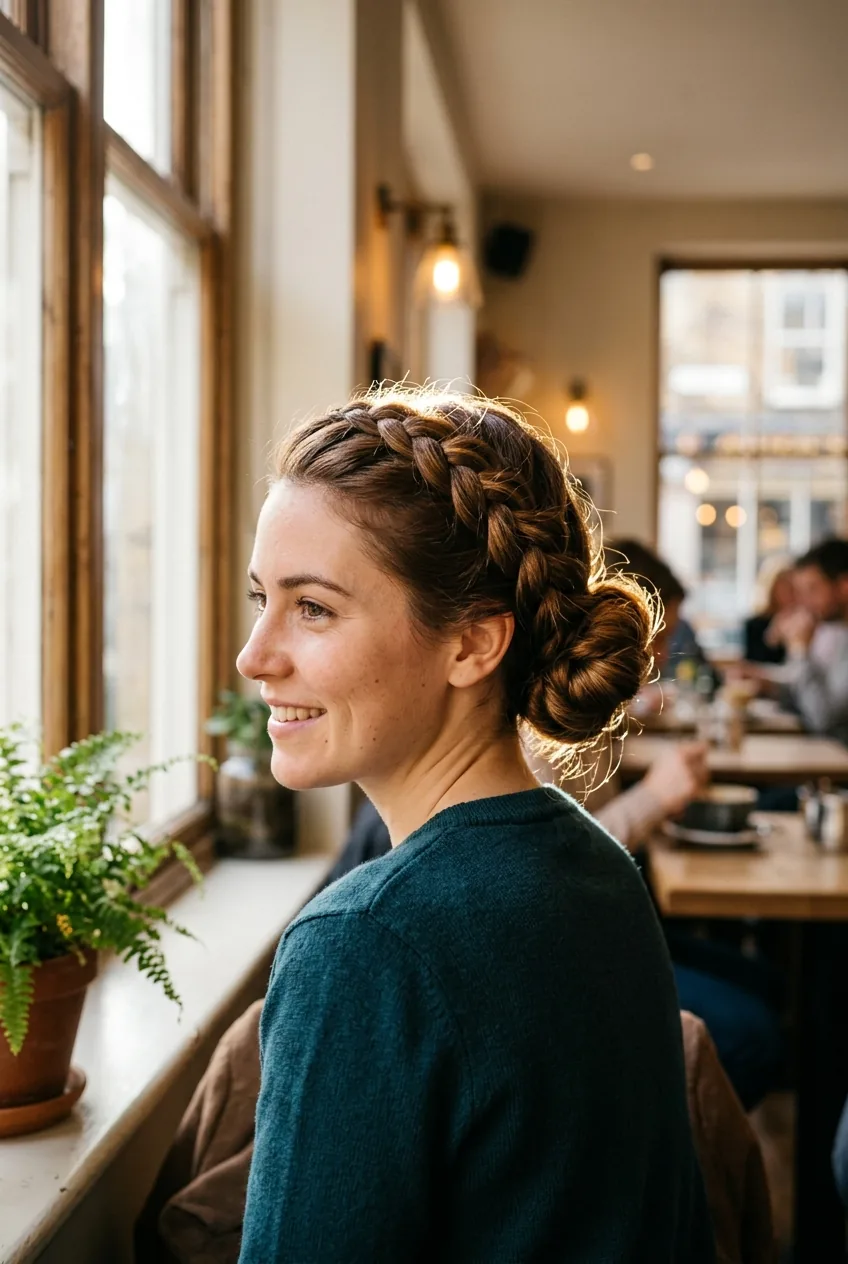
Dutch braids are basically inside-out French braids — instead of crossing sections over, you cross them under. It creates this gorgeous raised effect that adds so much visual interest to a simple bun.
I Dutch braid from my crown straight back, then wrap the remaining length into a bun at the nape. Her technique shows exactly what I’m talking about — that braid sits like a beautiful textured headband across the top of her head before disappearing into the bun.
10. Advanced Level: Romantic Loose Updo
Difficulty: ⭐⭐⭐⭐⭐ (5/5)
Time: 25 minutes
Tools needed: Multiple bobby pins, hair ties, texturizing spray, curling iron (optional)
This is the style that makes people ask if you had it professionally done. I section my hair into multiple pieces, loosely twist each section, then pin them up in a seemingly random but actually very strategic way.
Look at all those beautiful, soft pieces falling around her face and neck. Each one is placed intentionally to create that effortless, romantic vibe. The key is building the updo in layers and leaving some pieces deliberately loose. This technique draws inspiration from cultural hairstyles that emphasize natural texture and movement.

11. Expert Territory: Intricate Braided Crown
Difficulty: ⭐⭐⭐⭐⭐ (5/5)
Time: 30+ minutes
Tools needed: Hair ties, bobby pins, sectioning clips, strong arms, dedication
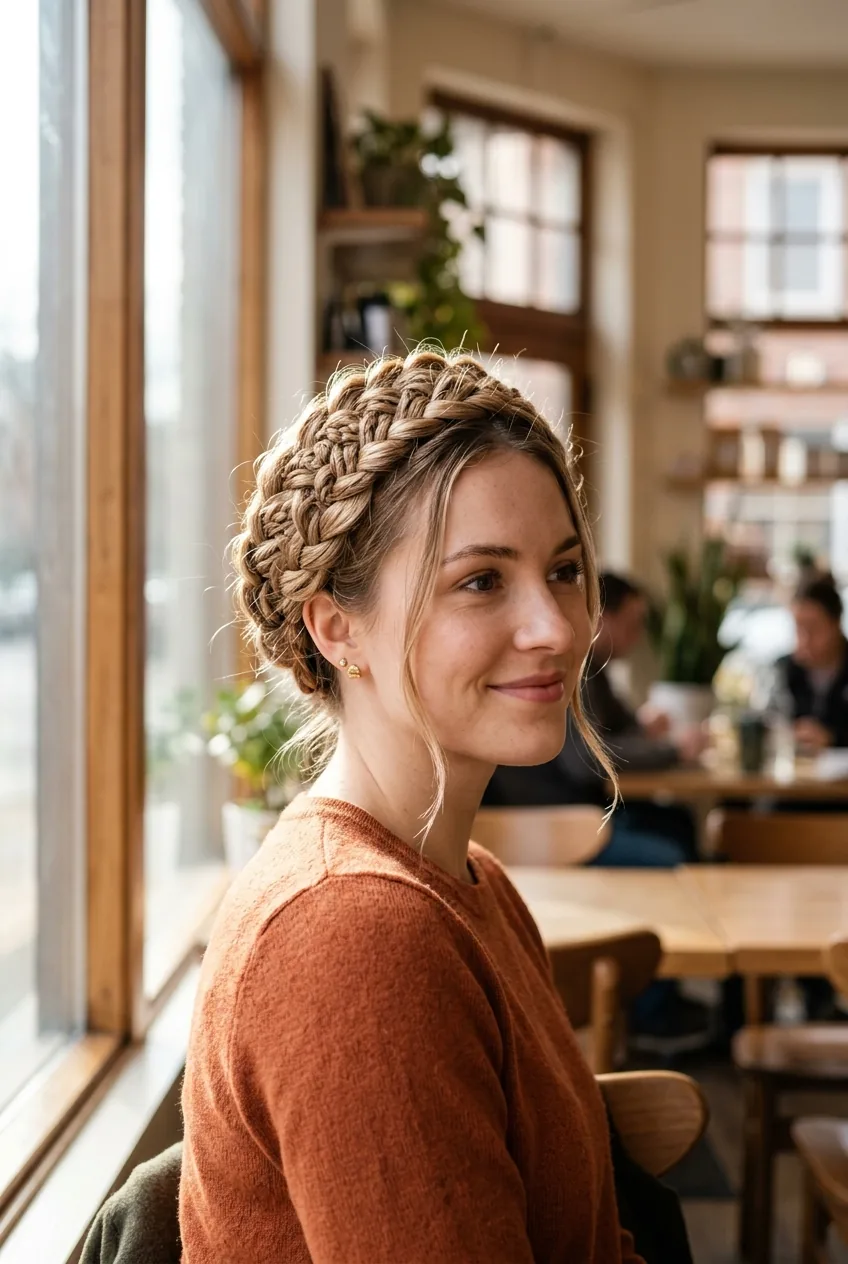
I’m not going to lie — this one is a workout. You’re essentially creating a halo braid that wraps around your entire head, which requires serious dexterity and arm strength. I can only manage this on weekends when I have time and patience.
Her braided crown is absolutely stunning and shows why this style is worth the effort. You start with a deep side part, begin Dutch braiding along your hairline, and continue around your head until you meet back where you started. The braid gets pinned and tucked to create that seamless crown effect.
Questions I Get About These Styles
How long should I practice each level before moving up?
I recommend mastering each difficulty level for at least a week before moving on. Your muscle memory needs time to develop, and rushing to harder styles just leads to frustration. Start with the one-star styles and practice them until you can do them without thinking.
What if my hair is too short for some of these styles?
Most of these work on shoulder-length hair and longer. For shorter cuts, focus on the headband styles, twisted crowns, and textured looks rather than the braided updos. Bobby pins are your best friend for securing shorter layers.
Do I need expensive tools to make these work?
Not at all! I use drugstore hair ties, basic bobby pins, and a $3 brush for most of these styles. The only splurge I’d recommend is a good texturizing spray, which makes every style hold better and look more polished.
Why do my styles fall out by lunchtime?
Usually it’s because your hair is too clean or too slippery. Try doing these styles on day-two hair, or use some texturizing spray or dry shampoo first to give your hair more grip. Also, don’t be afraid to use more bobby pins than you think you need.
Remember, cute easy hairstyles are supposed to make your life simpler, not more stressful. Start where you feel comfortable and work your way up — there’s no rush. I still go back to that basic low ponytail on days when I need something foolproof and quick.