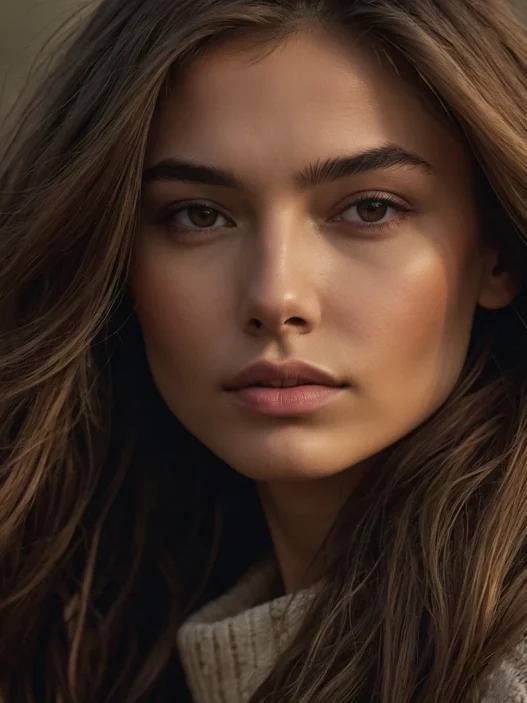


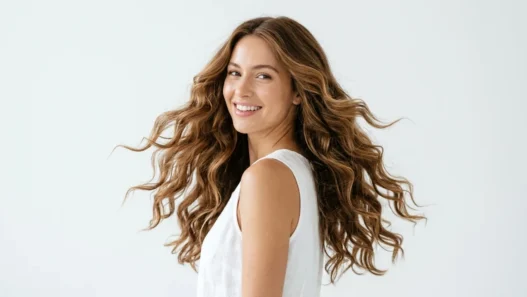

I spent two years butchering my own layered shag attempts before I finally shadowed my stylist during my appointment. What I discovered completely changed how I approach this cut — and honestly, it’s embarrassing how many crucial steps I’d been skipping. The difference between a gorgeous, effortless shag and a choppy mess isn’t talent or expensive tools. It’s knowing the professional texturizing sequence that creates that lived-in, tousled look without the frizzy disaster.
What’s Inside This Professional Guide
- What Separates Pro Shag Cuts from DIY Disasters
- What You’ll Need for Salon-Quality Results
- Step 1: Strategic Pre-Cutting Assessment
- Step 2: Foundation Layer Mapping
- Step 3: The Professional Texturizing Technique
- Step 4: Point Cutting for Natural Movement
- Step 5: Elevation and Angle Refinement
- Step 6: Final Texture and Shape Perfection
What Separates Pro Shag Cuts from DIY Disasters
The biggest mistake I see women make with layered shags is treating every strand like it needs the same cut. But professional stylists know better — they work in strategic sections, adjusting the cutting angle based on your hair’s natural growth patterns and face shape.
Here’s what I learned watching my stylist work: she never just “layers” hair randomly. Instead, she creates what she calls “tension zones” — areas where different texturizing techniques create specific movement patterns. The result? Those effortless, piecey layers that seem to fall perfectly into place.
Most home attempts fail because people skip the assessment phase entirely. They dive straight into cutting without understanding how their hair naturally wants to move. Professional stylists spend the first ten minutes just studying your hair’s texture, cowlicks, and natural part lines.
What You’ll Need for Salon-Quality Results
The tools make a massive difference here. I tried this technique with drugstore scissors first — total disaster. You really do need professional-grade equipment to get the precision that makes this cut work.
- Professional thinning shears (at least 40 teeth) — the cheap ones create choppy, obvious lines
- Sharp haircutting scissors (6-7 inches) — dull blades will fray your ends
- Sectioning clips (metal, not plastic) — you’ll need at least 8-10 for proper control
- Fine-tooth rat tail comb for precise parting
- Spray bottle with clean water
- Hand mirror to check angles from behind
- Good lighting setup (overhead plus side lighting)
I also keep texturizing spray on hand because slightly damp hair holds its shape better during cutting, but you don’t want it soaking wet like some tutorials suggest.
Step 1: Strategic Pre-Cutting Assessment
This is where pros separate themselves from amateurs. Before making a single cut, you need to map out your hair’s natural behavior patterns. Start with completely dry, unstyled hair — this shows you exactly how your hair wants to fall.
Stand in front of your mirror and identify three key areas: your natural part line, any cowlicks or growth direction changes, and where your hair naturally wants to flip or curl. I mark these spots mentally because they’ll determine where I place the shortest layers for maximum movement.
Next, determine your face shape’s optimal layer placement. Professional layered cuts work differently on oval faces versus round or square faces. The key is understanding where layers will add volume versus where they’ll create softening angles.
Step 2: Foundation Layer Mapping
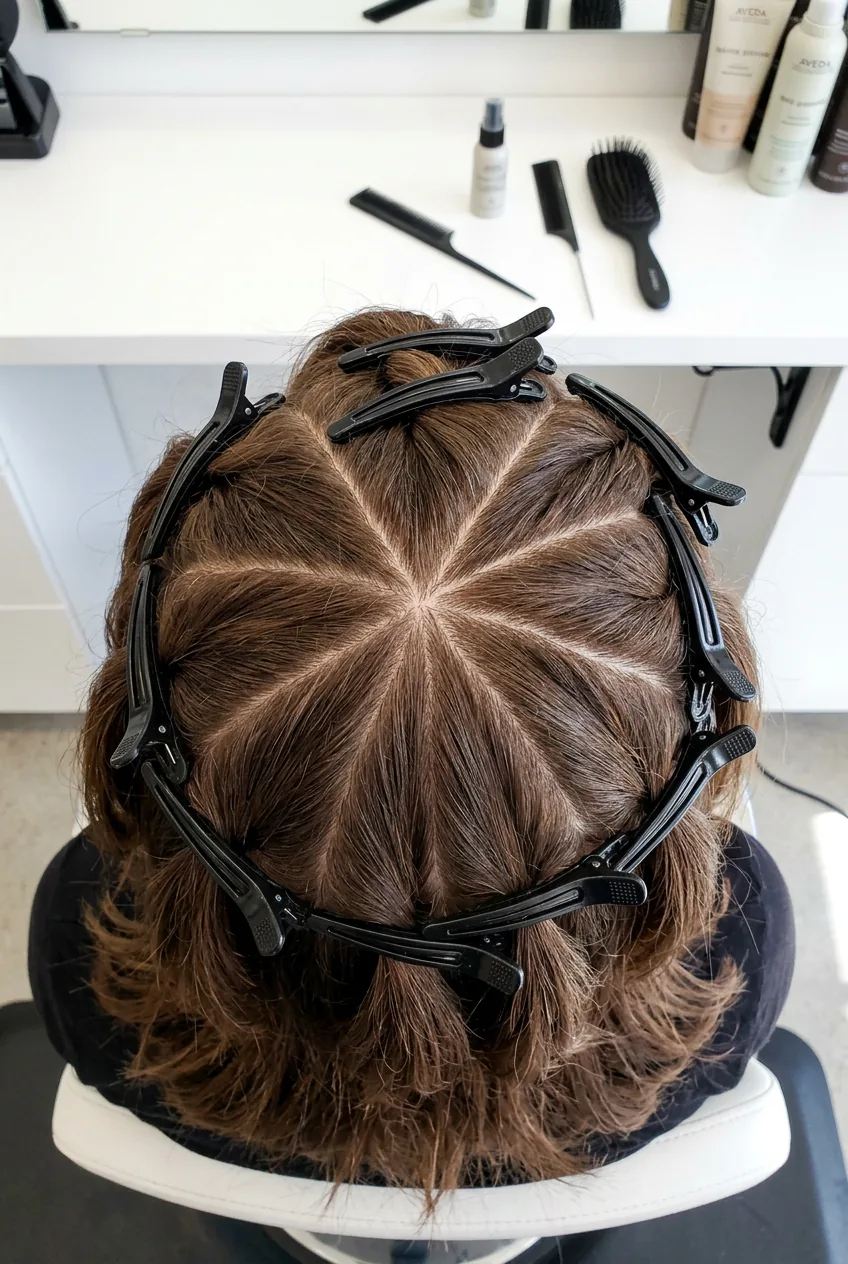
Now comes the sectioning phase that most tutorials completely botch. Professional stylists don’t just divide hair randomly — they create what I call “influence zones” based on how each section will interact with the others.
Start by creating a horizontal part from ear to ear, about two inches above your ears. This becomes your perimeter guide — everything below this line determines your overall length. Then create a vertical part from your forehead to the nape, dividing the top section in half.
The magic happens in how you subdivide from here. Instead of uniform sections, create pie-shaped wedges that follow your head’s natural curve. This ensures each layer will stack properly and create that seamless, blended look that screams professional work.
Step 3: The Professional Texturizing Technique
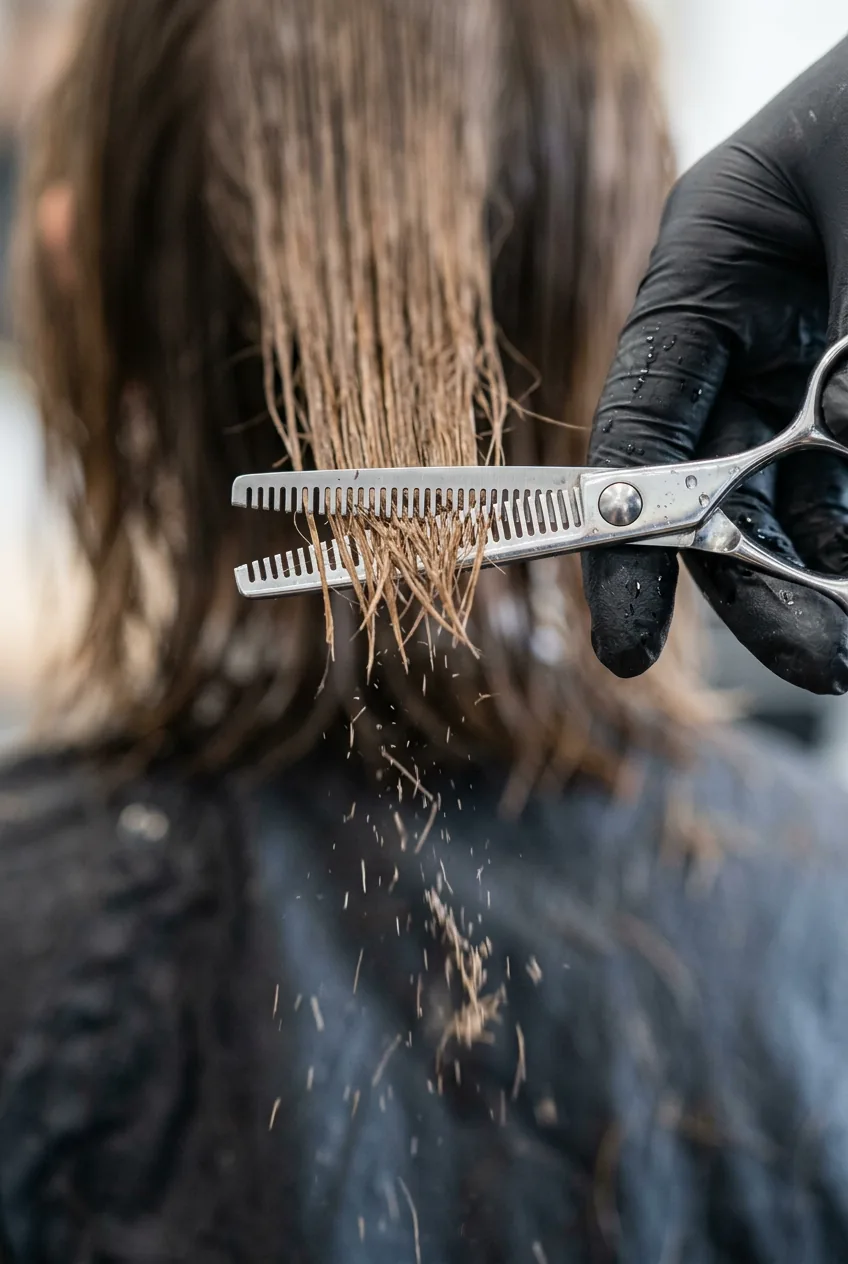
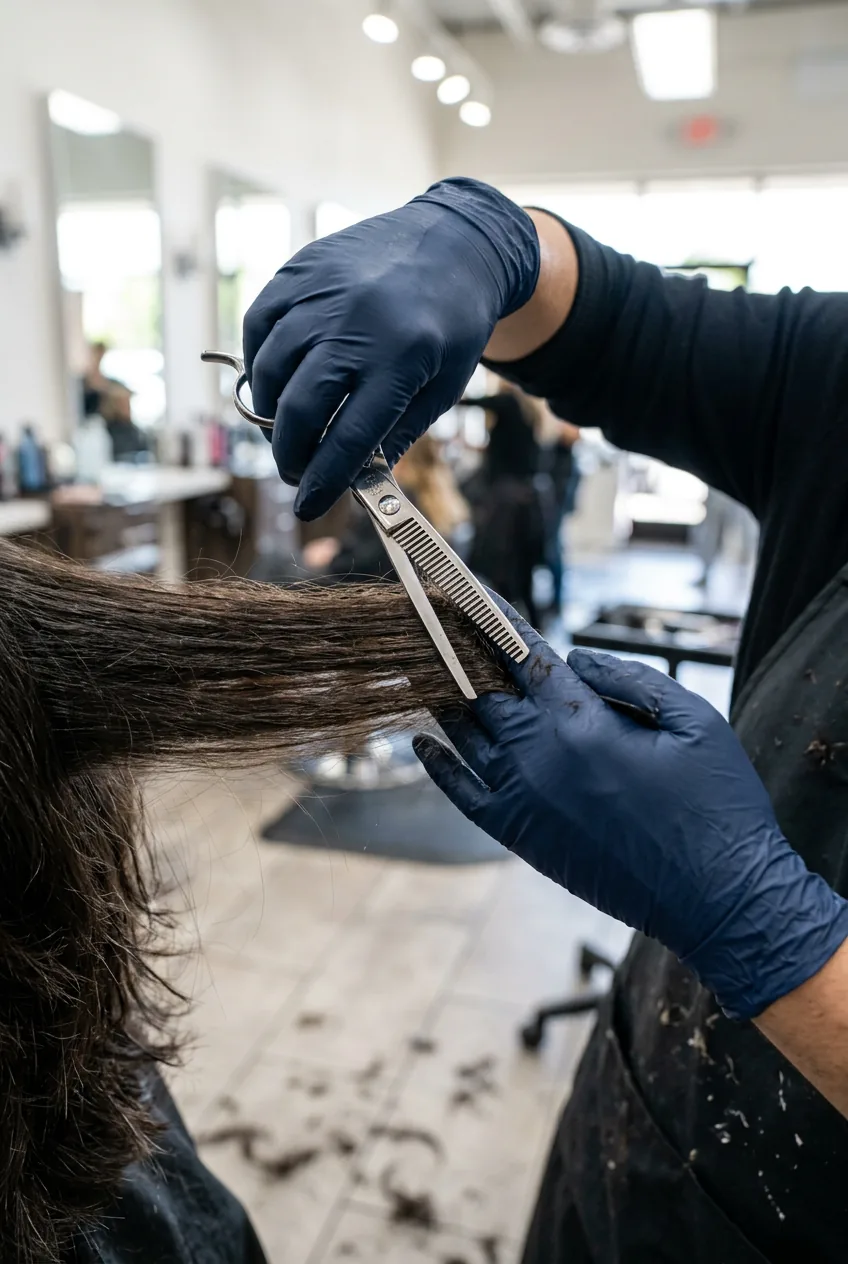
This is where the real salon secret lives. Most people think texturizing means randomly thinning out hair with those jagged scissors. But professional texturizing is actually about creating specific weight removal patterns that enhance your hair’s natural movement.
Start with the bottom perimeter section. Hold each subsection at a 45-degree angle away from your head — not straight up, not straight out. This angle is crucial because it determines how the layers will stack and blend.
Here’s the technique my stylist taught me: Use your thinning shears starting about 2 inches from the ends, making three quick snips as you slide toward the tips. But here’s the key — rotate your wrist slightly with each snip. This creates irregular texture instead of that obvious “thinned” look.
I made the mistake of keeping my wrist rigid during texturizing for months. The result was these weird, blunt chunks that looked nothing like the effortless layers I wanted. Once I started incorporating that wrist rotation, everything changed.
Watch the Texturizing Technique in Action
Step 4: Point Cutting for Natural Movement
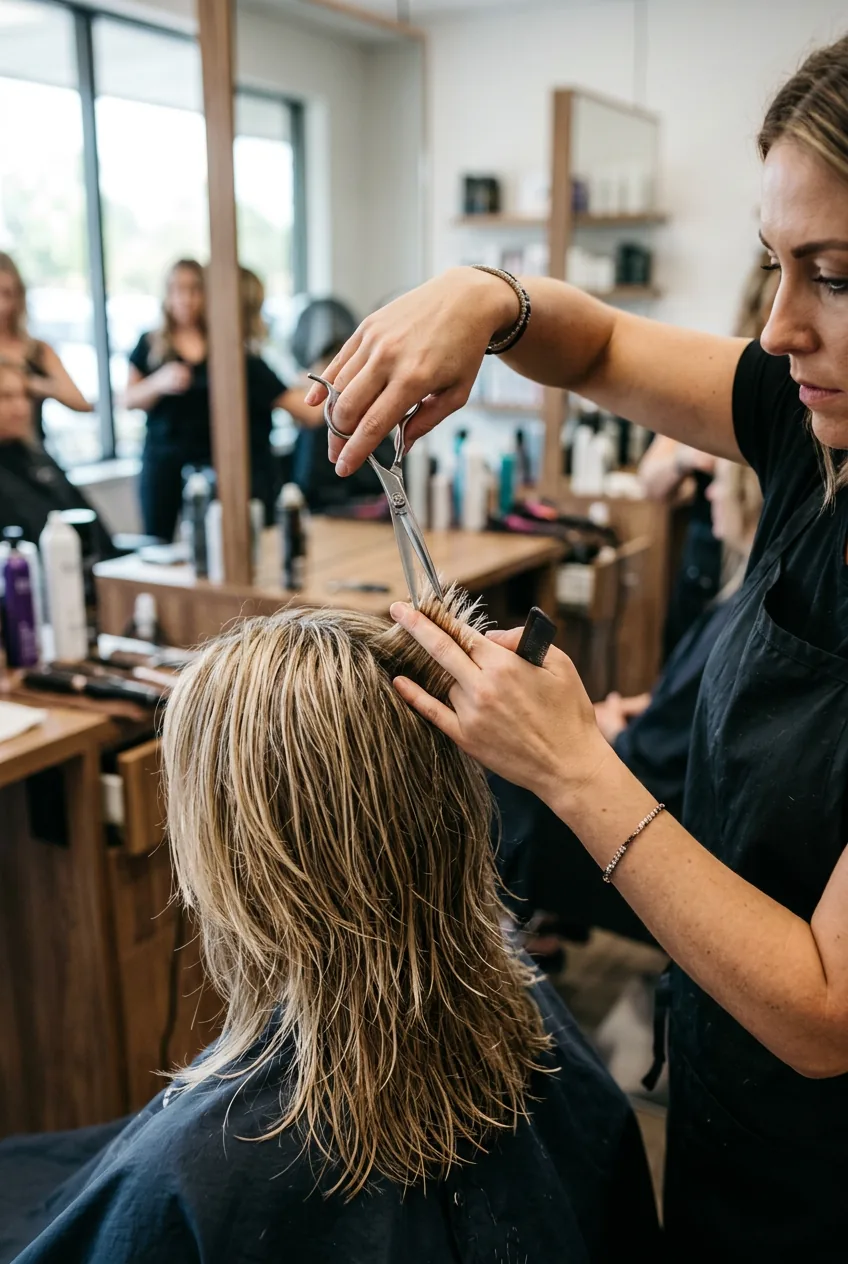
Point cutting is what creates those perfect, feathery ends that make layered cuts look so effortless. But there’s a specific rhythm and angle that makes all the difference between professional results and choppy amateur work.
Working section by section, hold your hair at a 90-degree angle from your scalp. Instead of cutting straight across, angle your scissors vertically and make small, precise cuts into the ends. Think of it like creating tiny notches rather than removing chunks.
The key is varying the depth of your point cuts based on your hair texture. Fine hair needs shallow cuts (maybe 1/4 inch deep), while thick hair can handle deeper notches. This creates natural-looking texture without making your ends look damaged or sparse.
Step 5: Elevation and Angle Refinement
This step is where good shags become great shags. It’s all about fine-tuning the elevation and angles to create that perfect, lived-in movement. Most tutorials skip this entirely, which is why DIY attempts often look choppy or disconnected.
Starting with your crown area, lift small sections straight up and check for any obvious lines or steps in your layering. Professional shags should have seamless transitions — no visible demarcations between layers.
If you find harsh lines, use your thinning shears to blend them out. The technique here is called “over-direction cutting” — you lift the hair slightly forward or backward from its natural fall before making tiny corrective cuts. This softens any obvious edges and creates that natural, windswept look.
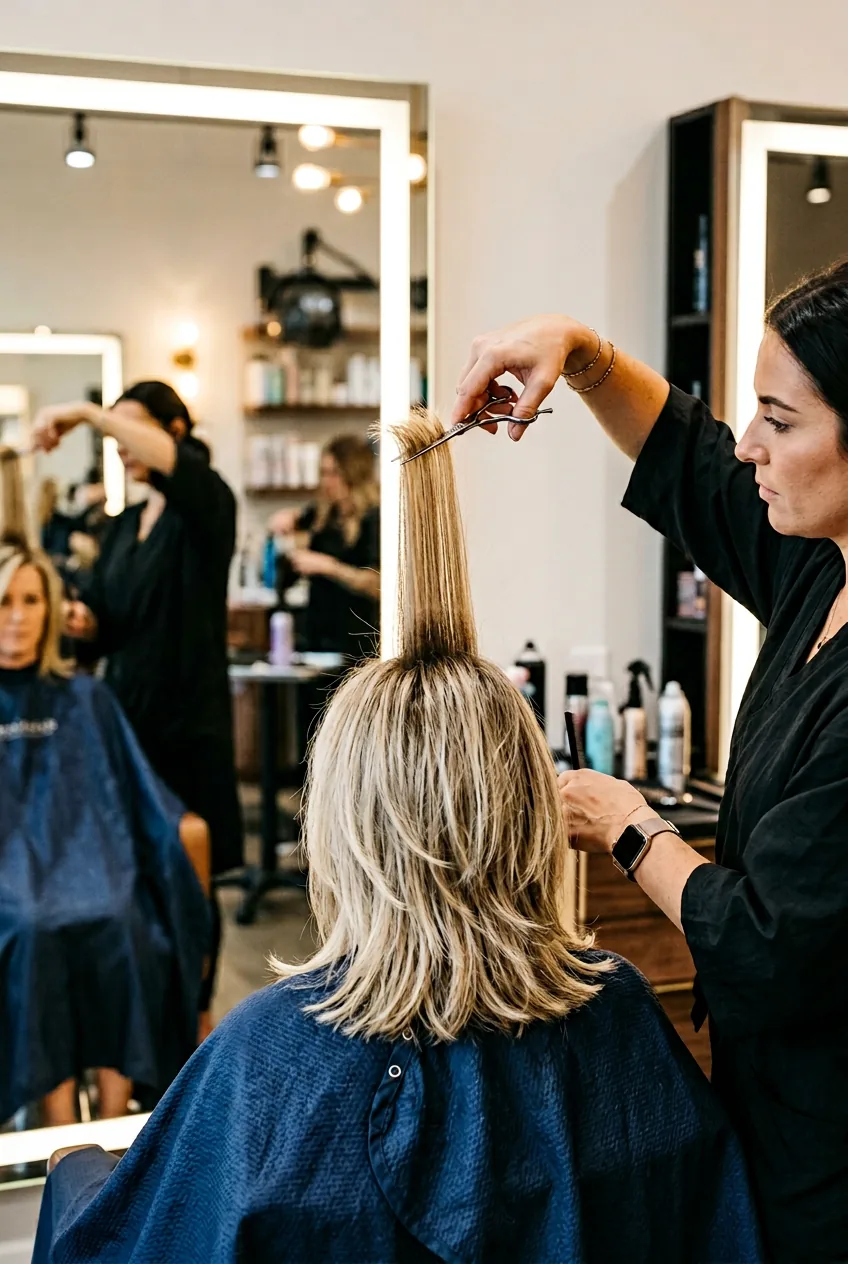
Step 6: Final Texture and Shape Perfection

The final step is what separates a good layered shag from an iconic one. This is where you add those signature piecey details that make the cut look effortlessly cool instead of just layered.
Focus on the areas around your face first — these are your money pieces. Face-framing techniques can make or break the entire look. I like to take slightly longer pieces at the temples and add subtle point cutting to create soft, wispy edges that blend seamlessly with the rest of the cut.
For the final touch, mist your hair lightly and scrunch it gently to see how the layers naturally want to fall. If any sections look too heavy or uniform, this is your chance to add strategic texture with your thinning shears. Remember — less is more at this stage. You can always remove more hair, but you can’t put it back.
Questions I Get About This Technique
Can I really do this at home without professional training?
Yes, but you need to be realistic about your skill level. Start with subtle layers and work your way up to more dramatic cuts. I always recommend practicing the texturizing technique on small, hidden sections first.
How often do I need to maintain a layered shag?
Every 6-8 weeks for optimal shape, but the beauty of this cut is that it grows out gracefully. I often go 10 weeks between trims because the natural texture disguises any awkward growth phases.
What if I mess up the texturizing step?
Stop immediately and don’t try to “fix” it yourself. Over-texturizing is the fastest way to ruin a shag cut. Visit a professional colorist who can assess the damage and create a plan to blend any mistakes.
Does this technique work on all hair types?
It works best on medium to thick hair with some natural texture. Fine, straight hair might look too thin with heavy texturizing, while extremely curly hair often doesn’t need much additional texture work.
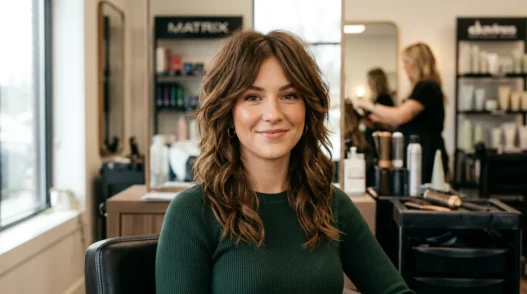
The result I got following this professional method was everything I’d hoped for — effortless, tousled layers that looked like I’d just rolled out of bed looking fabulous. My hair finally had that lived-in texture that photographs beautifully and styles itself. Most importantly, it grows out naturally without looking like a bad haircut in progress.