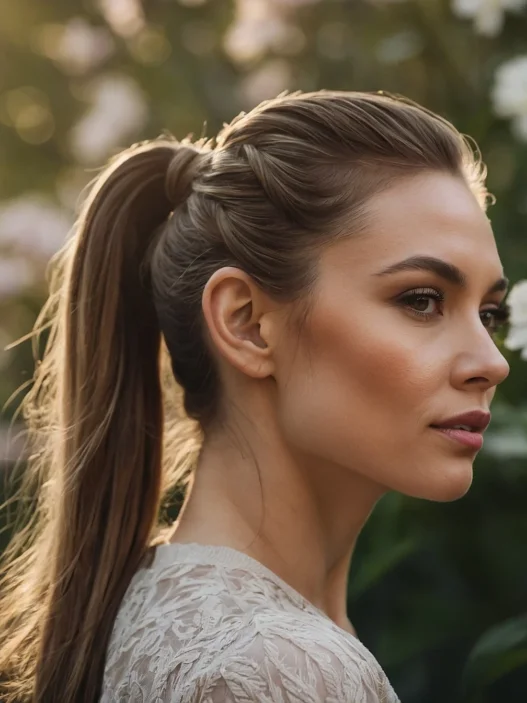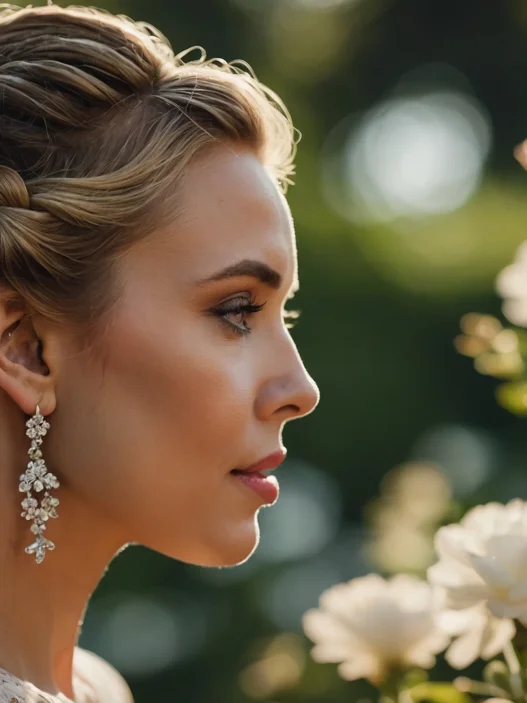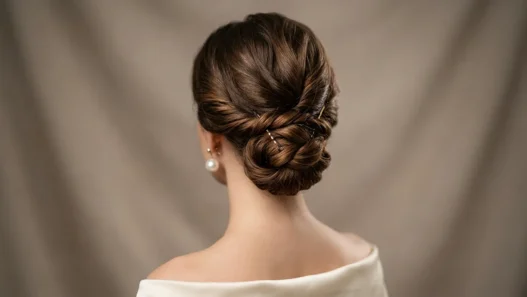

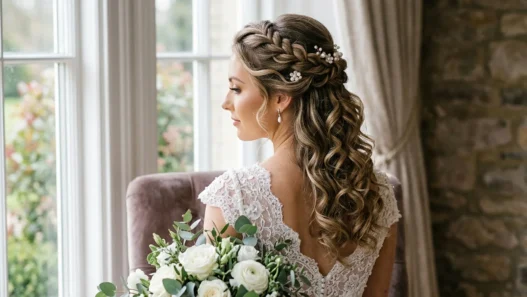

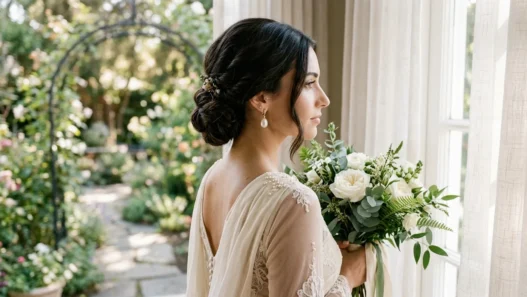




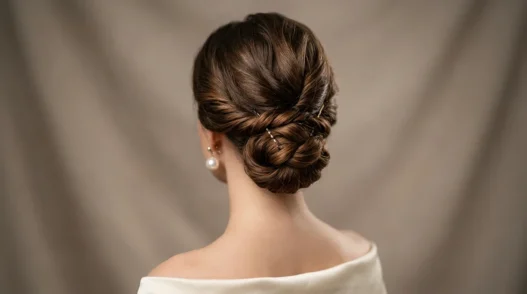
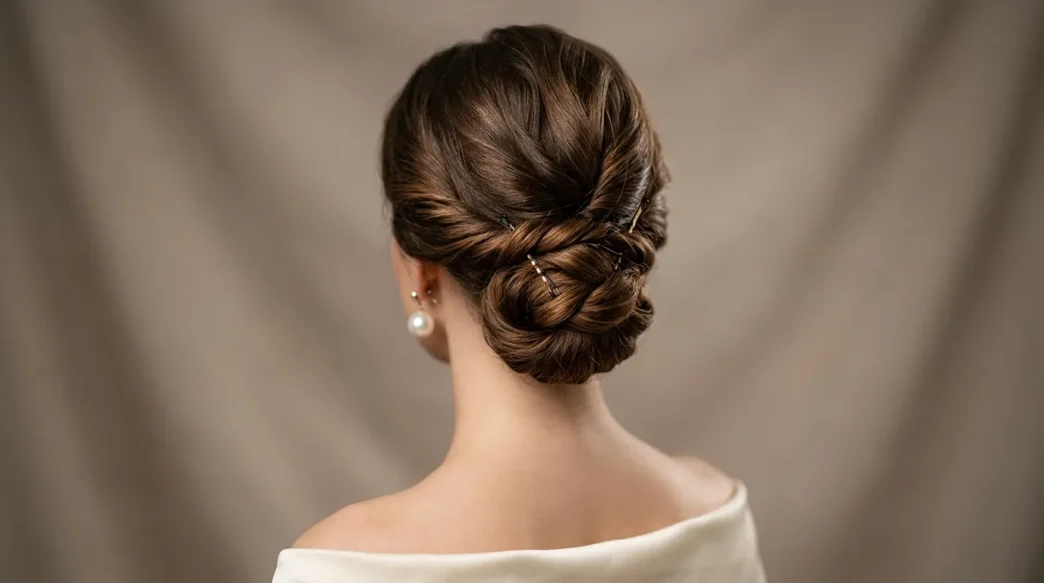
I used to wonder why my elegant updos never looked like the ones I saw in magazines or at weddings. Even following tutorials exactly, something always felt… amateur. Then I shadowed a friend who’s a stylist at a high-end salon, and I finally understood what I was missing. The difference isn’t talent — it’s technique.
Your Complete Guide to Salon-Quality Elegant Hairstyles
- What You’ll Need for Pro-Level Results
- Step 1: The Foundation Prep Pros Never Skip
- Step 2: Strategic Sectioning Like a Stylist
- Step 3: The Industry Texturizing Technique
- Step 4: Building Structure with Pro Pin Placement
- Step 5: Creating the Signature Twist Elements
- Step 6: Finishing Like Your Stylist Would
What You’ll Need for Pro-Level Results
Here’s what separates salon results from bathroom mirror attempts — and honestly, most of these tools are things you probably already own:
- Fine-tooth rat-tail comb (the pointy end is crucial for clean sections)
- Bobby pins in two colors — one matching your hair, one slightly darker
- Small clear elastics (not the thick ones that leave dents)
- Texturizing spray or sea salt spray
- Light-hold hairspray — not the crunchy stuff
- A few small hair clips for sectioning
- Optional but game-changing: u-pins instead of regular bobby pins
The biggest revelation for me? Stylists use way more bobby pins than I ever did. Like, seriously — I was being stingy with pins and wondering why everything fell apart.
Step 1: The Foundation Prep Pros Never Skip
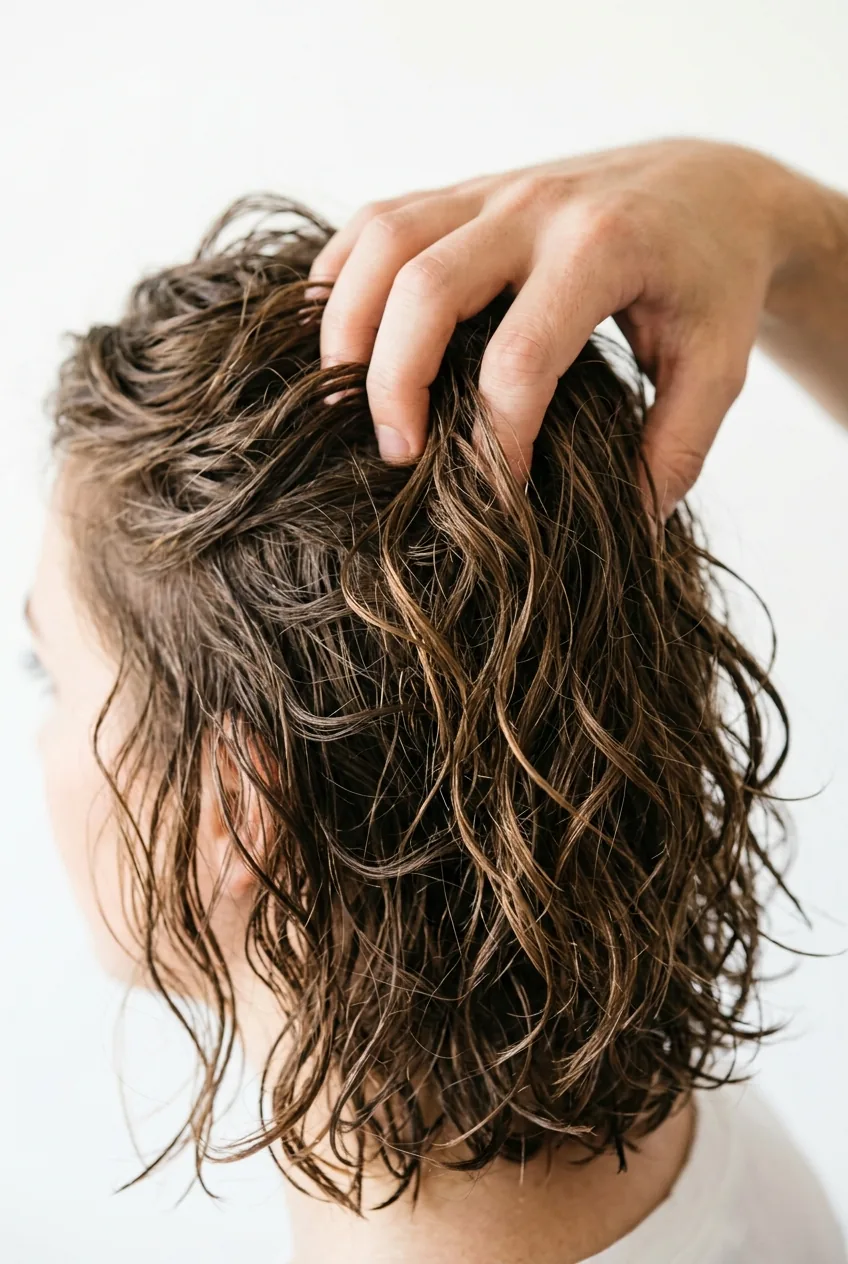
This is where most of us go wrong right from the start. We think day-two hair is good enough for an updo, but professionals know that elegant hairstyles need a specific foundation.
Start with hair that’s about 80% dry — not completely wet, but not bone dry either. This gives you control without the frizz. Spray your texturizing product from mid-length to ends, avoiding the roots. The goal is grip, not grease.
Here’s the pro move: lightly brush through your hair with a paddle brush, then immediately scrunch it back up. This creates texture while maintaining smoothness at the surface. Your hair should feel slightly thicker and more manageable.
I made the mistake of skipping texture spray for months because I thought my thick hair didn’t need it. Wrong. Even thick hair needs that extra grip to hold elegant styles all day.
Step 2: Strategic Sectioning Like a Stylist
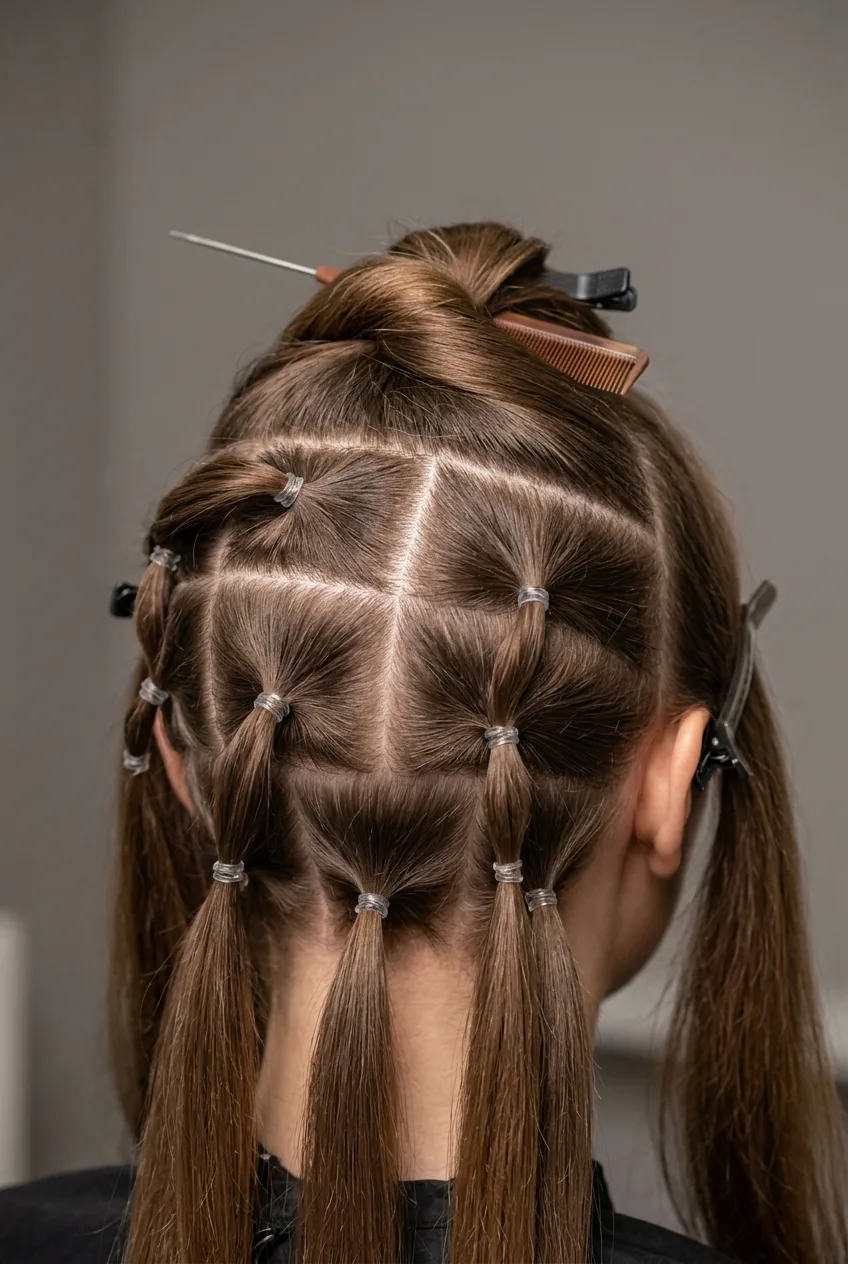
Stylists don’t just randomly gather hair — they think in zones. Using your rat-tail comb, create a horizontal part from ear to ear, about two inches above your neckline. This bottom section will be your foundation layer.
Clip the top section up and out of your way. Now make two diagonal parts from your ears toward the center back, creating a triangular section at the nape. This triangle is where your updo will anchor.
The sides get divided into three sections each — temple area, mid-ear level, and lower. Use those small clear elastics to loosely secure each section. Don’t make them tight; you just need organization.
This sectioning might feel excessive, but it’s how stylists maintain control over every piece of hair. When you’re working with just one section at a time, everything becomes more manageable.
Step 3: The Industry Texturizing Technique
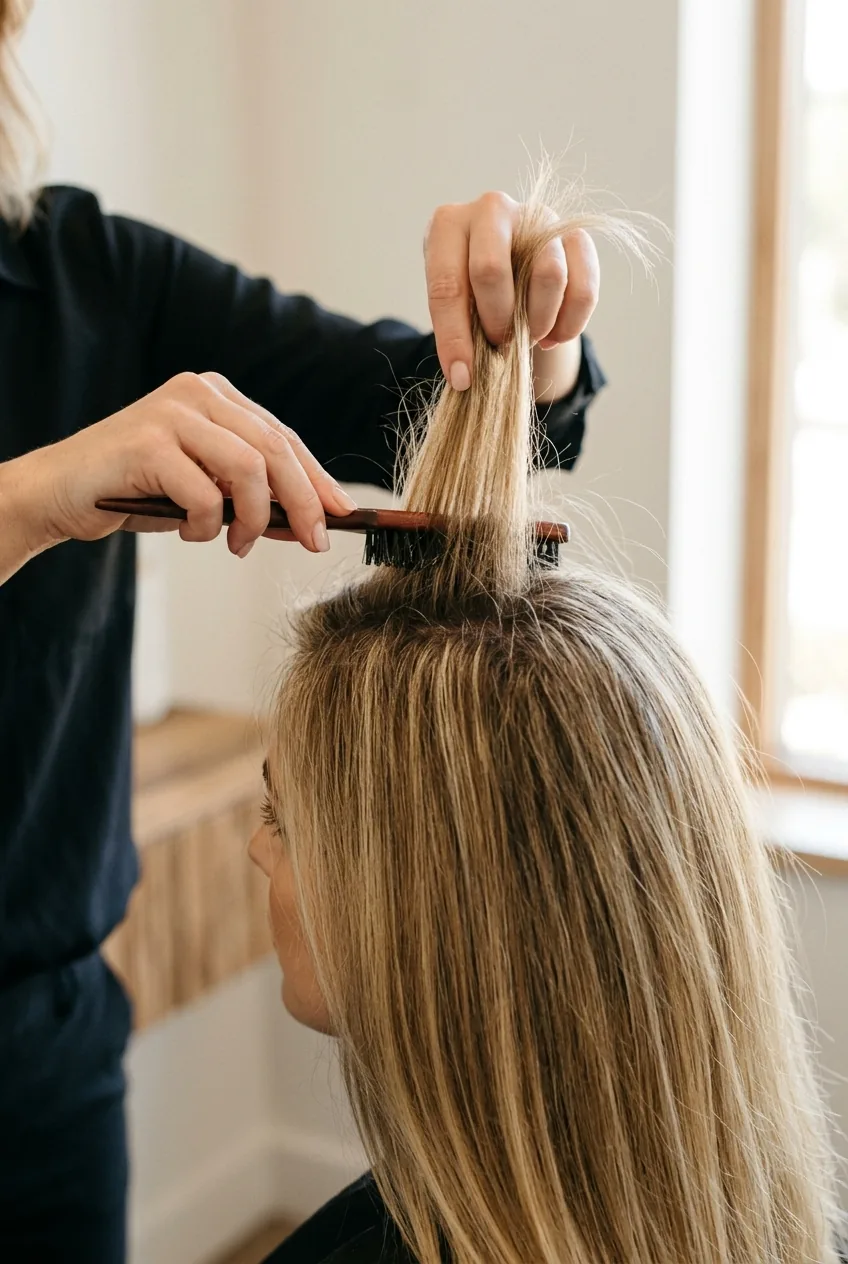
Here’s what I learned watching professionals work: they don’t just twist hair — they create texture first, then form the shape. Start with that bottom triangular section we created.
Take the hair and gently backcomb it at the roots, just enough to create lift. Not teasing like it’s 1985, but gentle backcombing to build foundation. Then smooth the surface with your brush while leaving the volume underneath.
Twist this section loosely and pin it horizontally across the nape of your neck. The pins should go through the twist and catch hair underneath — this creates your structural base.
Release one side section and repeat this process: gentle backcomb, smooth surface, twist, pin. Each new section should overlap the previous one slightly. You’re building layers of texture and structure.
Step 4: Building Structure with Pro Pin Placement
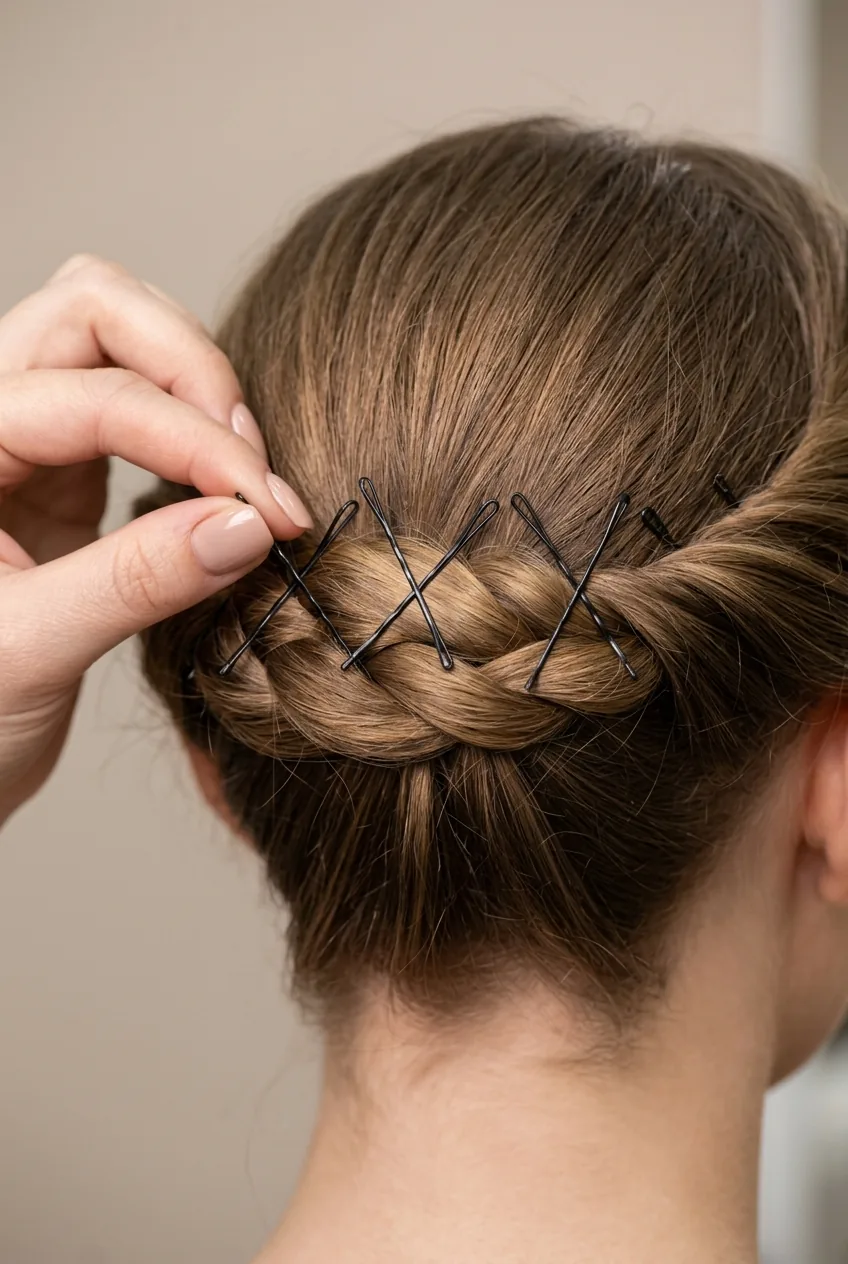
This is where the magic happens, and it’s all about pin strategy. Stylists never just stick pins randomly — every pin has a purpose and a specific angle.
For each twisted section, use the darker bobby pins first to create structure. These go in at 45-degree angles, crossing over each other to form an X pattern through the twist. This locks everything in place.
Then use the matching bobby pins to clean up any visible structure pins and smooth the surface. The key is to push each pin through the twist, catch some base hair, then push the pin back up and into the style. This creates a hook effect that actually holds.
Don’t be afraid to use 8-10 bobby pins per section. I know it sounds like a lot, but this is how professional techniques achieve those gravity-defying looks that last all evening.
Step 5: Creating the Signature Twist Elements
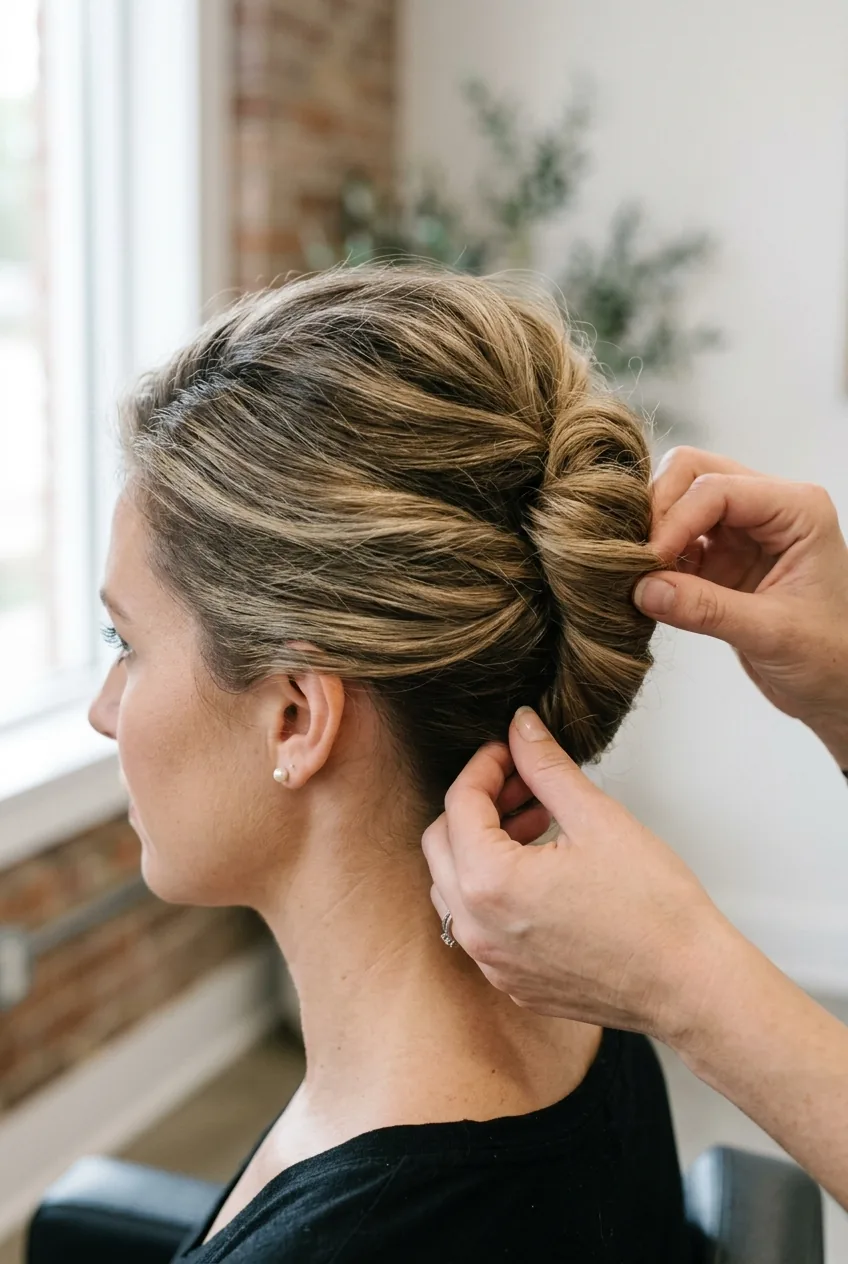
Now for the top sections — this is where your elegant hairstyle gets its personality. Release the top section and divide it into three parts: center and two sides.
Starting with the center section, create a loose French twist by gathering the hair, twisting it away from your face, then folding it back on itself. Don’t twist too tightly — you want soft, romantic volume.
Pin this central twist vertically, connecting it to your horizontal base structure. The pins should be invisible from the front but secure from behind.
Take each side section and twist it loosely toward the center, wrapping it around and through the central twist. This creates those organic, flowing lines that make elegant updos look effortless. Pin each side twist securely, making sure the ends are tucked and hidden.
Step 6: Finishing Like Your Stylist Would
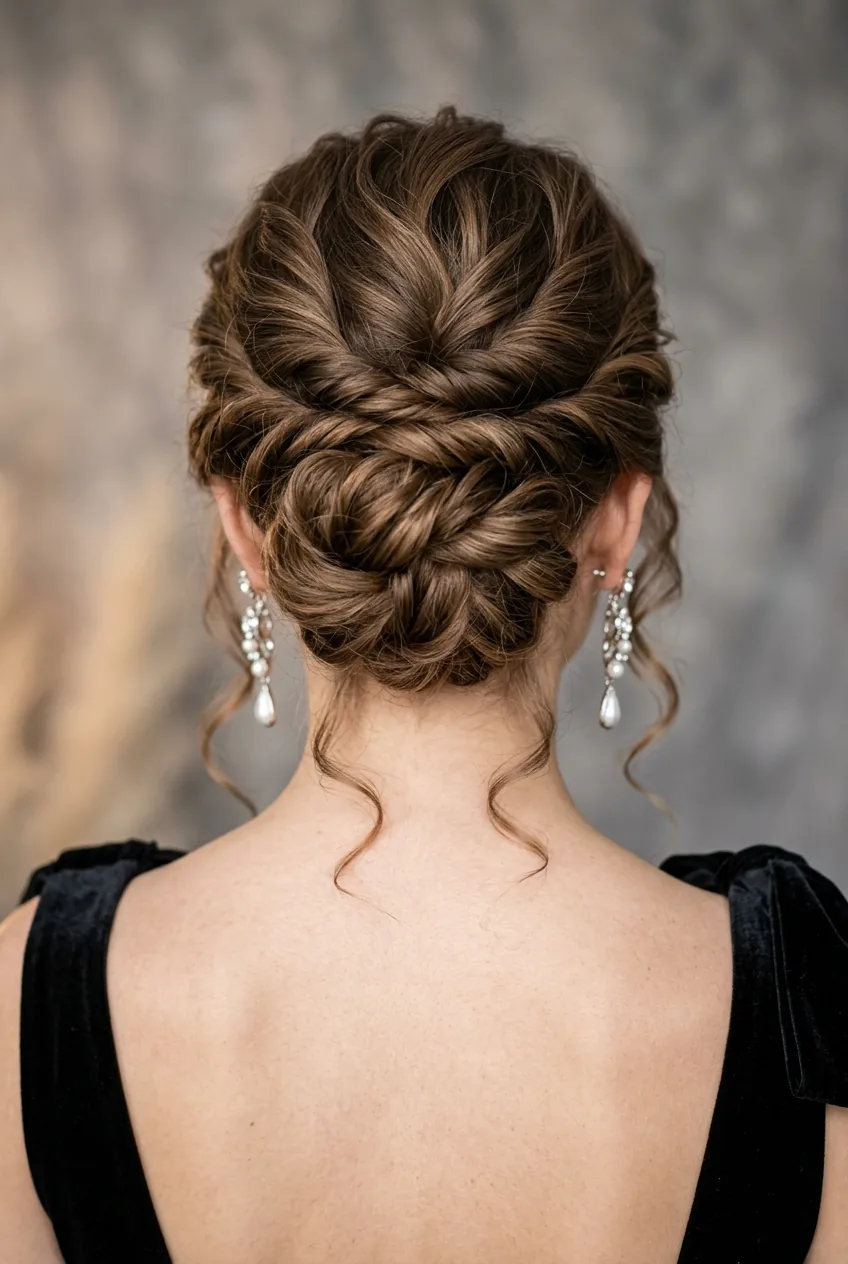
The finishing touches are what separate good from stunning. First, gently tug at the twists to create soft, romantic volume. Stylists call this “pancaking” — pulling sections slightly apart to create fullness without destroying the structure.
Check for any loose pieces or flyaways. Use tiny bobby pins to secure these, pushing them into existing twists so they disappear. If you have face-framing pieces, leave a few soft tendrils loose and curl them gently with your fingers.
Finish with a light mist of flexible-hold hairspray, holding the bottle about 8 inches away. Don’t douse it — you want to set the style without creating helmet hair.
The first time I tried this method, I was shocked at how professional it looked. My sister asked if I’d gotten it done at a salon. That’s when I knew I’d finally cracked the code.
For special occasions, this technique works beautifully with wedding hairstyles with veil or can be adapted as part of more elaborate long hairstyles.
Questions I Always Get About This Technique
How long does this style typically last?
With proper pinning, this elegant updo should last 8-12 hours easily. I’ve worn mine to full wedding receptions without major touch-ups needed.
Can I do this on freshly washed hair?
Day-old hair actually works better because it has more grip, but if you must use clean hair, apply texturizing spray generously and let it air dry to about 80% before starting.
What if my hair is too short for all these sections?
You need at least shoulder-length hair for this full technique, but you can adapt it by creating fewer, larger sections and focusing on the lower twisted base for shorter lengths.
Why do my elegant updos always look messy?
Usually it’s inadequate pinning or skipping the texturizing step. Most people use half the bobby pins they actually need and don’t create enough grip in the hair first.
The difference this professional approach made in my hairstyling confidence was incredible. Now when I want elegant hairstyles for special events, I know I can create something that rivals salon work — and actually stays put all night long.