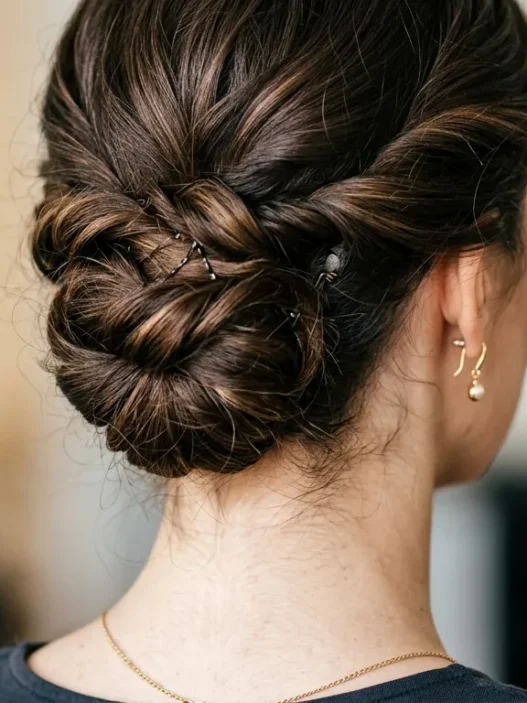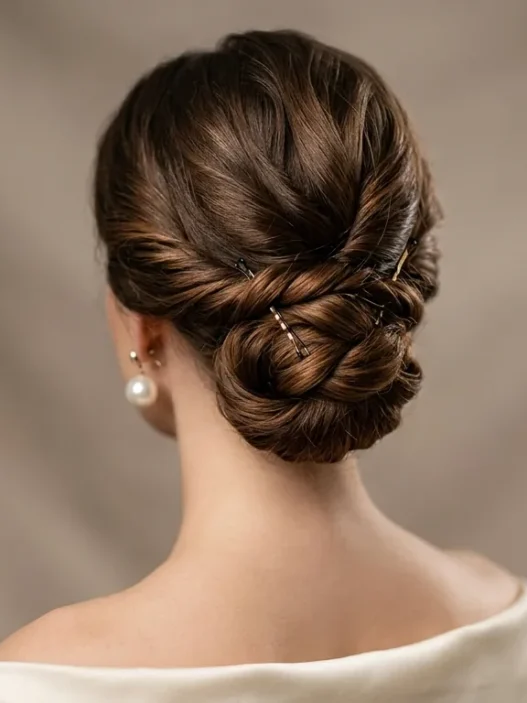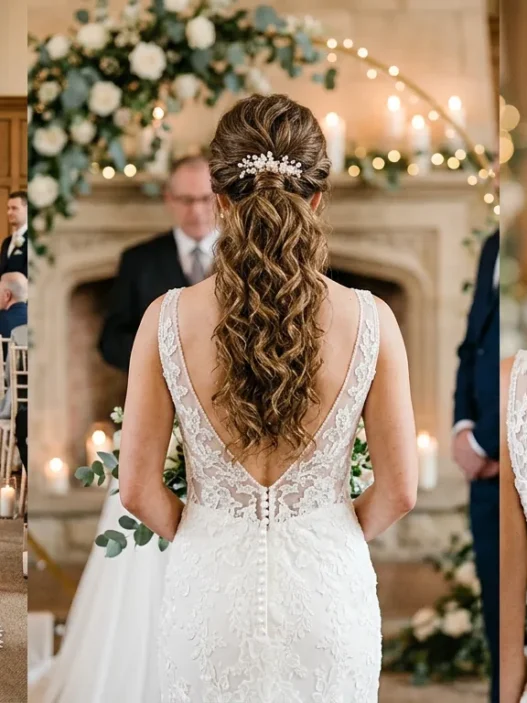







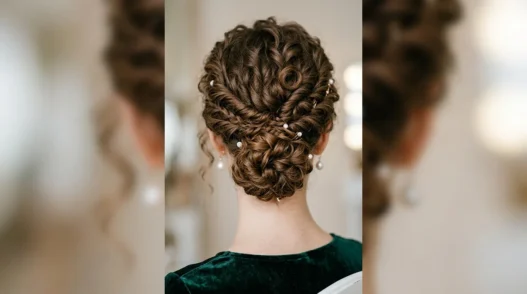
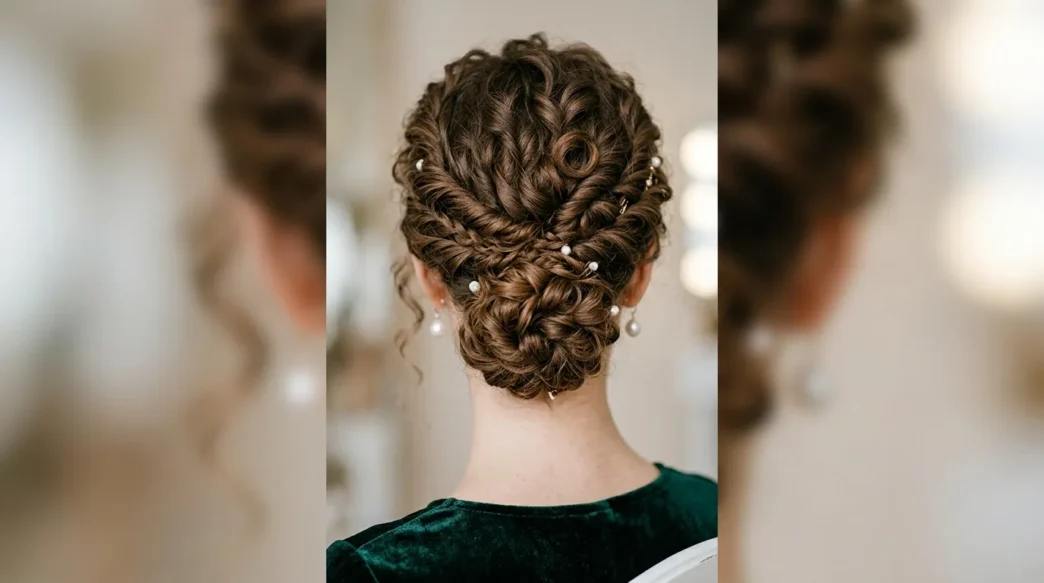
Last weekend, I spent three hours creating what I thought would be a simple curly updo for my friend’s wedding. Three. Hours. And you know what? It was absolutely gorgeous — for exactly forty-seven minutes before half of it started sliding down her neck. Nobody talks about this part, do they?
Here’s the thing about curly updos that drives me crazy: everyone shows you the final result, all polished and perfect. But nobody pulls back the curtain on what actually happens in those in-between moments. The bobby pins that don’t hold. The sections that refuse to cooperate. The inevitable moment when you question every life choice that led you to attempt this.
What’s Really Behind Those Perfect Curly Updos
What They Don’t Show You About Prep
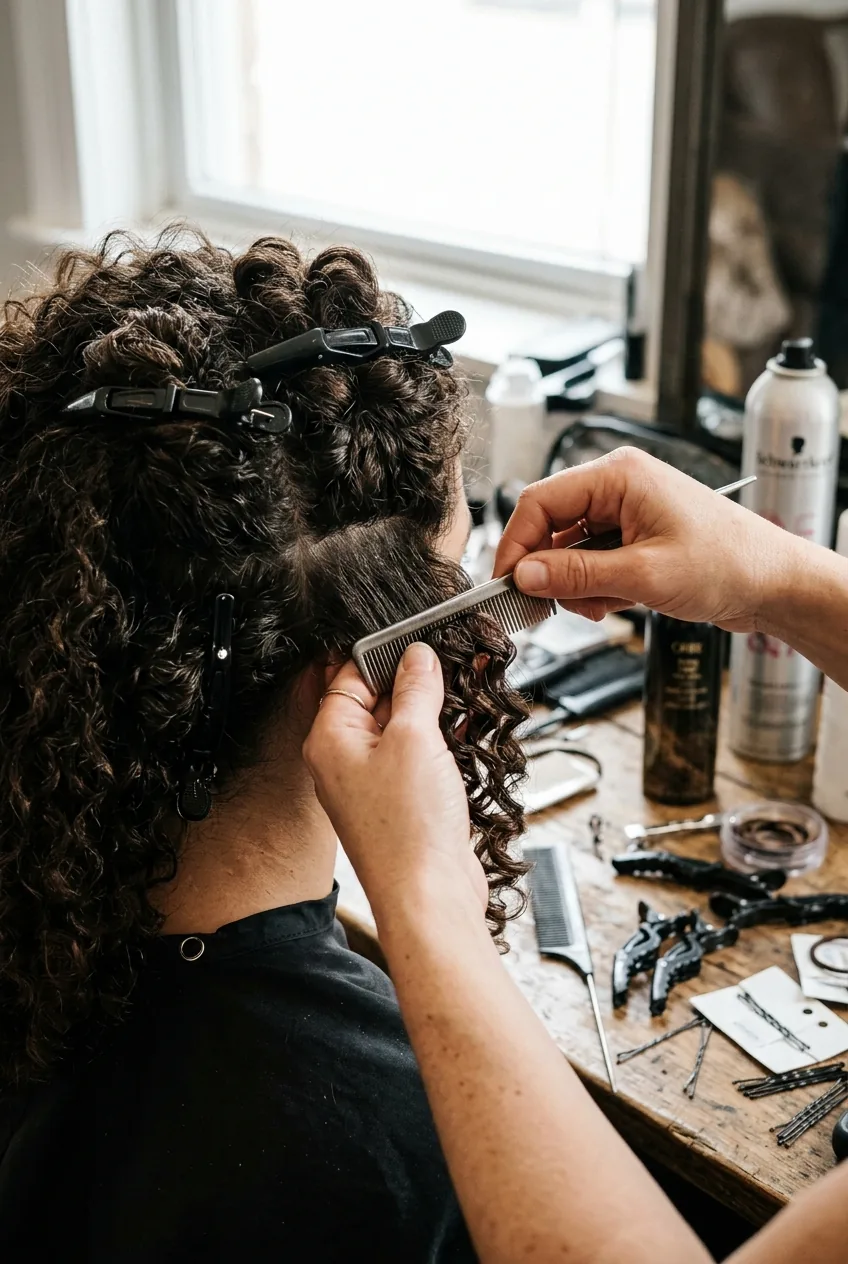
The Instagram tutorials make it look like you can roll out of bed and twist your curls into an elegant chignon. Reality check: the prep work for a curly updo that actually lasts takes longer than the styling itself.
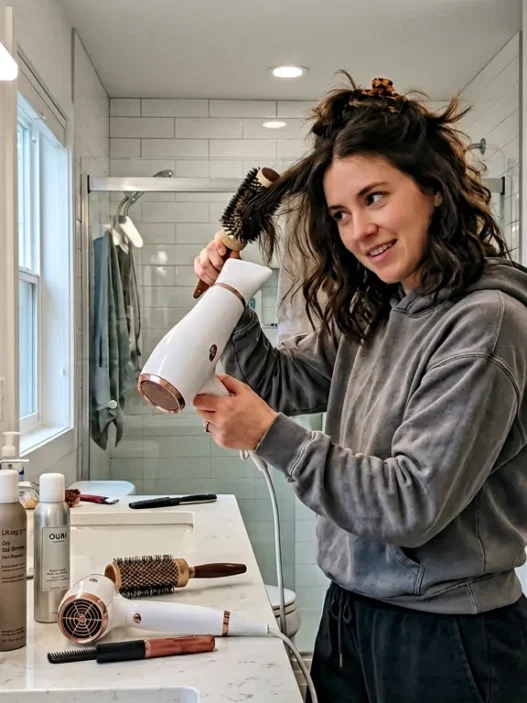
First, you need day-two or day-three hair. Fresh curls are too slippery and soft — they won’t grip anything. I learned this the hard way after wasting an entire bottle of texturizing spray trying to make same-day washed curls behave. Your hair needs that slight bit of oil and texture to hold its shape.
Then comes the sectioning. Not the three-section thing they show you in five-minute videos. I’m talking about eight to ten sections minimum, each one carefully separated and clipped away. Why? Because curly hair has a mind of its own, and if you don’t control every piece from the start, you’ll be chasing flyaways for the rest of the night.
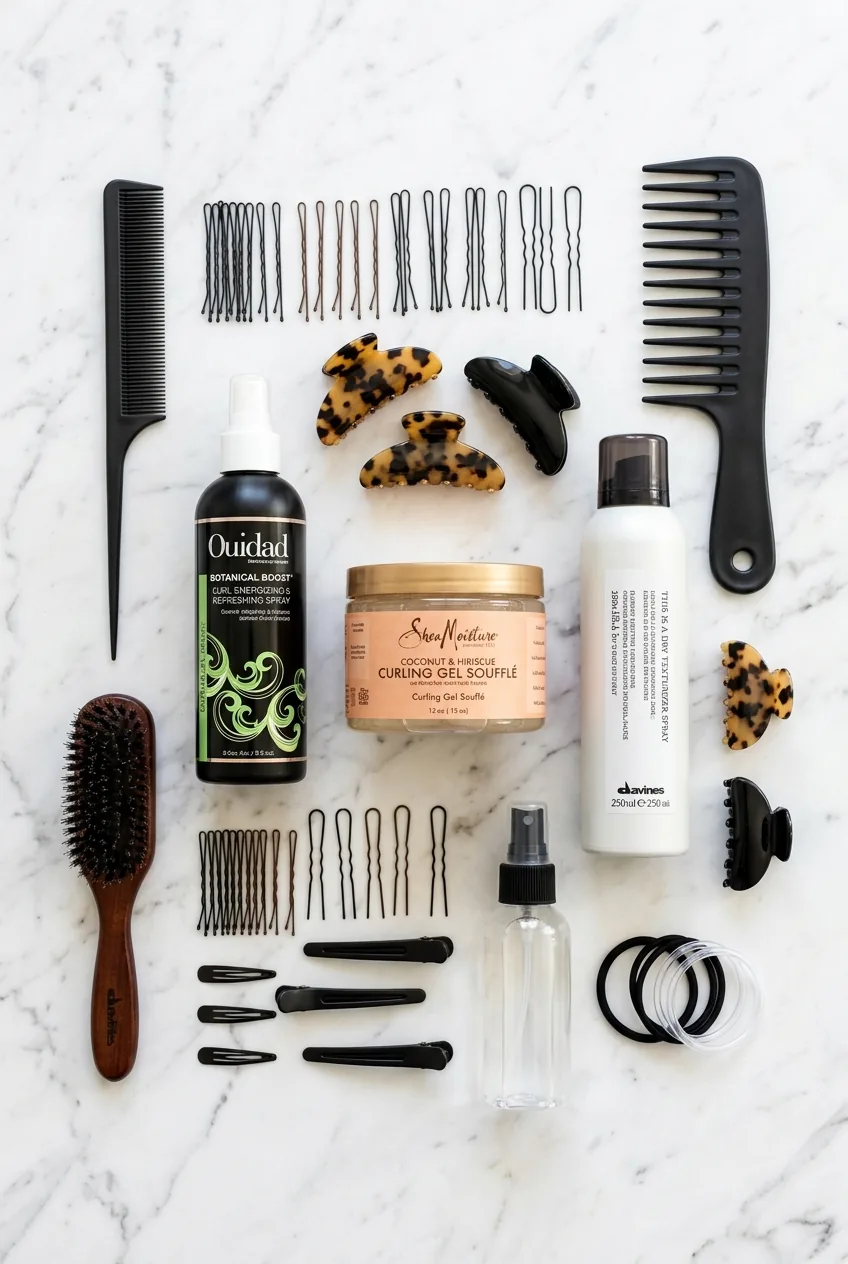
The product situation is equally real. You’ll need a light hold gel, a texturizing spray, bobby pins in two different colors to match your hair, clear elastic bands, and — this is crucial — a small bottle of water for reactivating stubborn sections. That’s just to start.
The Part That Takes the Longest
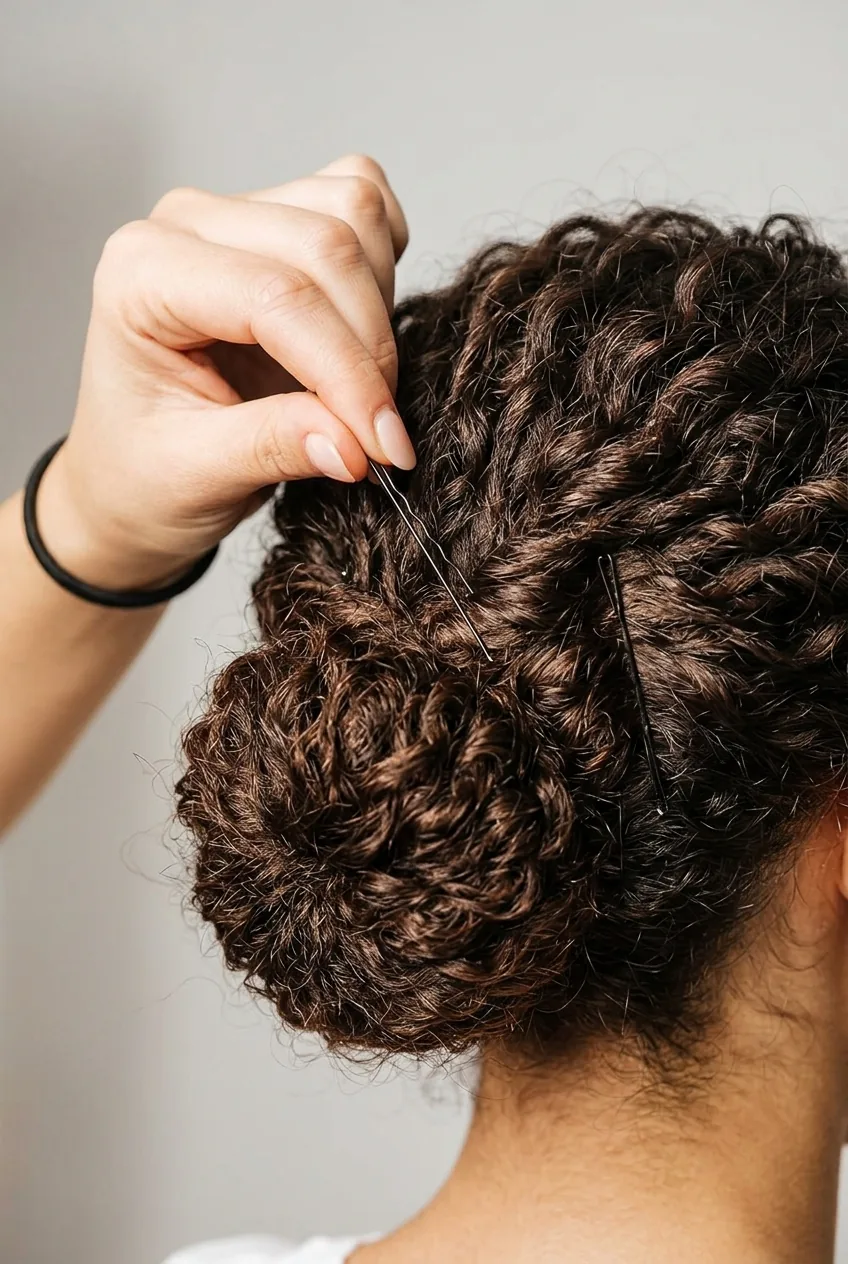
You’d think the actual styling would be the time-consuming part, right? Wrong. It’s the placement of individual bobby pins that will eat your entire afternoon.
Each pin needs to catch both the twisted section you’re securing AND anchor into hair that’s already pinned to the scalp. With straight hair, you can slide a bobby pin in and trust it’ll grab something solid. With curls, you’re working with varying textures, different curl patterns in the same head of hair, and sections that want to spring back to their natural shape.
I spend about two minutes per bobby pin on average. Not sliding it in — that takes two seconds. But finding the right angle, the right anchor point, and making sure it’s not creating a weird dent or pulling too tightly. Multiply that by the fifteen to twenty pins you’ll need for a secure updo, and you’re looking at a significant time investment.
And here’s what nobody warns you about: your arms will hurt. Holding them up at shoulder height for extended periods while you fidget with tiny sections of hair is basically an unintentional workout. I’ve started doing quick arm stretches between sections because the muscle fatigue is real.
Why Most Curly Updos Fall Apart
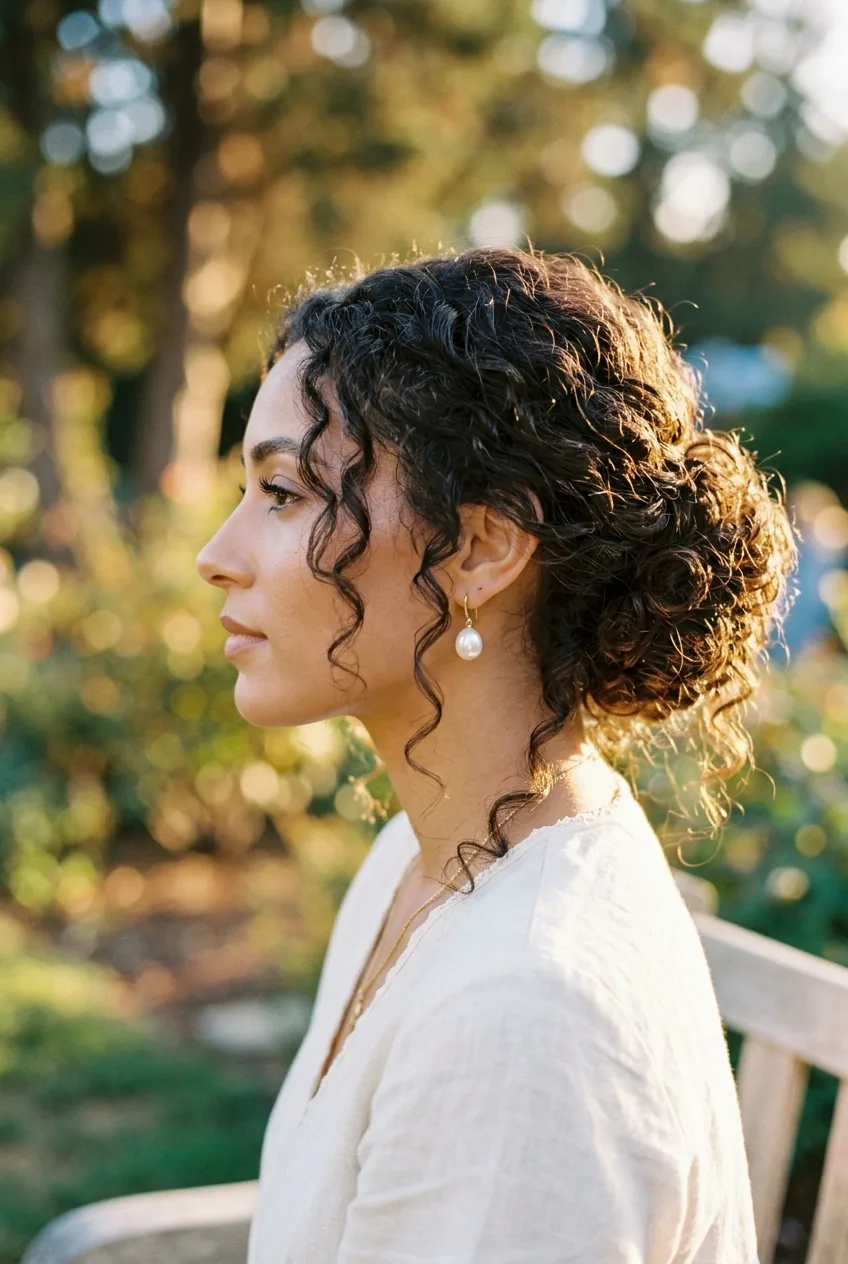
The brutal truth? Most curly updos fail because people treat curly hair like it’s straight hair that just happens to be bendier. That approach sets you up for disappointment every single time.
Curly hair doesn’t hold tension the same way. When you twist a section of straight hair, it stays twisted until you deliberately untwist it. Curly hair actively fights against being reshaped. Those natural curl patterns want to spring back, and they’ll slowly work against your bobby pins all night long.
The other major culprit is bobby pin placement. I see people sliding pins in horizontally, which might work for festive updos on straighter hair textures. But with curls, you need to insert pins at angles that work with the hair’s natural growth pattern, not against it.
Temperature matters too. Curly hair responds to humidity and heat by expanding, contracting, and generally doing whatever it wants. That gorgeous updo you created in your air-conditioned bedroom might look completely different after an hour in a warm, crowded venue. Professional styling techniques can help, but you’re still fighting physics.
The Secret Nobody Mentions
Want to know the game-changer that most tutorials completely skip? Strategic underpinning. It sounds fancy, but it’s basically creating a hidden foundation of bobby pins before you start the visible styling.
Here’s what I do: before twisting or pinning anything decorative, I create small, tight pin curls at the base of my neck and behind my ears. These aren’t part of the final look — they’re invisible anchor points that give the rest of the updo something solid to attach to.
Think of it like the foundation of a house. Nobody sees it in the finished product, but without it, everything else crumbles. Those little anchor curls distribute the weight of the entire updo across multiple secure points instead of relying on just the bobby pins holding your main twisted sections.
I also use what I call “insurance pins” — extra bobby pins placed not to add to the style, but purely for backup security. If one of my main structural pins works loose during the evening, these hidden pins keep everything from completely unraveling. It’s the difference between a minor adjustment and a hair emergency in the bathroom.
The other secret? Accepting imperfection from the start. The most beautiful curly updos have intentional asymmetry, pieces that frame the face, and texture that looks effortless because it kind of is. Fighting for Pinterest-perfect symmetry with curly hair is a losing battle.
When It All Goes Wrong
Let me tell you about the time I was running late for a dinner date and decided to quickly throw my curls into what I thought would be a simple low bun. Forty-five minutes later, I looked like I’d been electrocuted, I was stress-sweating, and I had bobby pin marks on my fingers from trying to jam pins into place.
Sometimes curly updos just don’t work. Your hair might be too clean, too dirty, the wrong length for your vision, or you might be having one of those days where your curl pattern decided to do something completely different than usual. And that’s okay.
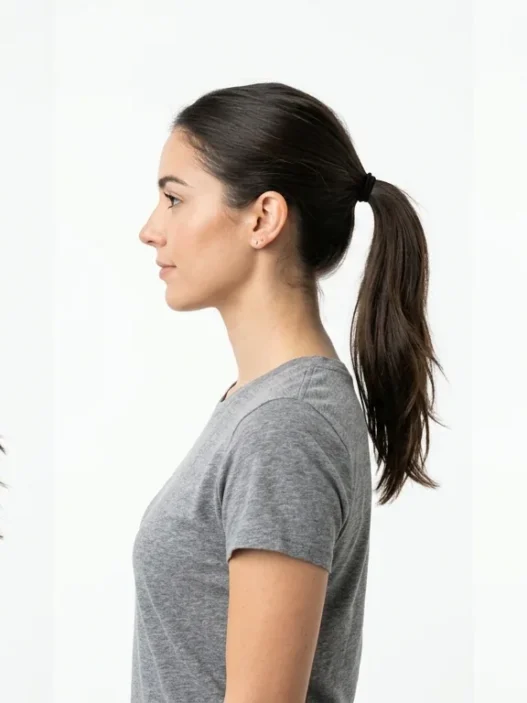
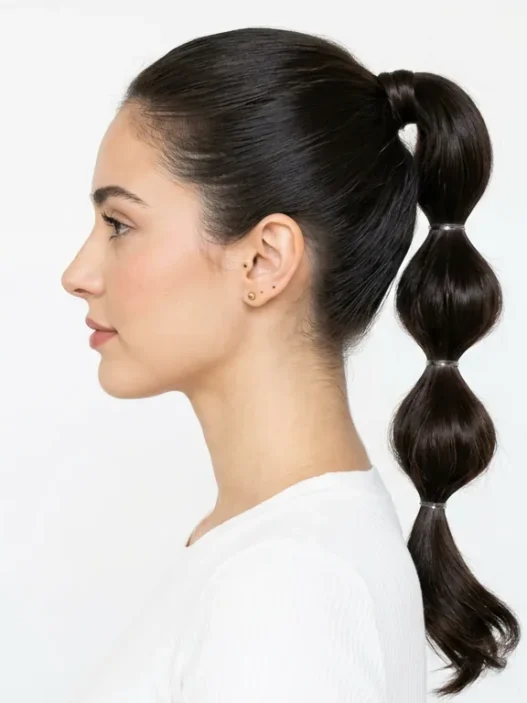
The emergency backup plan I’ve learned to always have ready? A sleek low ponytail with a deep side part. It takes five minutes, works with any curl pattern, and looks intentional rather than defeated. I keep a small brush and strong-hold gel in my purse specifically for these moments.
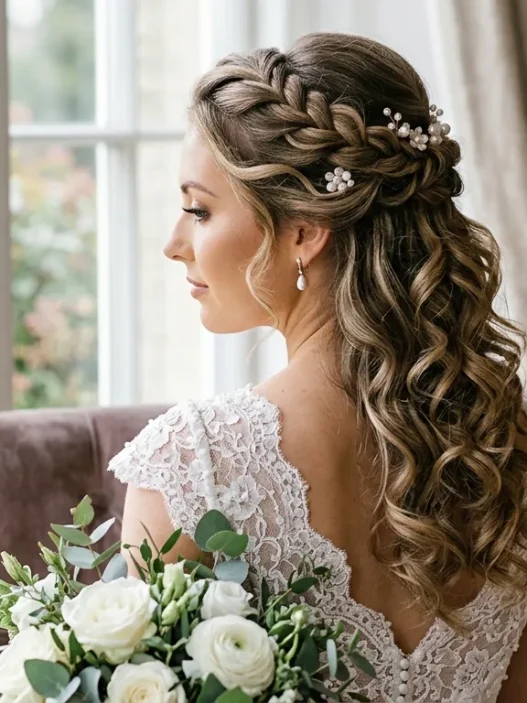
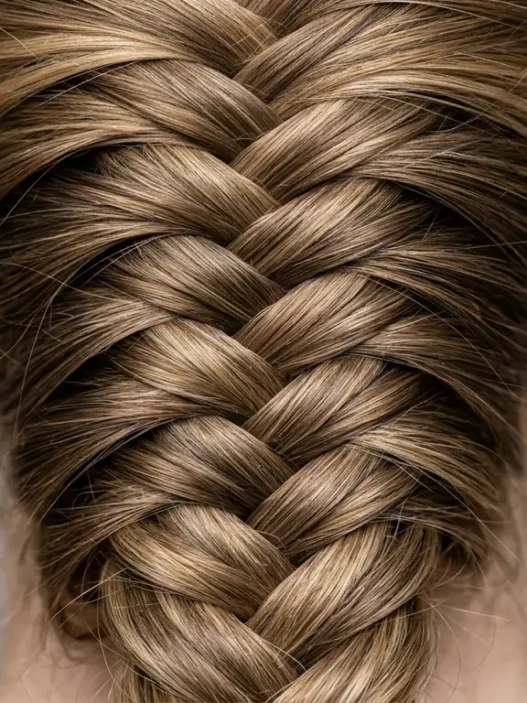
Another lifesaver is embracing the half-up option. When a full updo isn’t cooperating, braided half up half down ideas can save the day while still giving you that put-together feeling. It’s not giving up — it’s pivoting gracefully.
The hardest lesson? Knowing when to stop. There’s a point of diminishing returns where continuing to fidget with pins and sections makes everything worse, not better. Learning to recognize that moment and step away takes practice, but it’s saved me from countless hair disasters.
Why It’s Worth It Anyway
Despite all the challenges, all the time investment, and all the potential for failure, I keep coming back to curly updos. Because when they work — really work — there’s nothing quite like them.
There’s something magical about the way curls catch light when they’re arranged thoughtfully. The texture and dimension you get with curly hair creates visual interest that straight hair simply can’t replicate. Those little pieces that escape and frame your face aren’t mistakes — they’re the reason curly updos look so romantically effortless.
Plus, a successful curly updo gives you a kind of confidence that’s hard to describe. It’s the satisfaction of working with your natural texture instead of against it, of creating something beautiful that celebrates rather than hides your hair’s unique personality.
The process also teaches you patience and problem-solving in ways that other hairstyles don’t. You learn to read your hair’s moods, to adapt techniques based on weather and timing, and to find creative solutions when your original plan isn’t working. These are skills that transfer beyond hairstyling.
And honestly? The compliments hit different when people know you styled your own curls into an updo. There’s a recognition that this wasn’t just a quick five-minute style — it was an accomplishment. That appreciation makes all those bobby pin struggles worth it.
Remember, understanding your curl pattern is the foundation of any successful updo. The more you know about how your specific curls behave, the better equipped you’ll be to work with them instead of against them.
Quick Answers to Common Questions
How long should I expect a curly updo to take?
Plan for at least an hour, especially when you’re learning. The prep work alone takes 15-20 minutes, and the actual styling can easily take 30-45 minutes depending on your hair length and the complexity of the style you’re attempting.
Can I sleep in a curly updo?
I wouldn’t recommend it. The bobby pins can create uncomfortable pressure points, and you’ll likely wake up with dents and flyaways. If you need your updo to last multiple days, take it down at night and recreate a simpler version in the morning.
What’s the biggest mistake beginners make?
Trying to force their curls into styles meant for straight hair. Work with your natural curl pattern, not against it. If your curls naturally want to spring a certain direction, incorporate that into your design rather than fighting it.
How many bobby pins do I actually need?
More than you think. I typically use 15-25 bobby pins for a secure updo, depending on hair thickness and length. Buy them in bulk and have extras on hand — you’ll always need more than you expect.
Should I use hairspray before or after pinning?
Both, actually. A light misting before helps with hold and control during styling. Then finish with a stronger hold spray after everything’s pinned in place. Just avoid over-spraying, which can make curls crunchy and unnatural-looking.
The truth about curly updos is messier, more time-consuming, and more unpredictable than anyone wants to admit. But it’s also more rewarding, more beautiful, and more uniquely yours than any other hairstyle option. Now if you’ll excuse me, I have a date with my bobby pin collection and about an hour to kill.