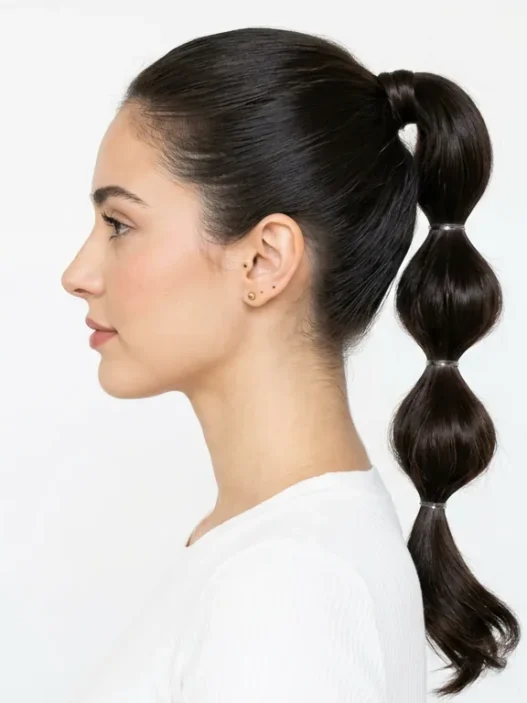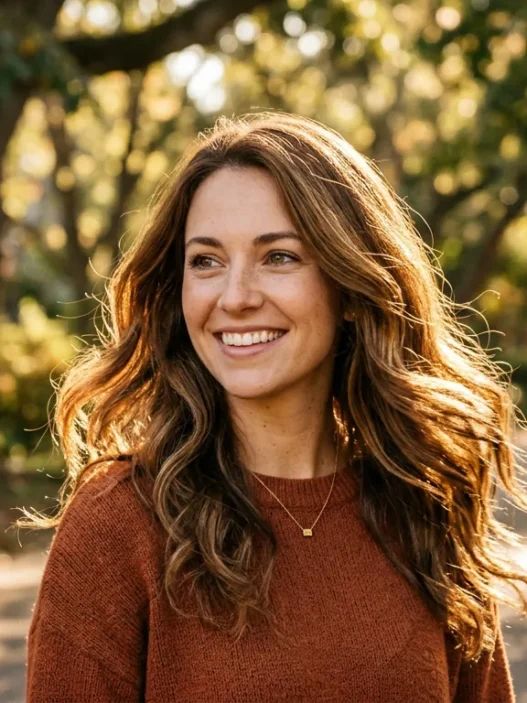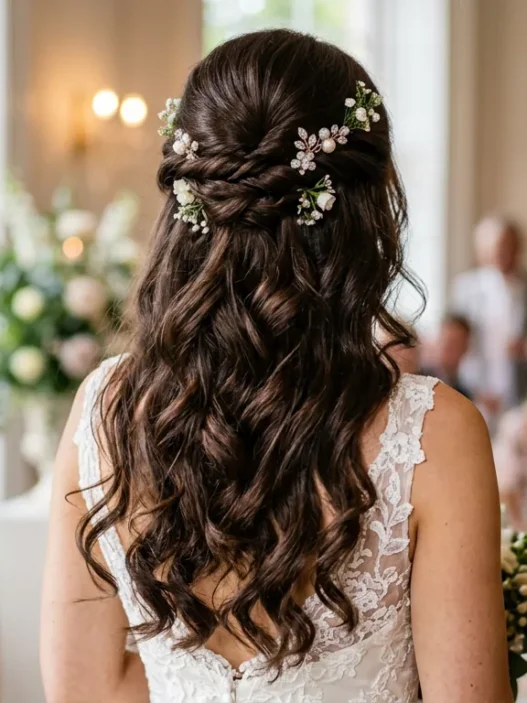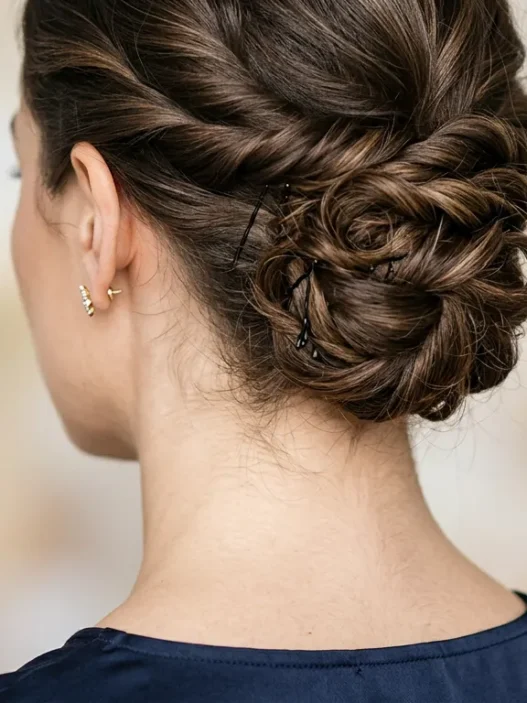







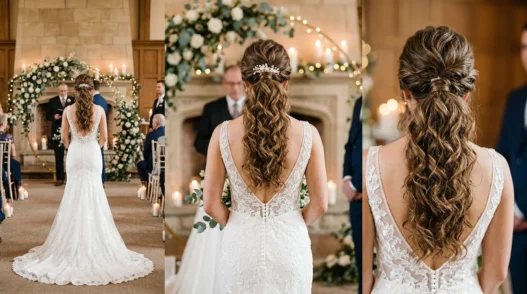
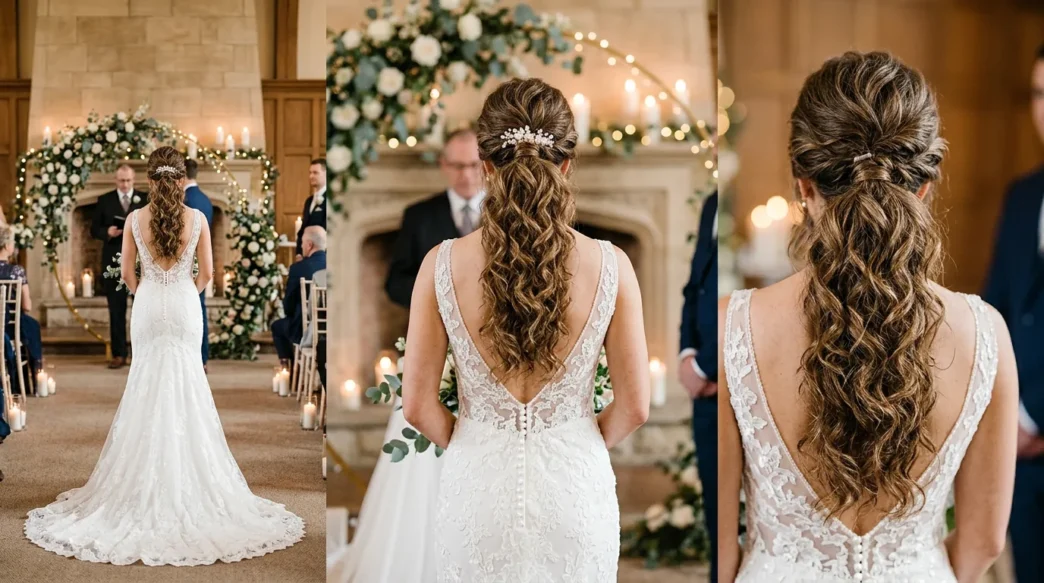
When my sister asked me to do her wedding hair, I panicked. She wanted a ponytail that would look stunning in photos and survive hours of dancing. After three practice runs and one spectacular failure, I finally cracked the code for a wedding ponytail that actually stays put. This method kept her hair perfect from ceremony to last dance.
What You’ll Need
I’ve learned that having the right tools makes all the difference. Here’s what actually matters:
- Texturizing spray (my favorite is texturizing spray for grip)
- Fine-tooth comb and wide-tooth comb
- Hair elastic that matches your hair color
- Bobby pins in your exact hair shade
- Small clear hair ties
- Volumizing mousse
- Strong-hold hairspray
- Hair donut or sock bun maker (optional but helpful)
- Curling iron or hot rollers
- Hair clips for sectioning
Step 1: Start with the Right Foundation
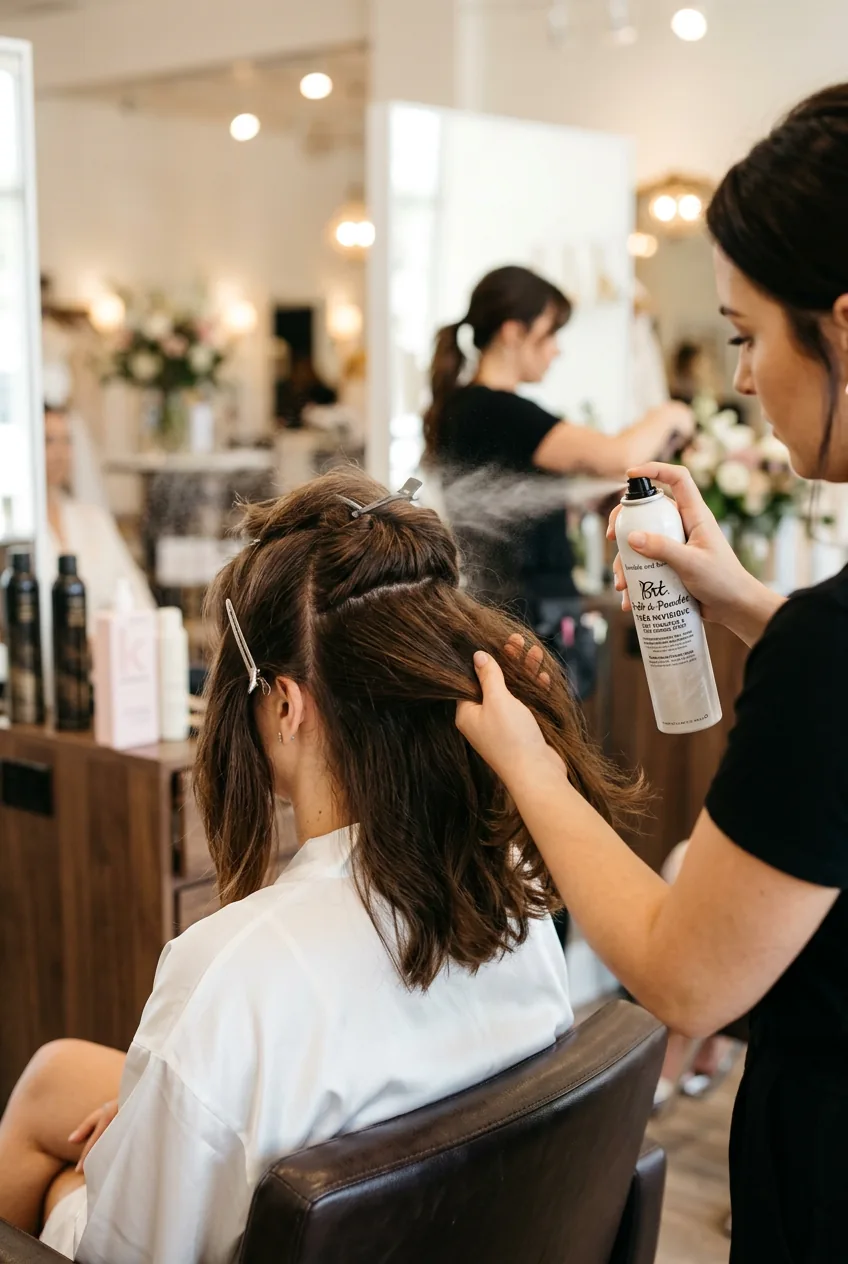
Clean hair is actually your enemy here. I wash hair the night before, never the morning of. Day-old hair has better grip and holds styles longer.
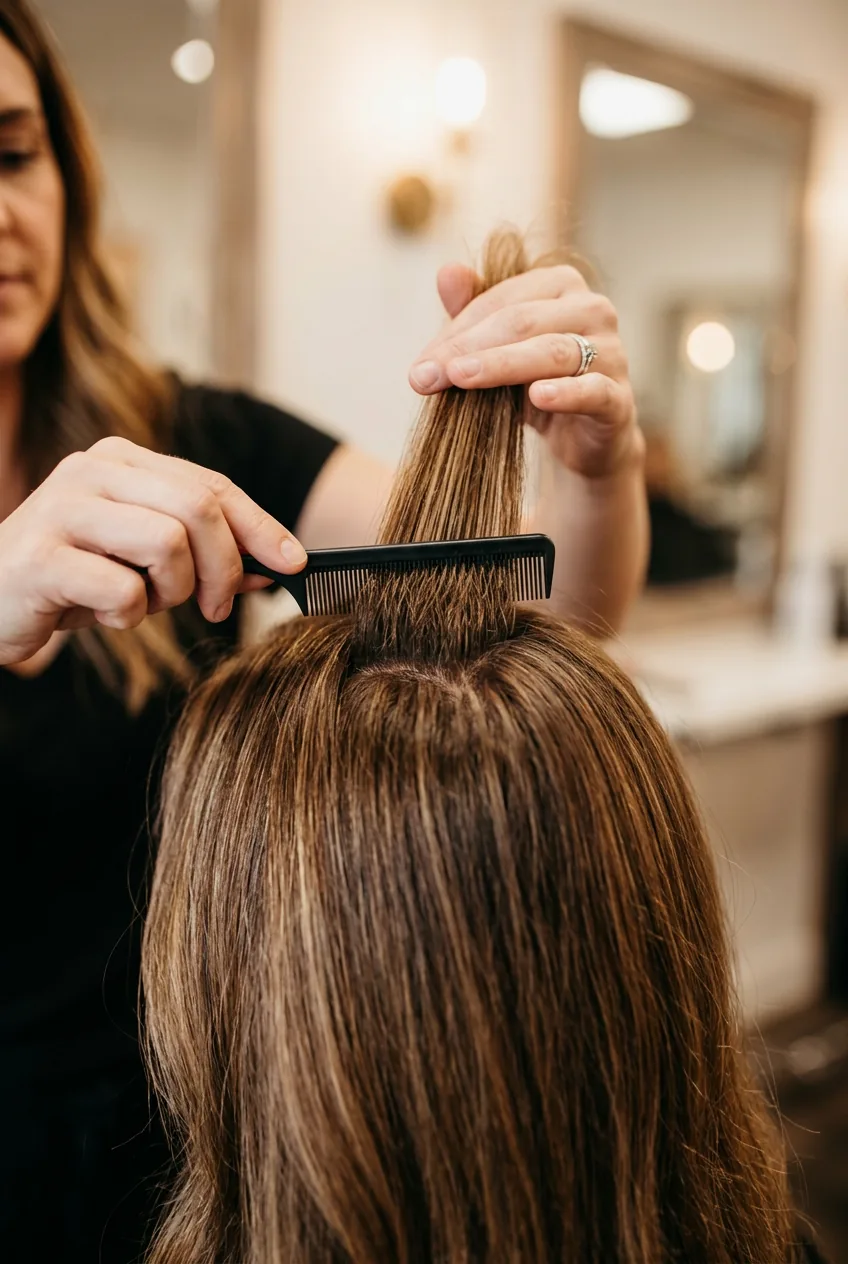
Apply volumizing mousse from mid-lengths to ends while hair is damp. Skip the roots — you don’t want them weighed down. Then blow-dry with a round brush, lifting sections at the crown for natural volume.
Once completely dry, spray texturizing spray throughout. This creates the grip that makes everything else possible. Your hair should feel slightly gritty, not smooth.
Step 2: Create Strategic Volume
Here’s where most people go wrong — they try to create volume after the ponytail. You need it before.
Section off the top third of your hair from ear to ear. Gently backcomb this section at the roots with a fine-tooth comb. I’m talking gentle teasing, not ratting. You want lift, not damage.
Smooth the surface with a wide-tooth comb, keeping that volume underneath. The goal is a soft bump, not a pouf from the 80s. Pin this section up temporarily while you work on the rest.
Step 3: Perfect the Ponytail Position
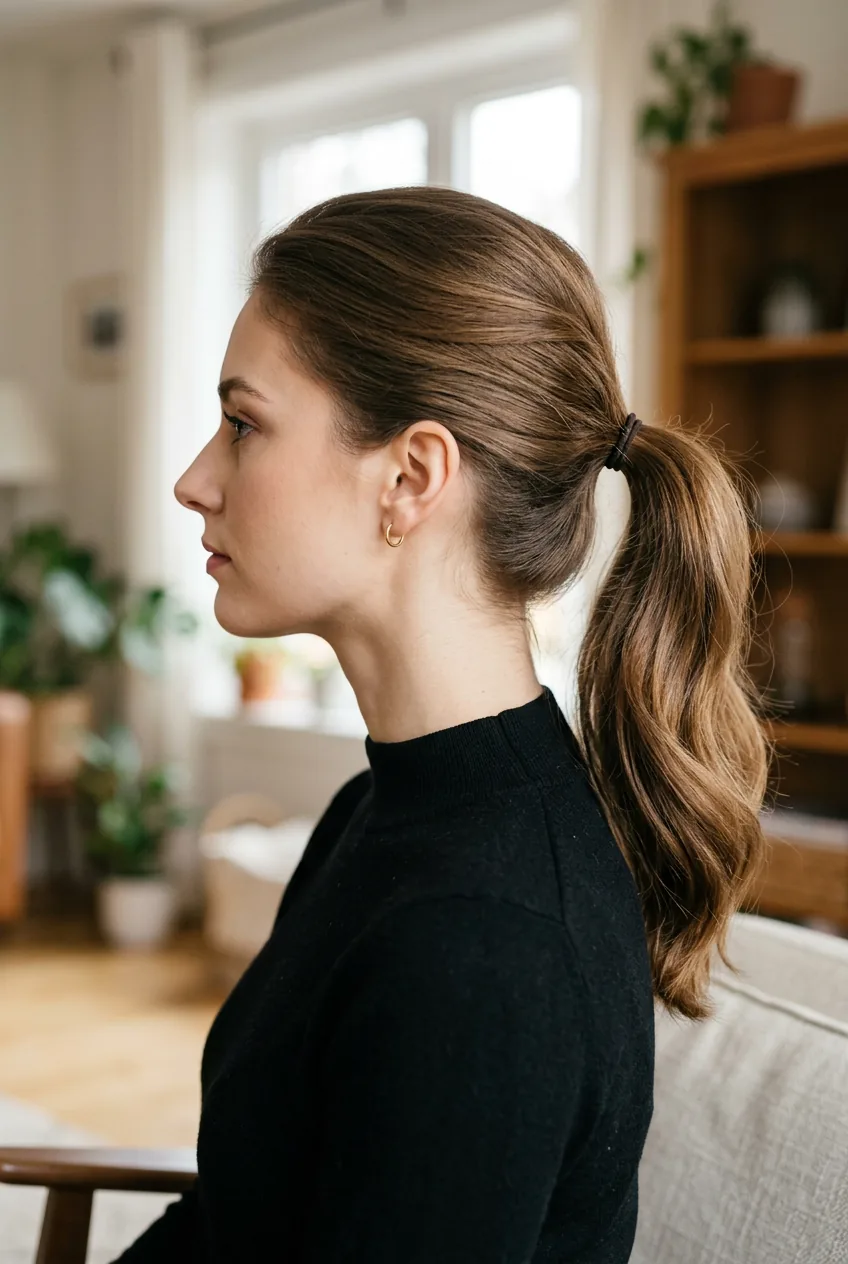
The perfect wedding ponytail sits at the occipital bone — that’s the bump at the back of your head. Too high looks teenage, too low looks matronly.
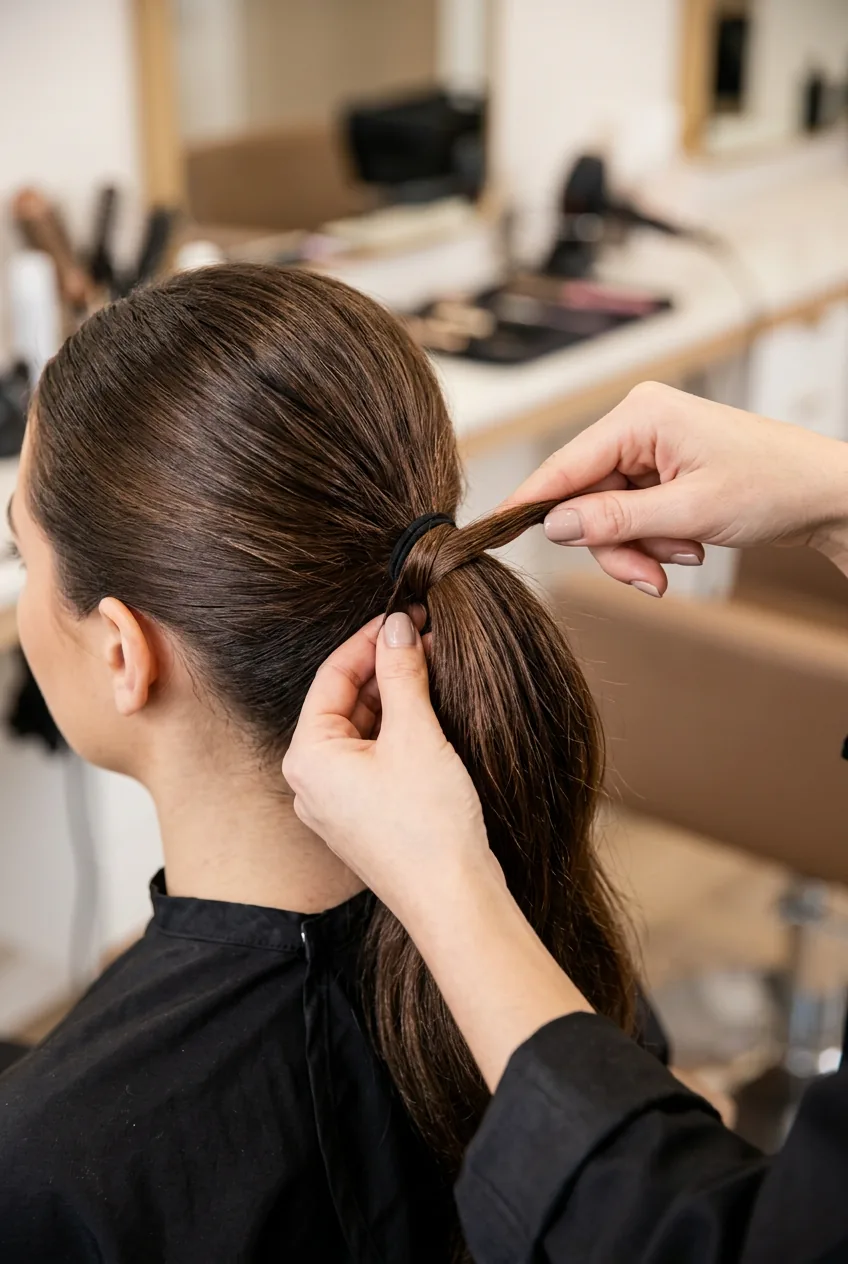
Gather the bottom two-thirds of hair first, securing with a clear elastic. Then carefully release and smooth the top teased section over this base, securing everything with your main hair elastic.
And here’s the game-changer: take a small section from underneath the ponytail and wrap it around the elastic, securing with a bobby pin underneath. This hides the elastic completely and looks so much more polished.
I made the mistake of pulling too tight on my first attempt. My sister looked like she was having a facelift. The ponytail should feel secure but not painful — you want romance, not tension.
Step 4: Add Texture and Interest
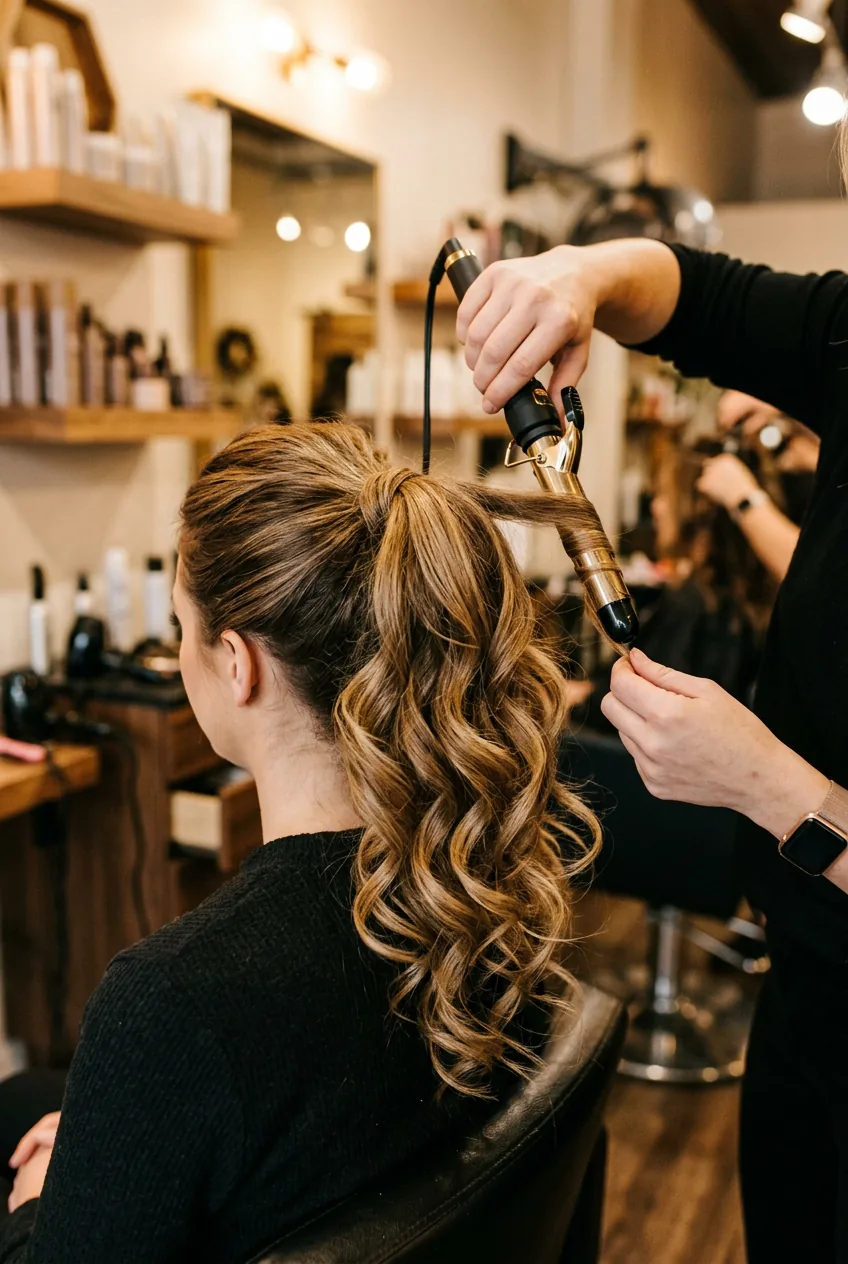
A smooth ponytail is boring. Wedding hair needs texture and movement. This step transforms everything from basic to breathtaking.
Curl the ponytail in 2-inch sections using a curling iron. But here’s my secret — curl some sections away from your face and others toward it. This creates natural-looking movement instead of uniform ringlets.
While the curls are still warm, gently separate them with your fingers. Don’t brush them out — you want texture, not smooth waves. Scrunch lightly with texturizing spray for even more grip and definition.
For extra elegance, you might love these romantic wedding hairstyles that use similar texturing techniques.
See the Curling Technique in Action
Step 5: Lock Everything in Place
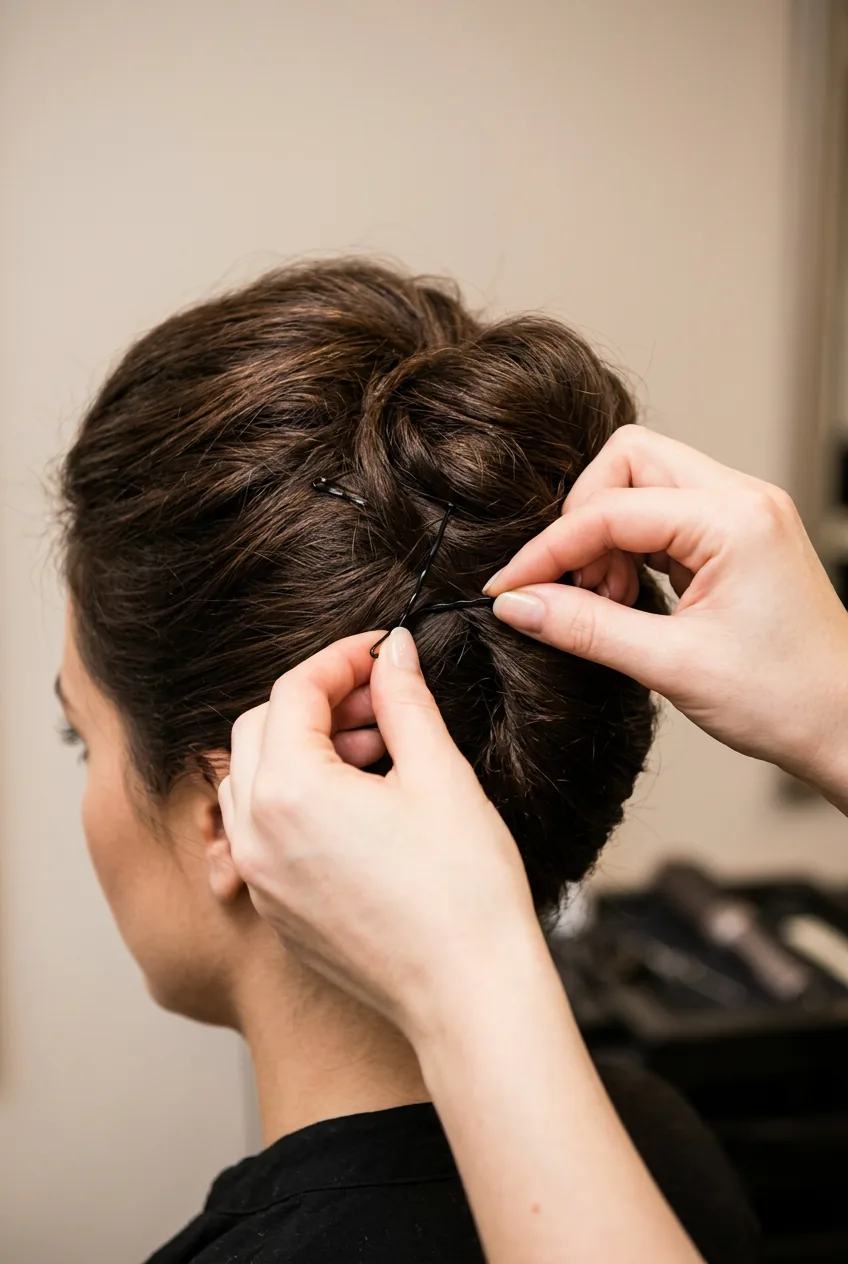
This is where many DIY attempts fall apart. You need strategic bobby pin placement, not random stabbing.
Check your volume at the crown and gently lift any areas that have fallen. Secure these spots with bobby pins, sliding them in at an angle that follows your head’s curve. The pins should disappear completely.
Test everything by gently shaking your head. If anything moves, pin it. Better to use too many bobby pins than have your style collapse during the ceremony.
Spray with strong-hold hairspray, holding the bottle 8-10 inches away. I like to spray in sections — crown, sides, then the ponytail itself.
Step 6: Final Details and Finishing Touches
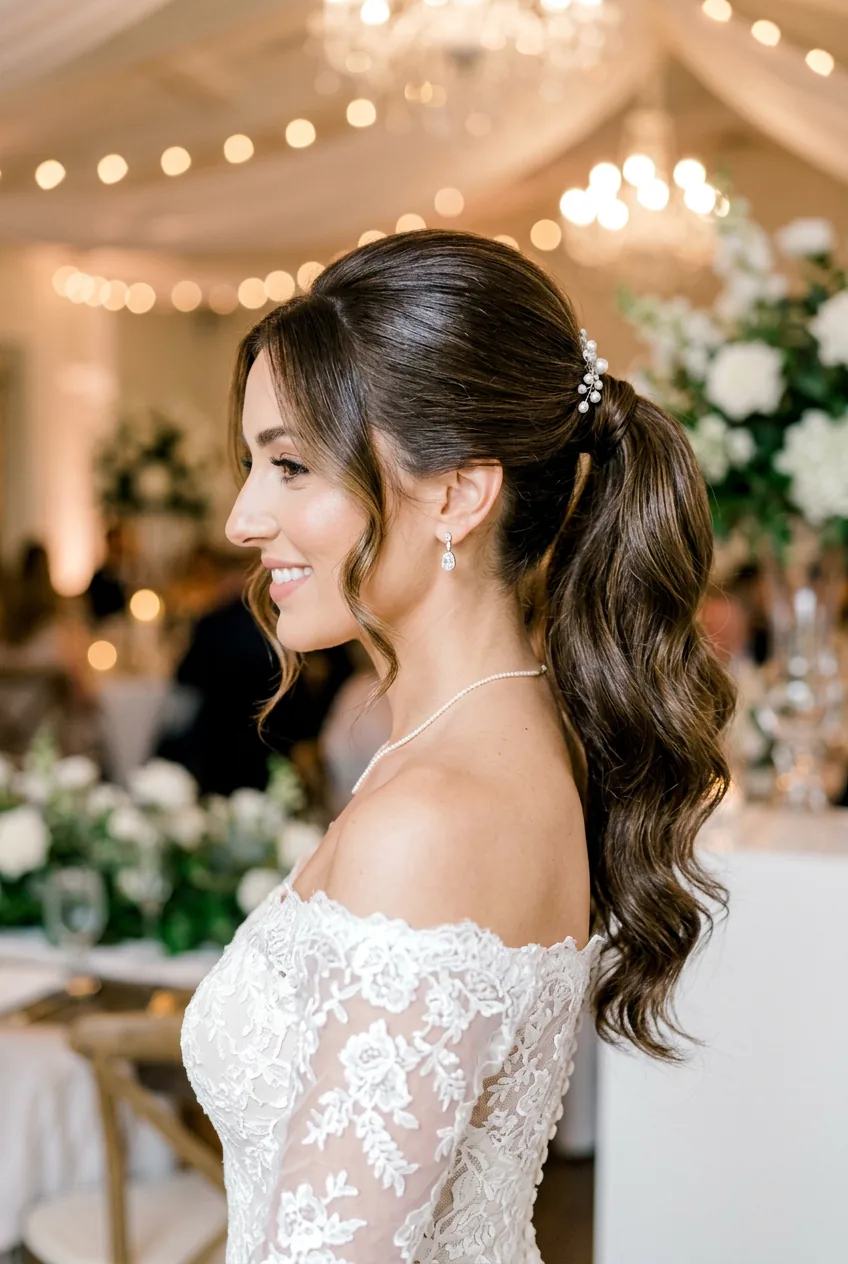
The details make this style wedding-worthy. Pull out a few face-framing pieces and curl them softly. These should be wispy, not chunky.
Check your profile in the mirror. The ponytail should have a gentle curve, not a harsh angle where it meets your head. If it looks too severe, gently tug at the hair above your ears to create subtle softness.
For the finishing touch, lightly mist with a shine spray. Wedding photography picks up every detail, and you want your hair to look glossy and healthy in all those close-ups.
If you’re considering wedding hairstyles half up half down as an alternative, this same volume and texturing technique works beautifully for those styles too.
Questions I Always Get About This
How long before the wedding should I practice this?
At least twice before the big day. I recommend doing a full trial run two weeks before, then once more a few days before. This gives you time to adjust the technique to your specific hair type.
Will this work on fine hair?
Absolutely, but use less product and be gentler with the teasing. Fine hair actually holds this style beautifully because it’s lighter and creates less pulling on the elastic.
Can I add accessories to this ponytail?
Yes! Hair jewelry, ribbons, or flowers work perfectly. Add them after step 5 but before the final hairspray. Pin accessories directly into the hair, not just clipped to the elastic.
How do I make it last through dancing?
The texturizing spray is key — it creates grip so hair doesn’t slip. Also, don’t skip the bobby pins. I use about 15-20 pins total, and it’s worth every one for staying power.
My sister’s ponytail looked exactly the same at midnight as it did walking down the aisle. That’s when I knew this method actually worked. The volume stayed, the texture held, and not a single curl fell flat. Even through emotional tears and enthusiastic dancing, everything stayed perfectly in place.