


I used to be that person who hit snooze three times and then panicked about my hair. You know the feeling — standing in front of the mirror with five minutes to spare, wondering if a messy bun counts as “styled.” After years of trial and error (and way too many bad hair days), I’ve figured out which quick hairstyles actually work for different skill levels.
Some mornings I can barely manage a ponytail. Other days I’m feeling ambitious enough to attempt something with actual technique. That’s why I’ve organized these nine styles by difficulty — so you can pick what matches your current energy level and skill set.
Quick Hairstyles by Skill Level
- Beginner Friendly: The Elevated Ponytail
- Beginner Friendly: Messy Bun Magic
- Easy Level: Half-Up Twist
- Intermediate Challenge: The Sleek Low Bun
- Intermediate Challenge: Side-Swept Waves
- Intermediate Level: French Twist Chignon
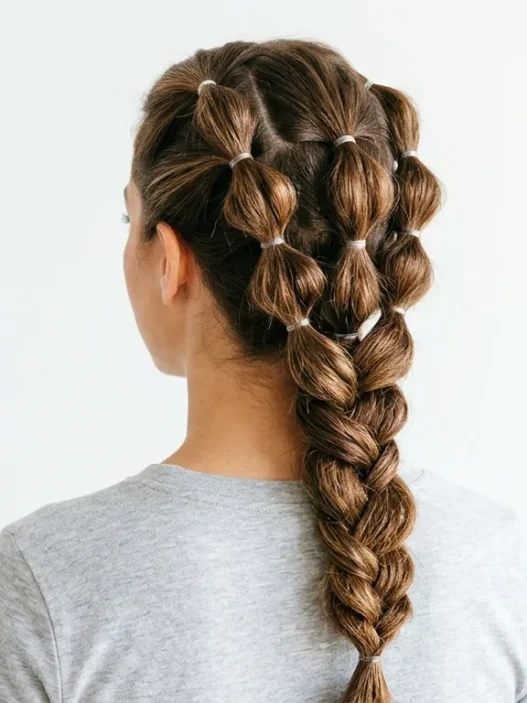
- Advanced Level: Textured Fishtail Braid
- Advanced Challenge: Pin Curl Vintage Updo
- Expert Level: Braided Crown Halo
1. Beginner Friendly: The Elevated Ponytail

Difficulty: ⭐ (1/5)
Time: 2 minutes
Tools needed: Hair elastic, brush
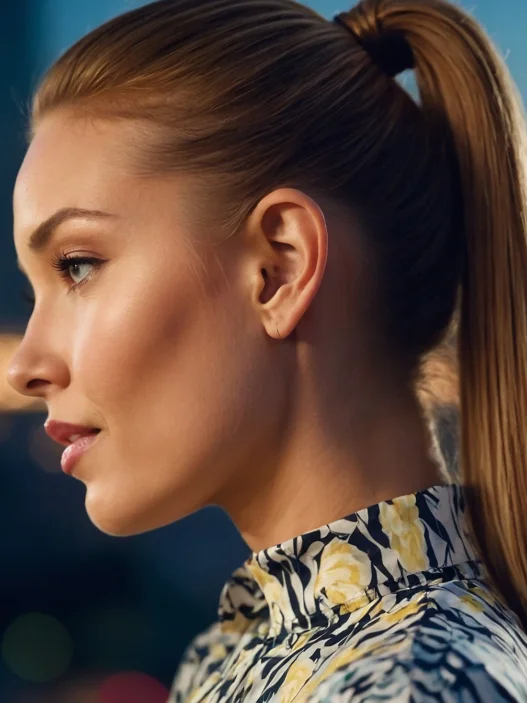
This is my go-to when I’m running on zero brain cells. The trick is positioning — instead of a mid-level ponytail, go higher. Right at the crown of your head. It instantly looks more intentional than a regular pony, and the height adds volume even to fine hair.
Brush everything straight back, secure with your elastic, then gently tug at the crown to create a little lift. That’s it. The elevation does all the styling work for you.
2. Beginner Friendly: Messy Bun Magic

Difficulty: ⭐ (1/5)
Time: 3 minutes
Tools needed: Hair elastic, 2-3 bobby pins
Here’s the secret nobody tells you about messy buns: they look better when you don’t try too hard. I twist my hair loosely, wrap it around the base, and pin wherever it naturally wants to stay. The imperfection is the point.
Pull out a few face-framing pieces before you secure everything. Those wispy bits make the whole thing look effortlessly chic instead of just… messy.
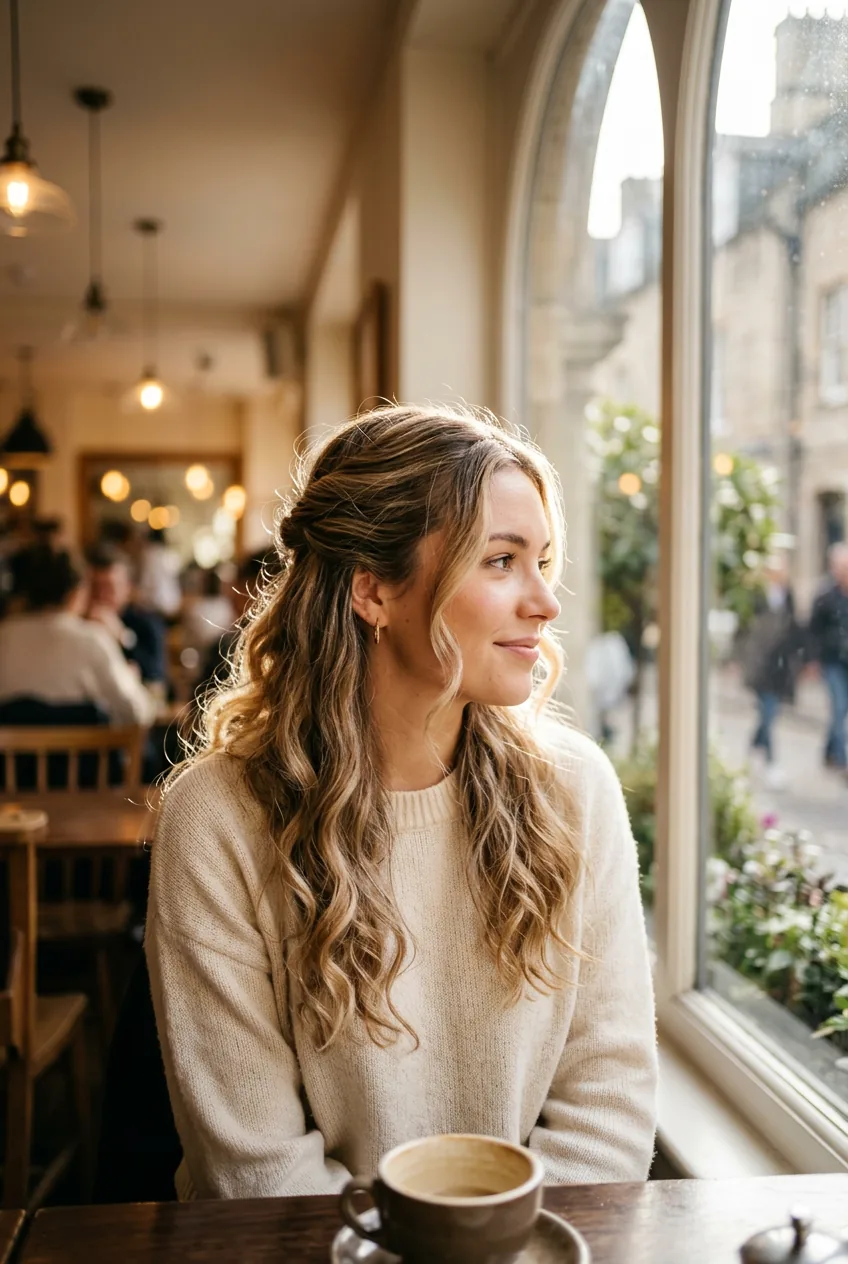
3. Easy Level: Half-Up Twist
Difficulty: ⭐⭐ (2/5)
Time: 4 minutes
Tools needed: Small clear elastic, bobby pins
This style saved me through an entire semester of 8 AM classes. Take sections from each temple, twist them back, and secure at the crown. The twist adds texture and keeps your hair out of your face without committing to a full updo.
The key is not making the twists too tight. Loose and lived-in looks more sophisticated than perfect spirals. I always give each twist a gentle tug to widen it before pinning.
4. Intermediate Challenge: The Sleek Low Bun

Difficulty: ⭐⭐⭐ (3/5)
Time: 6 minutes
Tools needed: Brush, hair elastic, bobby pins, light-hold gel or smoothing cream
My Personal Pick: This is hands down my favorite style for work meetings or dinner dates. It looks polished but isn’t trying too hard — that sweet spot where effort meets effortless.
The smoothing product is crucial here. I apply it to damp hair, then brush everything into a low ponytail at the nape of my neck. Twist the length and wrap it around the base, securing with pins tucked underneath so they’re invisible.
What makes this intermediate is getting the smoothness right without looking greasy. The right products make all the difference between chic and overdone.
5. Intermediate Challenge: Side-Swept Waves

Difficulty: ⭐⭐⭐ (3/5)
Time: 8 minutes
Tools needed: Curling iron or wand, heat protectant, texturizing spray
These aren’t your typical beachy waves — they’re more structured and deliberate. I create loose curls with a 1.5-inch barrel, then brush them out gently with my fingers while they’re still warm.
The side part is everything here. A deep side part makes even simple waves look dramatic and intentional. Sweep the larger section across your forehead and pin it behind one ear if needed.
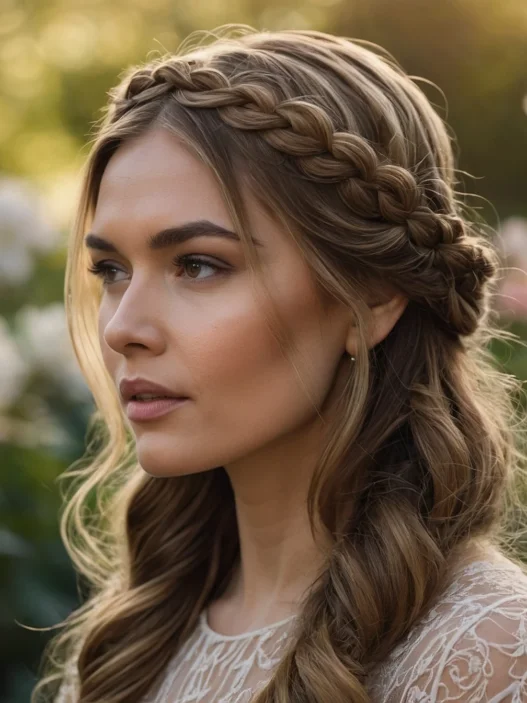
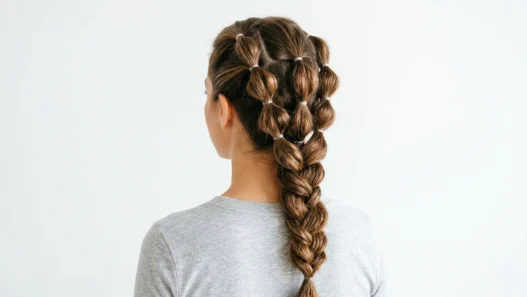
6. Intermediate Level: French Twist Chignon

Difficulty: ⭐⭐⭐ (3/5)
Time: 7 minutes
Tools needed: Brush, bobby pins, hairspray
I avoided this style for years because it seemed impossibly fancy. Turns out, it’s just organized chaos. Brush your hair to one side, then twist the length up and over, tucking the ends under. Pin along the twist to secure.
Don’t stress about perfection — a slightly undone French twist actually looks more modern than the ultra-precise version. A few escaped pieces around your face soften the whole look.
See the Twist Technique in Action
7. Advanced Level: Textured Fishtail Braid

Difficulty: ⭐⭐⭐⭐ (4/5)
Time: 12 minutes
Tools needed: Clear elastic, texturizing spray, bobby pins
Fishtail braids look incredibly complex but follow a simple pattern: take a thin strand from the outside of the right section, cross it over to the left section. Repeat, alternating sides. The magic happens when you gently pull at each section afterward to create that coveted “undone” texture.
This style requires patience more than skill. The repetitive motion becomes meditative once you find your rhythm. I usually do this while watching Netflix because it takes genuine focus.
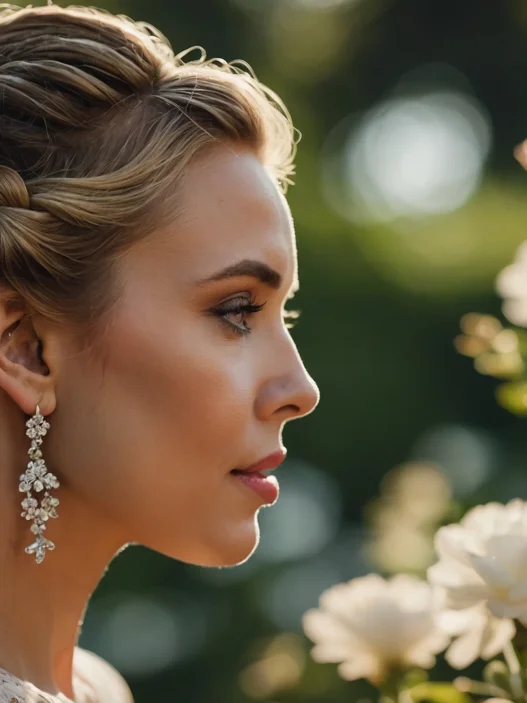
8. Advanced Challenge: Pin Curl Vintage Updo

Difficulty: ⭐⭐⭐⭐ (4/5)
Time: 15 minutes
Tools needed: Curling iron, lots of bobby pins, strong-hold hairspray, sectioning clips
This is my special occasion go-to. Curl small sections of hair, then immediately wrap each curl around your finger to form pin curls. Secure each curl flat against your head with bobby pins, working in sections from bottom to top.
The technique requires planning — you need to visualize where each curl will sit in the final style. It’s like a puzzle where every piece has to work together. Professional styling methods help you master the fundamentals.
9. Expert Level: Braided Crown Halo
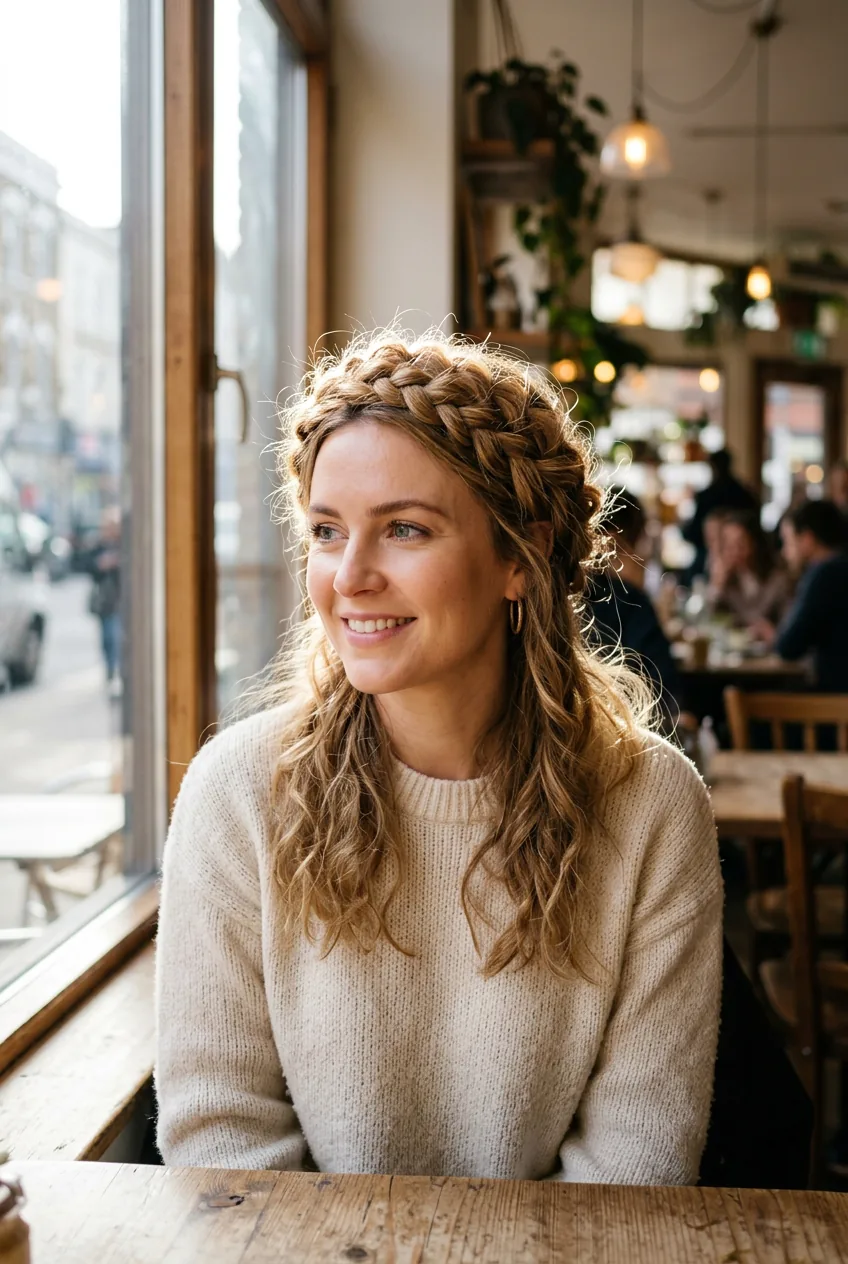
Difficulty: ⭐⭐⭐⭐⭐ (5/5)
Time: 18 minutes
Tools needed: Tail comb, clear elastics, bobby pins, mirror setup
This style is my Mount Everest — challenging but so worth it when you nail it. Start with a Dutch braid along your hairline, working around your entire head. The tricky part is maintaining even tension while navigating the curves around your ears and nape.
You’ll need a hand mirror to see the back sections clearly. Take your time with each section, and don’t be discouraged if your first attempt looks wonky. I practiced this style probably fifteen times before I could do it smoothly.
The braided crown works beautifully for weddings or any time you want to feel like royalty. It’s the kind of style that makes people ask “how did you do that?” — which, honestly, never gets old.
What People Usually Ask
How do I know which difficulty level is right for me?
Start with how much time you realistically have and your comfort level with bobby pins. If you can do a basic ponytail but struggle with anything involving multiple steps, stick to the 1-2 star styles. Work your way up as you get more confident.
What if my hair is too short for some of these styles?
Hair at chin length or longer works for most of these. For shorter cuts, focus on the first three styles or adapt others — a half-up twist works even on bob-length hair if you use small sections.
Should I practice these on clean or dirty hair?
Day-old hair actually holds styles better than freshly washed hair. The natural oils provide grip, and the texture makes everything more manageable. Clean hair can be too slippery for intricate styles.
How do I make quick styles last all day?
The right products are everything — texturizing spray for grip, light hairspray for hold, and quality bobby pins that won’t slide out. Also, slightly rough up smooth hair with dry shampoo before styling for better staying power.
The beauty of having styles organized by difficulty is that you can match your hair game to your actual life. Some days call for expert-level braided crowns, others barely deserve a ponytail. Both are perfectly valid — and now you have options for either mood.