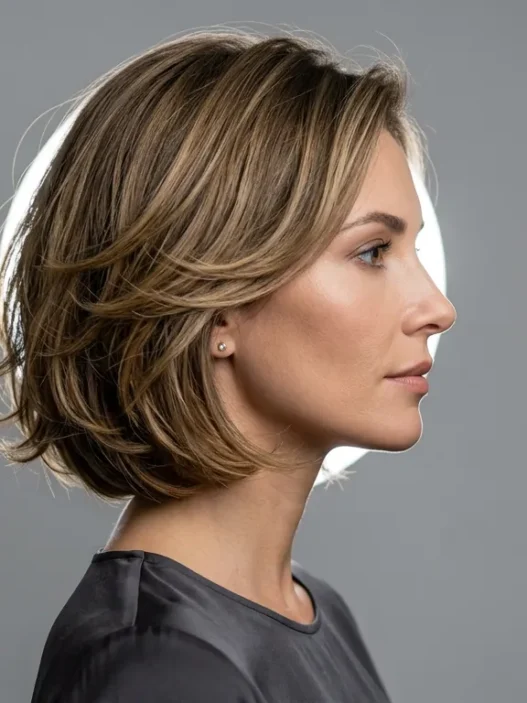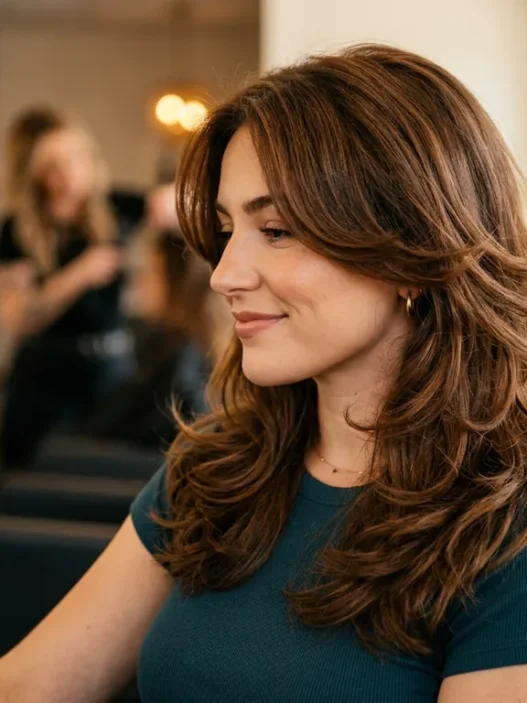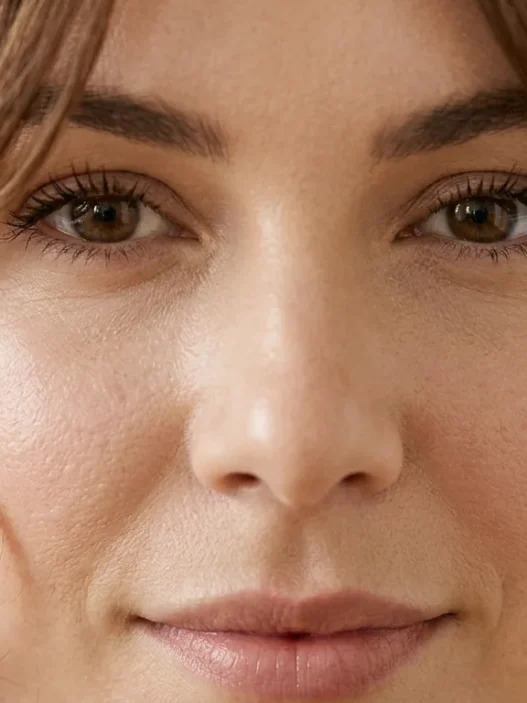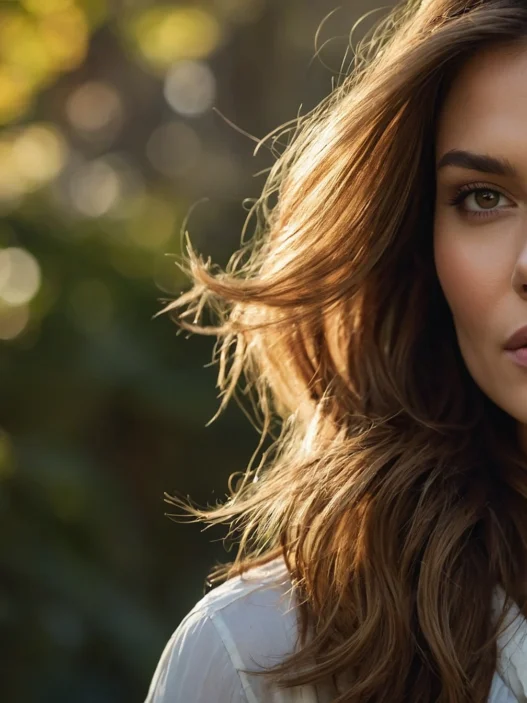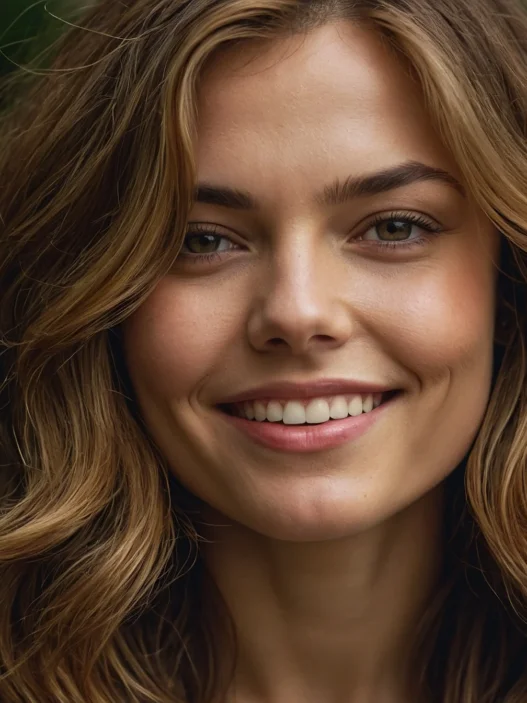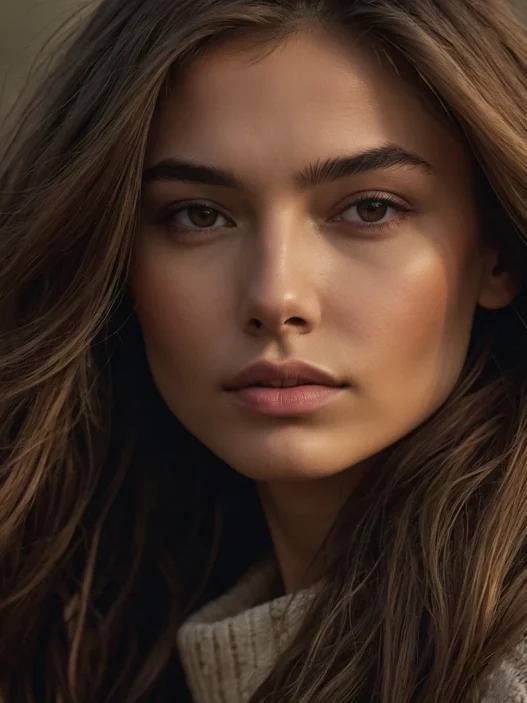







I used to think wispy bangs were this mysterious hair technique only professionals could master. Then I realized they’re actually just regular bangs with a lighter touch — some are dead simple, others require serious skill. I’ve tried every variation over the years, from disasters that looked like I attacked my hair with safety scissors to styles that made me feel like I stepped out of a magazine.
Navigate Your Wispy Bang Journey
1. Beginner Friendly: The Air-Dry Wisp

Difficulty: ⭐ (1/5) | Time: 5 minutes | Tools: Wide-tooth comb, hair clips
This is where I tell everyone to start. You literally just let your existing bangs dry naturally with minimal styling. The key is working with what you’ve already got rather than fighting it.
Start with damp (not soaking) bangs and gently comb them straight down. Use your fingers to separate a few pieces and let them fall where they want to. The “wispy” effect happens because some strands are slightly different lengths and they naturally separate as they dry.
I love this method because it’s foolproof. Even if your bangs are a bit uneven or you’re growing them out, the air-dry approach makes imperfections look intentional. Plus, you can’t really mess it up — the worst that happens is you look like you have regular bangs.
2. Easy Level: Soft Side-Swept Wisps
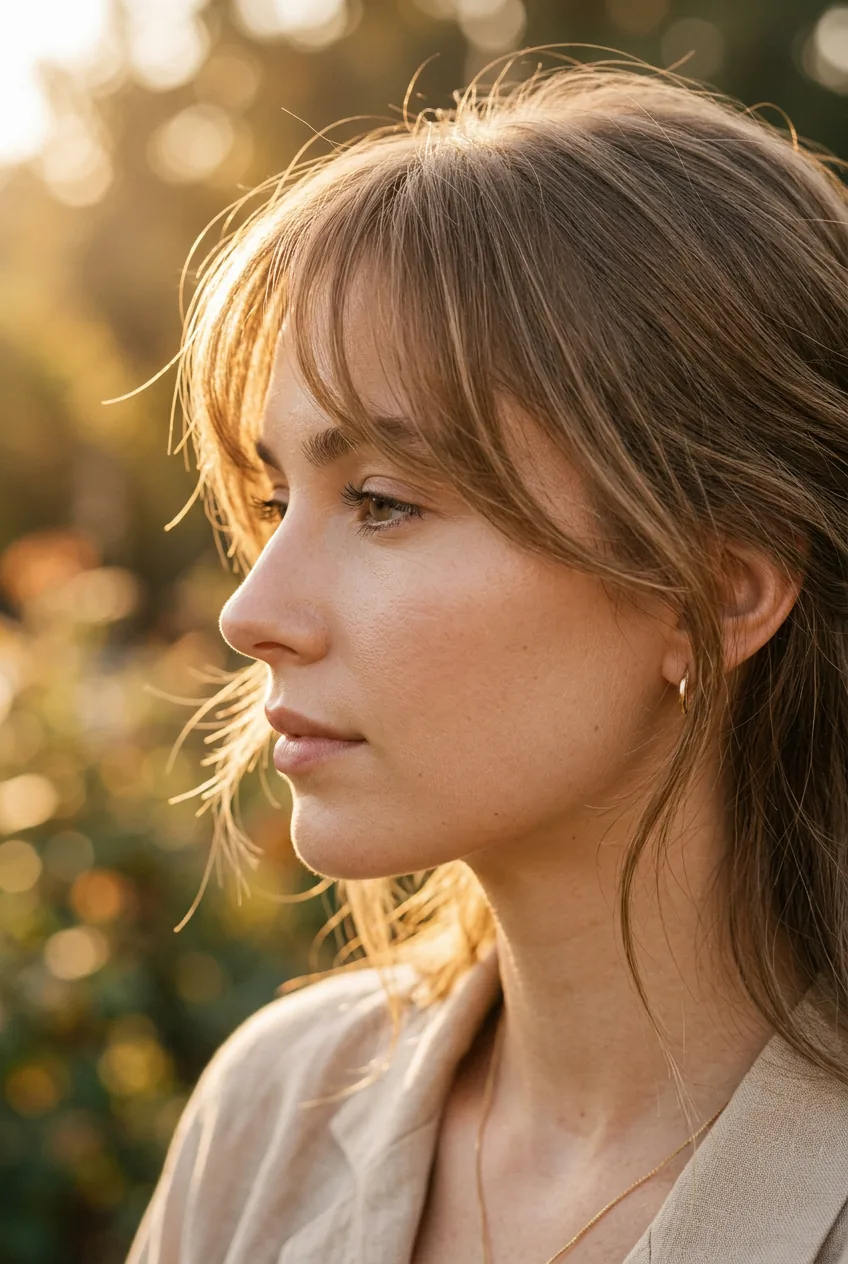
Difficulty: ⭐⭐ (2/5) | Time: 8 minutes | Tools: Round brush, blow dryer, light-hold mousse
This is my go-to “I want to look put-together but not overdone” style. You’re adding just a tiny bit of direction to those wispy pieces.
Apply a pea-sized amount of mousse to damp bangs. Using a small round brush, gently sweep your bangs to one side while blow-drying on low heat. Don’t pull tight — just guide them in the direction you want. The mousse gives just enough hold to keep the wisps in place without making them crunchy.
My Personal Pick: I reach for this style at least three times a week. It works with my cowlick, looks polished enough for video calls, and I can do it while my coffee brews. Sometimes the simplest techniques are the best ones.
3. Beginner Plus: Baby Fringe Wisps
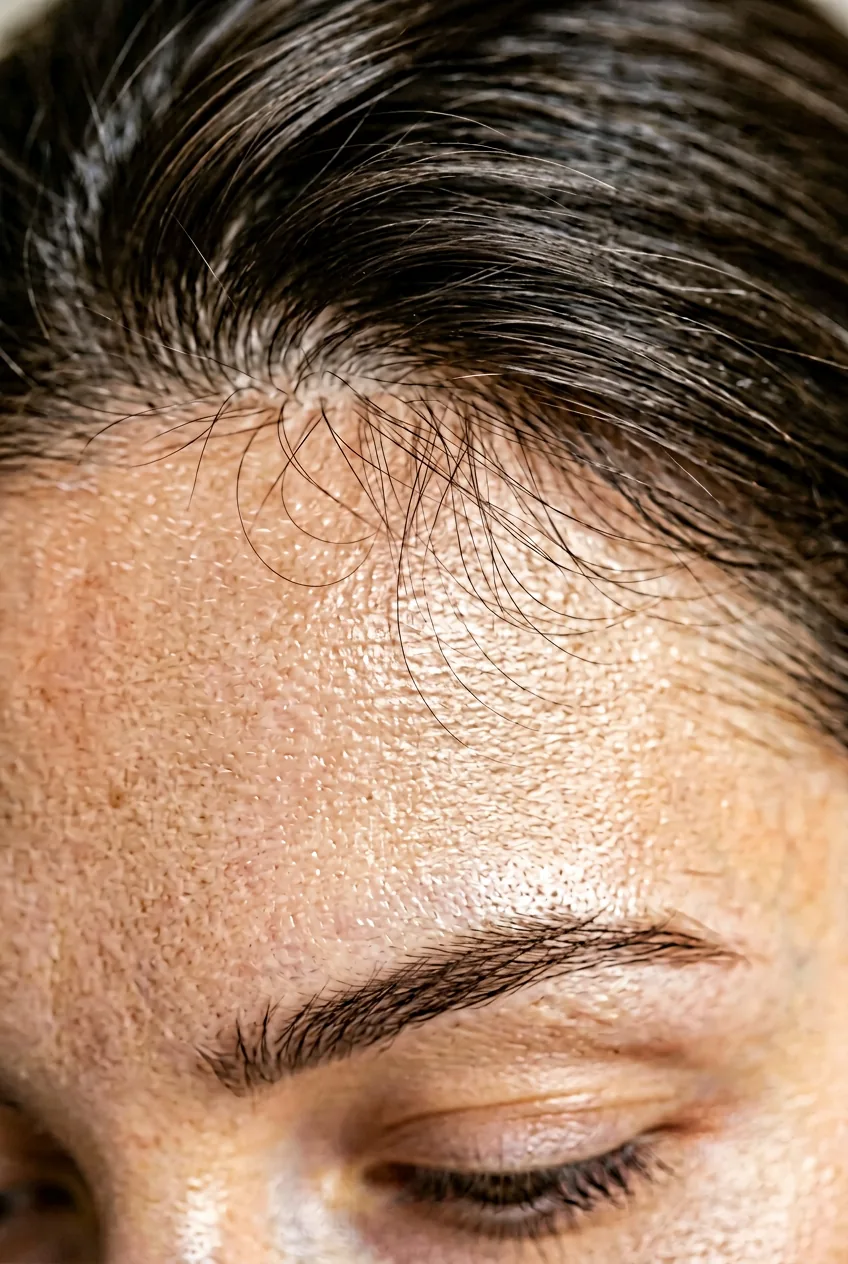
Difficulty: ⭐⭐ (2/5) | Time: 10 minutes | Tools: Small scissors, fine-tooth comb, patience
Here’s where we start getting into actual cutting territory, but it’s still pretty forgiving. Baby fringe wisps are those super fine, short pieces that frame your face — like the hair equivalent of soft lighting.
Section off the very front layer of your bangs — we’re talking maybe half an inch of hair. Comb this section straight down and make tiny, vertical snips into the ends. Not horizontal cuts across, but little vertical nicks that create natural-looking breaks in the hair line.
The magic happens in those tiny cuts. They make the edge of your bangs look softer and less blunt. I learned this technique from watching professional stylists work, and it’s surprisingly beginner-friendly once you get the motion down.
4. Intermediate Challenge: Curtain Bang Wisps

Difficulty: ⭐⭐⭐ (3/5) | Time: 15 minutes | Tools: Round brush, blow dryer, texturizing spray, sectioning clips
Now we’re getting into territory where technique really matters. Curtain bangs with wispy edges require you to create volume and separation simultaneously — it’s like patting your head and rubbing your stomach.
Start by creating a deep side part. Section your bangs into three parts: center and two sides. Blow-dry the center section straight down first, then work on sweeping each side piece away from your face using a round brush. The key is lifting at the roots while keeping the ends soft and separated.
Once everything’s dry, mist with texturizing spray and scrunch gently with your fingers. This breaks up any pieces that dried too perfectly together. The wispy effect comes from this final step — don’t skip it or you’ll end up with regular curtain bangs instead of the soft, lived-in look you’re after.
This style pairs beautifully with layered cuts that have similar movement throughout.
Watch the Curtain Technique Live
5. Intermediate Plus: Layered Wispy Fringe

Difficulty: ⭐⭐⭐ (3/5) | Time: 20 minutes | Tools: Thinning shears, regular scissors, comb, steady hands
This is where most people start to get nervous, and rightfully so. You’re creating multiple layers within your bangs to achieve that perfectly imperfect, “I woke up like this” texture.
Work in three horizontal sections. Cut the bottom layer shortest, the middle layer slightly longer, and leave the top layer longest. But here’s the crucial part — each layer gets thinned out with thinning shears to remove bulk and create natural separation.
I won’t lie, I messed this up spectacularly the first time I tried it. Ended up with what looked like someone had taken hedge clippers to my forehead. But once you understand the principle — shorter underneath, longer on top, thin everything out — it starts making sense. Take your time and cut less than you think you need to. You can always go shorter.
6. Advanced Level: Razor-Cut Micro Wisps
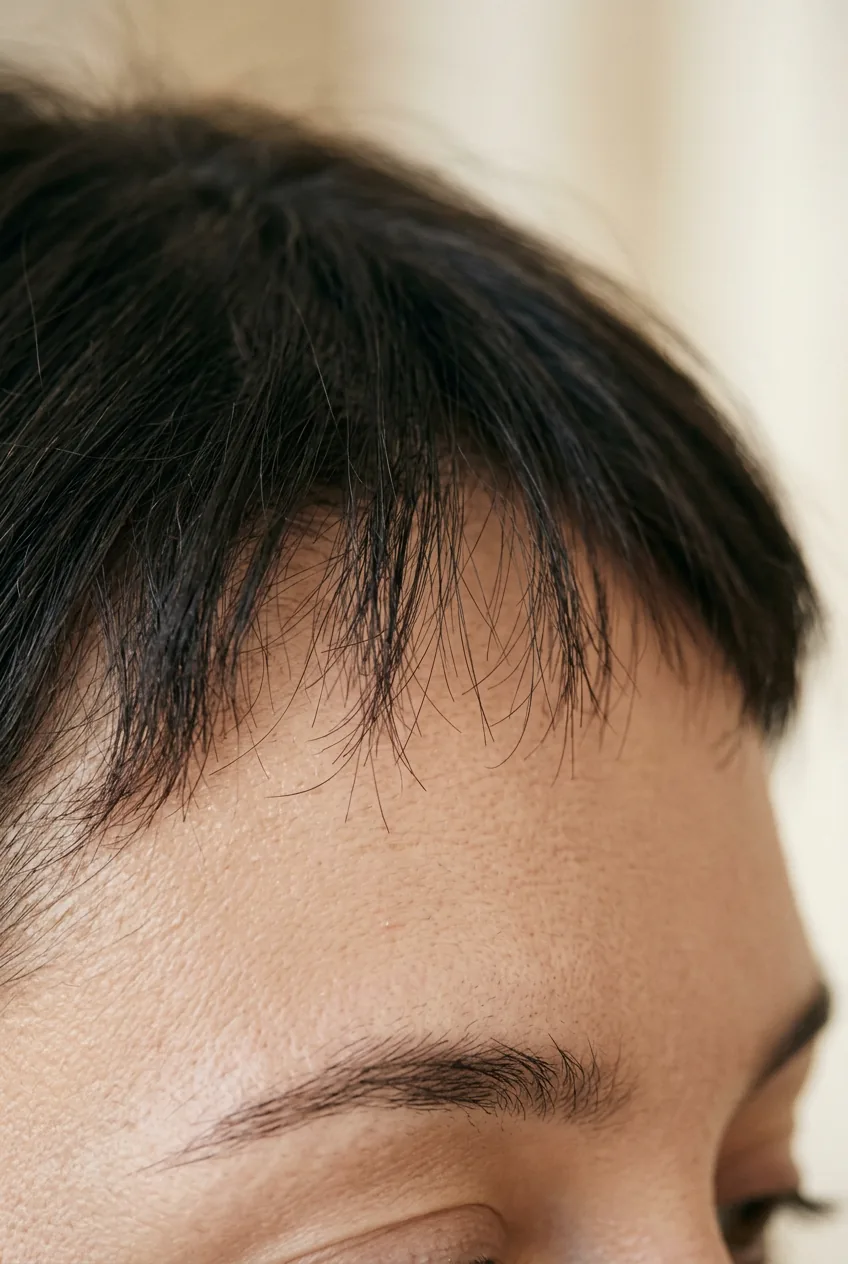
Difficulty: ⭐⭐⭐⭐ (4/5) | Time: 25 minutes | Tools: Hair razor, sectioning clips, fine-tooth comb, serious focus
Razor cutting creates the most natural-looking wispy texture because it mimics how hair would break naturally. But it’s also the most unforgiving — one wrong move and you’re looking at weeks of regrowth.
Hold the razor at a 45-degree angle and make light, feathery strokes through small sections of your bangs. You’re not cutting straight across but rather skimming the surface to remove little bits of length irregularly. The key is maintaining consistent pressure — too hard and you’ll cut too much, too light and you won’t cut anything.
This technique creates those gorgeous, feathery ends that move beautifully and catch light in all the right ways. It’s the closest you can get to professional razor cutting at home, but honestly, I’d recommend practicing on extensions first.
7. Expert Challenge: Asymmetrical Wispy Layers

Difficulty: ⭐⭐⭐⭐ (4/5) | Time: 30 minutes | Tools: Sharp scissors, thinning shears, multiple mirrors, possibly a friend
This is art meets hair cutting. You’re intentionally creating uneven lengths that somehow look perfectly balanced and effortless. It sounds contradictory because it kind of is.
Start by cutting one side of your bangs shorter than the other — but we’re talking subtle differences, maybe a quarter inch. Then within each side, create micro-layers with slightly different lengths. The wispy effect comes from how these uneven pieces fall and separate naturally.
The trickiest part is knowing when to stop. Asymmetrical wisps should look intentional, not like you had an accident. I’ve seen this work beautifully on people with strong facial features because the asymmetry creates this gorgeous, editorial kind of look. But it requires a really good understanding of your face shape and hair growth patterns.
This style looks amazing with modern trendy lob hairstyles bangs that have similar asymmetrical elements.
8. Master Level: Textured Piecey Wisps
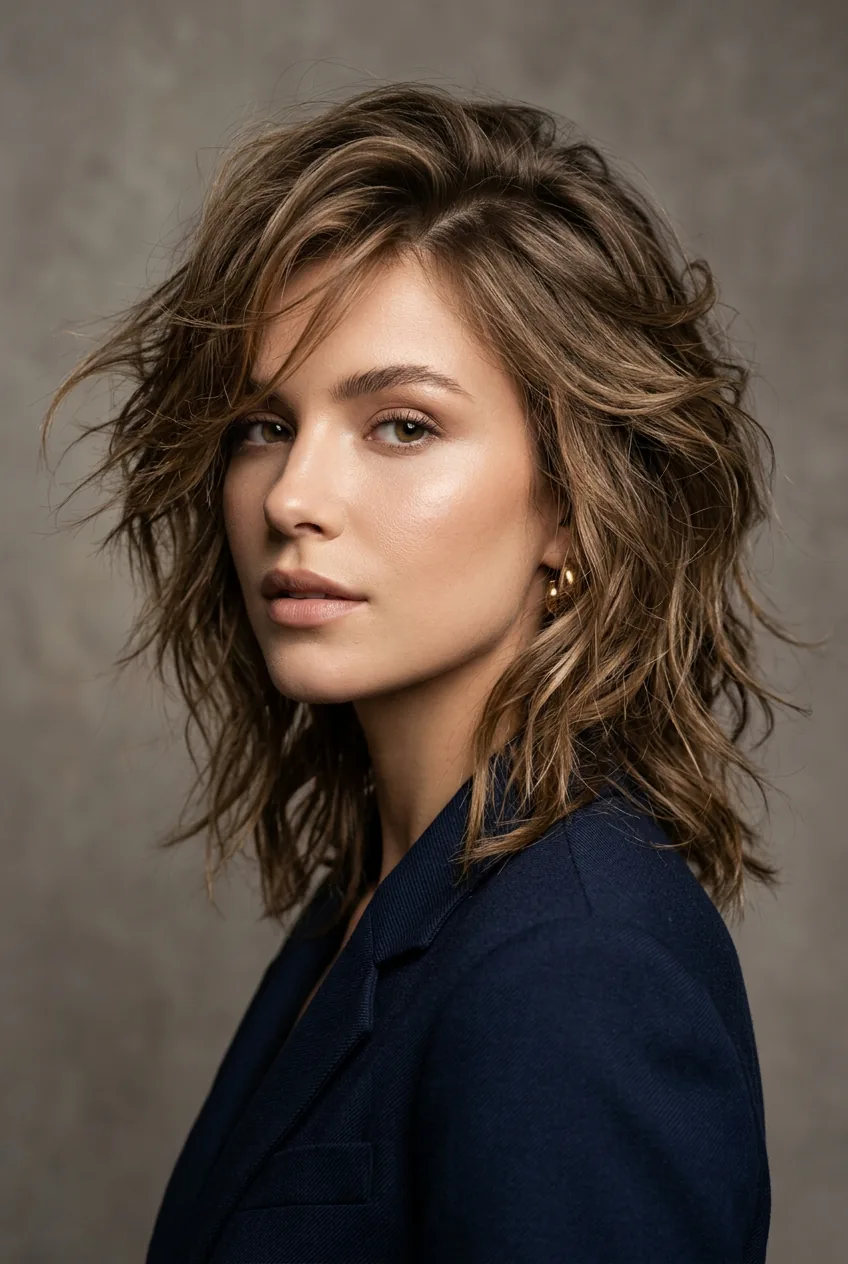
Difficulty: ⭐⭐⭐⭐⭐ (5/5) | Time: 45 minutes | Tools: Multiple cutting tools, texturizing products, styling cream, professional-level patience
This is the holy grail of wispy bangs — the kind you see in high-fashion editorials where every piece seems to have its own personality but somehow works together perfectly.
You’re combining every technique we’ve covered: layering, razor cutting, texturizing, and strategic asymmetry. But the real skill is in the styling. After cutting, you manipulate each small section with different products — some get texturizing cream for grip, others get smoothing serum for shine, some get left completely product-free.
The result is bangs that look like they have natural movement and life, with pieces that catch light differently and move independently. It’s the most labor-intensive but also the most rewarding when you get it right.
I’ll be honest — I’ve only successfully pulled this off a handful of times. It requires not just technical skill but also an artistic eye for how different textures and lengths work together. But when it works? It’s absolutely stunning.
This type of detailed work pairs beautifully with dimensional color techniques like those gorgeous balayage hair color ideas that add even more texture and movement.
Questions I Get About Wispy Bangs
How often do wispy bangs need trimming?
Every 3-4 weeks for me, but it depends on how fast your hair grows and which style you’re doing. The simpler techniques like air-dry wisps can go longer between trims because imperfections actually add to the look.
Can you do wispy bangs on curly hair?
Absolutely, but you need to work with your curl pattern instead of against it. I recommend starting with the air-dry method and seeing how your natural texture creates the wispy effect before trying more complex techniques.
What face shapes work best with wispy bangs?
Honestly, most face shapes can pull off some version of wispy bangs. The key is adjusting the length and density. Oval faces can handle almost anything, while round faces usually look better with longer, side-swept wisps.
Should I cut wispy bangs wet or dry?
I always cut dry because you can see exactly how the hair falls naturally. Wet cutting is trickier because hair shrinks as it dries, and with wisps, precision in length really matters for the overall effect.
Remember, wispy bangs are all about embracing imperfection in a controlled way. Start with the easier techniques and work your way up — your forehead will thank you for not jumping straight into the advanced stuff. Trust me, I learned that lesson the hard way.