






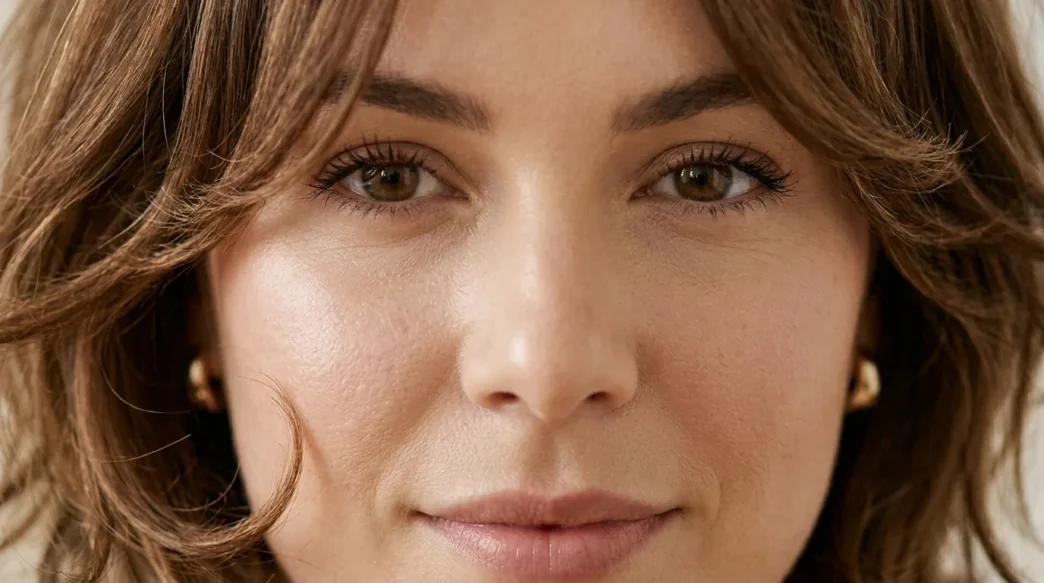
I spent years avoiding mirrors after salon visits. Every haircut seemed to make my round face look even rounder, like someone had stuck a bowl on my head and chopped around it. The worst part? Stylists kept telling me I looked “cute” when I wanted to look sophisticated and angular.
Then I figured out what was going wrong. And once I understood the real problem, everything changed.
What Was Going Wrong
Every stylist I visited made the same mistakes. They’d give me blunt cuts that ended right at my jawline — the widest part of my face. Or they’d add layers that created volume exactly where I didn’t need it: at my cheekbones.
The bob disasters were the worst. Short, chin-length cuts that made my face look like a perfect circle. I’d walk out feeling confident, then catch my reflection in a store window and want to hide under a hat for weeks.
But the real problem wasn’t the cuts themselves. It was that nobody — including me — understood where my face actually needed visual weight and where it needed to be elongated.
The Root Cause Most People Miss
Here’s what I wish someone had told me years ago: round faces don’t need to be “fixed” — they need to be balanced. The goal isn’t to hide your face shape, but to create the illusion of length and angles through strategic hair placement.
Most stylists focus on the wrong things. They obsess over face-framing layers without considering where the bulk of the hair sits. They create volume in all the wrong places. And they completely ignore the power of asymmetry.
My biggest mistake was asking for “layers for volume” without specifying WHERE I wanted that volume. I ended up with puffy sides that made my face look wider, not the lifted crown that would have elongated it.
The fix isn’t complicated, but it requires precision. You need to work WITH your face shape, not against it.
Step 1: Map Your Face Shape
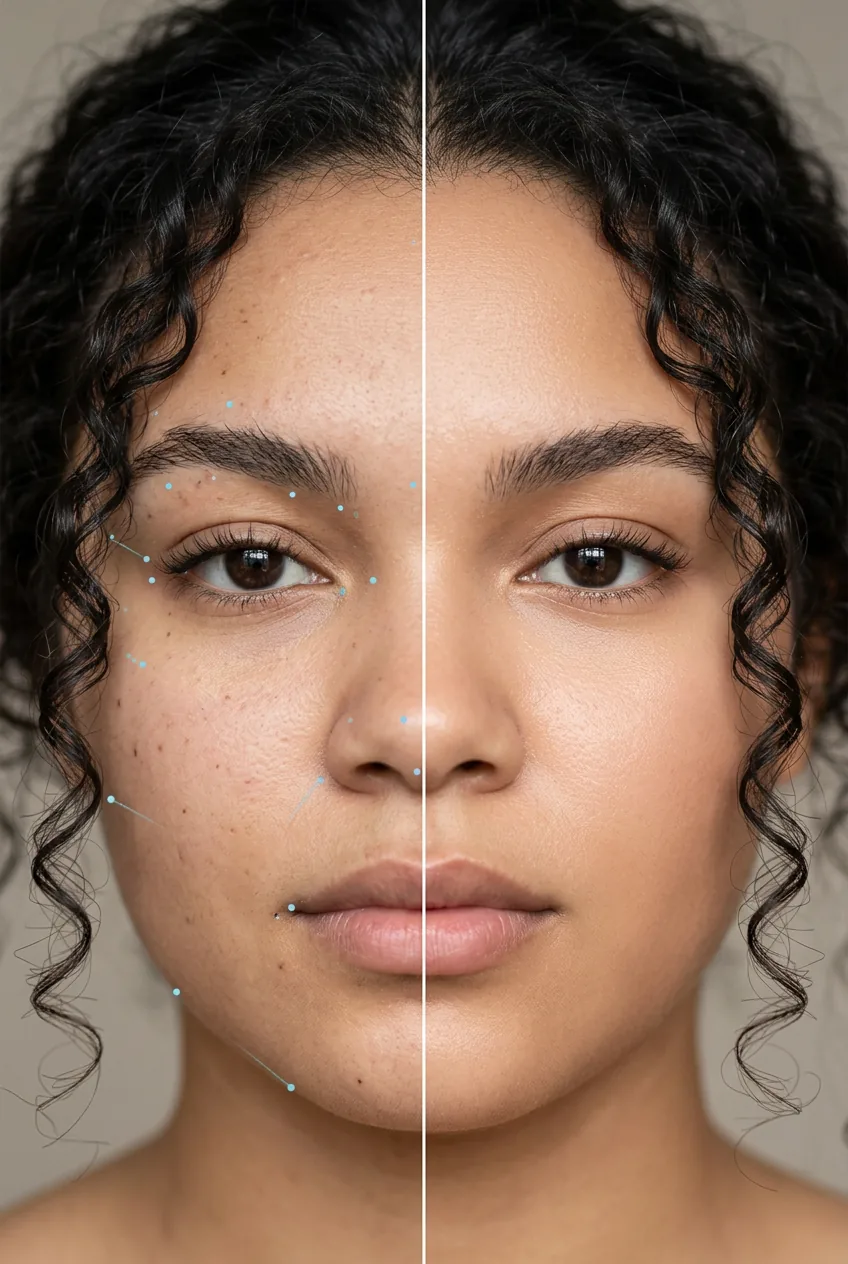
Before you touch a single strand, you need to understand your specific proportions. Pull your hair straight back and take a photo facing directly forward. Not all round faces are created equal.

Look for these key measurements:
- Where your face is widest (usually at the cheekbones)
- The distance from your hairline to your chin
- How prominent your jawline is
- Whether your forehead is narrow or broad
This mapping determines everything else. A round face with a strong jaw needs different treatment than one with a soft, undefined jawline. Understanding your unique proportions prevents those generic “round face cuts” that work for nobody.
Step 2: Strategic Length Placement
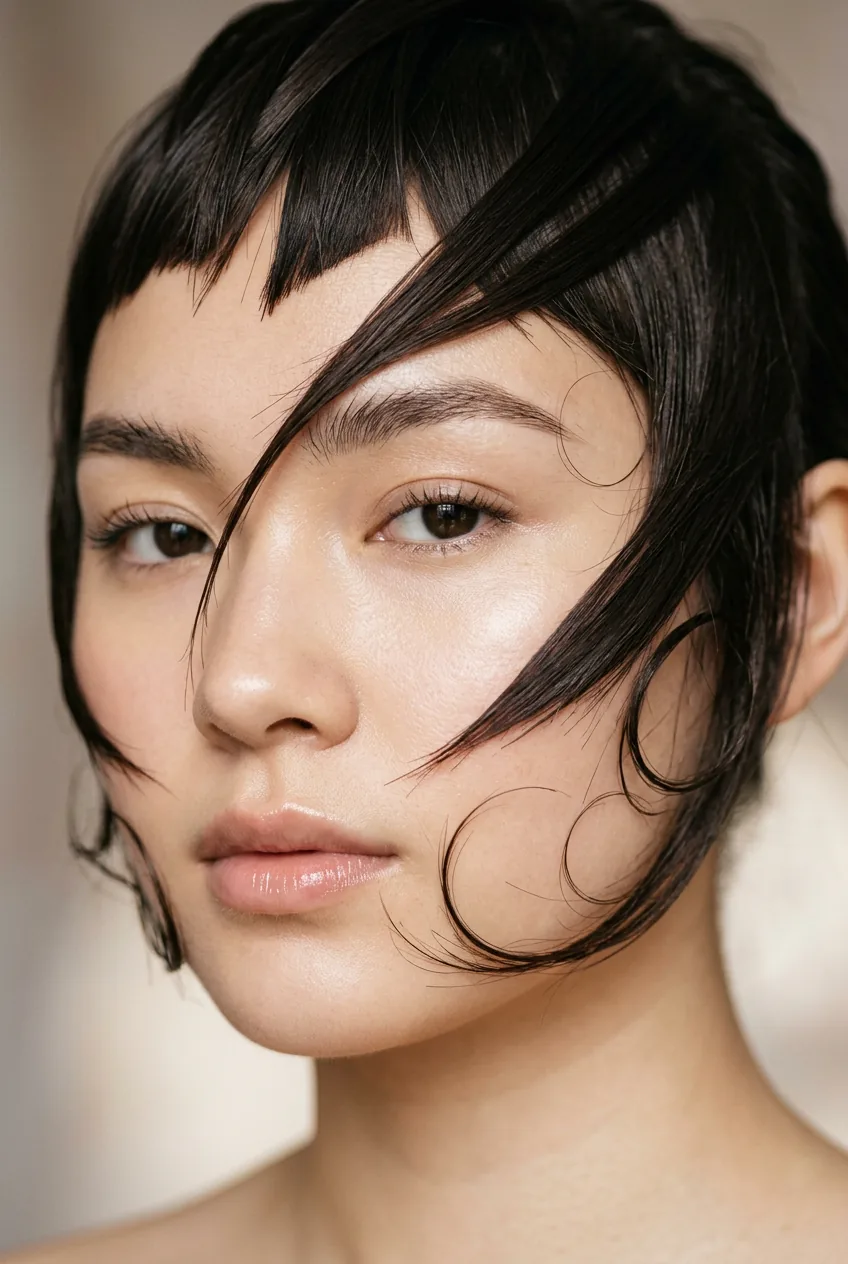
This is where most cuts go wrong. The key length for round faces isn’t at the jawline — it’s either above the chin or below the collarbone. Anything that hits right at jaw level will emphasize the width of your face.
For shorter cuts, aim for the length to hit about an inch above your chin. This creates negative space that visually elongates your neck and jawline. For longer styles, go past your collarbones so the hair doesn’t compete with your face for attention.
The magic happens in that space between your chin and shoulders — avoid it completely. I learned this the hard way after three different shoulder-length disasters that made me look like I had no neck.
Step 3: Layer for Angular Lines

Now we’re getting to the good stuff. Layers for round faces should create diagonal lines and movement, not soft curves. Think geometric, not romantic.
Start with longer layers that begin below your ears. These should angle slightly forward, creating diagonal lines that break up the circular silhouette of your face. The layers should be subtle in the back and more dramatic around your face.
Avoid choppy, uniform layers. Instead, ask for varied lengths that create movement when you turn your head. The goal is to add texture without adding bulk to the sides of your face.
And here’s a pro tip I stumbled onto accidentally: slightly longer pieces on one side create beautiful asymmetry that instantly makes round faces appear more angular. Don’t go full side-shave dramatic, just a subtle difference in length.
Step 4: Face-Framing Magic
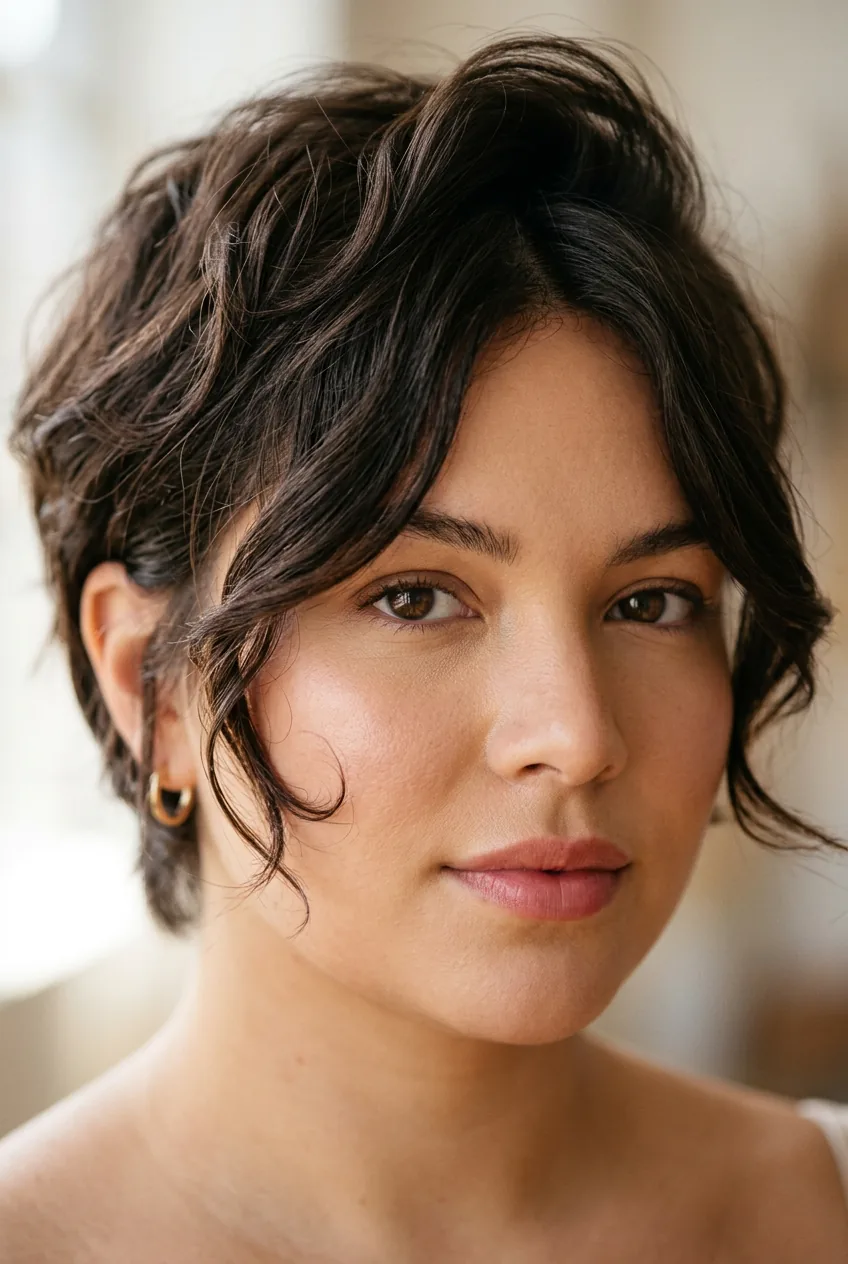
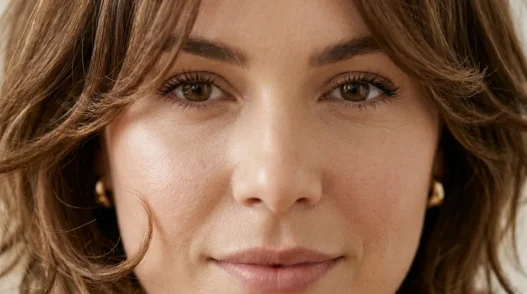
This step transforms everything. Face-framing layers for round faces should start long and gradually get shorter, but never shorter than your cheekbones. The shortest pieces should hit right at the corner of your jaw — not the center.
The angle matters more than the length. These layers should slope downward, creating vertical lines that elongate your face. If they’re too horizontal, they’ll emphasize width instead of adding length.
I like to think of it as creating a soft V-shape around my face. The longest face-framing pieces should be able to tuck behind your ears when you want a sleeker look, but fall forward naturally when you’re moving.
One crucial detail: these layers need to start from a deep side part, not a center part. Center parts on round faces can emphasize symmetry in all the wrong ways. A dramatic side part instantly adds angles and sophistication.
This Stylist Nails the Technique
Step 5: Styling for Maximum Impact
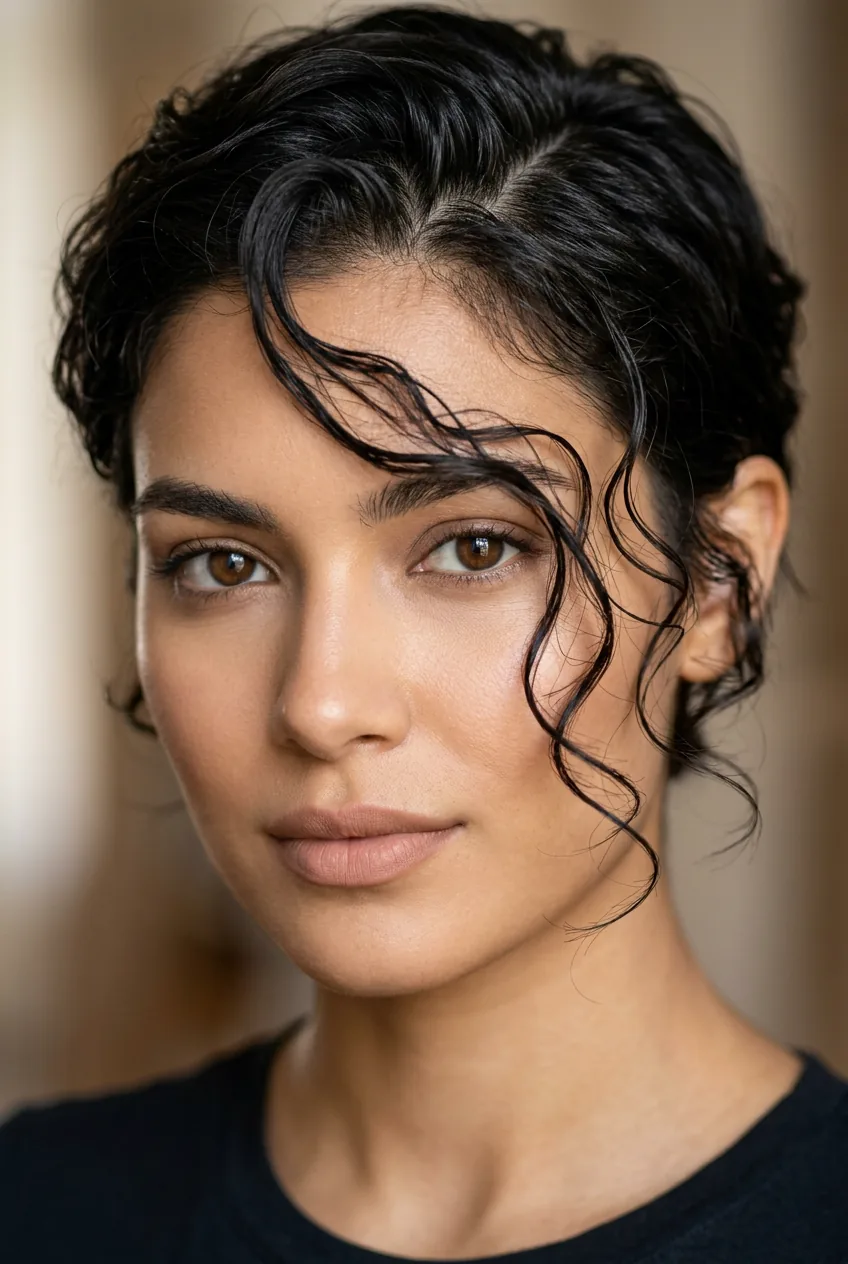
The right cut is only half the battle. How you style it determines whether you get that angular, elongated effect you’re after.
Start with volume at the crown, not the sides. Use a round brush to lift your roots straight up while blow-drying, focusing on the top of your head. This creates height that visually lengthens your face.
For the face-framing pieces, blow-dry them forward and slightly under. You want them to curve gently toward your face, not flip away from it. This creates those coveted diagonal lines that break up roundness.
Finish with a light texturizing spray on just the ends. This adds movement without creating frizz or bulk where you don’t want it. The goal is piece-y definition, not uniform waves.
Texturizing products make a huge difference in how these cuts look day to day. And if you’re working with stylish bob hairstyles, these same principles apply — it’s all about strategic placement and angles.
Questions I Get About This
Will this work on curly hair?
Absolutely, but the technique needs slight adjustments. The same principles apply — avoid bulk at the sides, create length through layering — but curly hair naturally has more volume, so the layers can be more subtle. Work with your curl pattern, not against it.
How often do I need touch-ups?
Every 6-8 weeks for the face-framing pieces, but the overall cut can go 10-12 weeks between appointments. The beauty of this technique is that it grows out gracefully because the foundation is solid.
Can I do this myself at home?
I don’t recommend attempting the initial cut yourself — the angles are too crucial to guess at. But once you have the foundation, you can maintain it with minimal trims to the face-framing pieces using proper hair shears.
What if my stylist doesn’t understand what I want?
Bring photos and be specific about angles, not just length. Say “diagonal face-framing layers that start below my ears” instead of “layers for my round face.” Most stylists understand technical language better than general requests.
After months of round-face haircut disasters, this method finally gave me the angular, sophisticated look I’d been chasing. The difference isn’t just in how I look — it’s in how confident I feel walking into any room. And honestly? That makes all the trial and error worth it.