

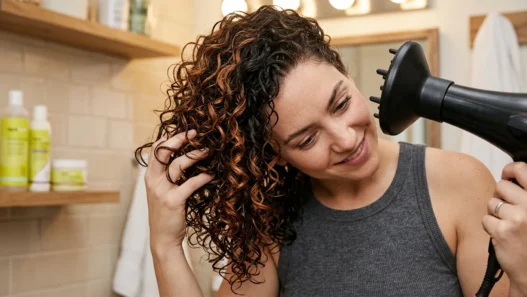







I cut my hair into a French bob last spring because I was so tired of spending forty minutes on my long layers every morning. I wanted that cool, chin-grazing, just-left-Paris look, but what I got at first was more triangle-head meets pajama hair. It took me about three weeks of trial, error, and a lot of bathroom selfies to figure out a routine that actually works for my fine, slightly wavy hair.
This is the exact phase-by-phase method I use now. Not a haircut tutorial, but the daily styling build that takes a French bob from flat and confused to bouncy, piecey, and intentional. If you already have the cut, this is how I make it sing.
What You’ll Need
I love that a French bob does not ask for much. My whole kit lives in one small drawer now, which still feels like a miracle after my long-hair days. Here is what I reach for, plus how long each phase actually takes me on a normal weekday. Total time is 12 to 15 minutes if I am not chatting with my coffee at the same time.
- Lightweight volumizing mousse or a root-lift spray, mine is about golf-ball size
- Heat protectant with light hold, never the super-sticky kind
- Small round brush, I use a 1.25-inch barrel, plus a flat paddle brush for detangling
- Blow dryer with nozzle attachment and a cool-shot button
- Small flat iron or a 1-inch curling iron for bends, whichever you already own
- Texture spray or dry-wax stick for those lived-in ends
- Two small duckbill clips and a wide-tooth comb
Timing-wise, think of it like this. Phase 1 is 3 minutes in the shower and towel stage. Phase 2 is 6 to 7 minutes of drying. Phase 3 is 3 minutes of iron work. Phase 4 is 2 minutes of fluff and fix. I timed myself twice because I did not believe it could be that fast.
Phase 1: Prep and Foundation
This phase makes or breaks everything. A French bob is so short that every bit of weight shows, and I learned that the hard way when I kept conditioning like I still had waist-length hair.
I wash with a light-volume shampoo and I only condition from mid-length to ends. Seriously, keep conditioner off your roots. My hair is fine and it will go limp in about four hours if I get creamy stuff near my crown. I rinse with lukewarm water, not hot, because my color fades less and my scalp gets less frizzy. Then I squeeze, I never rub, with a microfiber towel until it is damp but not dripping. About 70% dry is my sweet spot.
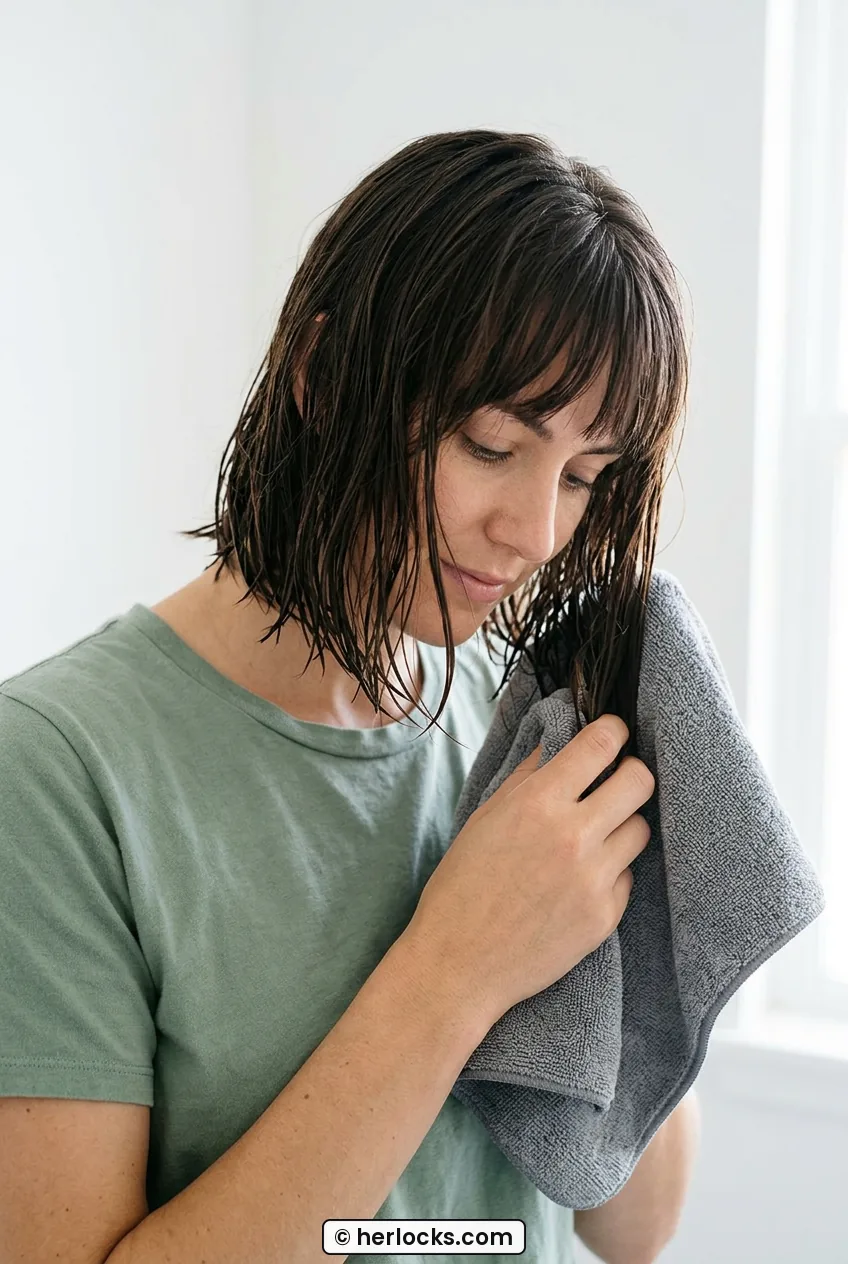
Look at how she is holding that towel up at the ends. That gentle squeeze is exactly what I mean, no rough towel-turban twist that kinks your new chin-length shape.
On damp hair I comb through with a wide-tooth comb, then I add mousse first. I shake the can well and use a golf-ball-size puff, emulsified in my palms. I flip my head upside down and scrunch it mostly into the roots and through the interior. That upside-down bit feels silly but it gives me that airy lift a French bob needs at the crown. Then I mist heat protectant all over. I brushed up on how to blow-dry short hair smooth before I started drying like this and it helped me stop frying my ends.
My favorite little trick? I part my hair while it is still wet where I want it to live. Mine is a slightly off-center part, about an inch to the left. If I try to change the part after drying, my bob splits weird and sticks up at the crown all day. Do you also fight that one stubborn cowlick? Set it now when it is damp and it will listen.
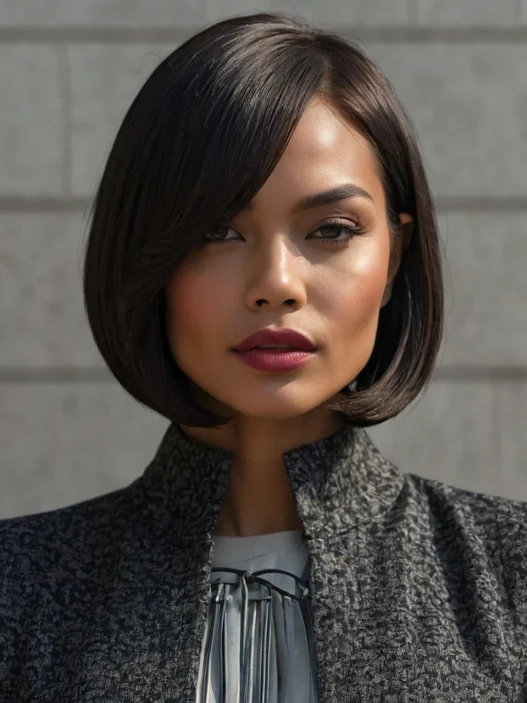
For context, my bob is classic French length, hitting right at the corner of my jaw with soft, brow-skimming bangs. It is different from the longer long bob lob styles I grew out two years ago, which could hide a bad prep day. This length cannot hide anything, so this damp-stage work matters twice as much.

Phase 2: Building the Shape
Okay, this is where the magic happens. A French bob should look full at the sides but tucked just a touch at the nape, not puffed out like a bell. I dry it in two layers to get that.
I clip the top half up with my duckbill clips, leaving just the underlayer down at the nape. I dry that bottom layer first with my small round brush, pulling down and slightly under. The brush is held almost horizontal under the hair, clearly flat, not pulled straight out at 90 degrees, and I follow with the nozzle pointing down. Then I release the top in two more sections. This stopped my dreaded flip-out at the bottom.
She has got that under-section brushed smooth and tucked in this photo. This is the length I am talking about. See how it hits just below her chin in front but stays close at her neck? That close fit only happens when you dry the nape down first.
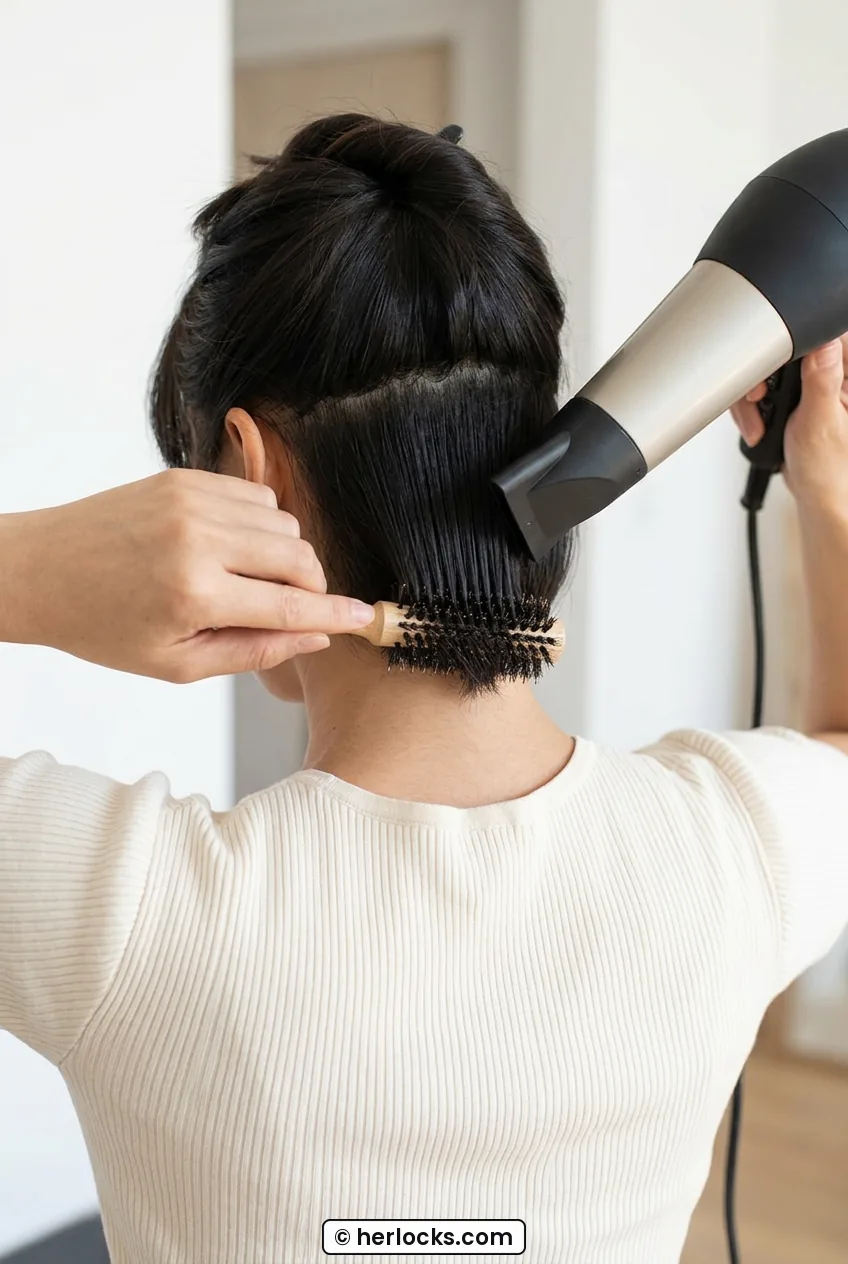
For the top and sides, I over-direct a little for volume. I lift each two-inch section up and forward over my face, dry the root for five seconds, then roll the brush under to smooth. I use medium heat, never max, and I finish each section with a 3-second cool shot while it is still wrapped around the brush. That cool shot is my whole personality now. It locks the bend so my sides do not fall flat by 10 a.m.
My big mistake was rough-drying my whole head upside down like I did with long hair. My French bob turned into a perfect triangle, huge at the ears and flat on top. Drying in clean, clipped sections fixed it in one day.
I keep the dryer nozzle always pointing down the hair shaft. If you point it up into the cuticle you get frizz, especially on day-two texture. I also learned to leave my hair about 95% dry and let that last 5% air-set while I do mascara. That little pause keeps it from looking over-blown and stiff. If you love other short shapes, I still browse adorable short bob cuts for summer for drying ideas, but this under-then-over method is what keeps the French shape Parisian instead of poufy.
See the Round-Brush Shape Live
Phase 3: Definition and Hold
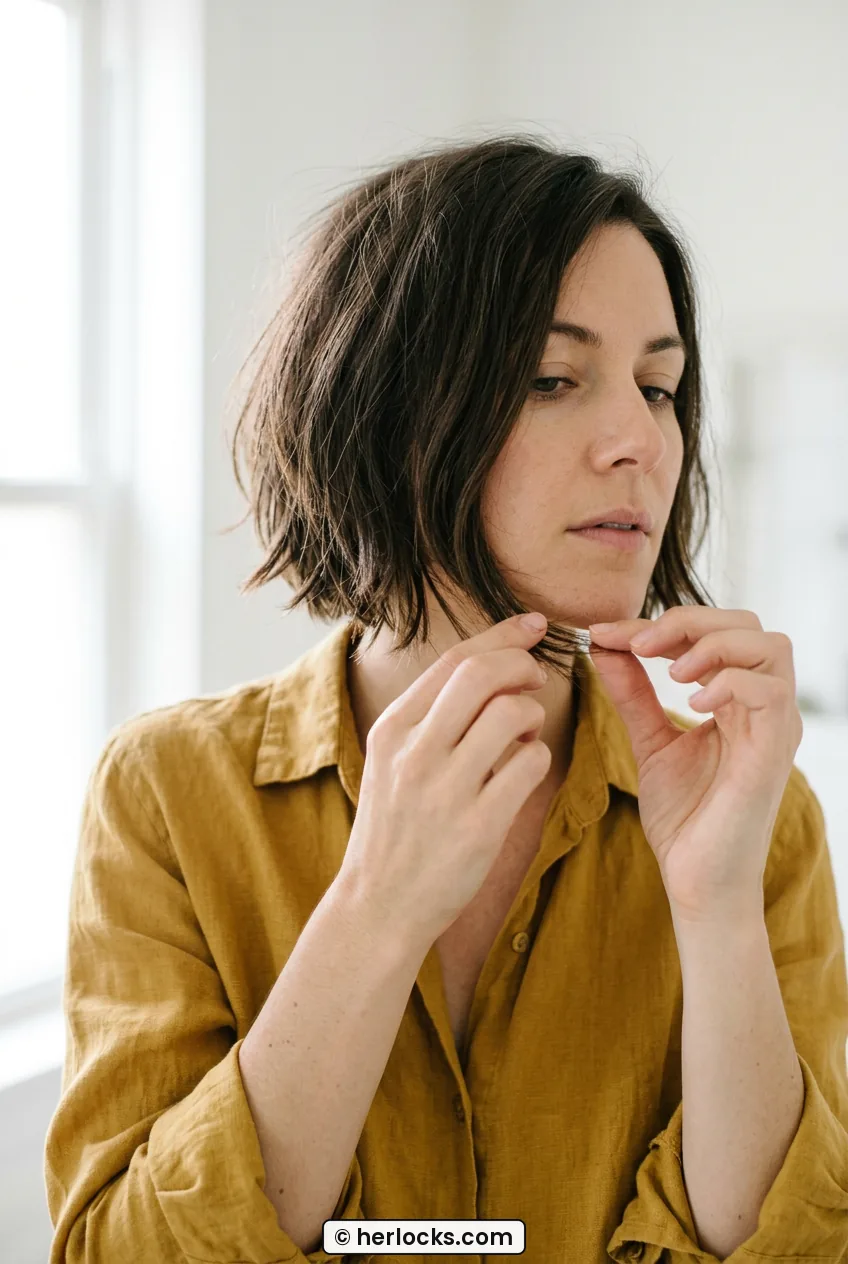
Freshly blow-dried, my bob looks a little too pageant-perfect. Too round. The French bob should look a bit undone, with soft bends and piecey ends, not a solid helmet curve. So I break it up on purpose.
I heat up my 1-inch flat iron to about 320 degrees, my hair is fine and anything hotter gives me crispy ends by Friday. I take 1-inch vertical sections around my face and bend, I do not clamp and drag. Clamp mid-shaft, turn your wrist a quarter-turn back, then glide through the ends and leave the last half-inch straight. That straight tip is the whole French secret. It keeps the cut looking modern and a little edgy.
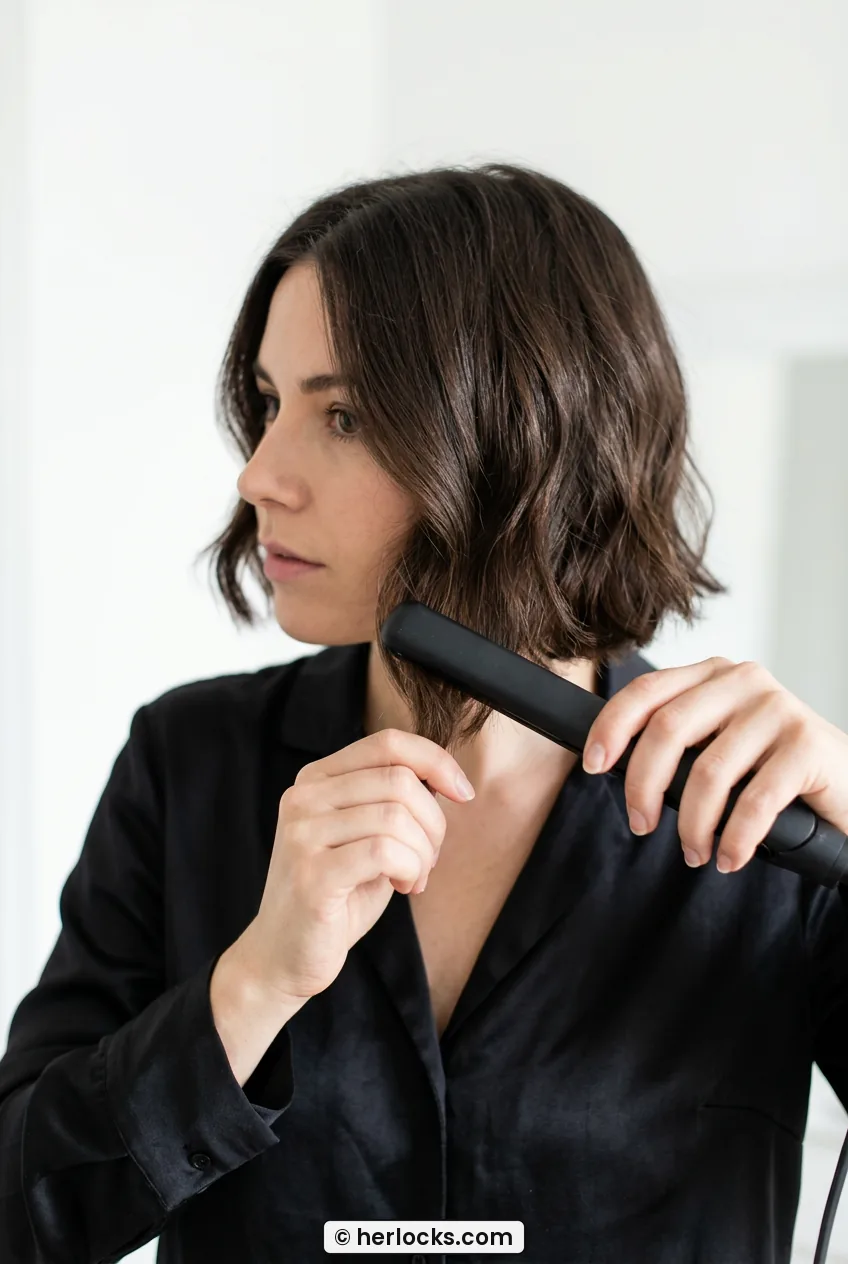
Look at how she is turning that iron just at her cheek, with the iron well clear of her face and working only at the hair. That soft backward bend is exactly what I copy on my front pieces, and her straight tips keep it from looking too done.
I do maybe six bends total. Two in front on each side, two in the back that I cannot even see properly. Alternate the direction, one forward, one back, so it does not form one big curl. For my bangs, I just kiss them with the flat iron once, curving very slightly under, or I leave them alone if they fell nicely. Less is more here. I over-ironed for a month and my bob looked thin.
Then texture. I spray a light texture spray about 8 inches away, or I warm a tiny bit of dry wax between my fingertips and pinch just the very ends. I focus on the corners near my jaw and the pieces around my bangs. I read a piece about adding lived-in texture to blunt cuts that finally made sense to me and now I pinch and pull outward, not down, to get that airy width. If you like a dressier finish for evenings, peek at red carpet bob hairstyles for how those bends can go sleeker with a bit more shine spray.
Phase 4: The Final Polish
This last two-minute phase is what makes my bob last past lunch. I used to skip it and wonder why one side went flat by my second coffee.
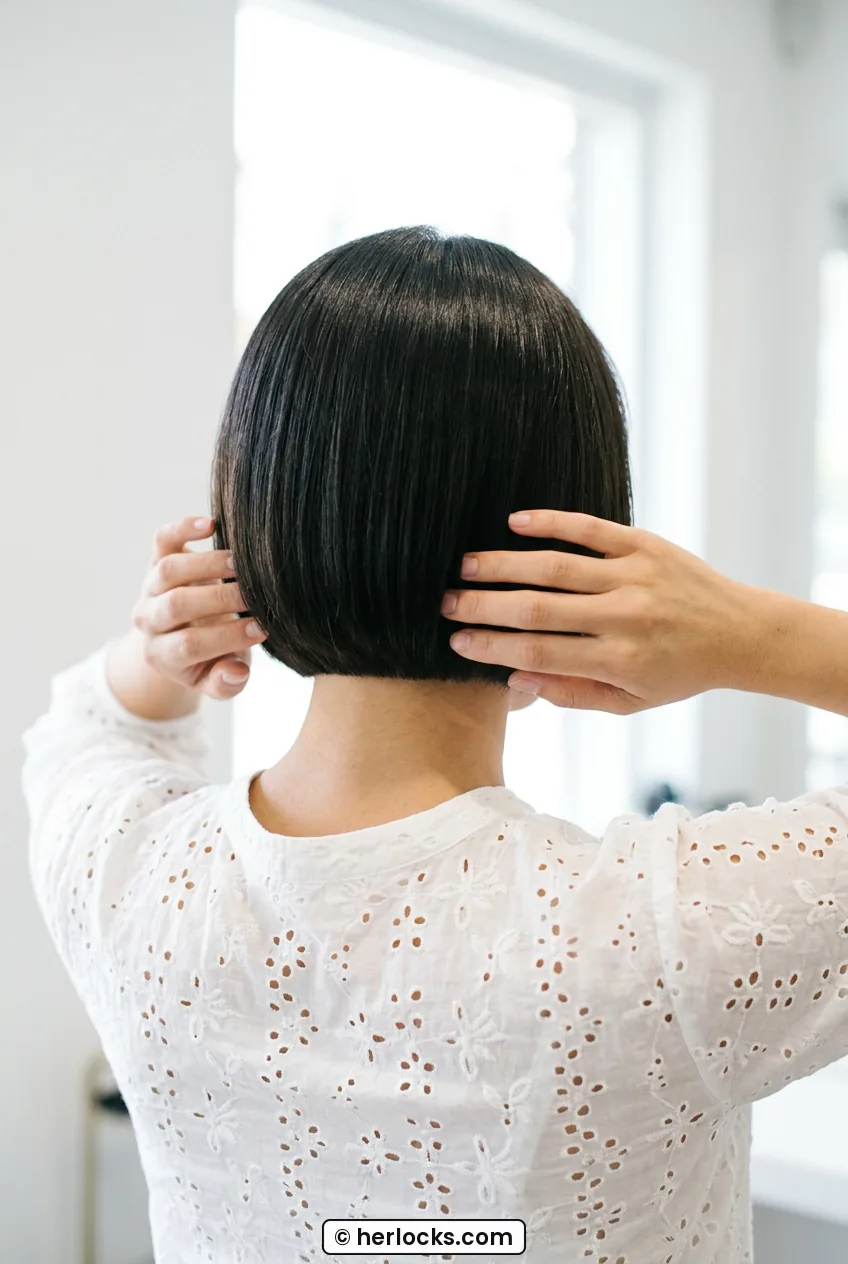
First I check the silhouette in a hand mirror from the back. I want a soft, rounded, head-hugging line, fuller at the cheek and tapered at the nape. If the back is poufing out, I tuck it lightly behind my ears for 30 seconds while it cools. That little tuck trains it without gel. If my crown fell, I lift just the top layer and mist a touch of light-hold hairspray underneath, not on top. Spraying underneath is my favorite low-key trick. No crunchy helmet, just invisible lift.
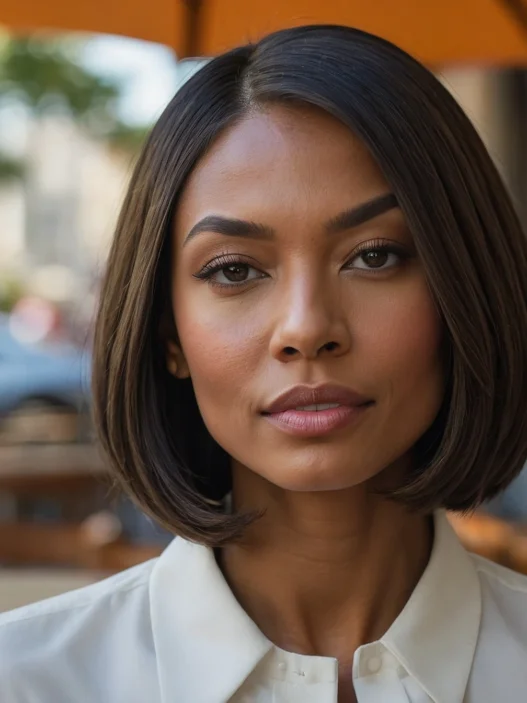
She has got a similar face shape to mine, and honestly, this cut looks incredible on her from the back. See how clean that nape line is? That is what I check for in my own hand mirror before I walk out.
Then I finish with shine and separation. One tiny drop of hair oil, warmed between palms, pressed only over the very surface to tame flyaways. Keep oil away from roots on this cut or you will be washing again tomorrow. I fluff at the roots with fingertips, shake my head once like a dog, and leave it alone. Touching it all day is what killed my volume in week one.
For winter I sometimes swap texture spray for a creamier balm because indoor heat makes my ends static-y. I got that idea while browsing chic bob hairstyles for winter and it saved my January bob. And if you are still deciding between lengths, chic bob styles helped me confirm I wanted true French short, not a lob. I also picked up a good tip about featherweight oils for fine hair that sit lightly on chin-length cuts without dragging them down.
I walked out last Saturday with my bends soft, my bangs piecey, and that little kick at my jawline doing its thing in the wind. My sister said I looked like I had just come back from a long weekend in Paris, which is hilarious because I had just come back from Trader Joe’s. But that is the point, right? My French bob finally looks effortless because I stopped winging it and started building it in phases.
French Bob Questions From My Chair
How often should I trim a French bob to keep the shape?
For me it is every 5 to 6 weeks. Any longer and my jawline corners get heavy and start flipping out. I book a quick neckline clean-up in between if my stylist offers it.
Can I style a French bob without heat every day?
Yes, twice a week I just dampen, add mousse, and let it air-dry with a clip at each temple to control volume. It looks softer and more casual, though the bends do not last as long as iron-set ones.
What if my French bob puffs out at the sides?
That was my triangle phase. Dry the nape smooth and down first, use a smaller brush on top, and pinch wax only on the ends, not through the mid-lengths. Less product up high means less pouf.
Does a French bob work with natural waves?
I think it works beautifully. I enhance my natural bend with mousse and diffuse for 2 minutes instead of round-brushing everything straight. You get a very cool, lived-in Parisian texture that straight hair has to fake with an iron.