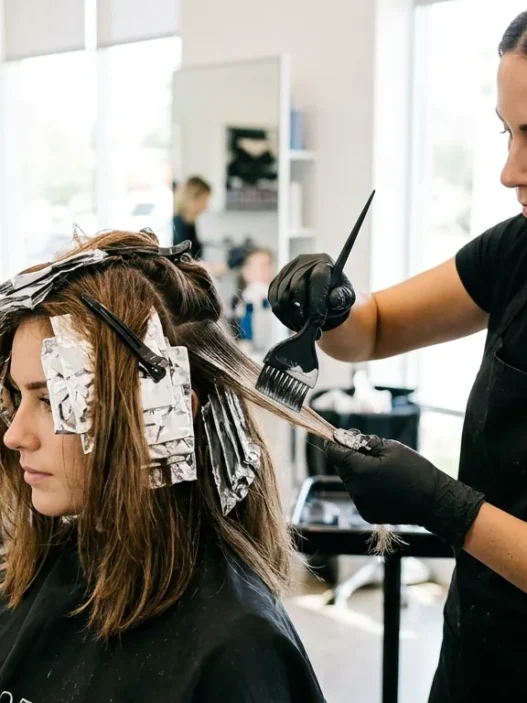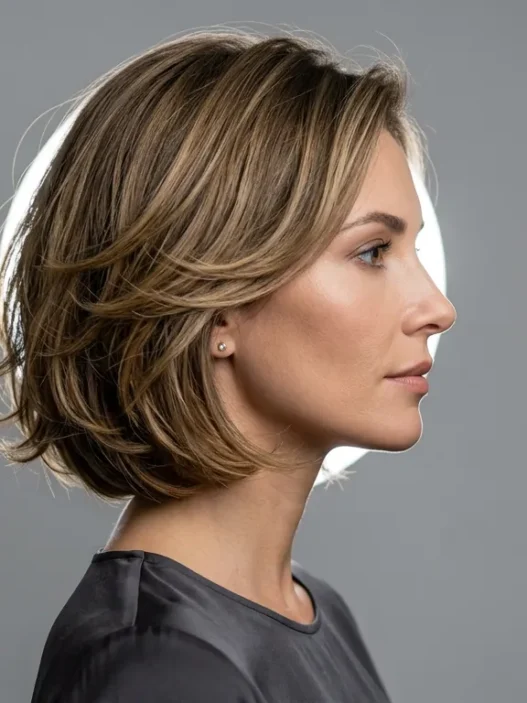









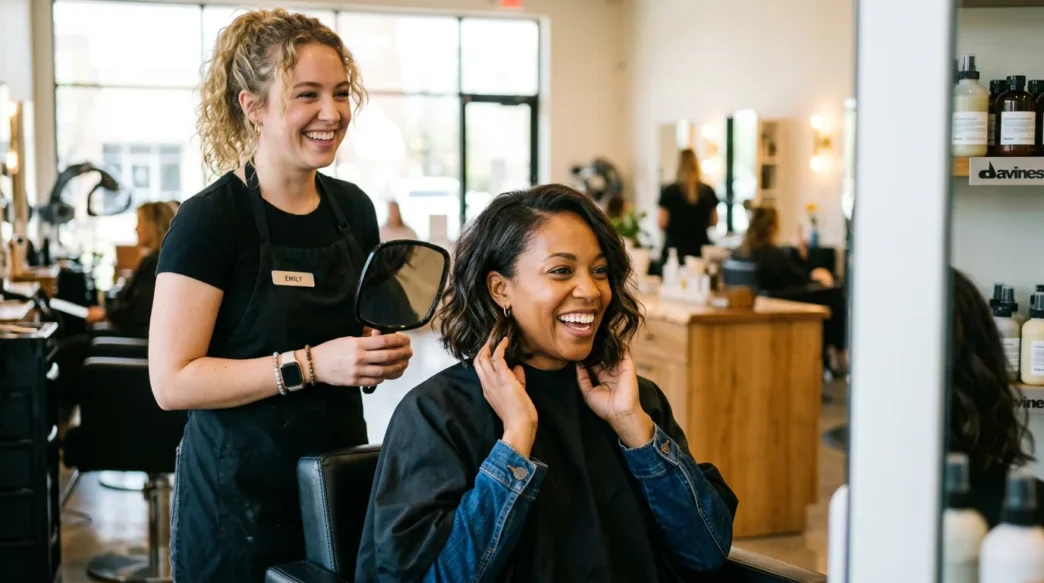
I’ve been obsessed with lobs for three years now, and honestly? It took me way too long to figure out what actually makes one work. My first attempt was a disaster — too blunt, wrong length, zero movement. But after working with different stylists and trying countless techniques, I finally cracked the code on creating that effortless, lived-in lob that looks expensive.
What We’ll Cover Today
Your Lob Toolkit
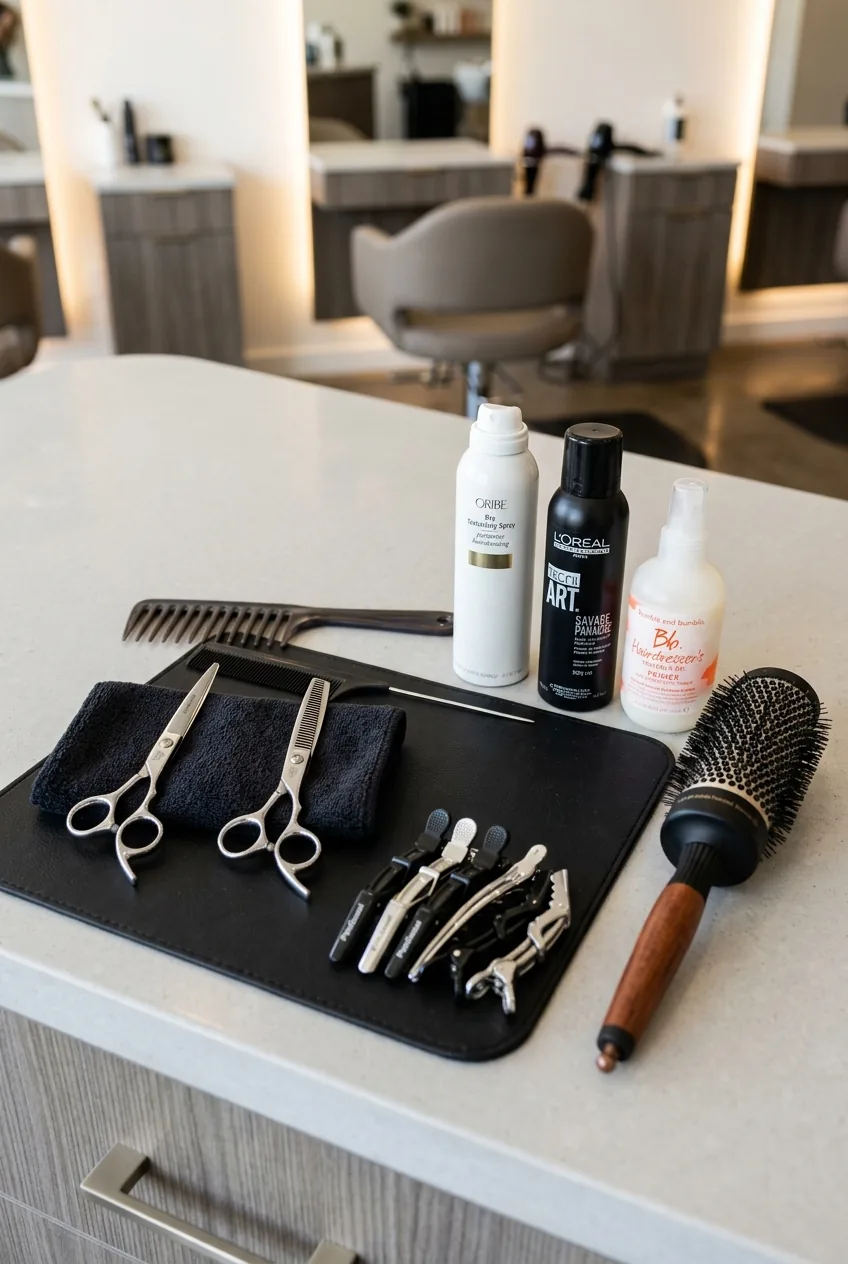
Before we dive into cutting and styling, let’s talk about what you actually need. I learned this the hard way when I showed up to my stylist with zero preparation and ended up with a cut that looked nothing like what I wanted.
Essential Tools:
- Sharp hairdressing scissors (not craft scissors — trust me on this)
- Wide-tooth comb for sectioning
- Hair clips to keep sections separate
- Spray bottle for keeping hair damp
- Round brush (medium barrel works best)
- Blow dryer with concentrator nozzle
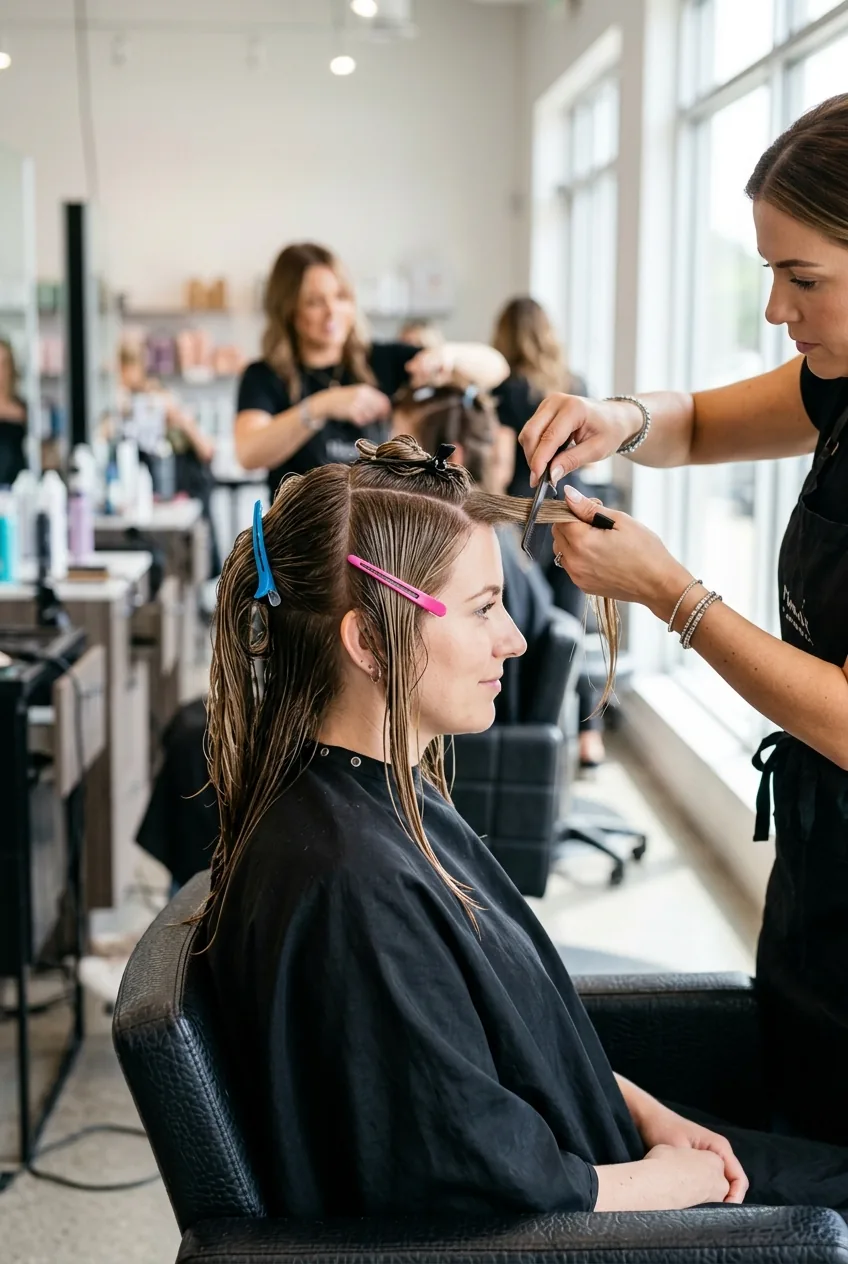
Products That Actually Matter:
- Texturizing spray (my secret weapon)
- Heat protectant that doesn’t weigh hair down
- Lightweight mousse for volume
- Finishing serum for shine
- Sea salt spray for that undone texture
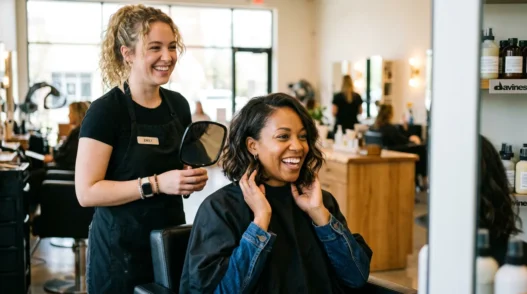
Timing: Plan for 45 minutes to an hour if you’re doing this yourself. If you’re going to a salon, book at least 90 minutes — good lobs take time to perfect.
The Foundation Phase
This is where most people mess up. The foundation isn’t just about the initial cut — it’s about understanding your face shape, hair texture, and lifestyle. I spent years fighting my natural cowlick instead of working with it.
Start with clean, slightly damp hair. Not soaking wet, not bone dry. That sweet spot where your hair holds its natural texture but isn’t dripping. I like to wash my hair the night before and let it air dry about 80% before starting.
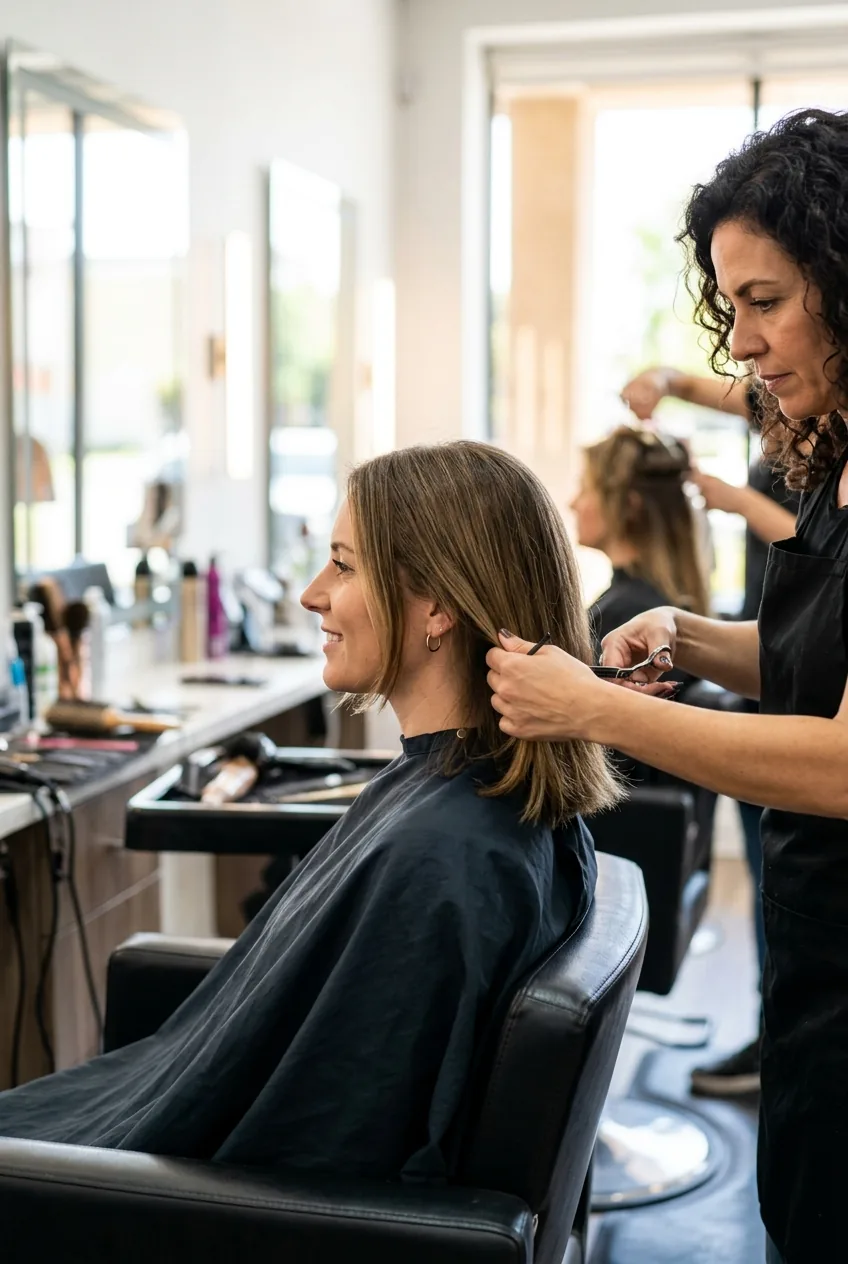
Now comes the crucial part: determining your ideal length. The classic lob sits right at your collarbone, but that doesn’t work for everyone. If you have a shorter neck, go slightly above. Longer neck? You can get away with grazing your shoulders.
My biggest mistake was copying my friend’s exact lob length. She’s 5’8″ with a swan neck — I’m 5’4″ with shorter proportions. What looked elegant on her made me look like I was drowning in hair. Always adjust for YOUR proportions.
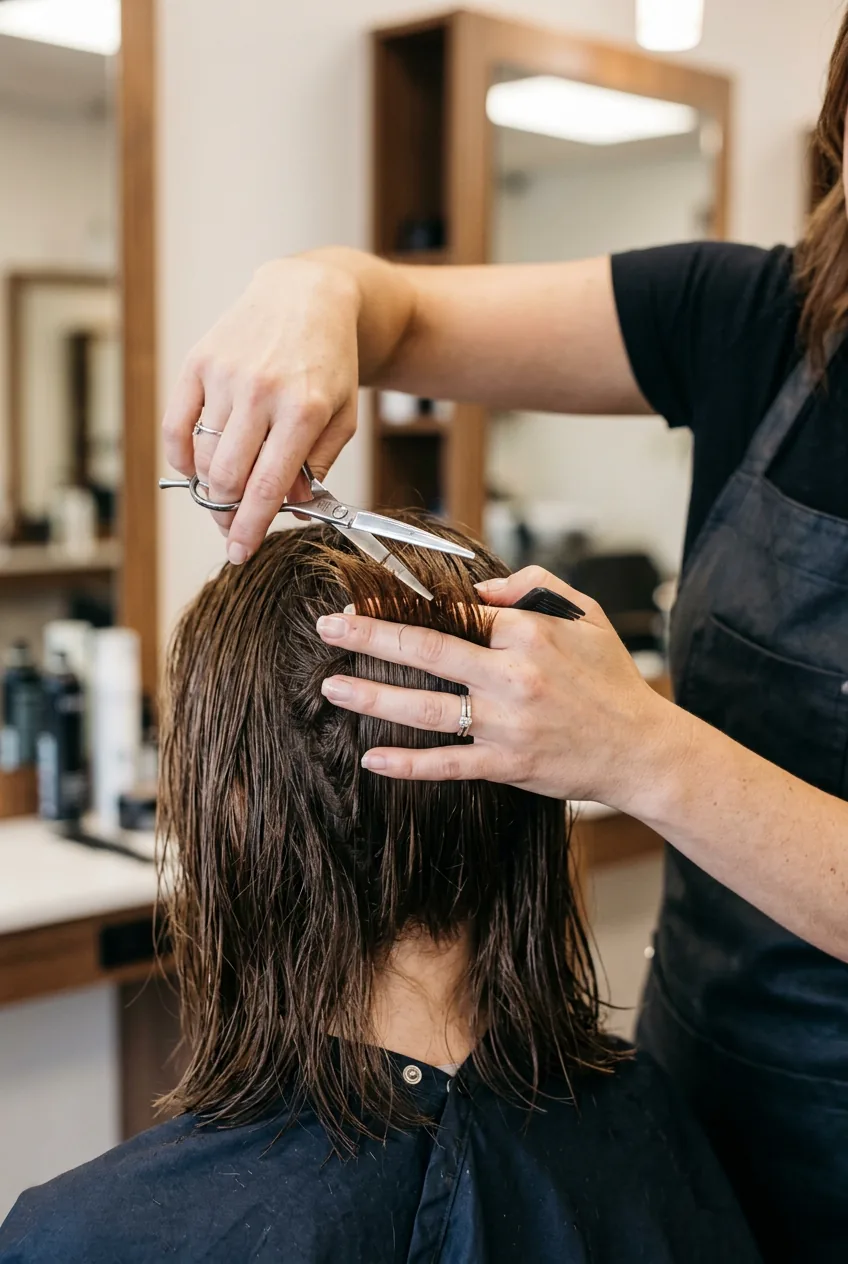
Section your hair into four quadrants — part down the middle from forehead to nape, then horizontally from ear to ear. This gives you manageable sections and ensures evenness. Clip three sections up and start with the back bottom section.
For face shape considerations: round faces need some asymmetry (try a deeper side part), square faces benefit from softer edges around the jawline, and heart-shaped faces look amazing with a lob that’s slightly longer in front.
Creating Your Shape
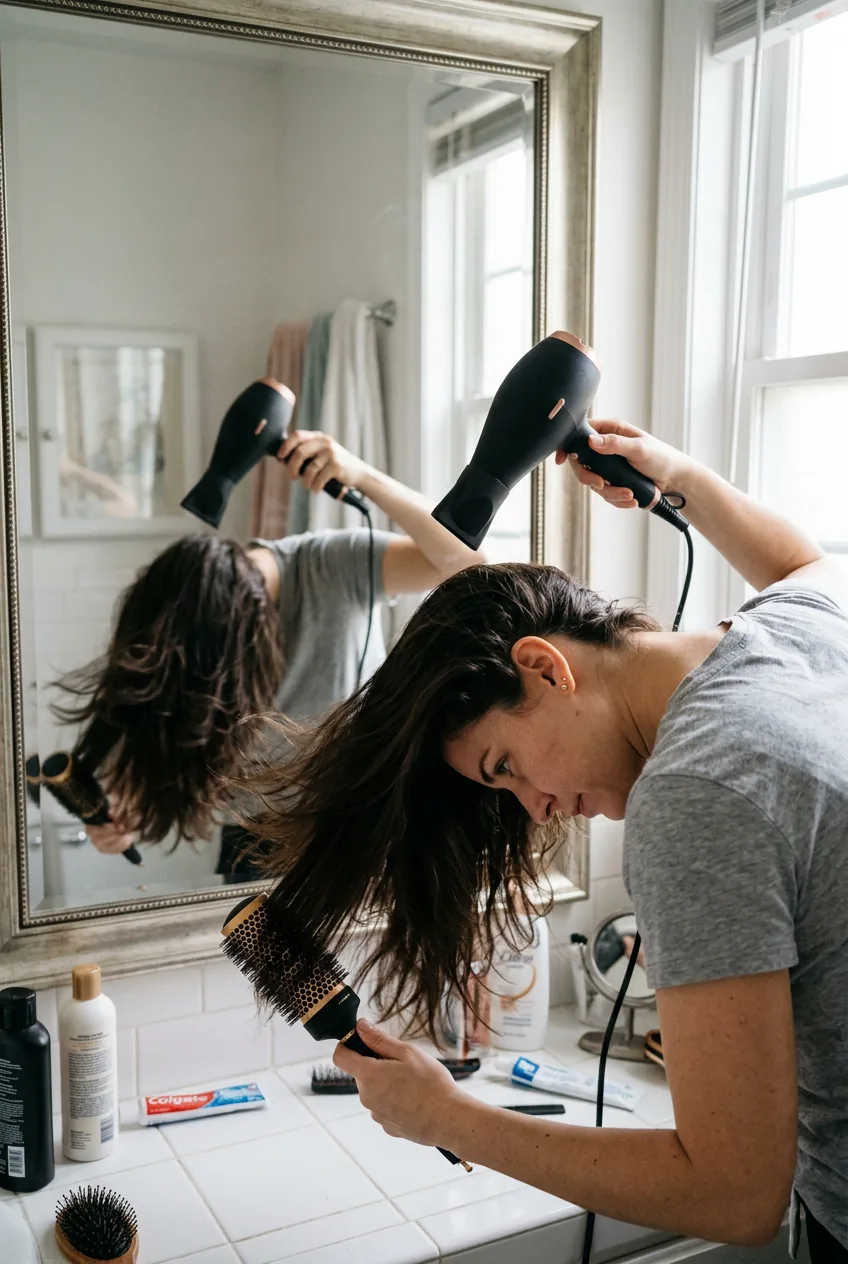
Here’s where the magic happens. The cut itself makes or breaks your lob. I prefer starting with the back and working forward — it gives you the most control over the final shape.
Take that bottom back section and comb it straight down. This is your guide length. Cut straight across, but here’s the trick — angle your scissors very slightly upward. This creates the tiniest bit of internal layering that prevents that awful blunt shelf look.
Work your way up the back of your head, using the previous section as your guide. Each new section should be just a hair shorter than the one below it. This is called “over-direction” and it’s what creates that subtle graduation that makes lobs look so effortless.

When you move to the sides, this is where you decide if you want a classic symmetric lob or something with more edge. I’m obsessed with lobs that are slightly longer in front — maybe half an inch longer than the back. It’s subtle but creates the most flattering face-framing effect.
For the front pieces, pull the hair straight down and cut at a slight angle toward your face. This creates that coveted “lived-in” look that doesn’t scream “I just got a haircut.” The front should hit anywhere from your collarbone to about two inches below — experiment with what feels right for your lifestyle.
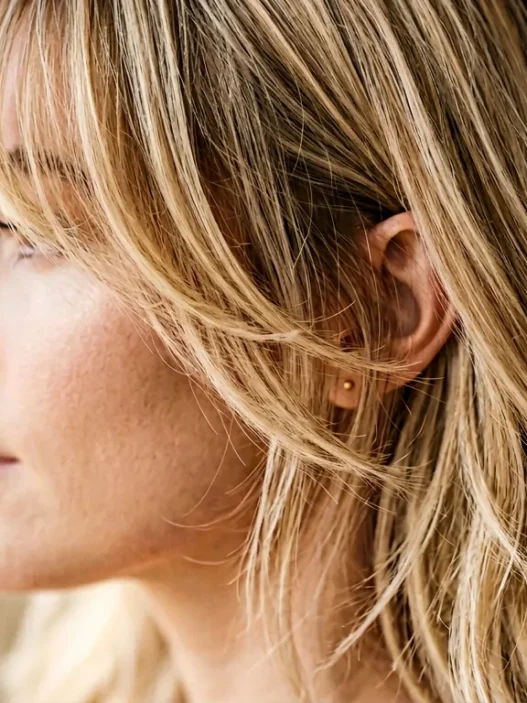
If you’re adding layers (and I usually recommend subtle ones), focus on the area from your ears down. Long layers starting too high can make fine hair look stringy. I learned this after a particularly tragic layering incident that took six months to grow out.
The key to modern lobs is texture. Even if you’re going for a sleek look, you want some movement. This is where texturizing techniques become crucial — they prevent that helmet hair effect that plagued lobs in the early 2000s.
Watch This Pro Technique
The Finishing Touch
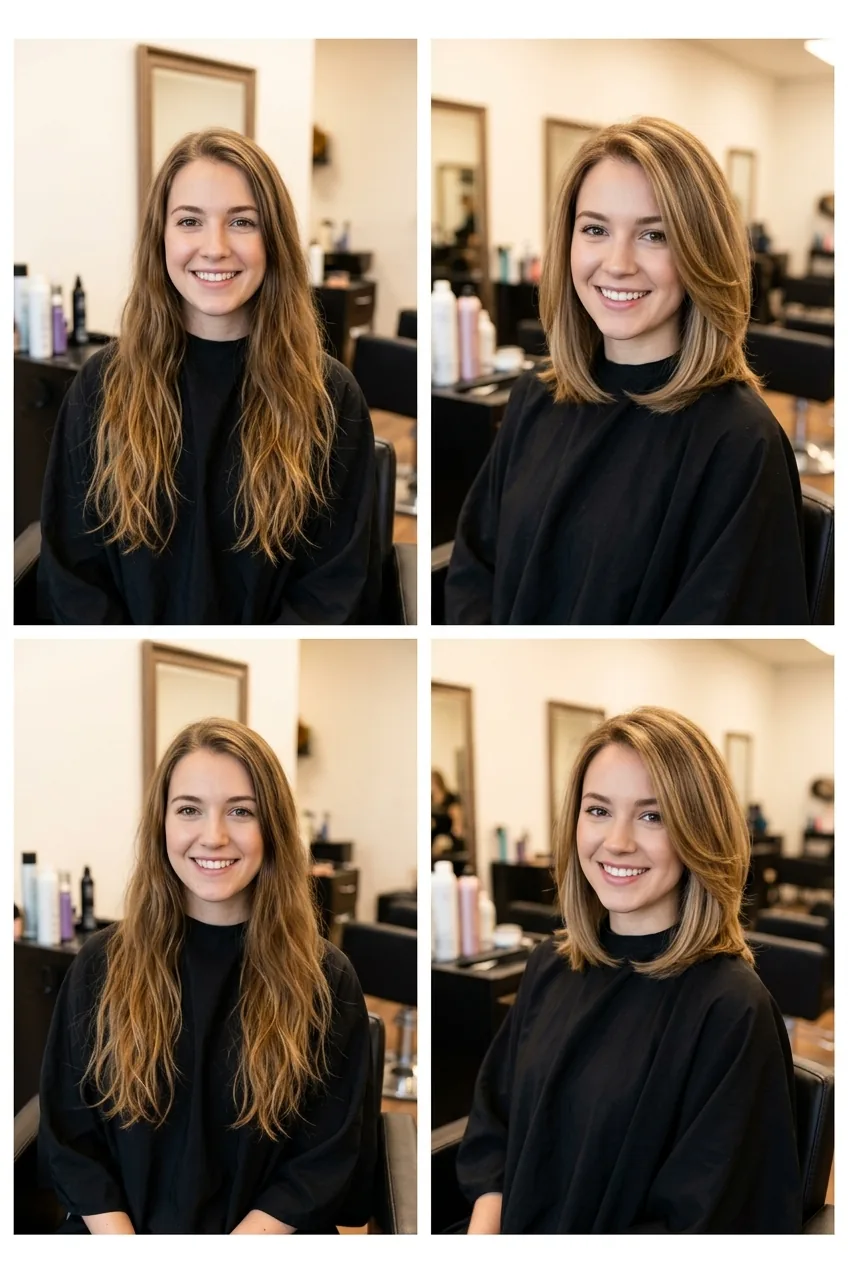
The styling is honestly just as important as the cut. I’ve seen amazing lobs ruined by heavy-handed styling and mediocre cuts transformed by the right finishing techniques.
Start with your heat protectant — don’t skip this step. I use about a pump and a half for my shoulder-length hair, focusing on the mid-lengths and ends. The roots don’t need it and it can weigh them down.
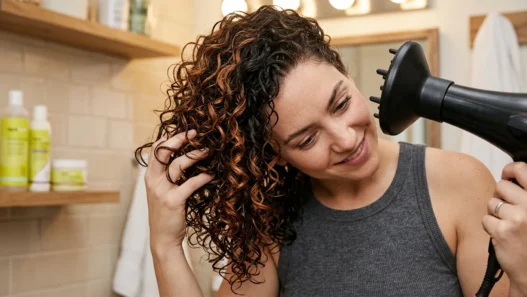
For drying, flip your head upside down for the first few minutes. This creates natural volume at the roots without teasing or back-combing. Then flip back up and use your round brush to smooth the lengths while directing the airflow down the hair shaft.
Here’s my favorite finishing trick: when your hair is about 90% dry, twist small sections away from your face while hitting them with the blow dryer. This creates these gorgeous, subtle bends that look like you have naturally perfect hair texture.
The texturizing spray is your best friend for that effortless finish. I spray it on damp hair before styling and again on dry hair for extra grip and movement. The key is using it sparingly — too much and you’ll get that crunchy, over-styled look.
For special occasions or when I want more polish, I’ll run a flat iron through just the very ends to create that perfect “C” curve that modern lobs are known for. But honestly, most days I just scrunch in some sea salt spray and let my natural texture shine through.
The versatility of lobs is what keeps me coming back. Some days I’ll create loose waves with a 1.5-inch curling iron, other days I’ll slick it back into a low bun. There’s something about this length that just works with everything — from wedding guest hairstyles to messy weekend looks.
Questions I Get About Lobs
How often do lobs need trimming?
Every 6-8 weeks to maintain the shape. The blunt edges grow out more obviously than layered cuts, so regular trims are essential for that crisp lob line.
Can I style a lob without heat tools?
Absolutely! Some of my favorite lob days are heat-free. Try braiding damp hair overnight for soft waves, or use pin curls for more defined texture. Sea salt spray is your friend for air-dried styling.
Will a lob work with my face shape?
Lobs are incredibly versatile. The key is adjusting the length and styling to flatter your features. Rounder faces benefit from asymmetrical parts and face-framing layers, while angular faces look great with softer, more blunt cuts.
How do I prevent my lob from looking too blunt?
Texture is everything. Ask for subtle internal layering during your cut, and use texturizing products when styling. Even the sleekest lobs need some movement to look modern and flattering.
Three years later, I’m still obsessed with my lob journey. It taught me that the right haircut isn’t about following trends blindly — it’s about understanding what works for your unique combination of face shape, hair texture, and lifestyle. And honestly? Once you nail your perfect lob formula, you’ll wonder why it took you so long to find it.