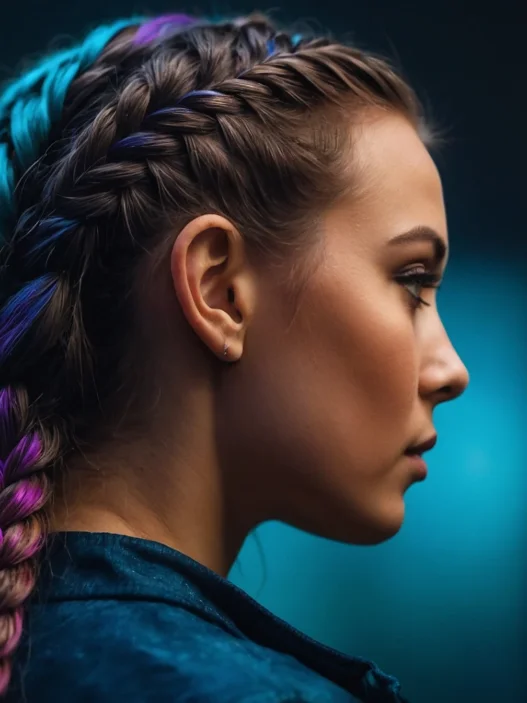


I used to avoid two braids completely. Every time I tried, one would end up higher than the other, or they’d be different thicknesses, or halfway through the day they’d look like a complete disaster. It wasn’t until my niece asked me to braid her hair for school that I finally had to figure this out properly.
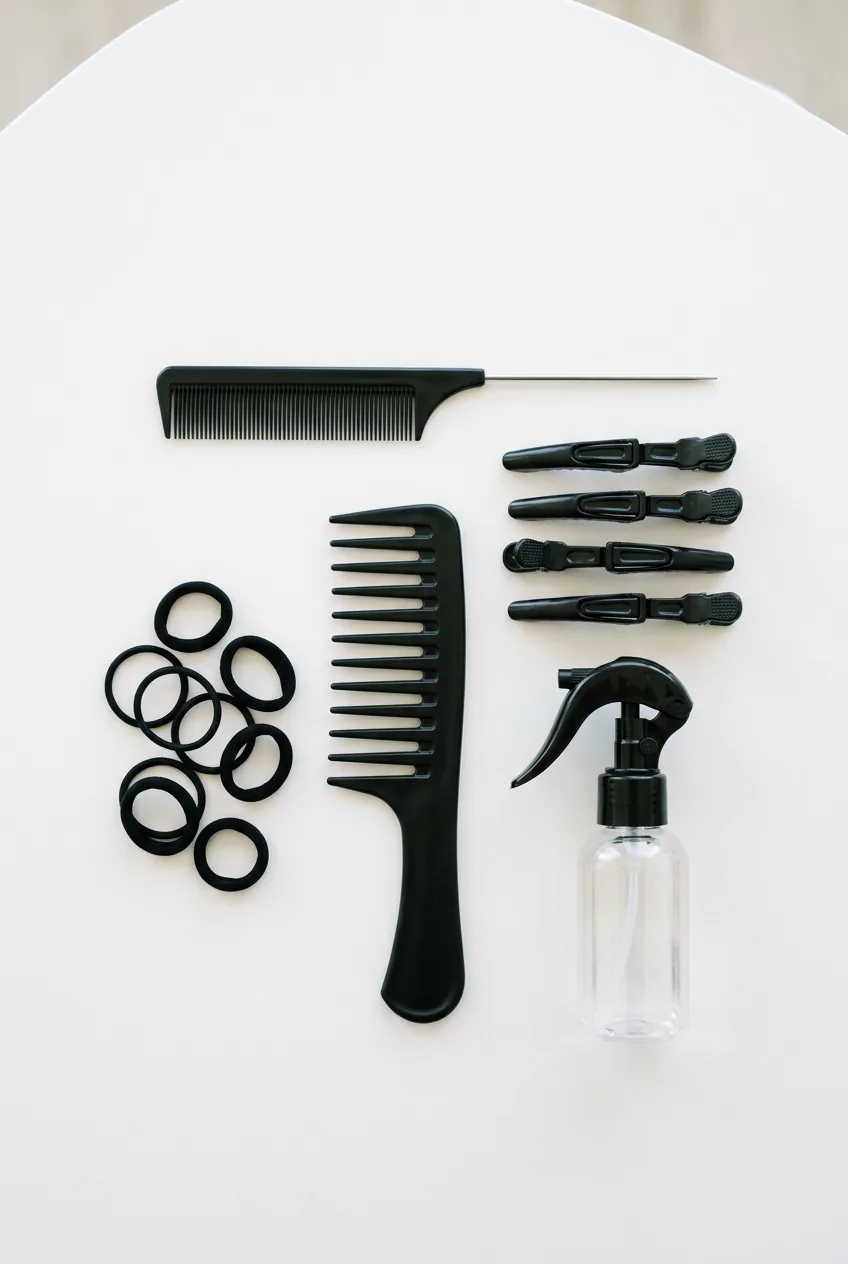
What You’ll Need
Keep it simple. I’ve learned that having too many tools just makes the process more complicated than it needs to be.
- A wide-tooth comb (my absolute favorite for detangling without breakage)
- A rat-tail comb for that perfect center part
- 2 hair elastics that match your hair color
- A spray bottle with water (trust me on this one)
- Hair clips or scrunchies to hold sections
- Light-hold hairspray or texturizing spray (optional but helpful)
Step 1: Start With Clean, Detangled Hair
This might seem obvious, but the foundation makes all the difference. I always start with hair that’s been washed within the last day or two. Completely clean hair can actually be too slippery for braiding, but day-old hair has just enough texture to grip.
Work through your hair with that wide-tooth comb, starting from the ends and working up. Don’t rush this part. Any tangles you leave in will show up as bumps in your finished braids, and there’s no fixing that once you’re done.
If your hair feels too smooth or flyaway, lightly mist it with water or a texturizing spray. The goal is hair that’s manageable but not wet.
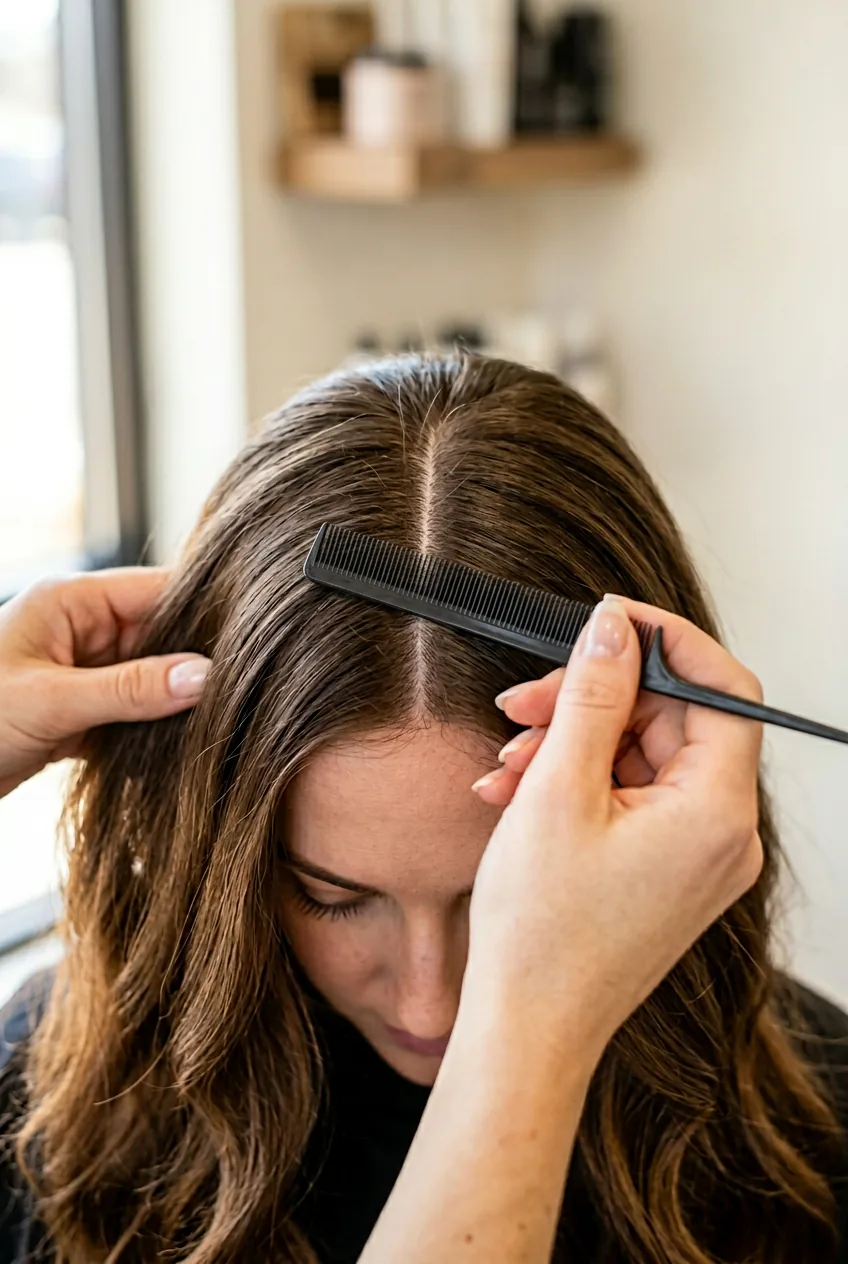
Step 2: Create Your Center Part

Here’s where most people go wrong. They eyeball the center part and wonder why their braids look uneven. Use that rat-tail comb and actually measure.
Start at your forehead, right between your eyebrows. Draw the comb straight back to your nape, keeping the line as precise as possible. I like to look in the mirror from the front to make sure the part looks centered from that angle too.
The part doesn’t have to go all the way to your hairline at the nape. Once you reach the crown area, you can let it fade out naturally. What matters is that clear division at the top where people will actually see it.
Step 3: Section and Secure One Side
This is the game-changer step I wish someone had taught me years ago. Instead of trying to braid both sides simultaneously, work on one side completely while keeping the other out of the way.
Take all the hair on your left side (or whichever you prefer to start with) and clip or tie the right side away from your face. Make sure you’re getting all the hair from that side — check behind your ears because loose pieces will mess up your final result.
Now brush through just this section once more. You want it completely smooth and lying flat against your head before you start braiding. This is also when I like to add a light mist of water if the hair feels too flyaway.
My biggest mistake for years was trying to braid both sides at once, switching back and forth. The sections would get mixed up, and I’d lose track of my technique. Working on one complete side first changed everything for me.
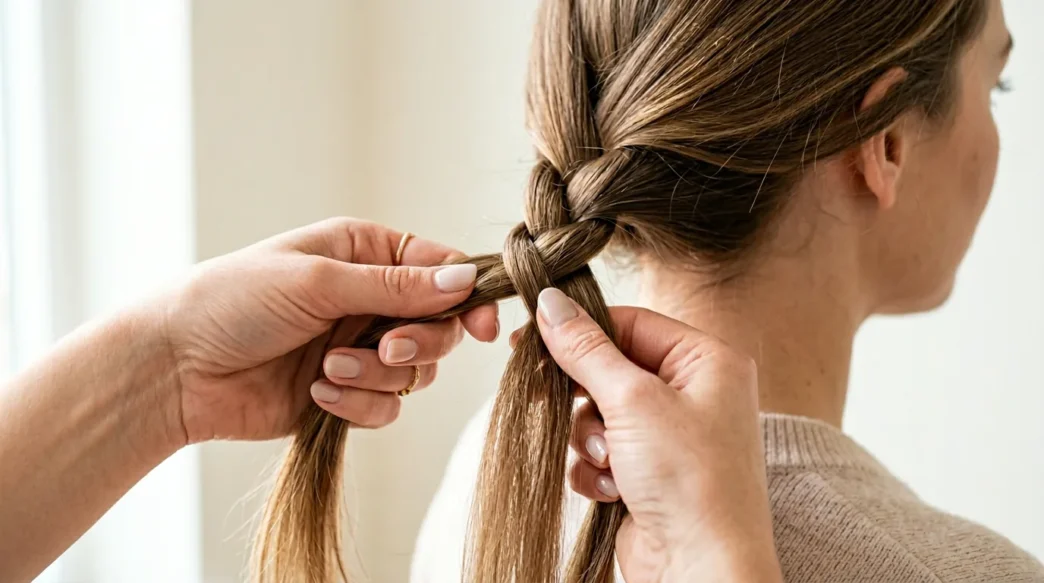
Step 4: Master the Basic Braid Technique
Position yourself so you can see the side you’re braiding in the mirror. I usually angle my body slightly so I’m not completely facing forward.
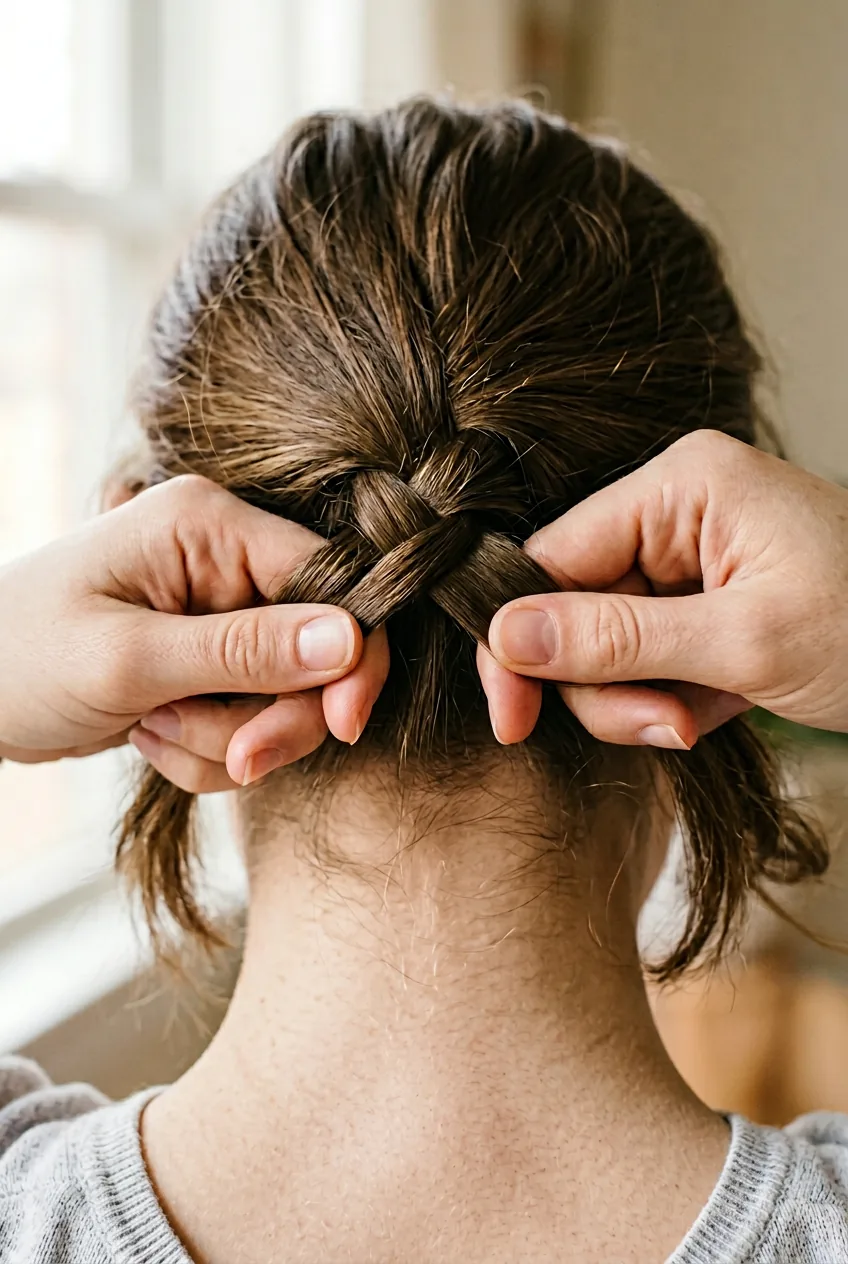
Divide your section into three equal pieces at the nape of your neck. Hold the right piece in your right hand, left piece in your left hand, and let the middle piece hang between them. This feels awkward at first, but your hands will remember the motion.
Cross the right piece over the middle, then the left piece over the new middle. Keep your hands close to your head and maintain even tension. I can’t stress this enough — inconsistent tension is what makes braids look lumpy and uneven.
Continue this pattern, always bringing the outside pieces over the center. Every few crosses, I pause to make sure I’m keeping the braid tight against the scalp at the top and that my sections are still equal in size.
When you reach the end of your hair, secure with an elastic. Don’t pull it super tight initially — you can adjust the tension later if needed.
Watch the Hand Movements in Action
Step 5: Mirror and Secure the Second Braid
Release that clipped section and brush it smooth. Now here’s the key: try to mirror exactly what you just did. Same starting position at the nape, same hand movements, same tension.
I actually look at my finished braid while I’m working on the second one, checking that I’m maintaining the same tightness and thickness. It’s tempting to rush through this side, but take your time.
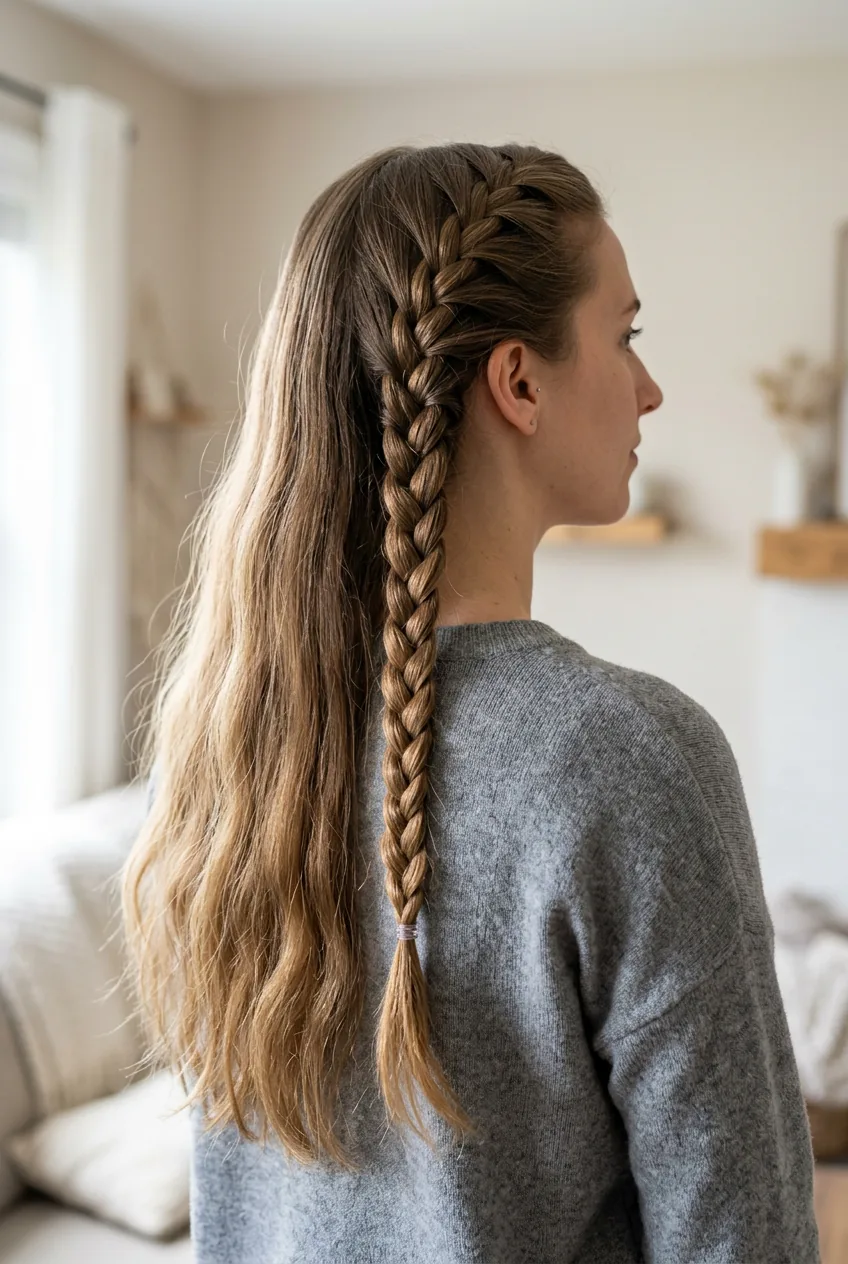
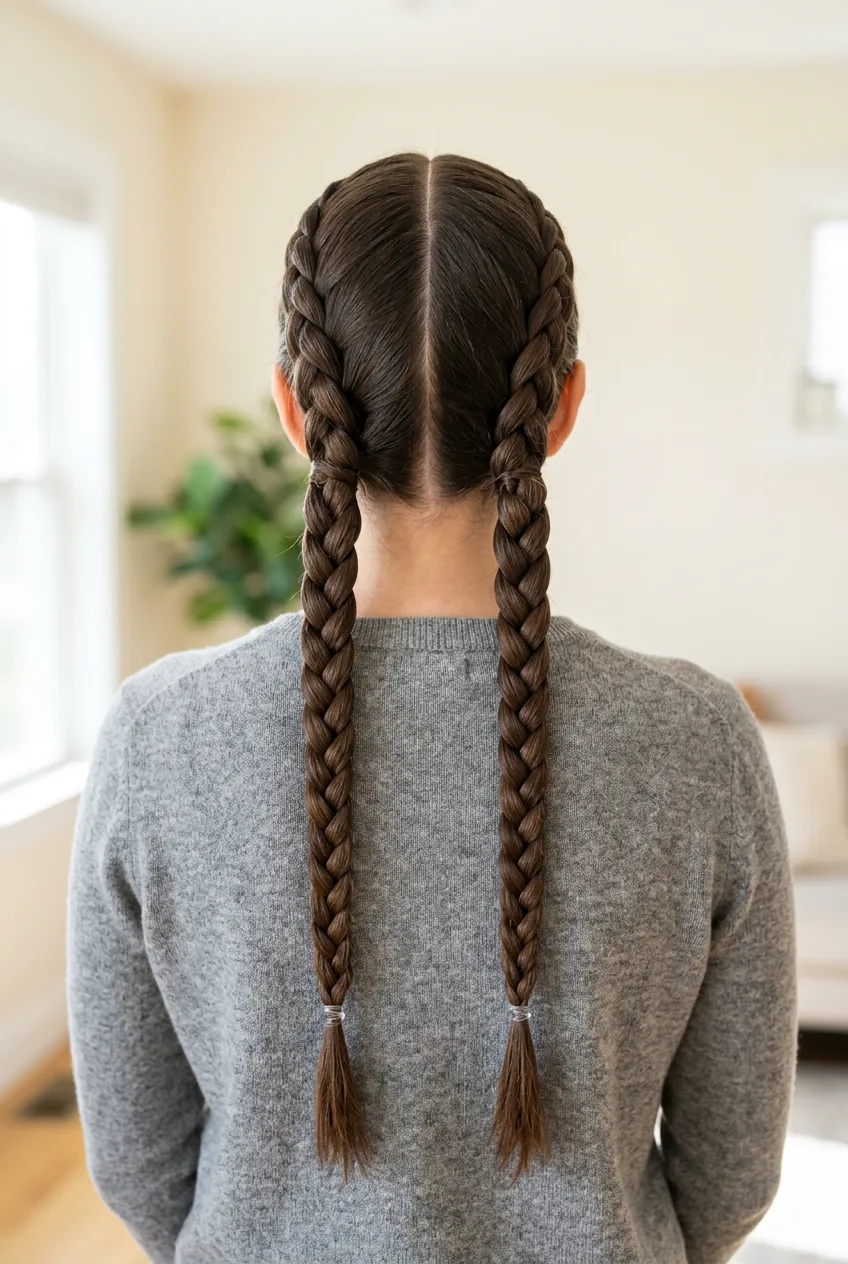
Once both braids are complete, step back and assess. Are they hanging at the same level? Do they look roughly the same thickness? If one seems looser, you can gently tug on the sections to tighten it up.
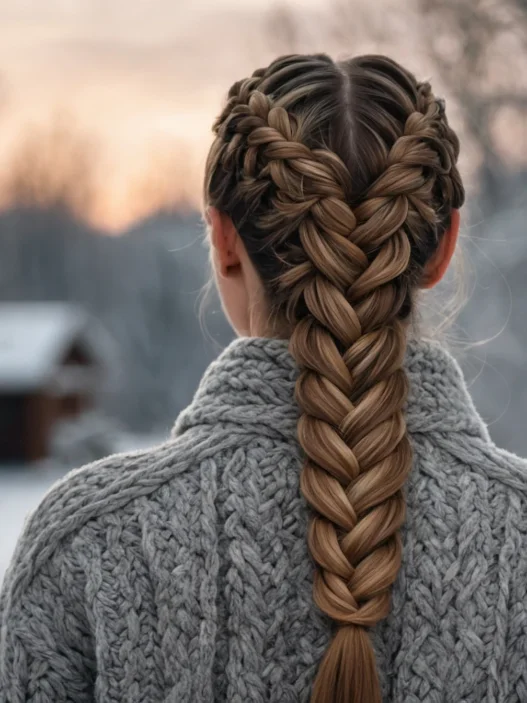
For easy winter braids that need to last through coat-wearing and windy weather, I finish with a light mist of hairspray. Not enough to make them stiff, just enough to lock in the style.
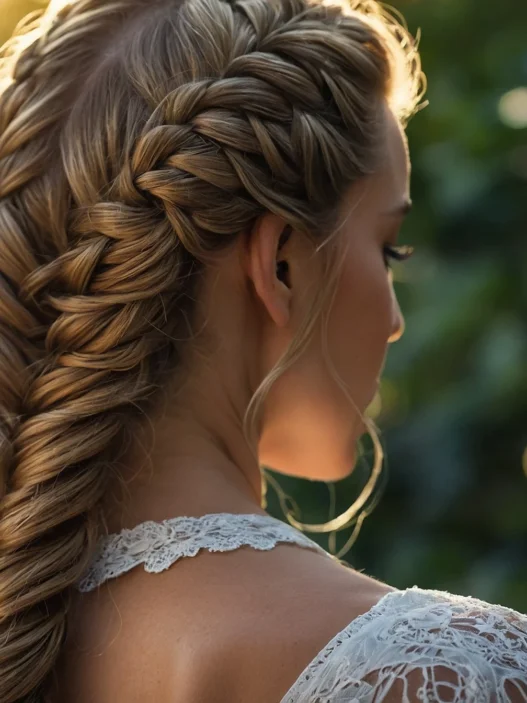
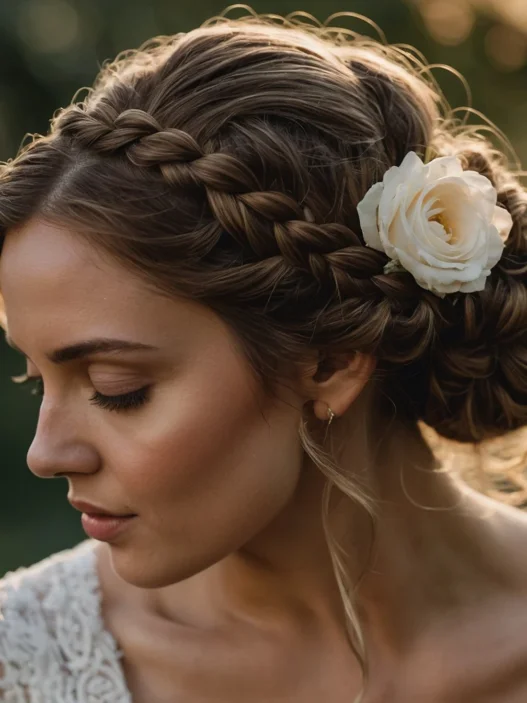
The result I get now is two perfectly matched braids that stay put all day. No more lopsided, messy situation by lunch time. And honestly, once you nail this basic technique, you can build on it for more complex braided long hairstyles that look way more complicated than they actually are.
Questions I Get About Two Braids
How long does it take once you get the hang of it?
About 5-7 minutes for the whole process. When I was learning, it took closer to 15 minutes because I kept redoing sections. Now it’s become muscle memory.
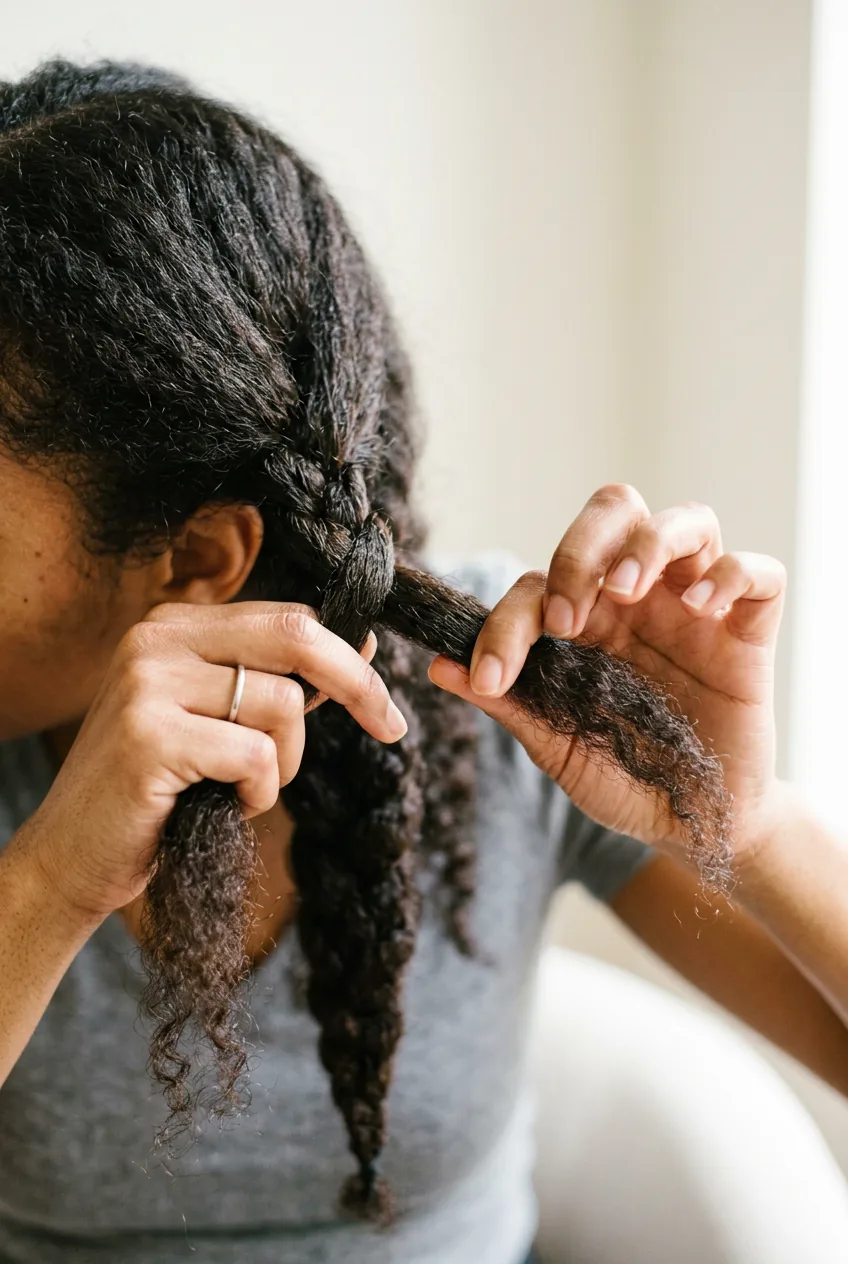
Can this work on really thick or curly hair?
Absolutely. Thick hair actually holds braids better than fine hair in my experience. For curly hair, I work with slightly damp hair and use a bit more product to keep everything smooth.
What if one braid keeps coming out looser than the other?
This happens when you’re not maintaining consistent tension. Practice the motion on the side you find easier first, then really focus on mimicking that exact pressure and speed on the other side.
Should I braid wet or dry hair?
Slightly damp is perfect. Completely wet hair will stretch and look different once it dries. Bone dry hair can be too flyaway and harder to control, especially if you have fine or static-prone hair.