

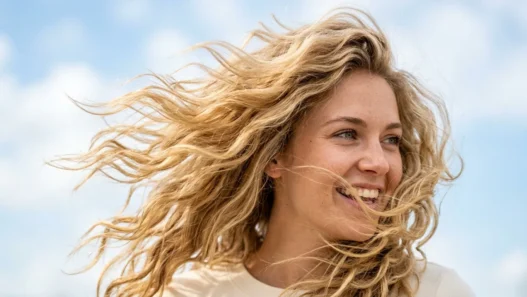


I used to think those gorgeous, voluminous waves I saw on Instagram were only possible with expensive salon visits or some kind of hair wizardry I’d never master. My long hair always seemed to fall flat by lunch, no matter what I tried. Then I discovered this 7-step method that completely transformed how I approach styling my hair — and now I actually get compliments from strangers.
Your Step-by-Step Hair Tutorial Guide
- What You’ll Need for This Tutorial
- Step 1: Start with Clean, Damp Hair
- Step 2: Apply Heat Protection and Volumizing Products
- Step 3: Section Your Hair Strategically
- Step 4: Create the Foundation with Round Brush Blowout
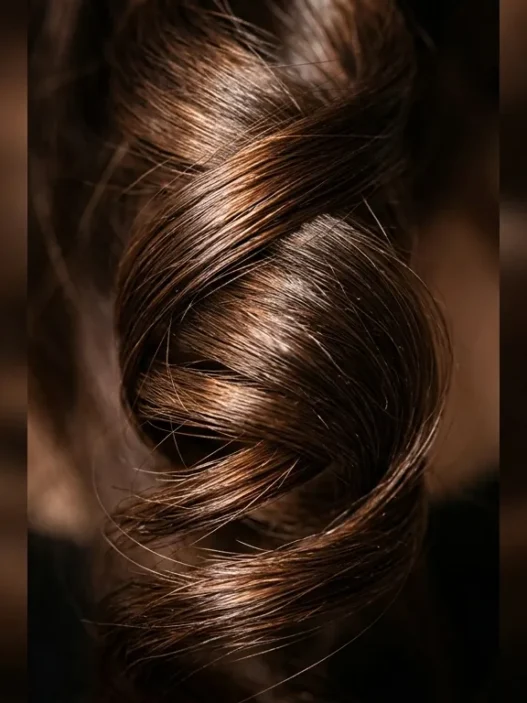
- Step 5: Add Texture with Large Barrel Curls
- Step 6: Break Up the Curls for Natural Movement
- Step 7: Set Everything with Flexible Hold Spray
What You’ll Need for This Tutorial
Before we dive in, let me save you from my early mistakes. I tried this tutorial with whatever random tools I had lying around, and the results were… not great. Here’s what actually works:
- A good blow dryer (at least 1800 watts — trust me on this one)
- Large round brush (2-inch diameter is perfect for long hair)
- 1.5-inch curling iron or large barrel curling wand
- Heat protectant spray
- Volumizing mousse or root lift spray
- Hair clips for sectioning (at least 4)
- Light-hold hairspray
- Wide-tooth comb
The curling iron size is crucial here. I spent months using a 1-inch barrel wondering why my waves looked more “prom 2005” than “effortless goddess.” The larger barrel makes all the difference for that modern, loose wave look.
Step 1: Start with Clean, Damp Hair
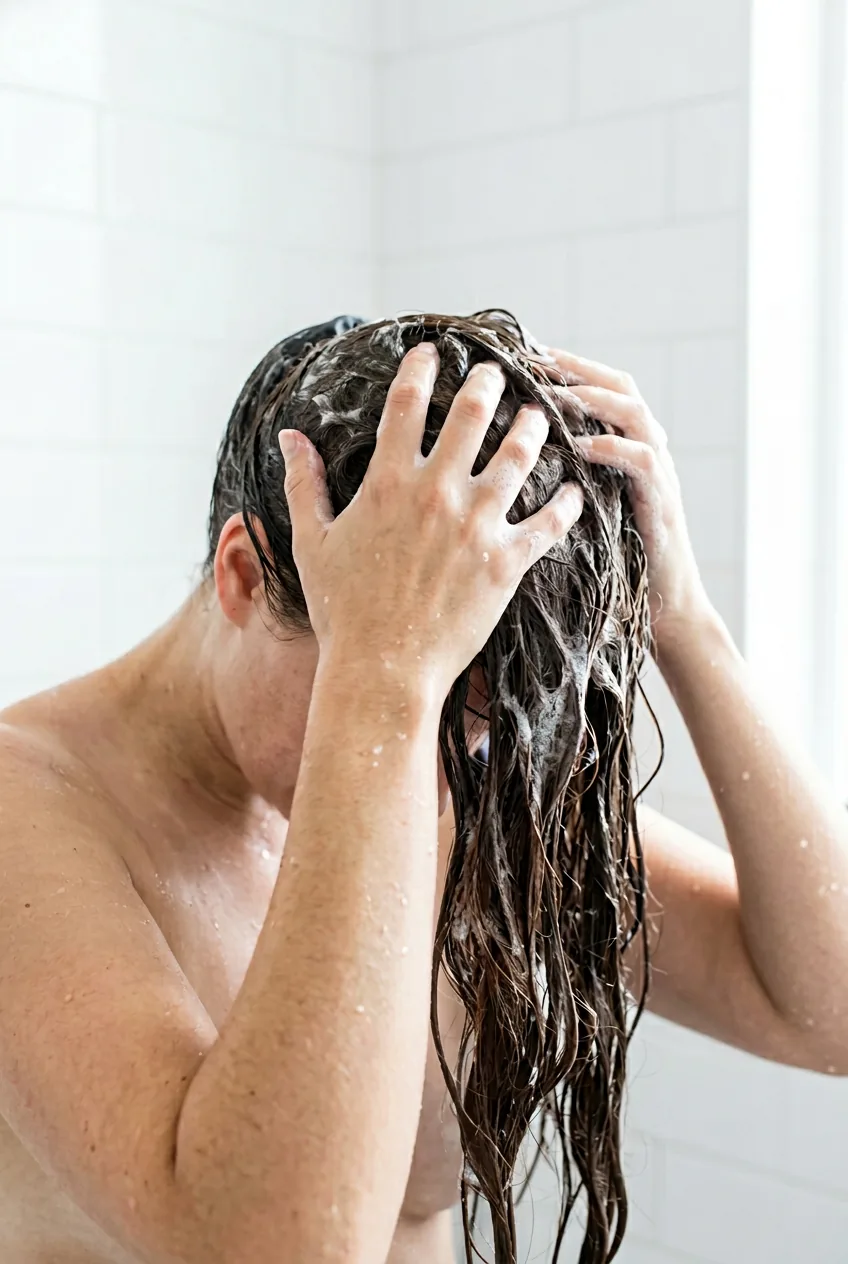
This might sound obvious, but the foundation of great waves starts in the shower. I wash my hair with a volumizing shampoo and follow with a lightweight conditioner — nothing too heavy that will weigh down the final result.
After towel-drying, my hair should be damp but not soaking wet. I gently squeeze out excess water with a microfiber towel (regular towels create too much frizz). The goal is hair that feels slightly damp to the touch but isn’t dripping.
Here’s something I learned the hard way: if your hair is too wet when you start styling, the products won’t distribute evenly. Too dry, and nothing will hold. That sweet spot of “damp” is where the magic happens.
Step 2: Apply Heat Protection and Volumizing Products

Product application is where most people go wrong. I used to just spray some heat protectant randomly and call it good. Now I’m much more strategic about it.
First, I apply heat protectant from mid-length to ends — never at the roots, which can make them look greasy. I use about 6-8 pumps for my long hair, working it through with my fingers. Then comes the volumizing mousse, but only at the roots. I flip my head upside down and scrunch a golf ball-sized amount into just the root area.
The key is to comb everything through with a wide-tooth comb to ensure even distribution. This step takes maybe two minutes but makes the difference between hair that holds its style all day and hair that falls flat by noon.
Step 3: Section Your Hair Strategically
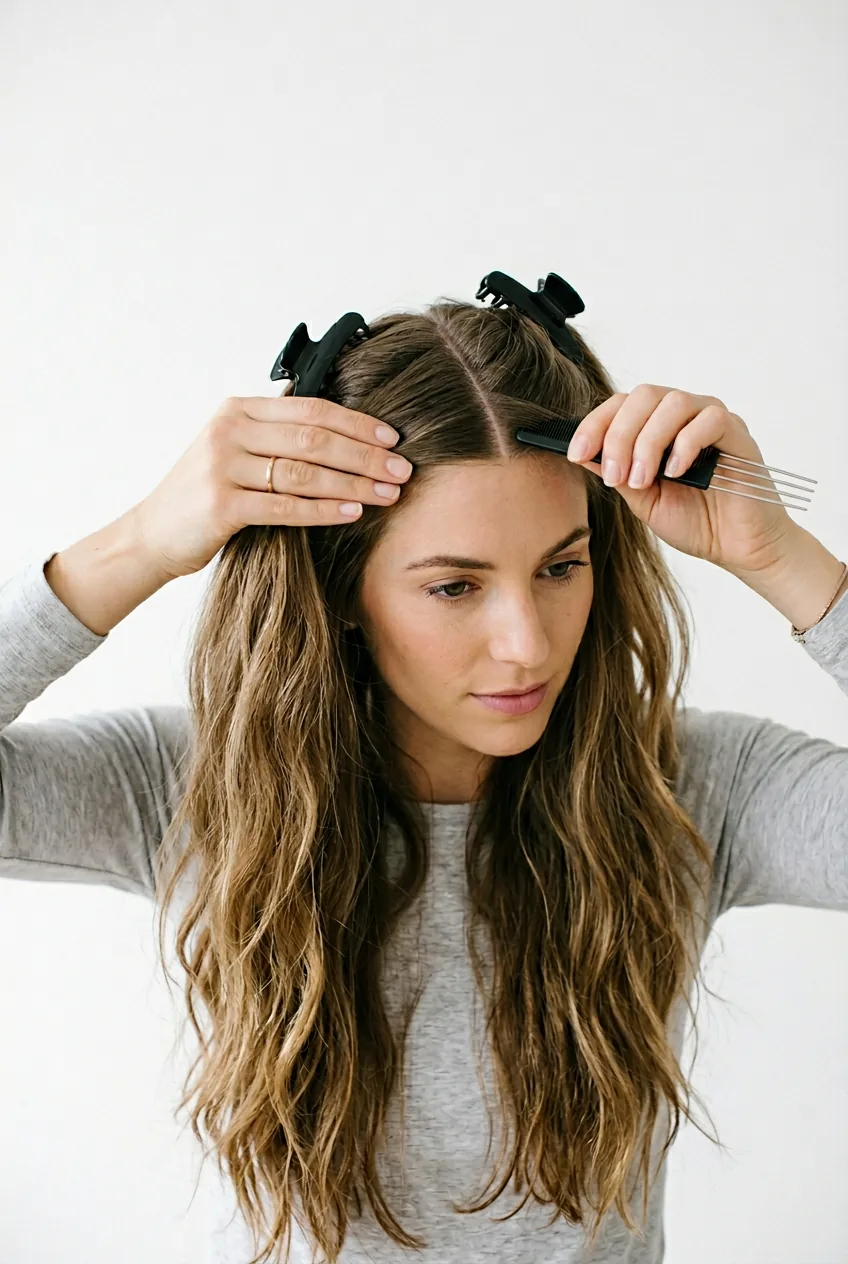
Good sectioning is the secret to professional-looking results. I divide my hair into four main sections: two on top (left and right of my part) and two on the bottom. Each section gets clipped up and out of the way.
The bottom sections should be about ear-level and below. The top sections include everything from my ears up to my crown. I always start with the bottom sections because they’re hidden under the top layers, so if I mess up slightly, it won’t show.
Pro tip I picked up from watching too many styling tutorials: make sure your sections are roughly the same size. Uneven sections create uneven results, and you’ll spend forever trying to fix it later.
Step 4: Create the Foundation with Round Brush Blowout
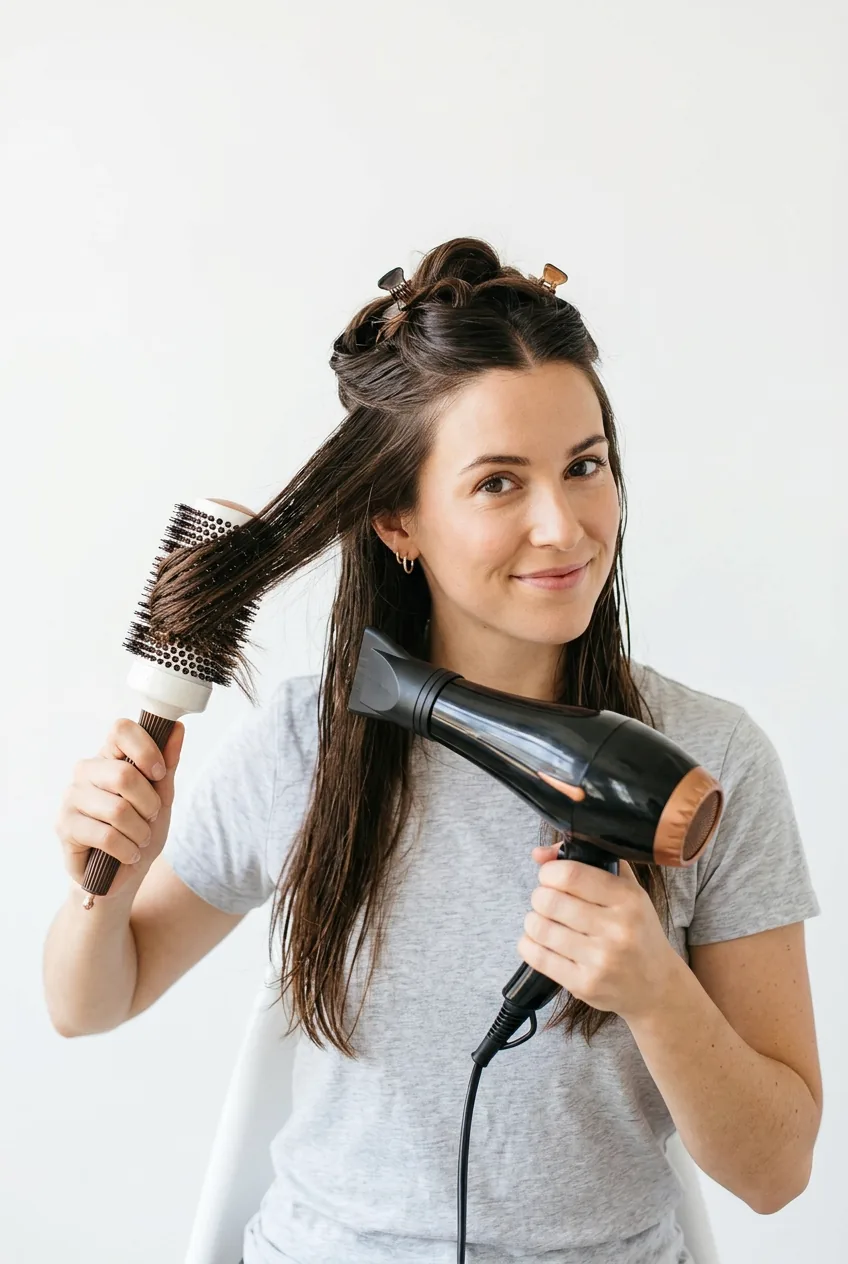
This is where the real work begins. Starting with the bottom-left section, I take pieces about 2 inches wide and wrap them around my round brush. The technique is all about tension and heat.
I place the brush under the section at the roots, create tension by pulling slightly, then follow the brush with my blow dryer as I roll the hair around the brush. The key is to keep the dryer moving and maintain that tension. When I reach the ends, I hold the brush there for about 5 seconds before releasing.
Each section gets this treatment, and I work systematically through all four sections. The goal isn’t perfect curls at this stage — I’m creating smooth, voluminous hair with a slight bend that will hold the curls better in the next step.
I used to rush through the blow-drying step because I was eager to get to the “fun part” with the curling iron. Big mistake. The blowout is what creates the foundation for everything else — skip it or do it poorly, and your curls will never look polished.
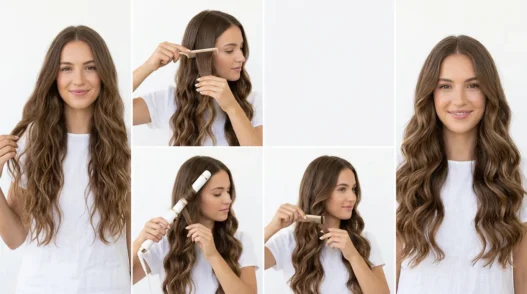
Step 5: Add Texture with Large Barrel Curls
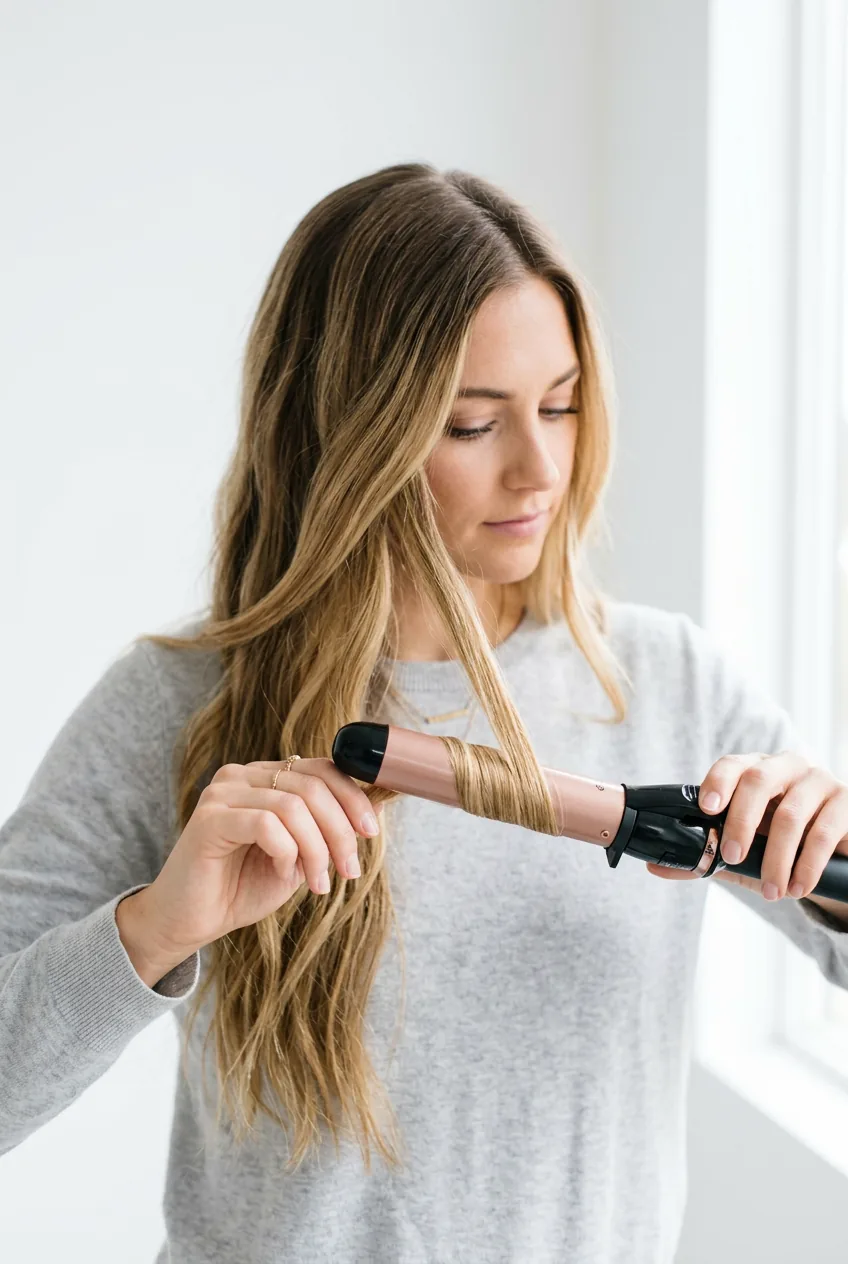
Now for the fun part. Using my 1.5-inch curling iron, I work through the same sections, but this time I’m creating actual curls. I take slightly smaller pieces — about 1.5 inches wide — and wrap them around the barrel.
Here’s the trick that changed everything for me: I alternate the direction of the curls. Bottom sections get curled away from my face, top sections get curled toward my face. This creates that effortless, tousled look instead of uniform ringlets.
I hold each piece on the iron for about 8-10 seconds — long hair needs that extra time to set properly. When I release each curl, I immediately cup it in my palm and let it cool completely before moving to the next section. This cooling step is crucial for longevity.
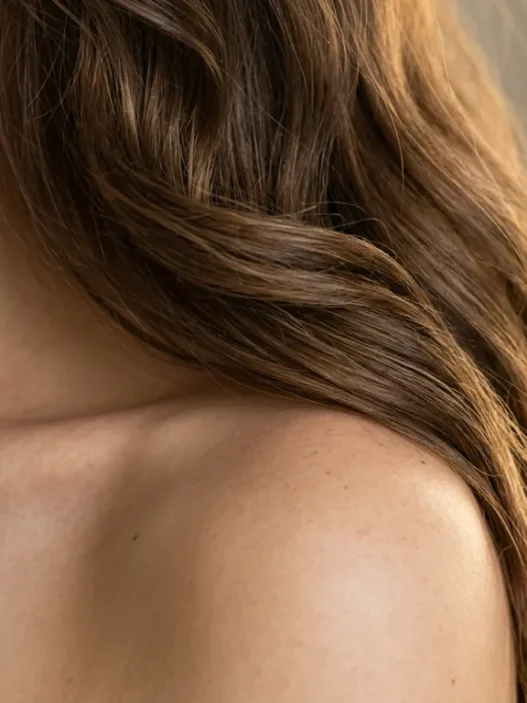
Step 6: Break Up the Curls for Natural Movement
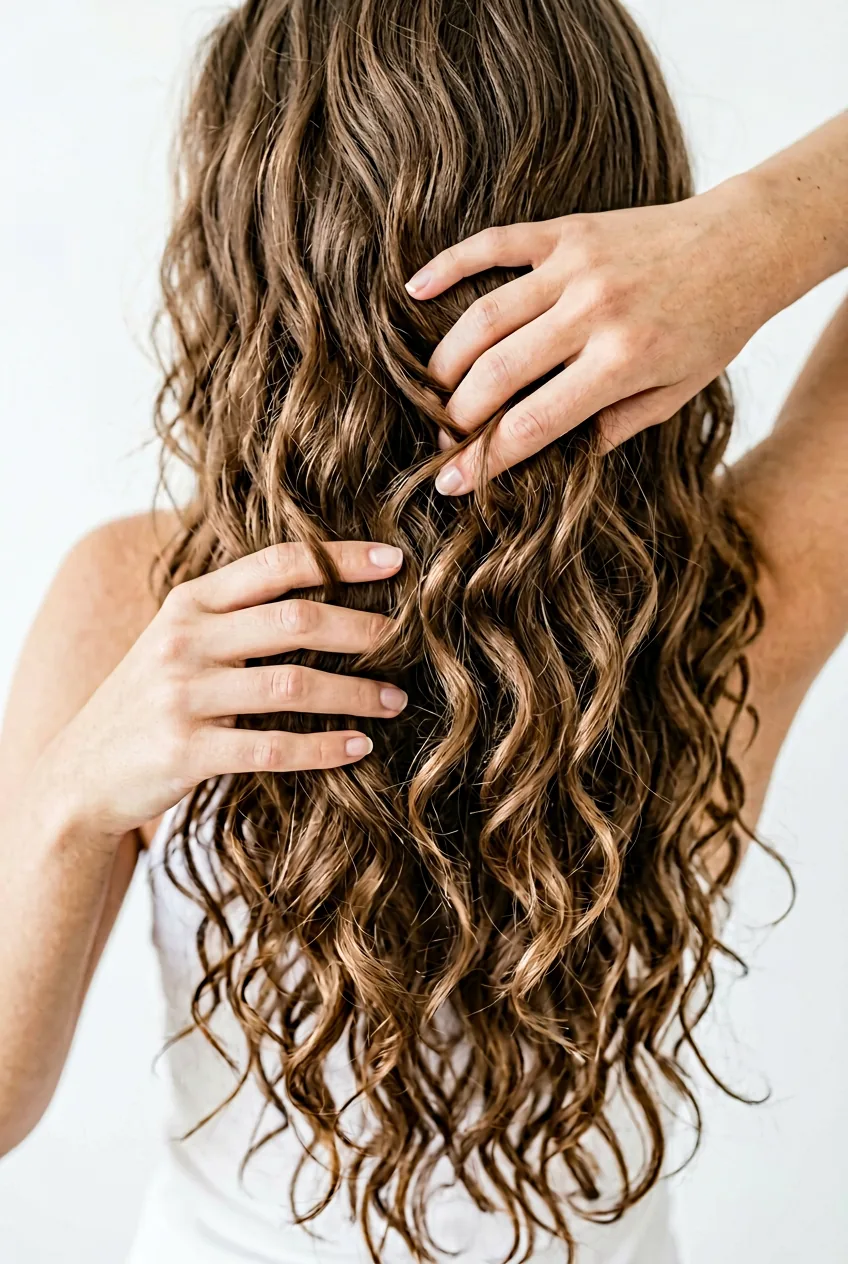
At this point, I have a head full of structured curls that look a bit too “done.” The magic happens when I start breaking them up. Using just my fingers, I gently separate each curl into 2-3 smaller pieces.
I start at the bottom and work my way up, being careful not to brush or comb — just gentle finger-separation. This creates that coveted “I woke up like this” texture while maintaining the volume and shape from all the previous work.
Sometimes I’ll shake my head gently or run my fingers through the roots to add even more natural movement. The goal is for the waves to look like they happened naturally, not like I spent 45 minutes with hot tools (even though I totally did).
Step 7: Set Everything with Flexible Hold Spray
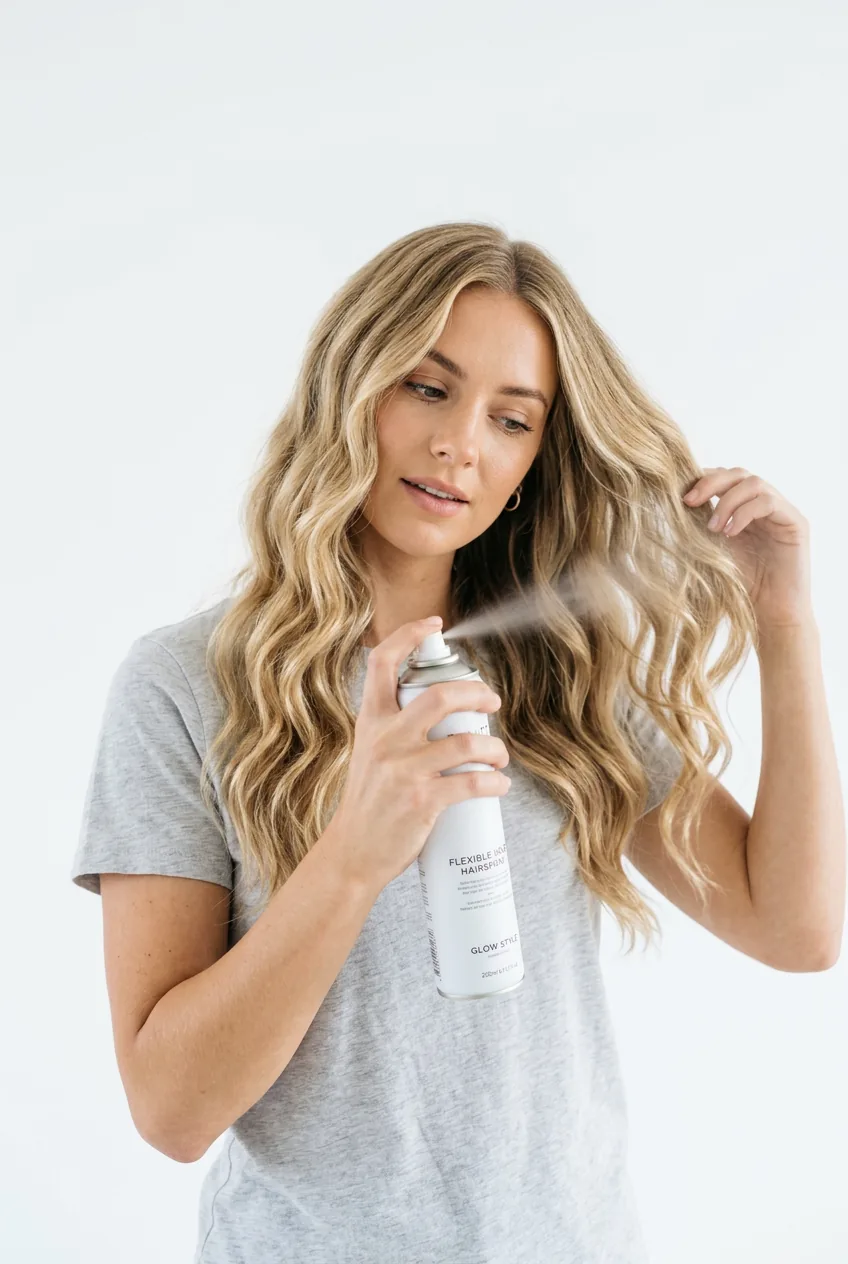
The final step seals the deal. I use a light-hold hairspray — nothing too stiff or crunchy. I hold the bottle about 8 inches away and mist everything evenly, paying special attention to the mid-lengths and ends where the waves are most pronounced.
Then I flip my head upside down and give the roots a light spray for extra volume. The key word here is “light” — too much product and you lose that natural movement we just created. I want the waves to still feel touchable and soft.
I finish by scrunching the ends gently with my hands to reactivate the texture, and that’s it. The whole process takes about 45 minutes, but the results last for days if I sleep with my hair in a loose braid.
Questions I Always Get About This Method
How long do these waves actually last?
With proper prep and the right products, I can usually get 2-3 days of great waves. Day one is obviously the most polished, day two has that perfect “lived-in” texture, and day three works great for a messy bun or braid.
Can I do this on shorter long hair?
Absolutely! This method works on any hair that’s at least shoulder-length. For shorter lengths, you might want to use a slightly smaller curling iron (1.25 inches) and reduce the hold time to 6-8 seconds.
What if my hair doesn’t hold curl well?
This used to be my biggest problem. The key is really letting each curl cool completely in your palm before moving on, and making sure your hair is completely dry before you start curling. A stronger-hold mousse at the beginning can also help stubborn hair.
Is this method damaging to hair?
Any heat styling carries some risk, but the heat protectant and proper technique minimize damage. I only do this full routine 2-3 times per week max, and I always use a deep conditioning treatment weekly to keep my hair healthy.
This method honestly revolutionized my relationship with my long hair. Instead of avoiding mirrors on bad hair days, I actually look forward to styling it. The waves look expensive and effortless — exactly what I was going for all those years of failed attempts. And the best part? Once you get the technique down, you can do it with your eyes closed.