


I’ve been obsessed with shoulder length haircuts for years, but it took me three mediocre cuts to realize I was approaching it all wrong. I kept asking for “shoulder length” without understanding that there’s so much more to it than just the measurement. The angle, the layers, how it works with your face shape — these details make or break the entire look.
Tools and Timing Overview
Before we dive into the actual cutting process, let’s talk about what you’ll need and realistic timing expectations. I learned this the hard way when I tried to rush through my first attempt.
- Sharp haircutting scissors (not craft scissors — trust me on this one)
- Fine-tooth comb and wide-tooth comb
- Hair clips for sectioning
- Spray bottle for keeping hair damp
- Good lighting (natural light near a window works best)
- Hand mirror to check the back
- Hair elastic to mark your desired length
Timeline-wise? Plan for about 45 minutes to an hour if you’re doing this yourself. The planning phase alone takes 10-15 minutes, but it’s the most important part. Rush through that and you’ll regret it later.
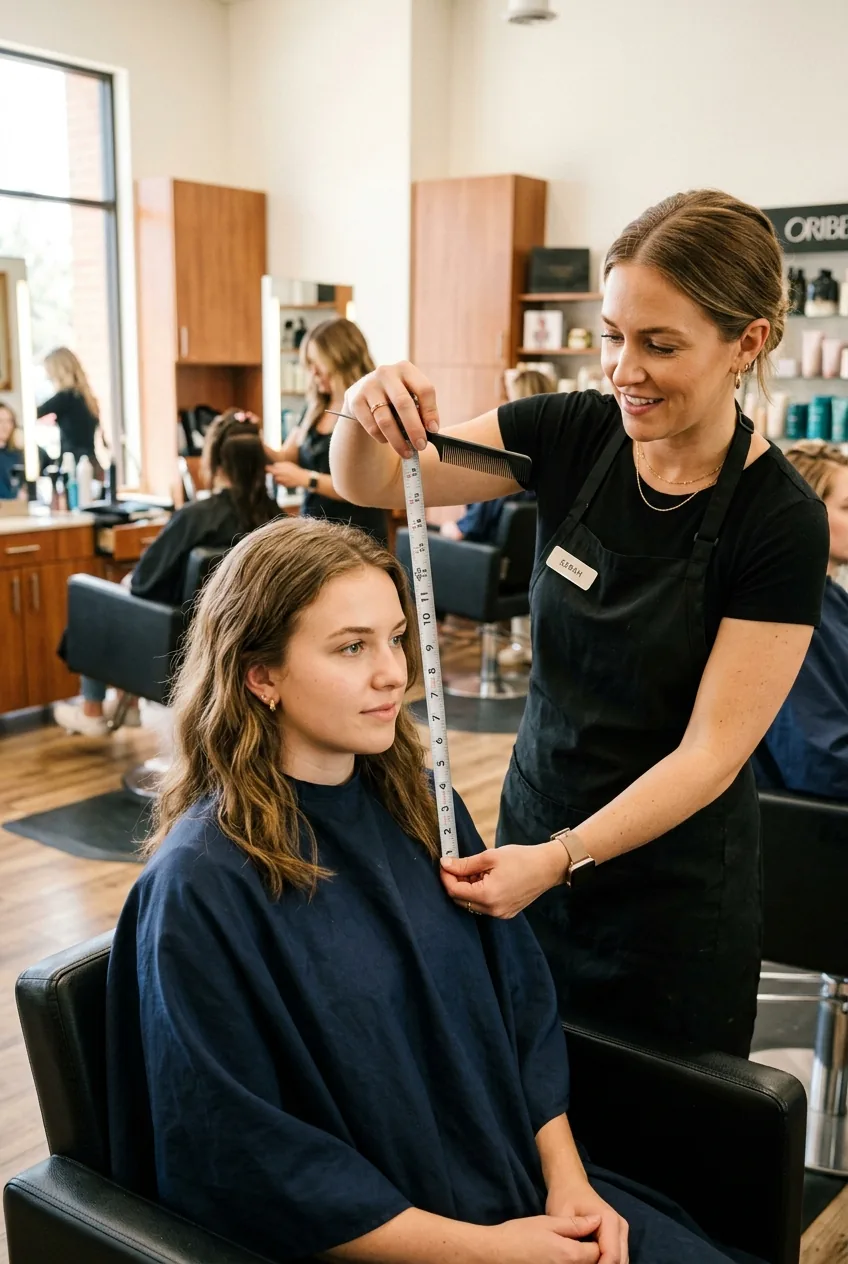
The Planning Phase: Getting It Right From the Start
This is where most people mess up. They skip the planning and go straight to cutting. But shoulder length isn’t one-size-fits-all.
First, figure out your true shoulder line. Stand naturally and have someone mark where your shoulders actually sit — not where you think they do. I was cutting mine too long for months because I was eyeballing it wrong.
Next comes face shape analysis. Round faces need length that hits just below the shoulder for elongation. Square faces work beautifully with cuts that graze the shoulder bone — it softens those strong jawlines. If you’ve got an oval face, you’re lucky. Pretty much any shoulder length variation works.
Hair texture matters too. Fine hair needs to be cut slightly shorter because it’ll appear longer when it settles. Thick hair can handle hitting right at the shoulder or even a touch below. Face shape cutting techniques completely changed how I approach this.
My biggest mistake early on? I cut my hair when it was bone dry. The shrinkage when I washed it later was devastating. Always cut on damp hair that’s been stretched to its natural length.
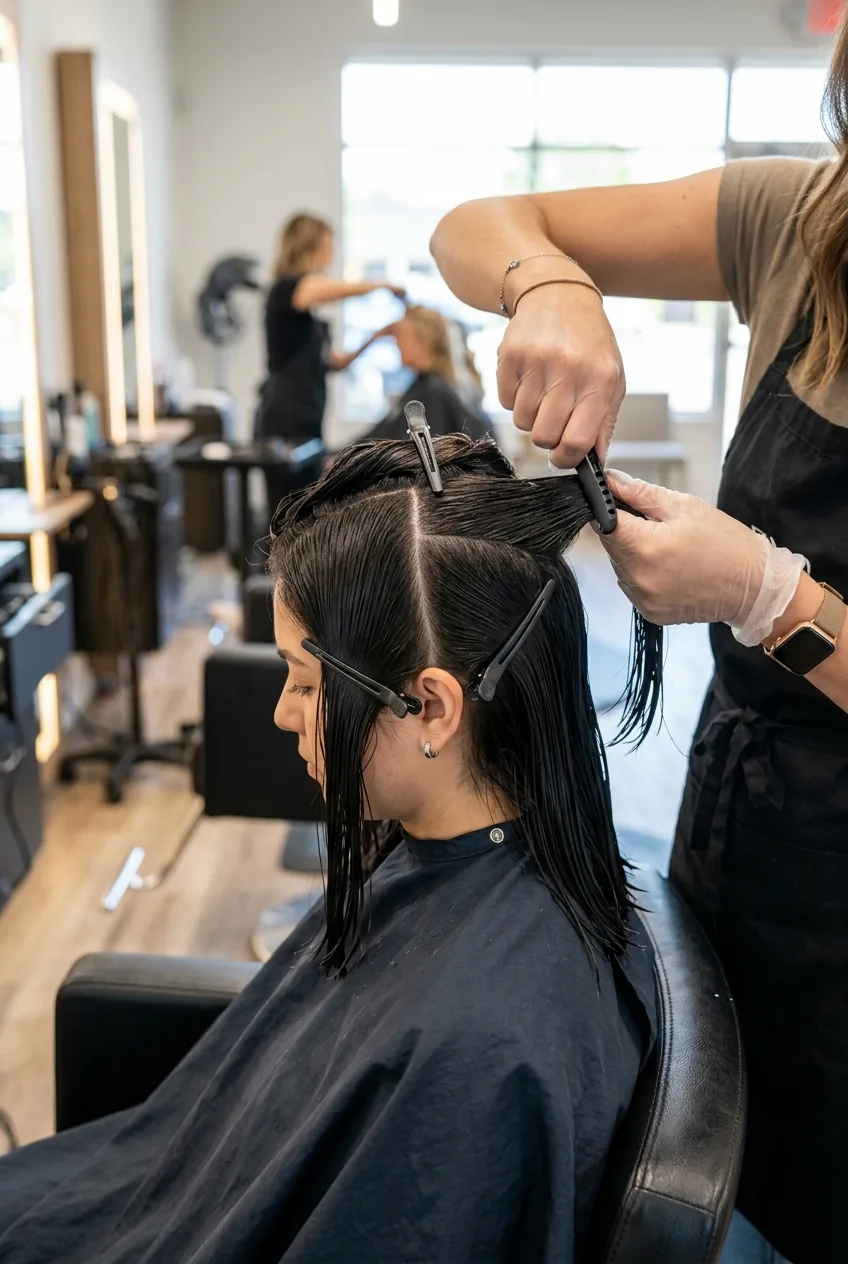
The Foundation Phase: Creating Your Base Cut
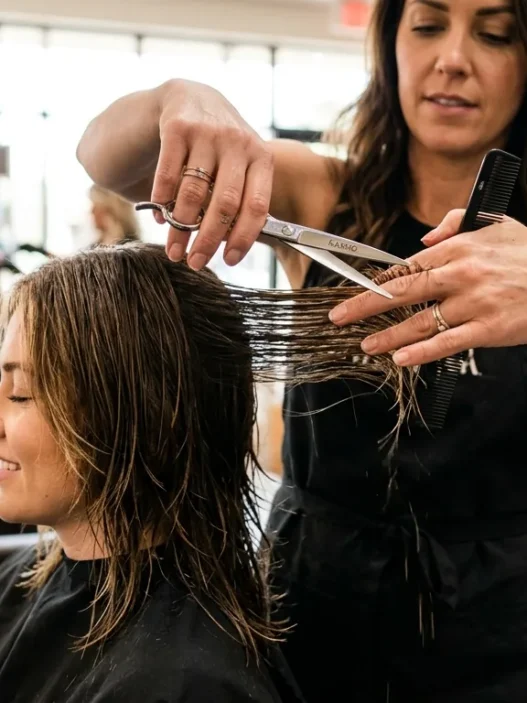
Now we’re getting to the actual cutting. Start with clean, damp hair — not soaking wet, just evenly moist. Comb it straight down and check for any existing layers or unevenness.
Section your hair horizontally at ear level. Clip the top section up and out of the way. We’re creating the baseline first with the bottom section.
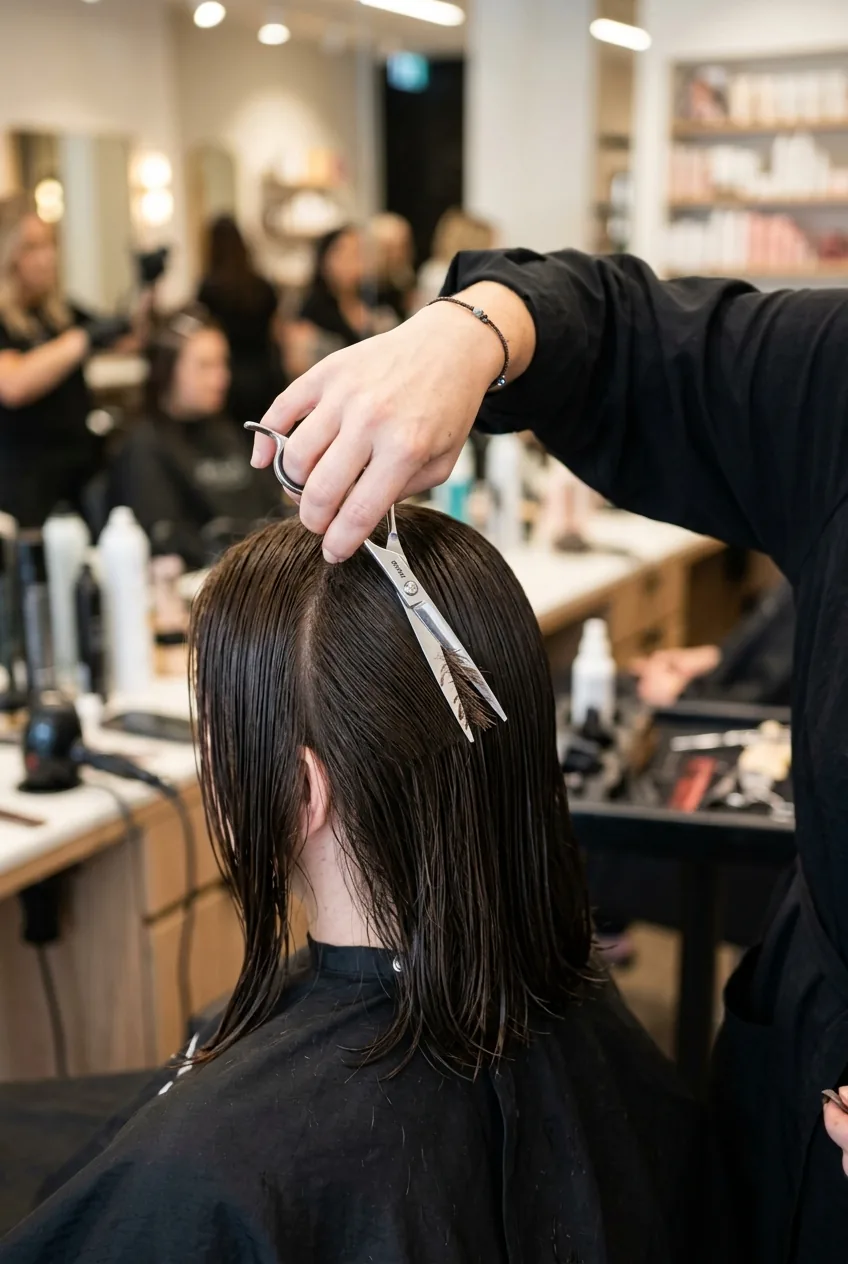
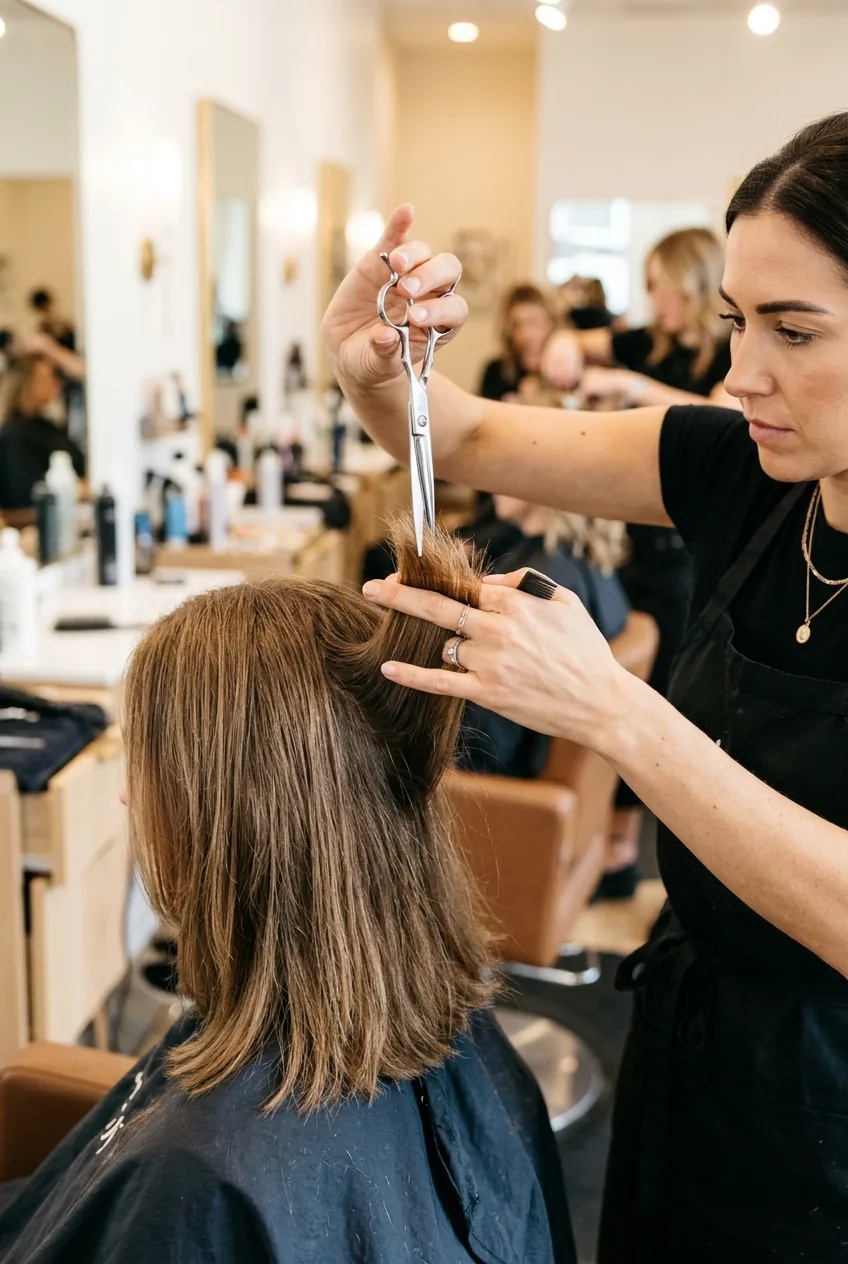
Here’s the technique I wish someone had taught me years ago: instead of trying to cut straight across in one go, work in small sections. Start at the center back and cut a small guide section to your desired length. Then work outward, matching each new section to your guide.
Keep your scissors parallel to the floor and cut with smooth, decisive snips. No sawing motions. The blade should slice cleanly through the hair in one motion per section.
Check your work constantly. Comb the cut section down and look at it from different angles. The baseline should be perfectly even before you move to the next phase.
Watch This Cutting Technique Live
The Refinement Phase: Perfecting Your Length
This is where the magic happens. Release the top section of hair and comb everything down together. You’ll probably notice the top layers are longer than your new baseline — that’s normal and exactly what we want to address.
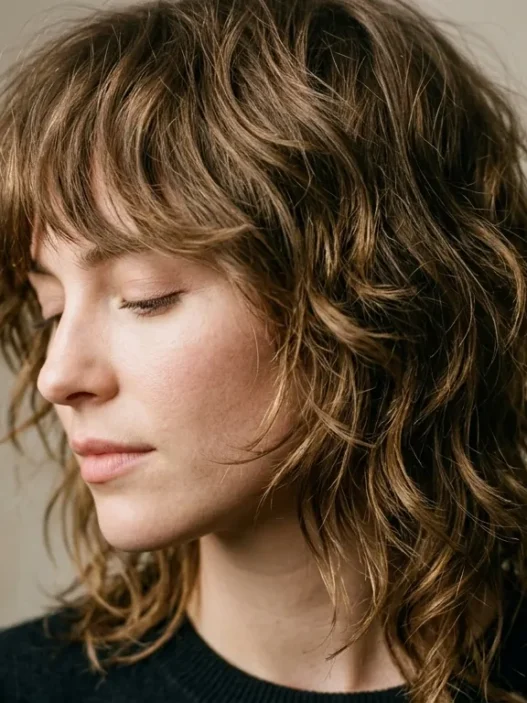
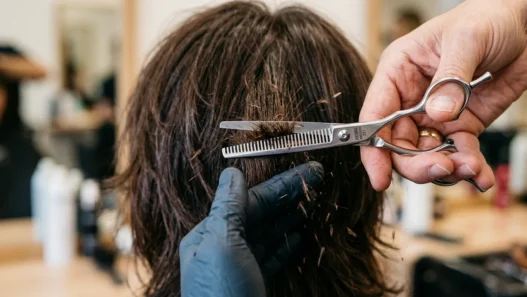
The key is creating subtle layers that blend seamlessly. I use what stylists call “point cutting” — holding the scissors vertically and making small snips into the ends. This creates soft, natural-looking layers instead of blunt, obvious ones.
Work around your head systematically. Lift small sections at a 45-degree angle and trim any pieces that extend past your baseline. The goal is creating a gentle graduation, not dramatic layers.
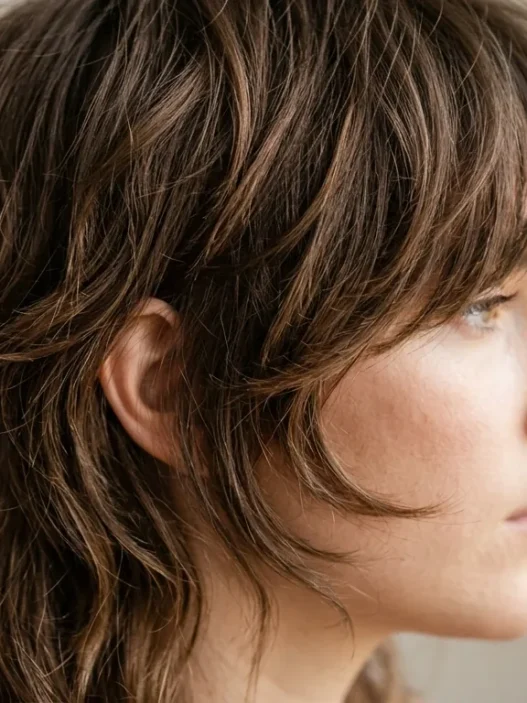
Pay special attention to the pieces that frame your face. These often need to be slightly shorter to create the most flattering shape. For most face shapes, having the front pieces hit just below the collarbone works beautifully.
Step back frequently and assess the overall shape. Shoulder length styles for winter weddings often use this same technique because it creates such a polished, versatile foundation.
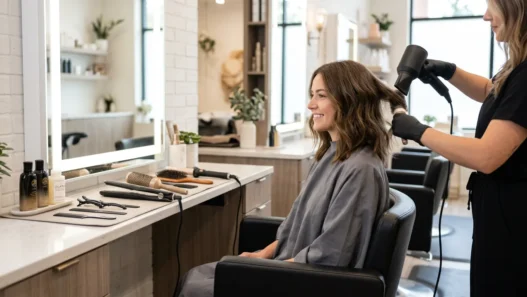
The Styling Phase: Bringing It All Together
The cut is only half the story. How you style your new shoulder length hair determines whether it looks amazing or just… okay.

Start with the right products. A lightweight leave-in conditioner keeps the ends healthy and prevents that choppy, freshly-cut look. I apply it to damp hair, focusing on the bottom two inches.
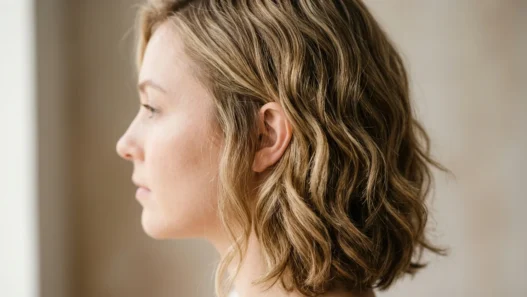
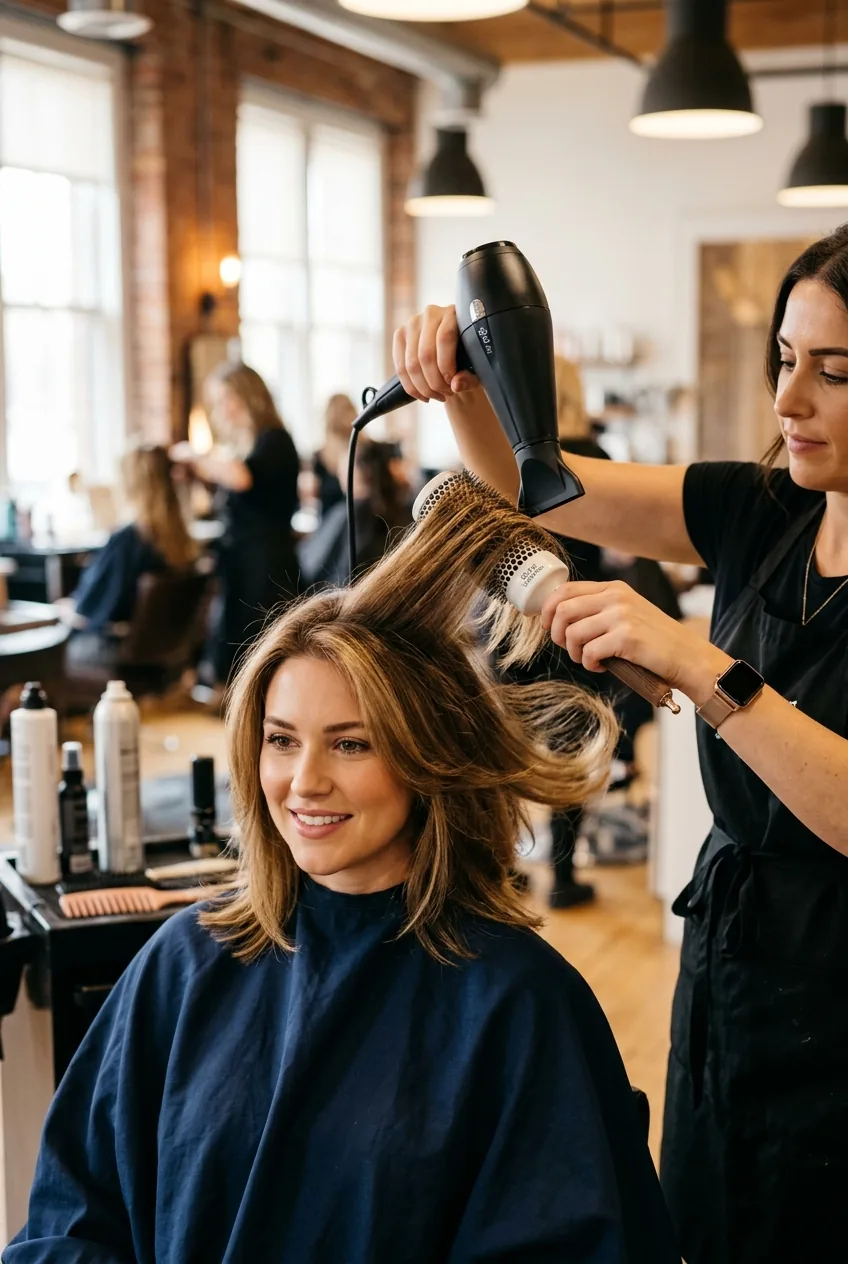
For everyday styling, I’ve found that shoulder length hair looks best with some movement. A round brush and blow dryer can create subtle volume at the roots and a gentle curve at the ends. Professional styling techniques made the biggest difference in my daily routine.
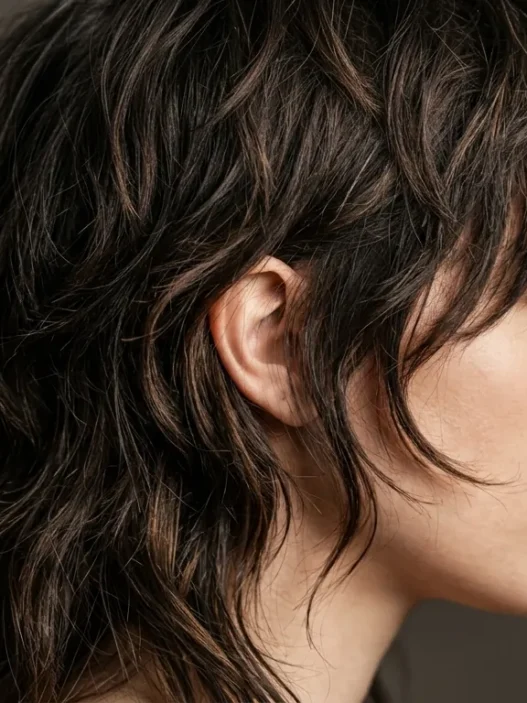
The secret to making shoulder length hair look expensive? The ends need to feel thick and healthy, not wispy or thin. Regular trims every 6-8 weeks maintain that fullness. And here’s something most people don’t realize — the back needs to be slightly shorter than the sides to account for the way hair naturally falls.
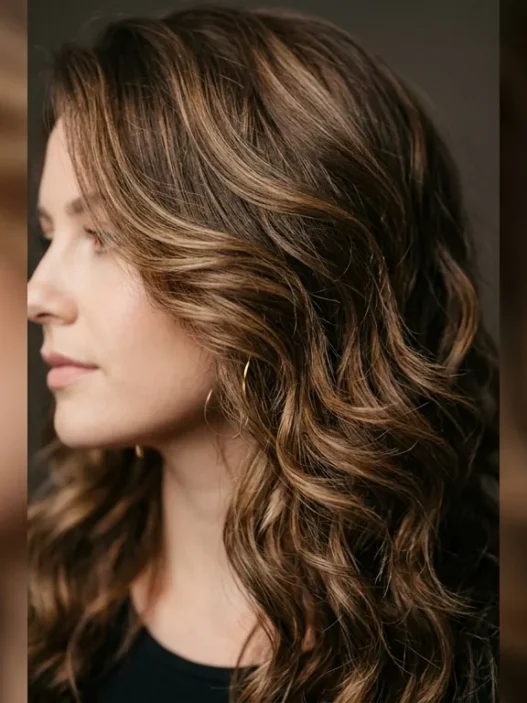
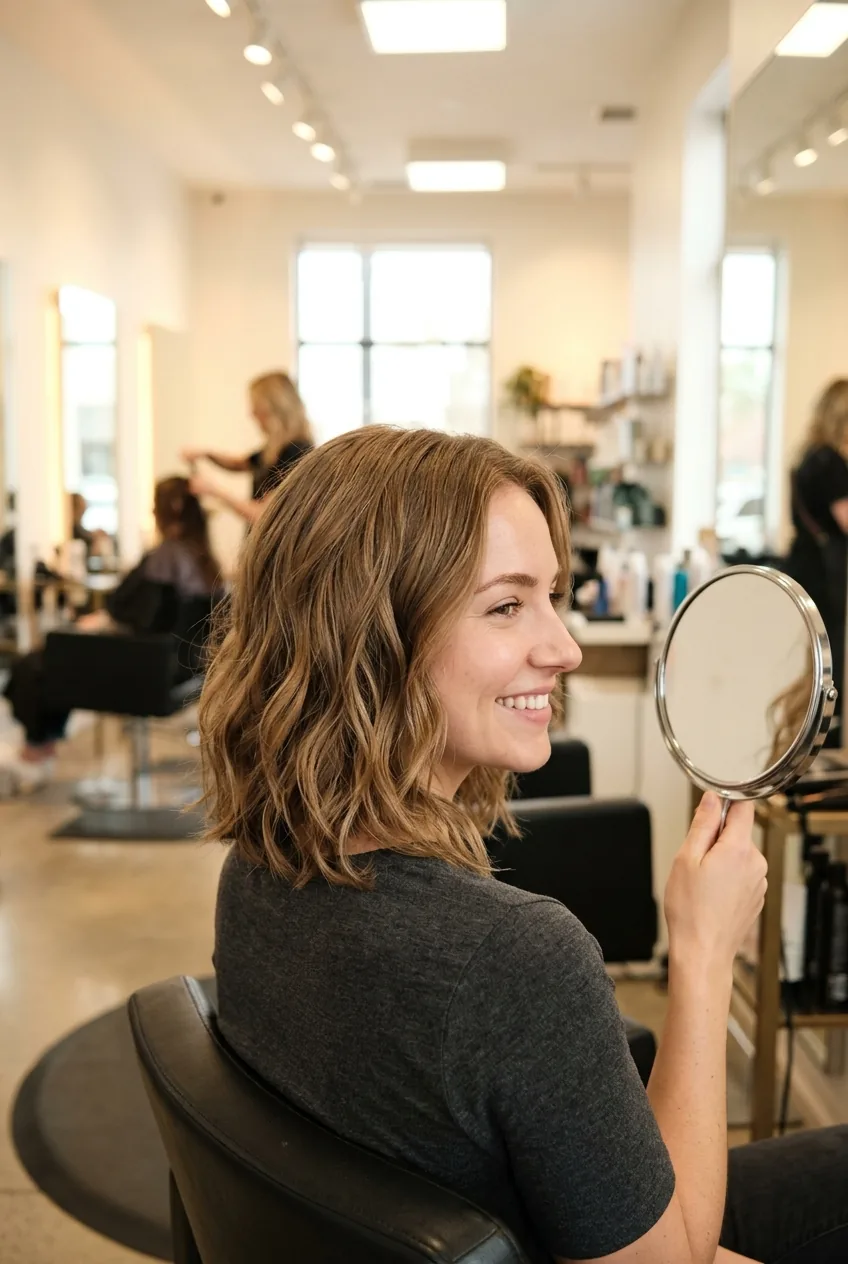
For texture days, sea salt spray on damp hair creates beautiful, lived-in waves. Scrunch it in and let it air dry. Cozy chic shoulder length hairstyles often rely on this effortless texture approach.
And don’t underestimate the power of a good finishing oil. Just a tiny amount smoothed over the ends adds shine and eliminates frizz without weighing the hair down.
Questions I Get About This Cut
How do I know if shoulder length will work with my face shape?
The beauty of shoulder length is its versatility. Round faces benefit from length that hits just below the shoulder for elongation. Square faces look amazing with cuts that graze the shoulder bone to soften strong jawlines. Oval faces can pretty much rock any variation.
Can I cut this myself or should I go to a salon?
I’ve done both successfully, but your first shoulder length cut should probably be professional. Once you have the shape established, maintenance trims are definitely doable at home if you’re careful and patient.
How often do I need to trim to maintain this length?
Every 6-8 weeks for most hair types. The key is maintaining that full, healthy look at the ends. Winter hairstyles especially need regular trims because cold weather can be harsh on hair ends.
What if I mess up the length?
Start longer than you think you want. You can always trim more, but you can’t add length back. If you do cut too short, focus on styling techniques that add volume and texture while you wait for it to grow.
After perfecting this method, I finally have the shoulder length cut I’ve always wanted. It moves beautifully, works with my face shape, and styles effortlessly every morning. The best part? Once you understand these principles, you can adapt them to any variation of shoulder length hair — whether you want it sleek and polished or textured and beachy.