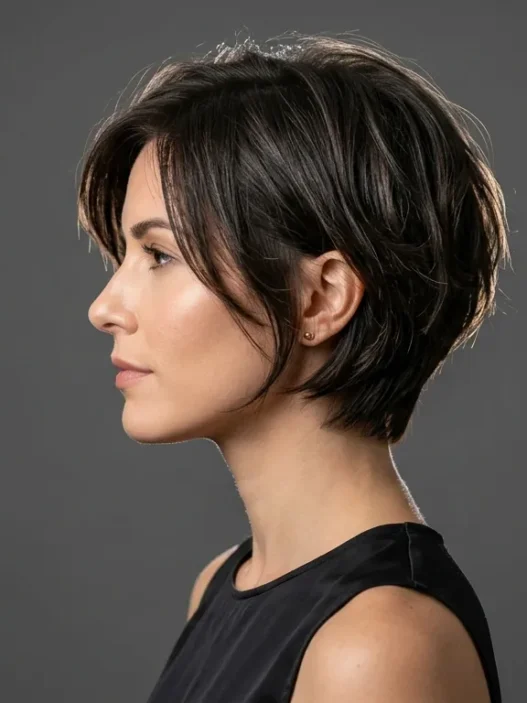


I used to think braids were for long-haired girls only. My chin-length bob always left me with sad, stubby plaits that looked more like a kindergarten craft project than anything Instagram-worthy. But after months of trial and error (and way too many bobby pins), I finally cracked the code for making short bob braids actually work.
What You’ll Need
The right tools make all the difference when working with shorter lengths. Here’s what I keep on my vanity:
- Texturizing spray (I swear by dry shampoo for this)
- Small hair elastics — the tiny clear ones work best
- Bobby pins in your exact hair color
- Rat tail comb for precise parting
- Light-hold hairspray
- Hair clips for sectioning
- Small paddle brush
Step 1: Prep Your Short Hair

Start with slightly dirty hair — day-two hair is actually perfect for this. Clean hair is too slippery and won’t hold the braids. I mist my entire head with texturizing spray, focusing on the roots and mid-lengths. The key is getting enough grip without making your hair crunchy.
Brush through gently to distribute the product. You want texture, not tangles. If your bob is freshly washed, work in some texturizing products before you start.
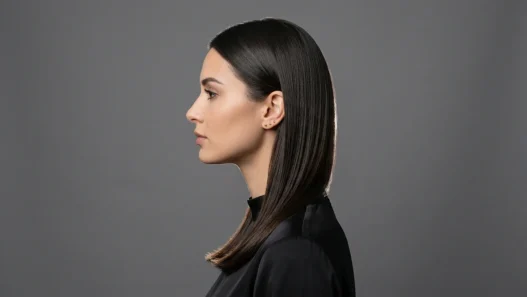
Step 2: Create Your Parting Strategy
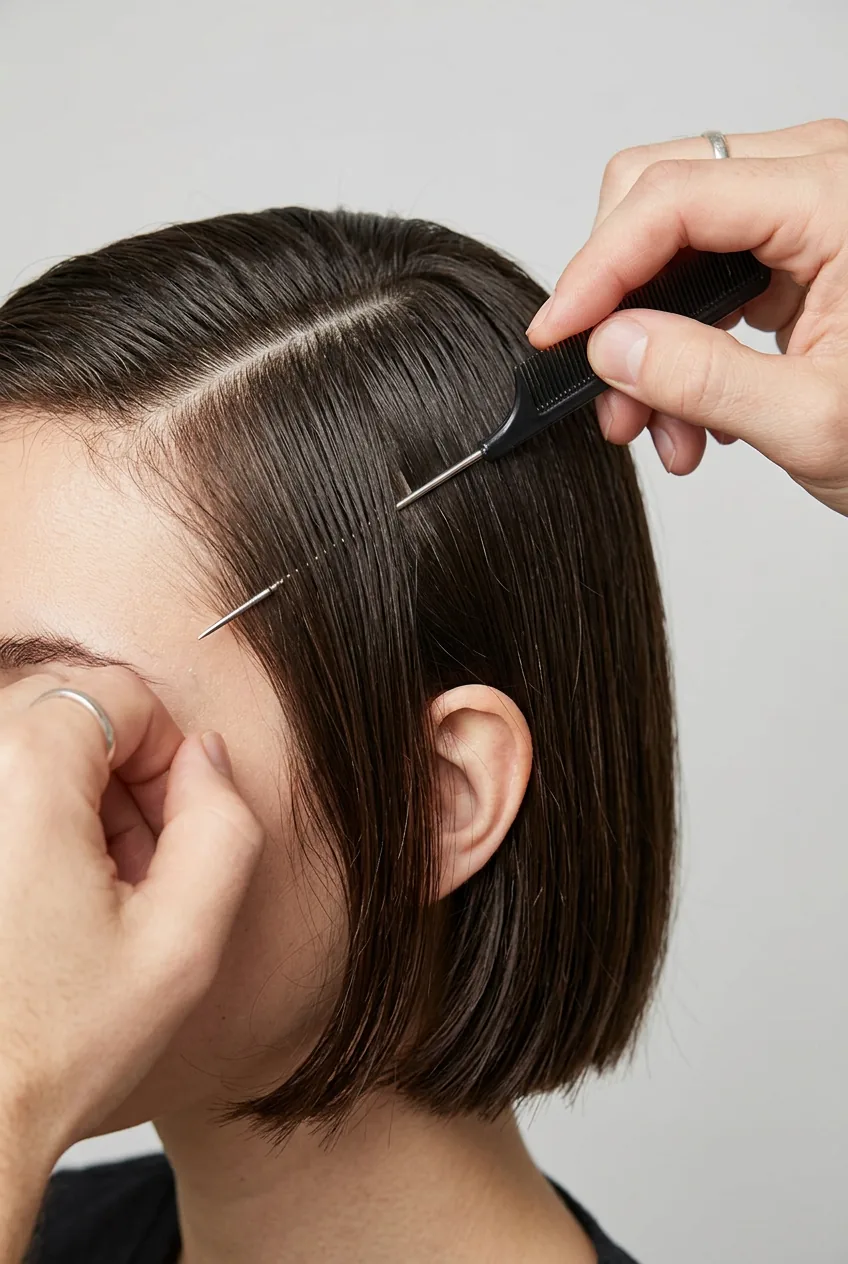
This step separates amateur from pro-looking braids. Instead of your usual center part, create a deep side part about 2 inches from your natural hairline. The asymmetry gives you more hair to work with on one side and creates visual balance.
Use your rat tail comb to make the part crisp and clean. I learned this from watching too many hairstylist videos — the precision here sets up everything that follows.
Step 3: Section and Secure
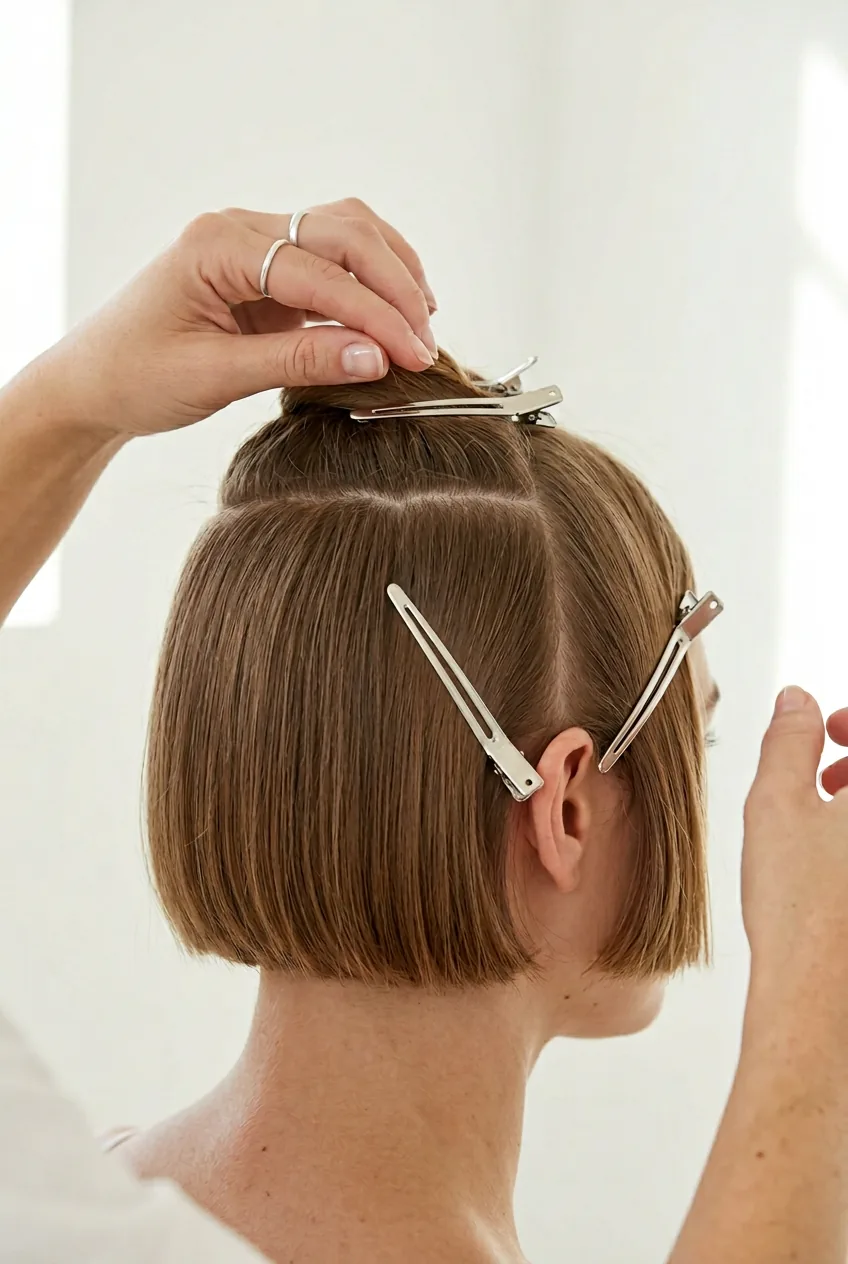
Now comes the sectioning magic. Divide your hair into three main sections: the heavy side of your part, the light side, and the back. Clip away the sections you’re not working on — this prevents shorter pieces from sneaking into your braids.
Start with the heavier side since that’s where you’ll create your main braid. The back section will get its own treatment later.
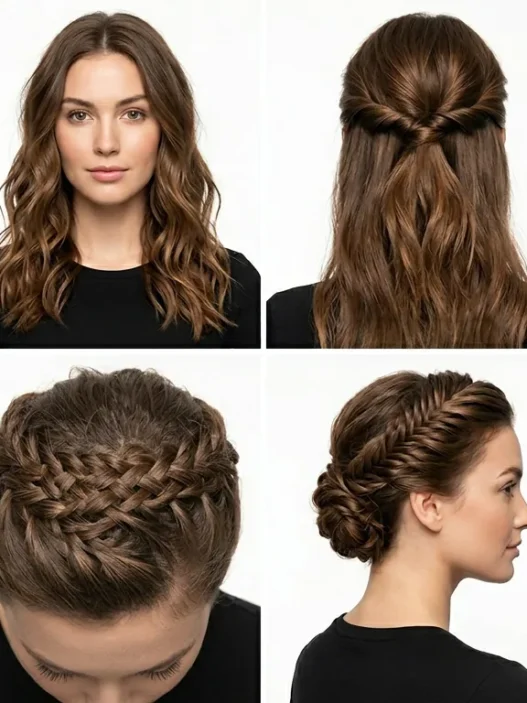
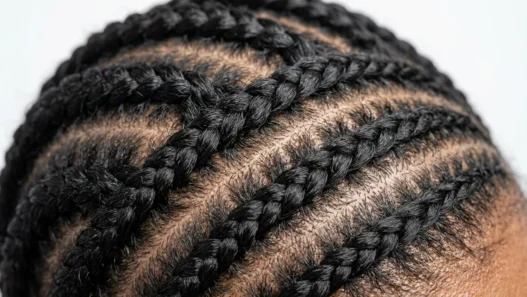
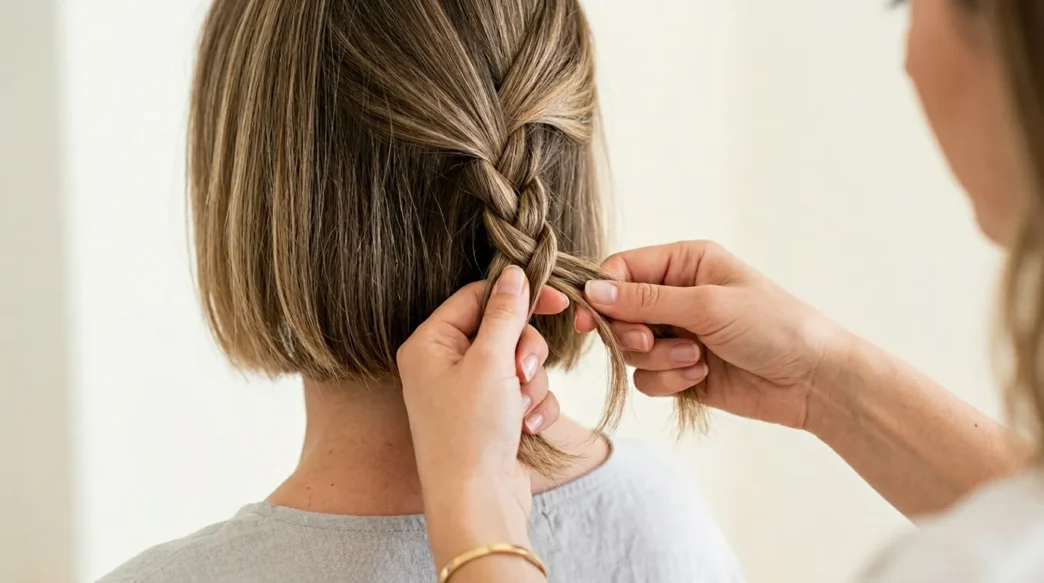
Step 4: The Foundation Braid
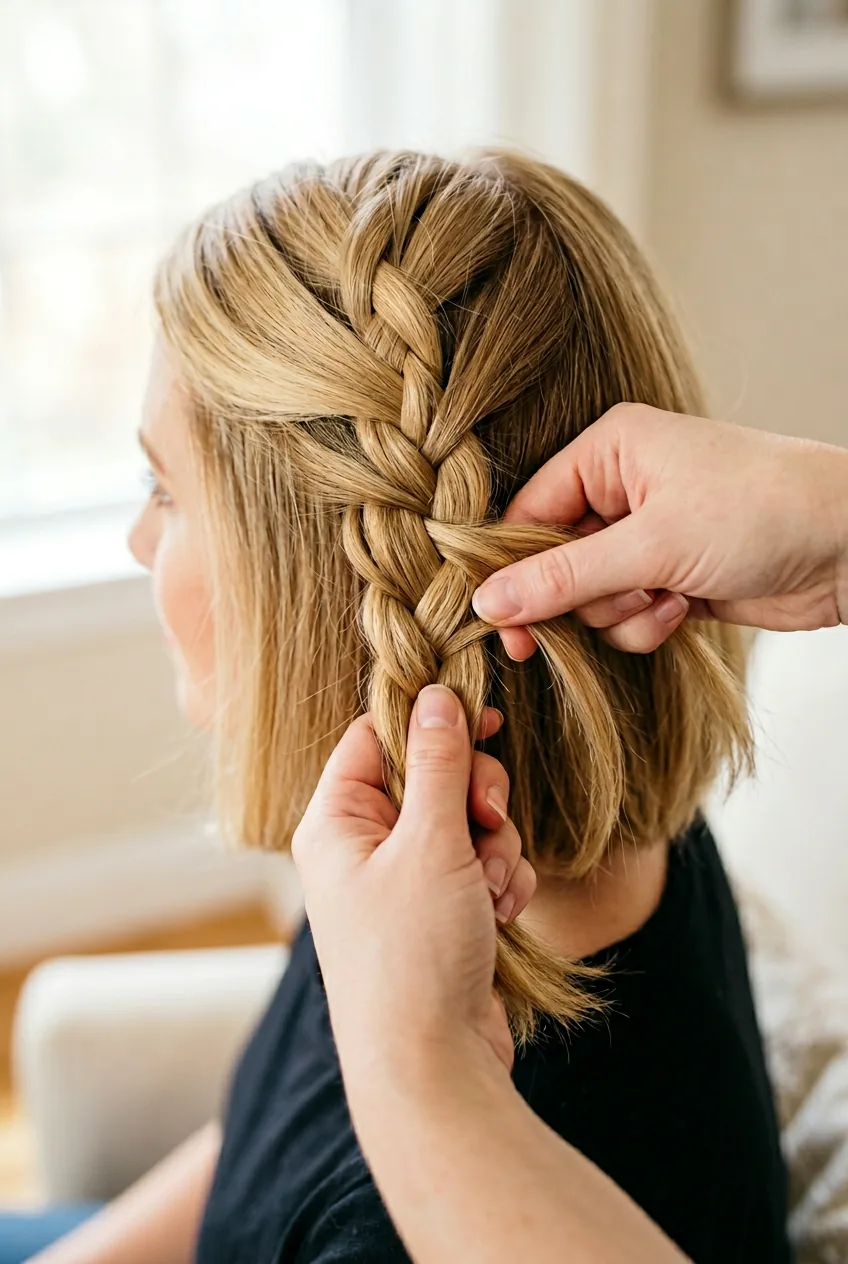
Here’s where my method differs from traditional braiding. Instead of starting at the hairline, begin your braid about 2 inches down from your part. This gives you more length to work with and prevents that stubby, chopped-off look.
Divide your section into three equal parts and begin a loose Dutch braid (braiding under instead of over). Keep the tension relaxed — tight braids on short hair look forced and uncomfortable. As you work down, some pieces will want to escape. Let them. We’ll deal with flyaways in the final steps.
My biggest mistake was trying to braid too tightly. I spent weeks creating these super-tight, painful braids that lasted about an hour before falling apart. Loose braids on short hair actually stay put longer because there’s less tension pulling them apart.
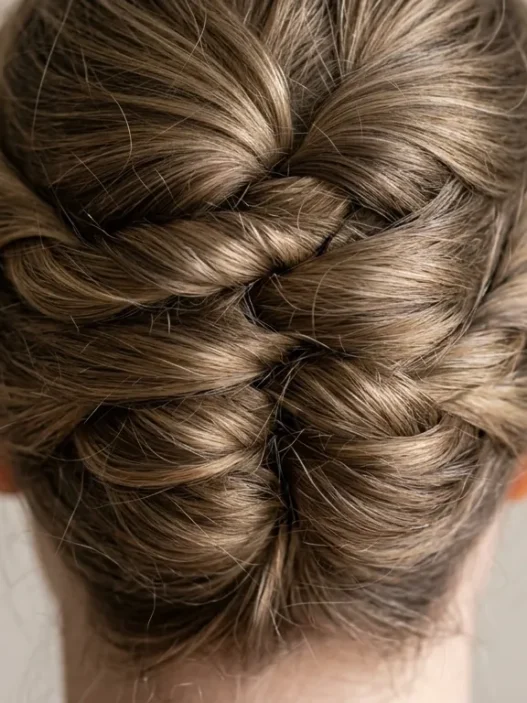
Step 5: Add Texture and Volume

This is the secret sauce. Once your foundation braid is complete, gently tug at the edges to create what stylists call “pancaking.” Pull at each section of the braid to make it wider and fuller. Short bob braids need this extra volume to avoid looking stringy.
Work from bottom to top, pinching each woven section and pulling it slightly apart. You’ll be amazed how much fuller and more intentional your braid looks. This technique is what makes adorable short bob cuts look professionally styled.
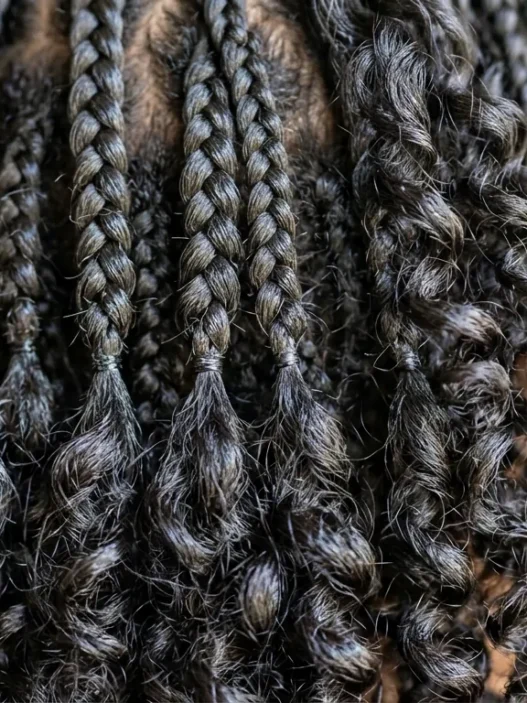
Step 6: Secure the Shorter Pieces
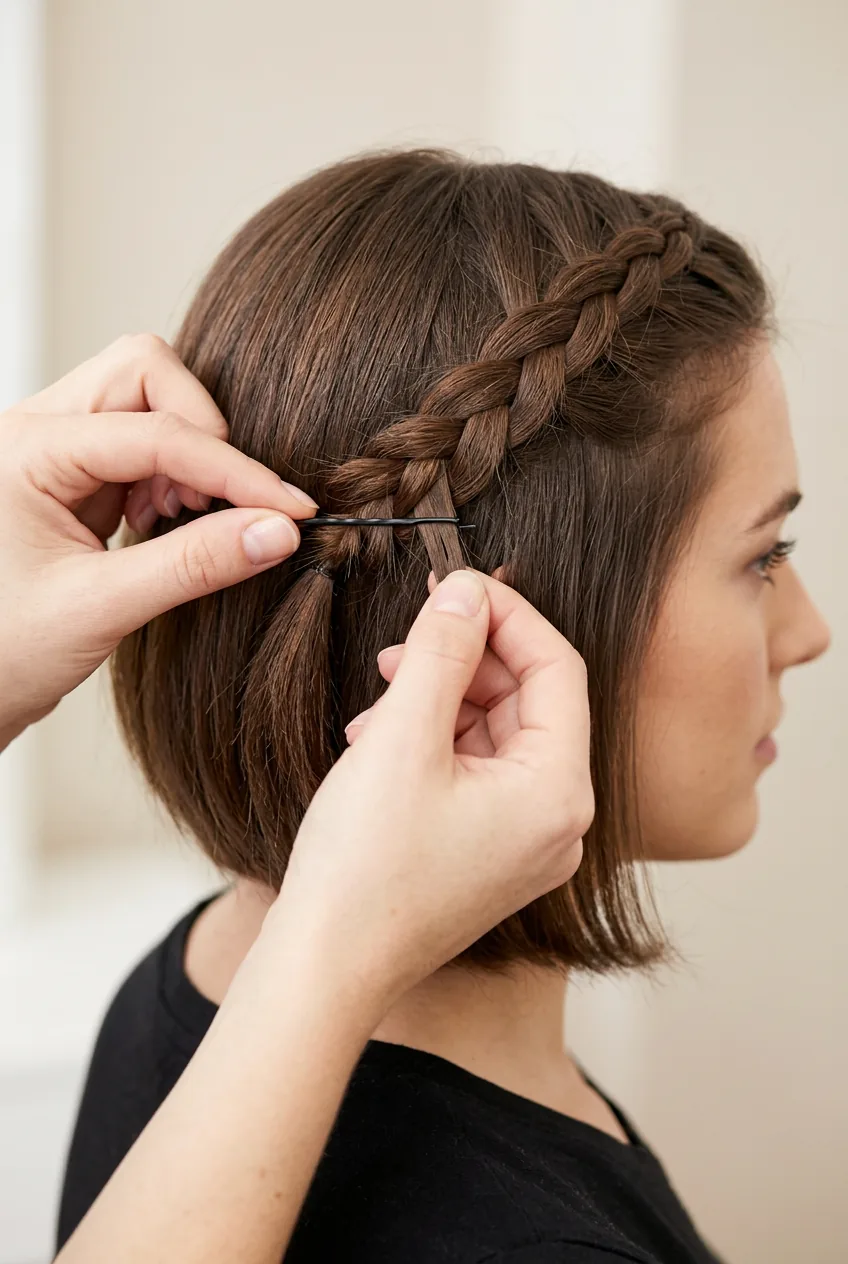
Now tackle those rebellious shorter layers. Use bobby pins that match your hair color exactly — this is not the place to be creative with contrasting pins. Pin pieces that are too short to stay in the braid by tucking them under sections of the existing braid.
The trick is to pin horizontally rather than straight in. Slide the bobby pin parallel to your scalp, then push it into the braid. This creates a stronger hold and hides the pin better.
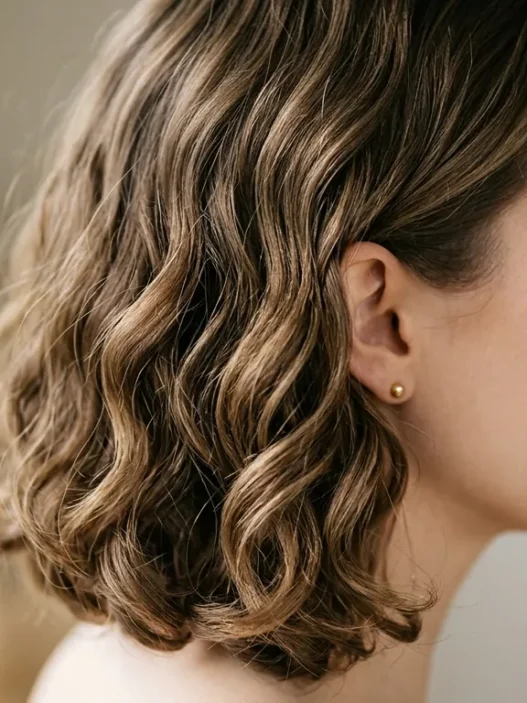
Step 7: Final Touch-Ups

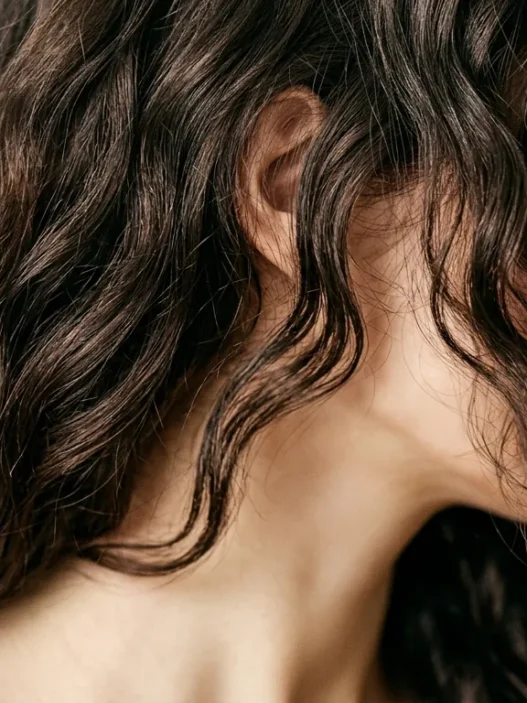
Step back and assess your work. Gently pull out a few face-framing pieces to soften the look — this prevents the too-severe, slicked-back appearance that can happen with shorter hair. I always leave some pieces around my ears loose.
Finish with a light mist of hairspray, but don’t go overboard. Short bob braids should feel lived-in and effortless, not shellacked. If you’ve done French bob cutting recently, those fresh layers will add natural movement.
The final result should feel secure but soft, structured but not stiff. When people ask if you “did something different” with your hair, you’ll know you nailed it.
Questions I Get About This
Can this work on a really short bob?
If your bob hits above your chin, you’ll need to modify the technique. Focus on small accent braids rather than full braids, and use more bobby pins to secure shorter pieces. It’s trickier but definitely doable.
How long do these braids typically last?
With the right prep and products, I can get a full day out of these braids. Sometimes they look even better after a few hours when they’ve relaxed a bit. Sleeping on them is hit or miss though.
What if my hair is too fine or slippery?
Fine hair actually works great for this technique — you just need more texturizing product. Use dry shampoo at the roots and a light texturizing cream through the lengths. Braiding techniques for fine hair often require these extra grip products.
Should I braid wet or dry hair?
Always dry hair for this method. Wet braids shrink as they dry and can damage shorter lengths. If you want to enhance natural texture, braid slightly damp hair and let it air dry, then redo the braids on completely dry hair.
I’ve been wearing my bob in braids at least twice a week since perfecting this method. It’s become my go-to for everything from grocery runs to date nights — proof that short hair doesn’t have to limit your styling options.