


I used to think medium length hair was the worst for updos. Too short for a proper bun, too long for those cute pixie-inspired twists. Every time I tried to put my shoulder-length hair up for an event, I’d end up with bobby pins falling out halfway through dinner. That changed when I finally figured out this method — now my updos actually stay put and look intentional rather than like I wrestled with my hair and lost.
What You’ll Need
Before we dive in, grab these essentials. I learned the hard way that trying to improvise with random hair ties leads to disaster:
- Texturizing spray or sea salt spray
- Hair elastic that matches your hair color
- Bobby pins (at least 10-15) — get the ones that grip
- Wide-tooth comb
- Small clear elastics
- Light-hold hairspray
- Hair donut or sock bun maker (optional but helpful)
Step 1: Prep Your Hair for Success
This is where most people go wrong. They try to work with freshly washed, slippery hair that won’t hold anything. Day-old hair is your friend here — it has just enough texture to grip the bobby pins.
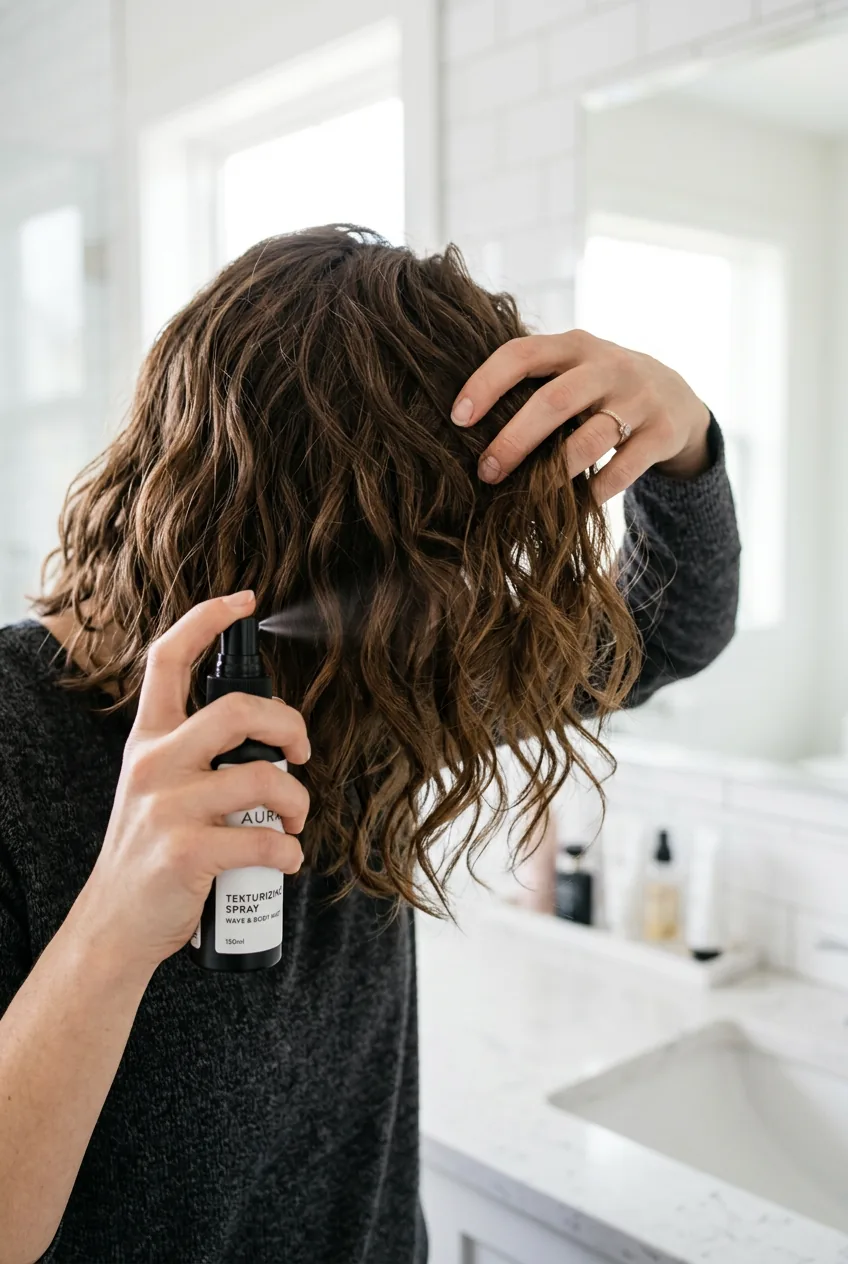
Spray your entire head with texturizing spray, focusing on the mid-lengths and ends. I like to flip my head upside down and really work it through with my fingers. You want that slightly gritty feeling that gives your hair some grip.
Brush everything back into a high ponytail position — don’t secure it yet, just see where it naturally wants to sit. Medium length hair has this awkward tendency to create a bump at the crown if you’re not careful about the angle.
Step 2: Create the Foundation Sections
Here’s where my method gets different. Instead of trying to wrestle all your hair into one ponytail, we’re going to create multiple anchor points that work together.
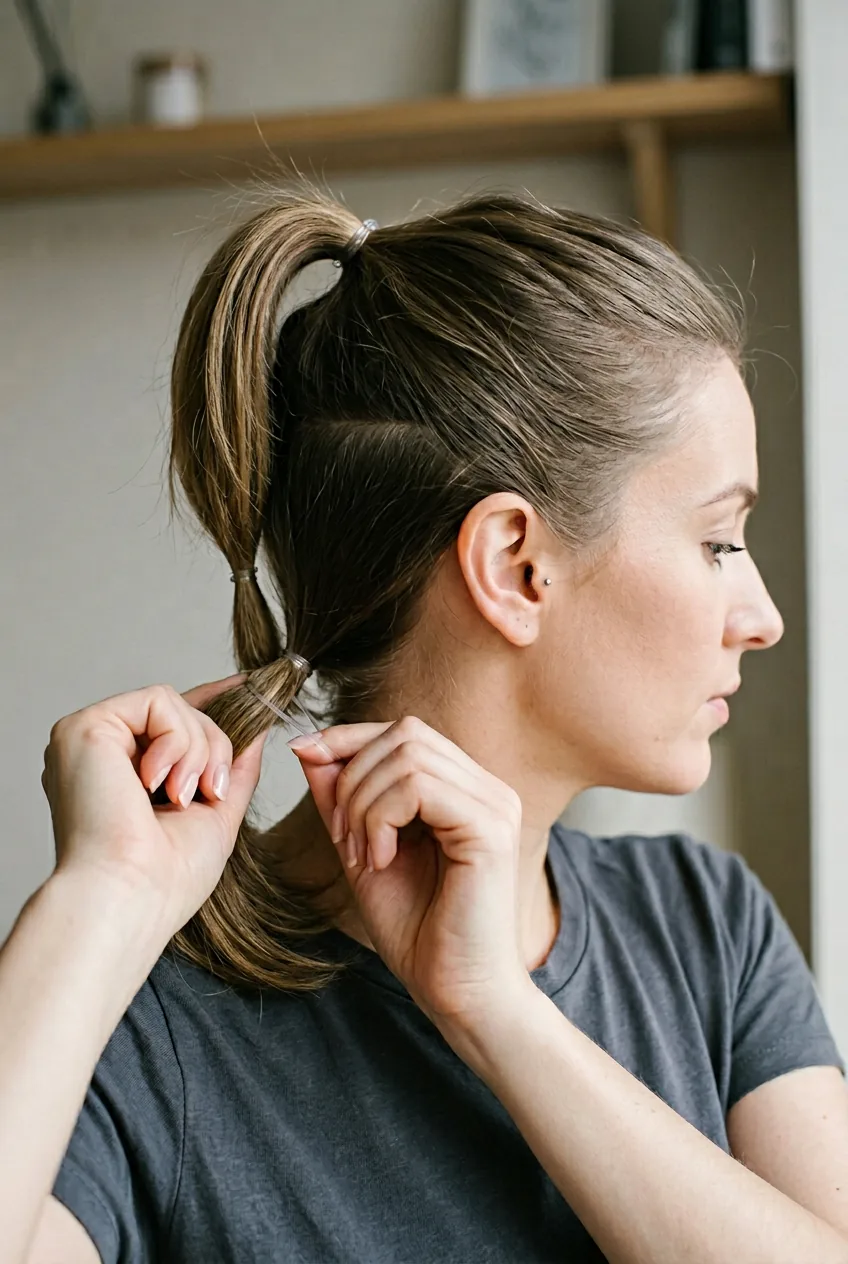
Section off the top layer — from your temples to the crown. This should be about a third of your total hair volume. Secure this with a small clear elastic at the spot where you want your updo to sit. Medium length hair looks best when the base sits right at the crown, not too high.
Now gather the remaining hair at the nape of your neck into a low ponytail. The key is making sure these two sections feel balanced — you don’t want one dragging the other down.
I made the mistake of skipping this double-ponytail foundation for months, wondering why my updos always looked lopsided. Your hair needs multiple support points — one ponytail just can’t handle the weight distribution on medium length hair.
Step 3: Build Your Base Structure
Time to create the actual shape. Take that top ponytail and gently tease it at the roots — not crazy backcombing, just enough to add some volume and texture. This prevents that flat, pinned-down look that screams “I have no idea what I’m doing.”
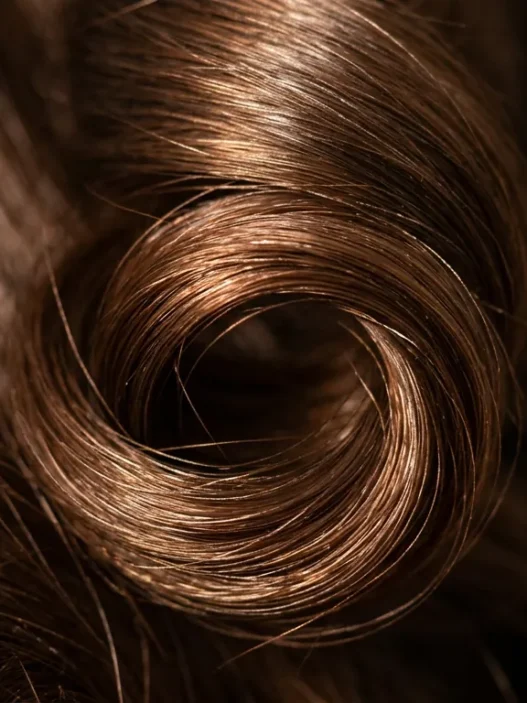
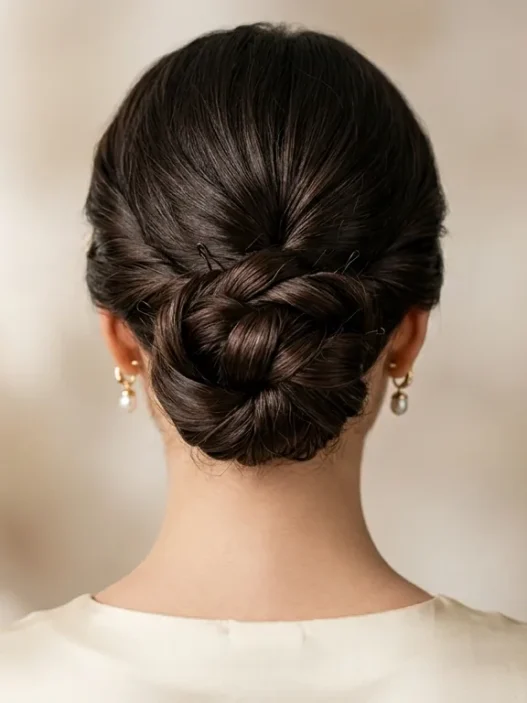
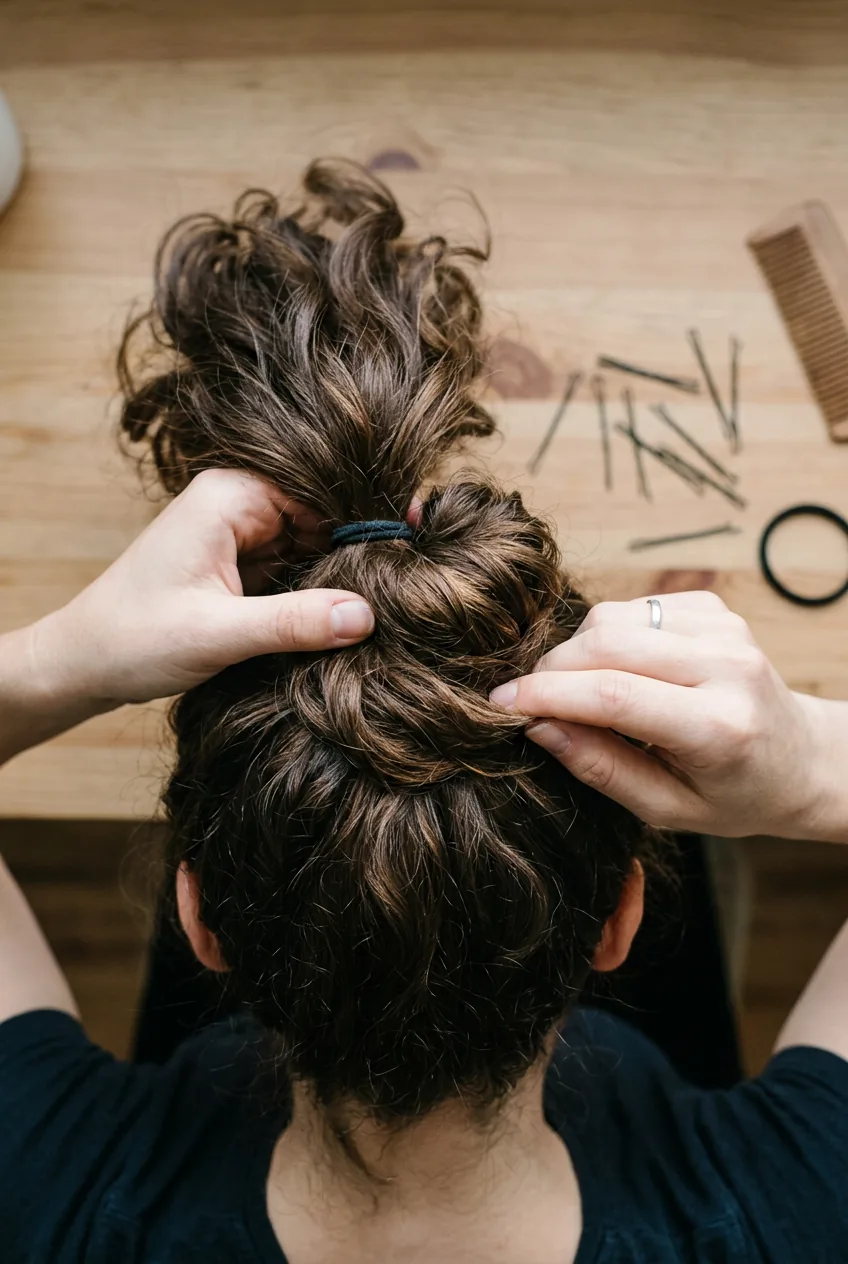
Twist the top section loosely and wrap it around the base of the ponytail, creating a soft bun shape. Don’t worry about making it perfect yet — we’re just establishing the foundation.
For the lower section, here’s where it gets interesting. Instead of trying to incorporate it into the same bun (which never works with medium length), we’re going to twist it upward and anchor it underneath the top bun. This creates layers and dimension that you can’t get with a single ponytail approach.
Step 4: Secure and Shape

This is the step that changed everything for me. Most tutorials tell you to just “pin everything in place,” but with medium length hair, you need a specific pinning strategy.
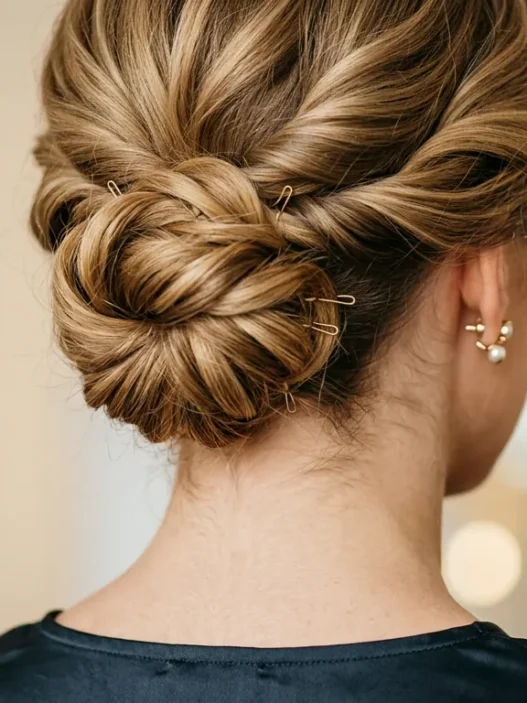
Start by inserting bobby pins at angles that oppose each other — think of creating an X pattern. Push the first pin straight down through all the layers, then add another pin crossing it from the opposite direction. This locks everything together instead of just hoping it stays put.
Work around the entire bun, adding these crossing pin pairs every inch or so. With medium length hair, you need more pins than you think — I typically use 12-15 for a style that’s really secure.
Pay special attention to any pieces that are trying to escape at the nape. Those shorter layers love to work their way out, so pin them directly into the structure rather than trying to tuck them under.
Step 5: Perfect and Polish
Now comes the fun part — making it look intentional rather than accidental. Gently pull at the top section to create some strategic volume. I like to grab small pieces at the crown and lift them slightly, which gives that coveted “effortless” texture.
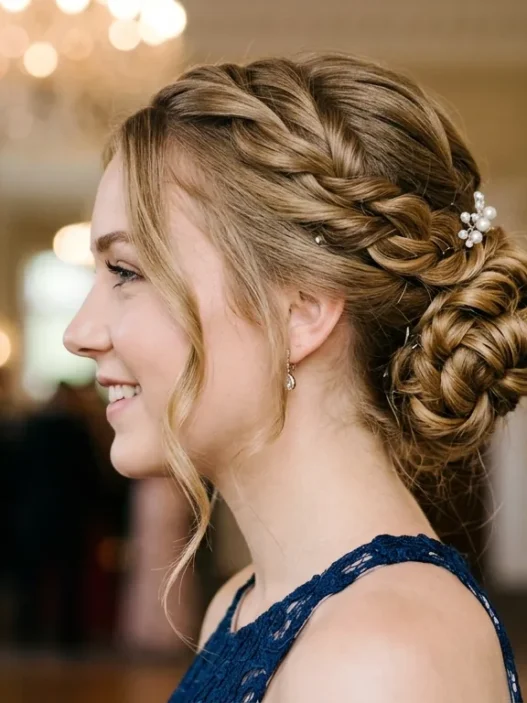
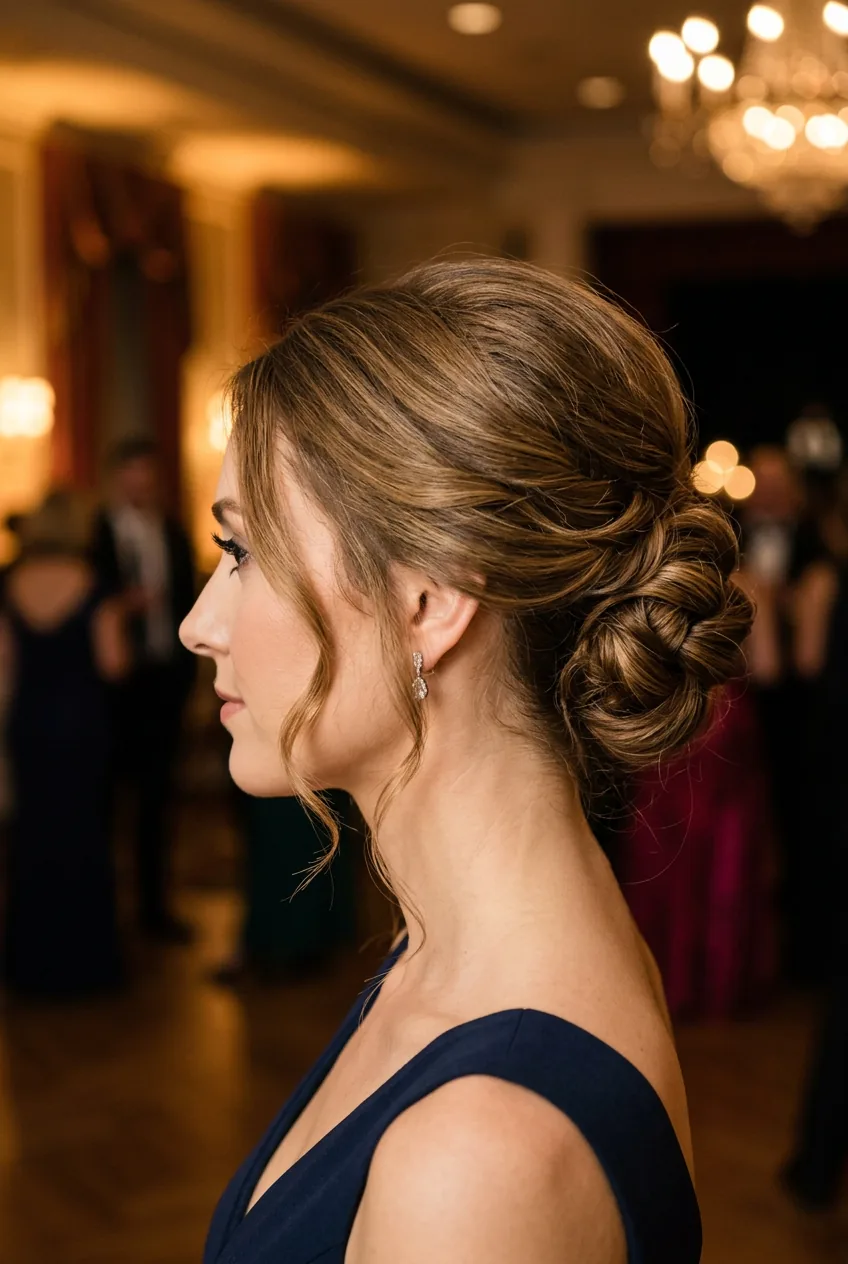
Check your profile in the mirror. Medium length updos can look amazing from the front but totally flat from the side if you’re not careful. Add volume where it looks sparse, and don’t be afraid to readjust pins if something isn’t sitting right.
Finish with a light mist of hairspray — not the crunchy stuff, just something to set everything in place. I learned that texturizing sprays work better than traditional hairspray for this final step because they add grip without stiffness.
Pull out a few face-framing pieces if you want a softer look. The beauty of this method is that it’s structured enough to handle a little strategic messiness without falling apart completely.
Questions I Always Get About This
Will this work on layered hair?
Absolutely — layers actually help because they create natural texture and movement. You might need a few extra bobby pins to catch the shorter pieces, but the layered look can be gorgeous in an updo.
How long does this style typically last?
With proper pinning, I can wear this for 8-10 hours without major touch-ups. The key is that crossing pin technique in step 4 — it really locks everything together.
Can I do this on fine hair?
Yes, but you’ll need extra texturizing spray and maybe a volumizing mousse before you start. Fine hair benefits from the double-ponytail method because it distributes the weight better than trying to support everything from one point.
What if I don’t have a clear elastic?
Regular small hair ties work fine — just make sure they’re not too bulky. The goal is to create clean sections without adding visible bulk to the finished style.
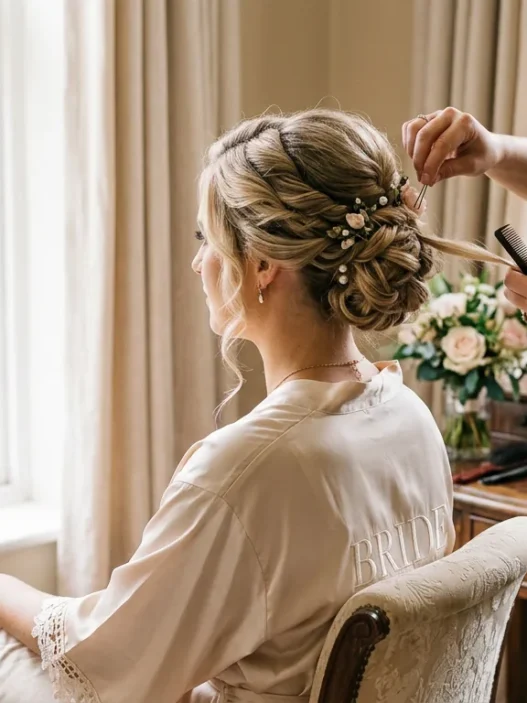
The first time I successfully wore this updo to a wedding, three people asked who did my hair. That’s when I knew I’d figured it out. Now it’s my go-to for any time I need to look put-together but don’t want to spend an hour fighting with my hair. And if you’re dealing with formal updos for weddings or similar events, this method gives you that polished look without the professional price tag.