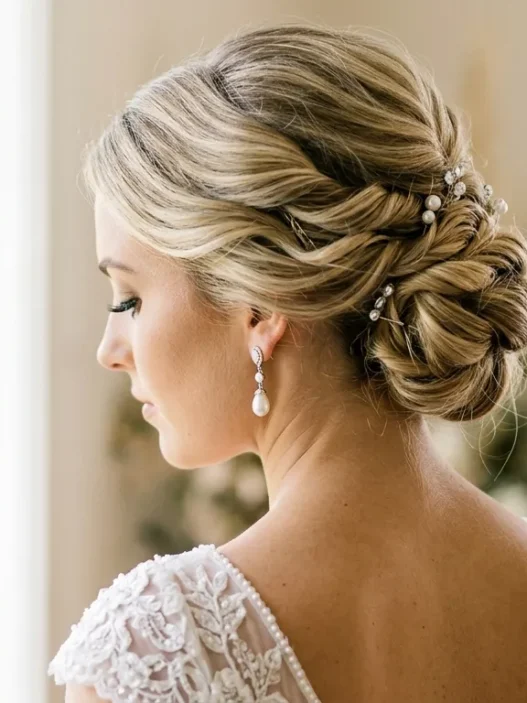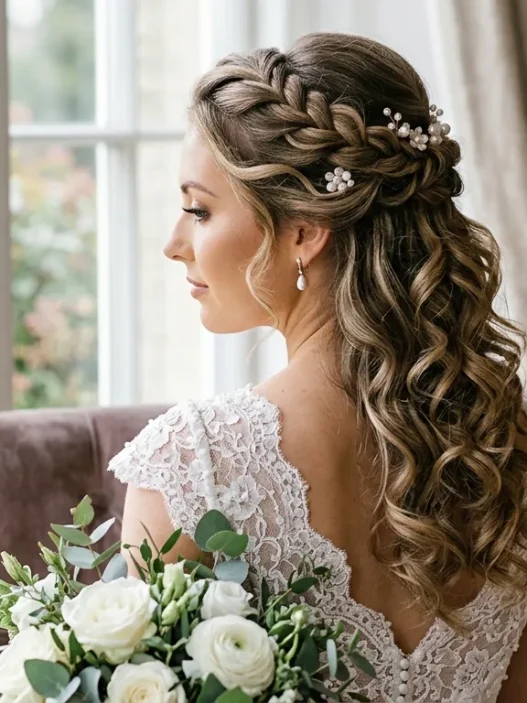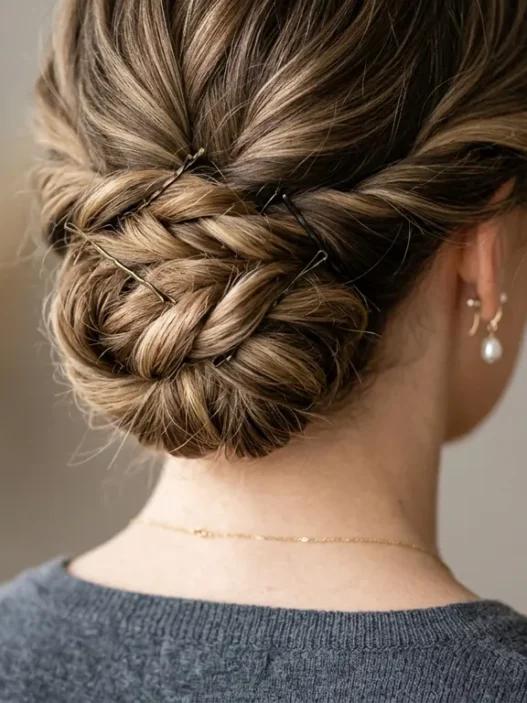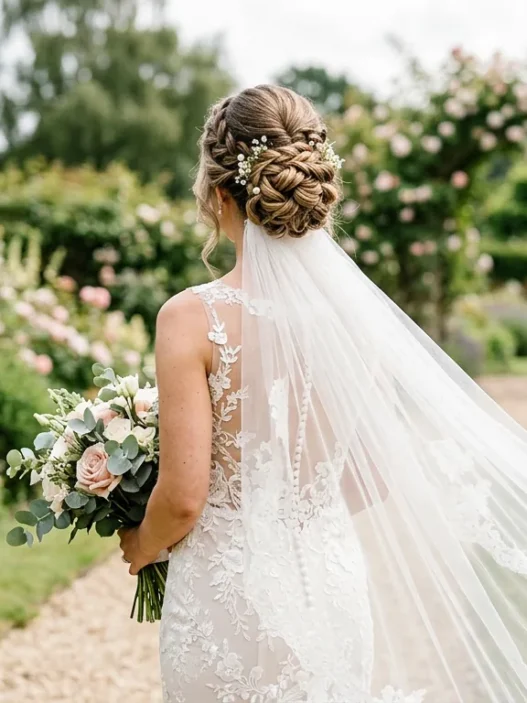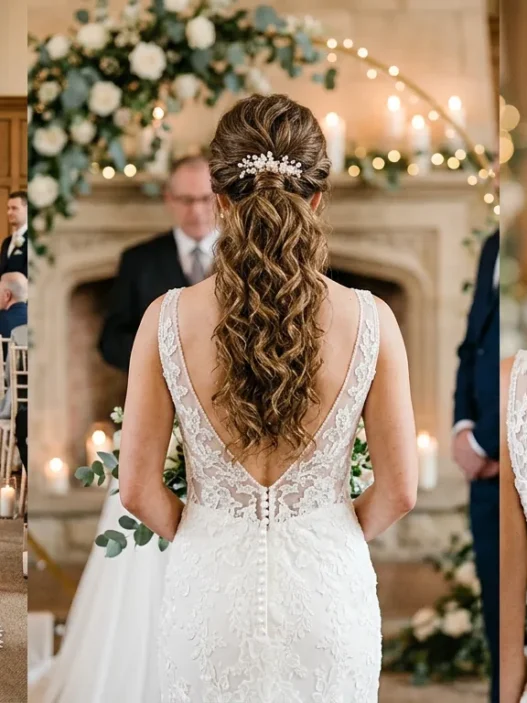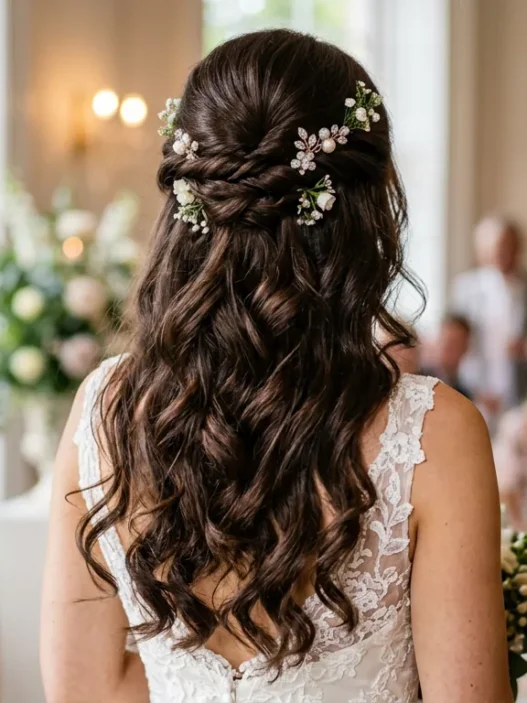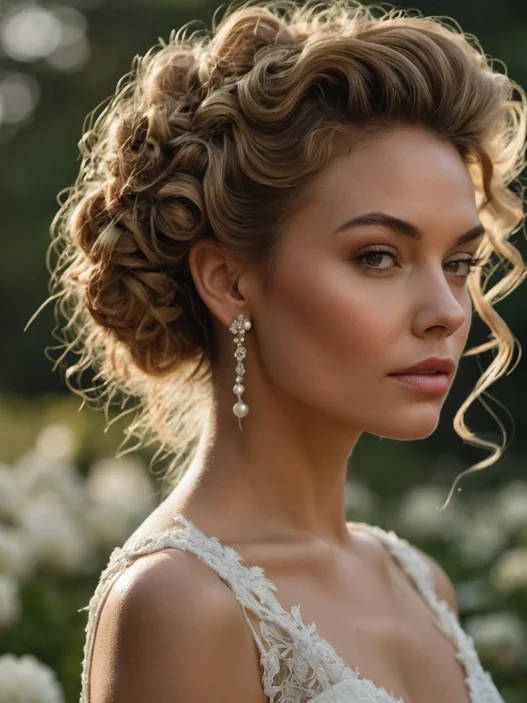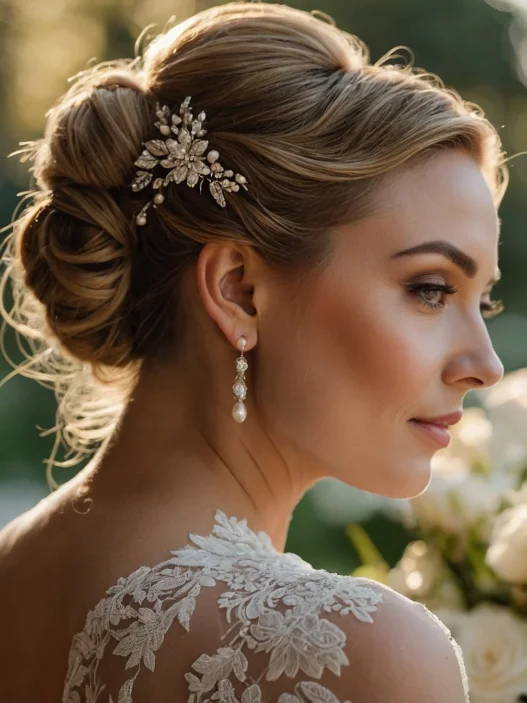







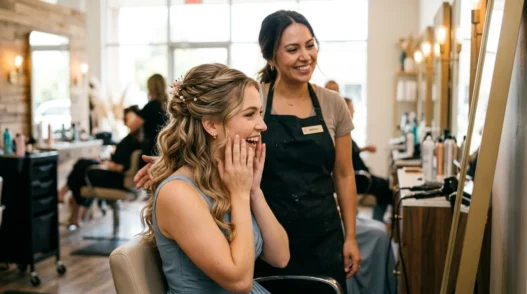
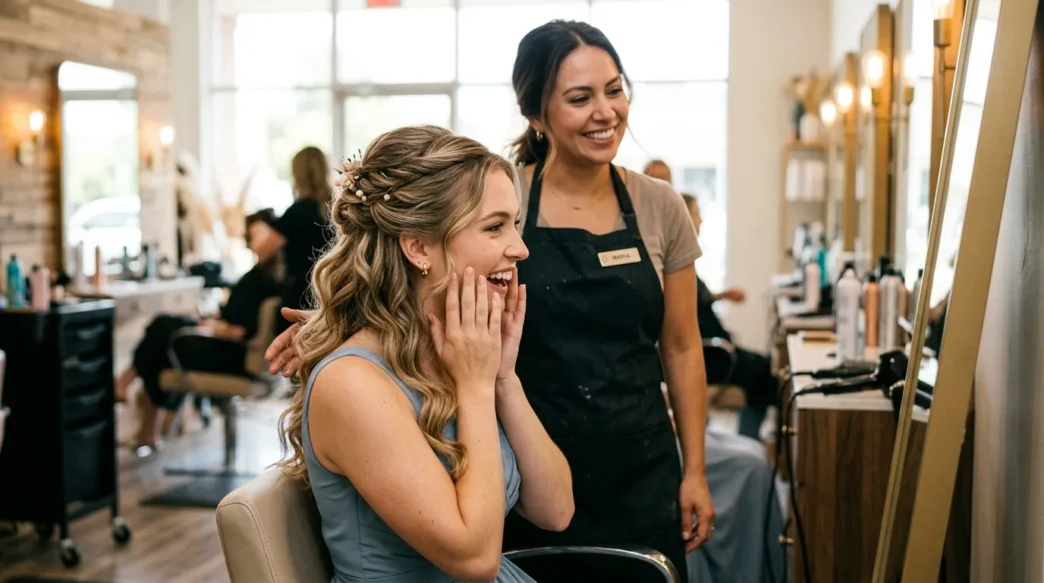
I’ve been a bridesmaid seven times. Seven! And let me tell you, after watching too many half up half down styles fall flat by cocktail hour, I finally figured out the foolproof method that actually lasts. This isn’t just about looking good for photos — it’s about dancing until midnight without constantly checking mirrors.
Getting Ready
Before we dive in, let’s talk about what you’ll need. I learned this the hard way when I showed up to my cousin’s wedding with just bobby pins and prayer.
- Heat protectant spray (non-negotiable)
- Volumizing mousse or root lift spray
- 1-inch curling iron or wand
- Hair ties that match your hair color
- Bobby pins (at least 15 — trust me)
- Small clear hair elastics
- Light-hold hairspray
- Texturizing spray or sea salt spray
- Fine-tooth comb and wide-tooth comb
- Hair clips for sectioning
The key difference between amateur and professional-looking half up half down styles? It’s all in the prep work and the right products. Don’t skip the volumizing step — it’s what separates gorgeous from flat.
Step 1: Prep Your Hair
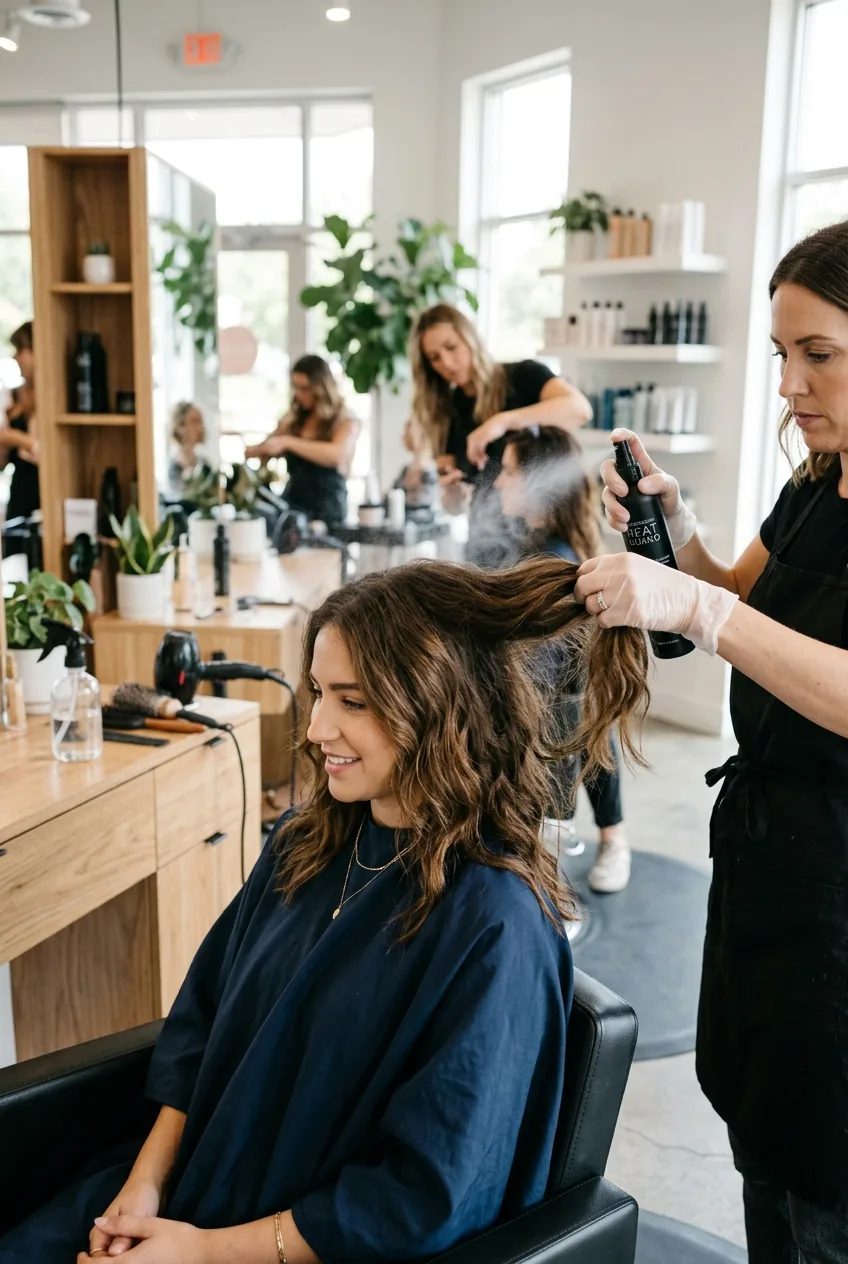
Start with clean, dry hair. If you’re washing the night before (which I recommend), sleep with your hair in a loose braid to create subtle texture. Day-of-wedding hair actually holds styles better than freshly washed hair anyway.
Spray heat protectant through your hair from mid-length to ends. Then apply volumizing mousse to your roots — but here’s the trick: work it in with your fingers while your head is upside down. This creates lift from the very beginning.
Blow dry with a round brush, lifting sections at the roots. If you have fine hair, this step is crucial for creating the foundation that will support your half-up style all day long.
Step 2: Create the Perfect Part
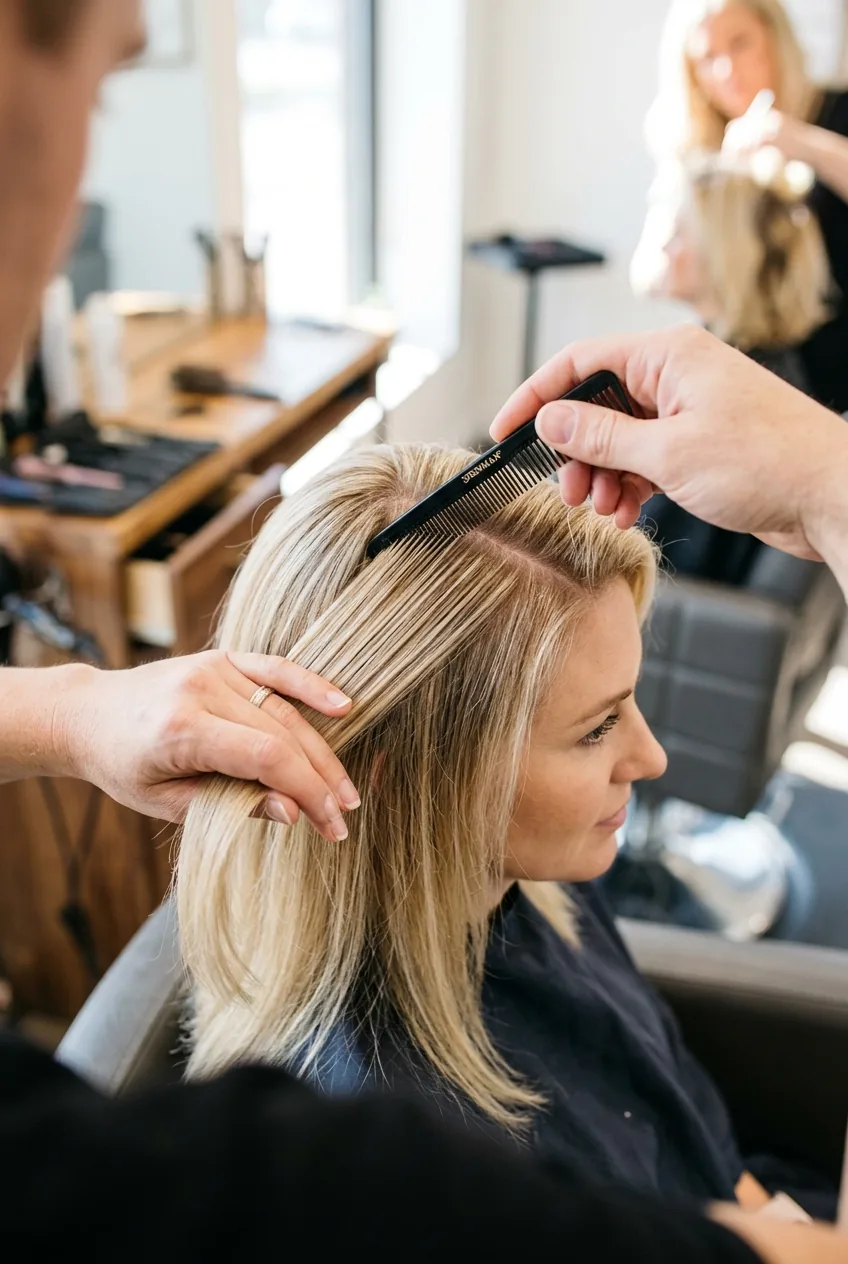
Your part makes or breaks this entire look. Most people go too severe or too straight. Instead, I create what I call a “soft diagonal” — it’s not a harsh side part, but it’s not centered either.
Using your fine-tooth comb, start about an inch off-center from your natural part. Draw the line back toward your crown, then let it curve naturally. This creates asymmetry that’s flattering on literally every face shape.
Pro tip I wish I’d known earlier: lightly mist the part line with hairspray and smooth it down with the comb. This prevents flyaways from ruining your photos later.
Step 3: Section and Secure
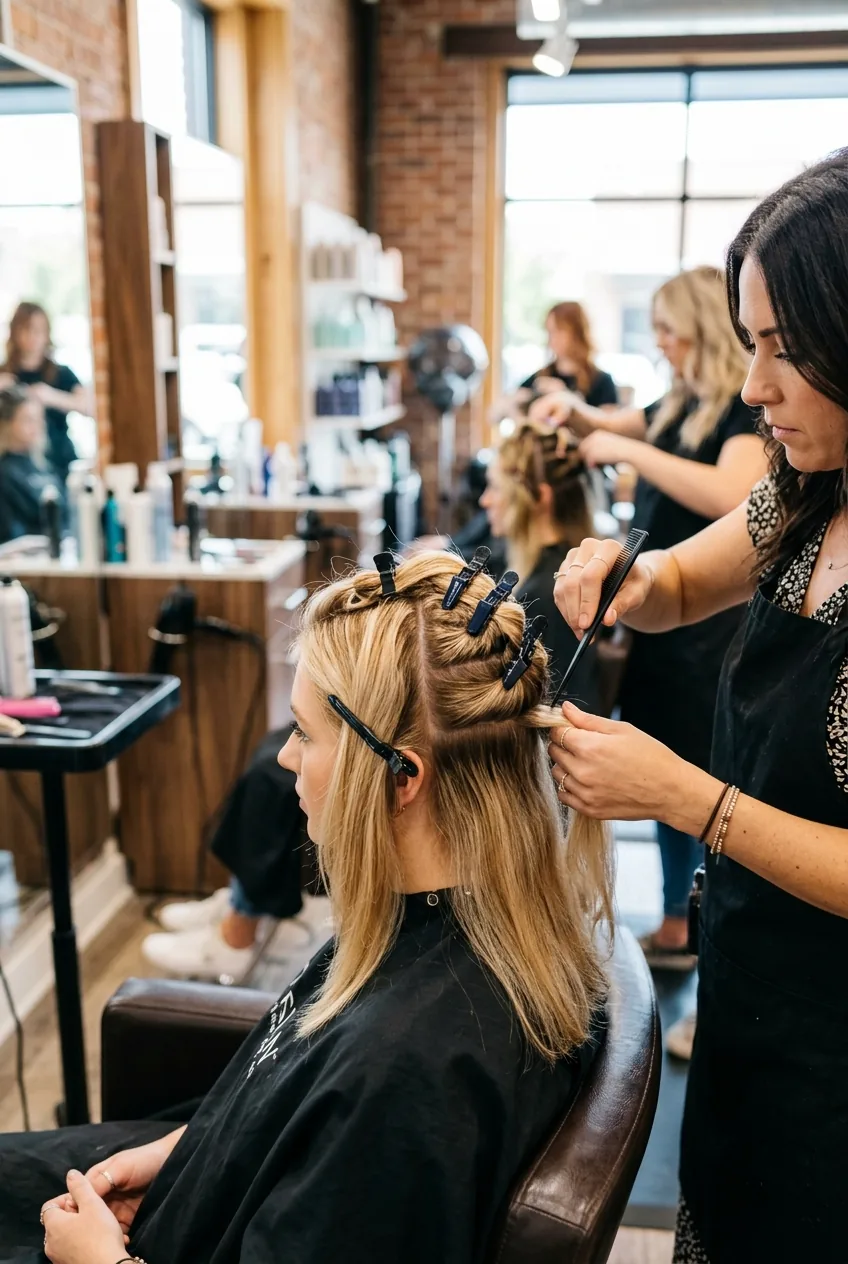
This is where most people get overwhelmed, but it’s actually simple once you know the formula. Divide your hair into three horizontal sections: the top (from your part to just above your ears), the middle (around ear level), and the bottom (everything else).
Clip away the bottom two sections for now. We’re focusing only on the top section — this is what will create your half-up base. The middle section stays loose but gets incorporated later.
Here’s something I learned from watching too many YouTube tutorials: don’t section too high. If you grab hair from above your temples, the style looks dated. Keep your sectioning at temple level or just slightly above.
Step 4: Build Volume
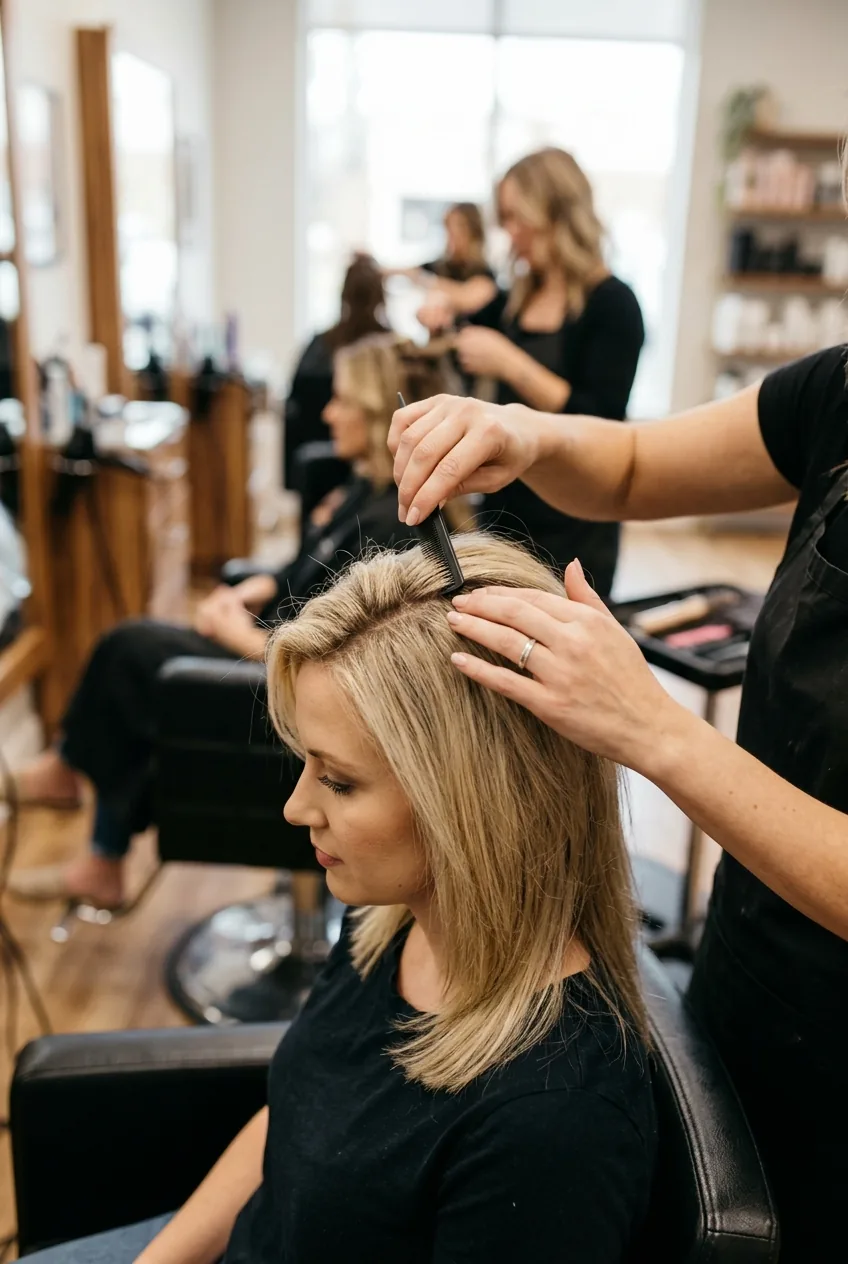
Volume is everything in bridesmaid half up half down hairstyles. Without it, you end up with flat hair pulled straight back — not the romantic look you’re going for.
Take that top section and gently tease it at the crown. I use a fine-tooth comb and work in small subsections, teasing about 2 inches from the roots. But here’s the key: tease downward toward your scalp, not upward toward the ceiling.
I used to tease way too aggressively and ended up with what looked like a bird’s nest by hour three. Gentle teasing with strategic placement works so much better than going crazy with the backcomb.
After teasing, lightly smooth the top layer with a wide-tooth comb. You want to hide the teasing while keeping all that volume underneath.
Step 5: Create the Half-Up Base
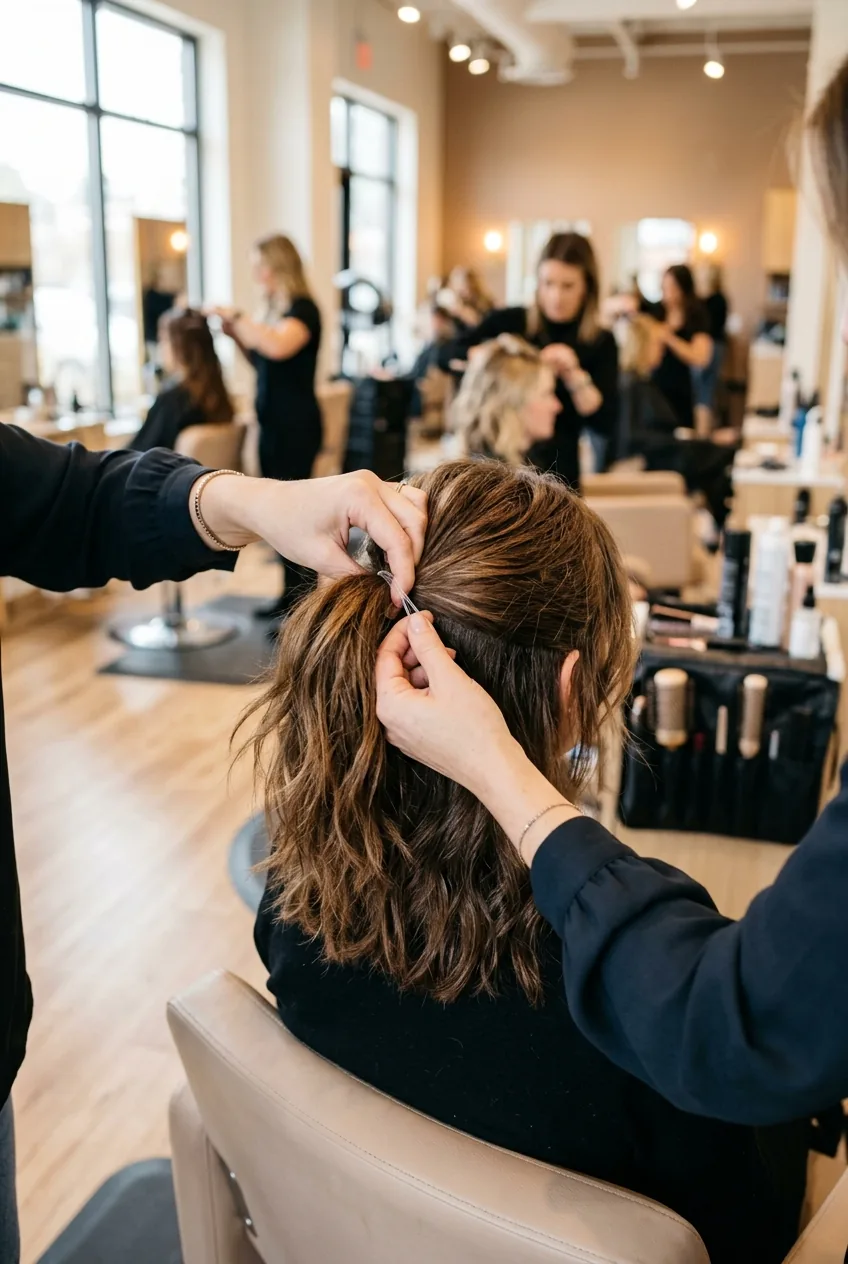
Now we’re getting to the good stuff. Take all that volumized hair from your crown area and gather it loosely at the back of your head — about 2 inches above where a regular ponytail would sit.
Here’s the secret: don’t pull it tight. Create a loose, soft gather that maintains all that volume we just built. Secure it with a small clear elastic, but leave it slightly loose.
Before you move on, gently tug at the hair around your face and crown to create even more softness. This technique is called “pancaking” and it’s what gives professional-looking volume and texture.
Step 6: Add Texture and Waves
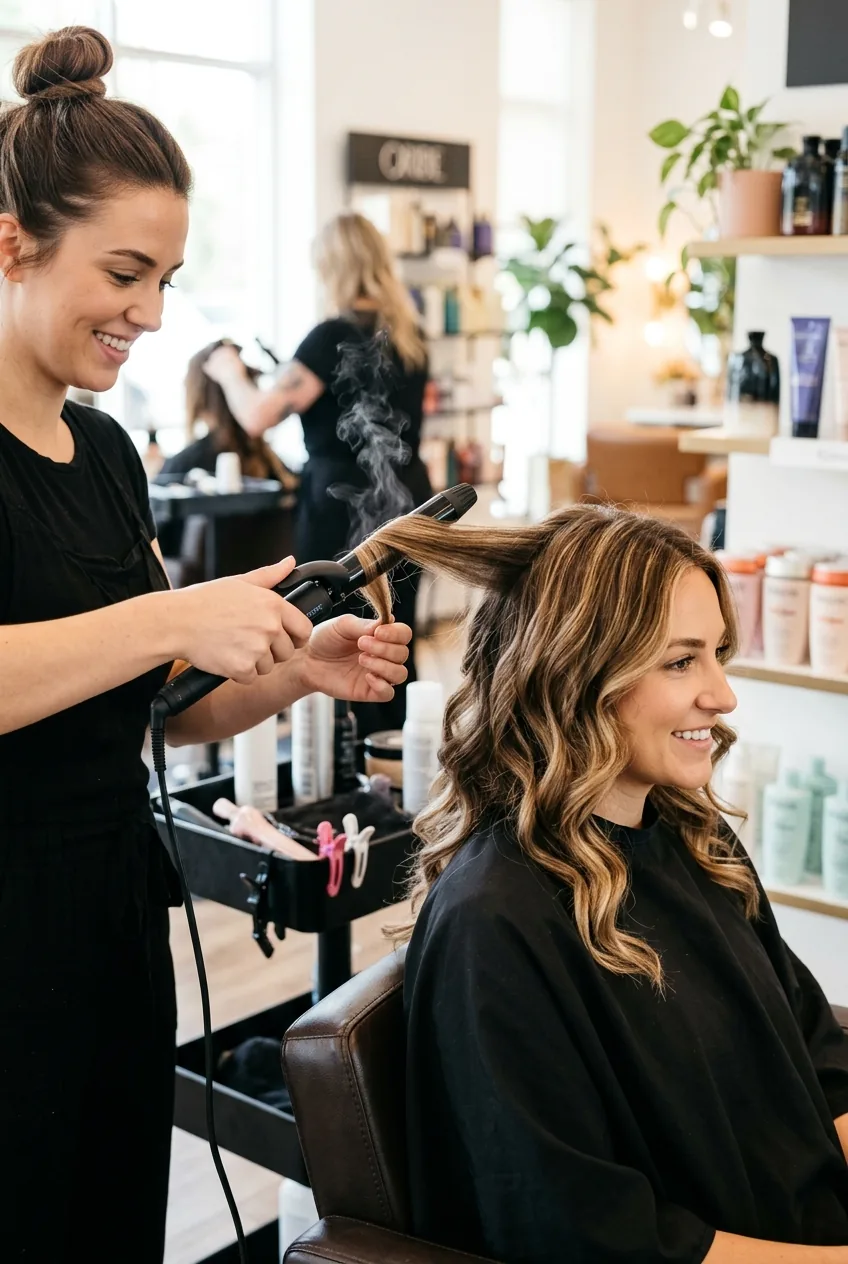
This step transforms everything from basic to beautiful. Take your curling iron and work through the loose hair — both the hair in your half-up ponytail and all the hair that’s still hanging down.
I curl in 1-inch sections, alternating the direction of each curl. Curl some pieces toward your face, others away from your face. This creates natural-looking movement instead of uniform spirals.
The game-changer? After each curl cools, gently break it apart with your fingers. Don’t brush through the curls — just scrunch and separate them by hand. This creates those gorgeous, loose waves that photograph beautifully.
For extra texture, spritz everything with texturizing spray while the hair is still slightly warm from curling. The heat helps the product set better.
Watch This Curling Technique in Action
Step 7: Secure and Pin
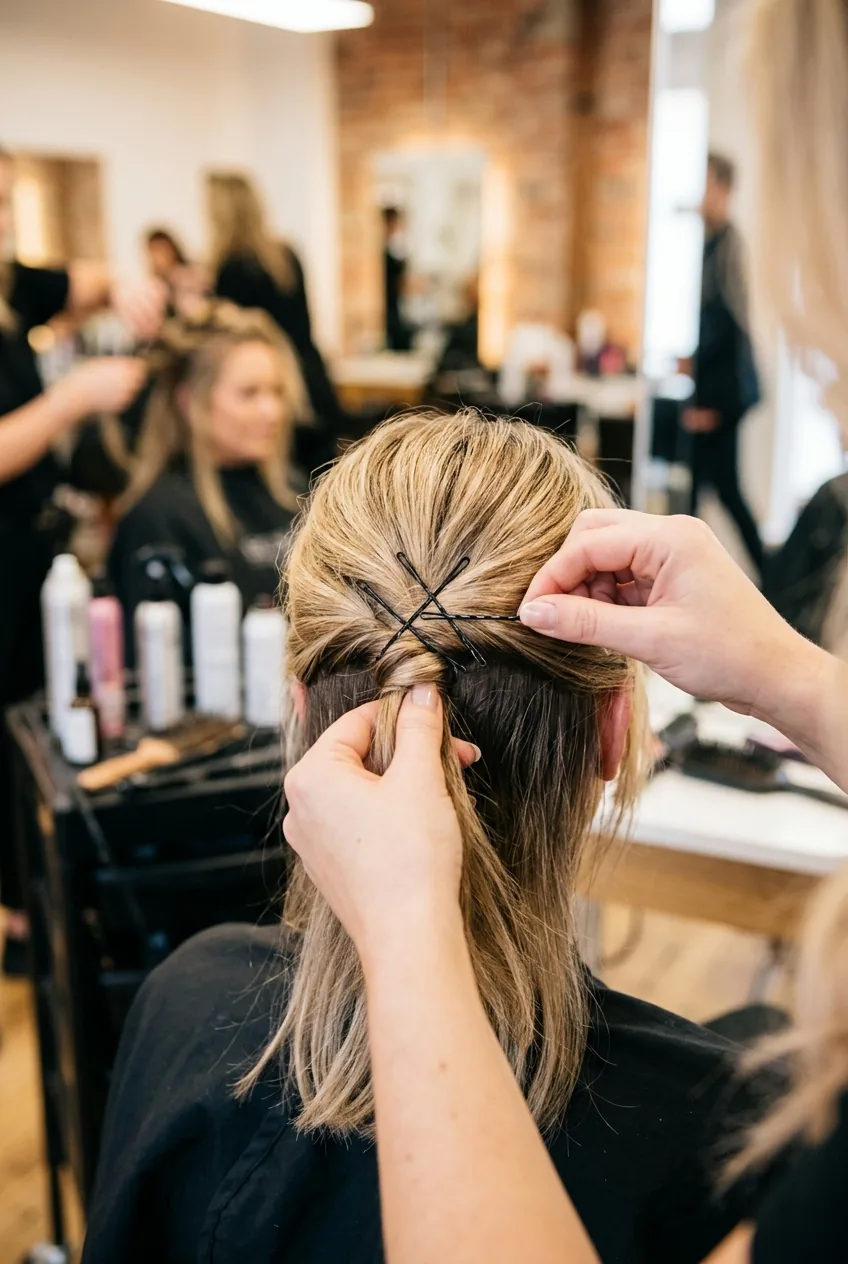
Time to make this style bulletproof for a long wedding day. Take your half-up section and twist it gently before securing it with bobby pins. But don’t just stick pins in randomly — there’s a strategy.
Cross your bobby pins in an X pattern underneath the twisted section. This creates a stable base that won’t budge during dancing. Use at least 4-6 pins, and make sure they’re completely hidden under the hair.
For extra security, I take a few pieces from the sides and loosely pin them back to blend with the main section. This prevents those annoying face pieces from falling forward during the ceremony.
Quick check: gently shake your head. If anything feels loose or moves too much, add more pins. You want this style to survive everything from outdoor photos to reception dancing. For more elegant formal styles that work perfectly for special occasions, check out these headband hairstyles for oval faces that complement half up half down looks beautifully.
Step 8: Final Touches and Hold
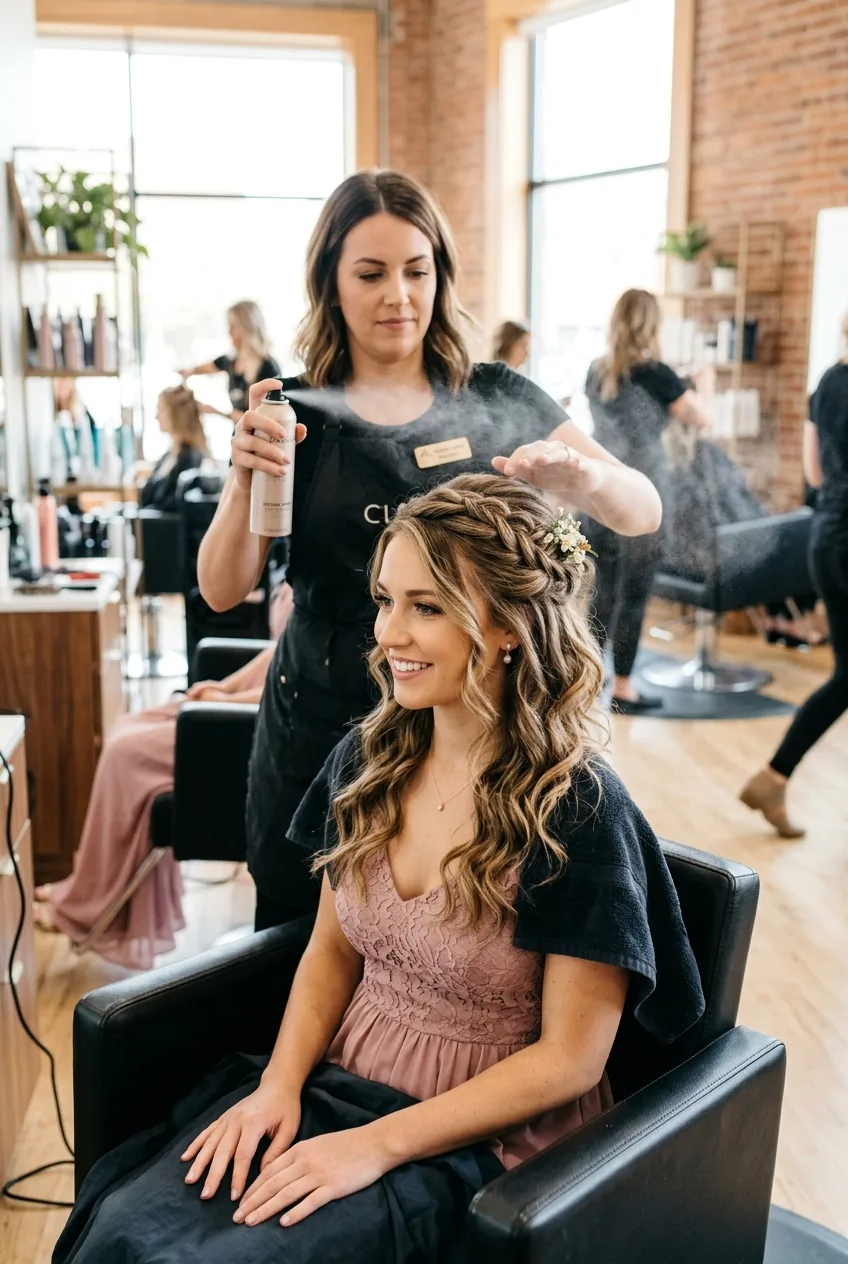
The final step is what separates good from gorgeous. Lightly mist your entire style with hairspray, but don’t go overboard — you want movement, not helmet hair.
Use your fingers to gently separate any curls that clumped together and adjust the volume at your crown if needed. Sometimes the weight of the style can flatten things out, so a little strategic fluffing works wonders.
For the perfect finishing touch, pull out a few tiny pieces around your face and very lightly curl them with your iron. These face-framing wisps make the whole style look effortless and romantic.
And here’s my secret weapon: delicate hair accessories can transform this classic style into something unique for each wedding’s vibe.
Quick Answers for Last-Minute Questions
How long will this style last?
With proper prep and the right products, this half up half down style easily lasts 8-10 hours. I’ve danced until 2 AM with this exact method and still had volume and hold.
Can I do this on short hair?
Absolutely! If your hair is chin-length or longer, this method works beautifully. For shorter styles, focus on creating texture and volume rather than elaborate twisting.
What if I have super fine hair that won’t hold volume?
Fine hair is actually easier to work with for this style than thick hair. Use a stronger volumizing mousse, tease more strategically, and don’t skip the texturizing spray — it adds grip that helps everything stay in place.
Should I practice this beforehand?
Yes, definitely do a trial run! Practice at least once before the wedding day. Time yourself and take photos in different lighting to make sure you love how it looks.
Can this work for outdoor weddings?
This style is actually perfect for outdoor weddings because it keeps hair off your neck while still looking elegant. Just use a bit more hairspray and consider anti-humidity products if it’s going to be muggy.
The result? I’ve worn this exact style to three weddings this year, and every single time people asked who did my hair. The secret is in those strategic volume-building steps and the way you secure everything for lasting power. Once you master this method, you’ll never stress about bridesmaid hair again. This elegant approach works beautifully for other special occasions too — it’s perfect for those transitional seasons when you want something polished but not too formal, like these fall spring hairstyles that bridge the gap between casual and dressy.