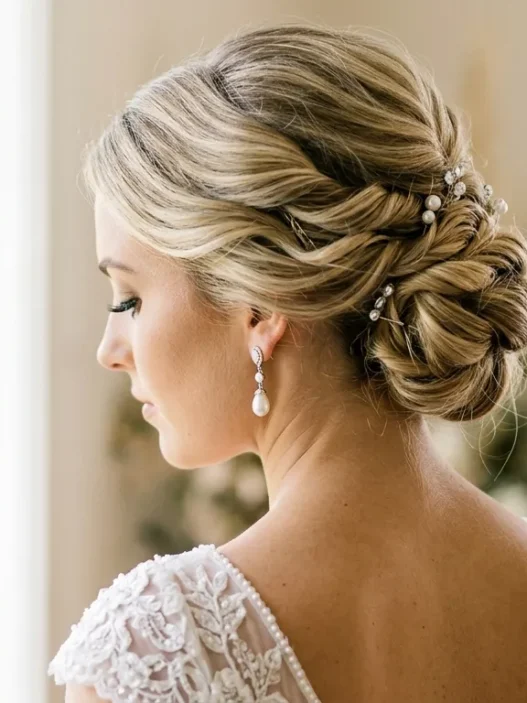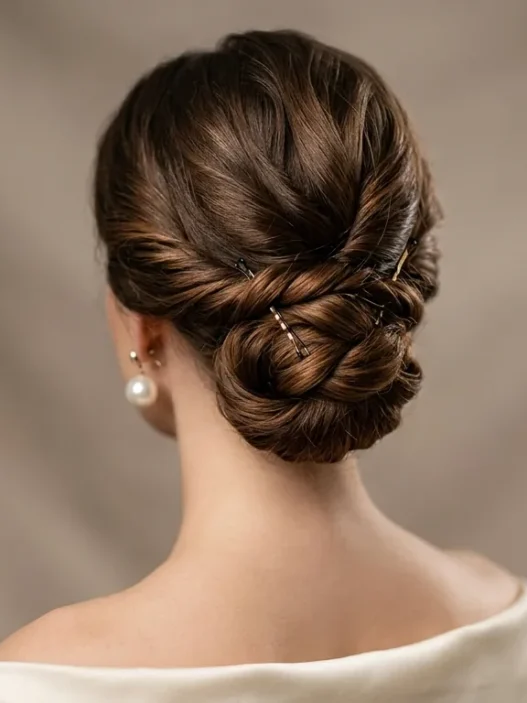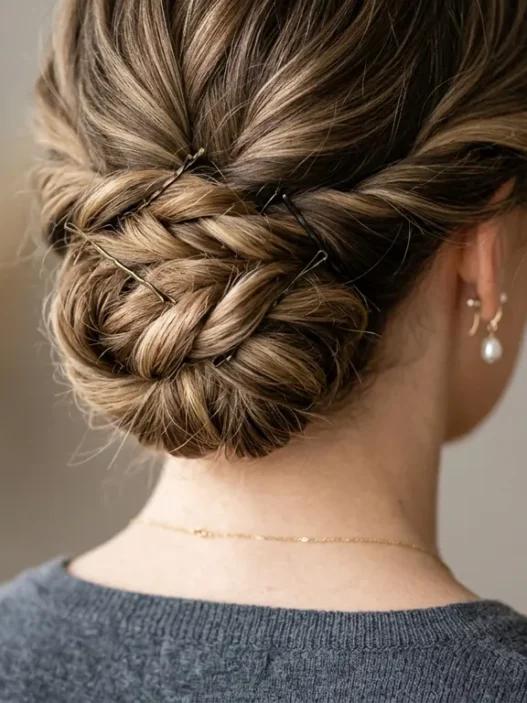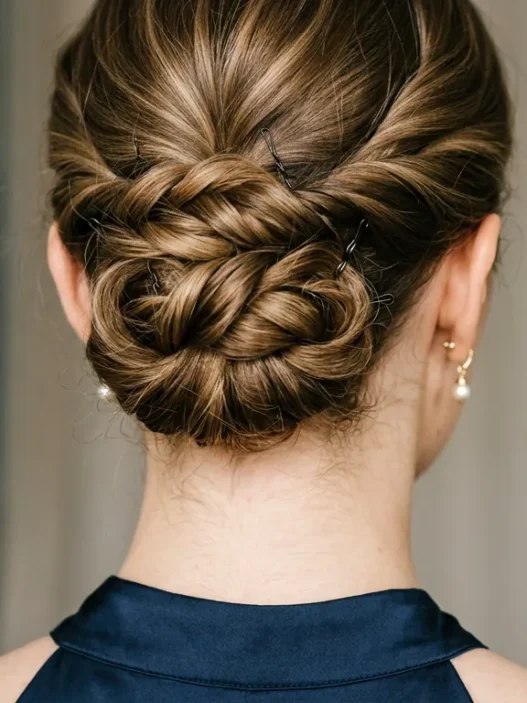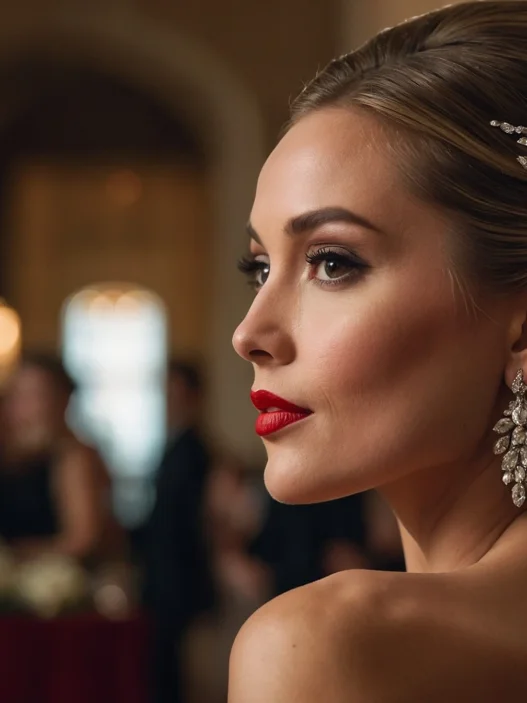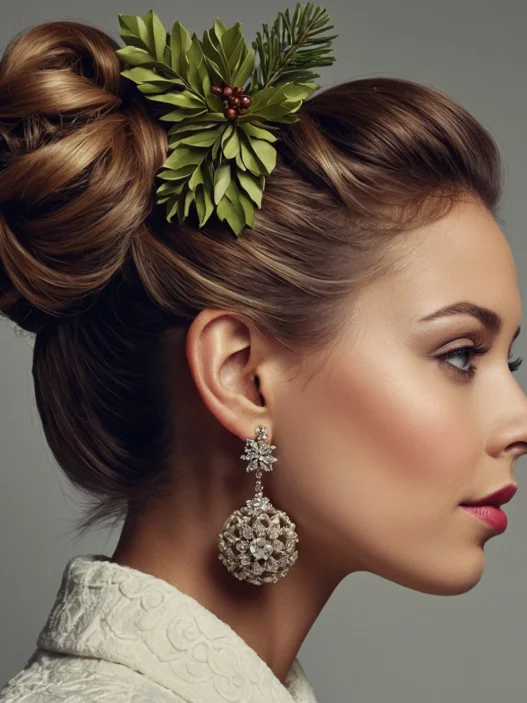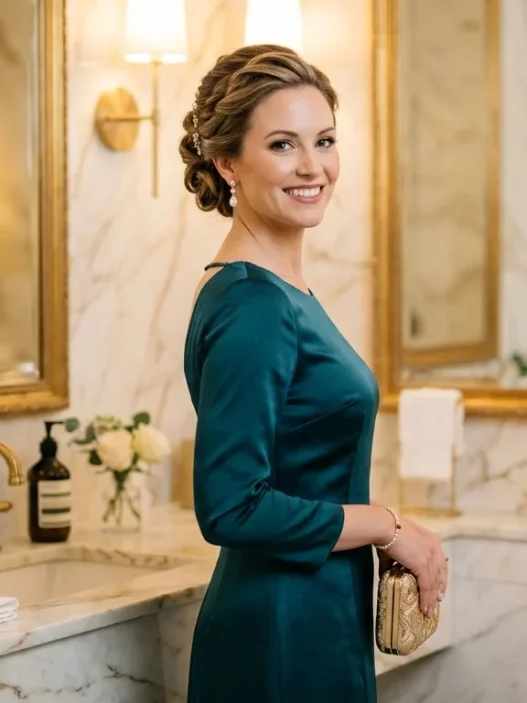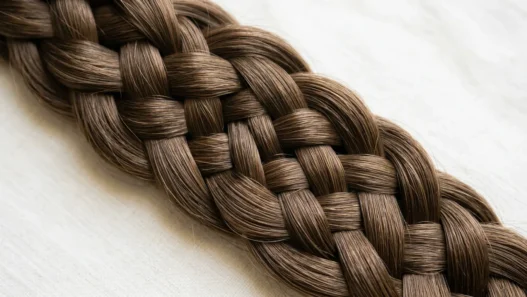







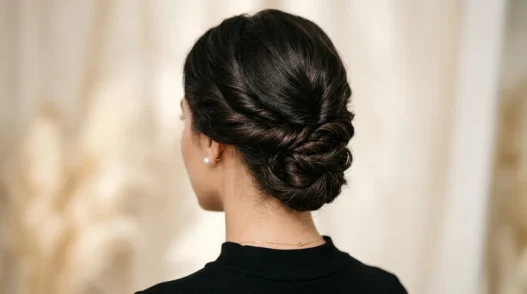
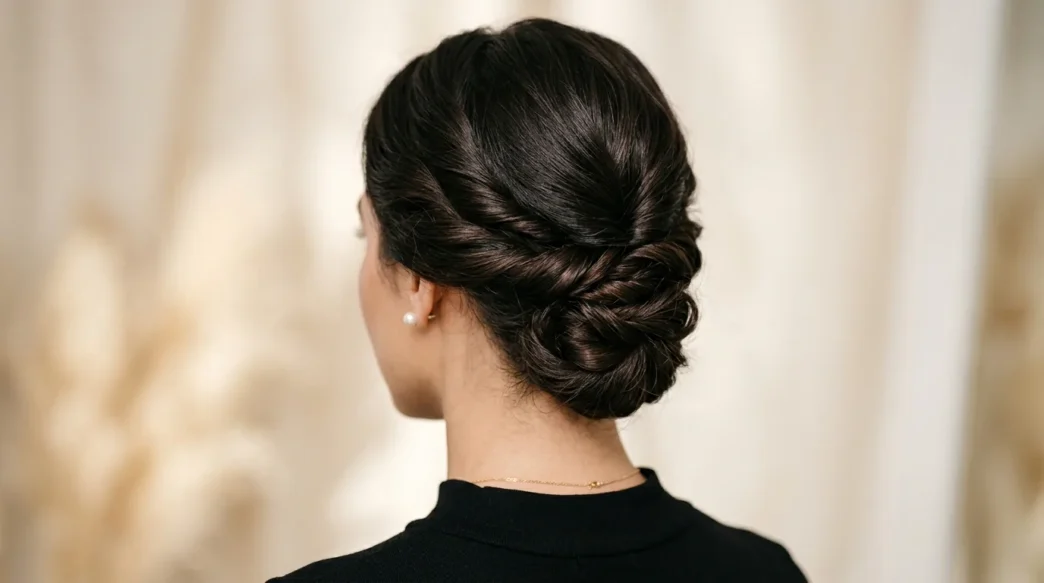
I used to think formal hairstyles were just about fancy braids and lots of hairspray. Then I watched my stylist create the most gorgeous low chignon at my cousin’s wedding, and I realized there’s a whole technique behind those flawless updos you see on red carpets. The way she twisted and pinned each section wasn’t random at all — it was methodical, professional, deliberate.
What You’ll Need for Pro Results
Before we dive into the technique, let’s talk tools. This isn’t about having expensive equipment — it’s about having the RIGHT equipment.
- Paddle brush (for smooth prep work)
- Rat-tail comb (the pointy end is crucial for clean parts)
- Clear elastic bands (at least 3)
- Bobby pins in your hair color (I use at least 15-20)
- Hair pins (longer than bobby pins, for securing bulk)
- Strong-hold hairspray
- Texture spray or mousse
- Hair oil or serum for shine
What Professionals Do Differently
Here’s what I learned watching stylists work: they don’t just twist hair up and pin it randomly. They create a foundation first. The difference between a messy bun that falls apart by dinner and a formal updo that photographs beautifully all night comes down to this foundation technique.
Professional stylists also work in sections that follow your head’s natural curves. They’re not fighting against your hair’s growth pattern — they’re working with it. And they secure each section completely before moving to the next one.
The biggest revelation? Professional techniques always involve creating texture BEFORE styling, not after. This gives the pins something to grip and prevents that slippery, sliding feeling you get with freshly washed hair.
Step 1: The Industry-Grade Foundation
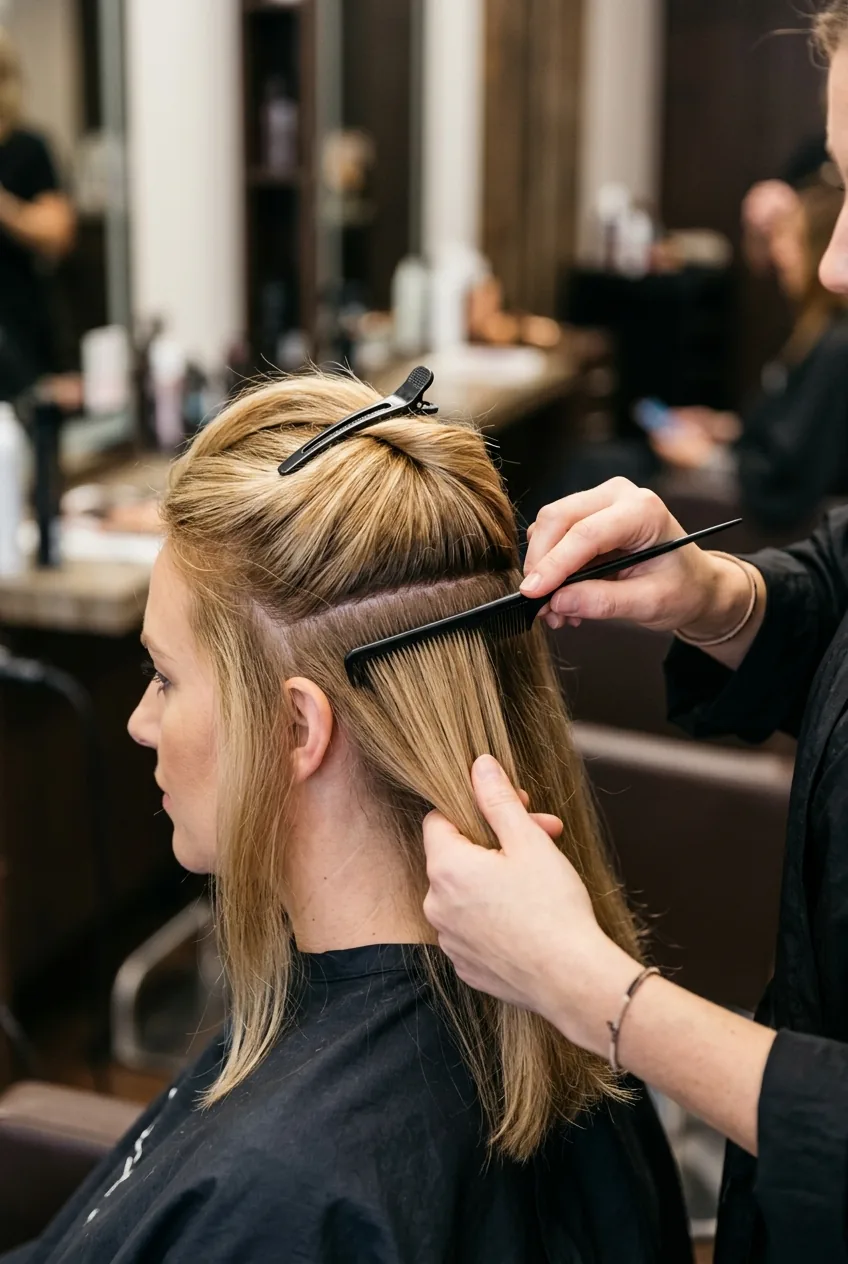
Start with day-old hair — this is crucial. If you just washed your hair, spray some texture spray through the lengths and scrunch it in. We need grip, not slip.
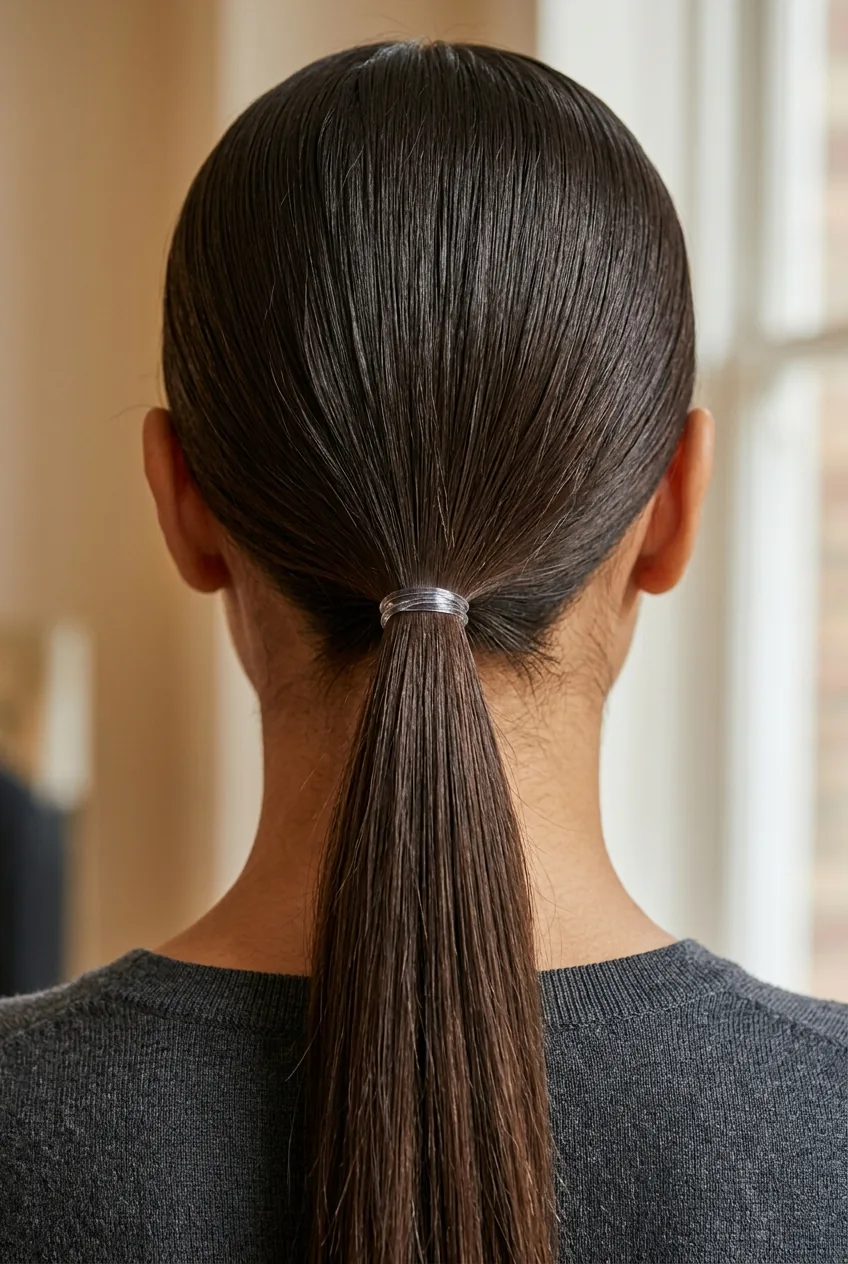
Brush everything straight back with your paddle brush. No side part yet — we’re creating a smooth base first. Apply a small amount of hair oil to your palms and smooth it over the surface. This prevents flyaways without making the hair slippery.
Now, using your rat-tail comb, create a horizontal part from ear to ear, about two inches above your ears. This gives you an upper section and a lower section. Clip the upper section up and out of the way.
Step 2: Building Your Base Structure
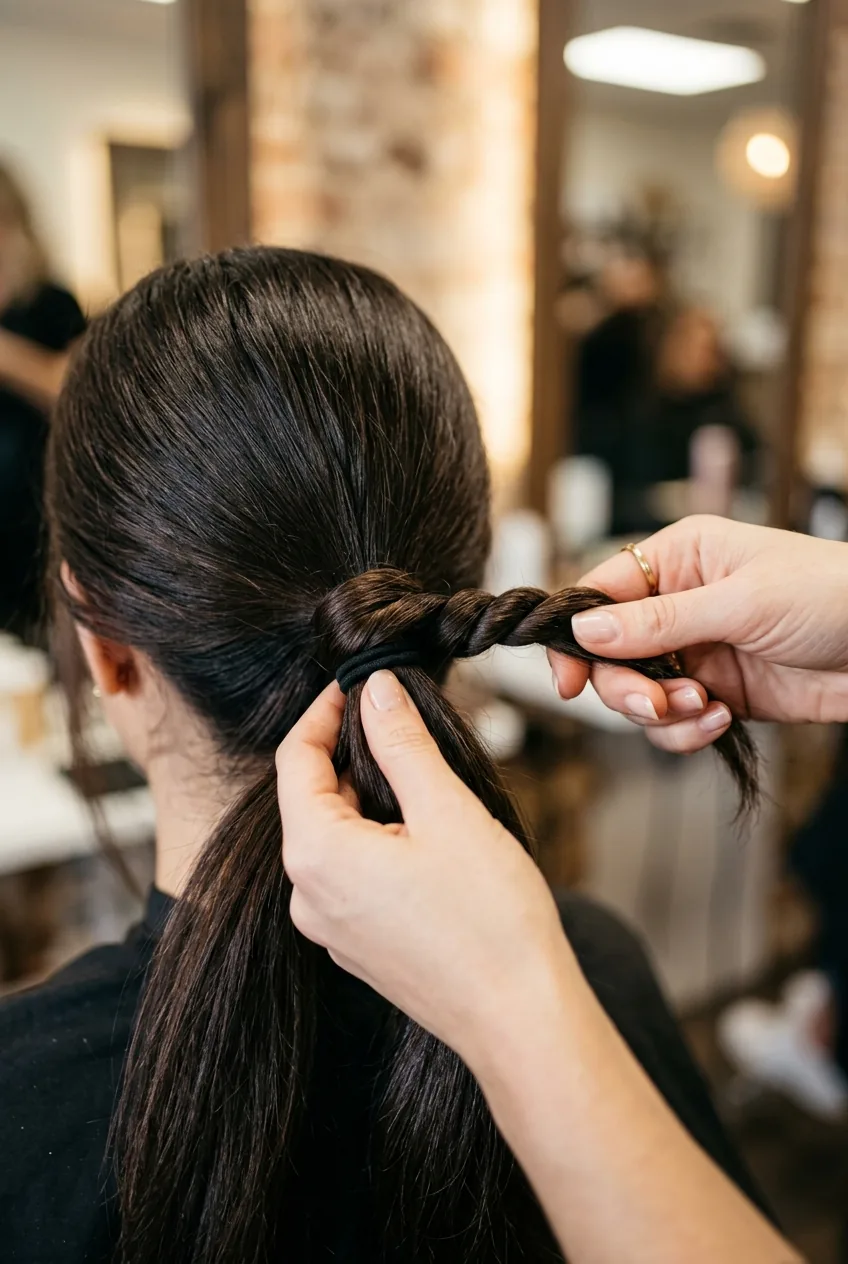
Working with the lower section first, brush it straight back to the nape of your neck. The key here is tension — pull it taut but not so tight that it hurts. Create a low ponytail right at the nape, securing it with a clear elastic.
This ponytail becomes your anchor point. Everything else will wrap around and attach to this base. Don’t worry if it looks severe right now — we’re building the skeleton that will support the entire style.
I used to skip this step and just try to pin sections directly to my head. Big mistake. Without this anchor ponytail, everything slides down by the end of the night. The ponytail gives you something solid to pin into.
Step 3: The Signature Twist Technique
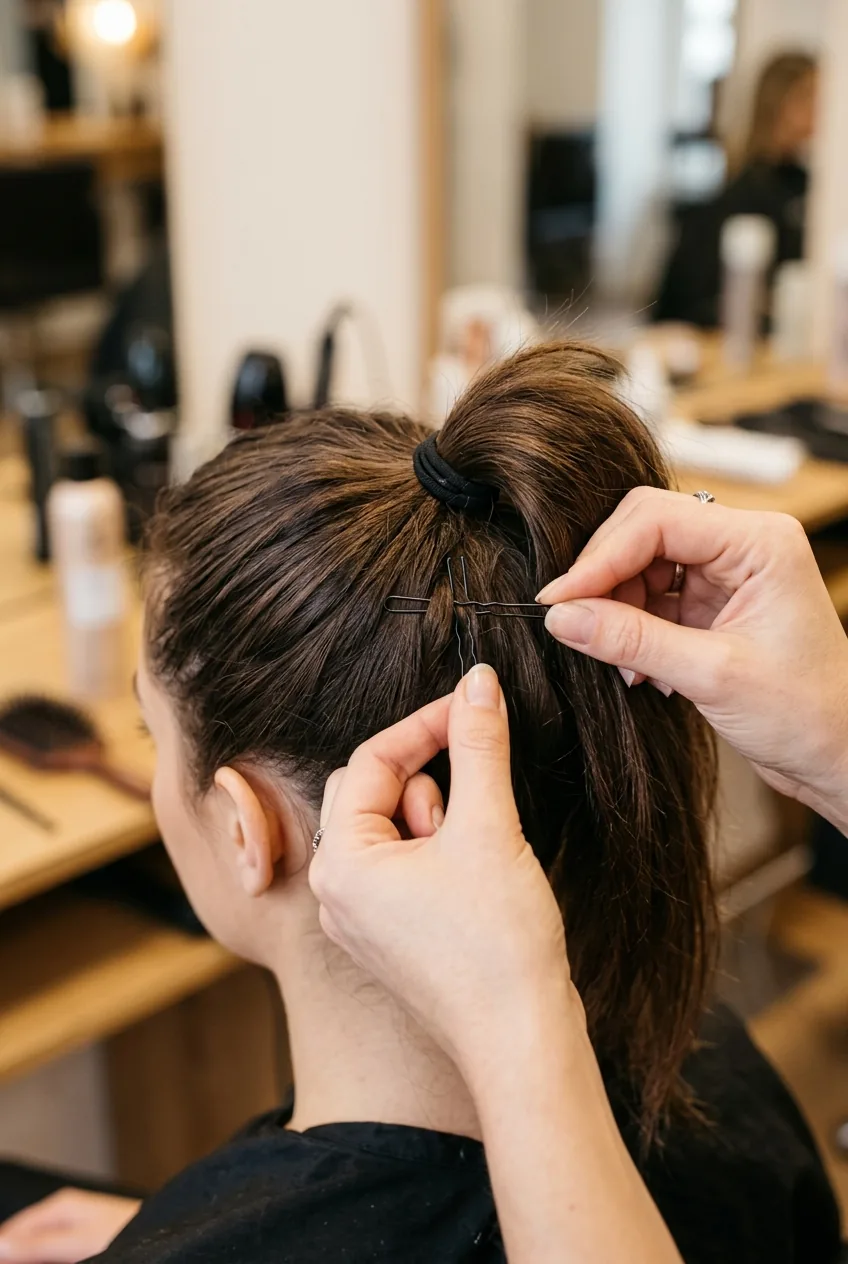
Release the upper section. This is where the magic happens. Divide this section into three parts: left side, right side, and center back.
Start with the left side. Brush it back toward the base ponytail, but instead of going straight back, angle it slightly downward. As you bring it back, twist the section away from your face — just a loose twist, not a tight rope.
Here’s the professional trick: when the twisted section reaches your base ponytail, don’t just pin it down. Wrap it AROUND the elastic band of your ponytail, then pin the end underneath. This hides the elastic and creates bulk around your anchor point.
Repeat with the right side, twisting away from your face and wrapping around the base. The center back section gets brushed straight down and wrapped around as well.
Step 4: Professional Pin Placement
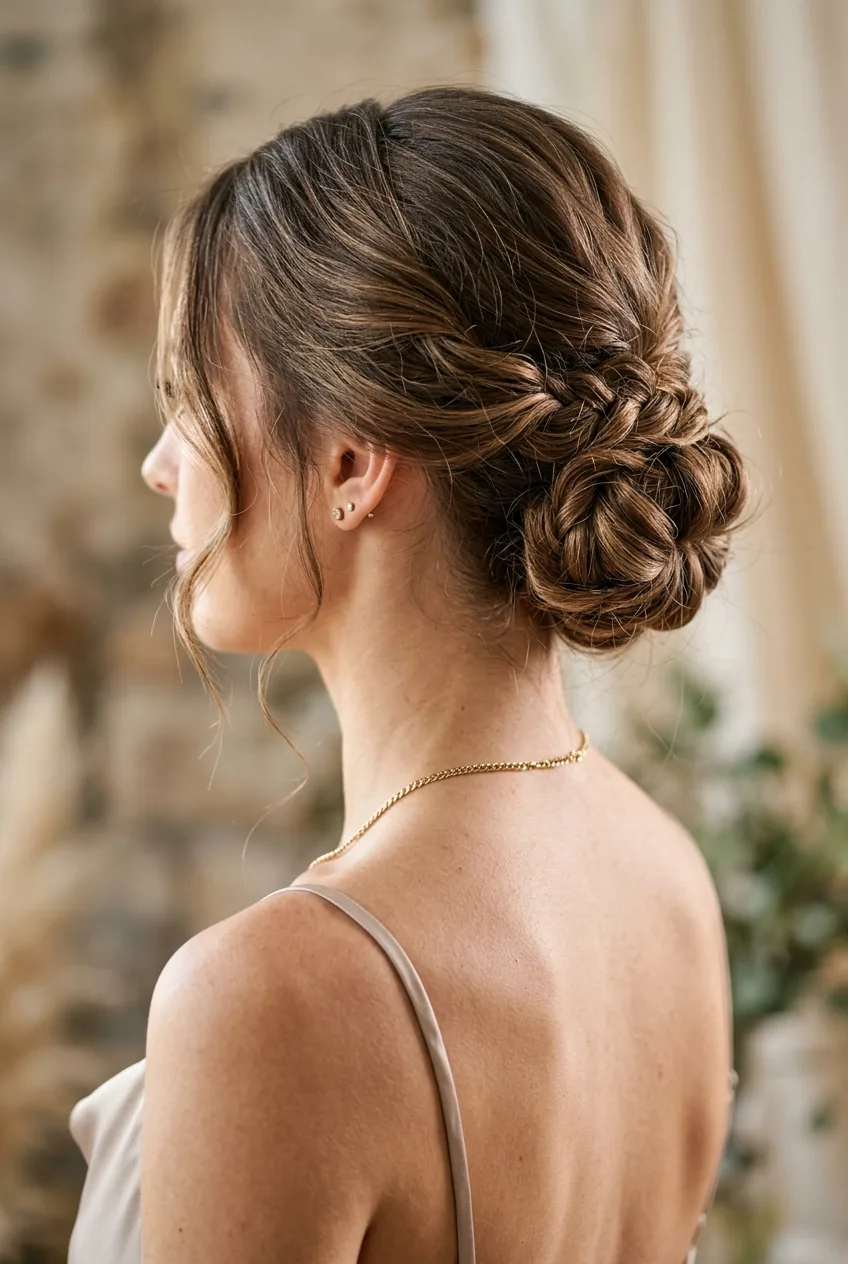
Now for the ponytail itself. Divide it into three sections. Take the first section and create a loose loop — not a tight twist, just a soft, rounded loop. Pin this loop to the base, making sure your bobby pins go THROUGH the elastic band underneath. This is what keeps everything secure.
The second section gets looped in the opposite direction, creating asymmetry. The third section fills in any gaps. Each loop should look effortless, but every single pin needs to go through that base elastic.
Professional stylists use both bobby pins and hair pins. Bobby pins secure individual pieces and smooth flyaways. Hair pins go through multiple layers to lock the entire structure in place. I use hair pins for the main attachment points and bobby pins for the finishing touches.
Step 5: Finishing Like a Pro
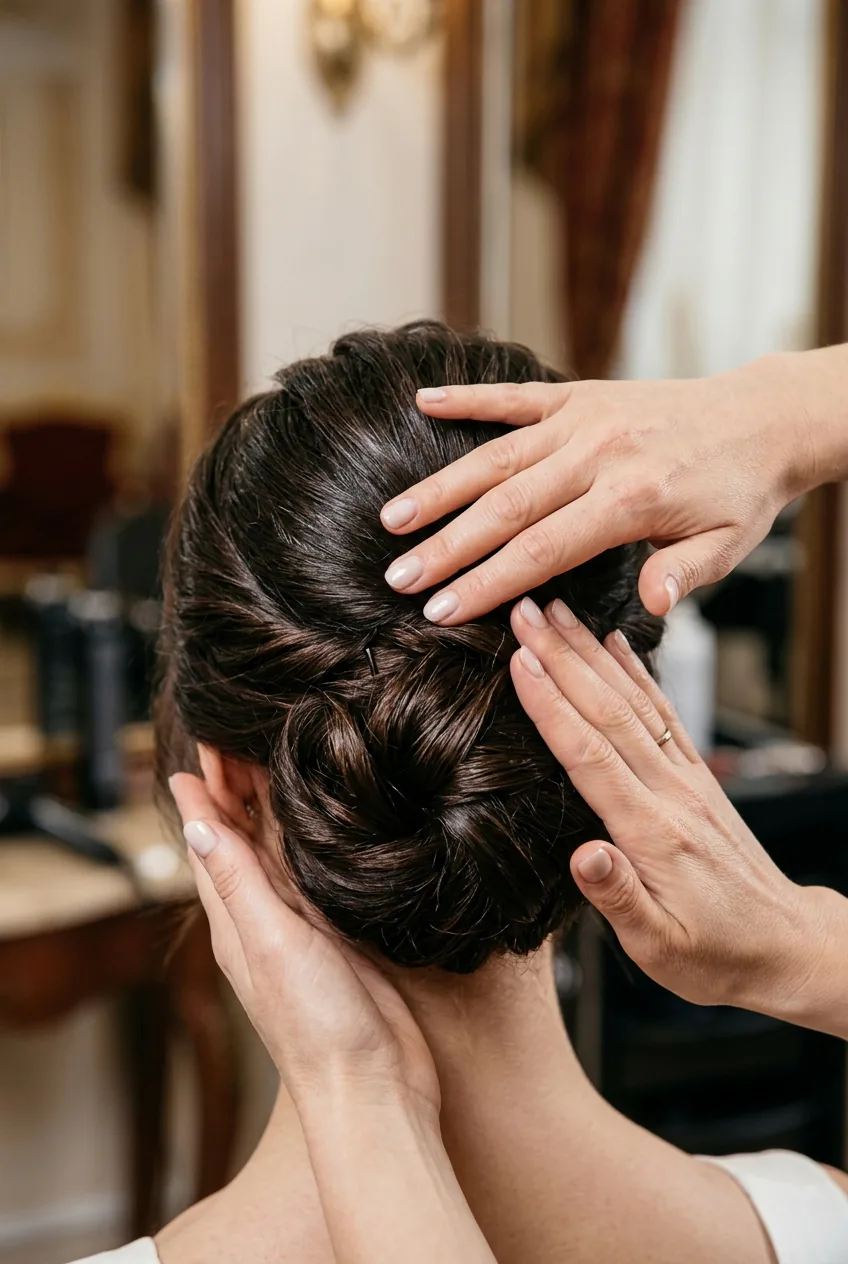
Step back and look at your work. Professional updos have movement and texture, not perfection. Gently tug at a few pieces around your face to create softness. Pull out a few wisps around your ears — this prevents the “too done” look.
Spray everything with strong-hold hairspray, but here’s the pro technique: spray it into your hands first, then smooth your palms over the style. This gives you control and prevents that crunchy, overly-sprayed texture.
For extra security, especially if you’re dancing or will be active, add a few more hair pins through the heaviest sections. Event hair specialists always over-pin rather than under-pin.
Why Salon Results Last Longer
The difference between amateur and professional formal hairstyles comes down to that foundation ponytail and the wrapping technique. When you pin directly to your scalp, you’re fighting gravity all night. When you pin to a secured base, gravity actually works in your favor — everything settles into the base instead of sliding down.
Stylists also know that formal styles need to photograph well from every angle. That’s why we work in three dimensions — creating loops and twists that look beautiful from the front, sides, and back.
Questions I Get About This Technique
Can this work on thin hair?
Absolutely — the texture spray step is even more crucial for thin hair. You might need to tease the sections slightly before twisting them to create more volume around the base.
How long does this style hold?
With proper pinning, this should last 12+ hours easily. I’ve worn this technique to full-day weddings and it looked just as good at the reception as it did for the ceremony.
What if I have layers?
Layers actually make this easier because they create natural texture. Just make sure to use extra bobby pins on the shorter pieces that want to escape.
Can I add accessories?
Yes, but add them after the base is secured. Hair jewelry or pins should go through your bobby pins for extra security, not just rest on top of the hair.
The first time I nailed this technique, I felt like I’d unlocked some secret stylist code. My updo stayed perfect through a six-hour wedding, and three people asked me who did my hair. That foundation ponytail method changed everything for me — now I actually look forward to formal events instead of dreading the hair struggle.