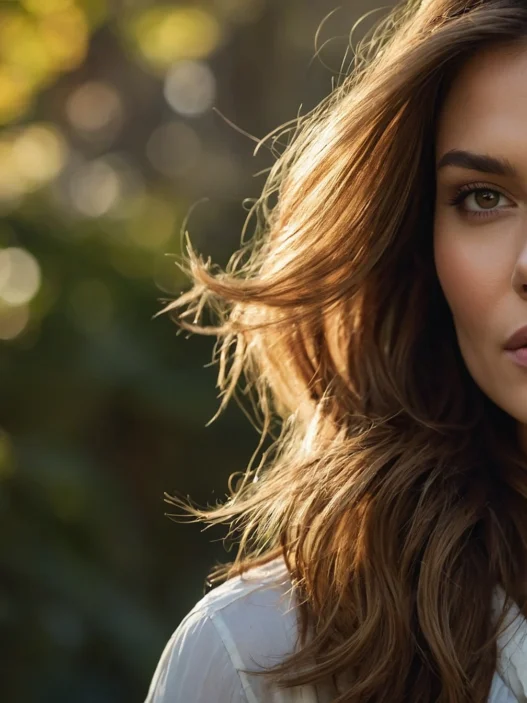


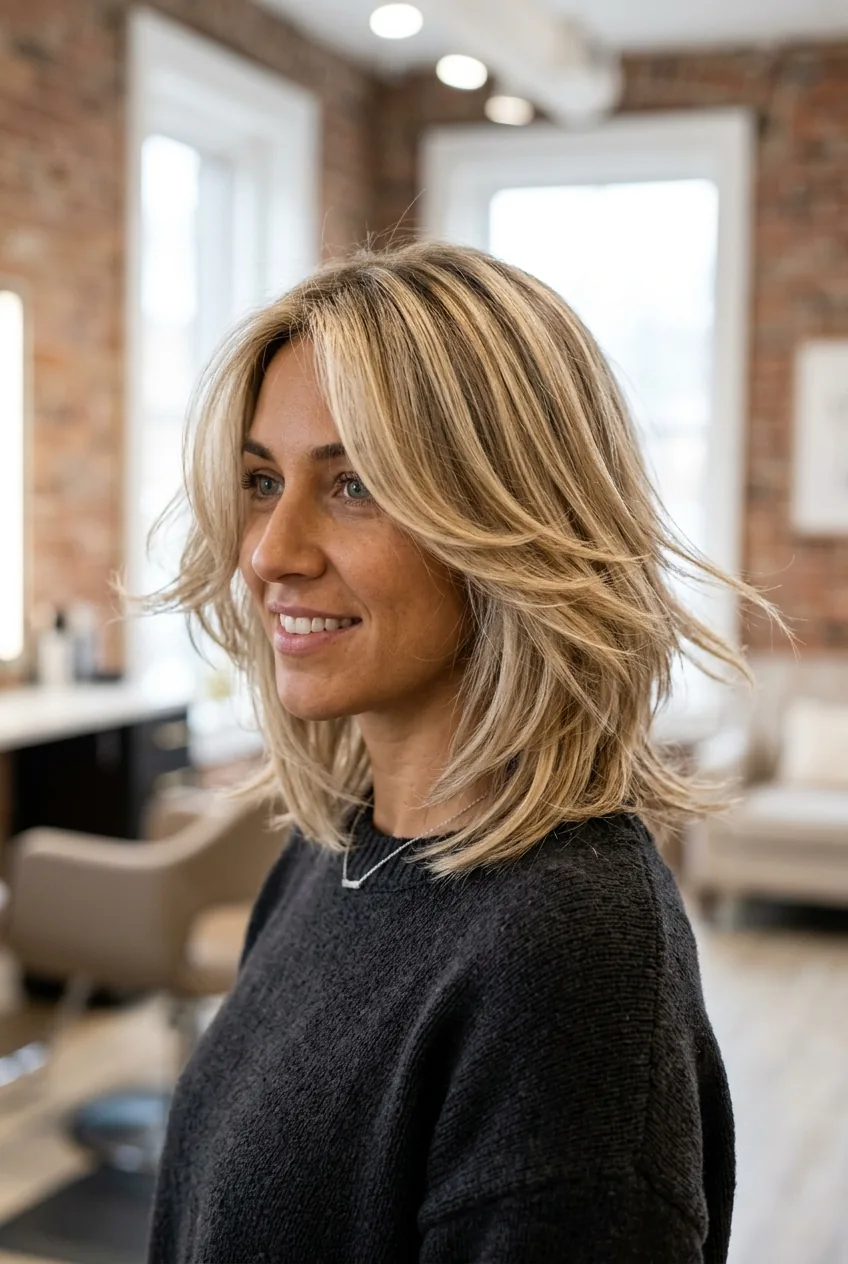
I spent two years trying to nail the perfect blonde layered hair. Every salon visit left me with either flat layers that did nothing or brassy blonde that looked cheap. But last spring, I finally figured out the exact process that creates those gorgeous, dimensional layers you see on Instagram. Turns out, it’s all about the order you do things in.
What You’ll Need
Here’s everything I use for this process. Don’t skip the thinning shears — they’re absolutely essential for the movement we’re after:
- Professional hair cutting scissors (sharp ones, not drugstore scissors)
- Thinning shears with at least 30 teeth
- Sectioning clips (at least 6)
- Wide-tooth comb
- Professional blonde hair color (or salon appointment)
- Toner for blonde shades
- Heat protectant spray
- Texturizing spray
- Round brush (medium barrel)
- Blow dryer with concentrator nozzle
The Foundation Phase: Color and Cut Strategy
The biggest mistake I see with blonde layered hair? People cut first, then color. Wrong order. When you’re dealing with layers, the blonde needs to complement the cut, not fight against it.
Start with your base blonde color. I learned this from watching professional colorists — they always establish the blonde foundation before touching the layers. If you’re going from darker hair, this might take multiple sessions. Don’t rush it.
For the initial cut, you want a basic long layer foundation. Nothing fancy yet. Think of it as creating the canvas. The layers should be subtle at this stage — we’re just removing weight and creating the basic shape that will support our dimensional cutting later.
The key is working with damp hair for the foundation cut. Wet hair stretches, so you’ll get uneven results. Damp hair shows you the true fall and movement, which is crucial for layered cuts.
Building the Layers: Sectioning and Cutting
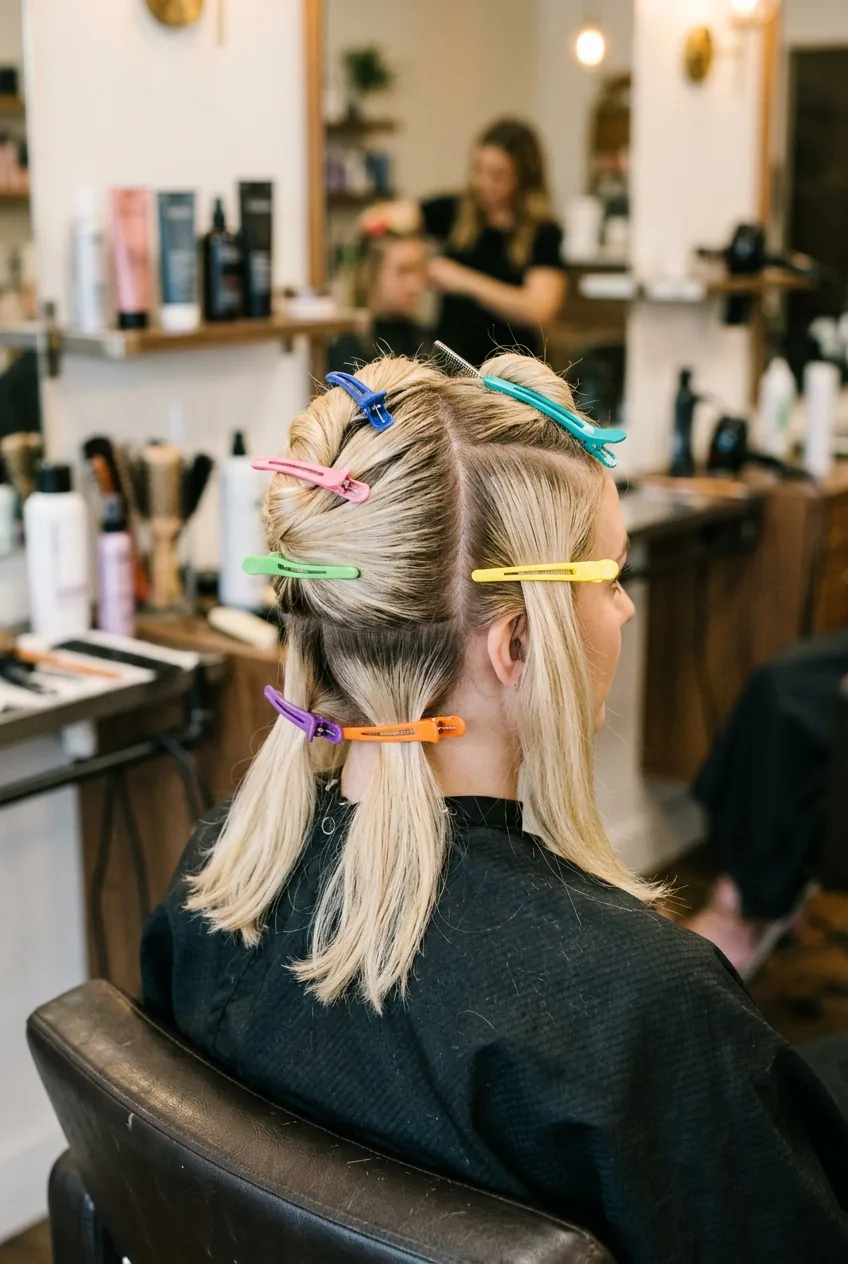
Now comes the technical part. I section my hair into seven distinct zones: crown, two side crowns, two temples, and two back sections. Each zone gets cut at a specific angle to create that cascading effect we’re after.
Start with the back sections. These are your guide layers — everything else will follow their length and angle. Hold each section straight up from the head and cut at a 45-degree angle. This creates the internal layering that gives blonde hair its movement.

The crown section is where most people mess up. You don’t want dramatic layers here — they’ll stick up and look choppy against blonde hair. Instead, create subtle graduation. Hold the hair straight up and cut just the very ends at a slight angle.
I made this mistake on my first attempt — I went too short on the crown layers and ended up with what looked like a mullet for three months. Learn from my pain: less is more in the crown area.
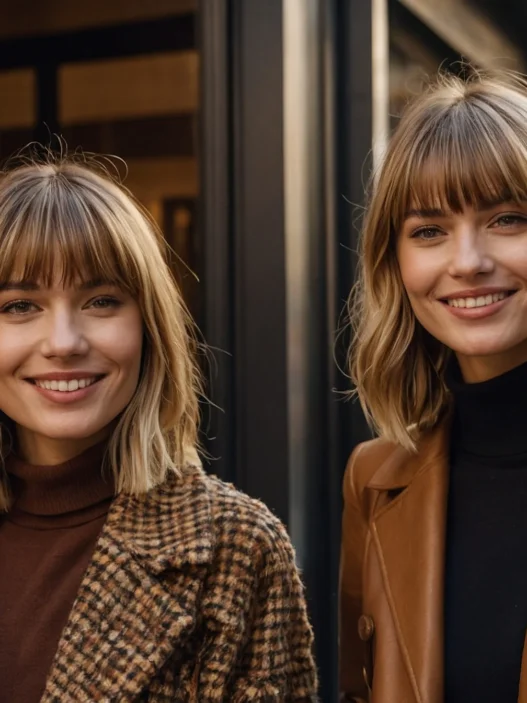
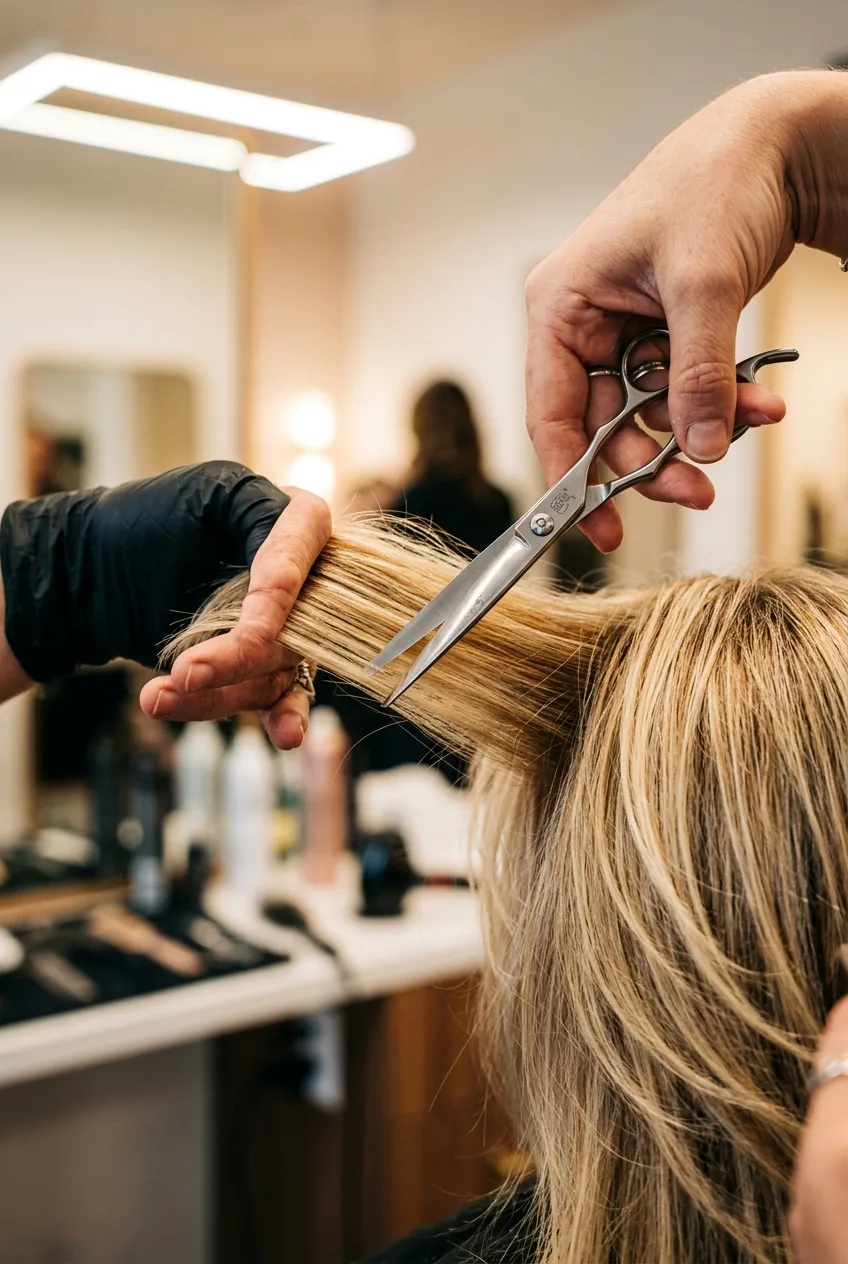
For the temple areas, these frame your face so they’re critical. Cut these sections while pulling the hair forward, not straight up. This creates the face-framing pieces that make layered blonde hair so flattering.
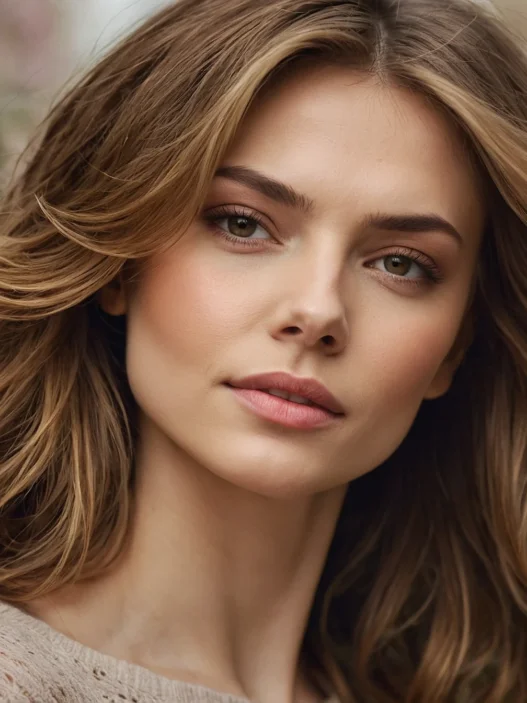
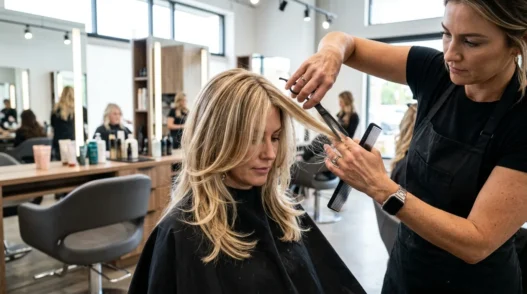
The Texturizing Phase: Creating Movement
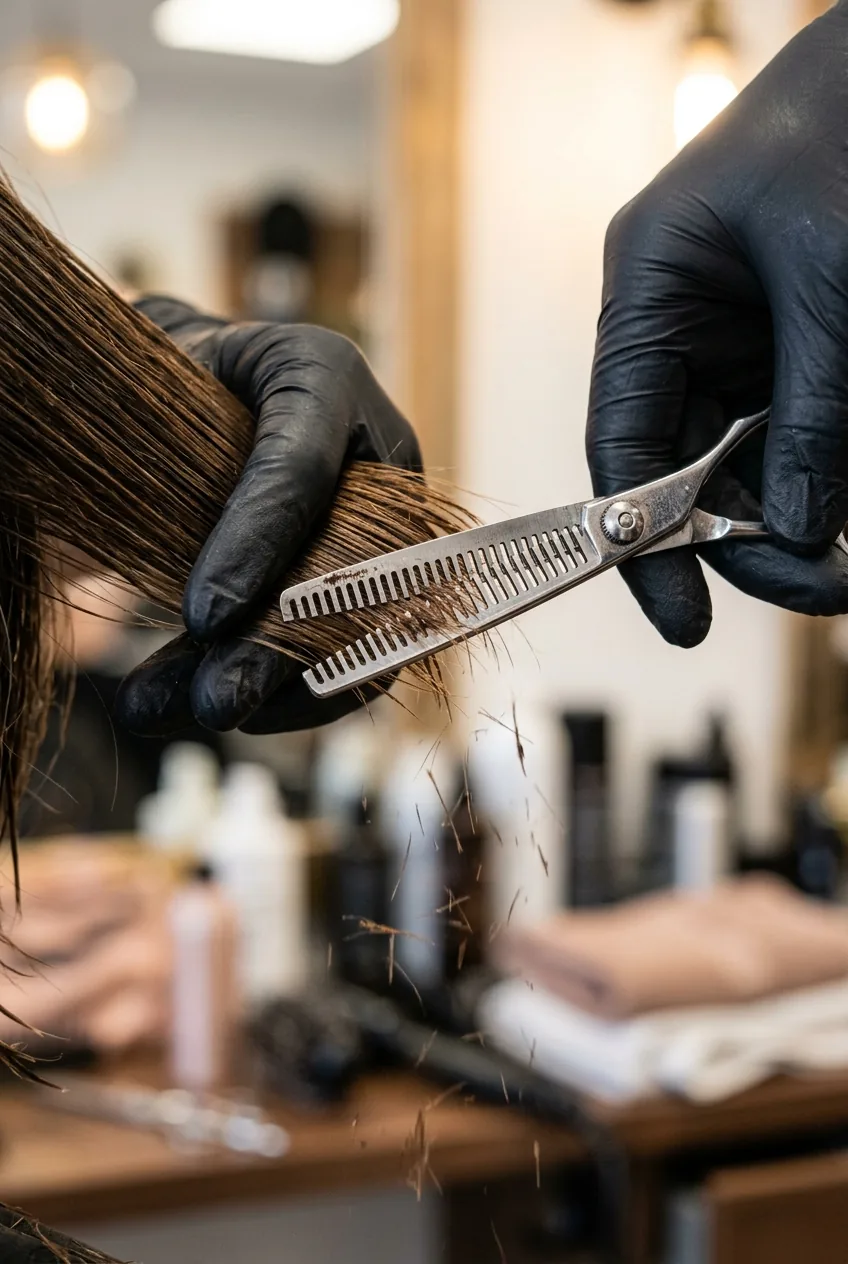
This is where the magic happens. The thinning shears are going to transform your basic layers into that effortless, lived-in texture that makes blonde layered hair look expensive.
Work section by section, starting with the longest layers. Hold each section at a 90-degree angle and use the thinning shears about two inches from the ends. Make three to four cuts per section, but never in the same spot twice.
The technique is called “point cutting” and it’s what creates those soft, feathered ends that move beautifully. Instead of blunt cuts, you’re creating tiny V-shaped notches that catch light differently — perfect for showing off blonde tones.
For the face-framing pieces, use a sliding motion with the thinning shears. Start about three inches from your face and slide the shears down to the ends. This creates that seamless blend between lengths that looks so natural.
Don’t overdo the texturizing. I see people go crazy with thinning shears and end up with stringy, damaged-looking ends. The goal is subtle removal of weight, not aggressive thinning. If you’re wondering about maintenance, these cuts work beautifully with other layered lob hairstyles as your hair grows out.
Watch the Texturizing Magic Happen
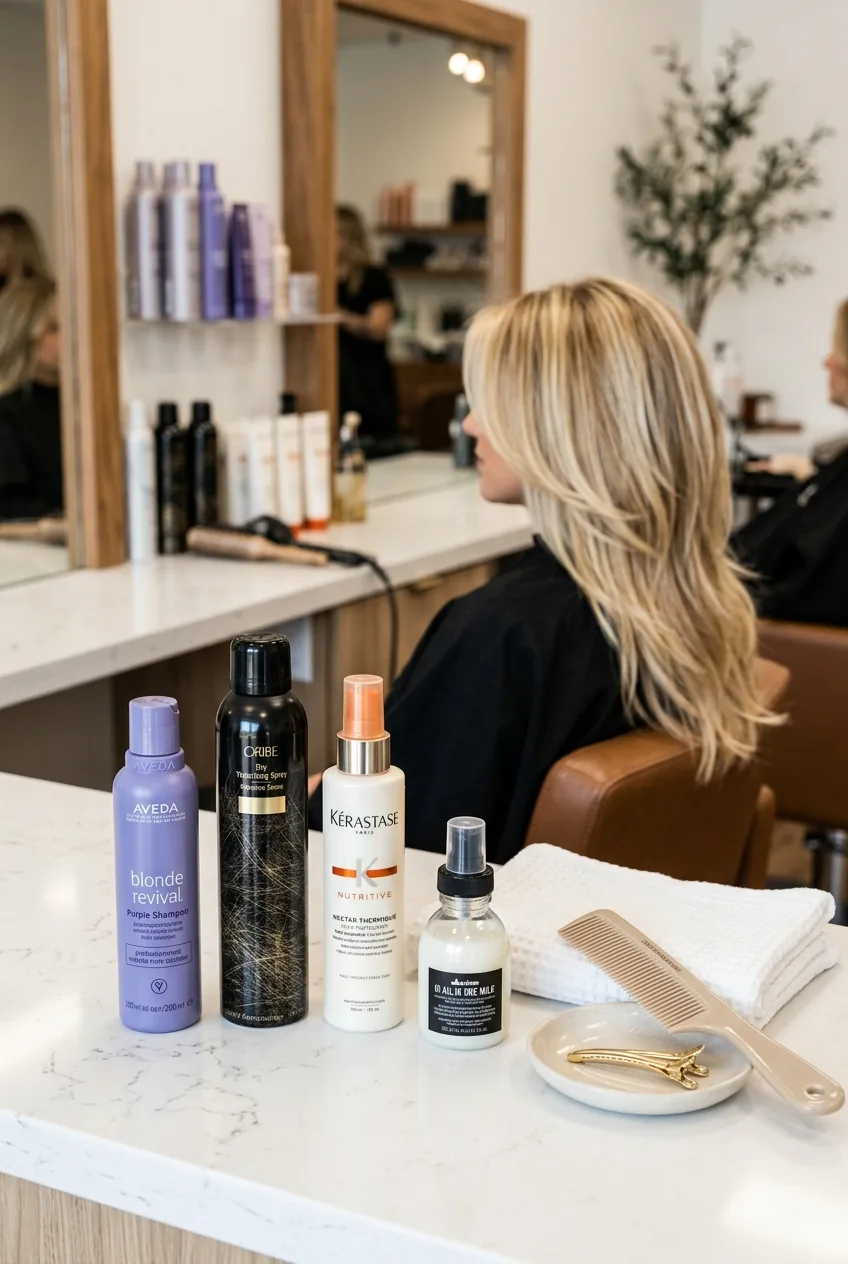
The Finishing Touch: Styling and Maintenance
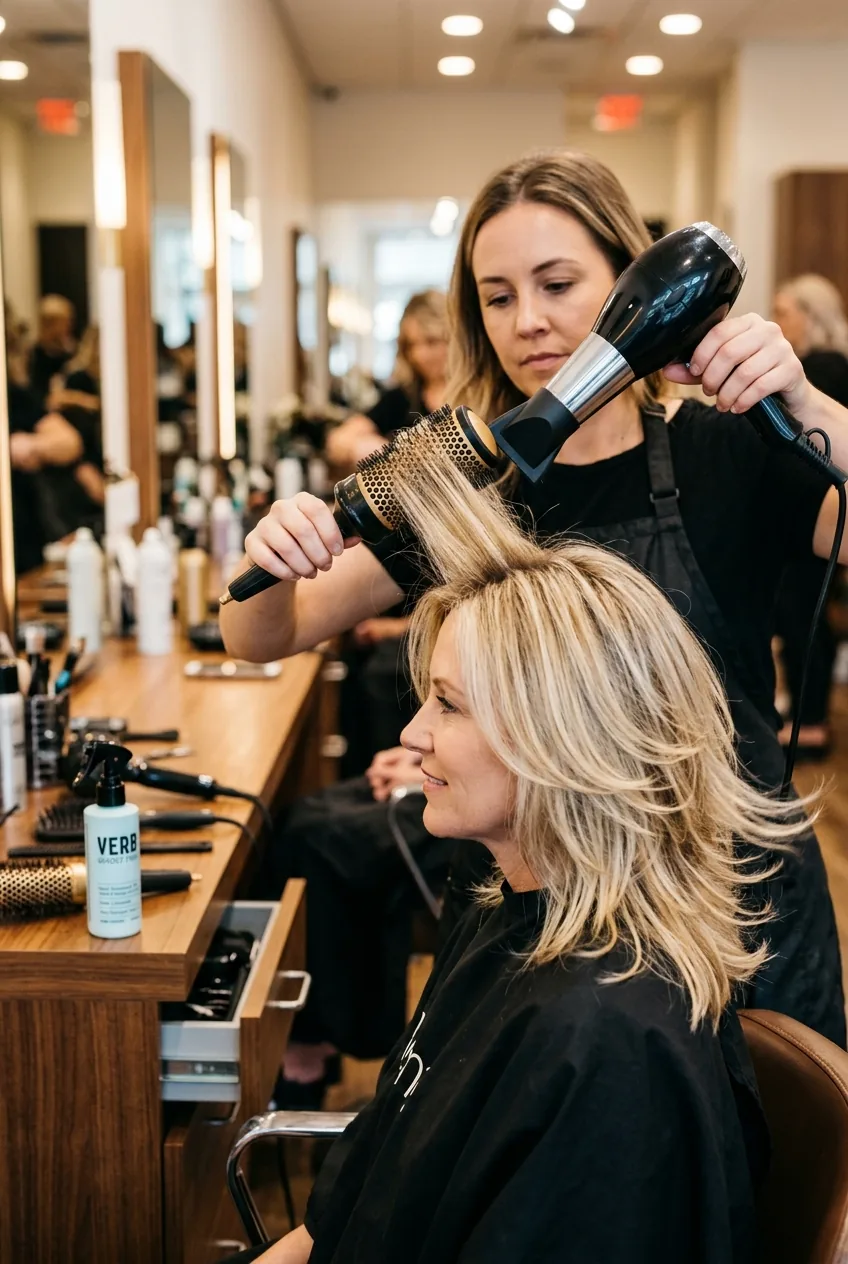
The styling makes or breaks layered blonde hair. I learned this the hard way after getting a beautiful cut that I couldn’t recreate at home. The secret is working with the layers, not against them.
Start with heat protectant on damp hair — blonde hair is already processed, so you need extra protection. Then apply a lightweight texturizing spray from mid-lengths to ends. This gives the layers grip and helps them hold their shape.
For blow-drying, use a medium barrel round brush and lift each section at the root while drying. The key is direction — always pull the brush through the hair in the direction you want it to fall. This enhances the natural movement of the layers.
Don’t flat iron layered blonde hair straight. It defeats the entire purpose and makes it look flat and lifeless. If you want sleeker styling, use a large barrel curling iron to add subtle bends that work with the layers, not against them.
For maintenance, you’ll need trims every 6-8 weeks to keep the layers sharp. The blonde will need touching up every 8-12 weeks depending on your natural color. Regular maintenance keeps everything looking fresh and prevents that grown-out, neglected look.
The result? I finally have the blonde layered hair I’ve been chasing for years. It moves when I walk, catches light beautifully, and styles itself on good hair days. Best part? People keep asking where I get it done, not realizing I figured out the process myself.
Questions I Get About This Process
Can I do this entire process at home?
The coloring I’d leave to a professional, especially if you’re going from dark to blonde. But the cutting and texturizing? Absolutely doable at home if you have the right tools and take your time.
How often do I need to re-texturize the layers?
Every 6-8 weeks with your regular trim. The texturizing grows out gracefully, but refreshing it keeps the movement looking intentional rather than grown-out.
Will this work on fine hair?
Yes, but go easier on the thinning shears. Fine hair needs the illusion of thickness, so you want subtle texturizing rather than aggressive thinning. Focus more on the cutting angles than the texturizing phase.
What if my blonde turns brassy between appointments?
Purple shampoo once or twice a week keeps brassiness at bay. But if the layers are cut correctly, slight color variation actually adds dimension rather than looking muddy.