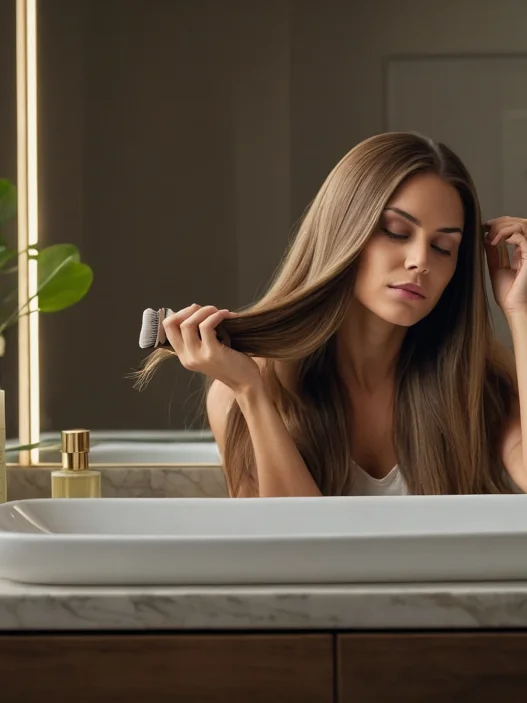


I used to think the Wendy cut was just about chopping hair into a messy bob. Then I watched my stylist Sarah work her magic on a client last month, and I realized I’d been missing the entire foundation. There’s a specific professional method behind that effortlessly undone texture that makes all the difference. After convincing her to teach me the technique, I finally understand why salon Wendy cuts look so much better than DIY attempts.
What You’ll Need
Here’s what the pros actually use — no fancy gadgets, just the right tools:
- Professional haircutting shears (not kitchen scissors!)
- Thinning shears or texturizing scissors
- Rattail comb for precise parting
- Hair clips for sectioning
- Spray bottle with water
- Small round brush (1-inch barrel)
- Blow dryer with concentrator nozzle
- Texturizing spray or sea salt spray
Step 1: What Professionals Do Differently
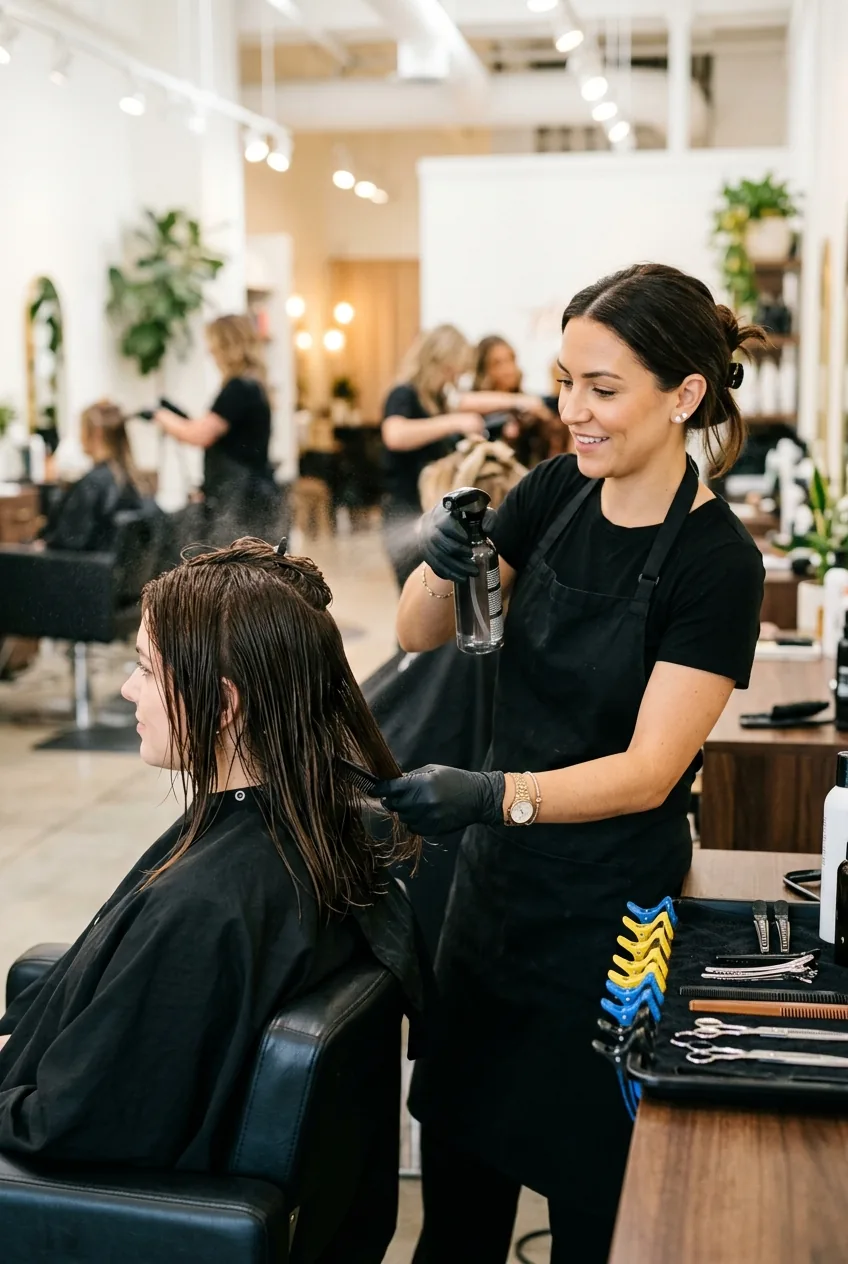
The biggest mistake I see with DIY Wendy cuts? People start cutting immediately. But professionals know the secret is in the prep work. Sarah always begins with slightly damp hair — not soaking wet, not bone dry. She sprays each section as she works, which keeps the hair pliable without being unpredictable.
Professional stylists also work with the hair’s natural fall. Instead of pulling everything taut like you would for a blunt cut, they let gravity guide the length. This creates that signature uneven hem that makes Wendy cuts look so organic.
The other pro trick? They never cut all the hair to one length first. That’s amateur hour. Instead, they build the shape gradually, working from the back forward in specific sections.
Step 2: The Industry Foundation Technique
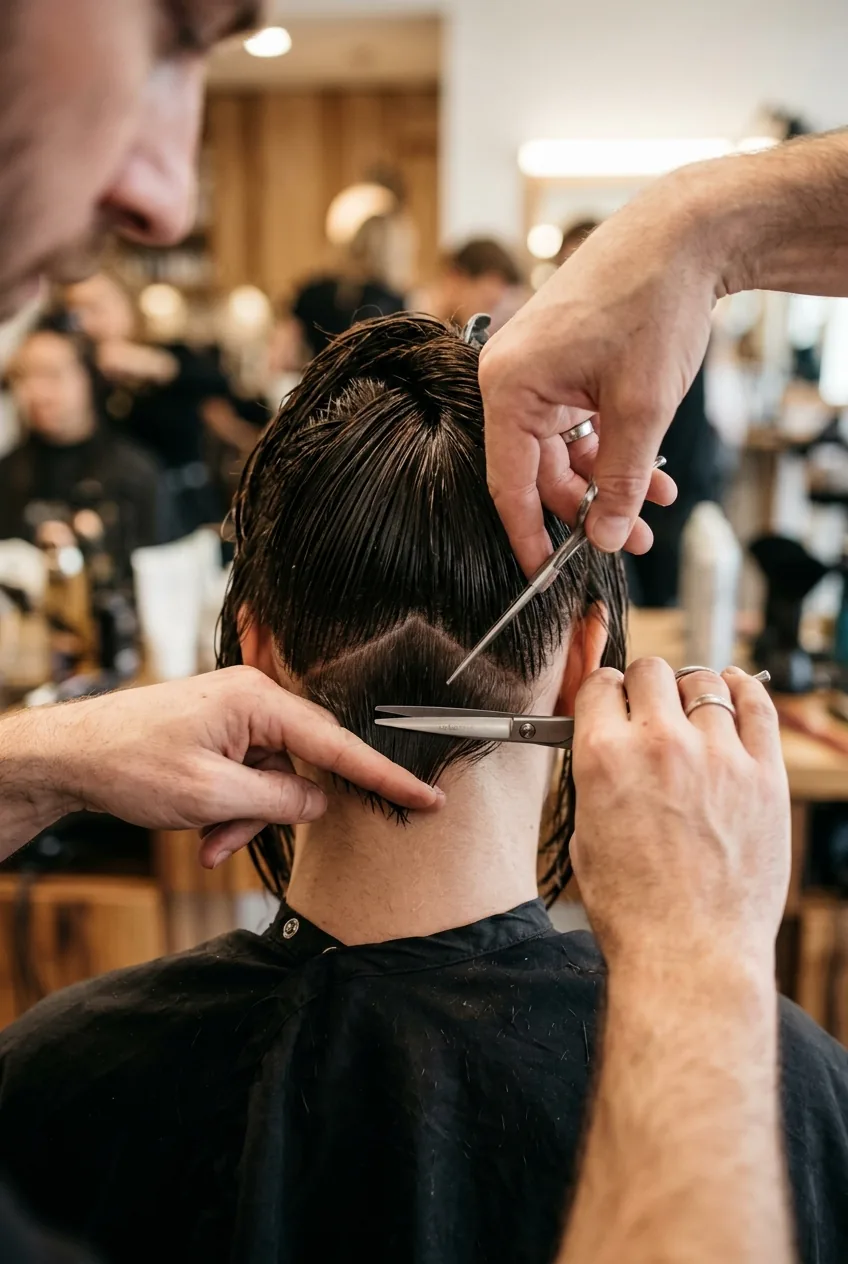
Here’s where the magic starts. Professional stylists create what they call a “guide section” at the nape of the neck. This isn’t your typical horizontal line — it’s actually cut at a slight angle, usually about 15 degrees.
Take a triangular section at the very bottom center of the head, about an inch wide at the base. Comb it straight down and cut it to your desired shortest length — typically between the jaw and collarbone for a classic Wendy cut. This becomes your roadmap for everything else.
What makes this professional is the angle. Instead of cutting straight across, you want to create a subtle diagonal that’s longer toward the ears. This foundation angle is what gives the entire cut its forward movement and prevents that dreaded triangle shape.
I made the mistake of cutting this foundation section too short on my first attempt. The whole cut ended up looking choppy instead of flowing. Always err on the side of too long — you can always take more off.
Step 3: Professional Sectioning Method
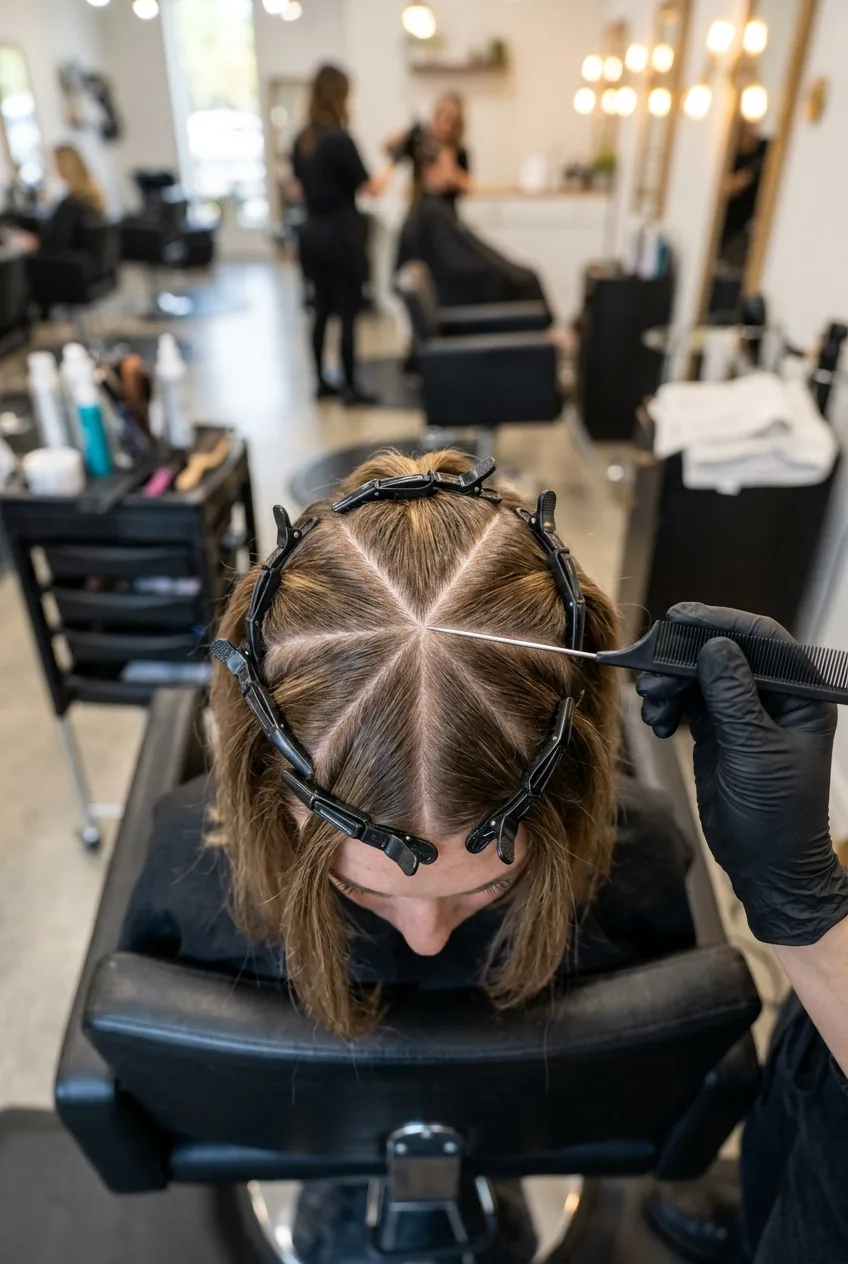
This is where salon technique really separates from home attempts. Instead of working in neat horizontal rows, professionals use what’s called “pie sectioning” — imagine dividing the head like a pizza, with triangular sections radiating from the crown.
Start by creating a center part from forehead to nape. Then make two diagonal parts from each ear to the crown, creating four main sections. Clip three sections up and work with the back right section first.
Within each section, you’ll take horizontal subsections about a half-inch thick. But here’s the pro trick: don’t comb each subsection straight down. Instead, pull it out at a 45-degree angle and slide your fingers down to where you want to cut. This creates natural layering without having to overthink it.
Professional colorists use this same sectioning method because it follows the hair’s natural growth patterns. That’s why pixie cut hairstyles often use similar techniques for seamless blending.
Step 4: The Signature Point-Cutting Approach
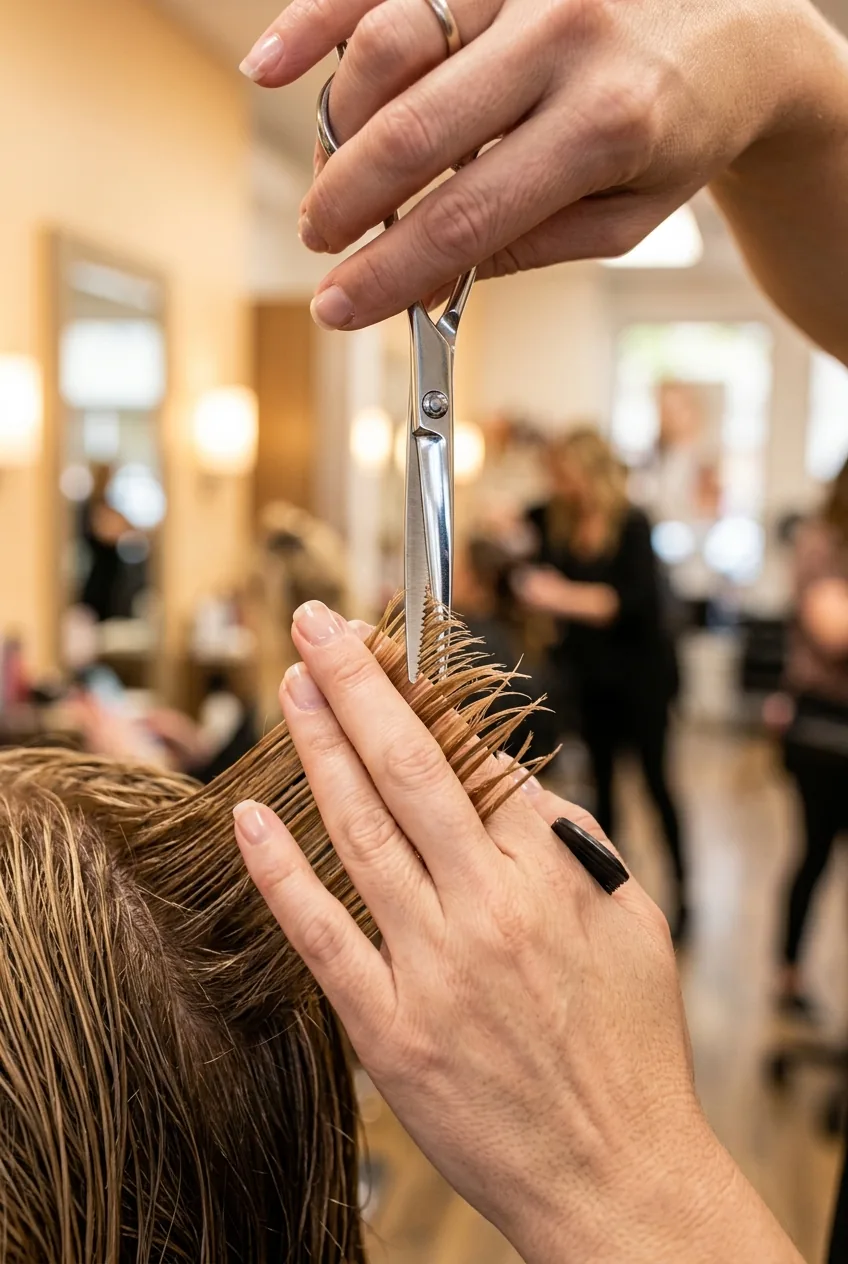
Now comes the technique that transforms a basic cut into a true Wendy cut. Instead of cutting straight across each section, professionals use point cutting — cutting into the ends of the hair with the scissors held vertically.
Hold each subsection taut between your fingers, then position your scissors vertically and make small snips into the hair ends. You’re not cutting across the section, you’re cutting into it. This creates those perfectly imperfect, feathered ends that make the style look lived-in.
The key is varying the depth of your point cuts. Some snips go deeper into the hair shaft, others just nibble at the very ends. This irregularity is what creates texture without looking hacked up. Professional stylists spend years perfecting this rhythm — deep, shallow, medium, shallow, deep.
I practice this technique constantly because it’s what separates amateur cuts from professional ones. Point cutting methods take time to master, but the results are worth it.
Watch This Technique in Action
Step 5: Why Salon Texturing Lasts Longer
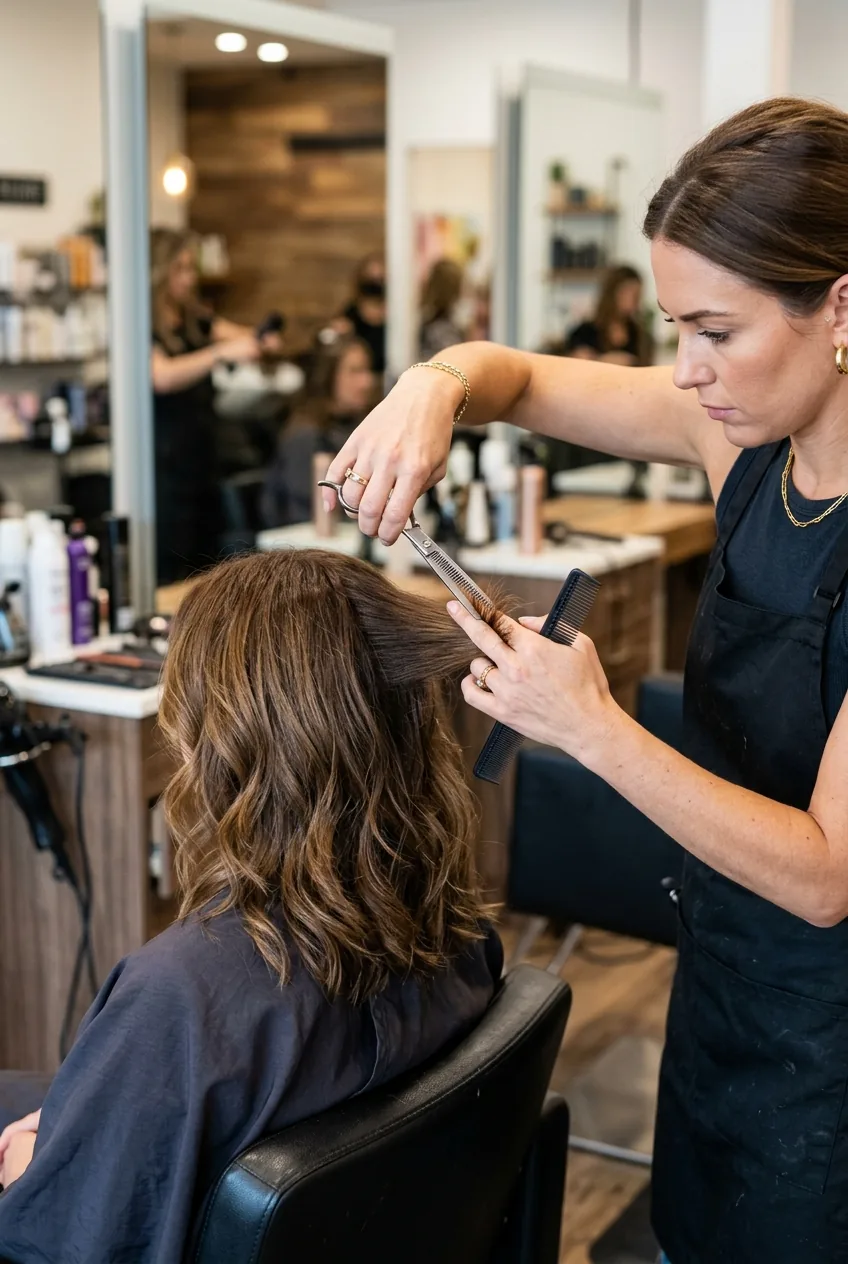
Here’s what your stylist knows that most people don’t: the texturizing happens in layers, not all at once. After completing the basic shape with point cutting, professionals go back with thinning shears to add even more dimension.
They focus on three specific areas: the ends (for softness), the mid-lengths (for movement), and around the face (for flattering angles). The thinning shears remove bulk without shortening length, which is why salon cuts always look fuller and more dynamic.
The professional approach is conservative — they’ll make several passes with light pressure rather than one aggressive chop. This creates gradual texture that grows out beautifully instead of looking obviously cut after a few weeks.
Most salon stylists also use a technique called “channel cutting” where they make tiny, shallow cuts perpendicular to the hair shaft. This releases internal tension and allows the hair to move more naturally. It’s subtle but makes a huge difference in how the cut behaves day to day.
Step 6: Adapting Pro Methods at Home

Obviously, recreating exact salon results at home is challenging, but you can adapt these professional principles. The most important adjustment is working more conservatively — take less hair with each cut and make more passes instead of trying to get everything in one go.
If you’re nervous about the thinning shears, focus on perfecting the point cutting technique first. You can achieve 80% of the professional texture just by mastering that vertical cutting motion. Practice on small sections until it becomes second nature.
For the texturizing spray, apply it section by section as you cut, not just at the end. This helps you see how each piece will actually fall when styled. Professional stylists always work with the hair in its “performance state” — how it looks when it’s going to be worn.
And remember, the Wendy cut is meant to look imperfect. If you mess up a section, it often adds to the overall aesthetic rather than detracting from it. That’s the beauty of this particular style — it forgives mistakes better than precise cuts do.
Questions I Get About This Technique
How long does this method take compared to regular cutting?
It takes about 45 minutes to an hour using the professional method, versus maybe 20 minutes for a basic chop. But the results last so much longer — I get compliments on my cut for months instead of just the first week.
Can I do this on myself or do I need help?
The back sections are really tough to do solo. I’d recommend having someone help with at least the foundation cut at the nape. The sides and front you can definitely manage yourself with practice.
What if my hair is naturally very straight — will this work?
Actually, straight hair shows off the point cutting technique beautifully. You might need to use more texturizing product to get that piecey look, but the cut itself works on any texture.
How often do I need to trim it to maintain the shape?
Because of the way this method distributes the weight, it grows out really well. Most people can go 10-12 weeks between trims, versus 6-8 weeks for blunt cuts.
Learning this professional approach completely changed how my Wendy cut looks and feels. The texture stays interesting for months, and I finally understand why people pay salon prices for something that seems so simple. Now when friends ask me to cut their hair, I actually feel confident using these techniques — and their results prove the difference is real.