


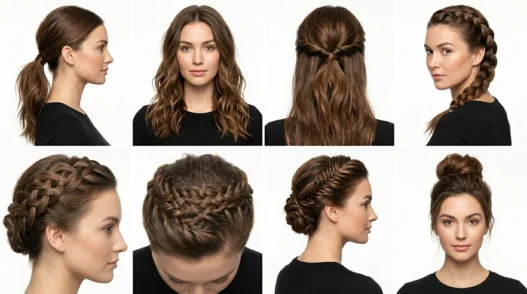

I’ve been doing my own hair for over a decade, and I still remember the frustration of trying a “simple” tutorial that left me looking like I stuck my finger in an electrical socket. The problem? Most hair guides don’t tell you the actual skill level required. I’ve ranked these 11 simple hairstyles from genuinely foolproof to techniques that’ll make your friends think you went to beauty school.
What You’ll Master (By Difficulty)
- Ultra Beginner: Classic Low Ponytail
- Beginner Friendly: Simple Side Braid
- Easy Level: Messy Top Knot
- Beginner Plus: Half-Up Twist
- Intermediate Start: French Braid Basics
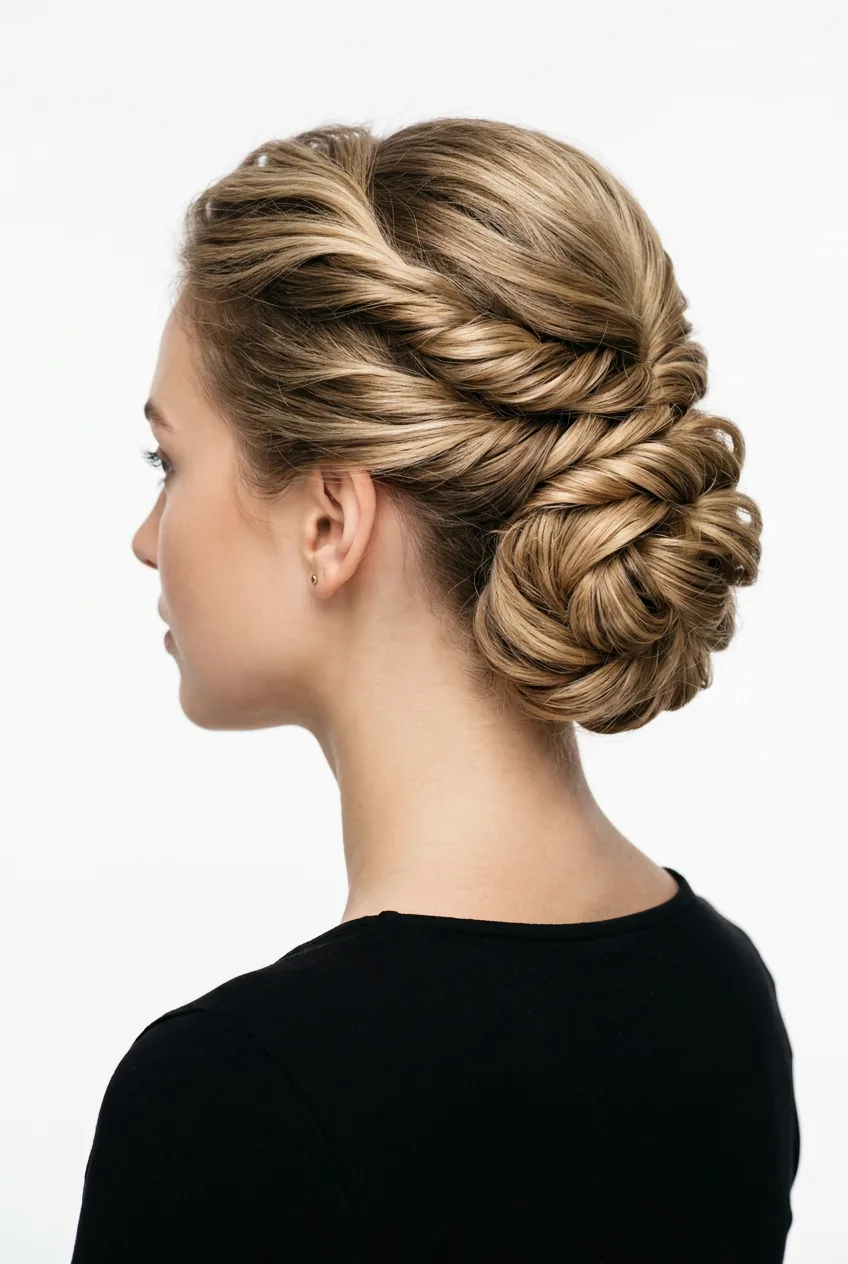
- Intermediate Challenge: Sleek Low Bun
- Intermediate Plus: Dutch Crown Braid
- Advanced Beginner: Textured Beach Waves
- Advanced Level: Pin Curl Vintage Waves
- Expert Challenge: Intricate Fishtail Braid
- Master Level: Gibson Tuck Updo
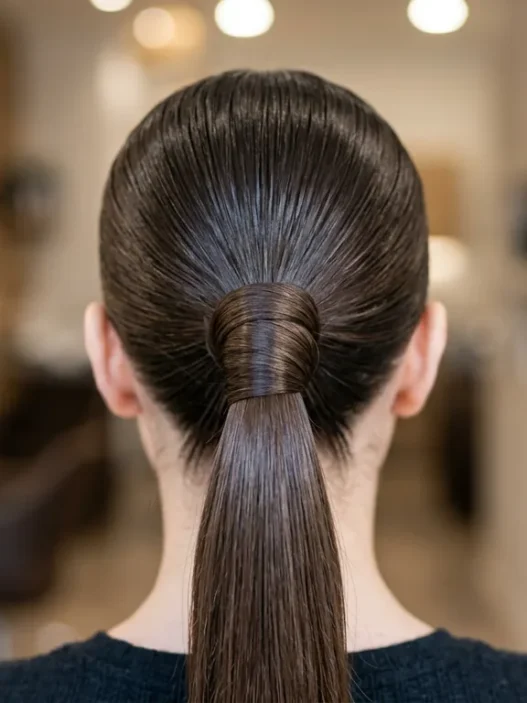
1. Ultra Beginner: Classic Low Ponytail
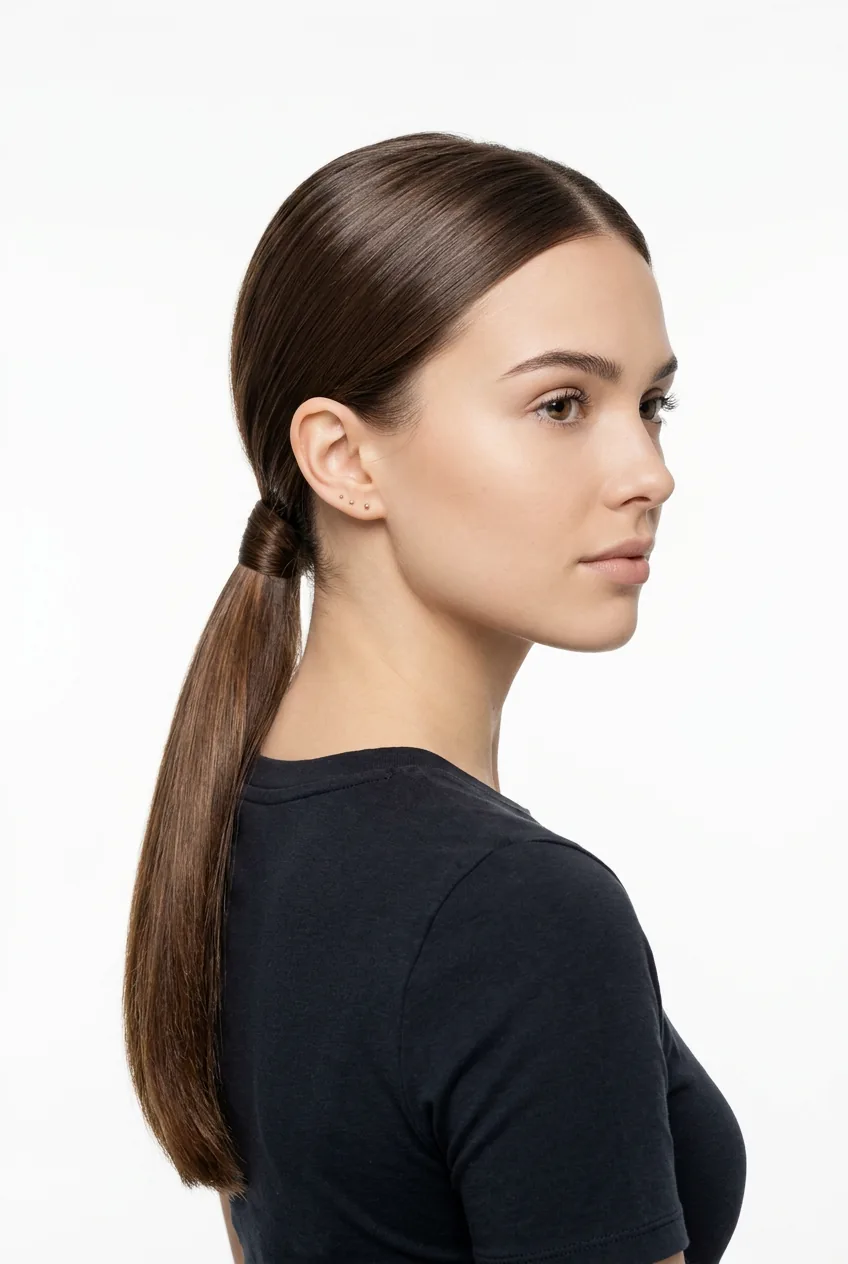
Difficulty: ⭐ (1/5) | Time: 30 seconds | Tools: Hair tie
If you can hold a hair tie, you can do this. I’m not being condescending — this is literally where everyone should start. The key is positioning: aim for the nape of your neck, not halfway down your head.
Gather all your hair with your hands, smooth any bumps with your palms, and secure with an elastic. That’s it. The “sleek” version just requires a brush beforehand, but honestly? The slightly messy version looks more modern anyway.
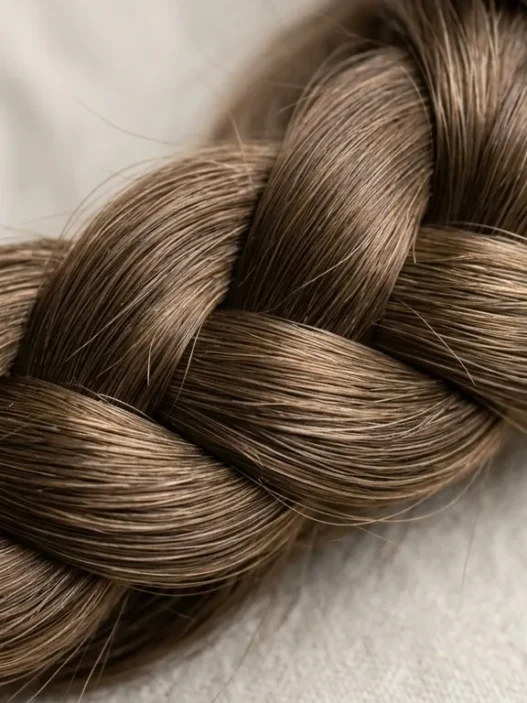
2. Beginner Friendly: Simple Side Braid
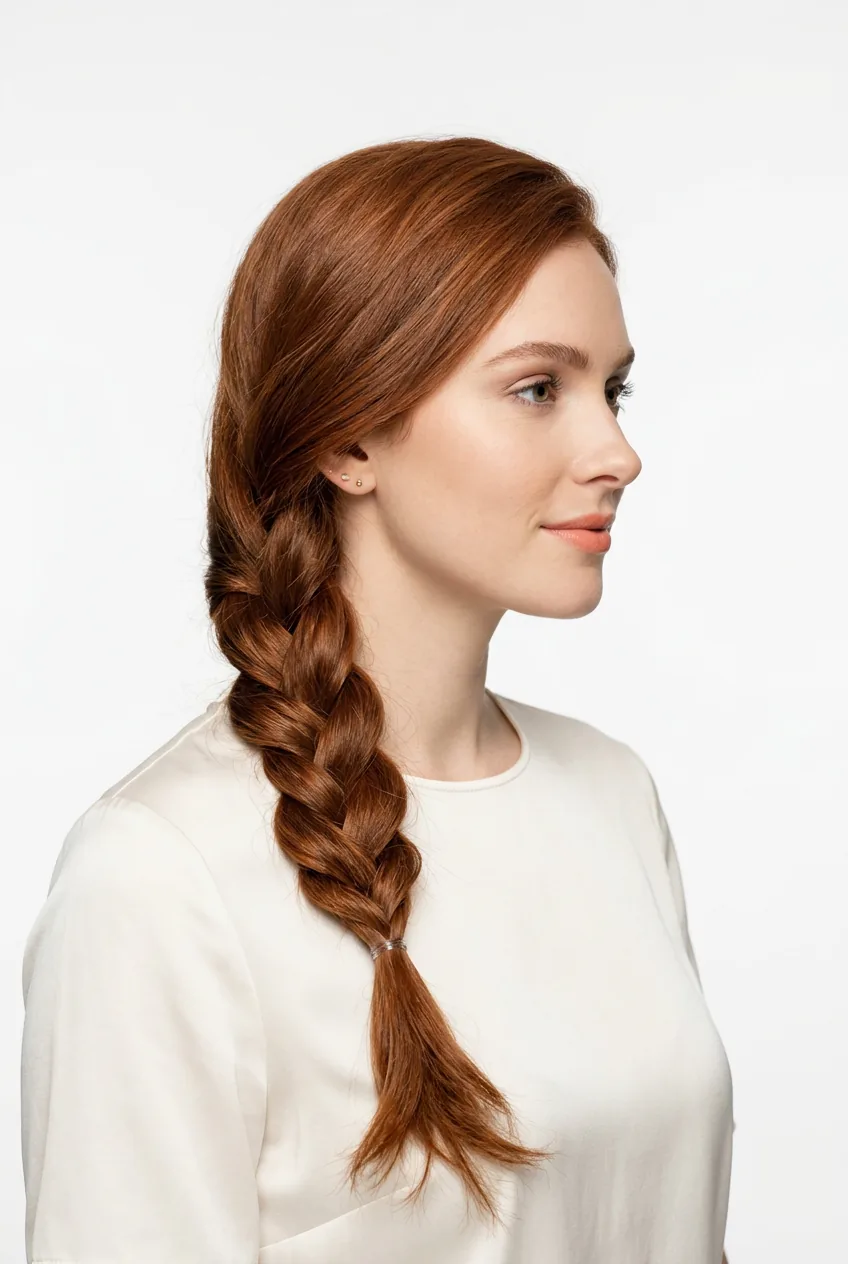
Difficulty: ⭐⭐ (2/5) | Time: 2 minutes | Tools: Hair tie
This is where you learn the foundation of all braiding: over, under, repeat. Start with hair swept to one side — doesn’t matter which, just pick your favorite. Divide into three equal sections near your ear.
Cross the right section over the middle, then the left over the new middle. Keep that pattern going until you reach the ends. I practiced this while watching Netflix until it became automatic. Now it’s my go-to for lazy Sunday mornings.
3. Easy Level: Messy Top Knot
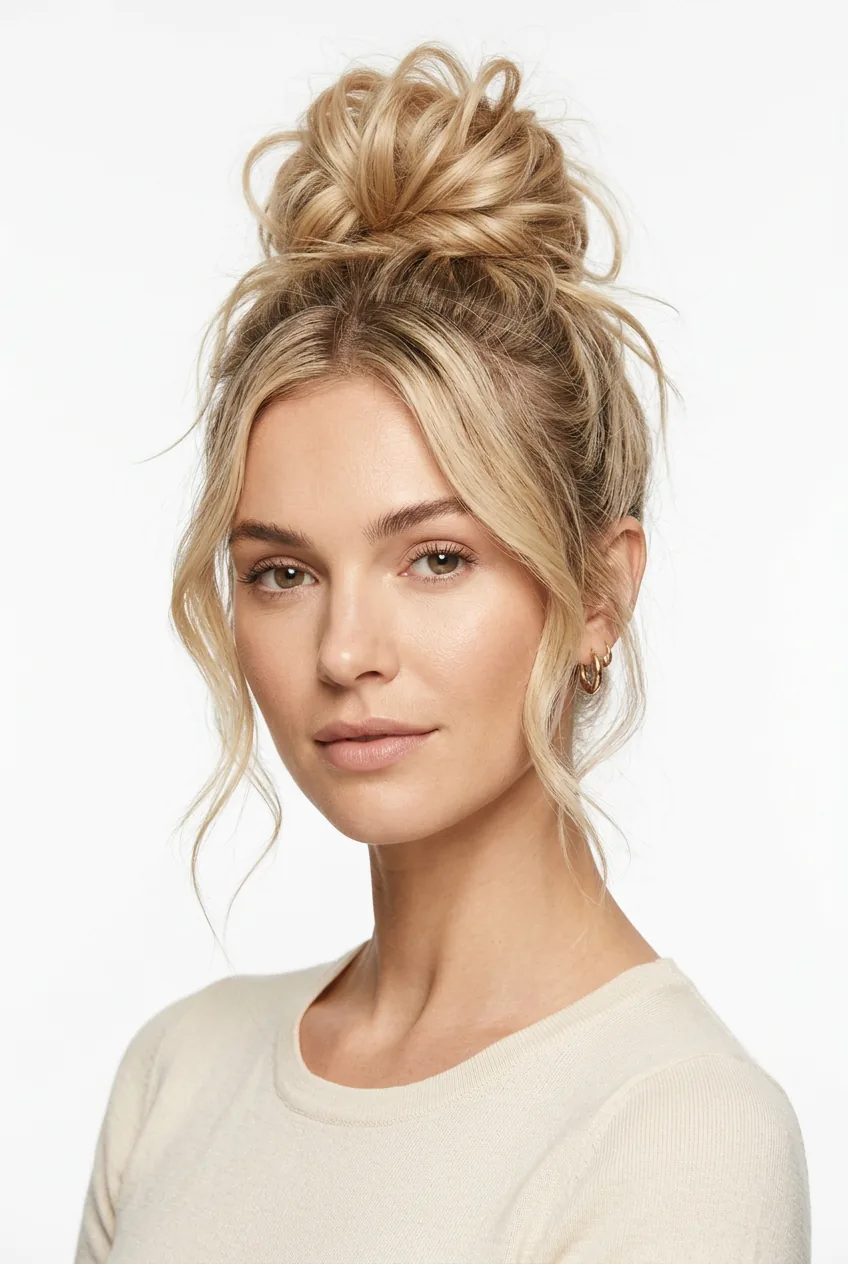
Difficulty: ⭐⭐ (2/5) | Time: 1 minute | Tools: Hair tie, bobby pins
The beauty of a messy bun is that imperfection is the goal. Flip your head upside down, gather hair at the very top of your head, and secure with an elastic. On the last loop, don’t pull your hair all the way through — leave a loop.
Wrap the loose ends around the base and pin them down. Pull a few face-framing pieces loose. I’ve worn this to everything from grocery runs to dinner dates, and somehow it always looks intentional.
4. Beginner Plus: Half-Up Twist

Difficulty: ⭐⭐ (2/5) | Time: 90 seconds | Tools: Hair tie or clip
Take sections from both sides of your head at temple level. Twist each section back toward your ears — not tight, just enough to add texture. Meet them at the back of your head and secure together.
The twist adds just enough detail to make people think you tried, but it’s actually foolproof. I love this for chic bob styles because it shows off the length while keeping hair out of your face.
My personal favorite from this entire list? The half-up twist. It’s effortless enough for everyday but polished enough for work meetings. Plus, it works on literally every hair length I’ve tried it on.
5. Intermediate Start: French Braid Basics
Difficulty: ⭐⭐⭐ (3/5) | Time: 5 minutes | Tools: Hair tie
Here’s where things get interesting. Start with a small section at your crown, divide into three pieces, and begin a regular braid. But — and this is crucial — each time you cross a side section over the middle, pick up additional hair and add it to that section.
The muscle memory takes practice. I probably did 50 wonky attempts before getting one that looked intentional. The trick is keeping consistent tension and not rushing. Professional techniques can really help if you’re struggling with the hand positioning.
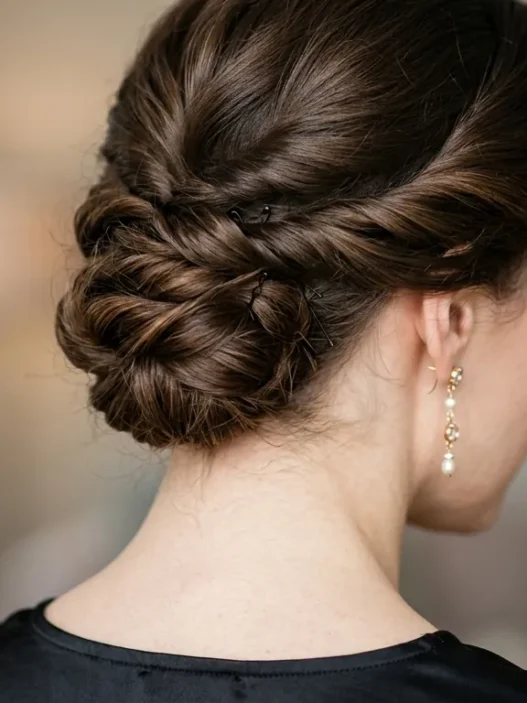
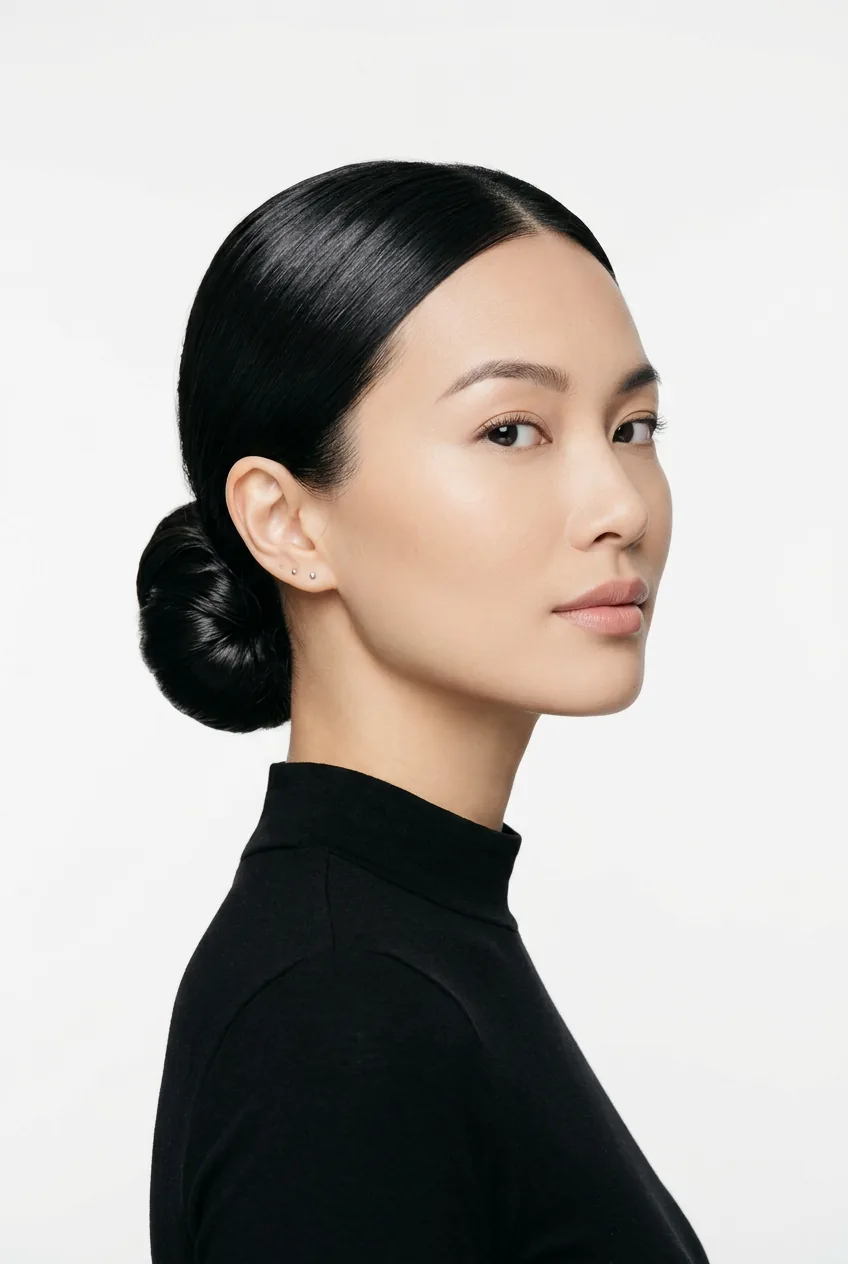
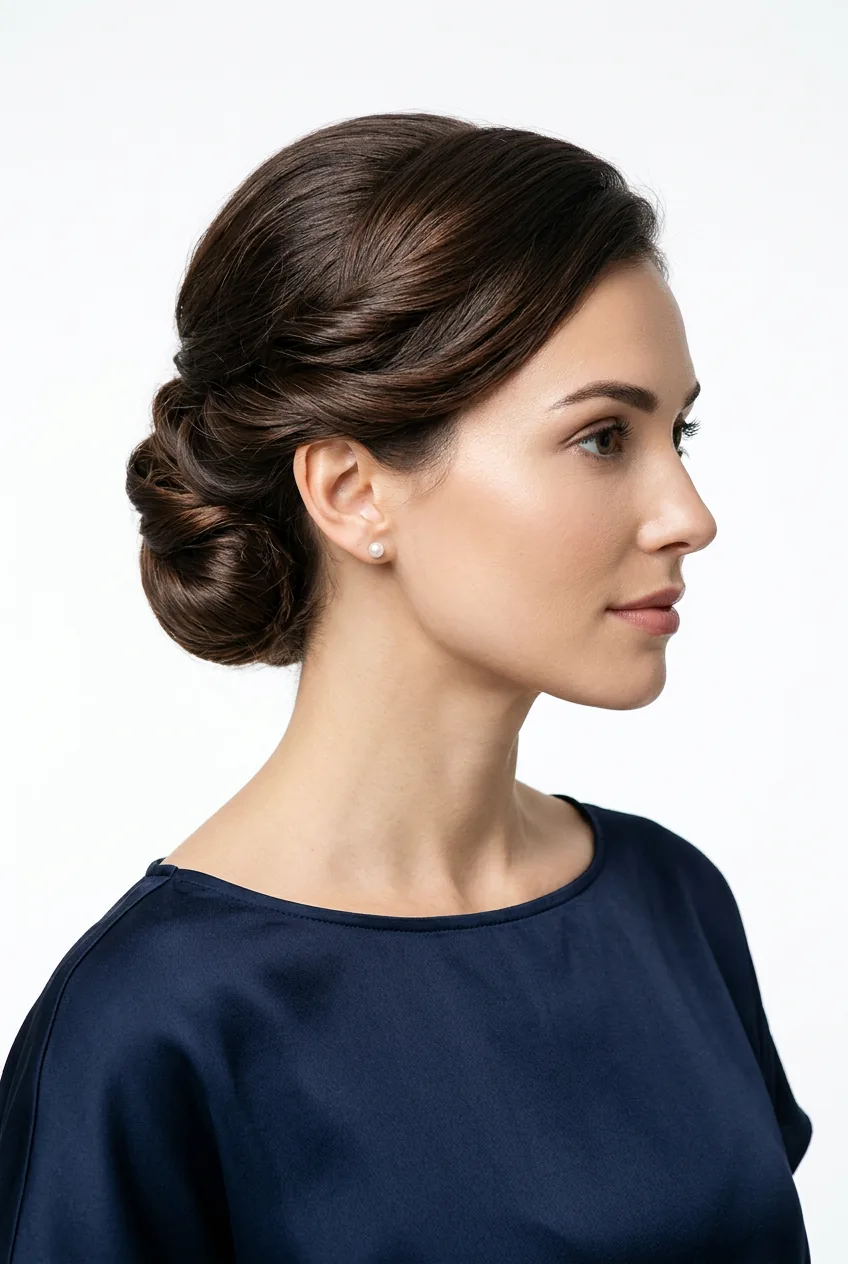
6. Intermediate Challenge: Sleek Low Bun
Difficulty: ⭐⭐⭐ (3/5) | Time: 4 minutes | Tools: Brush, hair tie, bobby pins, hair gel or pomade
The sleek factor makes this trickier than a regular bun. Start with damp hair or use a strong-hold gel. Brush everything straight back and secure in a low ponytail at the nape of your neck.
Twist the ponytail and wrap it around the base, tucking the ends under and securing with bobby pins. The key is using enough product to eliminate flyaways. This is my go-to for anything that requires looking put-together.
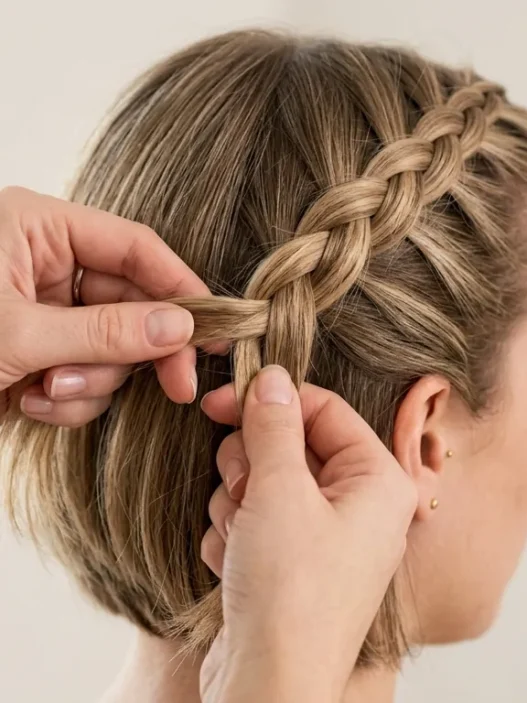
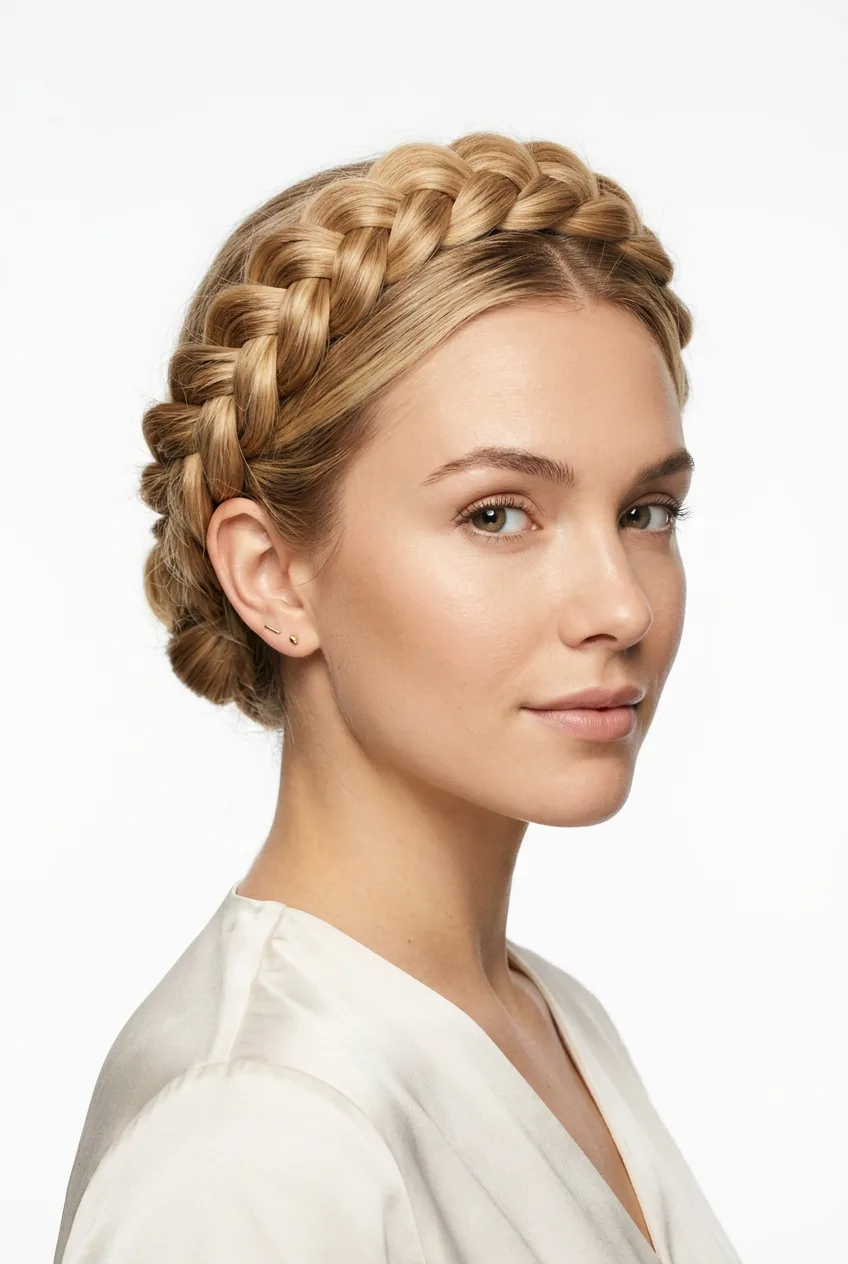
7. Intermediate Plus: Dutch Crown Braid
Difficulty: ⭐⭐⭐ (3/5) | Time: 8 minutes | Tools: Hair tie, bobby pins
Think French braid, but inverted. Instead of crossing sections over the middle, you cross them under. Start at one ear and work around your head like a headband, adding hair as you go.
The challenge is maintaining the braid’s path around your head’s curve. When you reach the opposite ear, continue braiding the remaining length normally and pin the end behind your ear. This one gets compliments every single time I wear it.
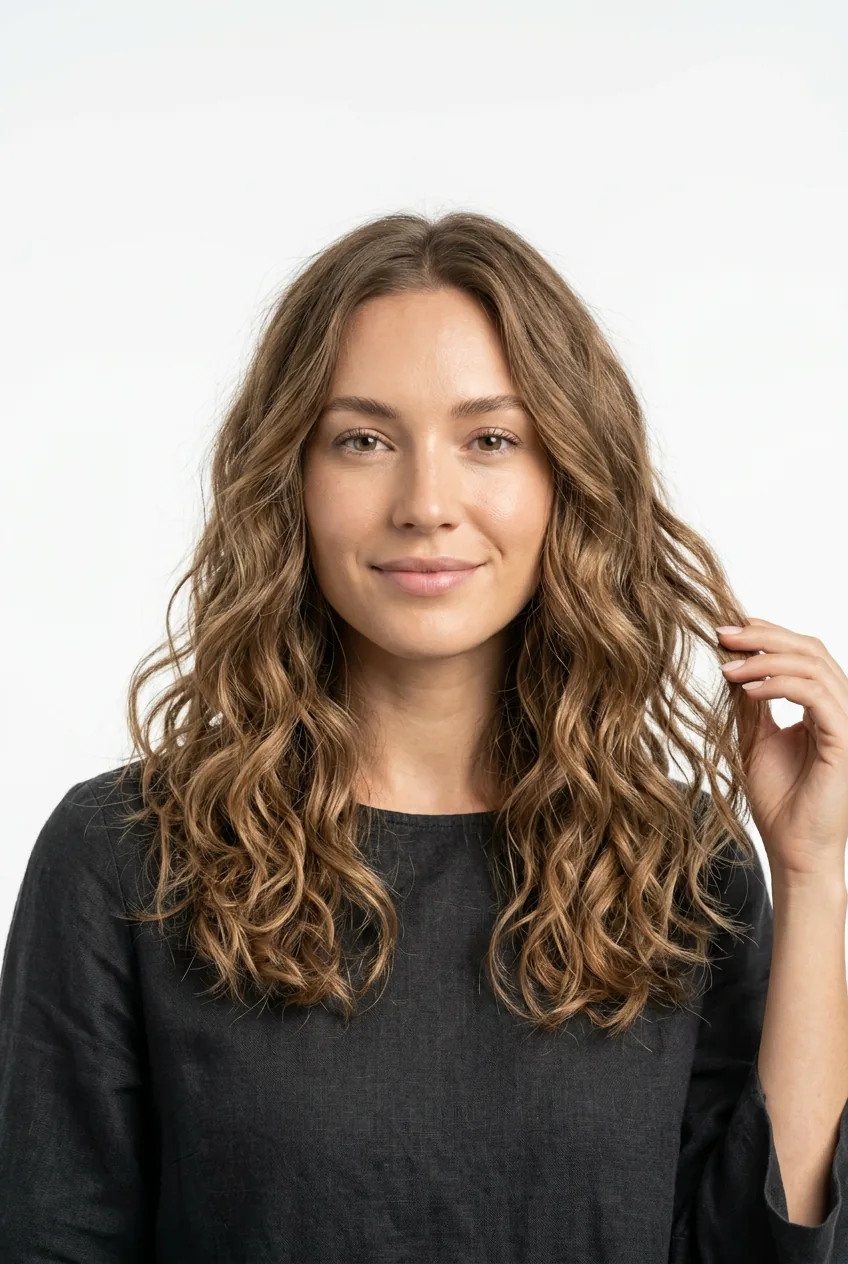
8. Advanced Beginner: Textured Beach Waves

Difficulty: ⭐⭐⭐ (3/5) | Time: 15 minutes | Tools: Sea salt spray, scrunching towel or diffuser
This surprised me — achieving that effortless wave actually requires technique. Start with damp hair and scrunch in sea salt spray. The key is the scrunching motion: cup sections of hair in your palm and squeeze upward.
Let it air dry or use a diffuser on low heat. Don’t touch it while it’s drying — I learned this the hard way after creating frizz disasters. The result is that perfectly imperfect texture that screams “I just got back from the coast.”
9. Advanced Level: Pin Curl Vintage Waves
Difficulty: ⭐⭐⭐⭐ (4/5) | Time: 25 minutes | Tools: Setting lotion, bobby pins, brush
Now we’re getting into territory that requires patience and precision. Work with damp hair and setting lotion. Take small sections, wrap them around your finger to form a circle, then pin the curl flat against your head.
The pattern matters — alternate the direction of each curl for that classic wave pattern. Let everything dry completely before removing pins and gently brushing through with your fingers. It’s time-intensive, but the 1940s glamour is worth every minute.
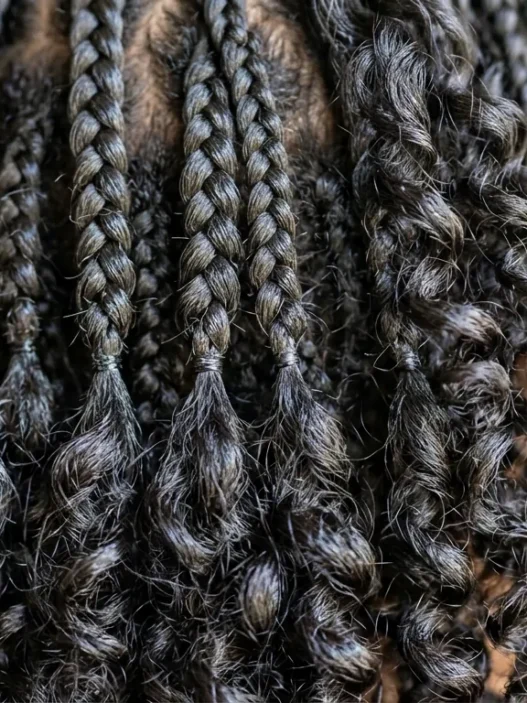
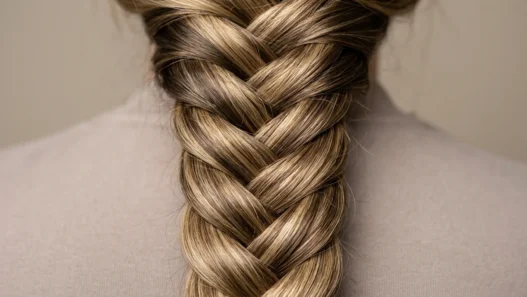
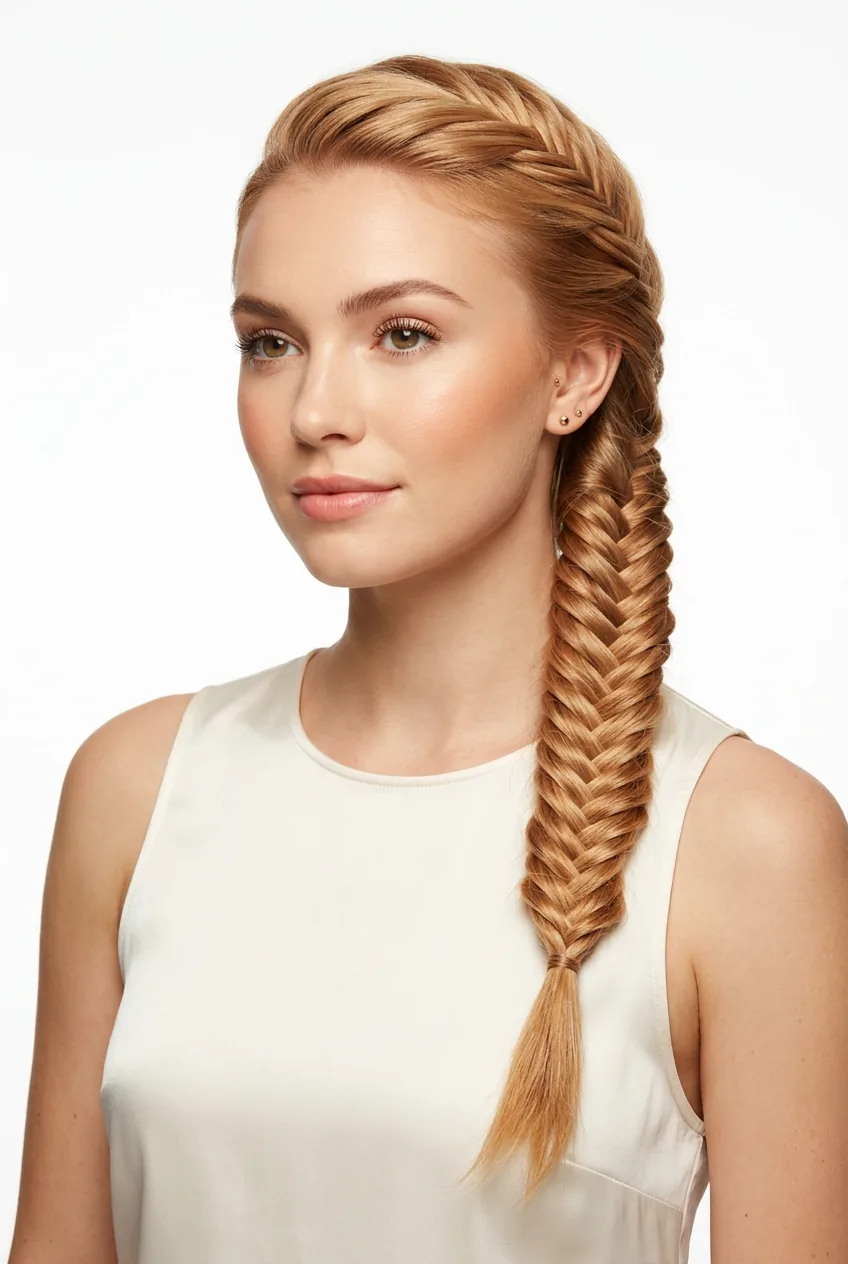
10. Expert Challenge: Intricate Fishtail Braid
Difficulty: ⭐⭐⭐⭐ (4/5) | Time: 12 minutes | Tools: Hair tie
Forget everything you know about three-section braiding. Fishtails only use two sections. Take a small piece from the outside of the left section and cross it over to join the right section. Then take a small piece from the outside of the right section and cross it to the left.
The smaller your pieces, the more intricate the pattern. My arms were sore for days when I first learned this, but now it’s surprisingly meditative. The result looks incredibly complex even though the technique is repetitive. Styling methods can give you more variation ideas once you master the basics.
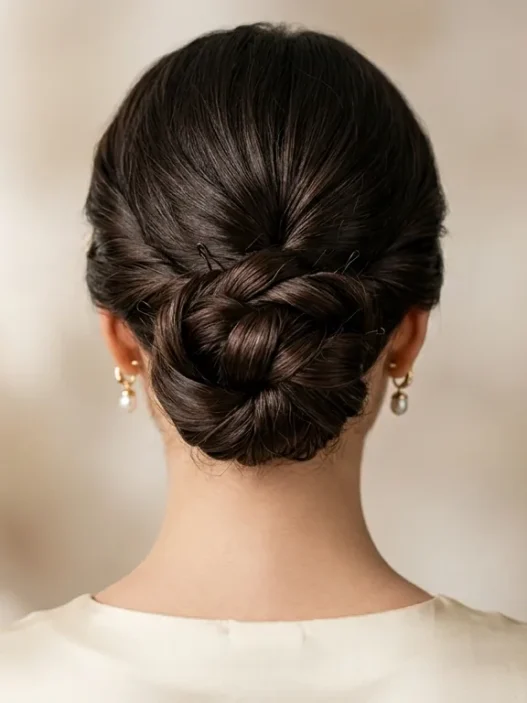
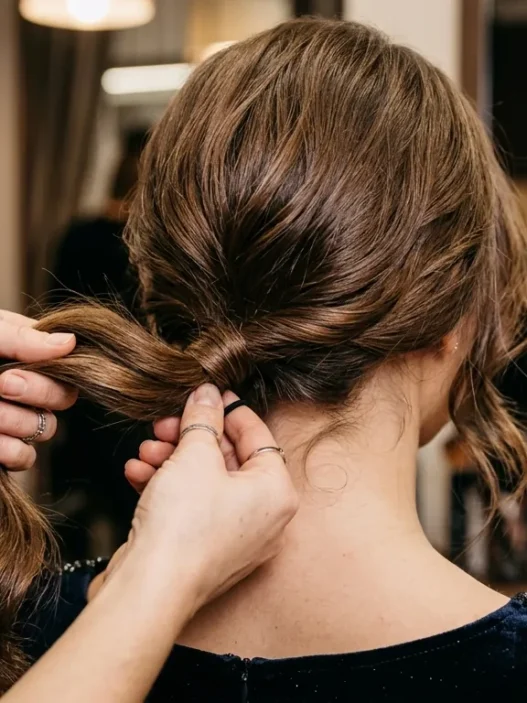
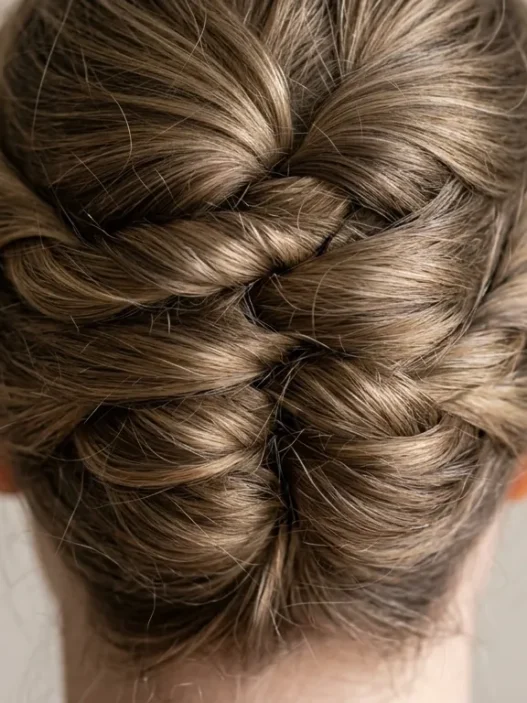
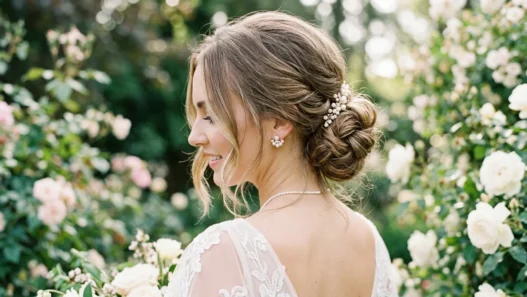
11. Master Level: Gibson Tuck Updo
Difficulty: ⭐⭐⭐⭐⭐ (5/5) | Time: 10 minutes | Tools: Hair tie, bobby pins, rattail comb
This is the updo that makes people ask if you have a hair appointment. Create a low ponytail, but don’t pull it tight. Use your finger to create a hole above the elastic, then flip the ponytail up and through the hole.
The tricky part is tucking and pinning the ends to create a seamless roll. It requires spatial reasoning and enough bobby pins to stock a salon. But when you nail it? You look like you stepped out of a red carpet hairstyles photo shoot.
Quick Answers to Common Questions
How long should I practice each level before moving up?
I always tell people to master a technique until you can do it without looking in a mirror. For beginner styles, that’s usually 3-5 attempts. Advanced techniques might take weeks of practice to feel natural.
What if my hair is too short for some of these styles?
Styles 1-4 work on shoulder-length hair and longer. For shorter cuts, focus on the wave techniques or consider winter lob hairstyles that give you more length to work with.
Do I need expensive tools to achieve these looks?
Absolutely not. Most of these require nothing more than drugstore hair ties and bobby pins. Even the advanced styles can be done with basic tools — technique matters more than equipment.
Which style should I try first if I’m a complete beginner?
Start with the low ponytail, then move to the side braid. Don’t skip ahead — each level builds muscle memory and coordination you’ll need for more complex styles later.
The best part about ranking these by difficulty? You’ll never feel overwhelmed or attempt something beyond your current skill level. Take your time, enjoy the process, and remember — even professional stylists had to start somewhere. I’m still perfecting that twisted chignon myself!