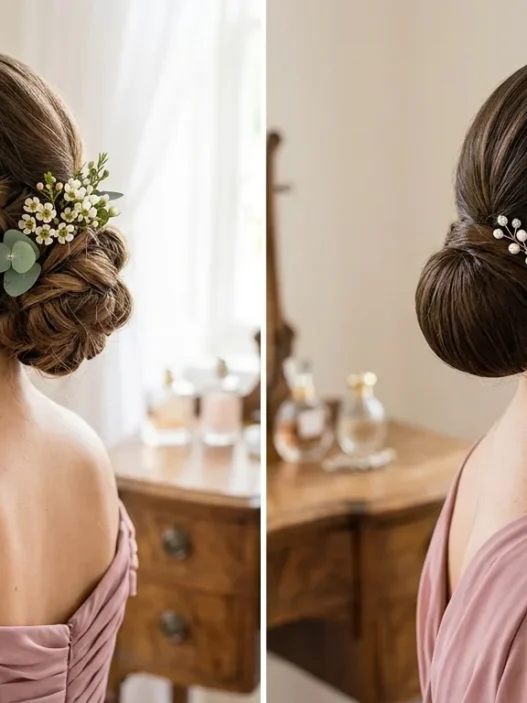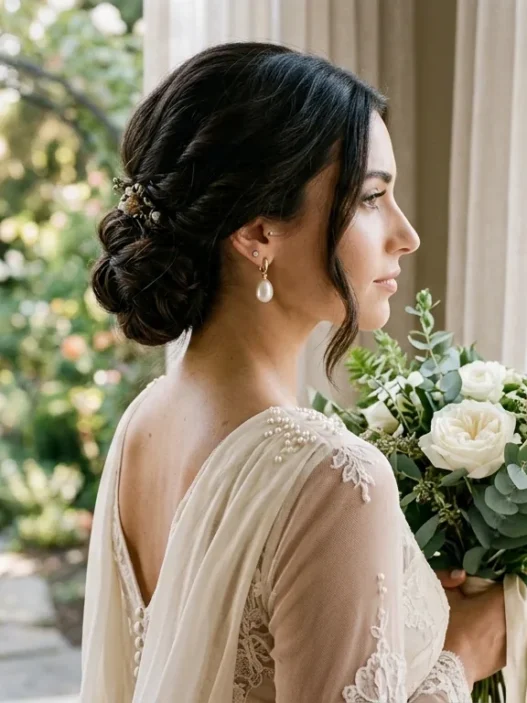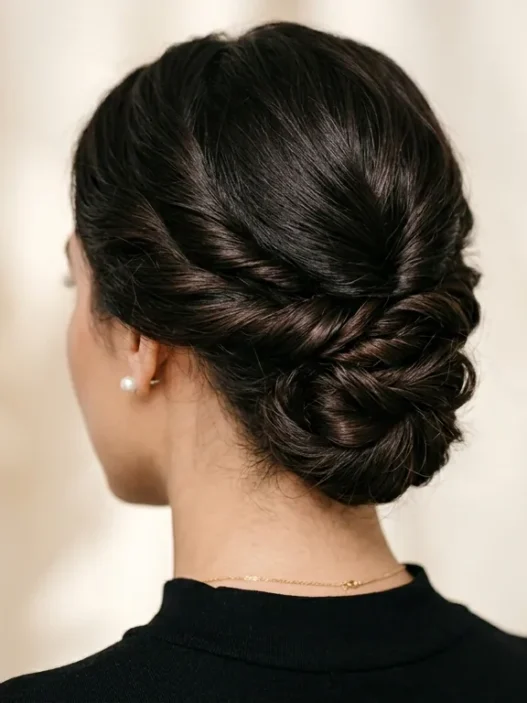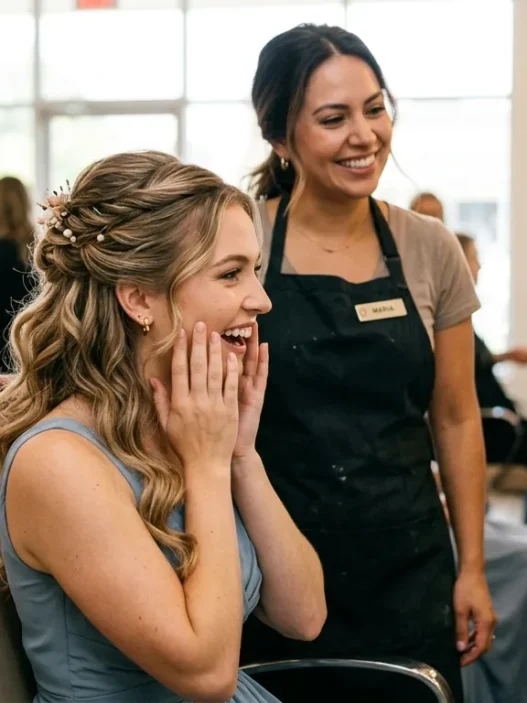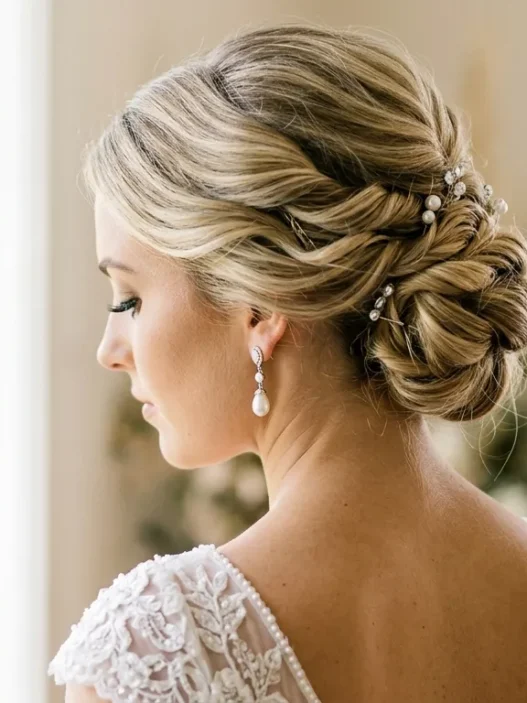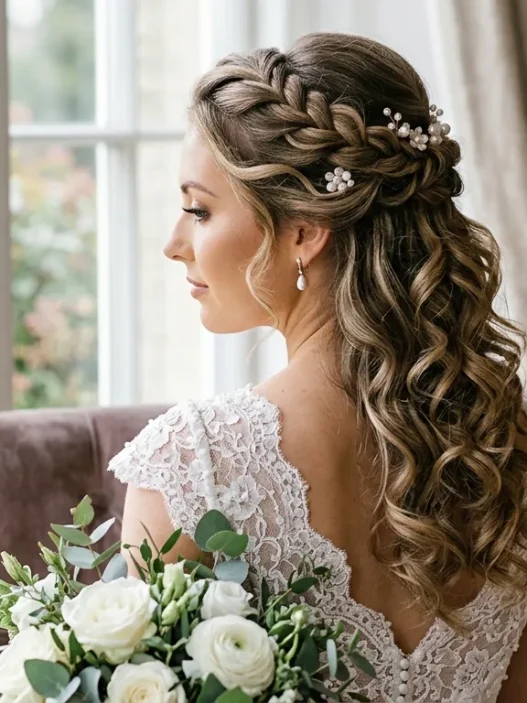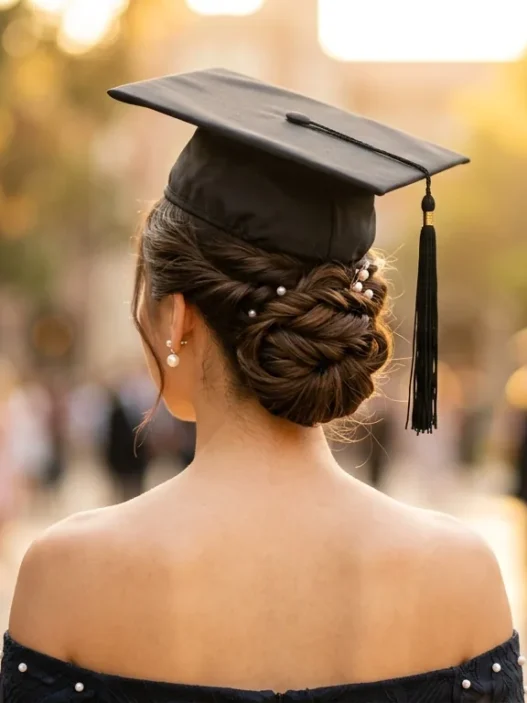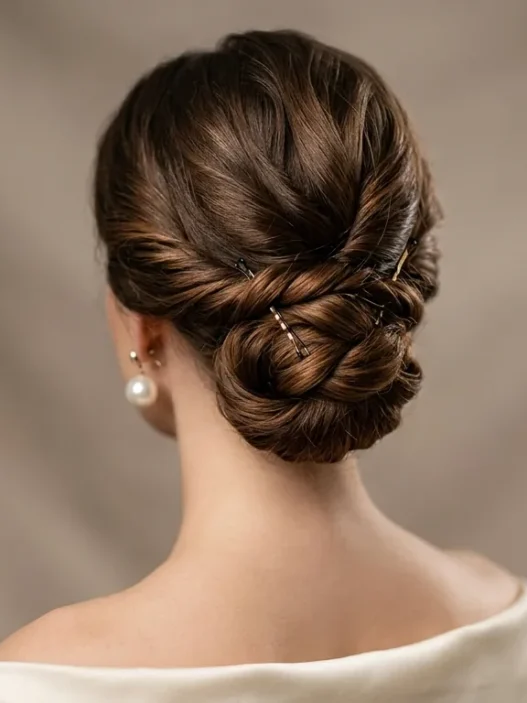







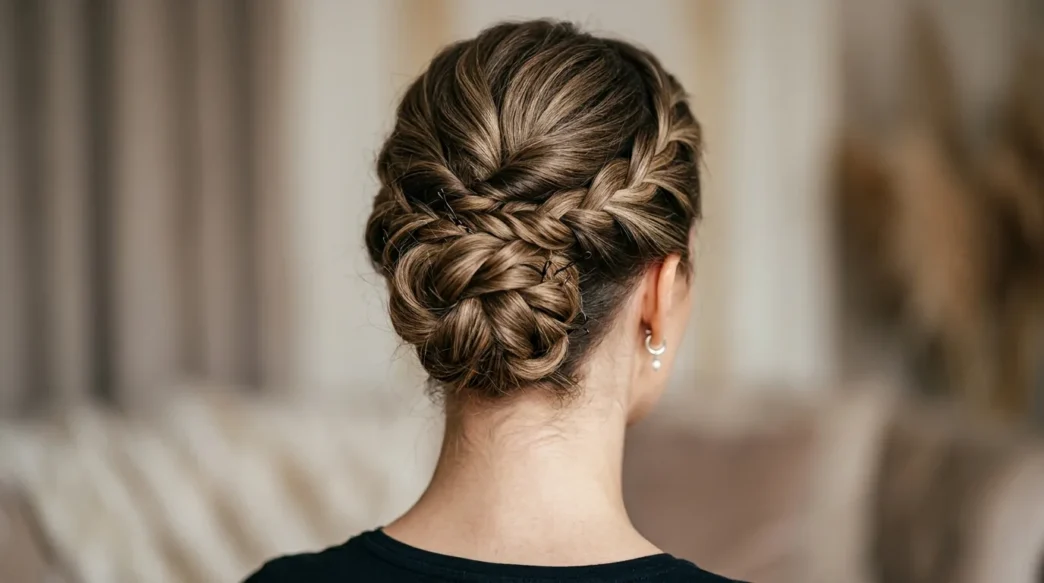
Last month, I spent three hours the night before my cousin’s wedding perfecting what I thought would be a “quick 15-minute updo.” My bathroom looked like a hurricane hit it, I had bobby pins scattered across every surface, and I may have stress-eaten an entire sleeve of crackers while watching YouTube tutorials at 1 AM. But you know what? The final result was absolutely gorgeous, and I felt incredible walking into that ceremony.
Here’s the thing about DIY wedding guest hairstyles that nobody talks about on social media: they’re messy, time-consuming, and sometimes completely disastrous. But they’re also incredibly rewarding when you pull them off.
What They Don’t Show You About Practice Runs
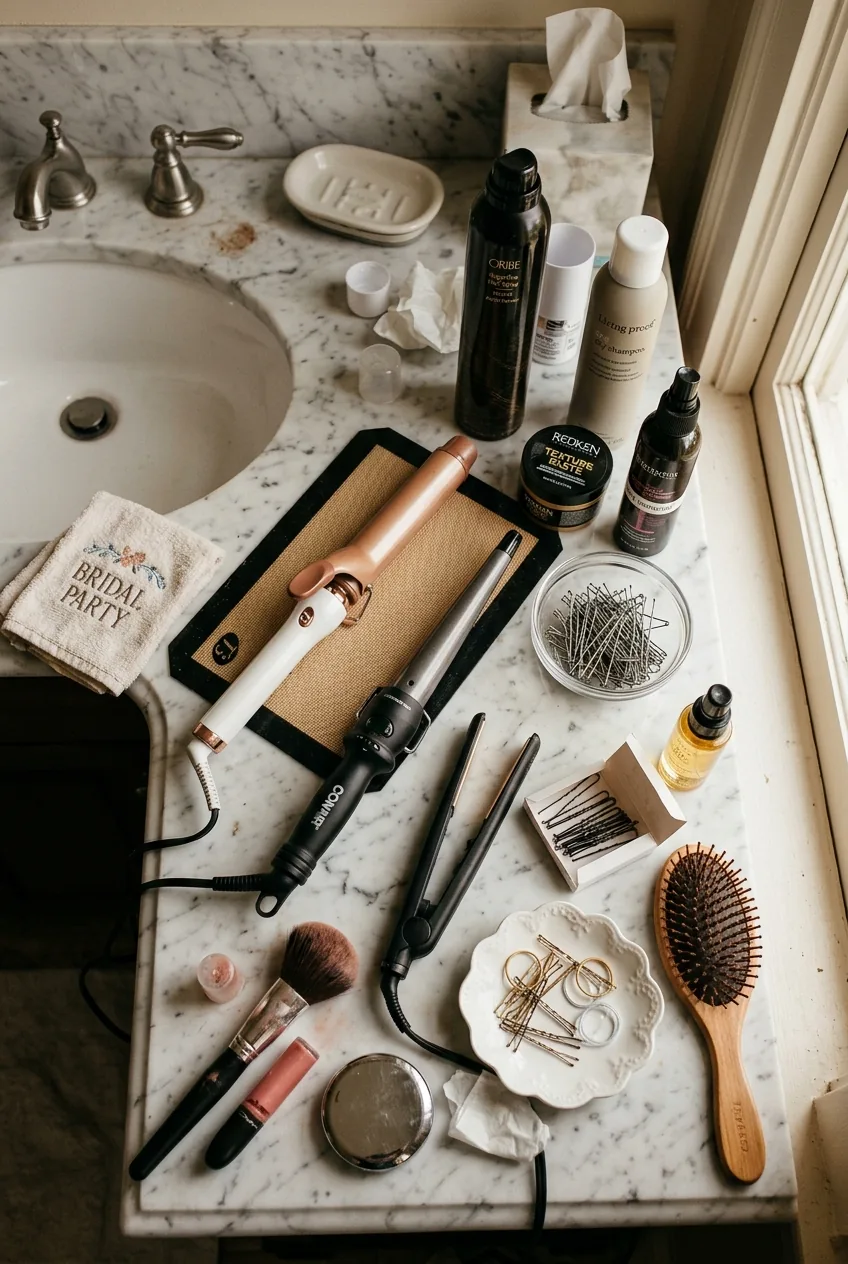
You know those Instagram posts where someone casually mentions “oh, just threw this together this morning”? Complete lies. Every single elegant wedding guest hairstyle I’ve ever successfully created required at least two practice runs. Sometimes three.
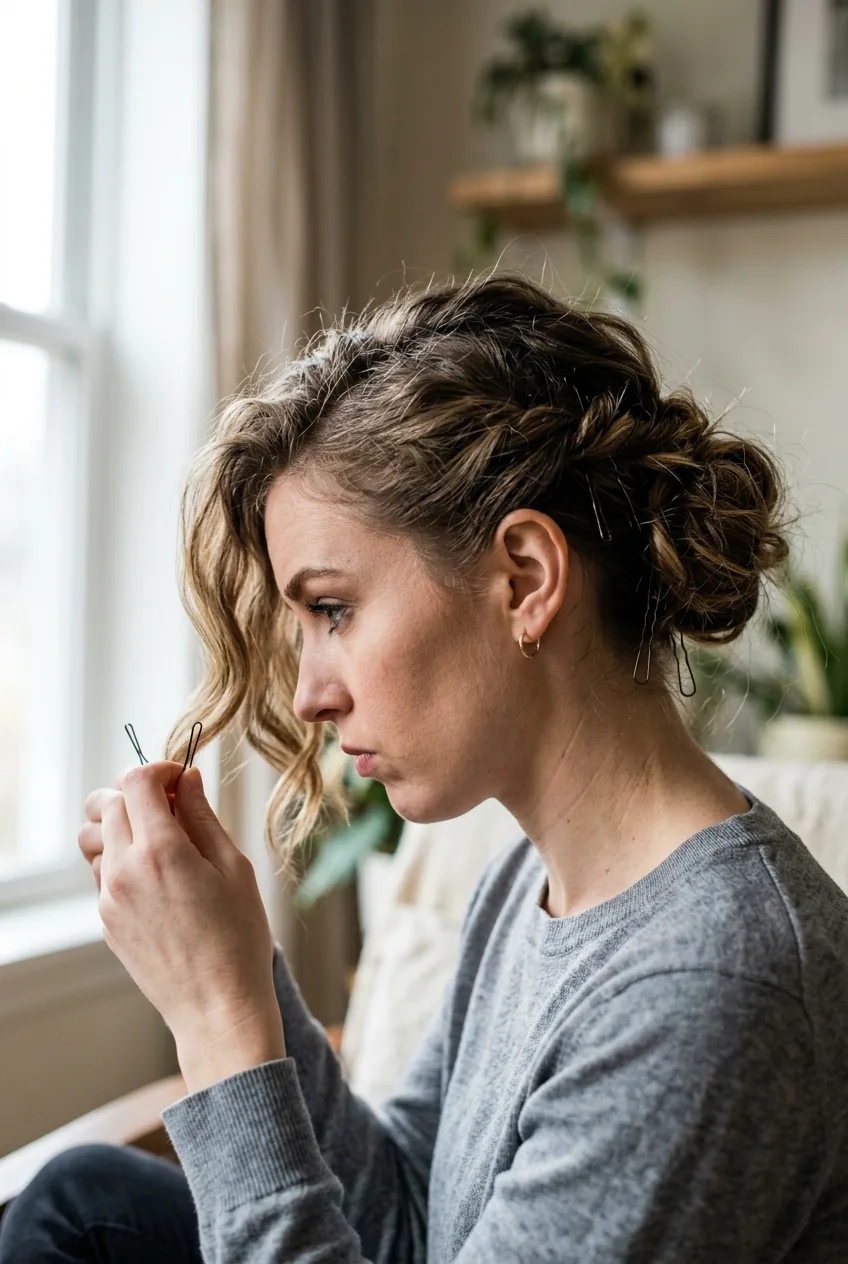
The first attempt always looks like I stuck my finger in an electrical socket. My hands don’t know where they’re going, I can’t see the back of my head properly even with two mirrors, and I inevitably drop half my bobby pins on the floor. But here’s what I’ve learned: that disaster of a first attempt teaches your fingers the movements.
My second practice run usually happens three days before the wedding. I’ll wash my hair, set aside two hours (yes, two hours for what should be a 30-minute style), and actually time myself. This is when I figure out that the “easy” twisted crown braid tutorial I bookmarked requires the flexibility of a contortionist and the patience of a saint.
The Part That Takes the Longest (Spoiler: It’s Not the Hair)
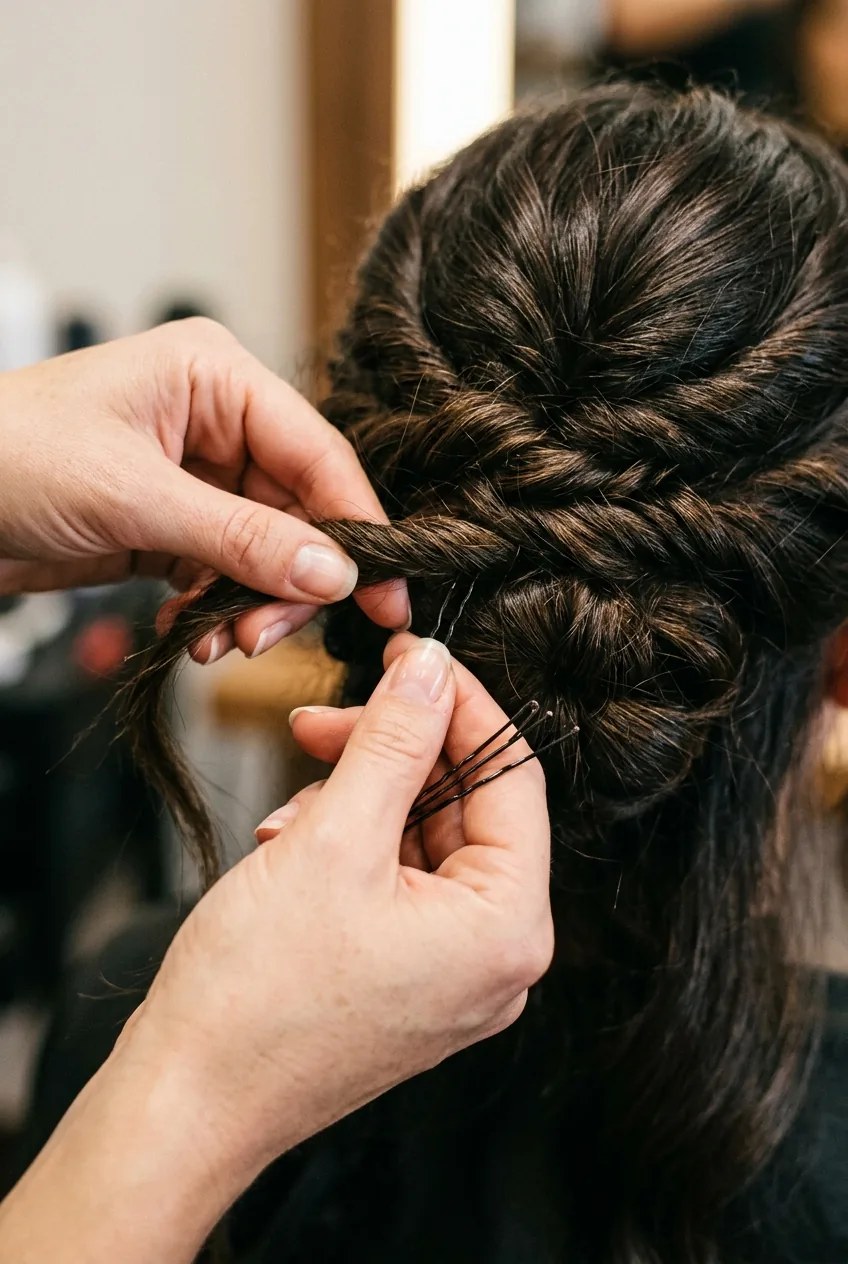
Want to know the most time-consuming part of DIY wedding guest hairstyles? It’s not the actual styling. It’s the prep work that happens days before.
First, there’s the Great Tutorial Hunt. I spend hours scrolling through YouTube, Pinterest, and TikTok, bookmarking styles that look “doable” but secretly knowing they’re way above my skill level. Then comes the supply run to three different stores because apparently I need a specific type of clear elastic that only exists at one Target in a 20-mile radius.
And don’t even get me started on washing and prepping my hair. Day-old hair works better for updos, but not too old because then it’s greasy. Second-day hair after using texturizing spray is ideal, but what if it’s too humid? What if it’s not humid enough?
The actual styling? That’s maybe 45 minutes. The anxiety-inducing prep work? That’s three days of my life I’ll never get back.
When Everything Goes Wrong 20 Minutes Before You Leave
Murphy’s Law was definitely created by someone attempting a DIY updo before a wedding. Everything that can go wrong, will go wrong, and it will happen at the most inconvenient moment possible.
Last summer, I had perfected a gorgeous low chignon for my friend’s outdoor ceremony. Practiced it twice, timed it perfectly, felt confident. The morning of the wedding, I woke up to discover my hair had decided to have the texture of straw. Completely different from my practice runs. Panic mode: activated.
Twenty minutes before we needed to leave, I was frantically googling “how to fix dry hair emergency” while my sister offered increasingly unhelpful suggestions like “just put it in a ponytail.” (Over my dead body.)
Here’s my emergency game plan now: always have a backup style that uses completely different techniques. If the updo fails, I can fall back to braided wedding hairstyles that work with any hair texture. And I keep a emergency hair serum in my wedding guest survival kit.
The Secret Nobody Mentions About Hair Products
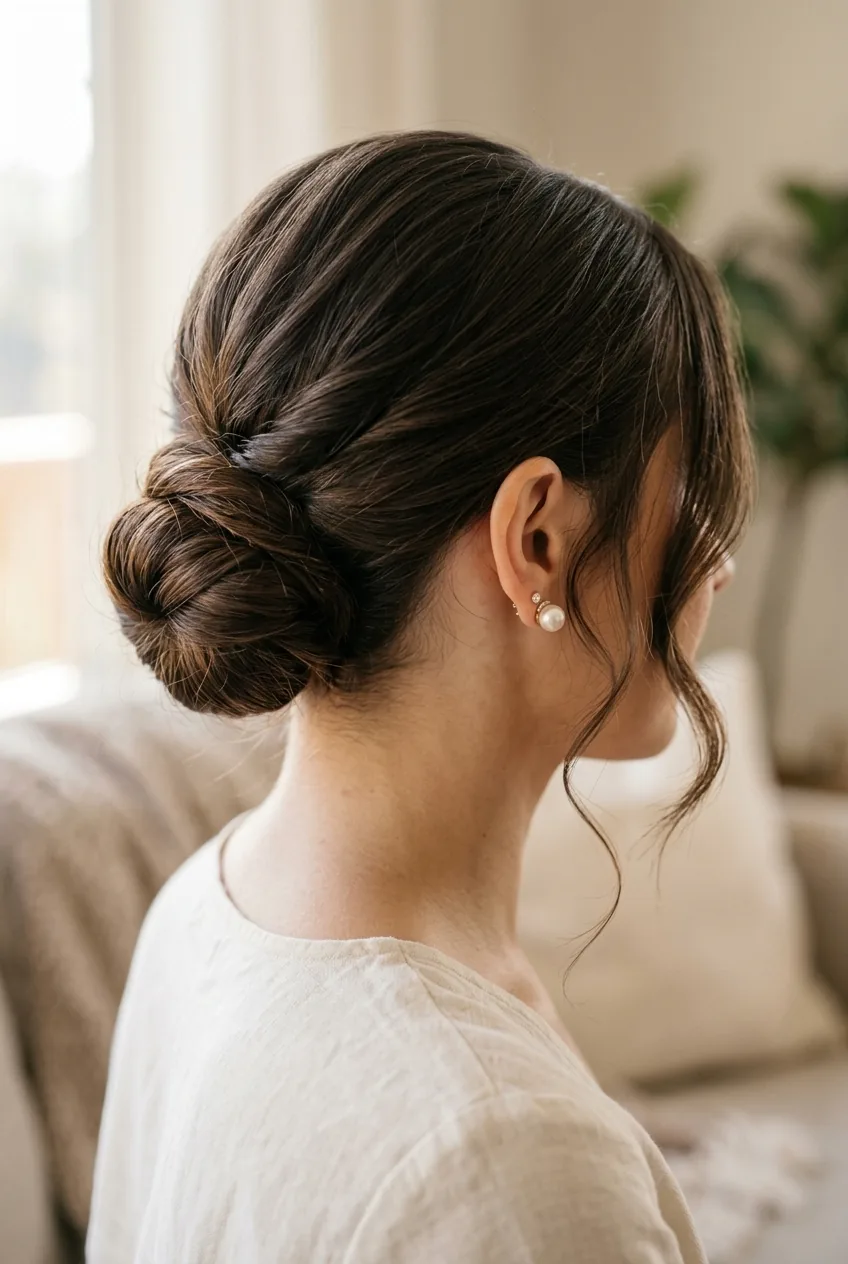
Can we talk about how much product actually goes into those “effortless” wedding guest looks? Because it’s not effortless, and it’s definitely not product-free.
I used to think I could create an elegant updo with just bobby pins and hope. Wrong. So incredibly wrong. The reality is that successful DIY wedding hairstyles require a small pharmacy worth of products, and most tutorials conveniently forget to mention this.
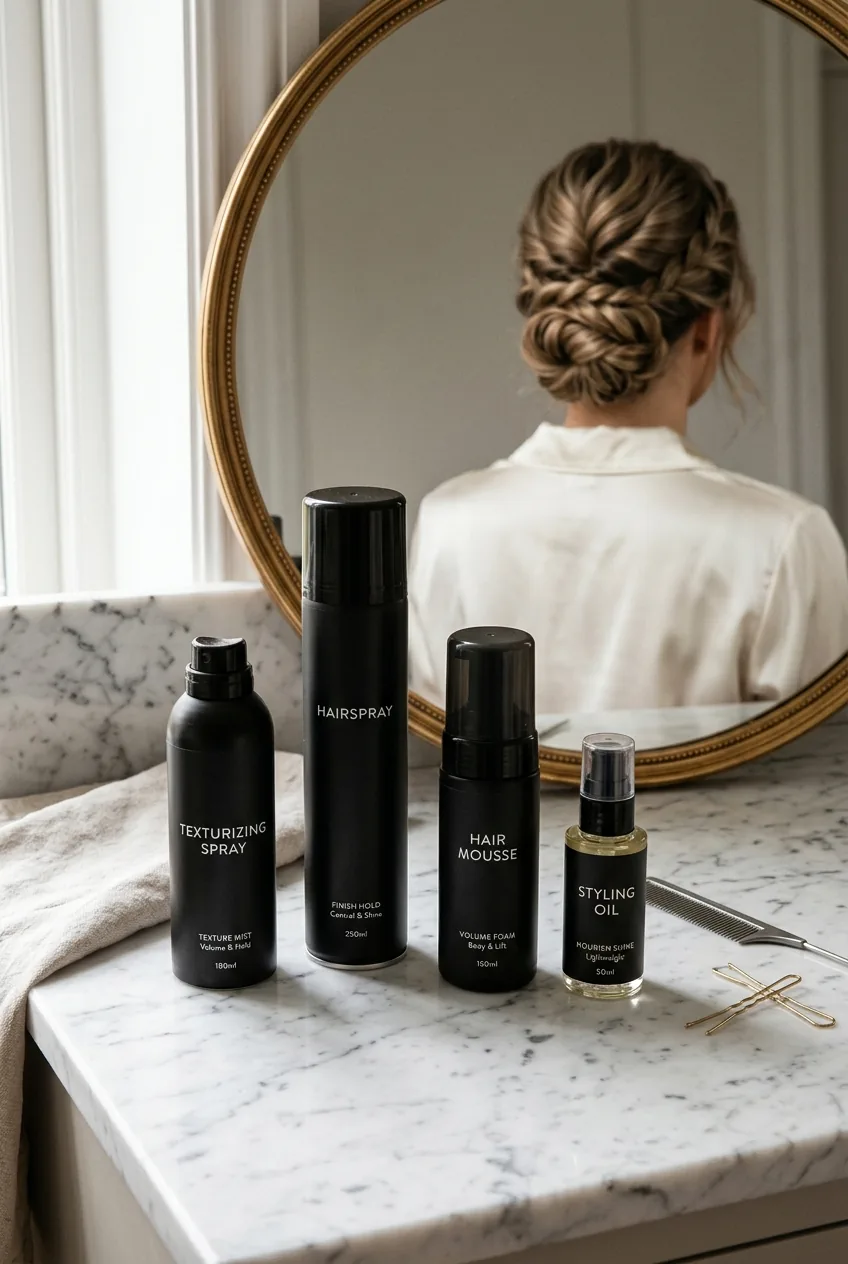
My current product lineup for a single updo includes: texturizing spray (applied to damp hair), volumizing mousse (roots only), heat protectant (because even “no-heat” styles somehow require a curling iron), flexible hold hairspray (during styling), strong hold hairspray (final set), and bobby pins in three different colors to match various sections of my hair.
And here’s the kicker: you have to apply them in the right order, at the right time, with the right technique. Product application makes the difference between a style that lasts through the ceremony and one that starts falling out during the cocktail hour.
But once you figure out your product cocktail? Game changer. My hair actually holds its shape better than when I get it done professionally.
Why I Still Choose DIY Despite the Chaos
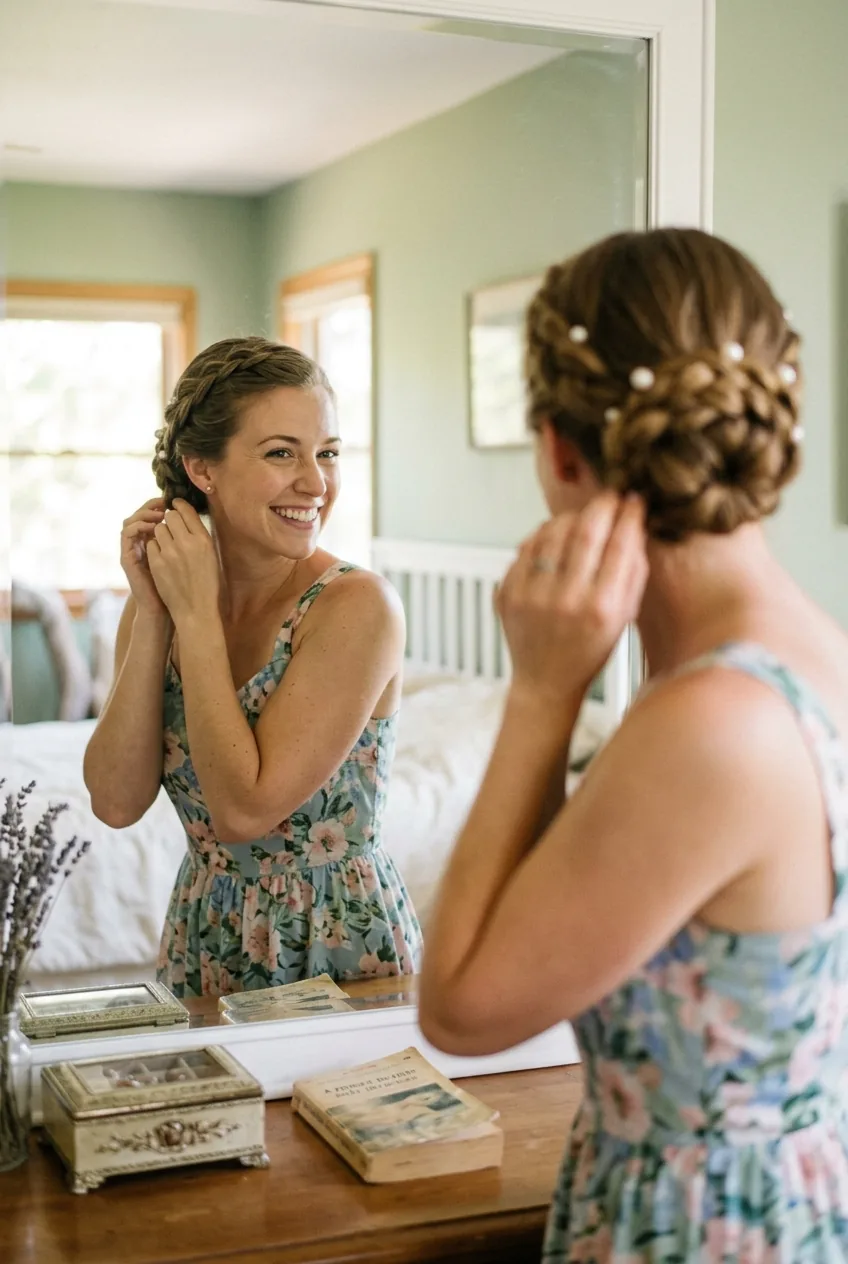
After all this complaining, you might wonder why I don’t just book a salon appointment like a normal person. Trust me, I’ve considered it. Especially at 2 AM when I’m watching my third tutorial of the night and questioning all my life choices.
But here’s the thing: when I nail a DIY wedding guest hairstyle, the confidence boost is unmatched. There’s something incredibly satisfying about looking in the mirror and thinking “I did that.” Plus, I know exactly how my hair behaves, what products work, and what styles complement my face shape.
And let’s be practical – salon appointments for special events cost a fortune and require booking weeks in advance. With DIY, I have complete control over timing, location, and if something goes wrong, I can fix it myself instead of hoping my stylist understands my vision.
The chaos is temporary. The photos are forever. And honestly? Some of my favorite wedding hairstyle memories come from those frantic getting-ready moments with friends, everyone helping each other with bobby pins and offering moral support.
My advice? Embrace the chaos. Practice more than you think you need to. Stock up on bobby pins (seriously, they disappear into another dimension). And remember that even if everything goes wrong, you’ll still look beautiful – and you’ll have a great story to tell.
Quick Answers to Common DIY Hair Questions
How far in advance should I practice my wedding guest hairstyle?
I recommend at least two full practice runs – one a week before and another 2-3 days before the event. This gives you time to troubleshoot any issues and pick up missing products or tools.
What if my hair texture is completely different on the wedding day?
Always have a backup style ready that works with different hair textures. I keep simple hairstyles in my back pocket for emergencies – styles that look intentional even when your hair isn’t cooperating.
How long do DIY wedding guest hairstyles typically last?
With the right products and techniques, most updos will last 8-10 hours. The key is using enough bobby pins (I’m talking 15-20 minimum) and layering your hairsprays throughout the styling process, not just at the end.
Should I wash my hair the day of the wedding?
Generally no – day-old hair holds styles better because it has some texture and natural oils. Wash your hair the day before and use dry shampoo at the roots if needed for extra grip and volume.
The truth about DIY wedding guest hairstyles? They’re messier, more time-consuming, and way more stressful than anyone admits. But when you walk into that ceremony with a style you created yourself, looking absolutely stunning – it’s worth every dropped bobby pin and every moment of pre-wedding panic.