


I spent six months looking like I’d been attacked by safety scissors. Three salon visits, two YouTube tutorials gone wrong, and one very patient boyfriend later — I finally cracked the code on butterfly bangs. The problem wasn’t my technique or my tools. It was that I was sectioning them completely wrong from day one.
Understanding Why Mine Kept Going Wrong
Every tutorial I watched made it look so simple. Cut face-framing pieces. Make them shorter in the center. Boom — butterfly bangs.
But mine always looked choppy and uneven. The “wings” never fluttered the way they did on everyone else. I thought maybe my face shape was wrong, or my hair texture wasn’t right. Turns out, I was creating my initial sections all wrong.
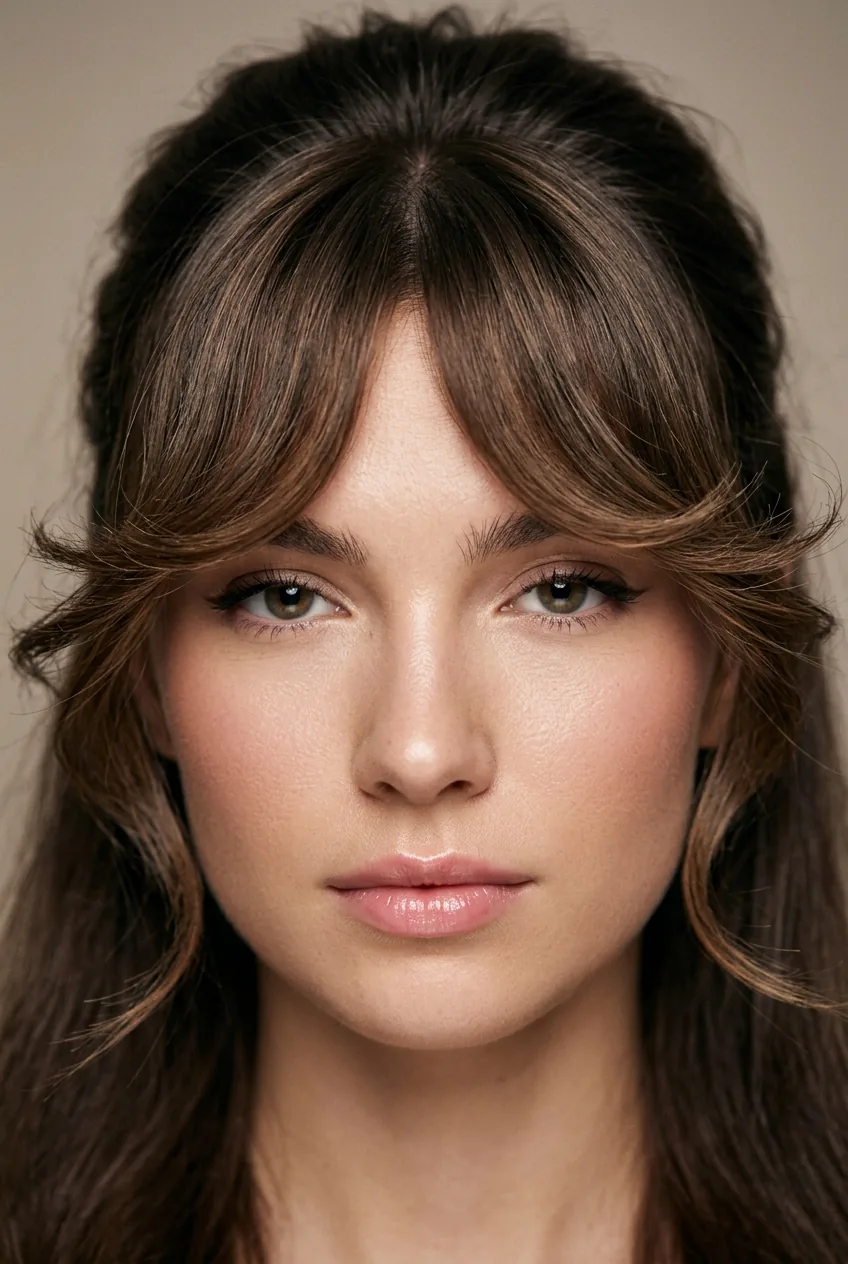
The secret? Butterfly bangs aren’t just about the front pieces of your hair. They need to connect to longer layers that start from your temples and curve around your face. When you section too narrow at the beginning, you end up with disconnected chunks instead of that seamless flutter effect.
The Products That Actually Work
Here’s what you actually need (not the twenty products every influencer tries to sell you):
- Sharp haircutting scissors — not craft scissors, not kitchen shears
- Rat-tail comb for precise sectioning
- Small hair clips (at least 6)
- Light-hold mousse or texturizing spray
- Round brush (1.5 or 2-inch barrel)
- Blow dryer with concentrator nozzle
- Hair straightener (optional but helpful for fine-tuning)
I used to think any scissors would work. Wrong. The difference between good scissors and cheap ones is the difference between soft, feathery ends and blunt, choppy ones that scream “I did this myself.”
Starting With Perfect Sections
This is where I went wrong for months. I was sectioning like I was cutting regular bangs — just grabbing the front triangle of hair. Butterfly bangs need wider, deeper sections that extend back toward your crown.
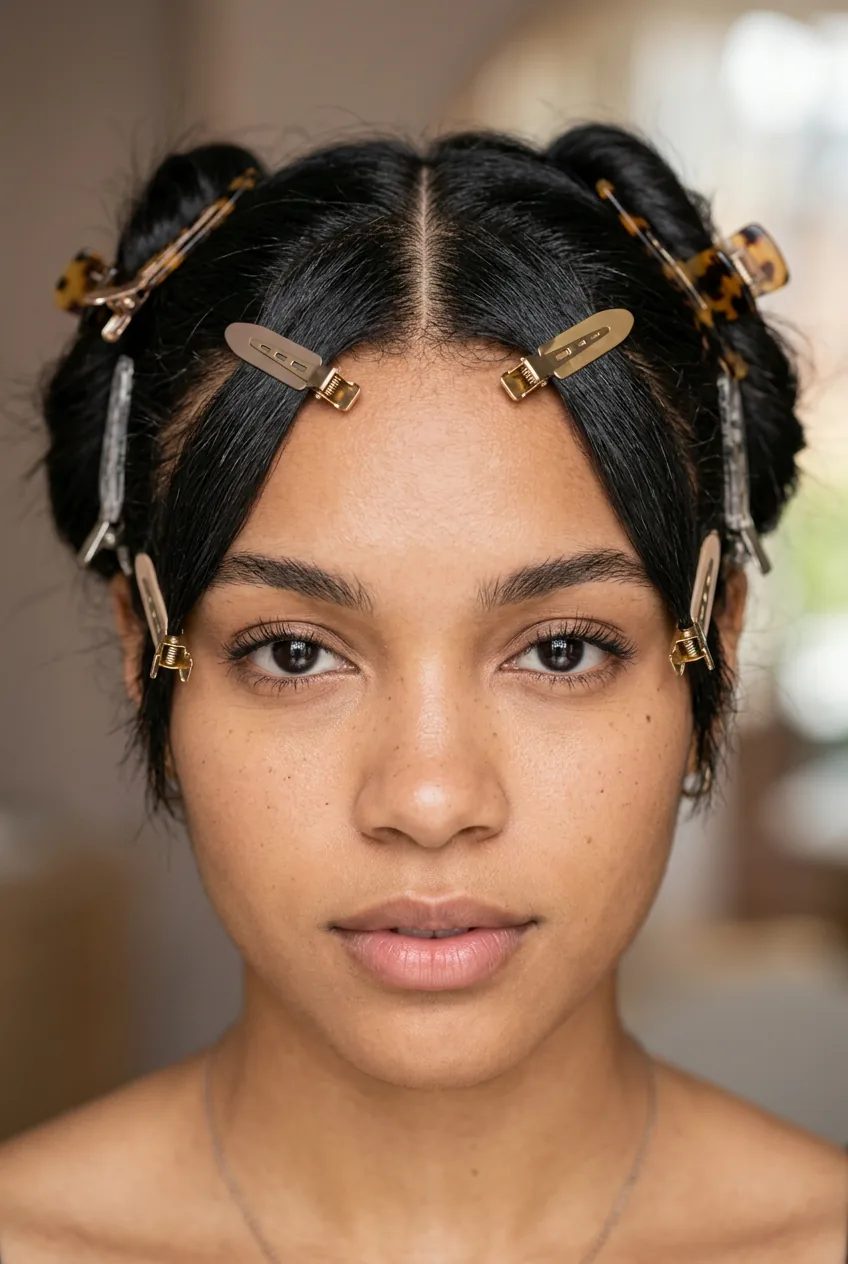
Start with clean, damp hair. Create your center part first, then use your rat-tail comb to section from the highest point of each eyebrow arch straight back to your crown. These sections should be about 2-3 inches wide at the front.
Here’s the crucial part: your sections need to curve slightly outward as they go back, following the natural shape of your head. Think of drawing parentheses on your scalp, not straight lines. Clip everything else away — you want zero distractions.
My biggest mistake was rushing the sectioning. I’d grab random pieces and start cutting, which is why I ended up with lopsided, disconnected chunks. Take your time here — it’s literally the foundation of everything.
The Cutting Technique That Changed Everything
Ready for the technique that finally made it click? You’re not cutting straight across. You’re not even cutting at an angle. You’re cutting in a gentle arc that follows the curve of your face.
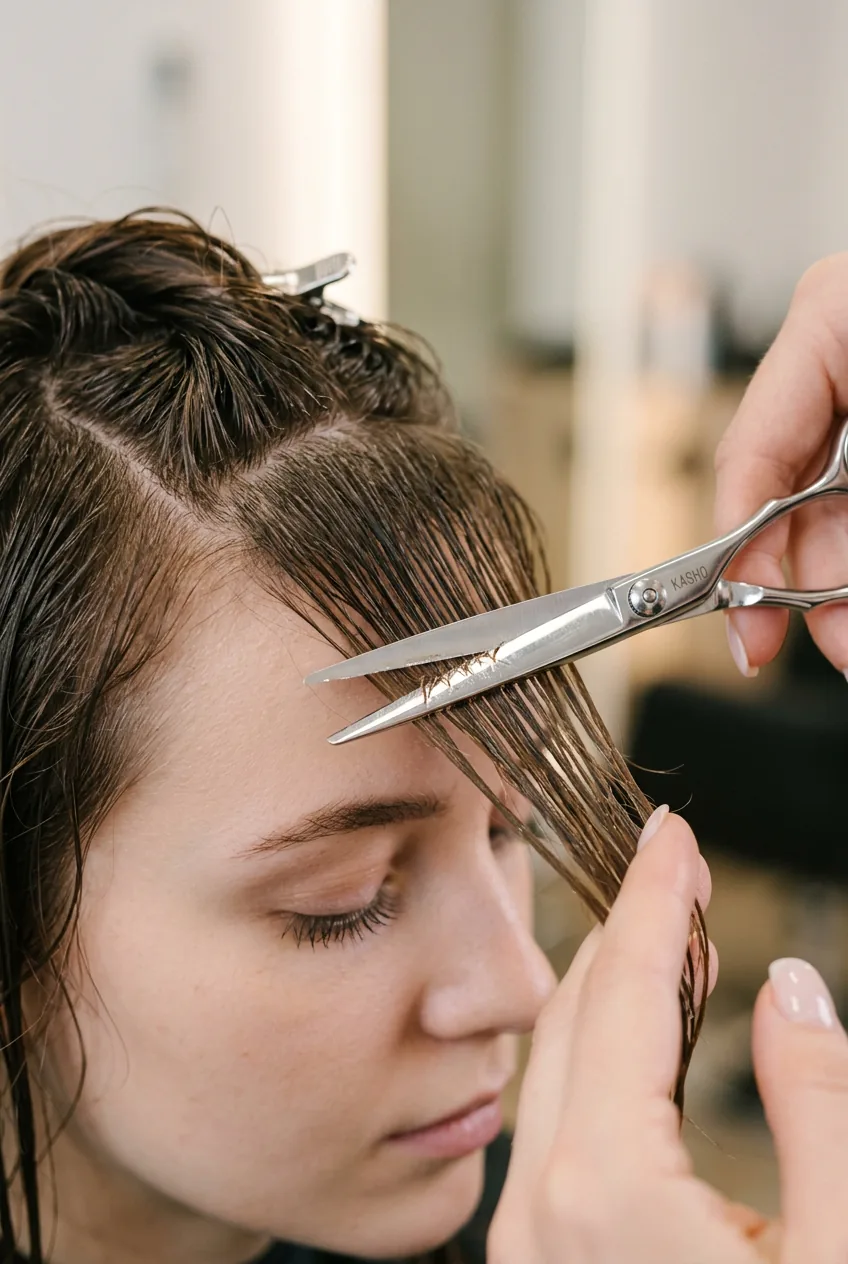
Hold your sectioned hair straight down in front of your face. The center point should hit right between your nose and lips — that’s your shortest point. From there, the hair should gradually get longer as it moves toward your ears.
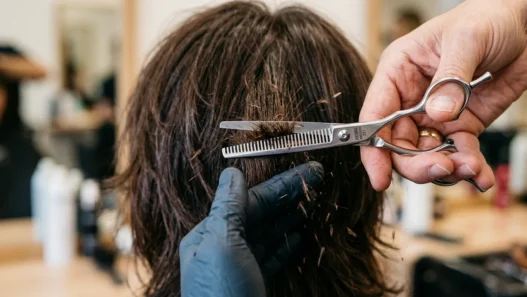
Cut in small sections, about half an inch at a time. Point-cut into the ends (cutting upward into the hair at an angle) rather than cutting straight across. This creates that soft, feathery texture that makes butterfly bangs look effortless instead of harsh.
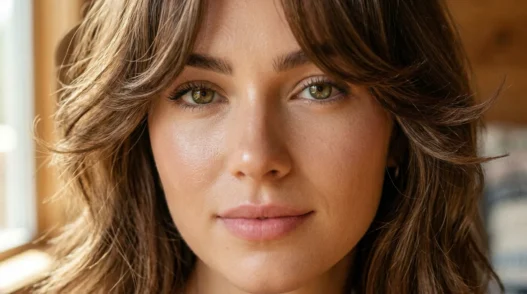
The magic happens in the connection points. Where your butterfly bangs meet the rest of your hair should be seamless. No hard lines, no obvious “this is where the bangs end.” Blending techniques make all the difference between amateur and professional results.
This Tutorial Finally Made It Click
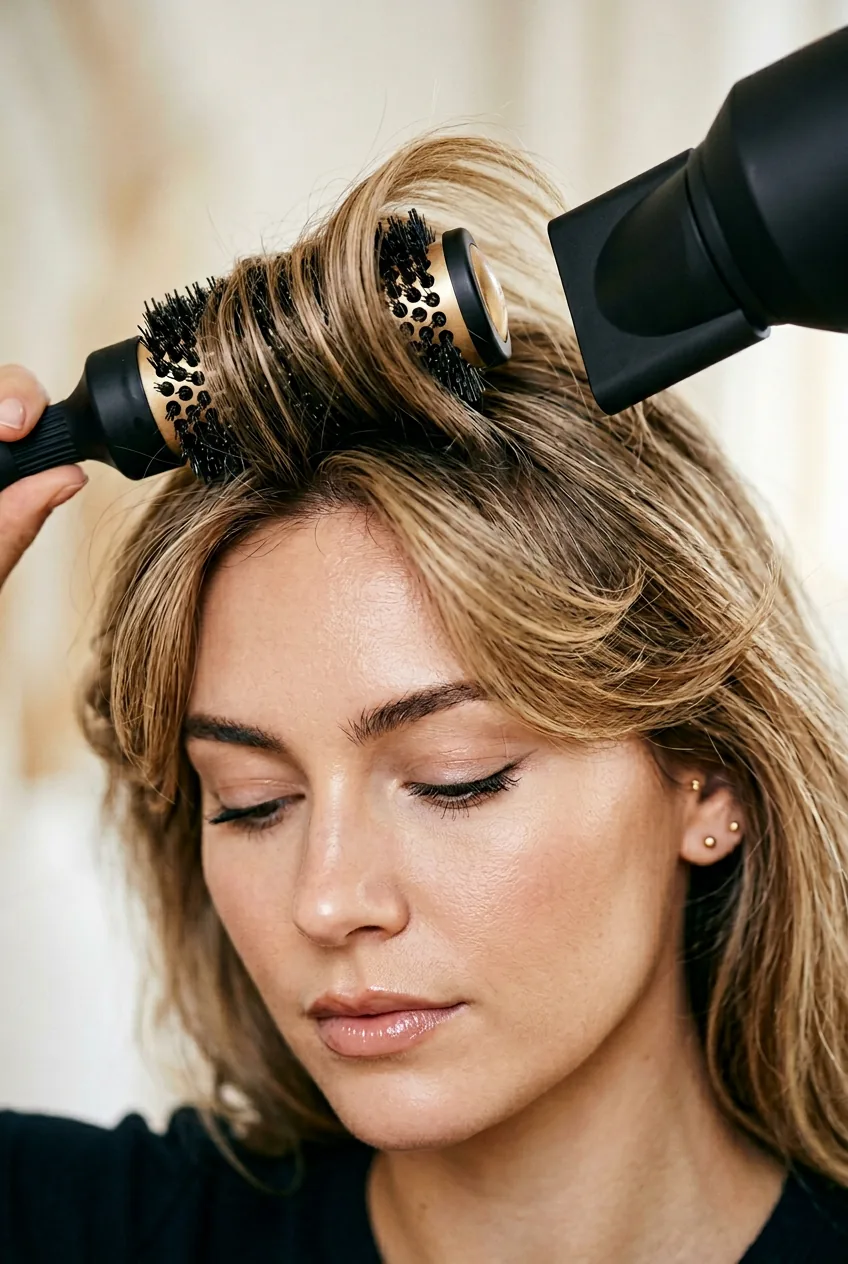
Styling for Maximum Flutter
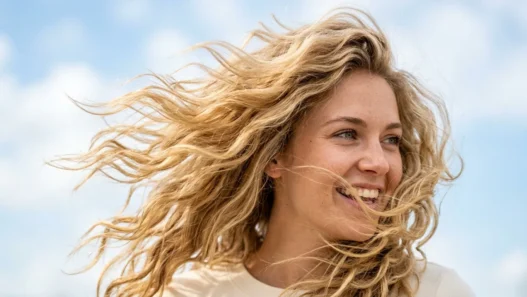
Cutting them is only half the battle. The styling is what gives butterfly bangs their signature movement and makes them actually look like wings instead of just shorter hair.
Start with damp hair and apply a lightweight mousse from mid-length to ends — avoid the roots or you’ll get that crunchy, stiff look. Use your round brush to lift the hair at the roots while blow-drying. This creates volume and movement instead of flat, lifeless pieces.
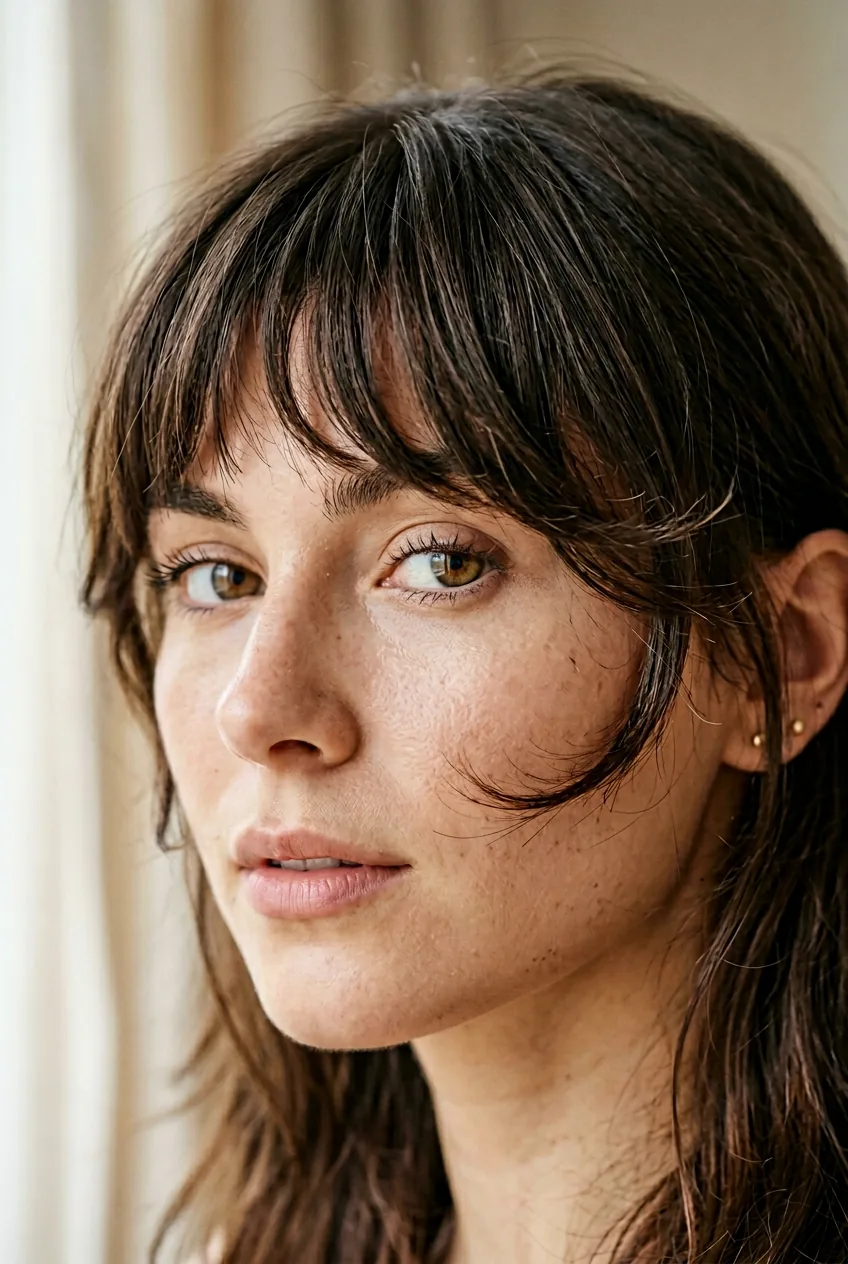
Here’s the styling trick nobody talks about: you need to curl them away from your face, but not with a curling iron. Use your round brush and blow dryer to create a gentle C-curve that follows your cheekbone. The pieces should curve outward and slightly back, like they’re floating.
If you have stubborn hair that won’t hold the shape, use a straightener to gently bend the ends outward. Don’t clamp and drag — just create gentle curves by rotating the iron as you move through each section.
Making Them Last All Day
The most frustrating thing about butterfly bangs? They can look perfect in the morning and completely flat by lunch. I’ve found a few tricks that keep them looking fresh all day.
First, don’t over-wash this section. Butterfly bangs actually look better with a tiny bit of natural oil at the roots — it helps them hold their shape and adds that piece-y texture. I wash my full head every other day, but I only shampoo the bangs area twice a week.
For touch-ups, keep a small travel-size texturizing spray in your bag. A light mist and a quick scrunch with your fingers can revive flattened pieces. And if you’re dealing with humidity, a very light application of anti-frizz serum on the ends helps maintain that smooth flutter.
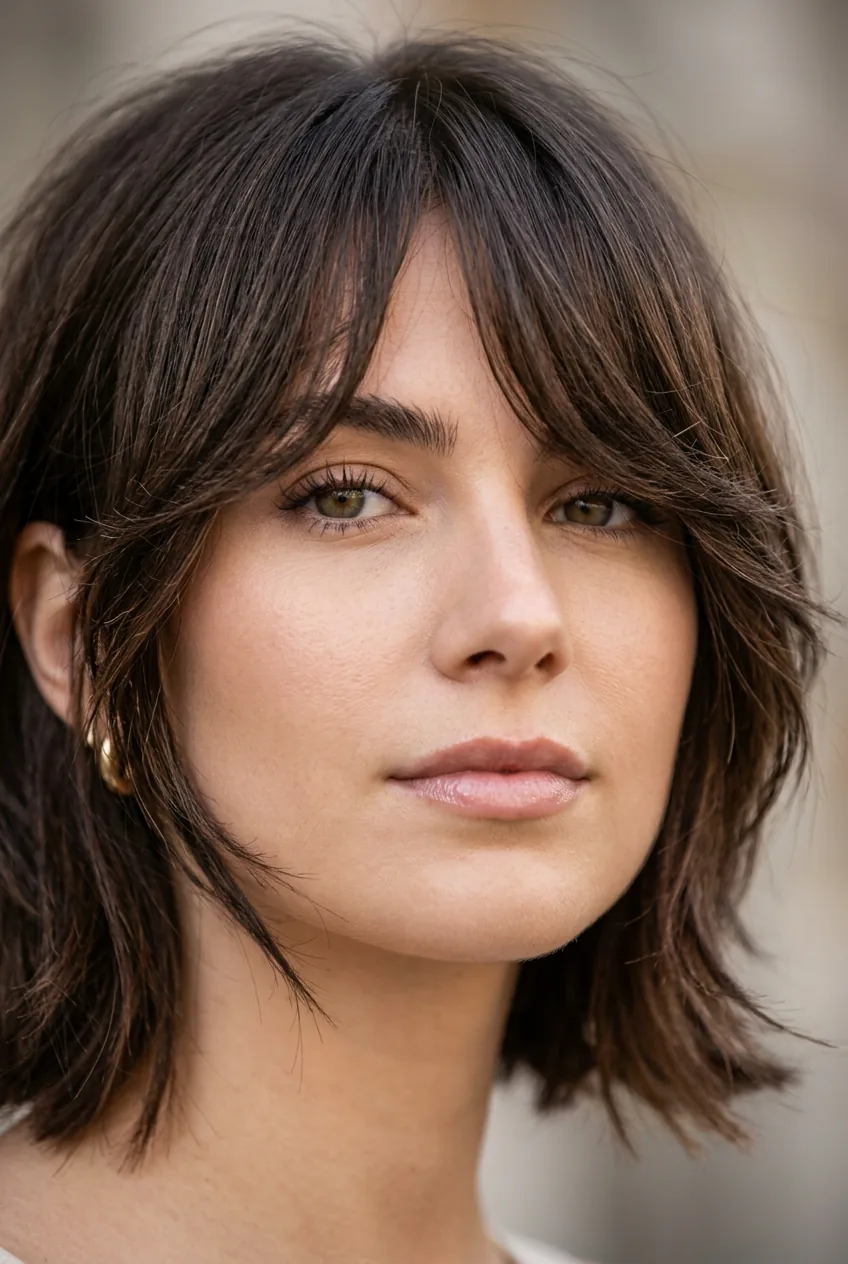
The best part about finally getting butterfly bangs right? They grow out beautifully. Unlike blunt bangs that look terrible the moment they get too long, these blend seamlessly into trendy lob hairstyles with bangs as they grow.
Quick Answers From My Experience
How often do butterfly bangs need trimming?
Every 4-6 weeks, but you can stretch it to 8 weeks if you’re good with styling. They’re more forgiving than blunt bangs when they get a little long.
Can I cut them on dry hair instead?
I actually prefer cutting them on damp hair because it’s easier to see the natural fall and movement. Dry cutting can work, but it’s harder to gauge the final length.
What if I mess up and cut them too short?
Don’t panic! Butterfly bangs are meant to have movement and texture, so slight unevenness can actually work in your favor. Focus on styling them with volume and texture while they grow out.
Do they work on all face shapes?
They’re surprisingly versatile, but the key is adjusting the length and width of your sections. Round faces need longer pieces, while angular faces can handle shorter, more dramatic versions.
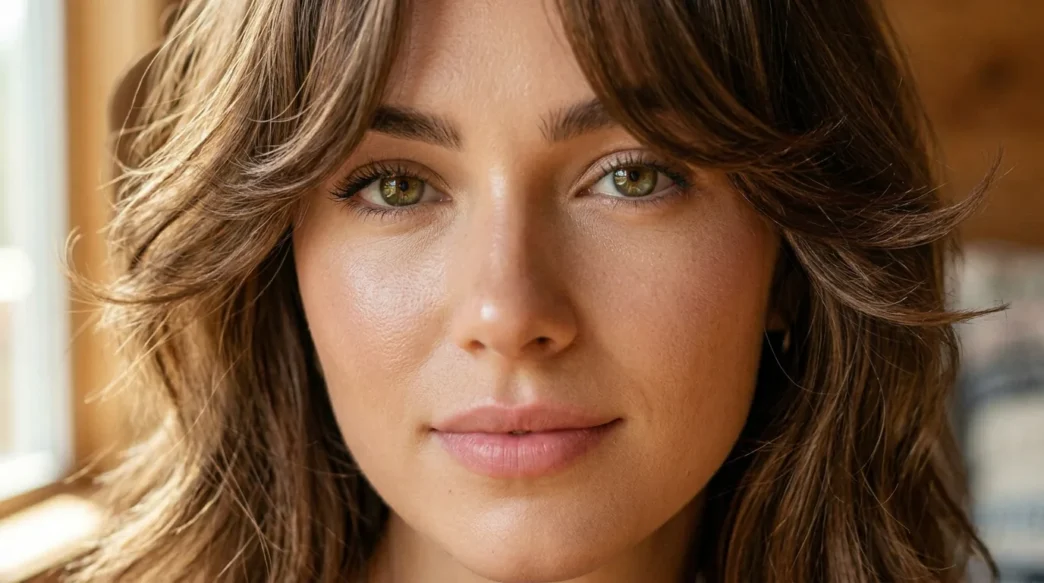
Six months later, I finally have the butterfly bangs I always wanted. They move when I walk, they frame my face perfectly, and they actually look intentional instead of accidental. The best part? Once you master the sectioning and cutting technique, maintenance becomes second nature.